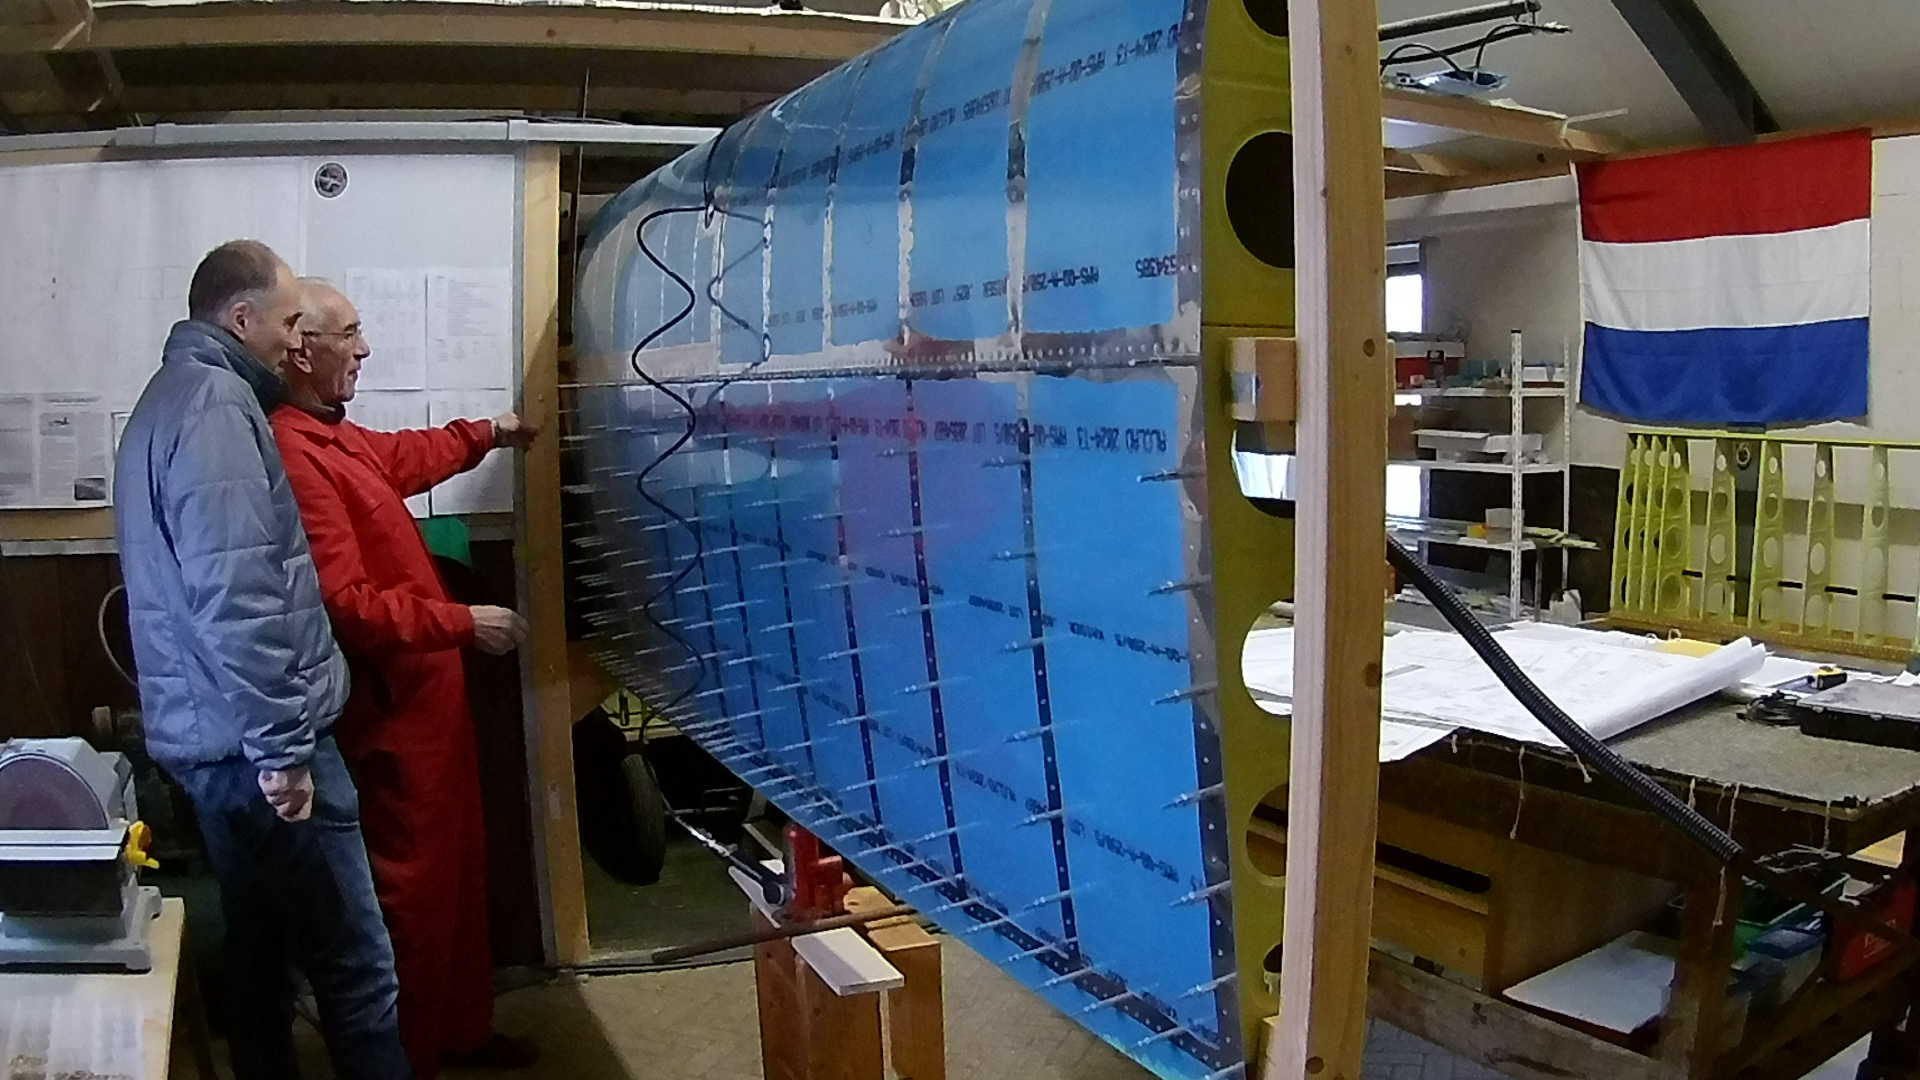
The last and according to Van’s, the hardest part of the Empennage are the Elevators including the Trim tab. I’ve selected the electronic Trim tab instead of the mechanical (cable) Trim tab. Also the construction manual is getting briefer as we go along. Instructions that took one page to explain during the Horizontal Stabilizer are now just one sentence. I hope the plans don’t become terser than this.
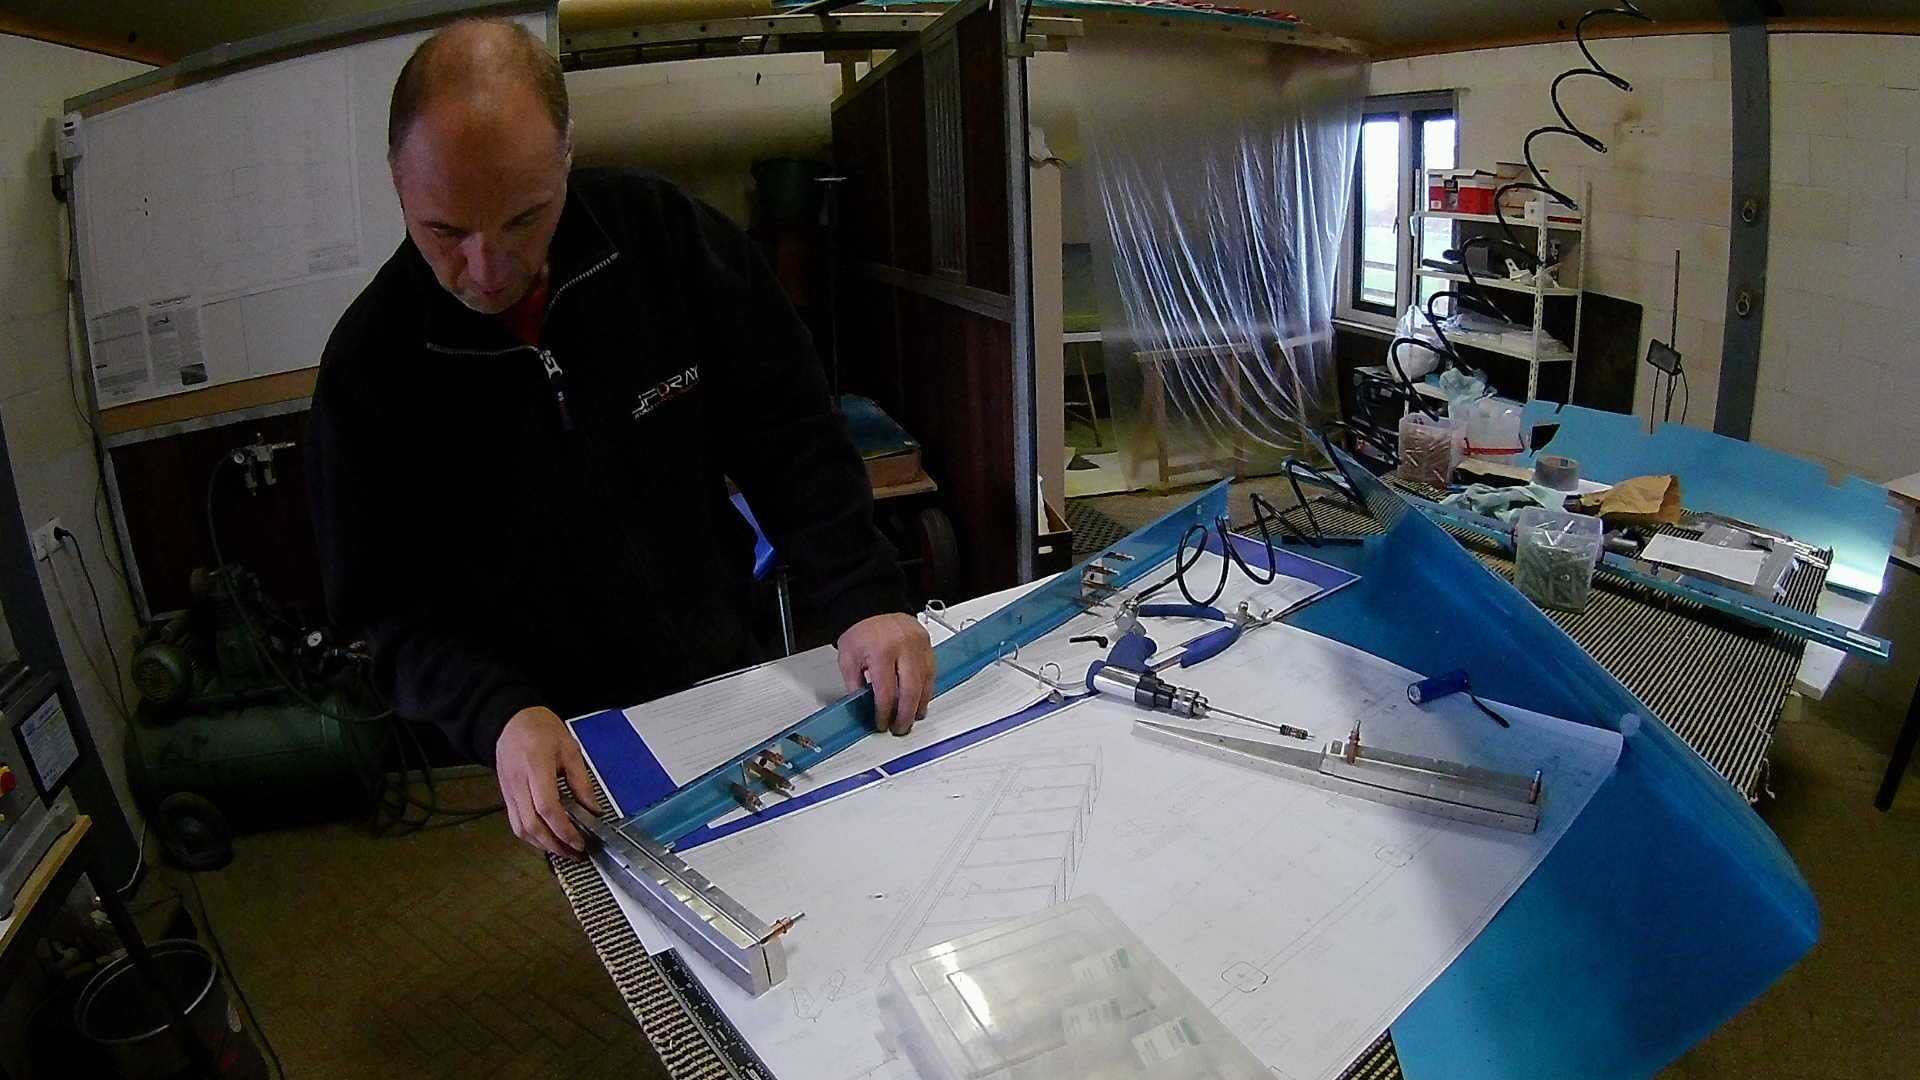
The Elevator Stiffeners are not symmetrical (left/right), because the left Elevator holds the Trim tab. So right of the bat there is a head-scratcher, because I assume symmetry. Ok, reading the short sentence again in the construction manual (and studying the drawing) did the trick.
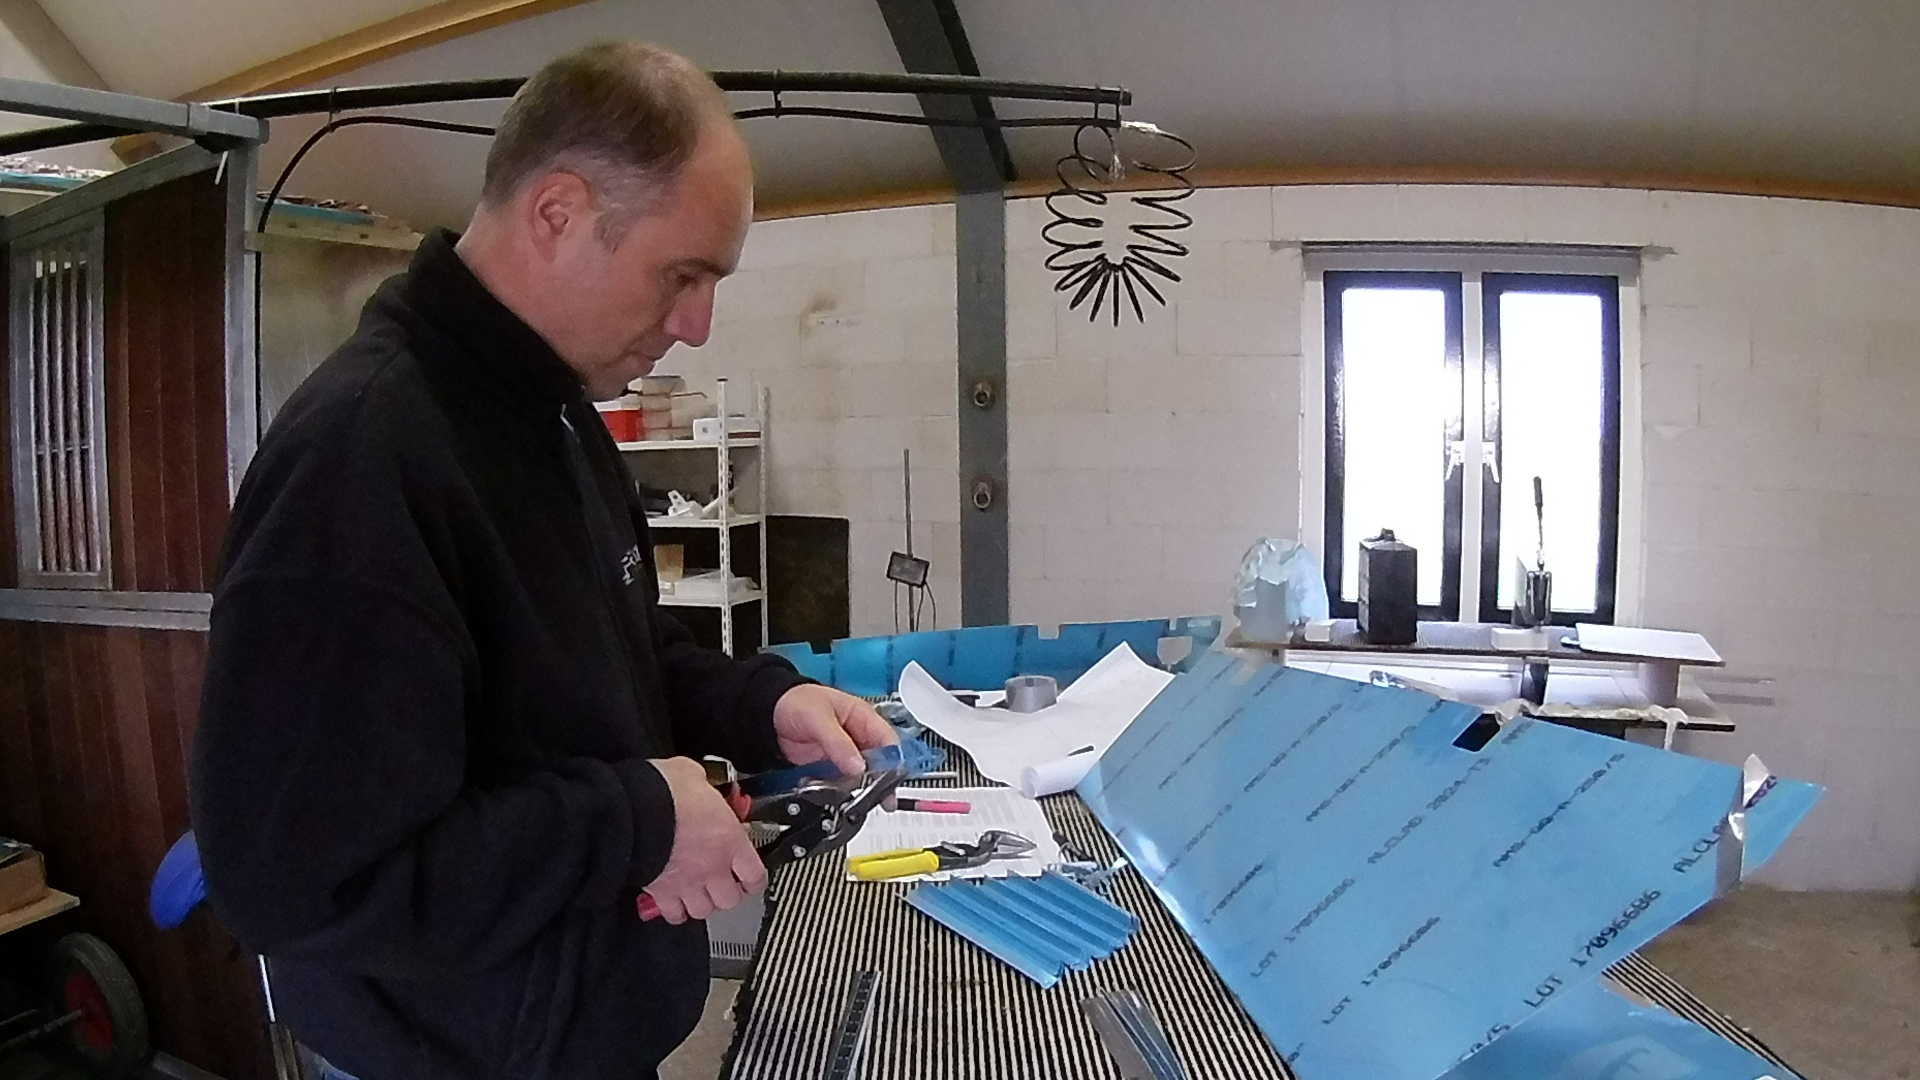
I’m especially vigilant when wielding the snips, because cutting is a irreversible action. However the pre-manufactured Stiffeners of Van’s are drilled in such a way that it’s almost impossible to make a mistake.
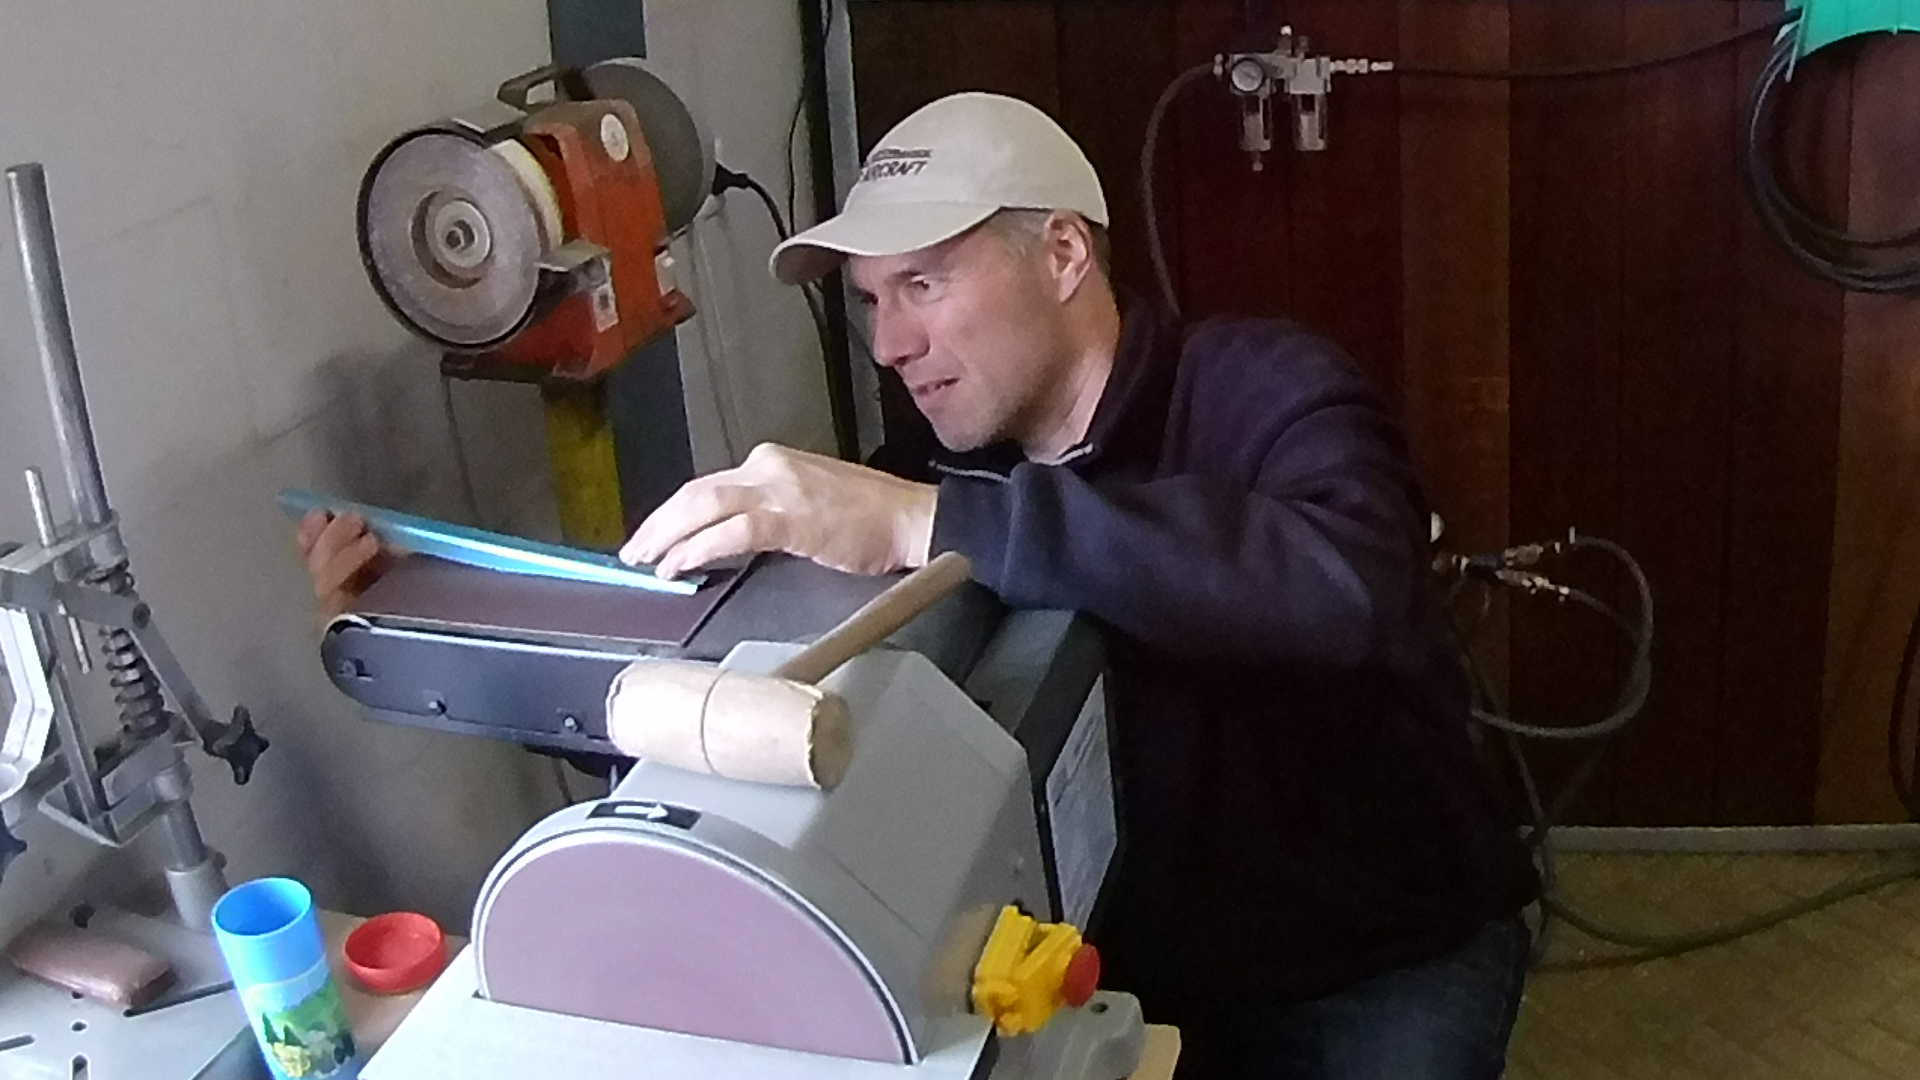
For trimming the Stiffeners, I use the snips again, but keep at least one millimeter of margin, because I know my cutting skills and they haven’t improved much since grammar school. Hence I choose the easy way out. Which is, using the bench grinder. Really handy to “cut” the last part completely straight. To prevent burned fingers (been there), I use either a wooden brush or hammer.
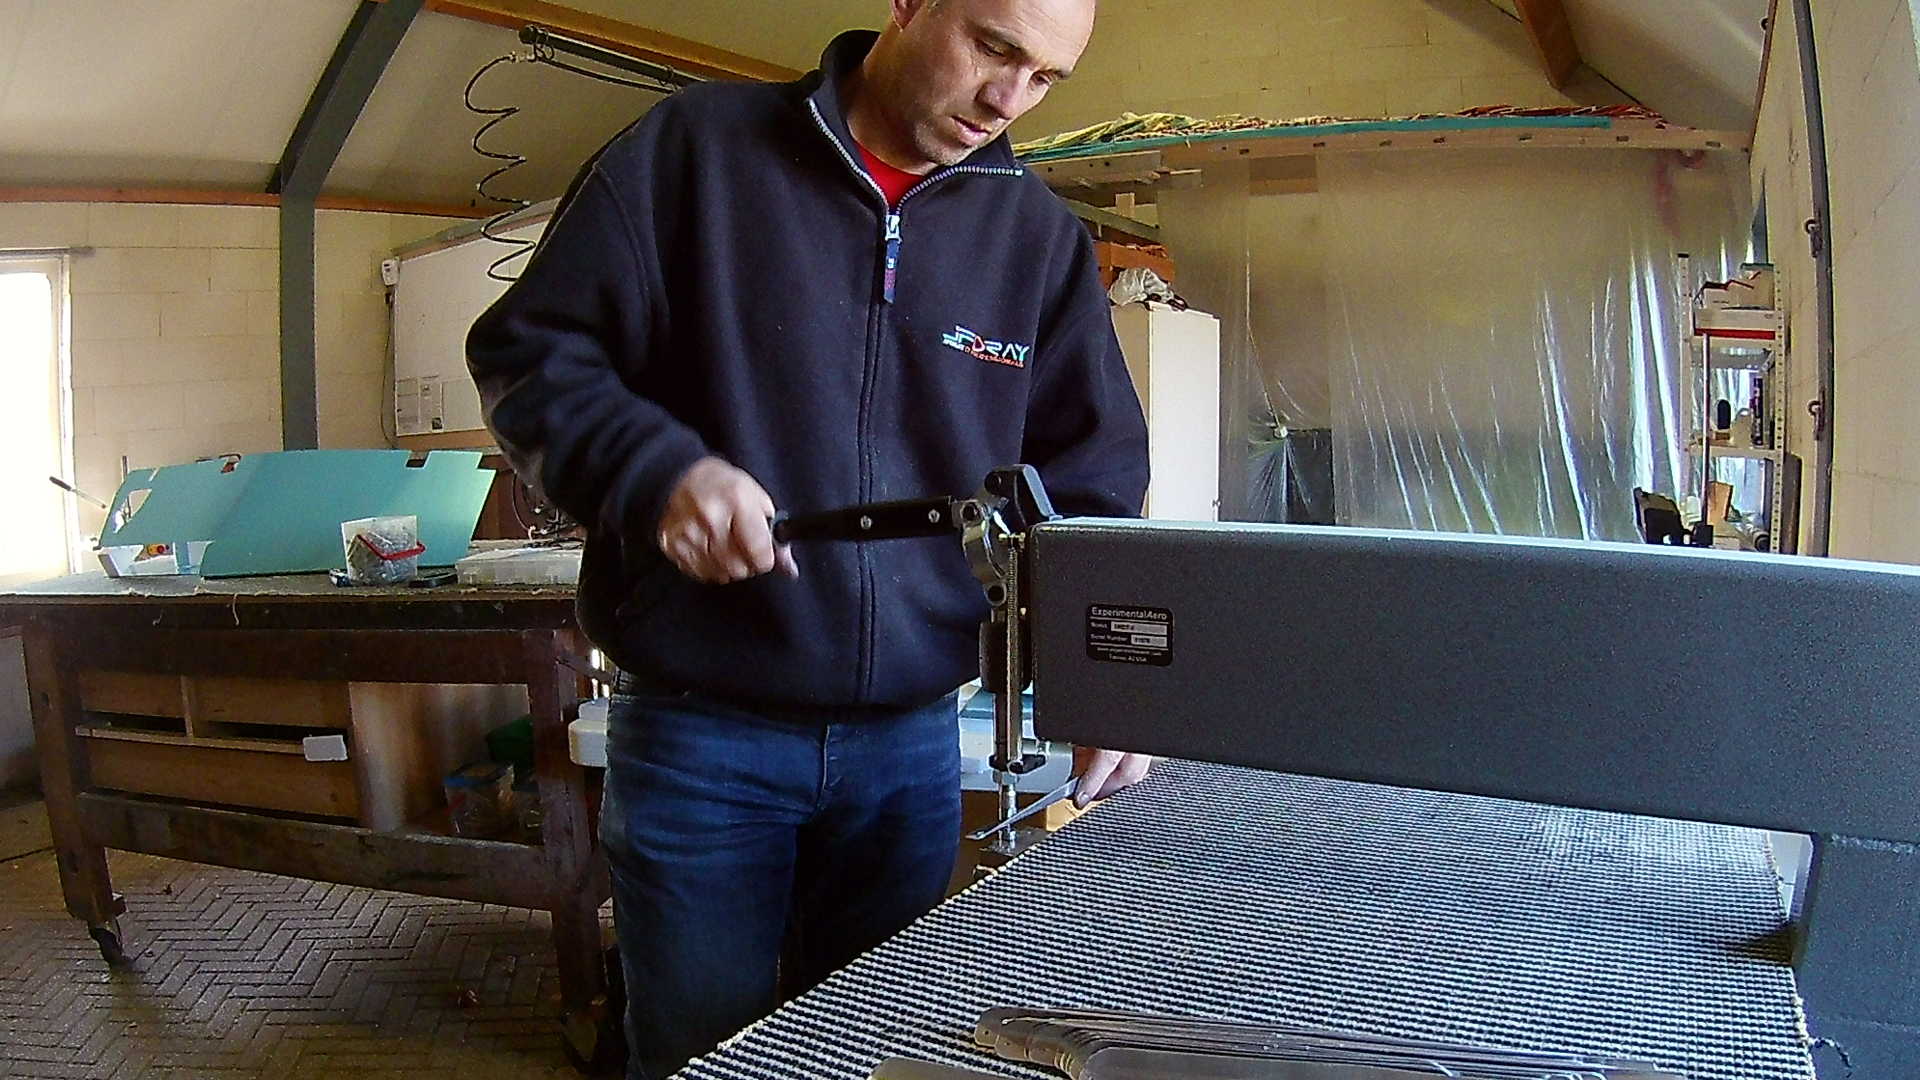
To “finish” the edges of the Stiffeners, the Scotch-Bright wheel is brilliant. When it is not spinning, it looks soft, but at a few thousand revs, it grinds aluminum like a hot knife cuts butter. After this treatment the edges are smooth.
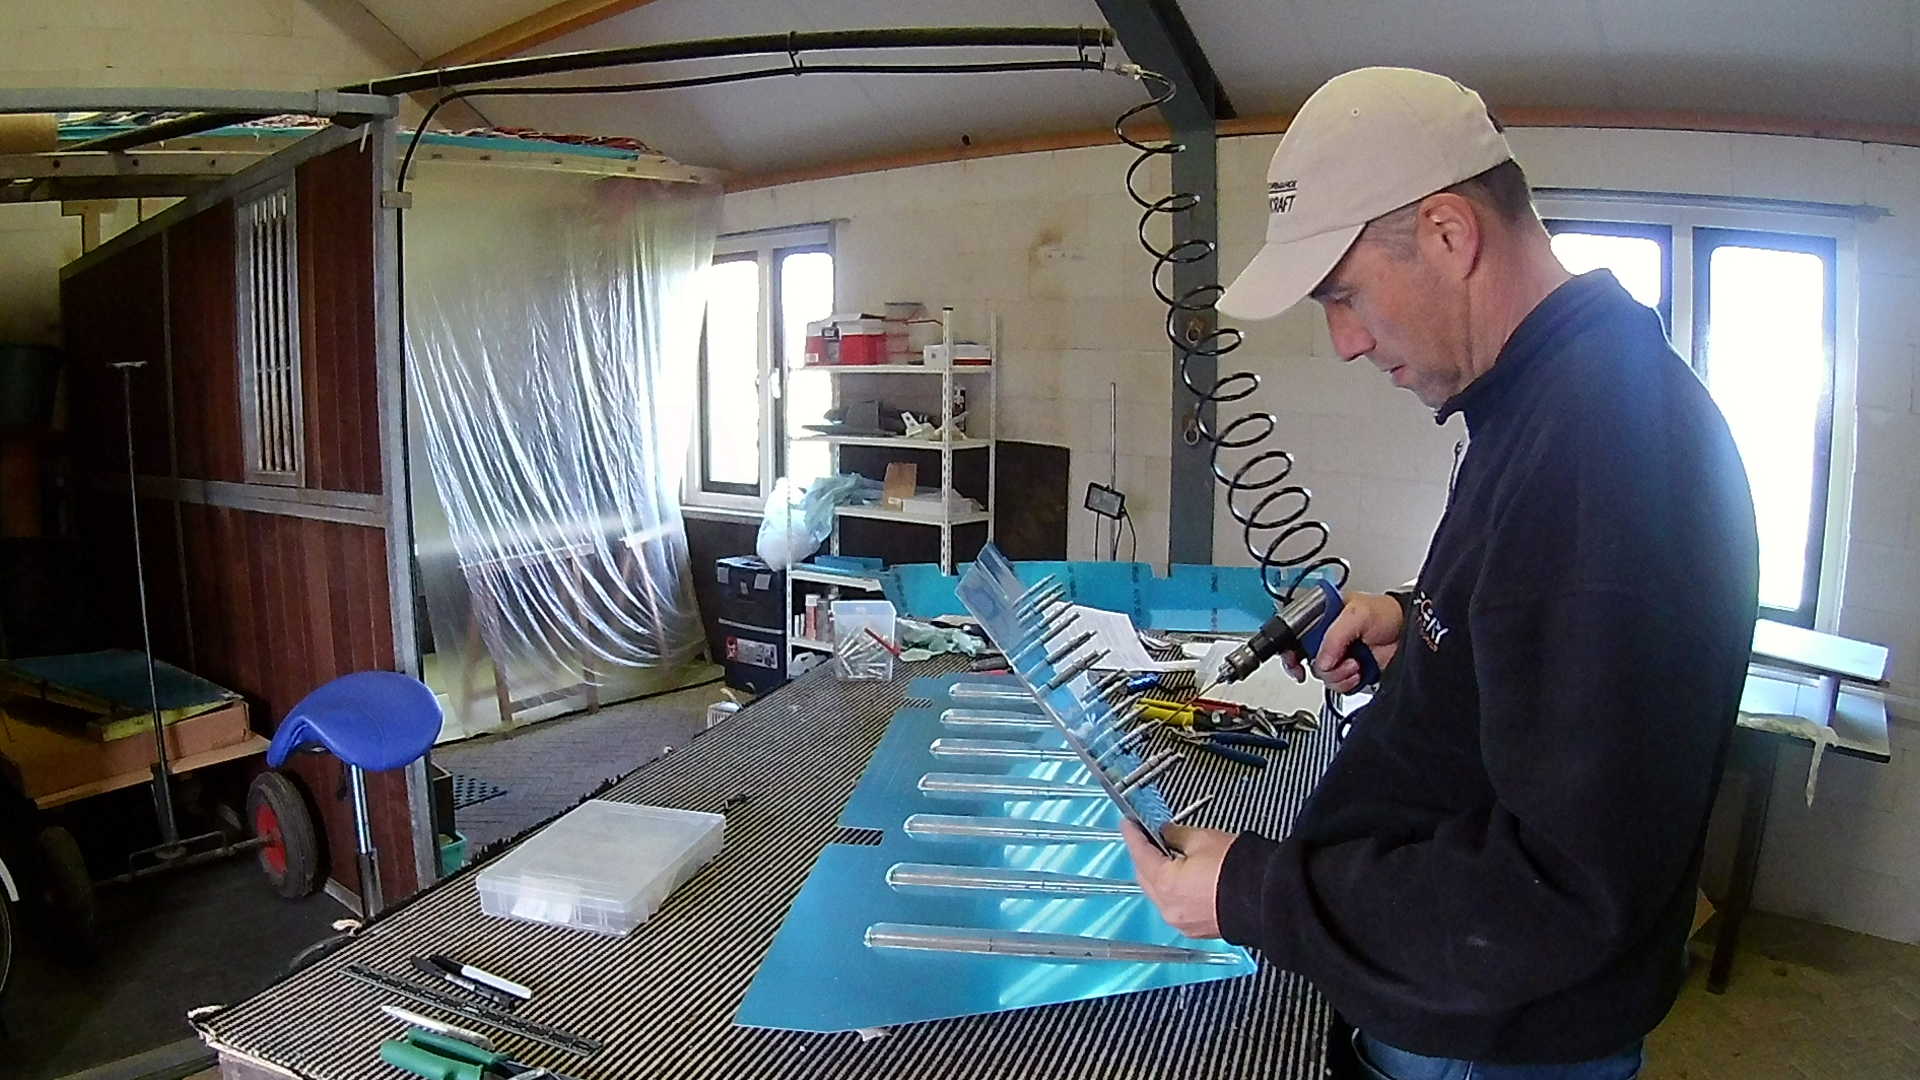
The Elevator Stiffeners don’t have all the holes pre-drilled. I’m not sure why Van’s does this (and the construction manual doesn’t elaborate on it), but it requires drilling the extra holes using the skin as a guide. Again, marking the Stiffeners after drilling is essential, as they will probably not be interchangeable after drilling.
All parts attached to skin, may they be spars, ribs, stiffeners or other skin, requires dimpling to enable flush riveting. Although the manual tells me to dimple both the Stiffeners and the skin, I decided to only do the Stiffeners and dimple the skin when I have it also match-drilled with the ribs and spar.
The Stiffeners are now ready for cleanup and priming.
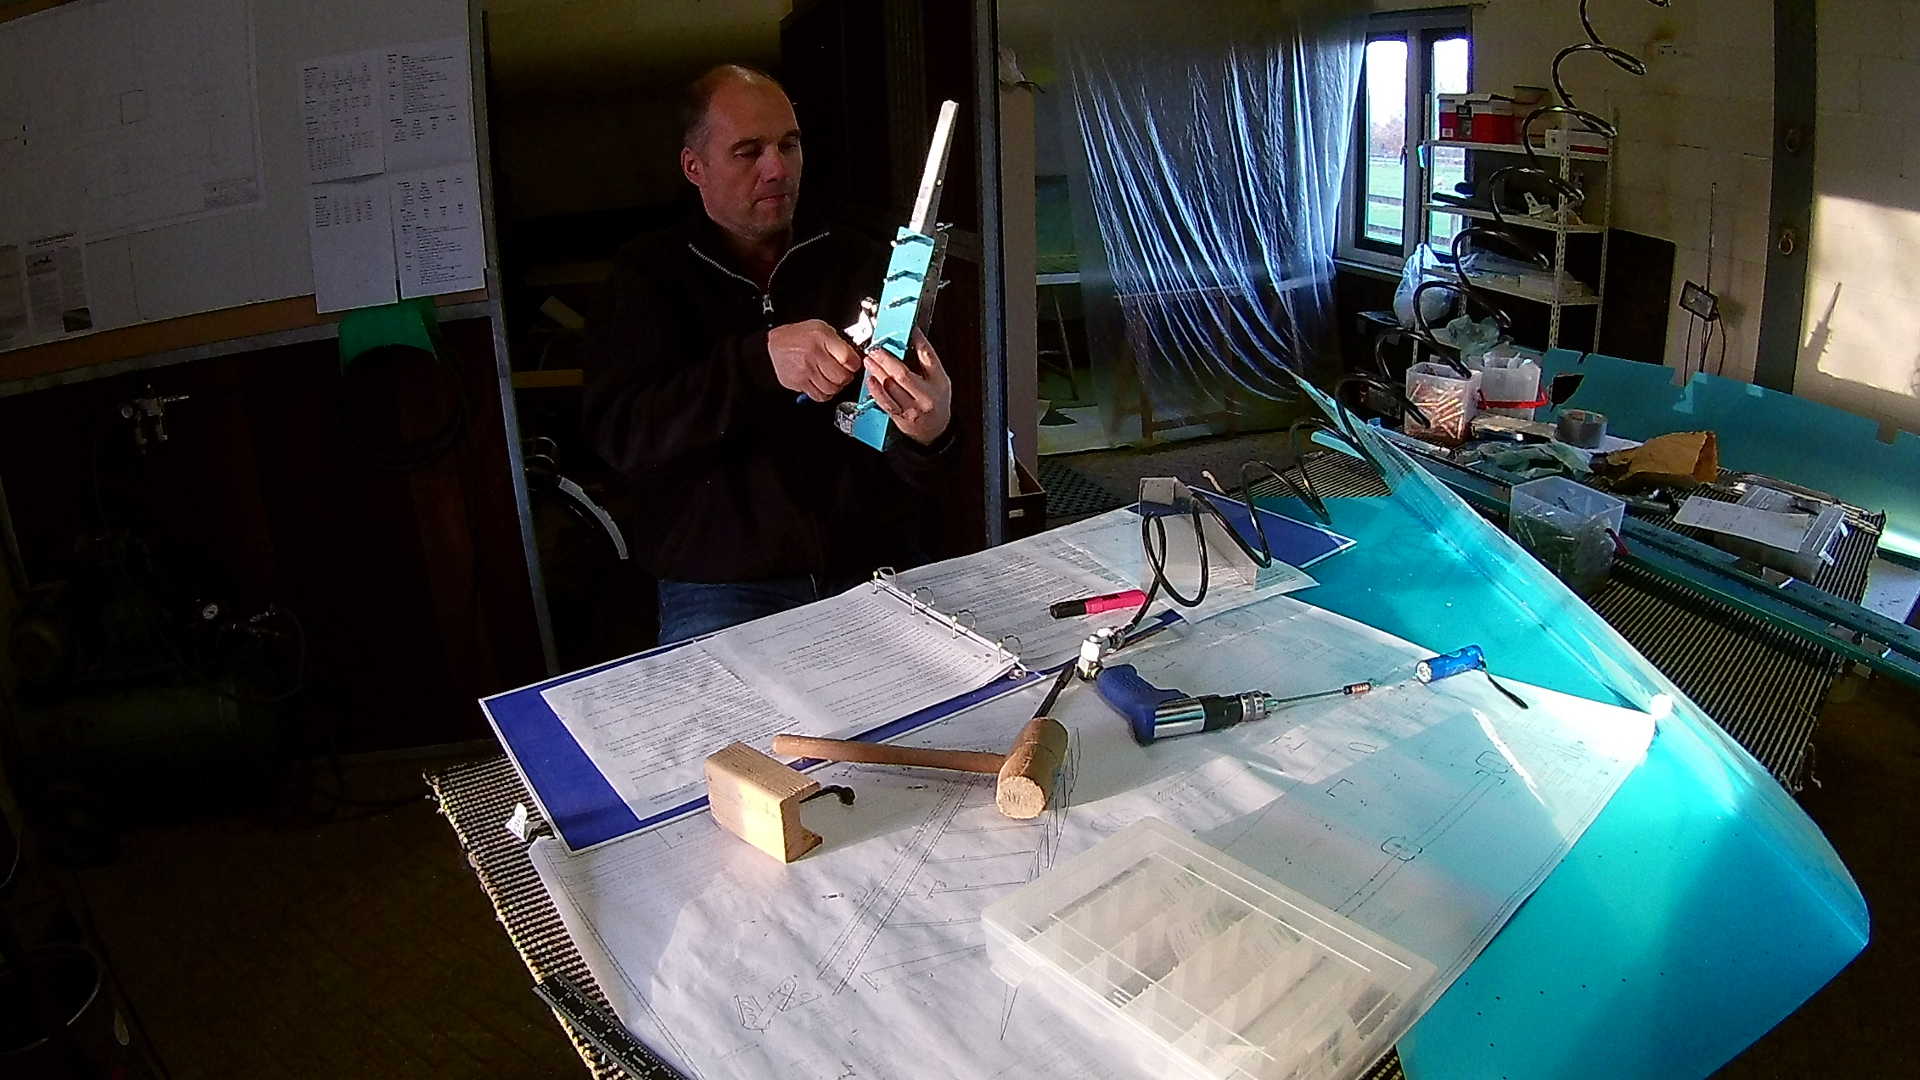
Since the construction of the left and right Elevator spar and ribs is (or at least at this point looks) identical, I build them in parallel. Starting with the Spar and the counter balance rib including the counter balance weight. This weight is on the opposite side of the Elevator hinge, which should make the control on the stick weightless.
The fit of the counterbalance weight under the skin is tight.
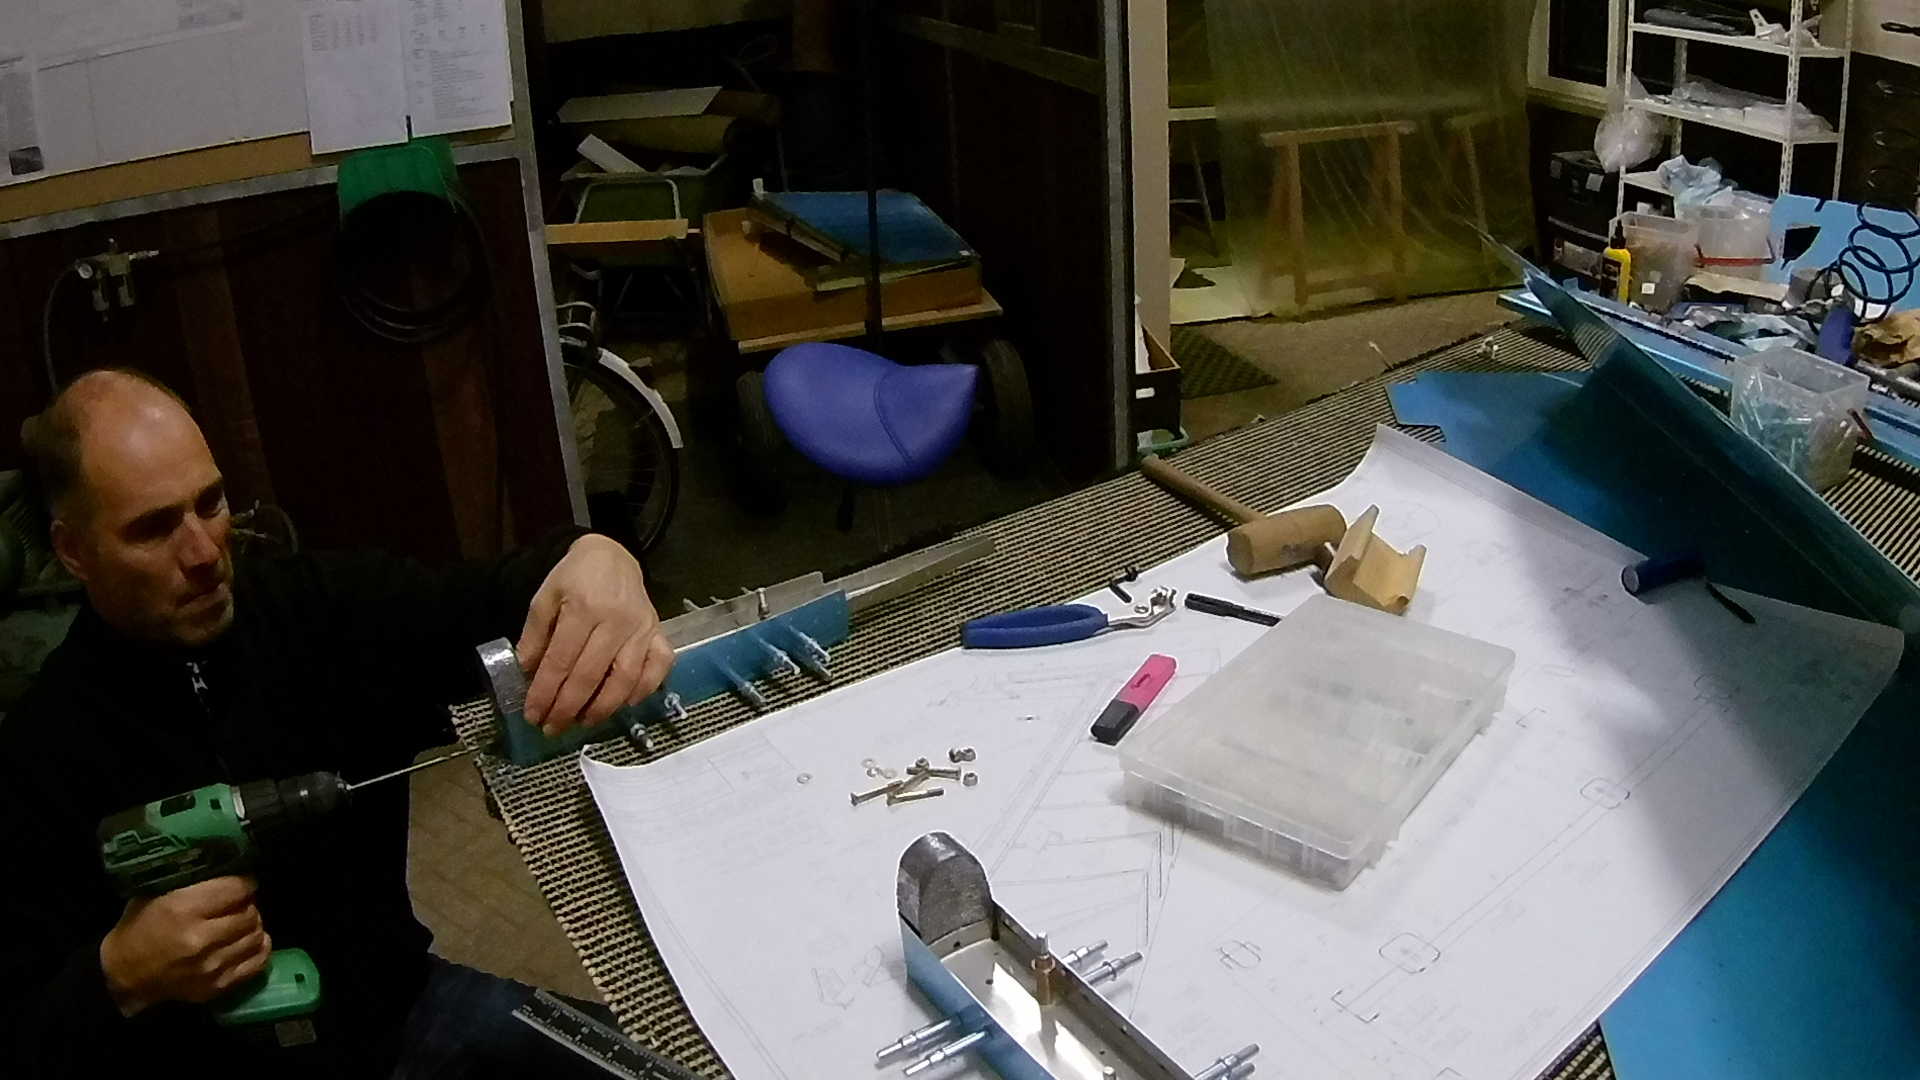
You wouldn’t expect it, but drilling through lead is actually “harder” than you think. The lead somehow sticks to the drill and blocks the way. I tried oil, but the best way I found is small steps and cleaning the drill every time.
Time: 9 Hours, Rivets: 0/0
