
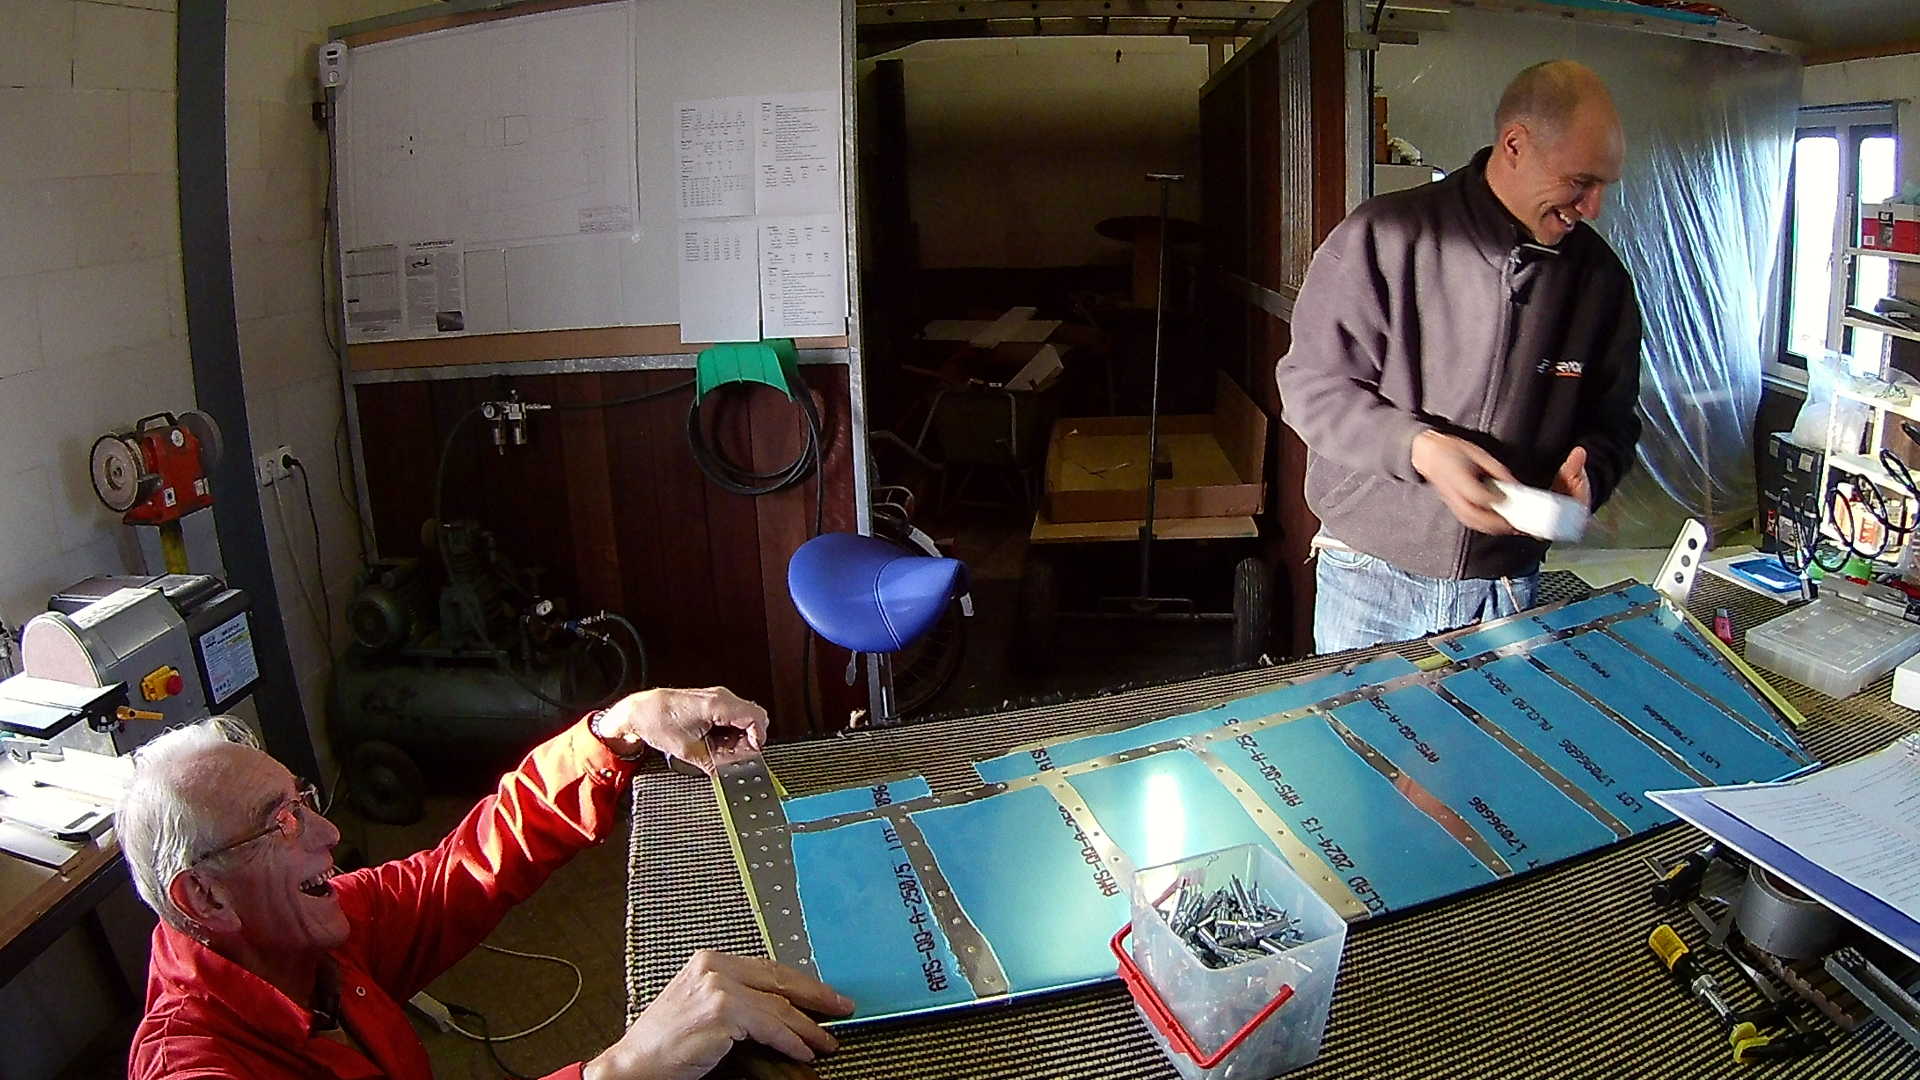
To bend the trailing edge of the Elevator and the sides of the left Elevator and Trim tab, it’s a good idea to have two people. So I invited my dad again to help me with that. Here you can see we already bend the sides of the Trim tab and are now drilling holes in these sides to rivet them together.
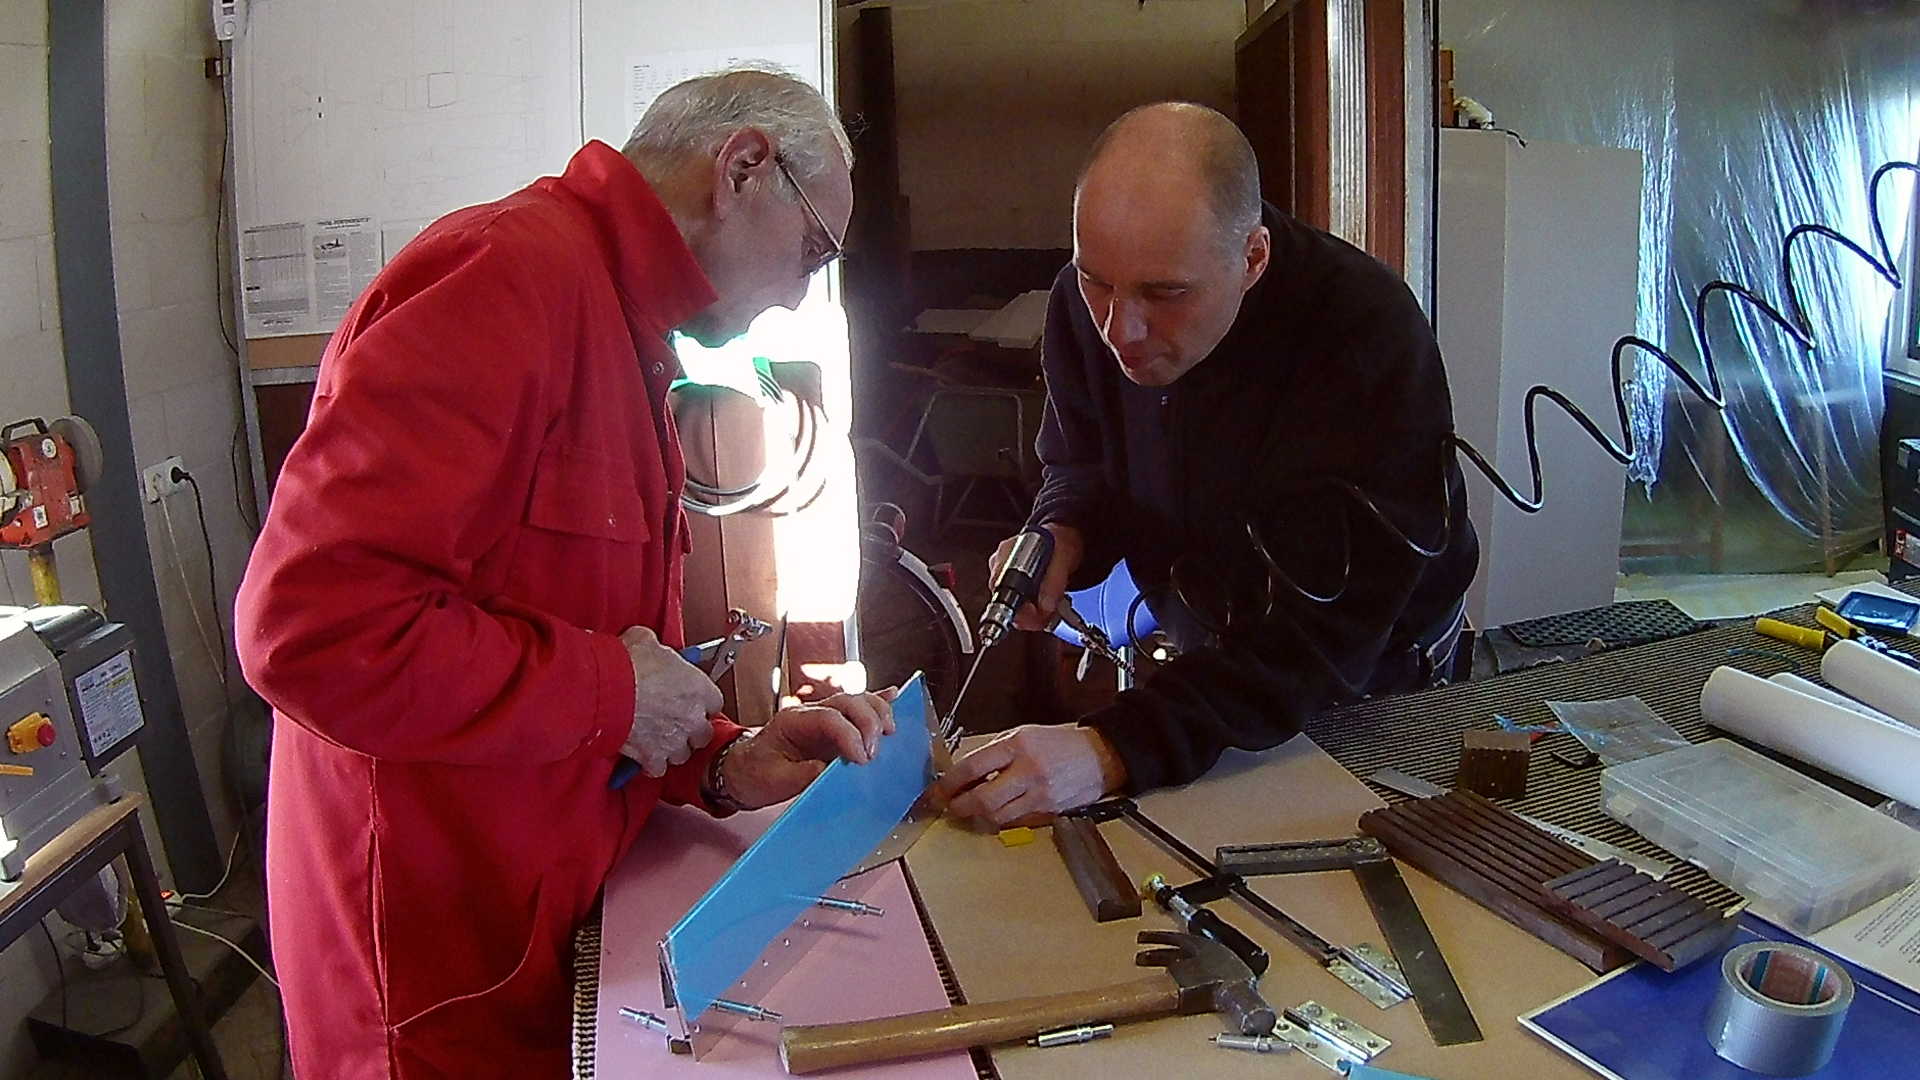
The drawings call out for blind rivets, however I think I can manage to rivet them with “normal” flush rivets.
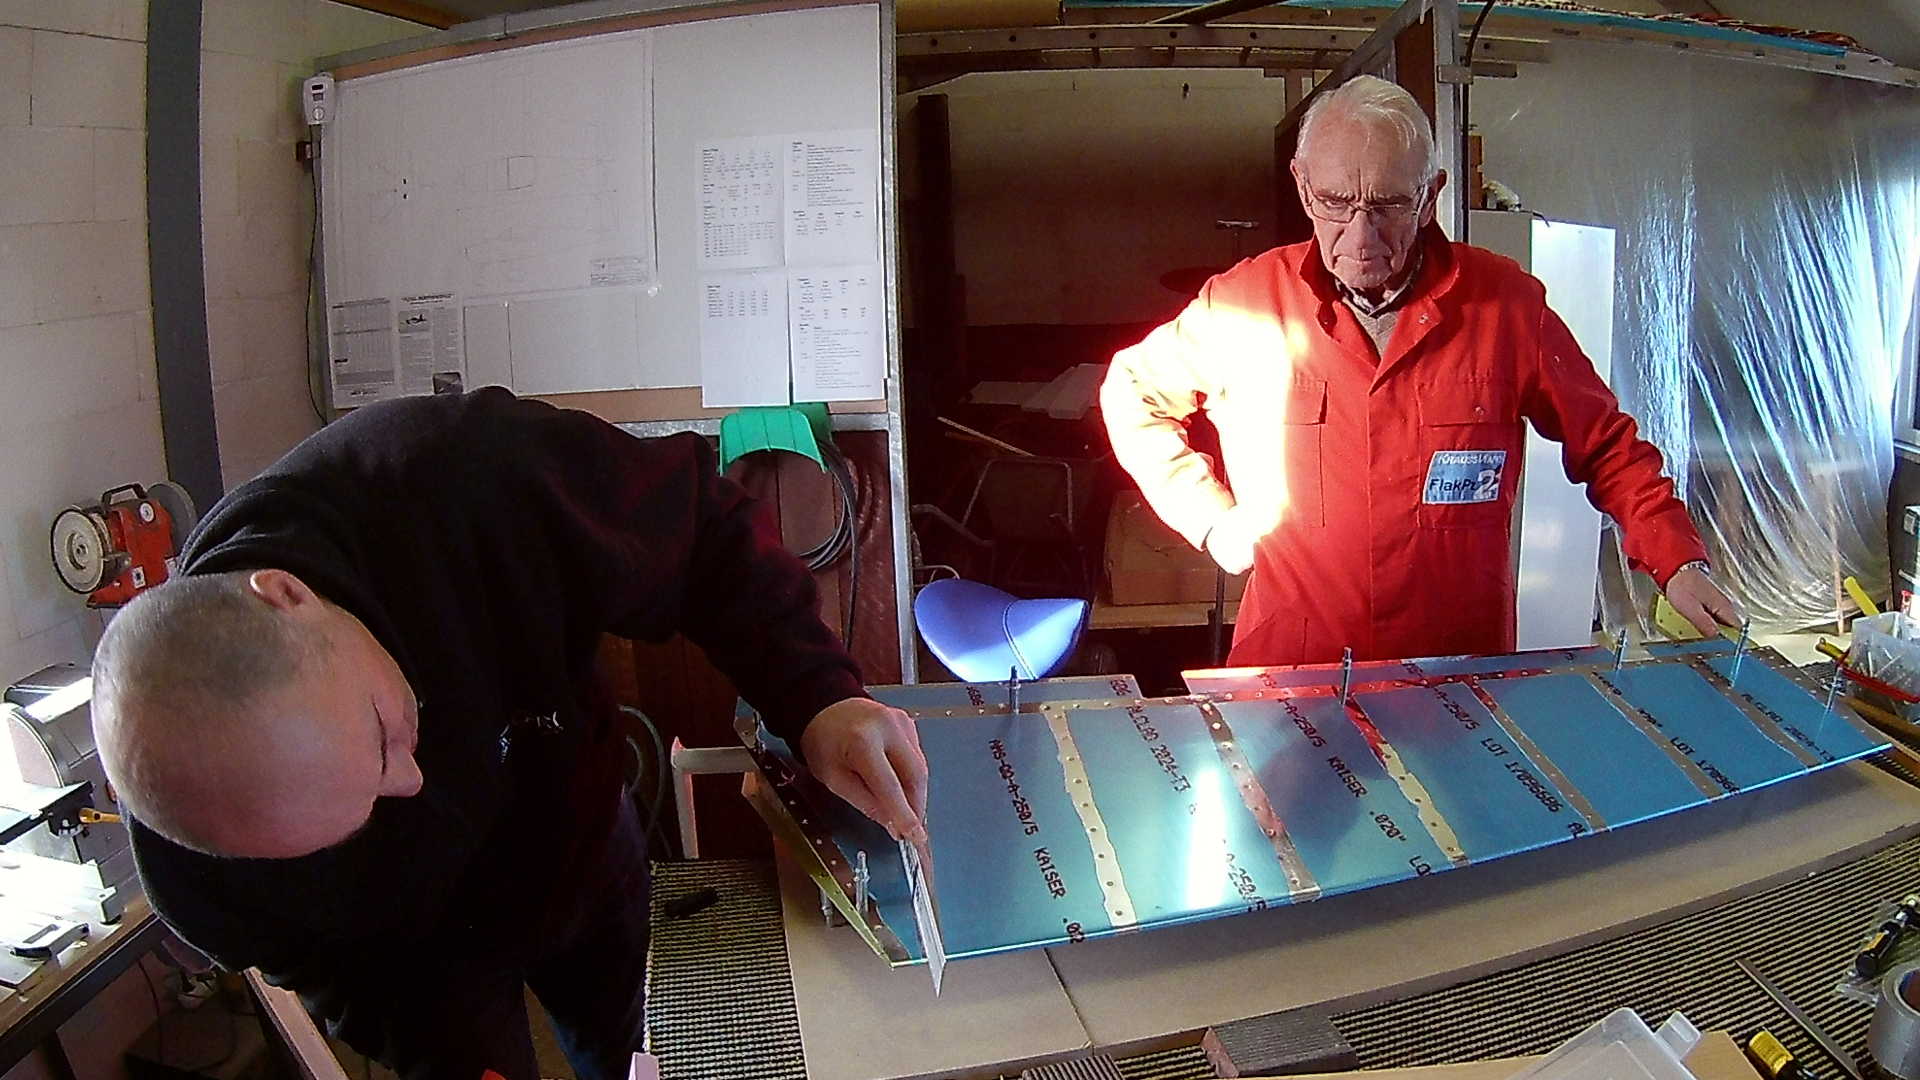
Bending the trailing edge requires considerable pressure. It’s important to bend it just enough. If you bend it too little, the edge will be concave. If you bend it too much it will turn out concave.

The intended result is that the trailing edge of the Elevator is exactly straight. Measuring it with a ruler, there should be no light between the ruler and the trailing edge. The control surfaces of the plane do not have a wing profile, they are completely straight.
while attaching the skin to the right Elevator I found a piece of Styrofoam still being in between the stiffeners. This time we could laugh about it, after riveting the skin to the understructure, it would not be as amusing.
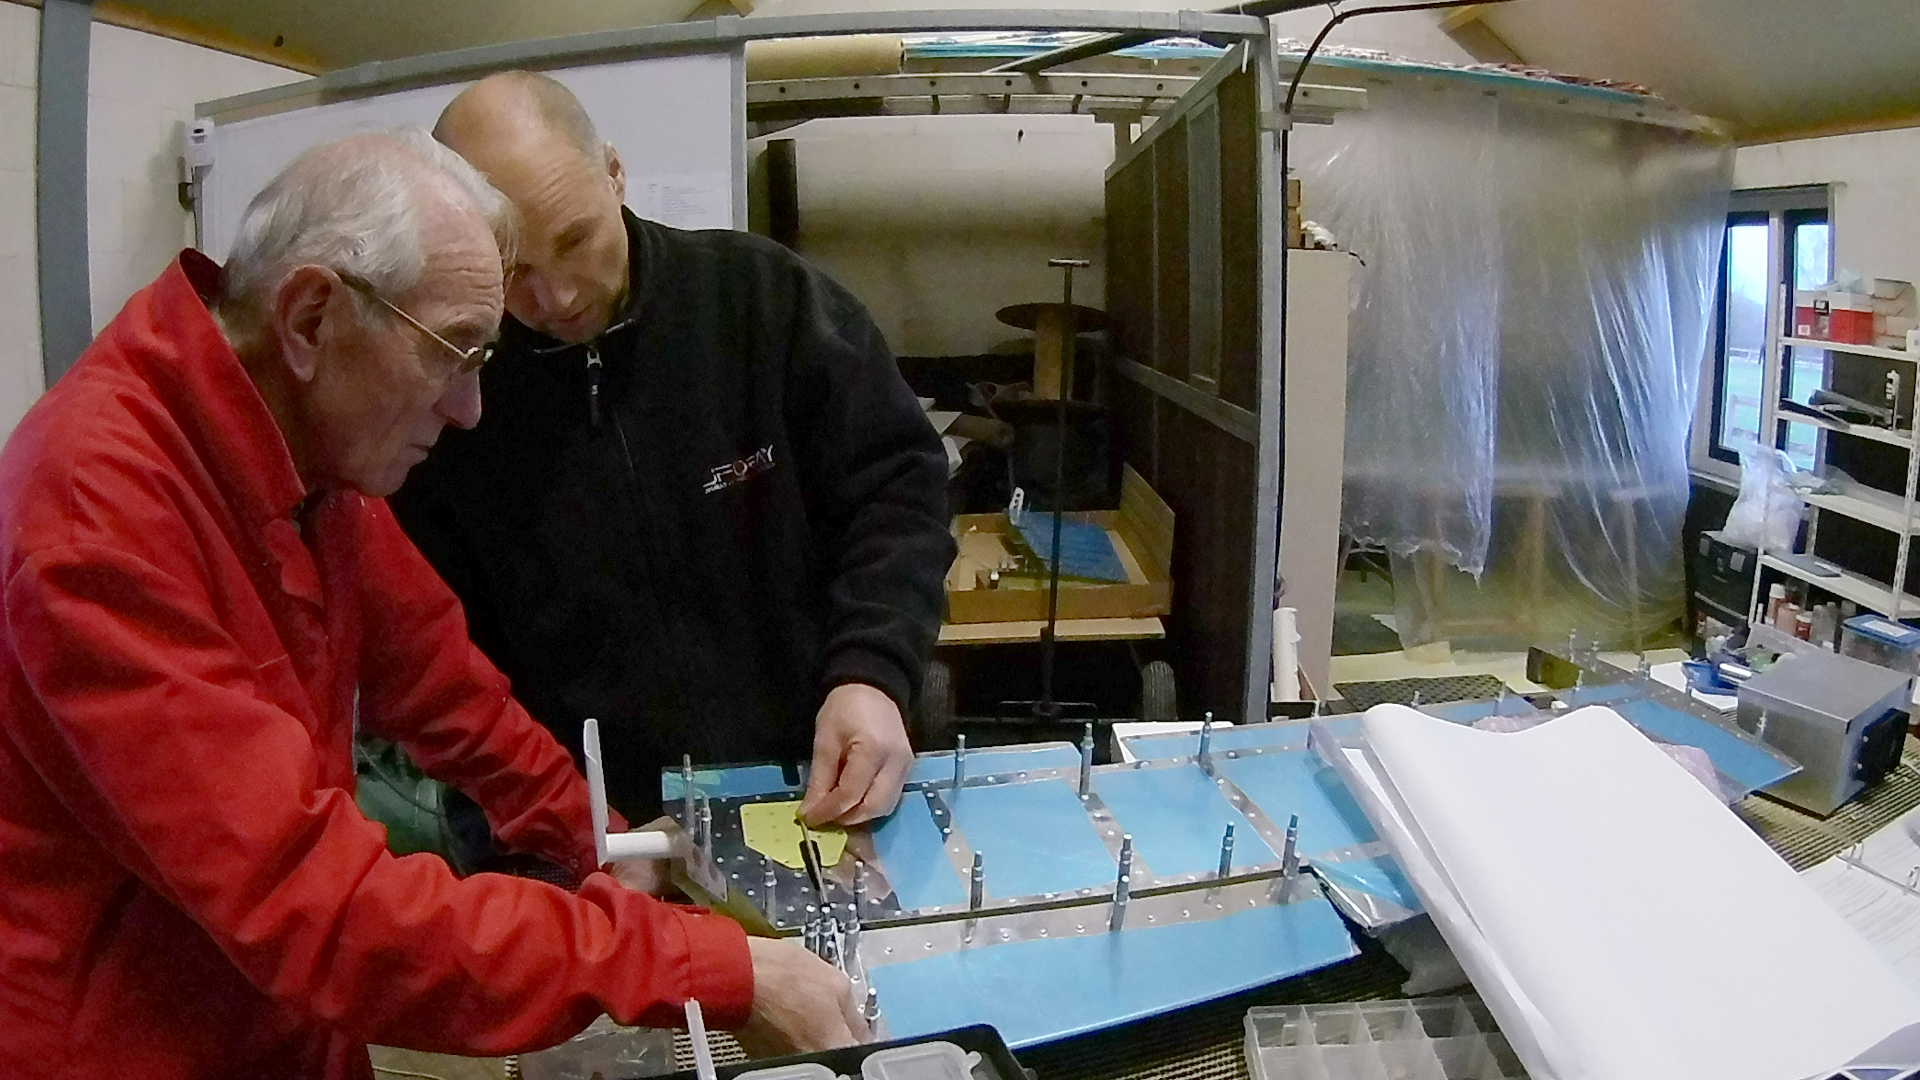
Although I still don’t have the new piano hinge, I use tho old one (the one I screwed up) to fit the trim tab. The sides of the trim tab fit nice into the left Elevator.
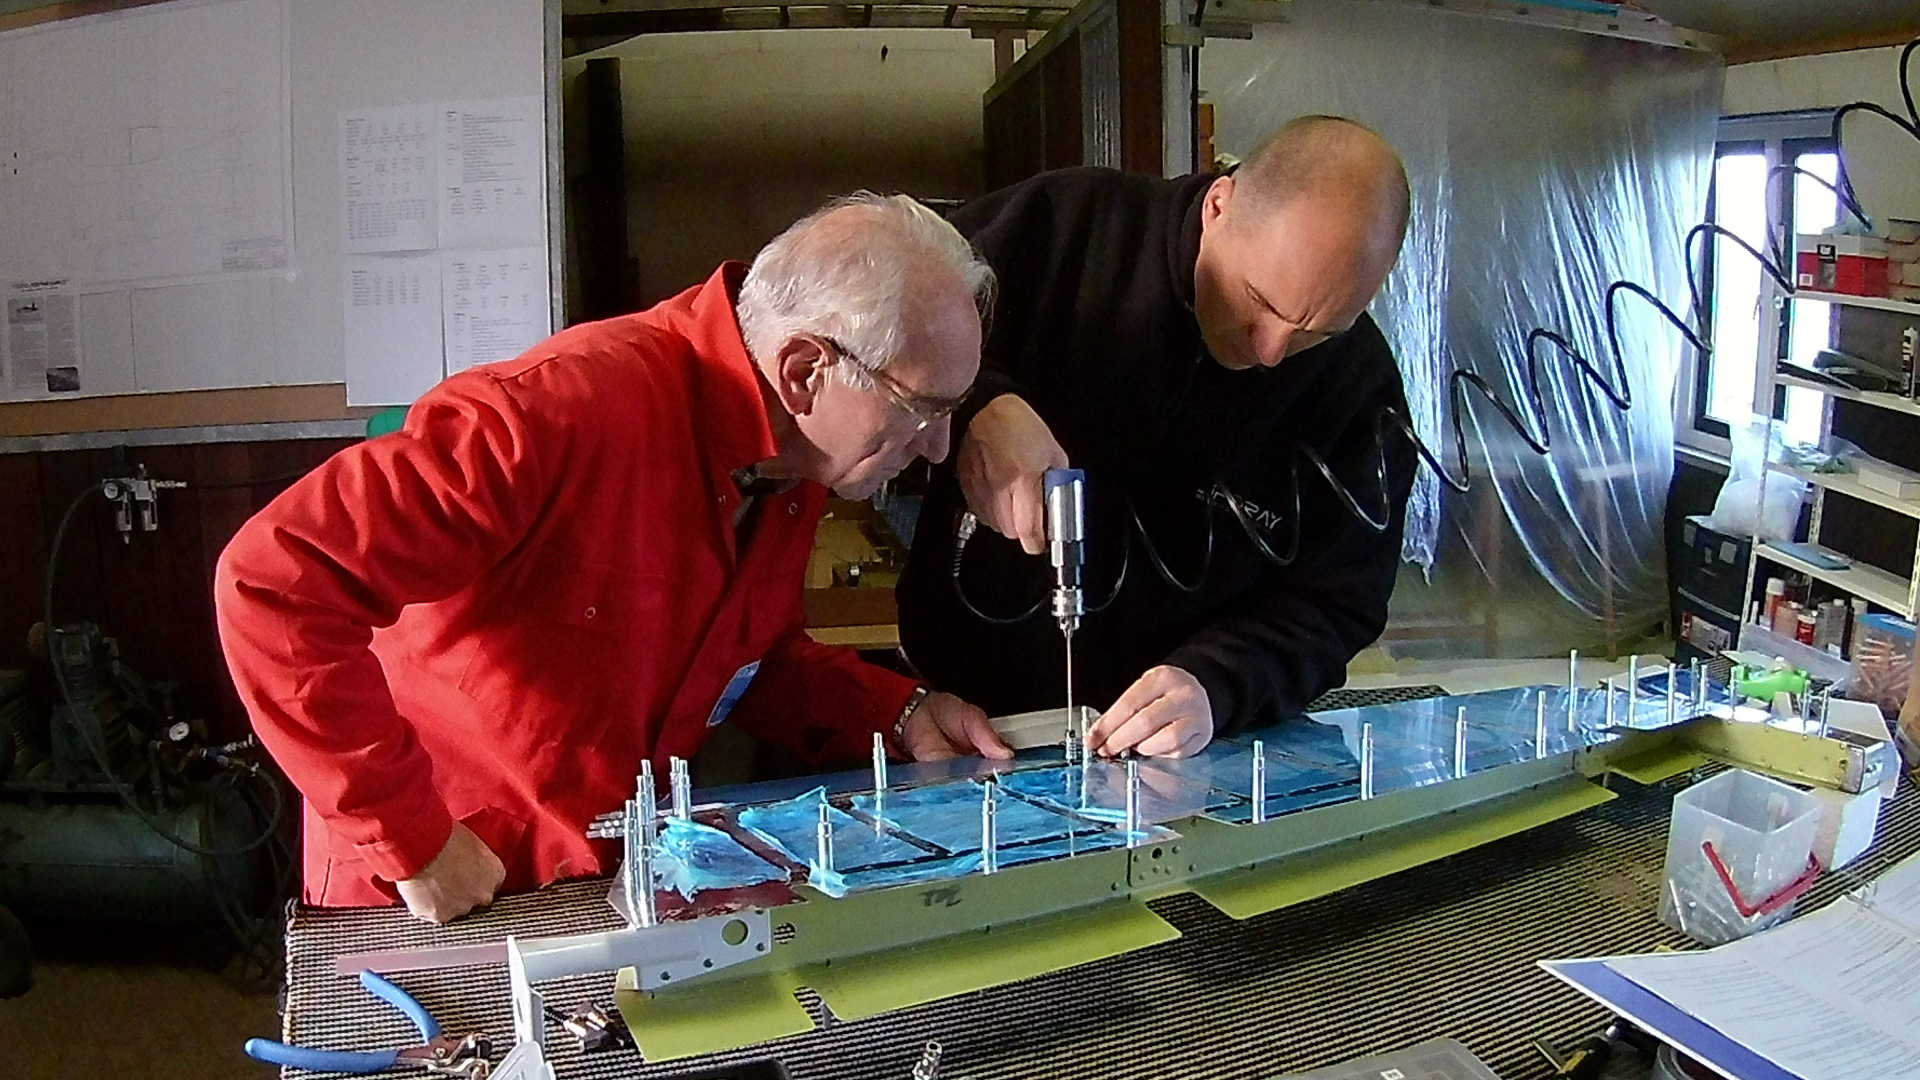
Here we are drilling the piano hinge to the left Elevator.
Now we can fit the connecting rod from the servo motor to the trim tab. One of the NVAV members warned me that the distance between the servo motor and the brackets was too small for the rivets to set. He used washers between the servo motor and the brackets. I’ve decided to counter sink those two rivets instead of dimpling them. This worked great (thanks Victor).
We tested the servo motor and it works great. Next time I can start riveting the skins to the understructure.
Time: 4 Hours, Rivets: 18/0
Video