
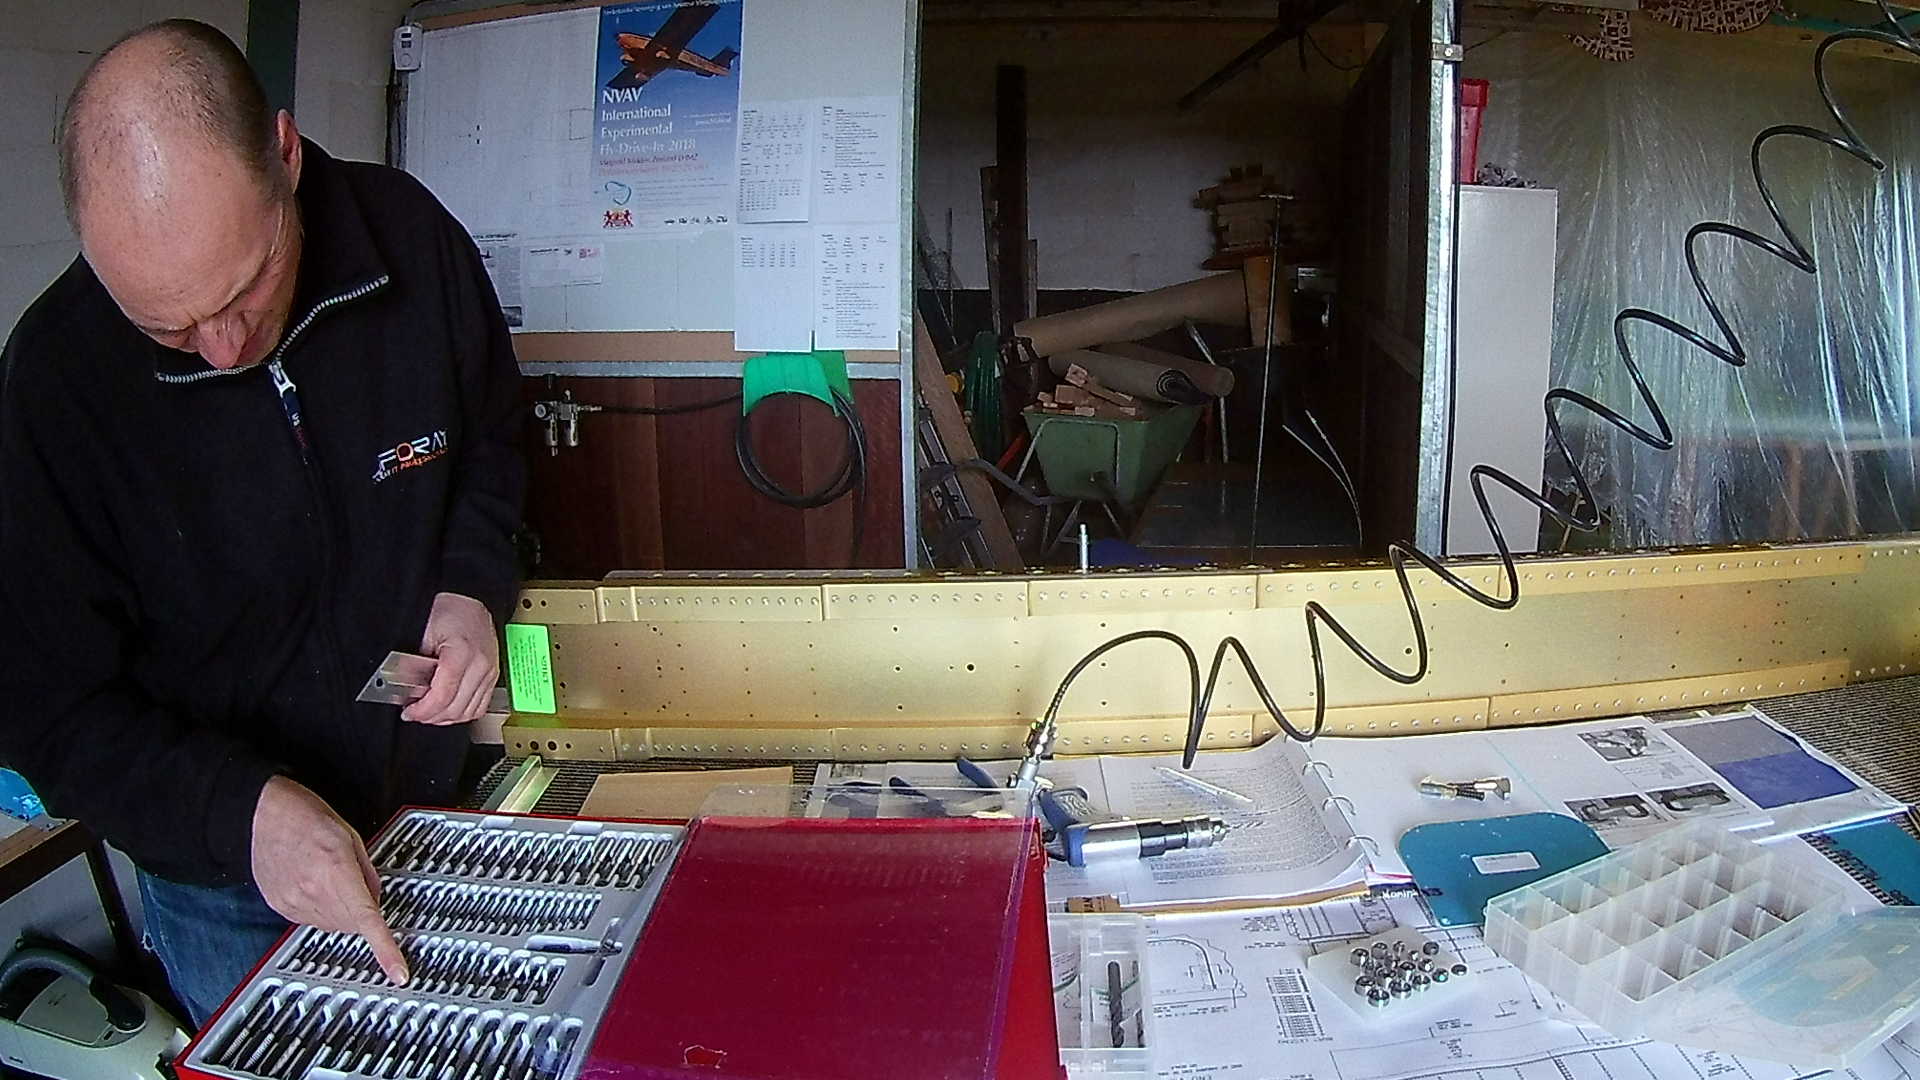
The Wings ar not only bigger than the Empennage, hence there are twice the amount of drawings. However the manual is much more condensed, which means you really have to read in advance and make a mental image of what needs to be done.
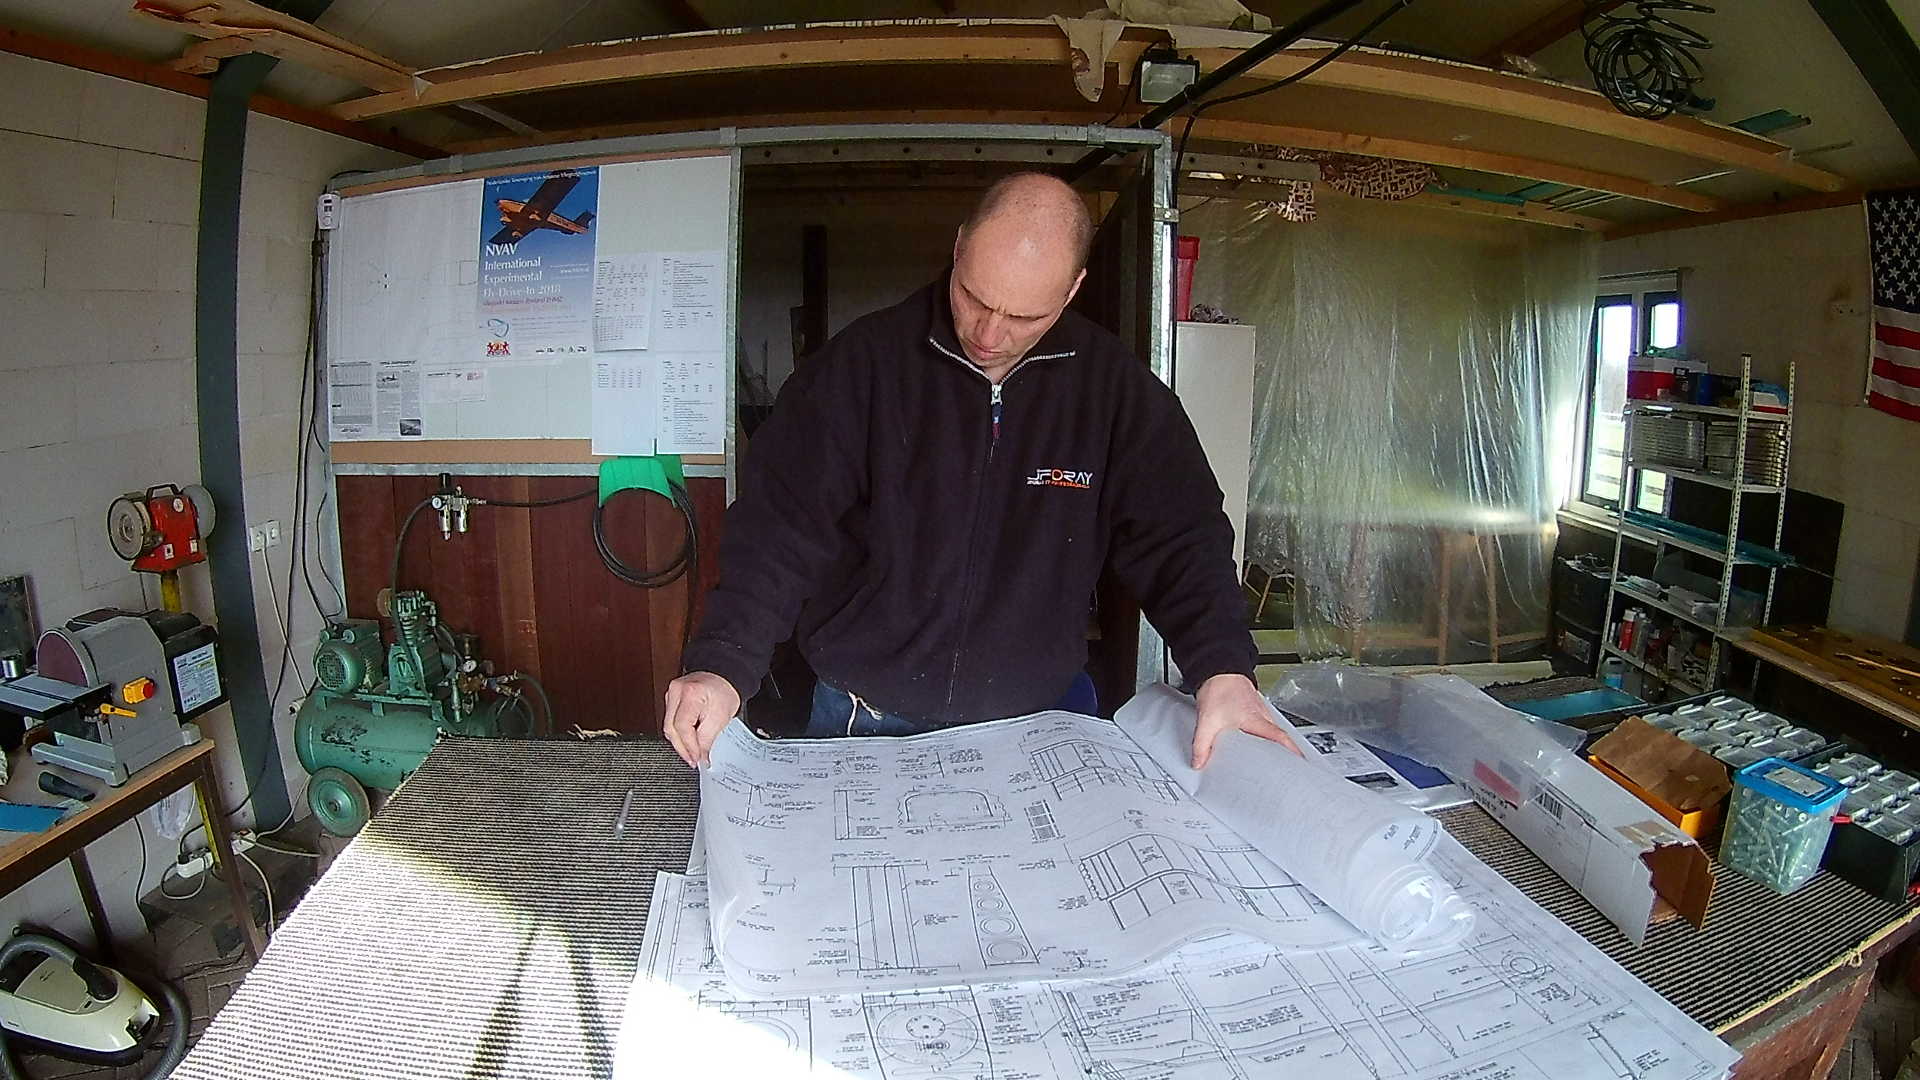
I’m inspecting all drawings and together with the manual try to figure out what to do.
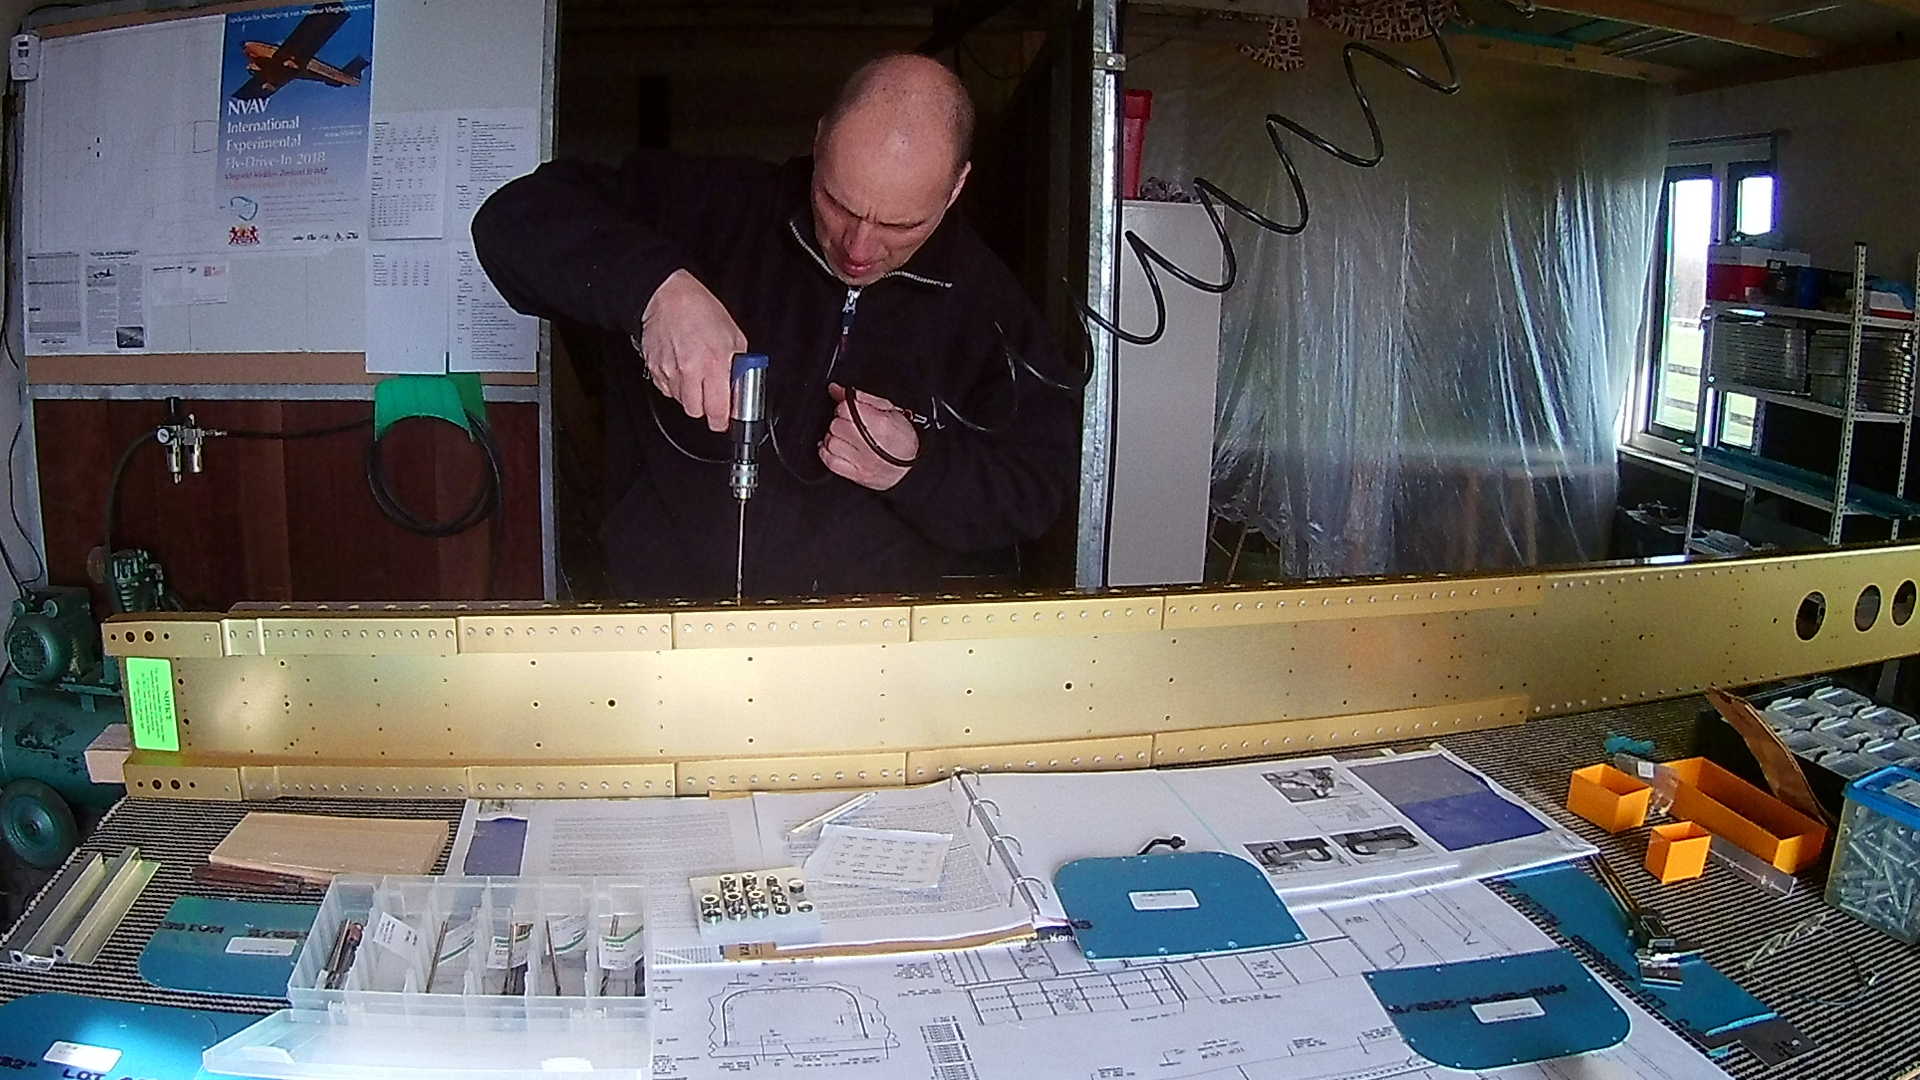
Just after the Fuel Tank attach platenuts at the bottom of the wing are several Access plates platenuts. These provide access to the Aileron push rods if you need to do some maintenance. Since these Access plates use a #6 screw in the Main Spar, the holes are just a bit smaller than the #8 Tank attach holes.
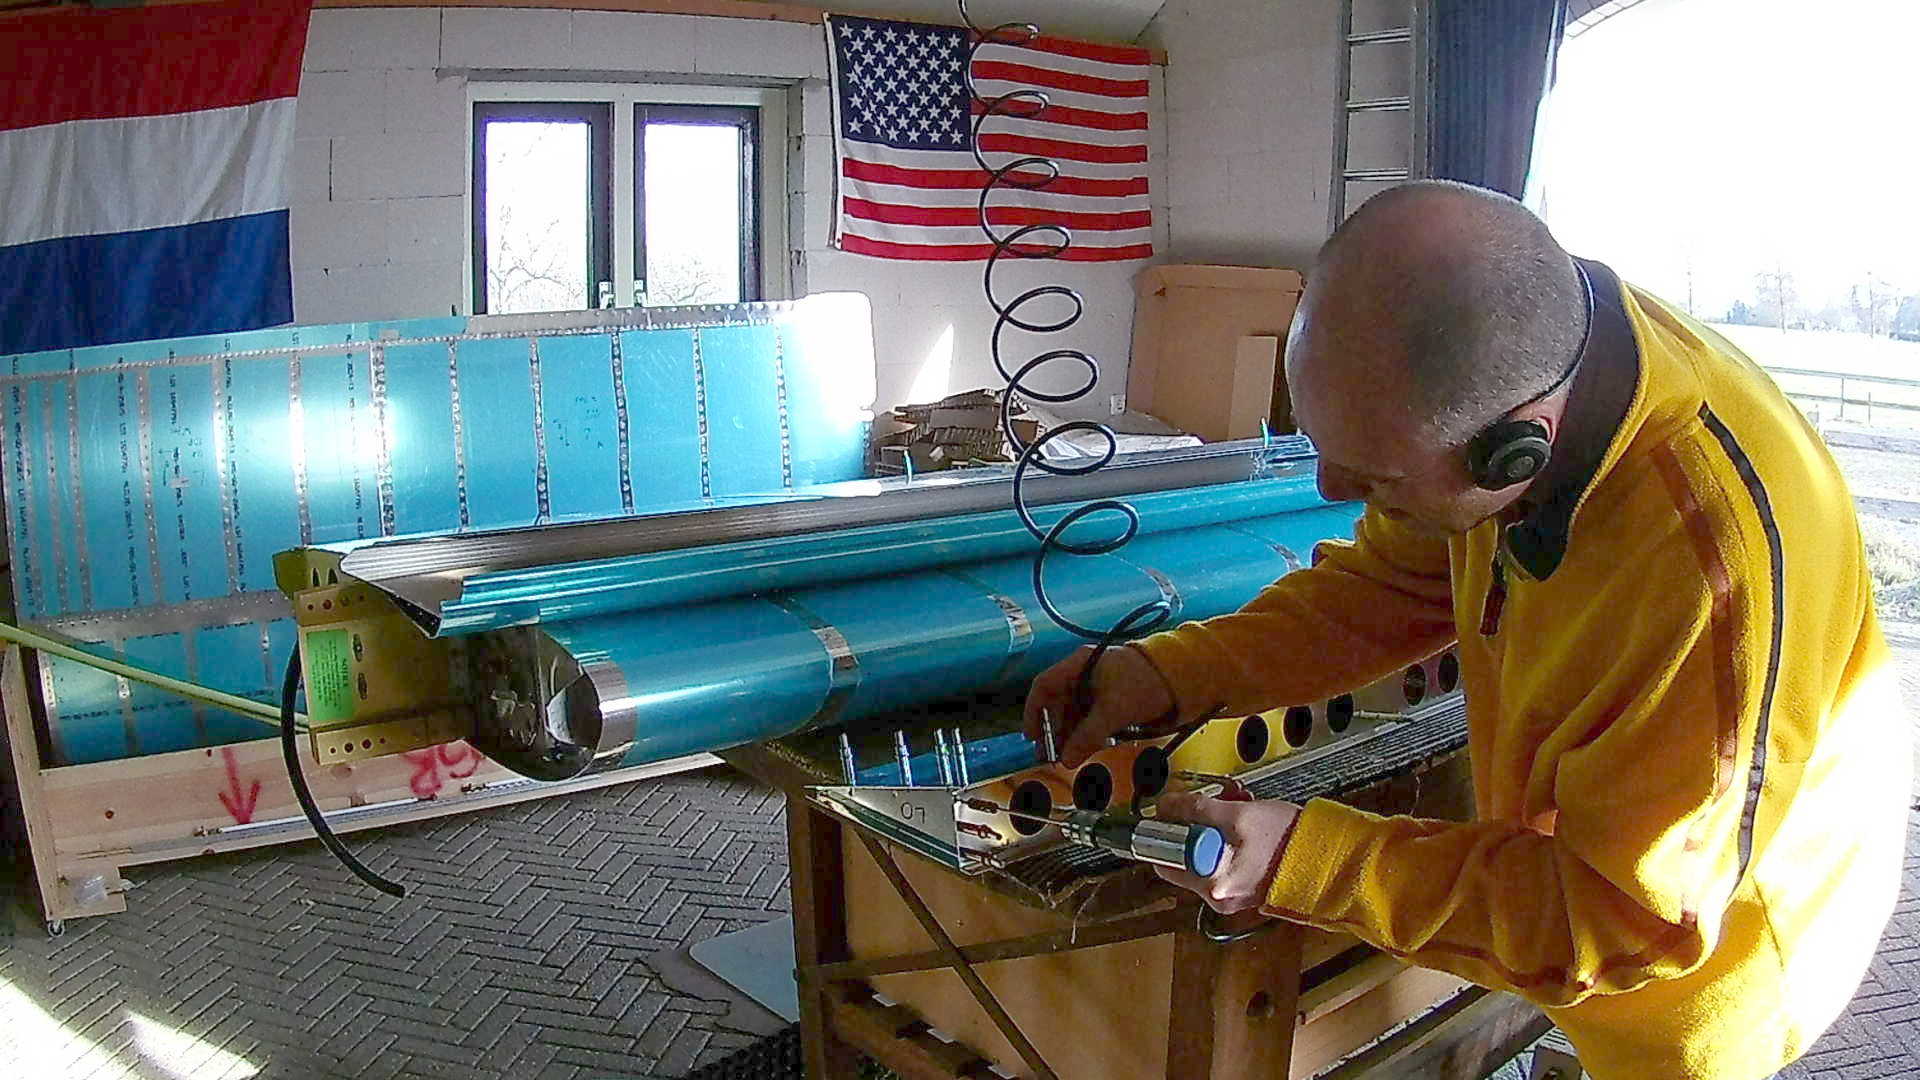
The Tie down rig (in my hand) needs a wire thread to enable screwing in the eyebolt. Of course these where inch measures again, so I bought a great set of thread taps.
I created threads at both sides, because maybe I can use the top side as a camera mount (if not, it shaves of a few grams).
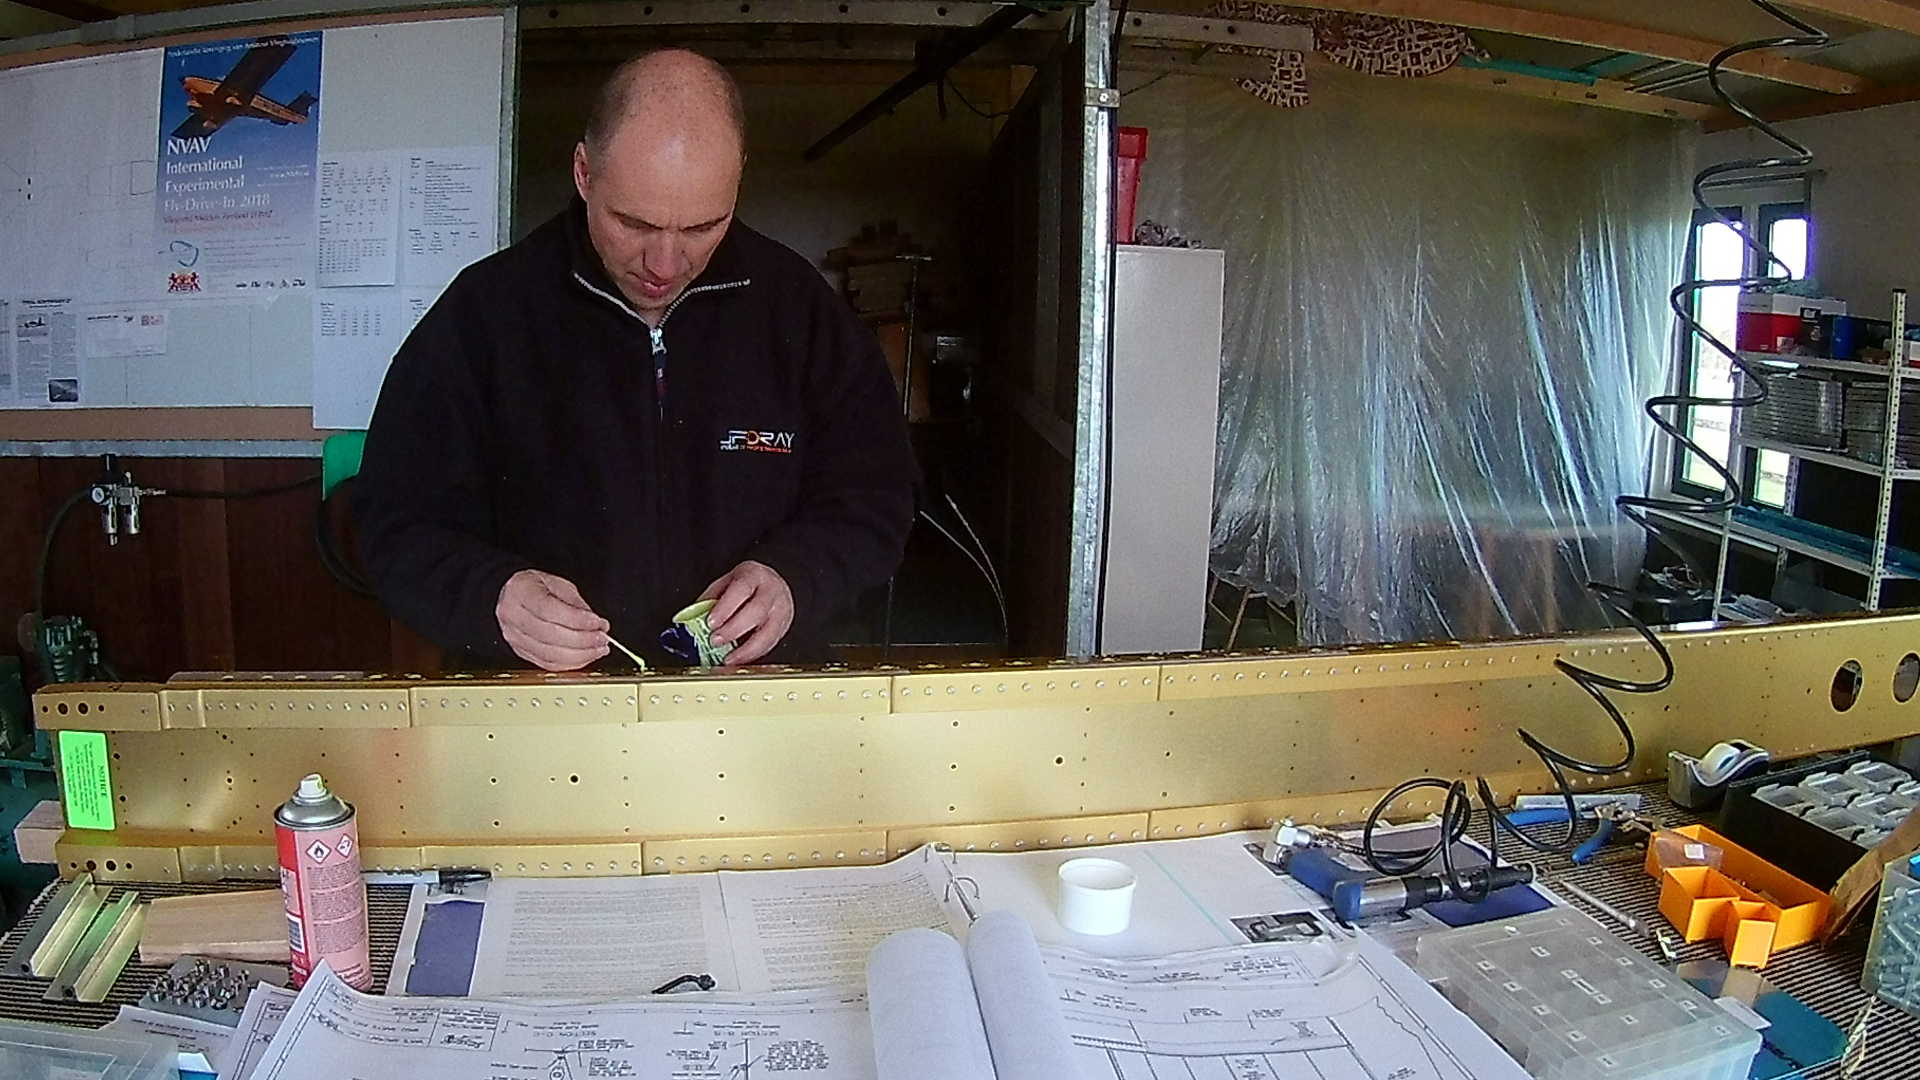
When I read the manual in advance I found that I had to “Spot Prime” the Main Spar holes I drilled. I wasn’t familiar with that expression, but it kind of speaks for itself.
I’m probably repeating myself, but the best piece of equipment is the pneumatic squeezer. Both dimpling and riveting is a breeze and the quality is great.
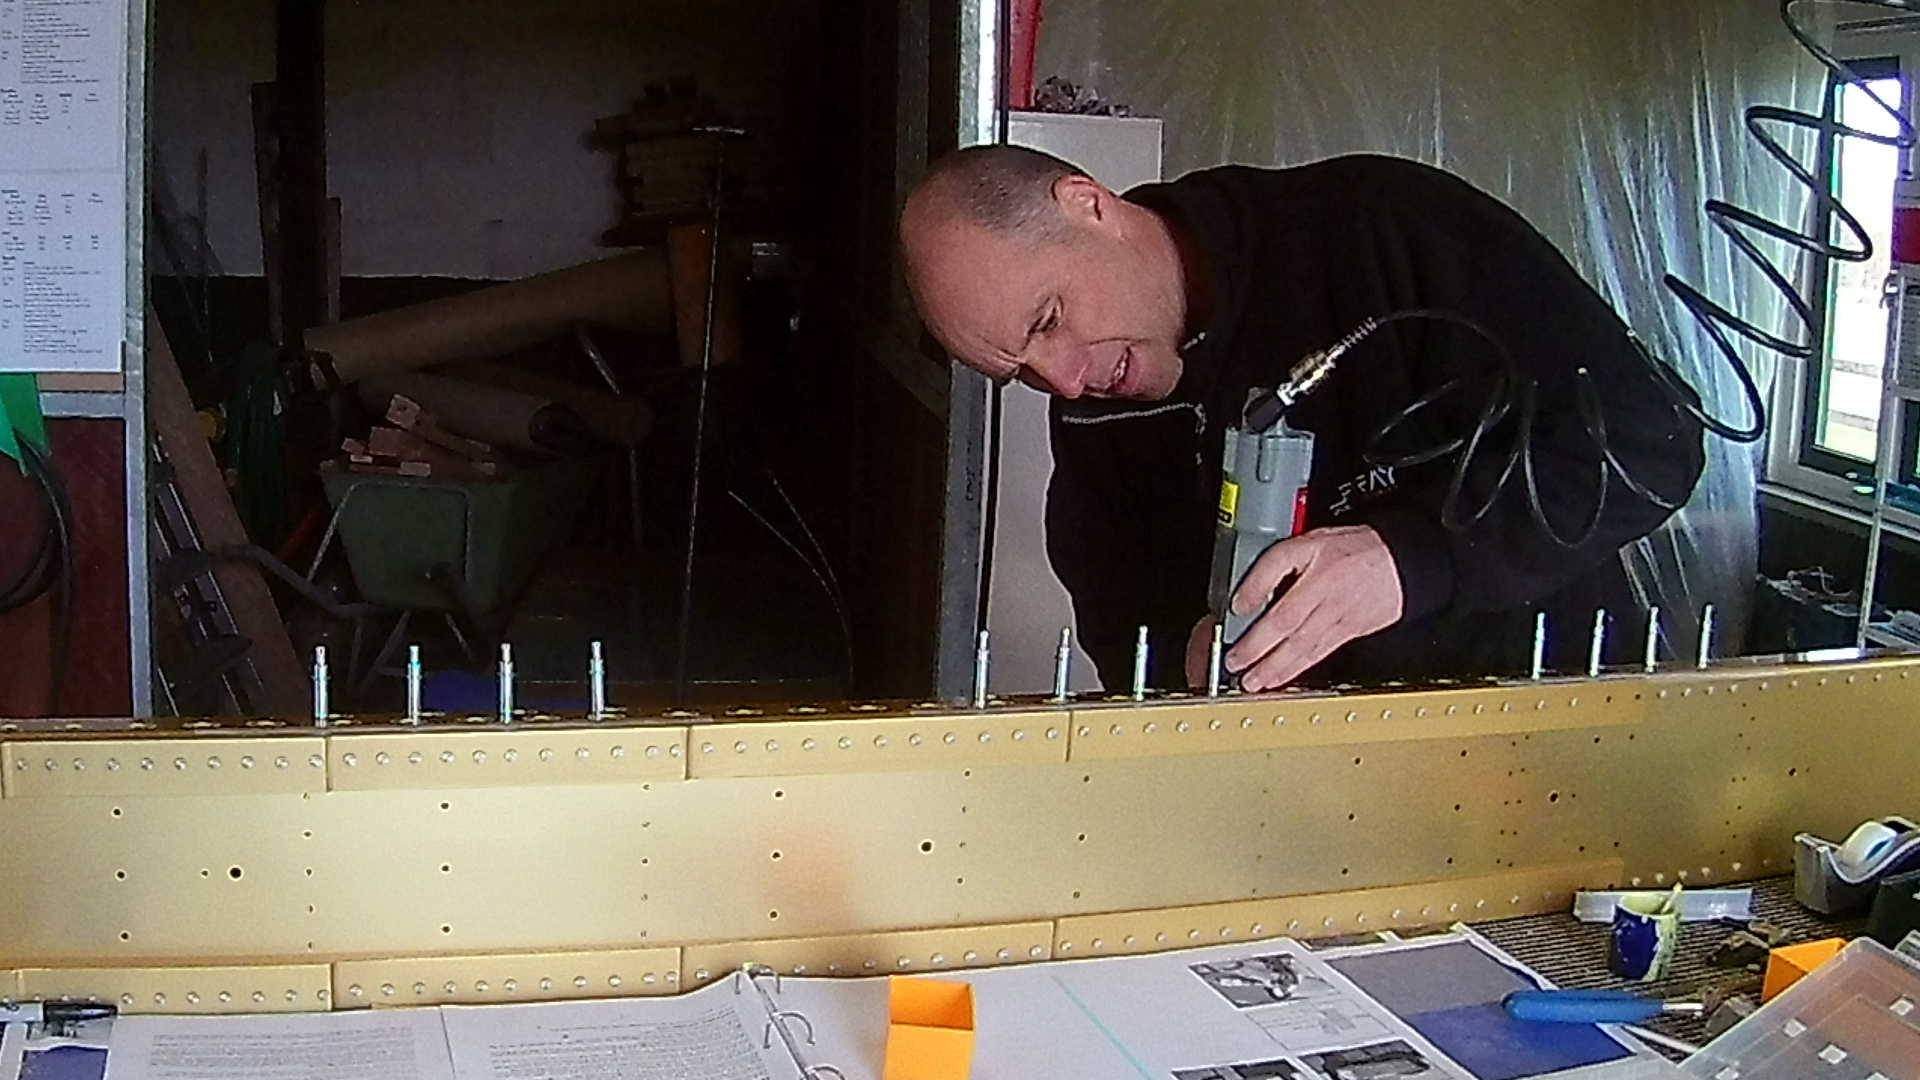
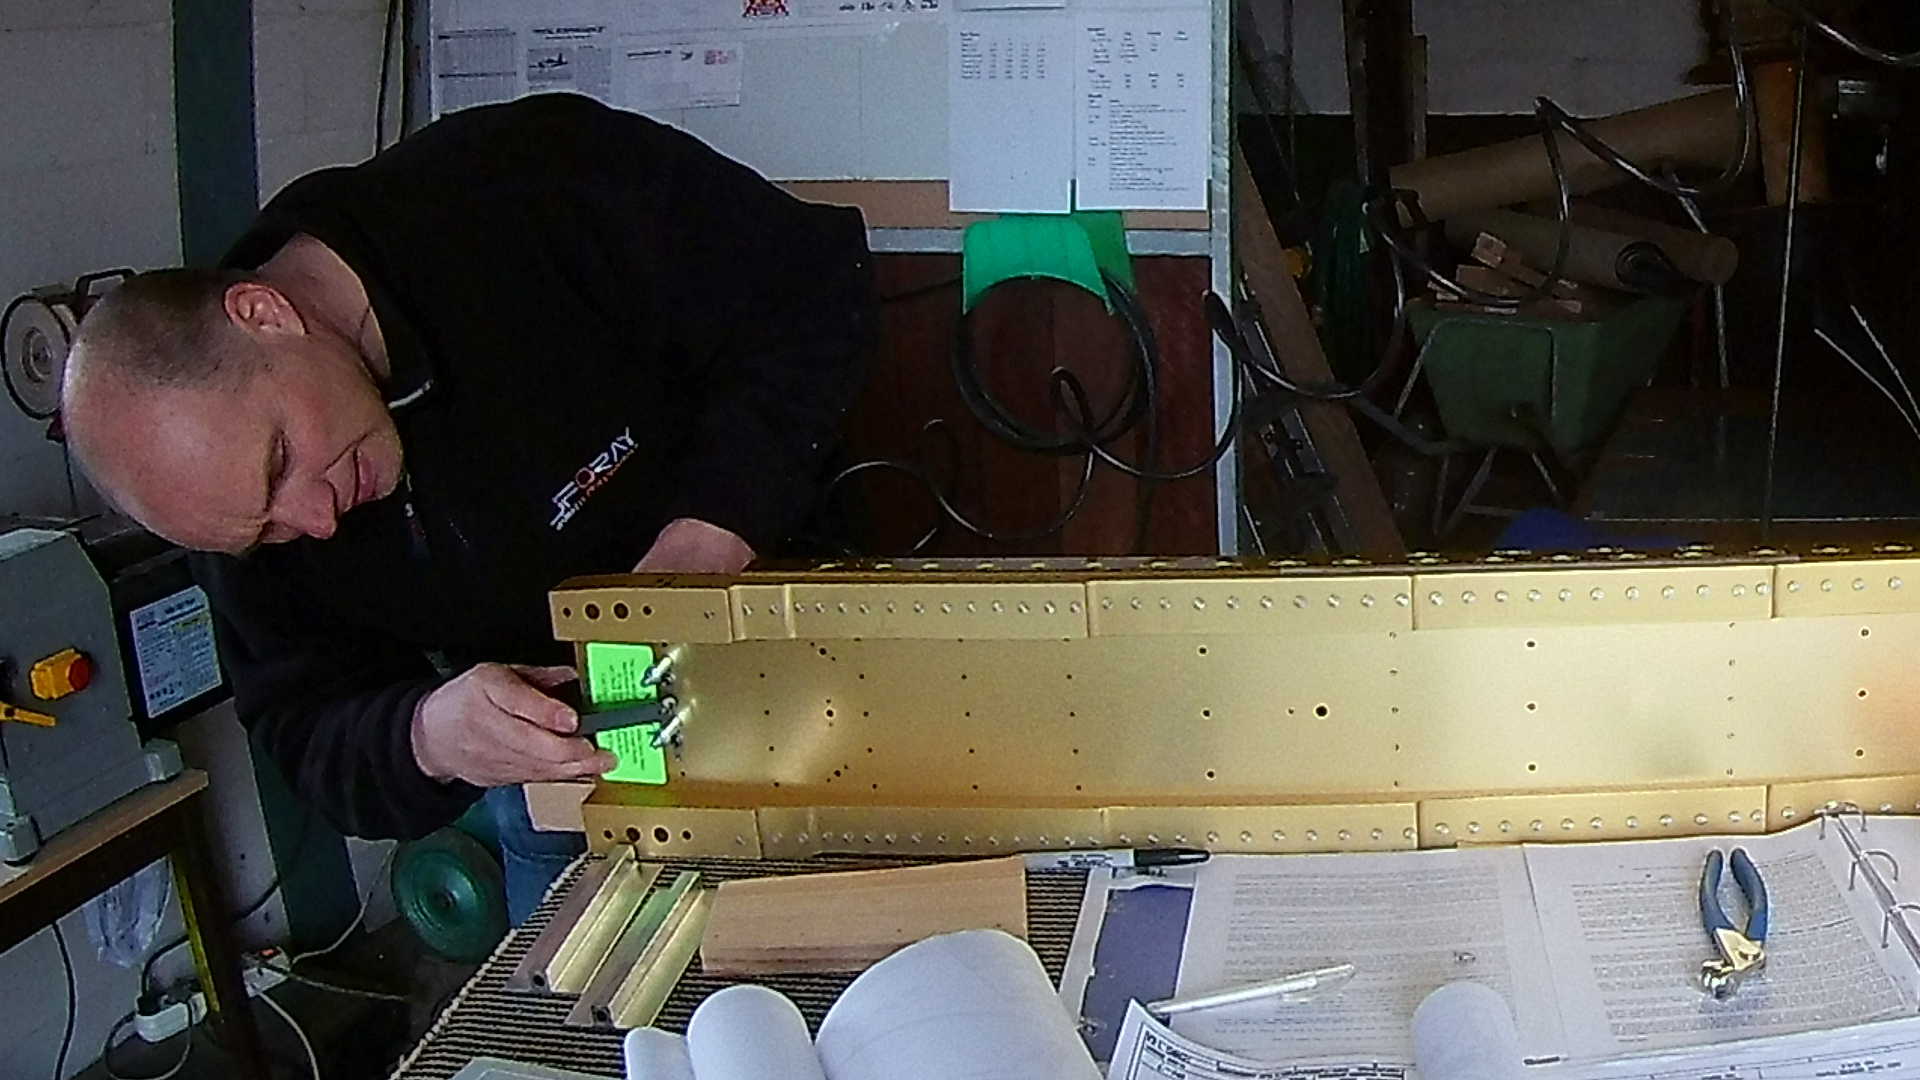
Here I rivet the Access plate platenuts. At the inboard side of the Wing there are two platenuts that I had to attach. I’m not certain what they are there fore, but on some drawings it looks like they are use for attaching the Wings to the Bulkhead.
In the evening I finished the Right Tie Down fabrication by drilling the rivet holes for the platenuts. I can’t rivet those, as they all need to be primed first.

Next time I’ll repeat those steps for the Left Wing.
Time: 4 Hours, Rivets: 28/0
Time: 4 Hours, Rivets: 88/0
Video