
Similar to the Right Wing, this time the Leading Edge of the Left Wing. First step is inserting the Leading Edge Skin into the Tank Cradle.
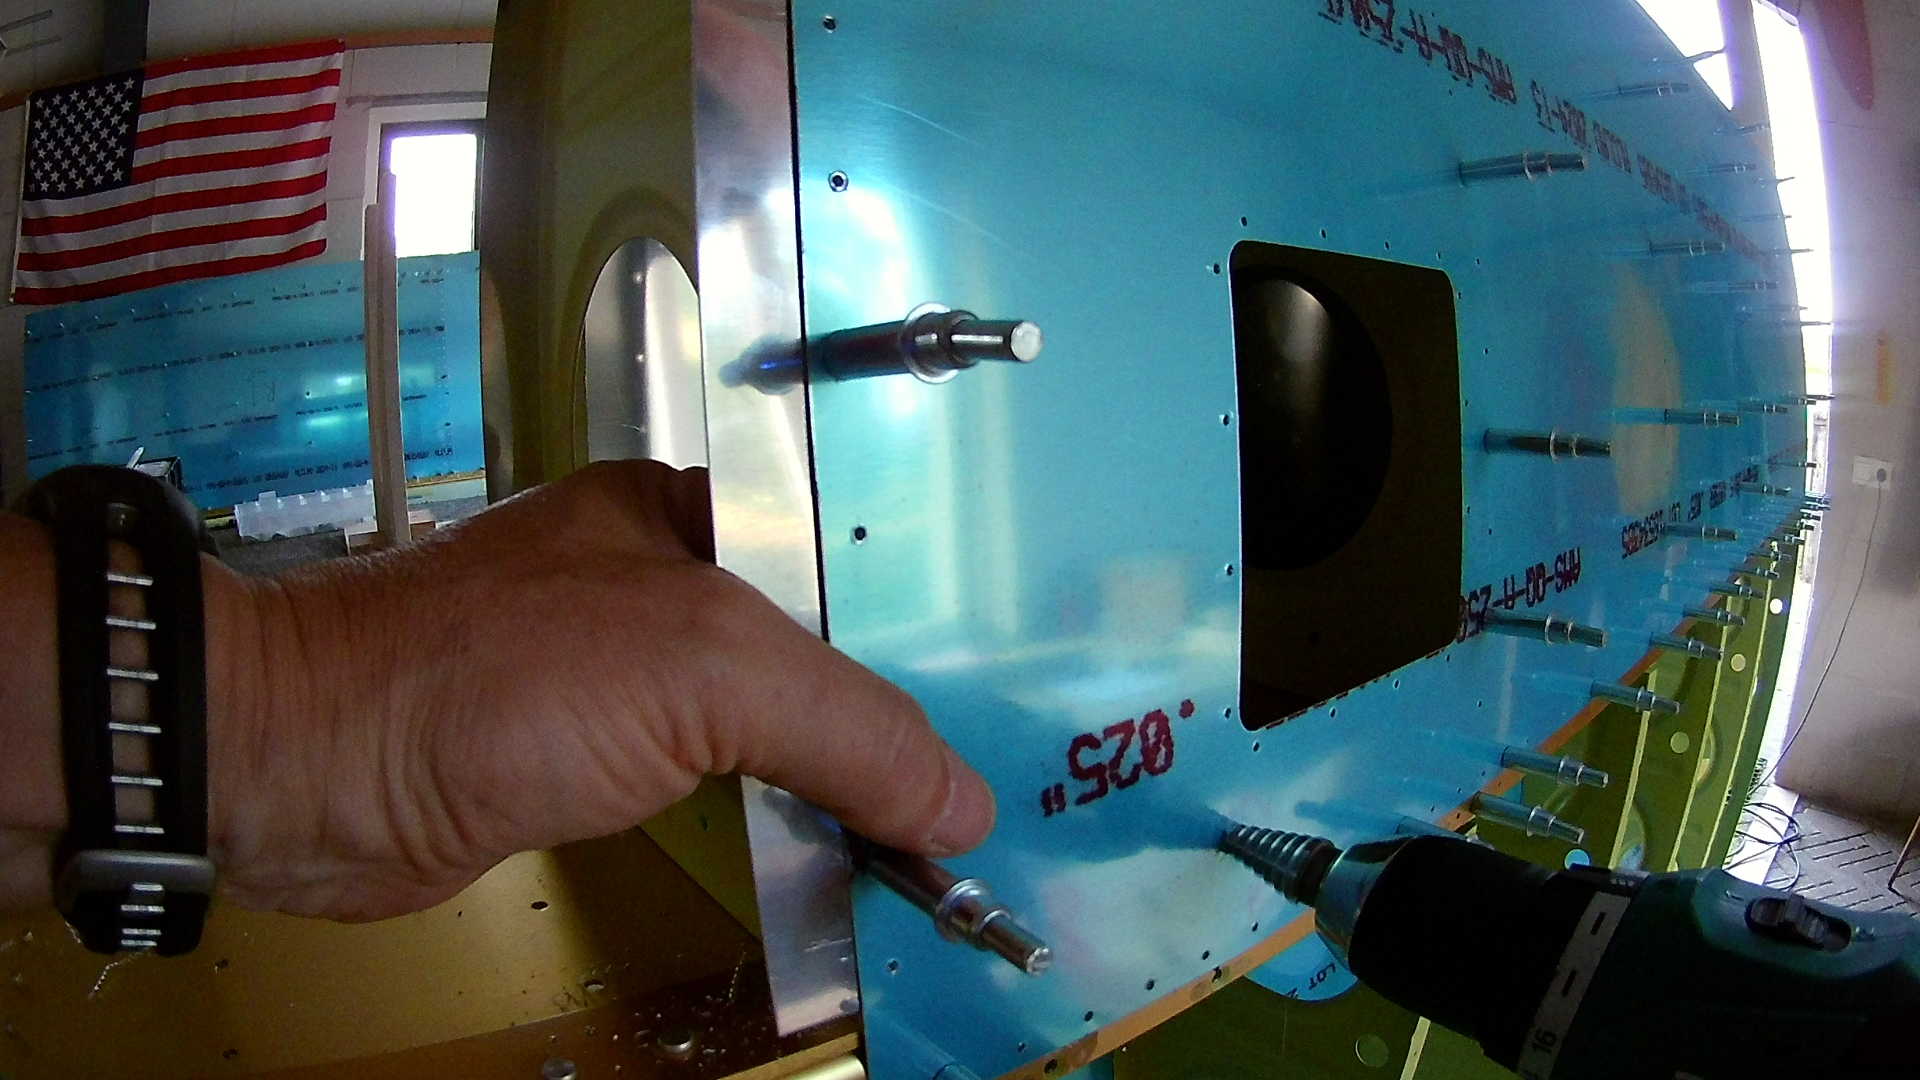
Using Cleco’s every 3rd hole to fastening the ribs to the skin. Notice the connecting strip between the leading edge and the Tanks and the “small rib” which is actually the bracket for the stall warner. Moreover I decided to NOT build the stall warner, but add an Angle of Attack sensor and indicator in the plane, which is much more precise than the mechanical stall warner.

The fit of the Left Leading Edge looked a little better than the Right one. The distance between the Right Leading Edge and the main Wing Skins was about half a millimeter. On the Left it’s an exact match.
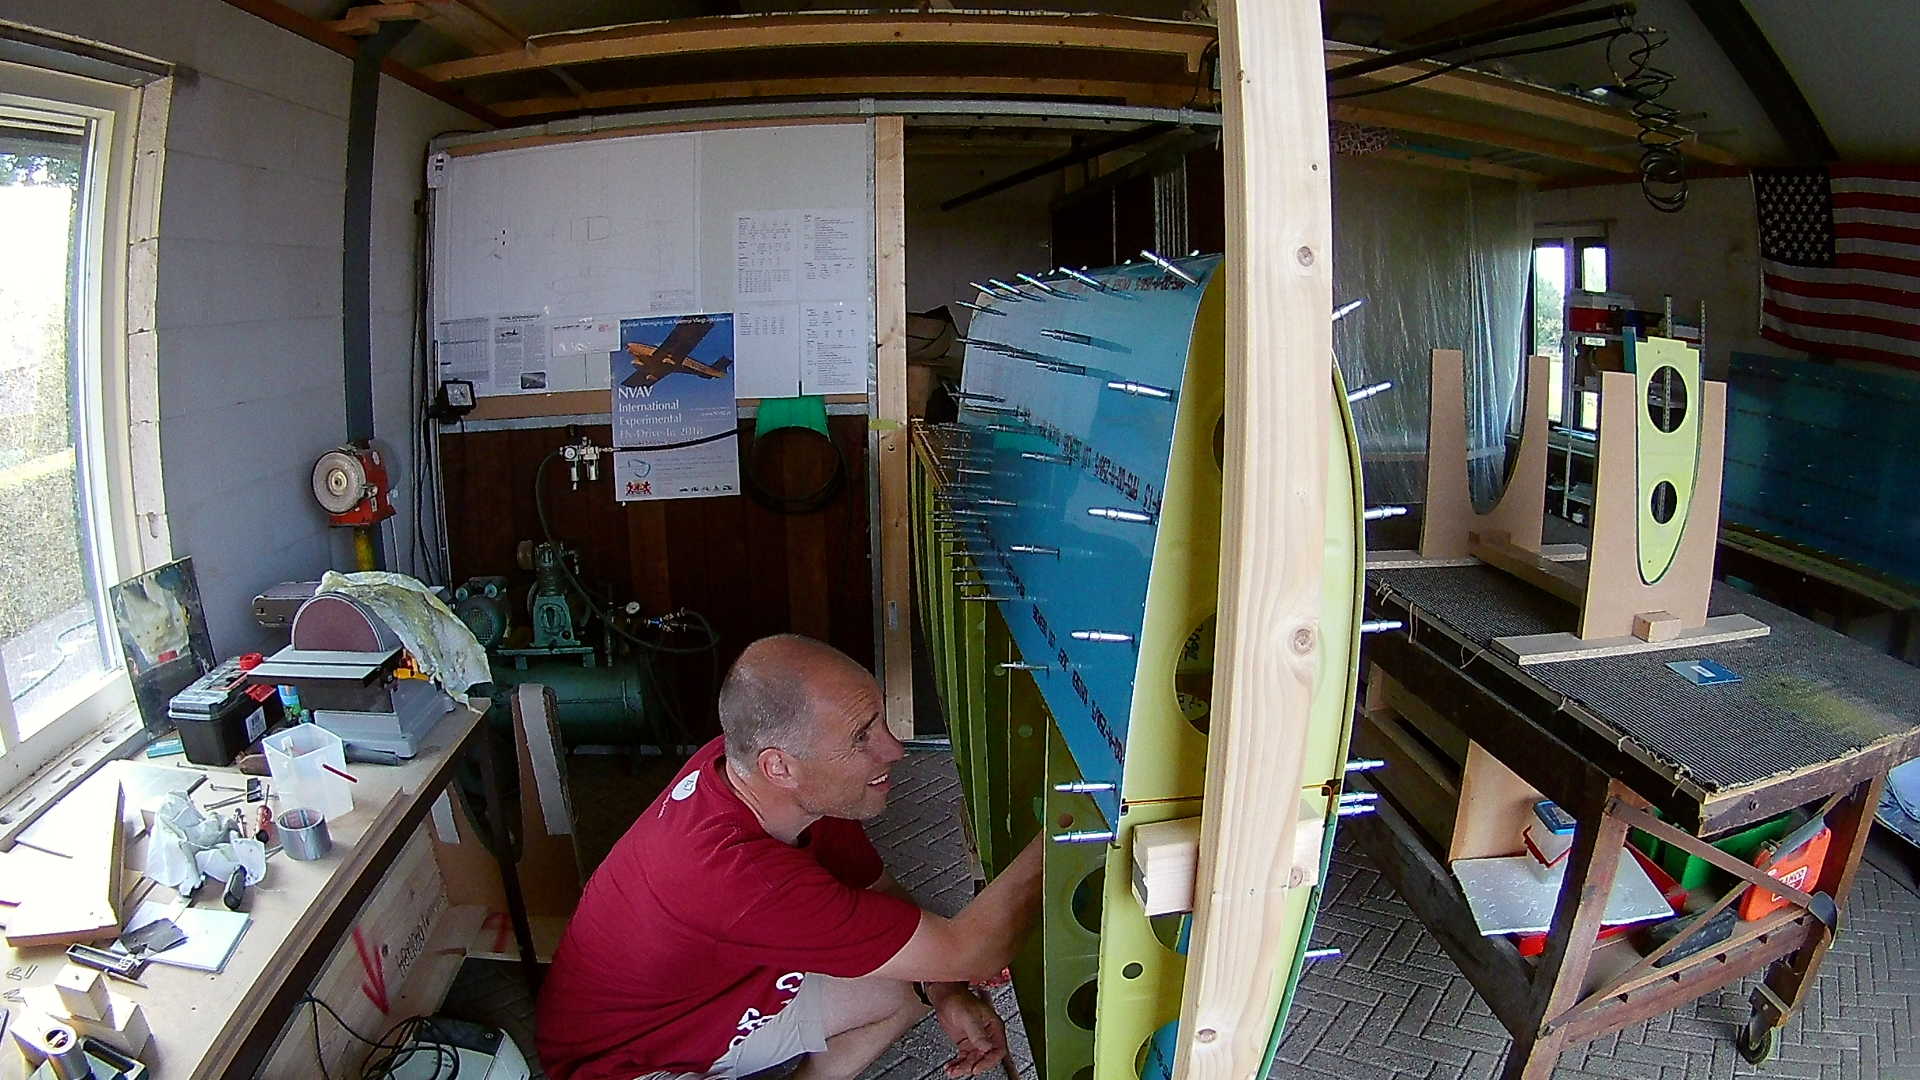
Clecoing the ribs to the main spar. I’m wondering how I can rivet these, but let’s defer that doubt to the assembling section.
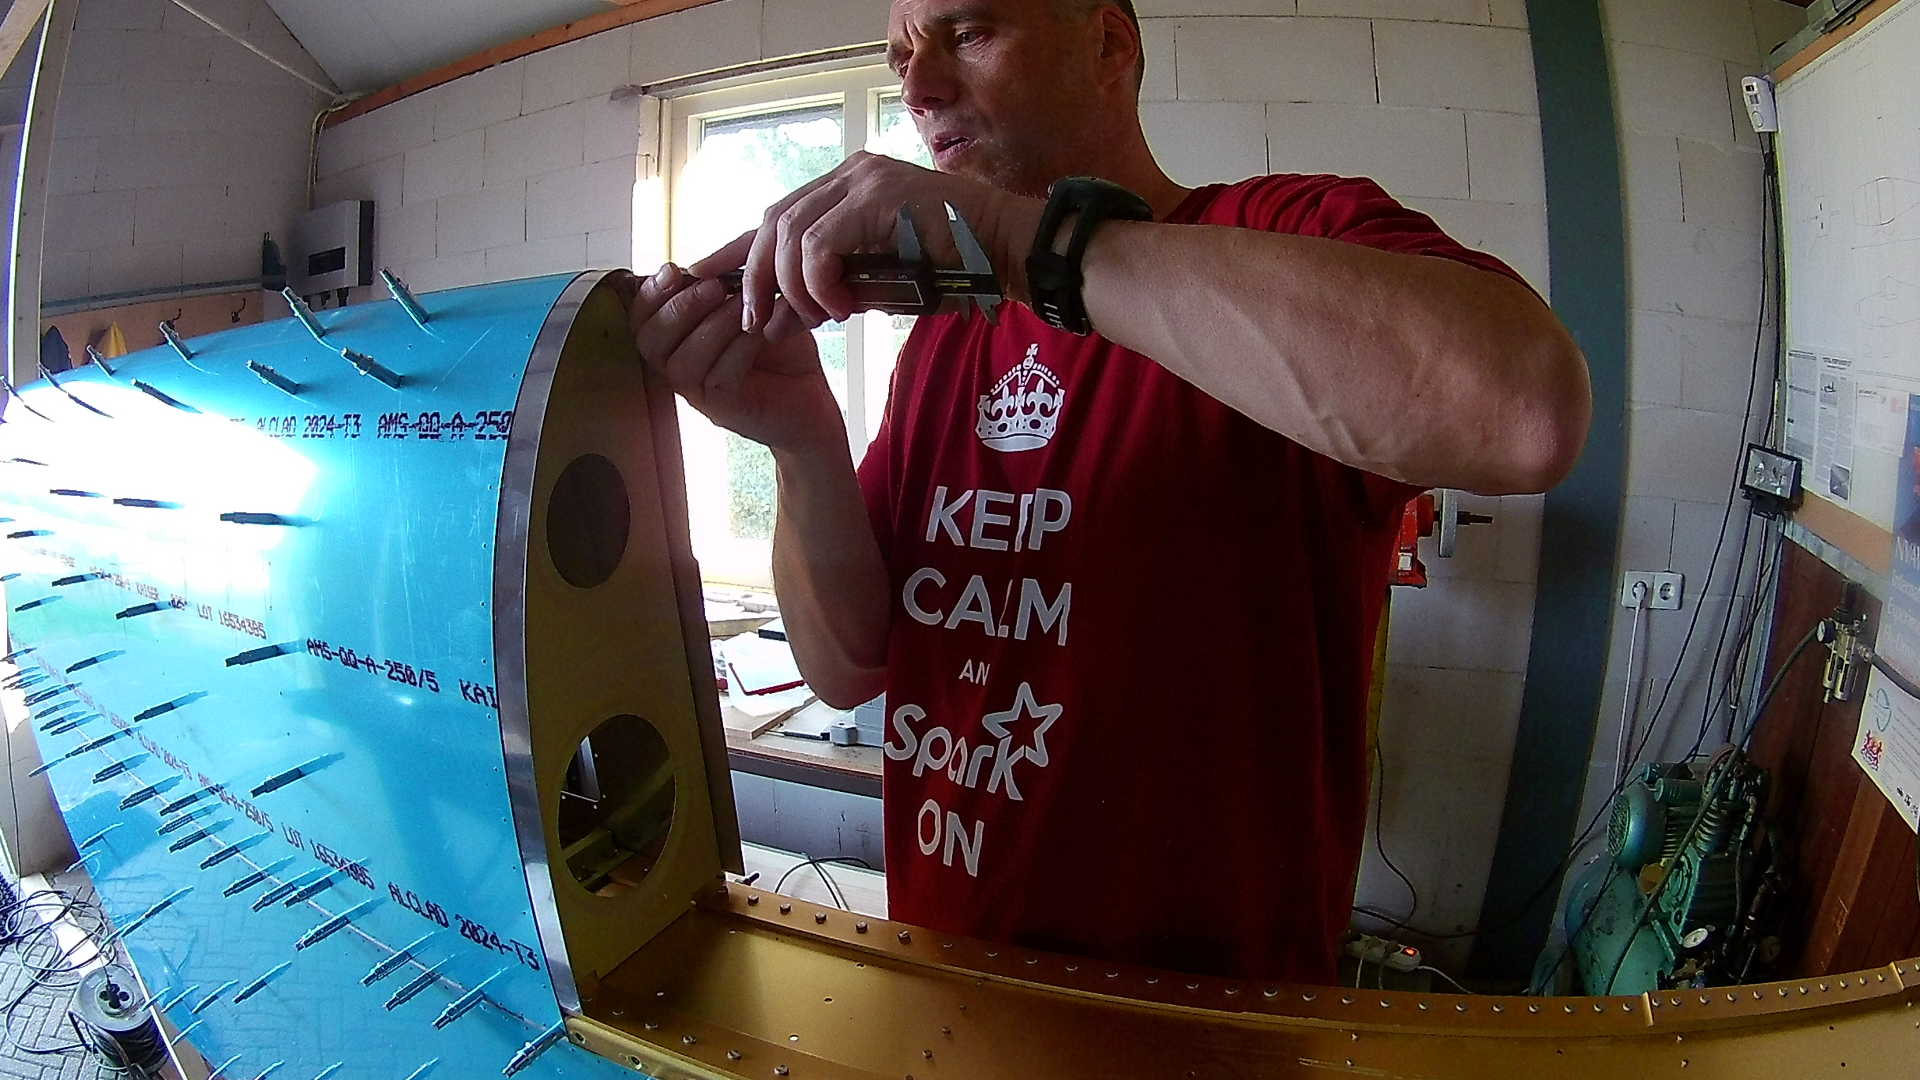
The connection strip needs an exact distance between the Leading Edge and the Tanks. Hence a caliper is used to insert the strip in there. Gently whacking the strip while holding the caliper to see if it’s correct.
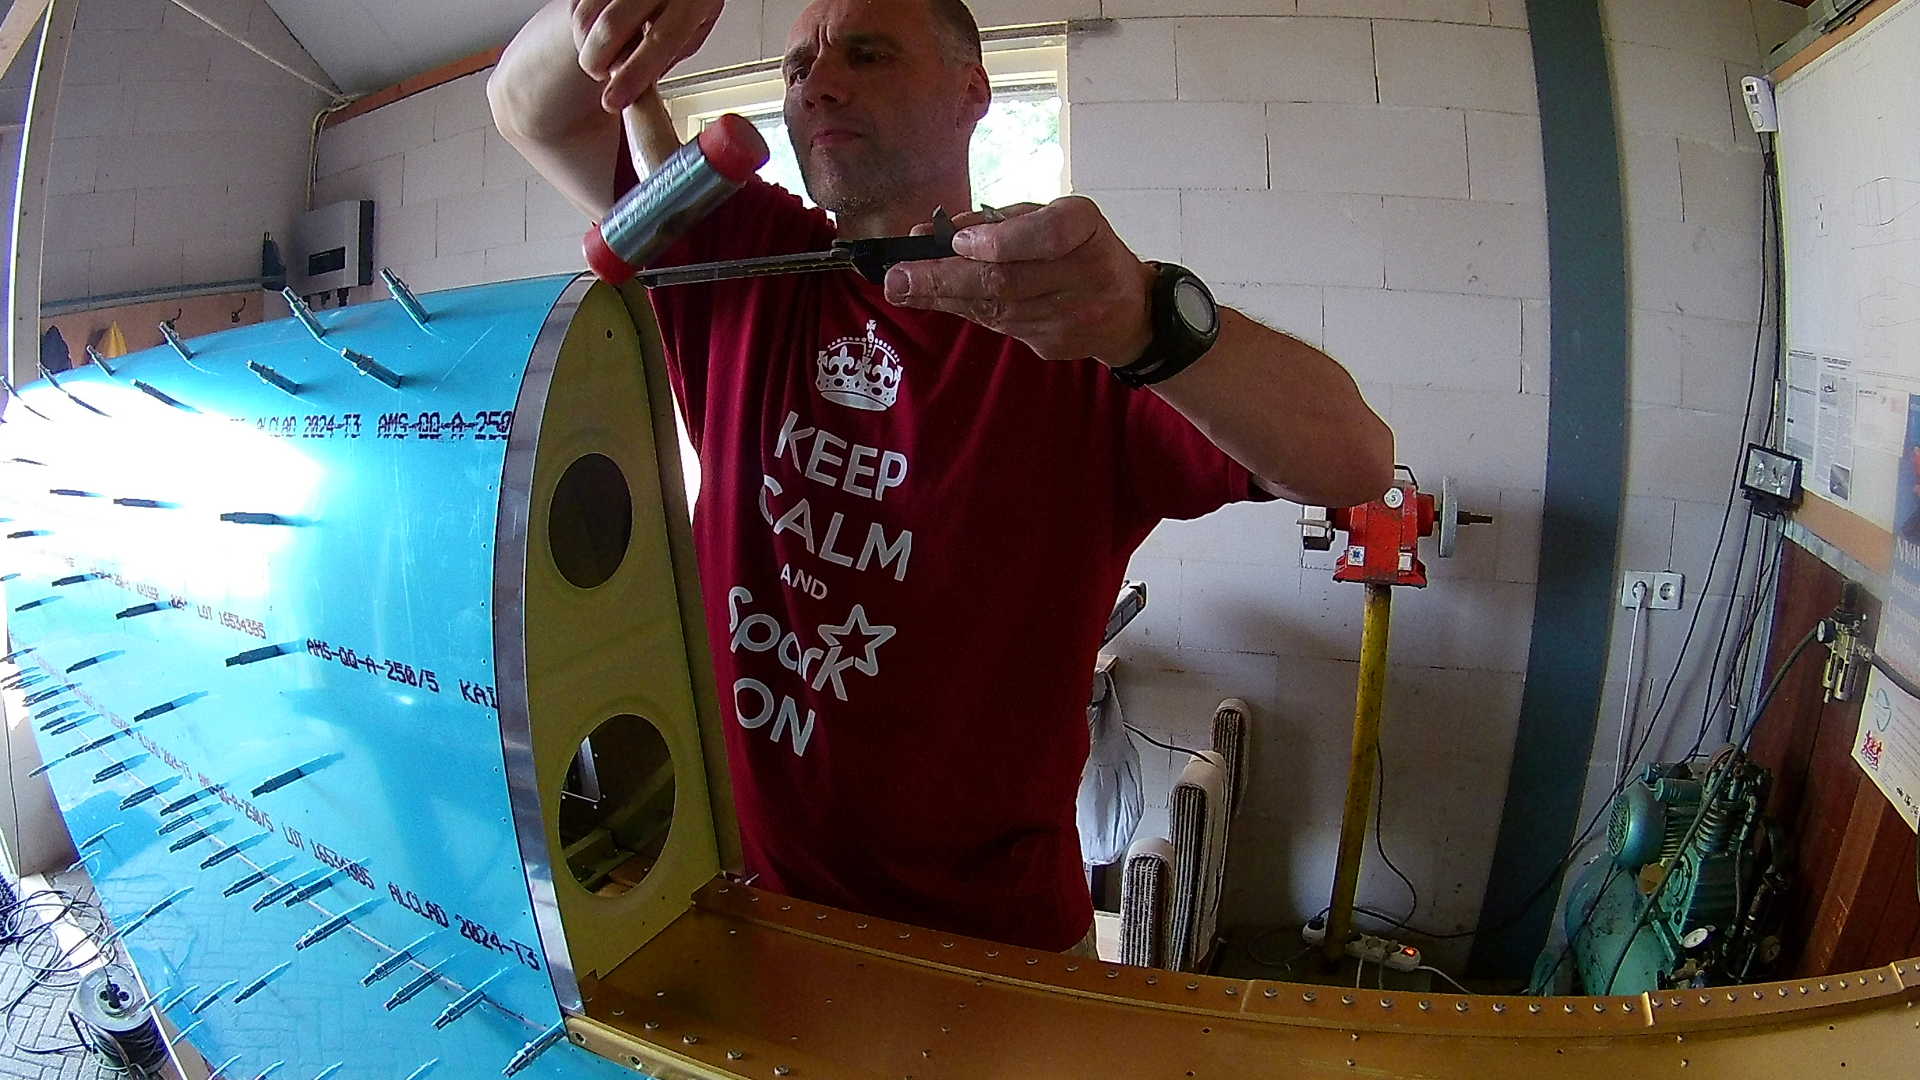
Finishing the strip by drilling it with the skin holes as a guide. After that match-drilling all other holes in the skin.
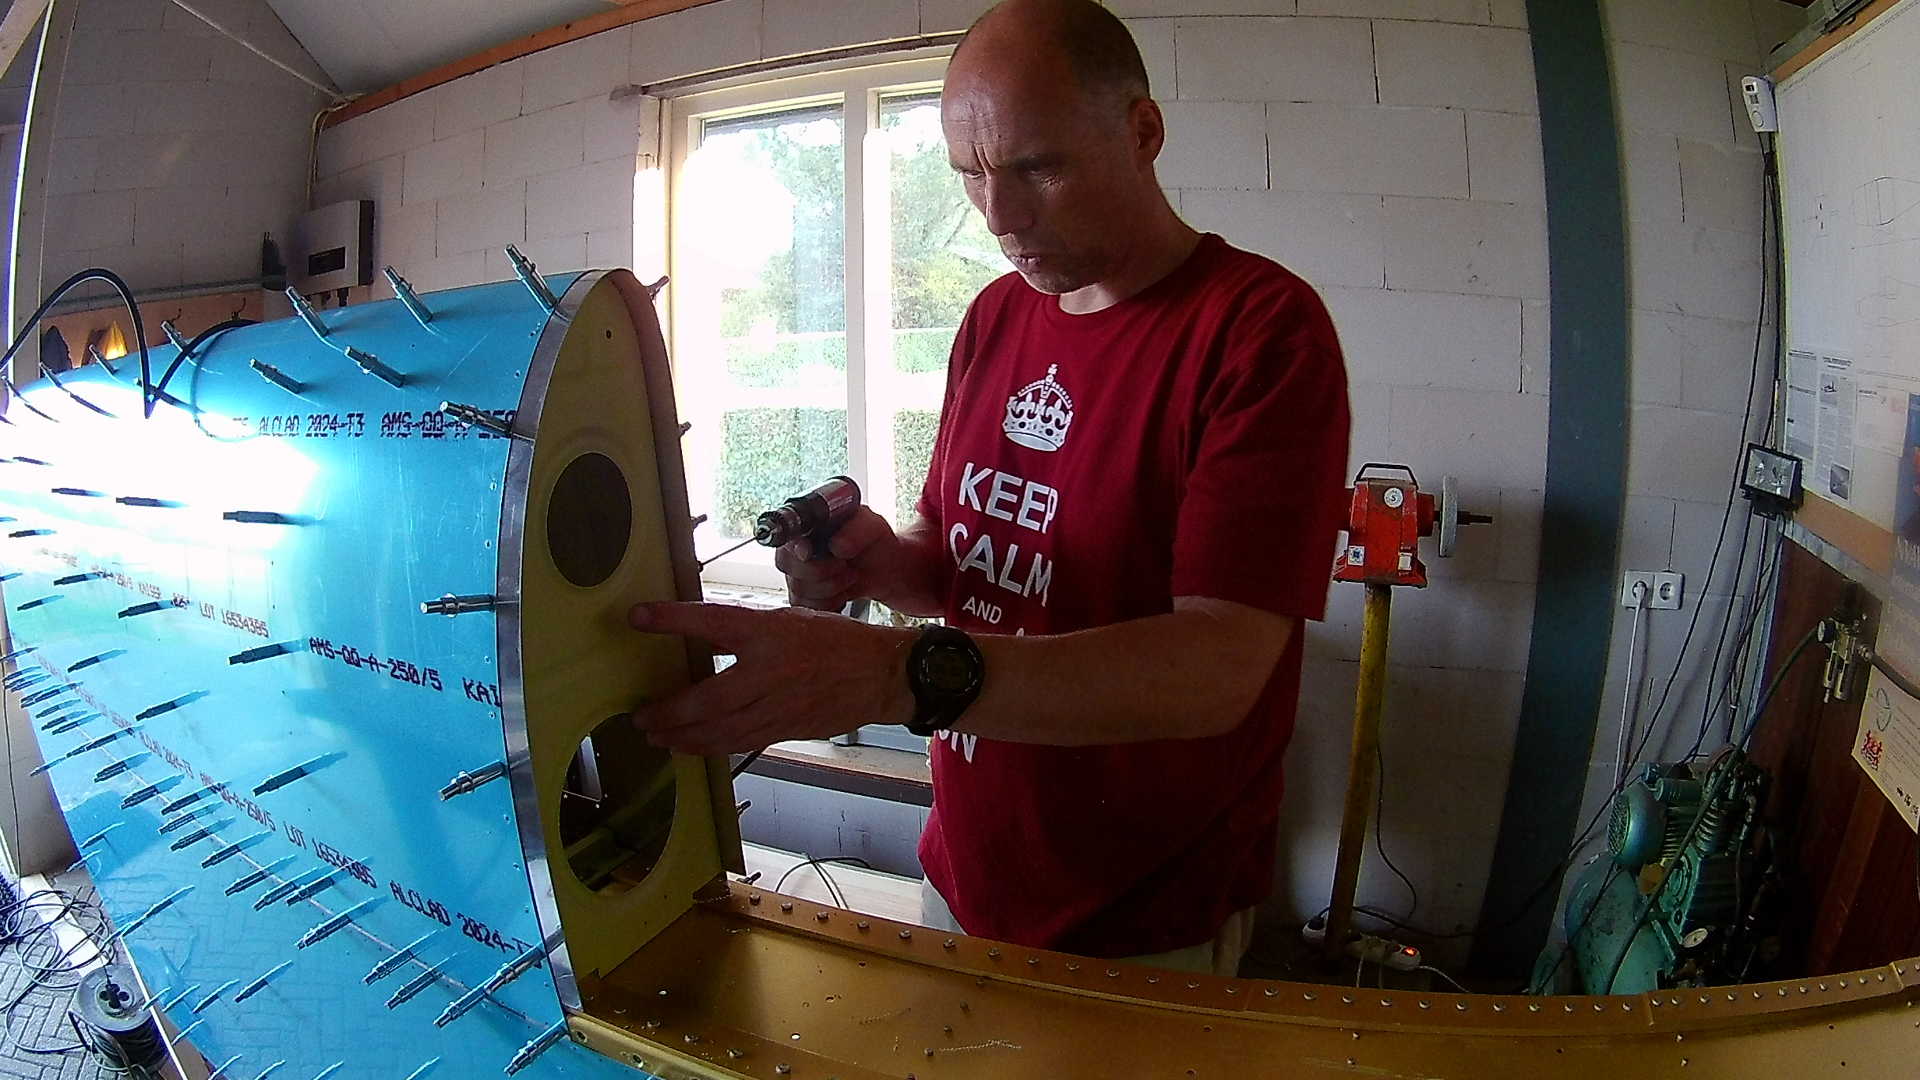
Last step of the Leading Edge is widening (and positioning) the hole for the Tie-Down bolt. Notice the access plate for the stall warner. I’m going to check with Van’s if maybe the “bay” for the stall warner is suitable for the pitot tube. Of course I need to get the tube through the main spar so there’s that.
Time: 3 Hours, Rivets: 0/0
Video