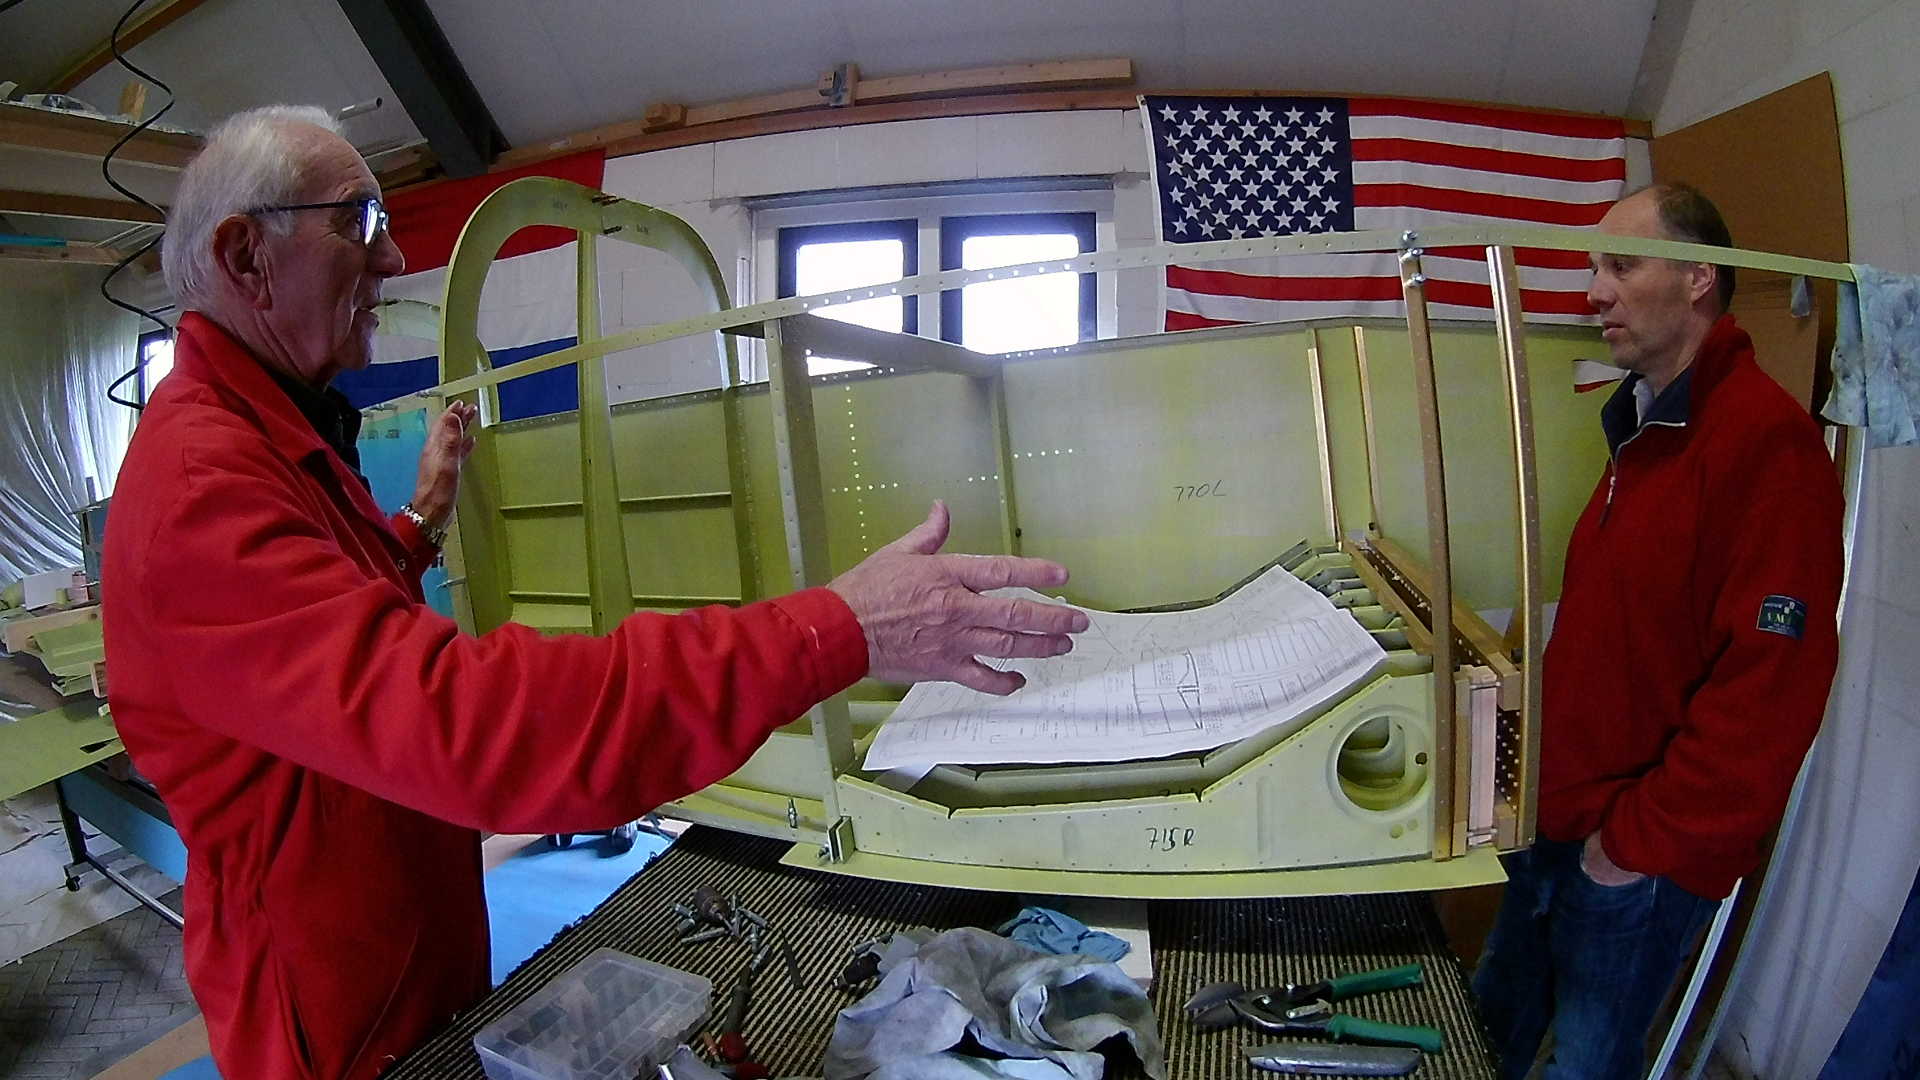

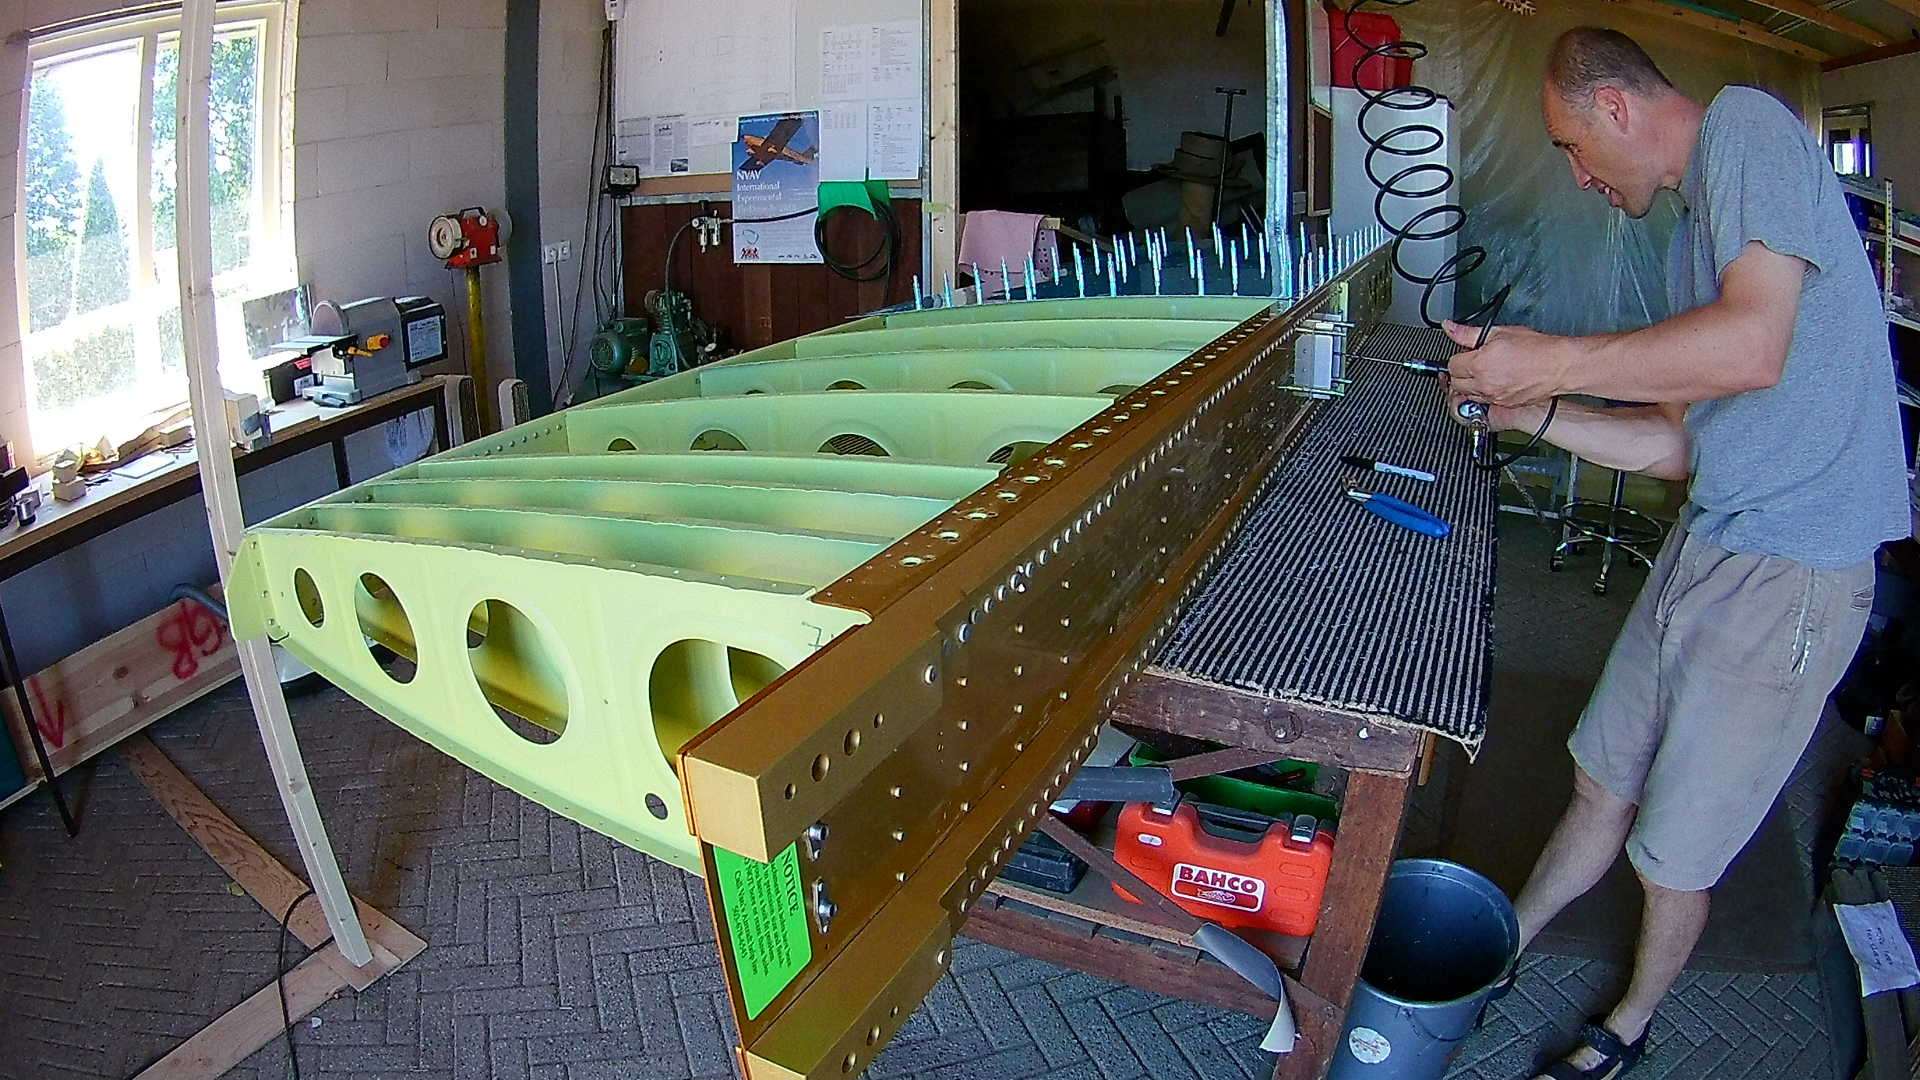
This post combines three sessions working an the Tank Attach Angles on both the Left and Right Wing. The Fuel Tanks of the Van’s RV-7 are of the “wet-wing” type and are detachable (if you are patient enough). That means that the Tanks are NOT riveted to the Main Spar, but bolted to it.
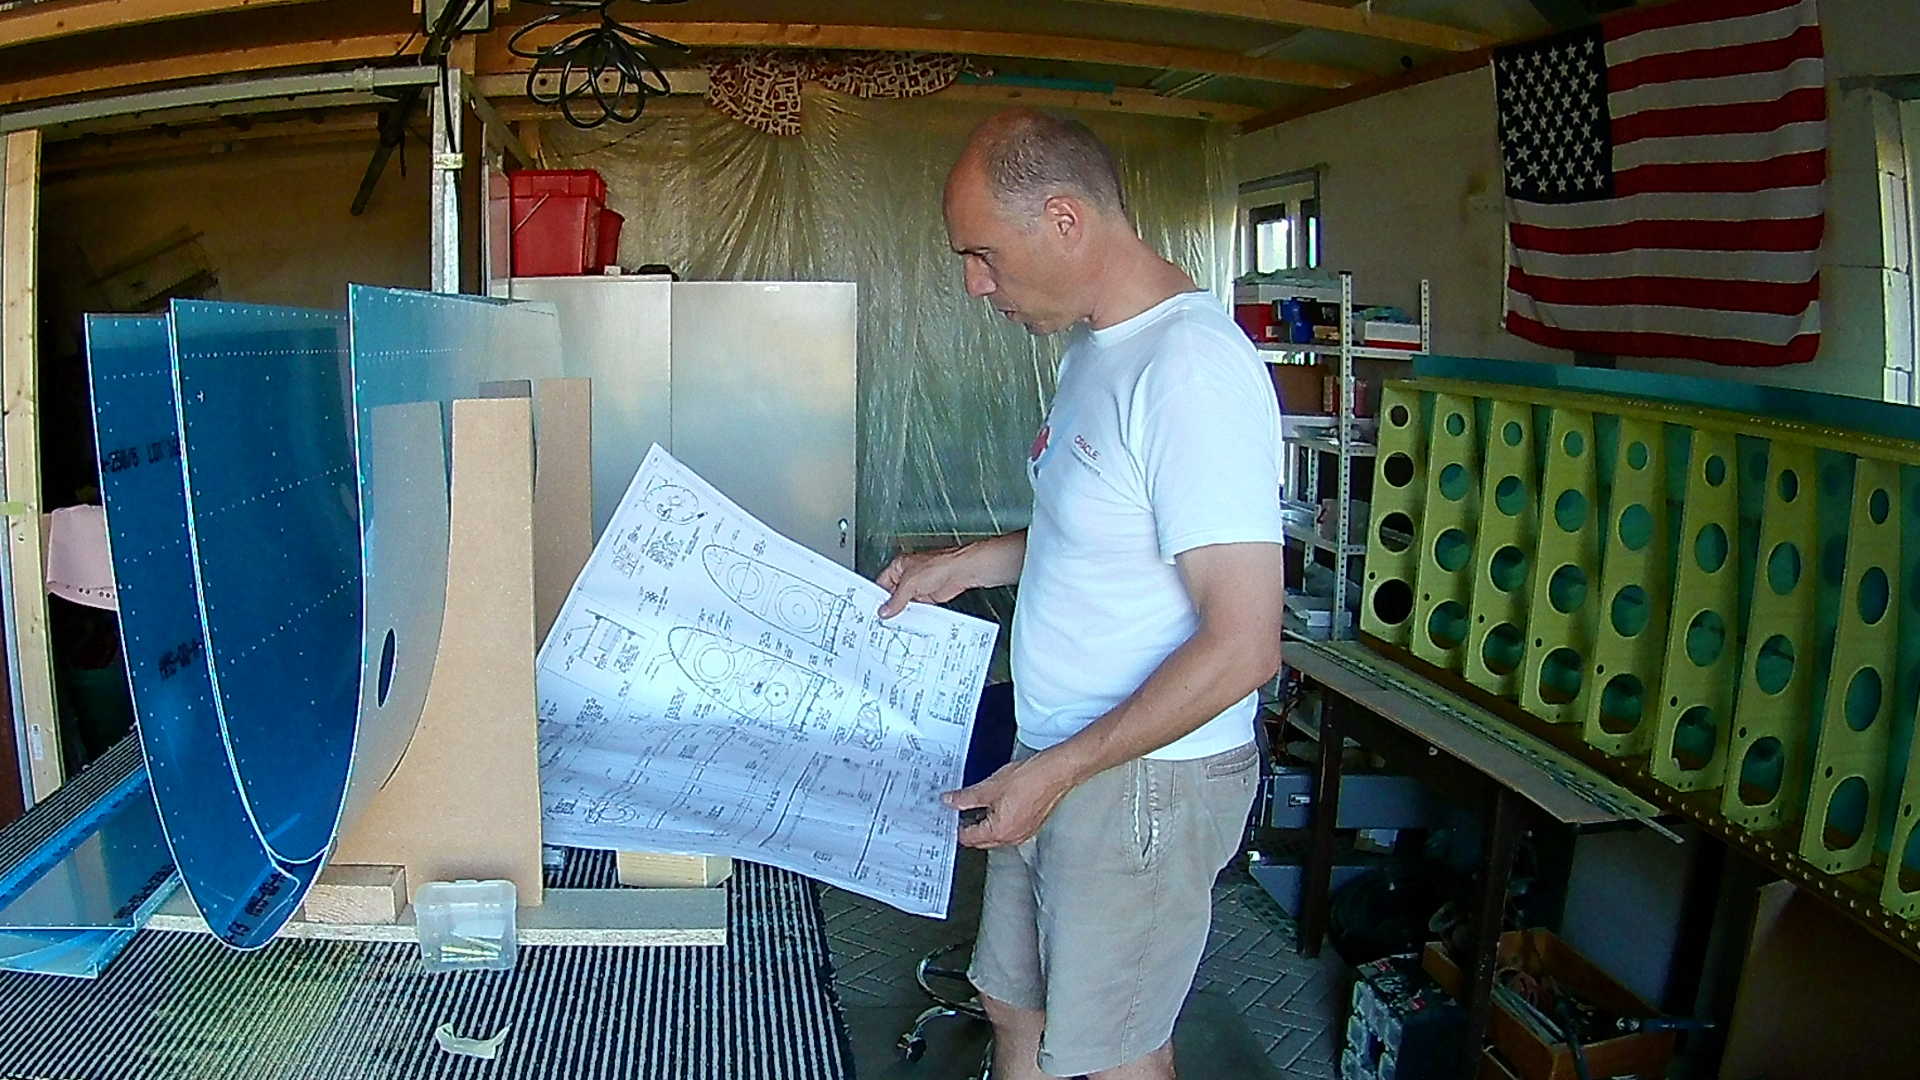
The bolts are on the skin and the Baffle at the back of the tank is bolted to the main spar with Tank Attach Angles. These are Z-shaped pieces of Aluminum.
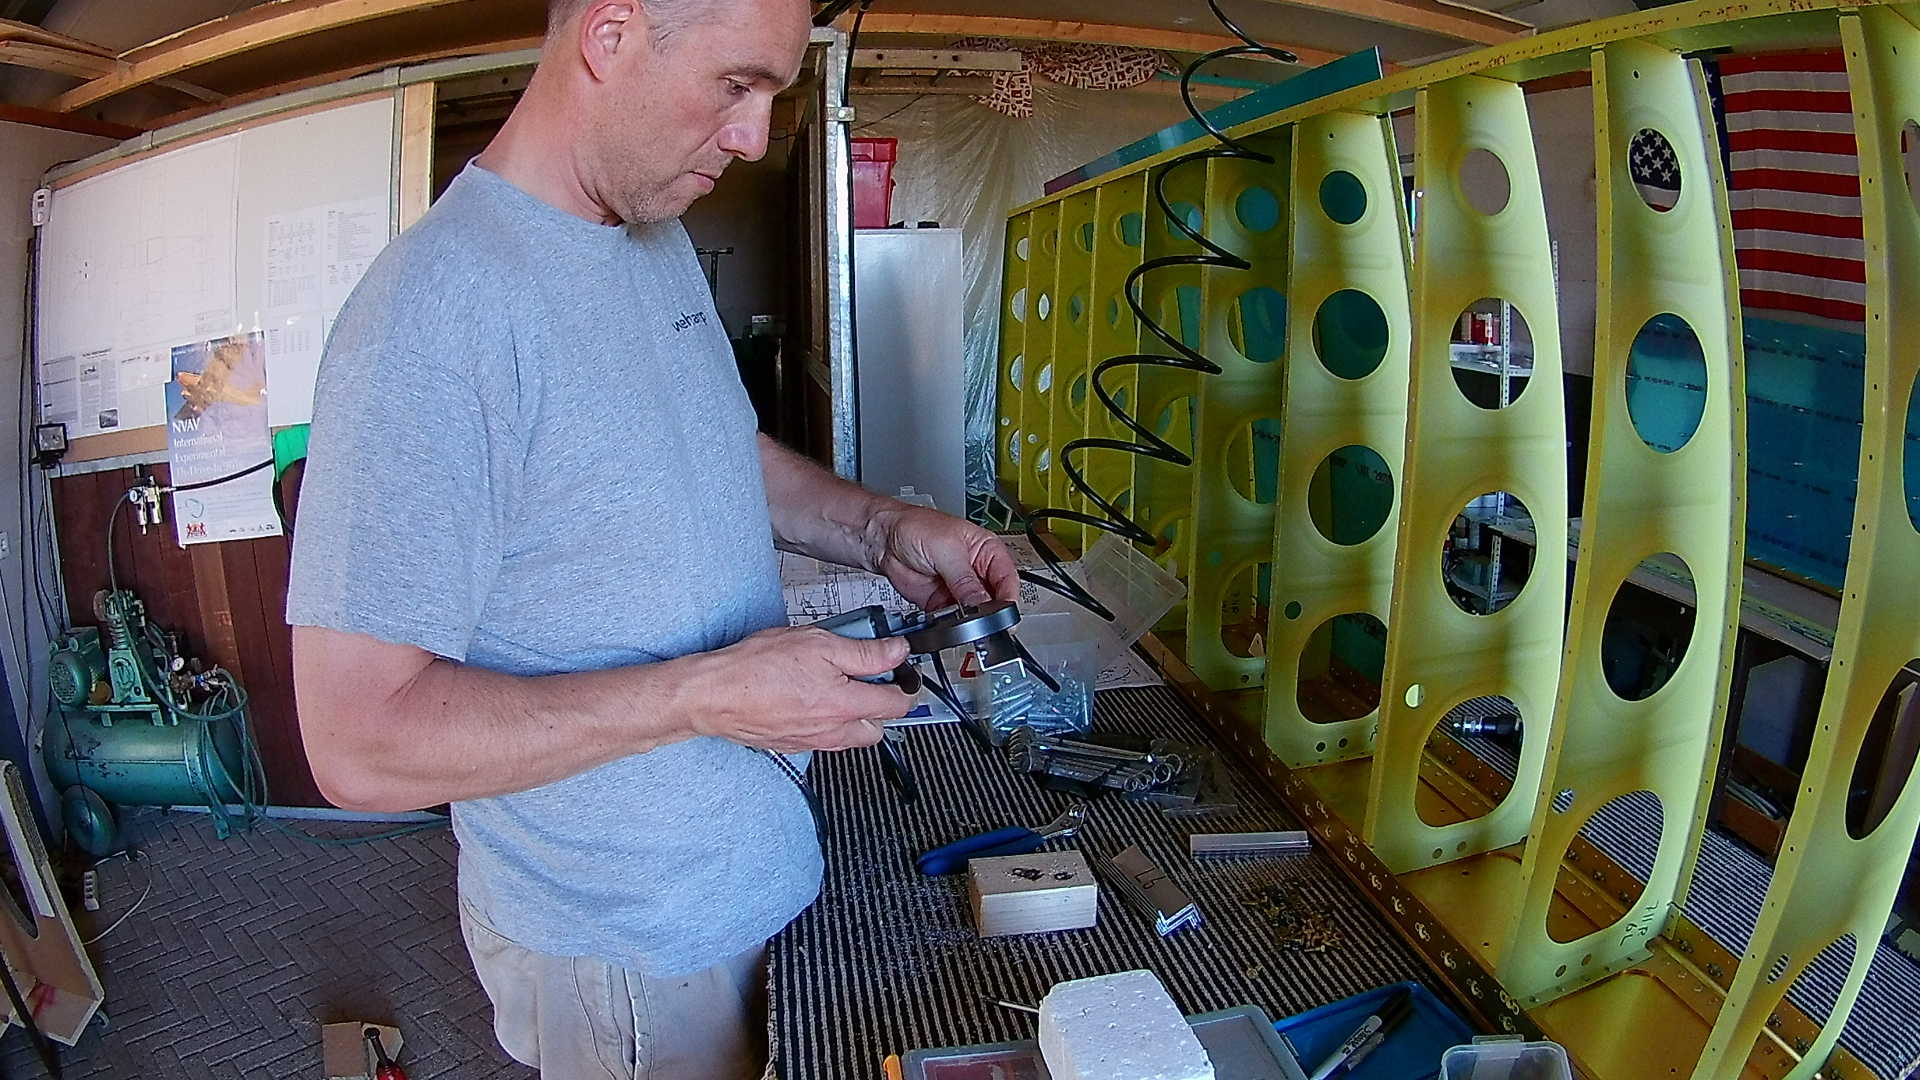
These Tank Attach Angles need to be drilled and six of the seven must have platenuts attached to it. The seventh has no platenuts, but the main spar does. You only drill the center hole and use the main spar as a guide to drill the other holes. This is done on the aft (rear side) of the main spar.

Once the holes are drilled I attach them to the forward side of the main spar to match-drill the center hole in the spar.
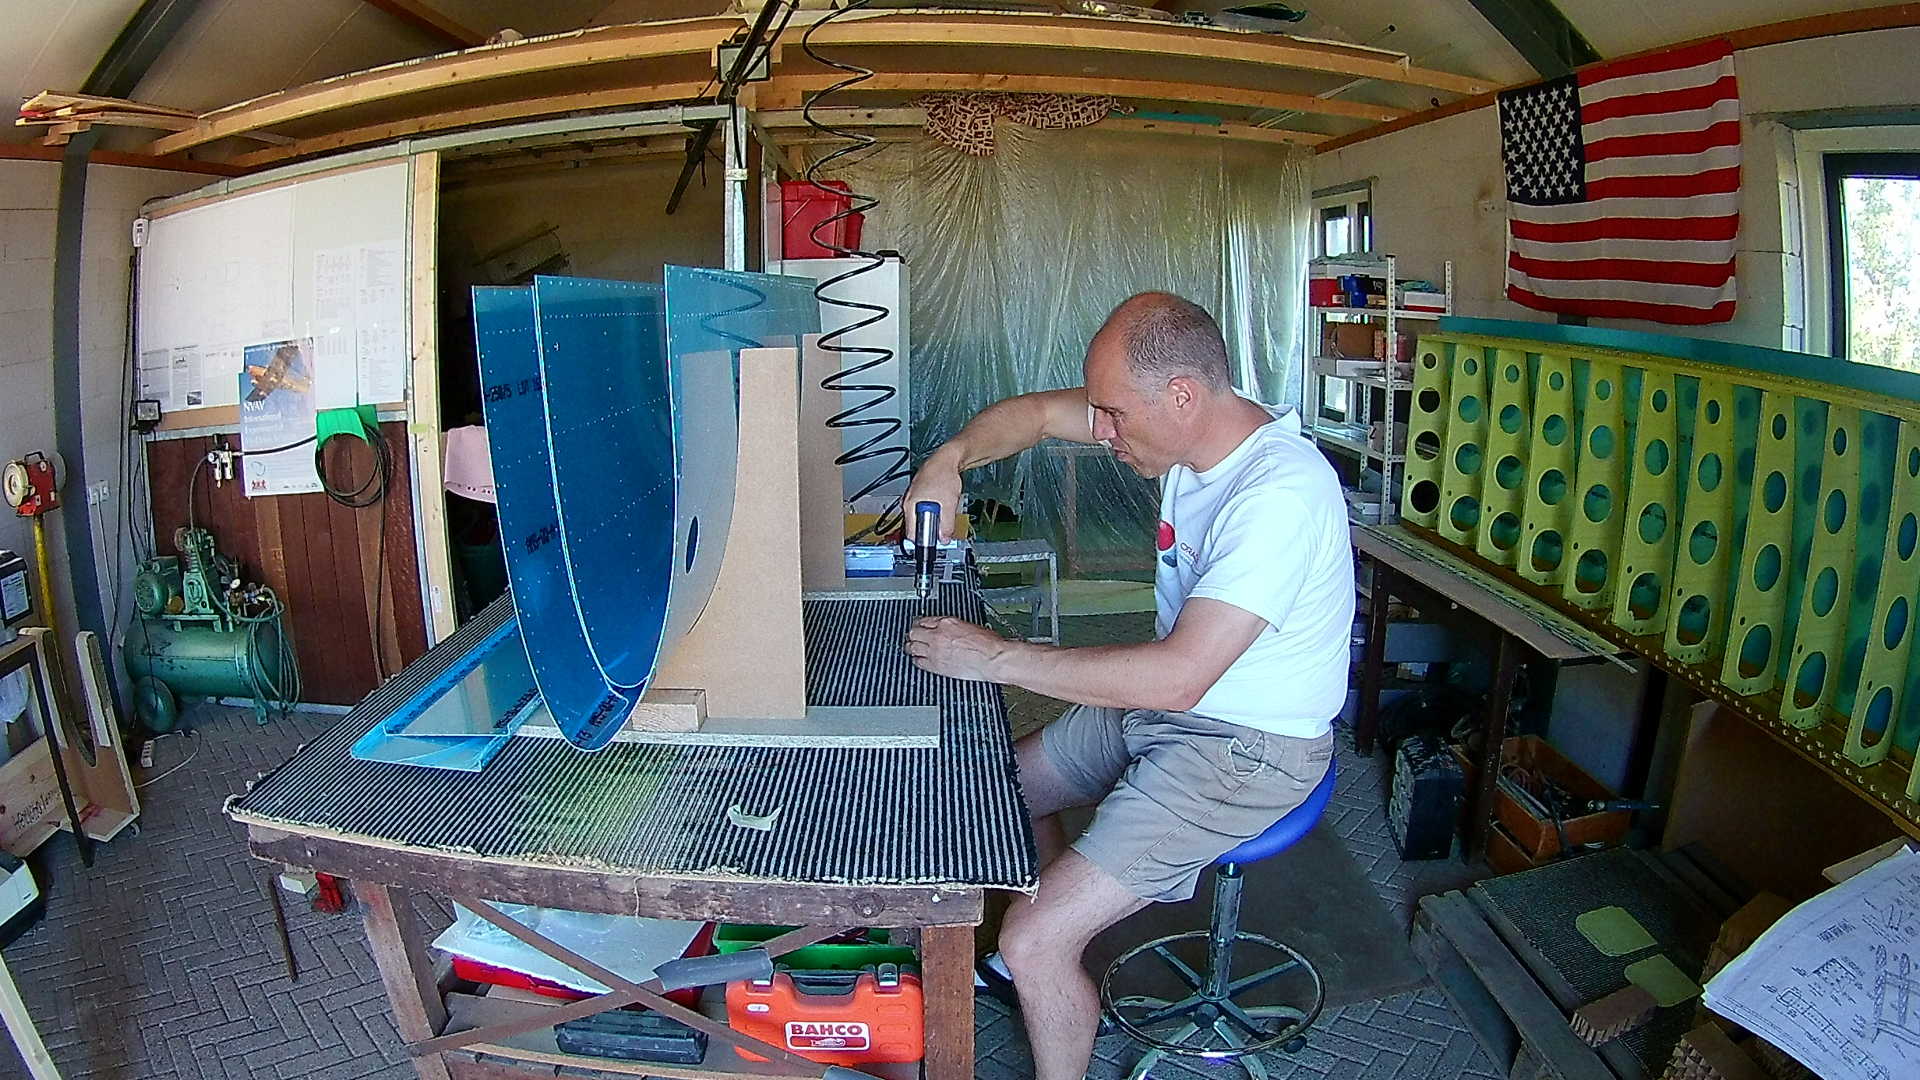
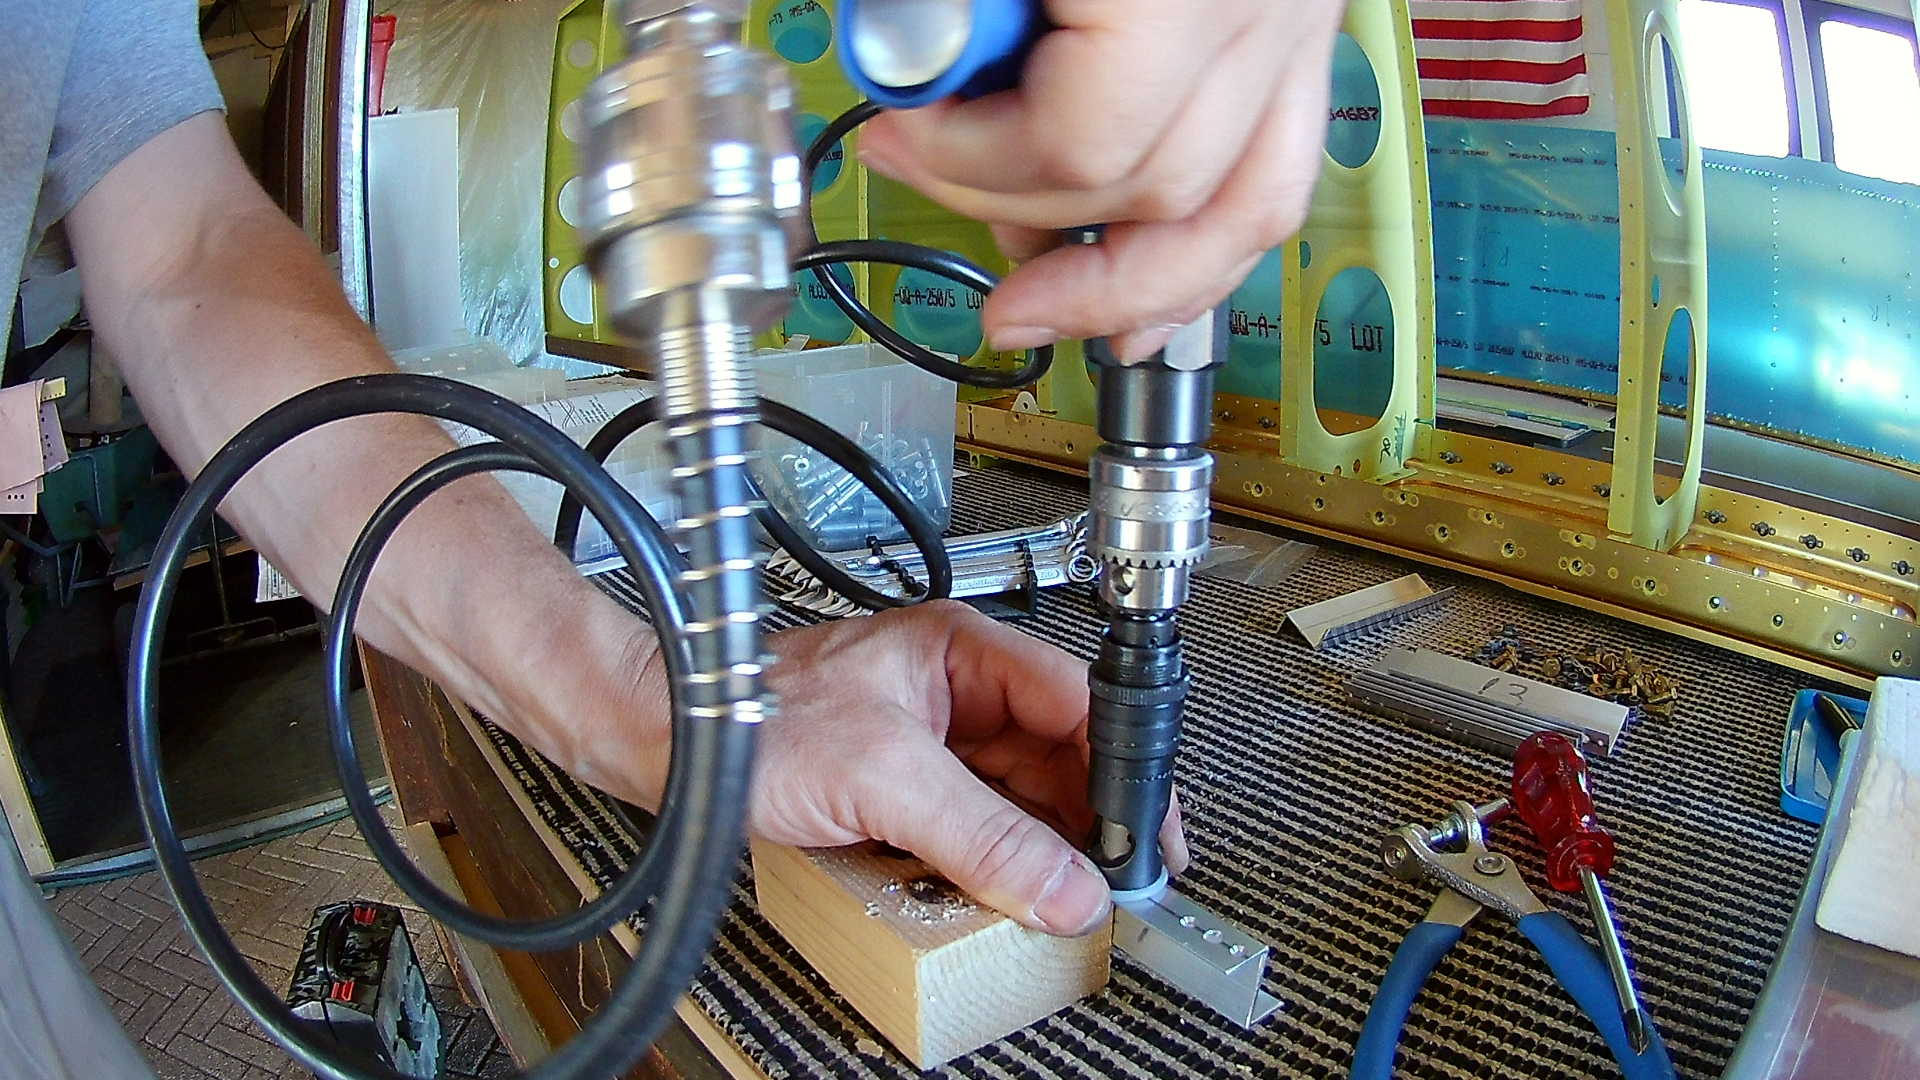
Now we can drill the rivet holes for the platenuts in the Tank Attach Angles.
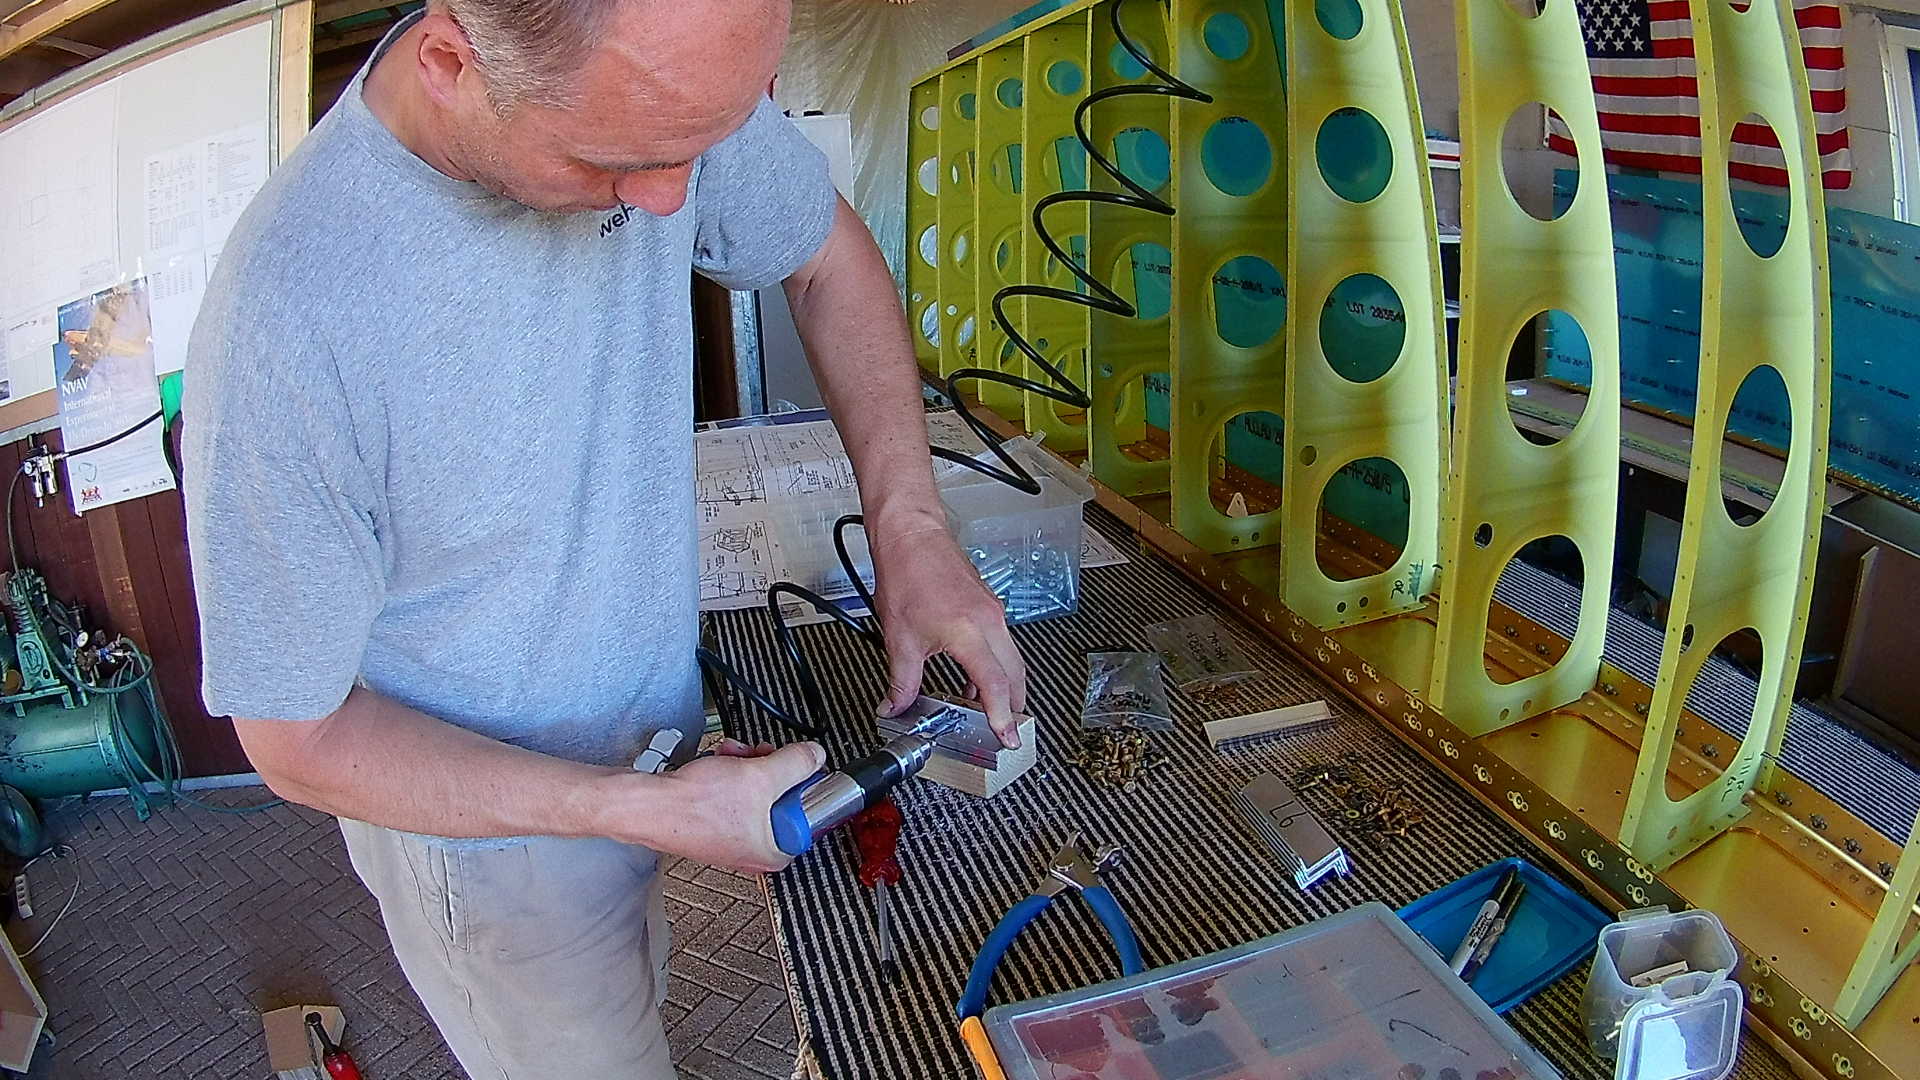
The rivets must be flush, because this side needs to be placed against the main spar. We machine counter-sink to make the rivets flush.
With the micro-stop it’s very easy to machine counter-sink the angles. You adjust the micro-stop once (for a specific size) and that’s it. Only the edges must be done with care, since one side of the micro-stop is not supported.
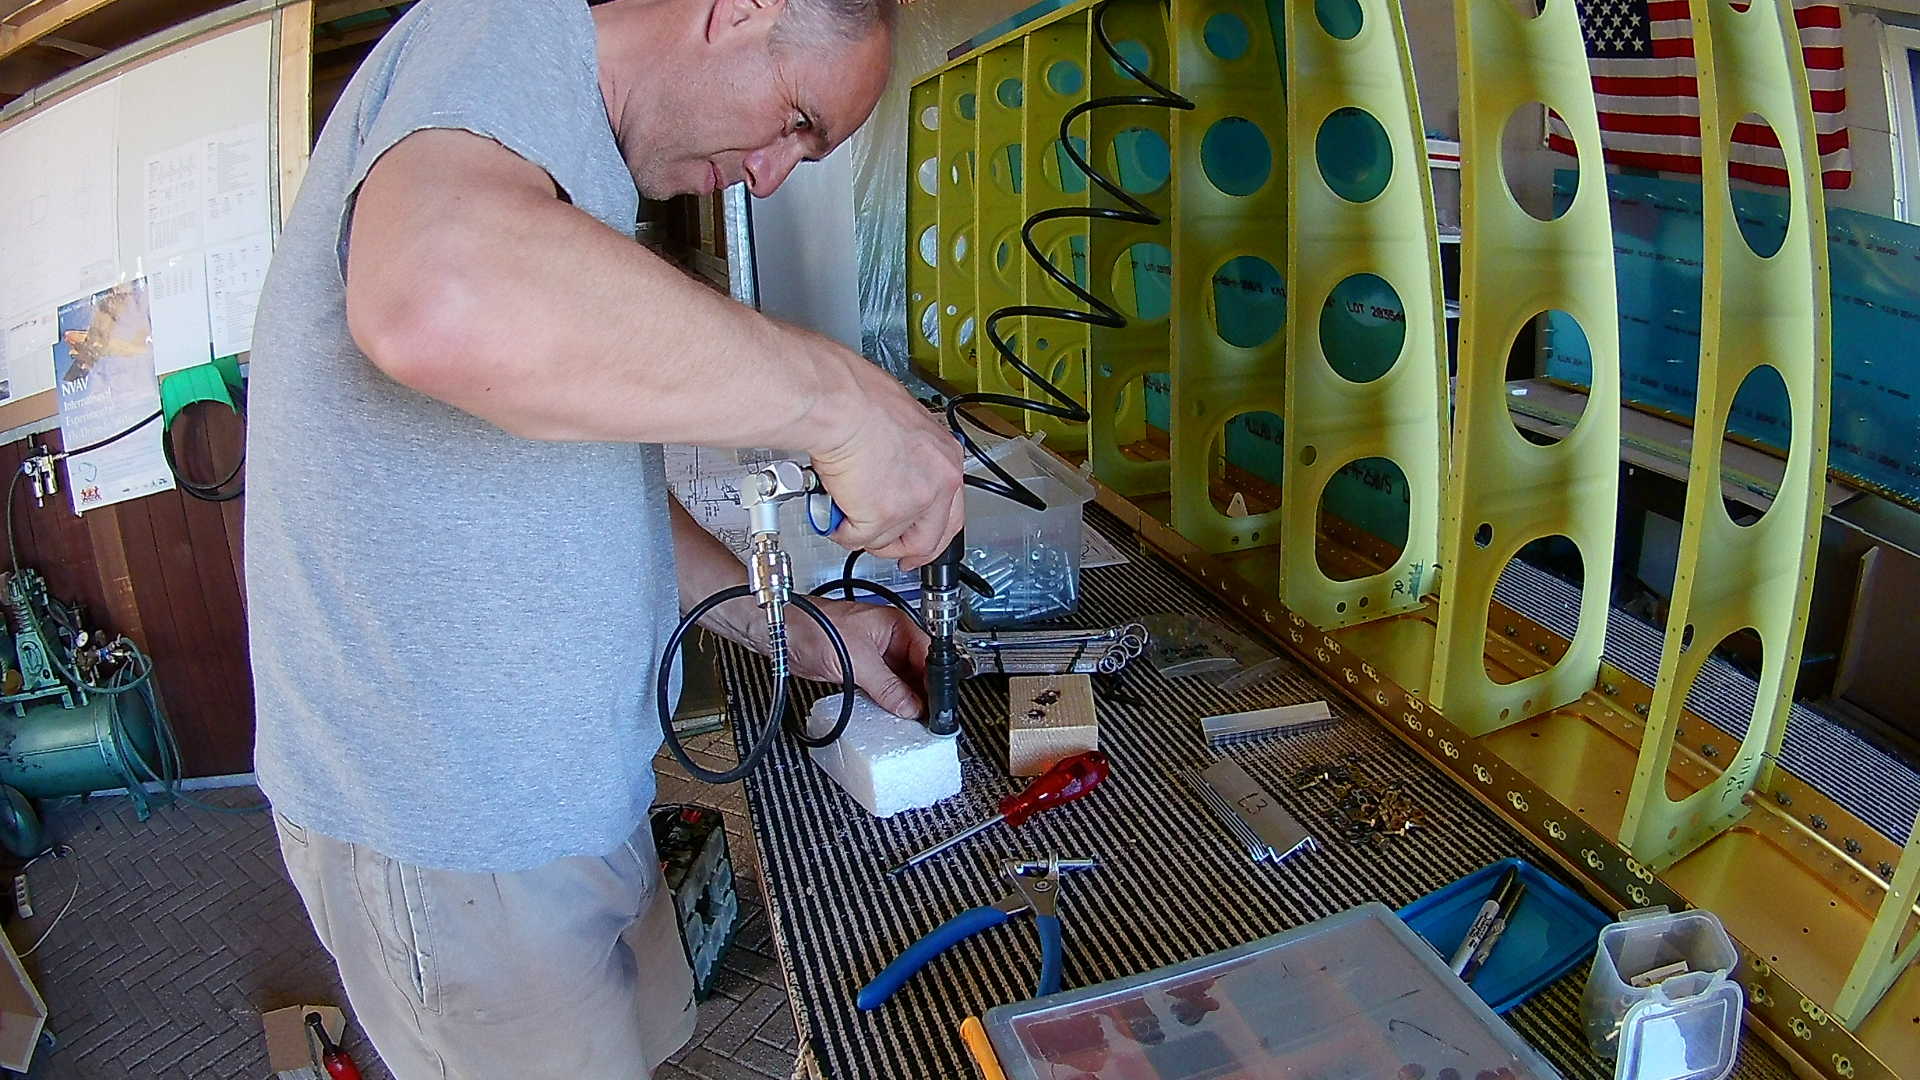
I was having a blast and after six rivets realized, I didn’t prime these angles yet.
I considered leaving it is as, but my OCD determined that is NOT acceptable, hence I drilled out the six rivets and will reset them later after priming.
Time: 3 Hours, Rivets: 0/0 (2018-07-08)
Time: 4 Hours, Rivets: 6/6 (2018-07-15)
Video