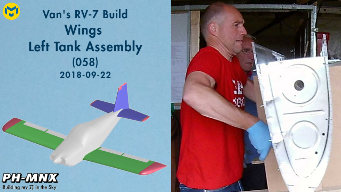

Previously we sealed and riveted the stiffeners in the Tanks, today we (I asked my dad to help me, because Leading Edge riveting is easier with two persons) sealed and riveted the ribs into the Left Wing Tank.
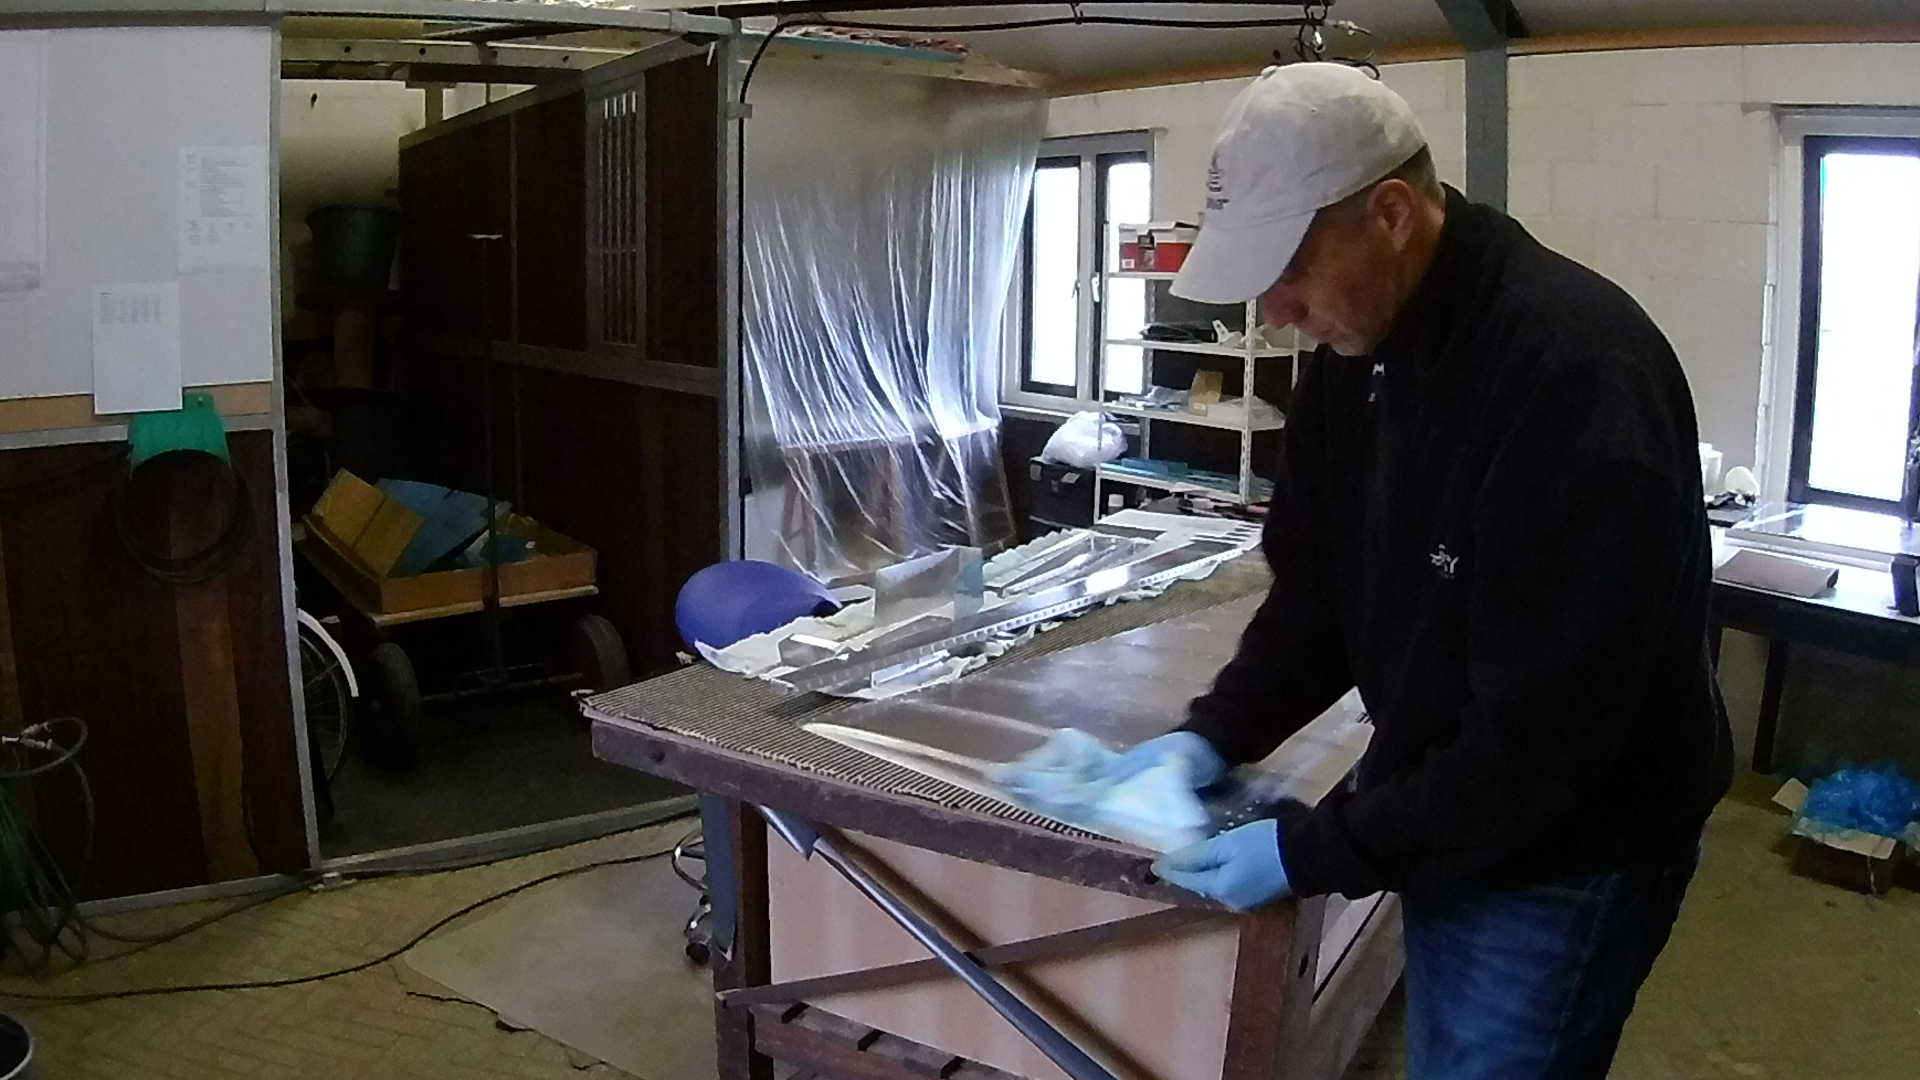
First job is degreasing the ribs, while my dad is preparing the tank sealant.

Now we can use the kit dispenser to put tank sealant on the flanges of the ribs. I decided to deviate from the plans, as I didn’t like to “squeeze” the ribs in the skin while it was sitting in the cradle. In my mind the dimples would smear the tank sealant from its place increasing the chances of leakage.
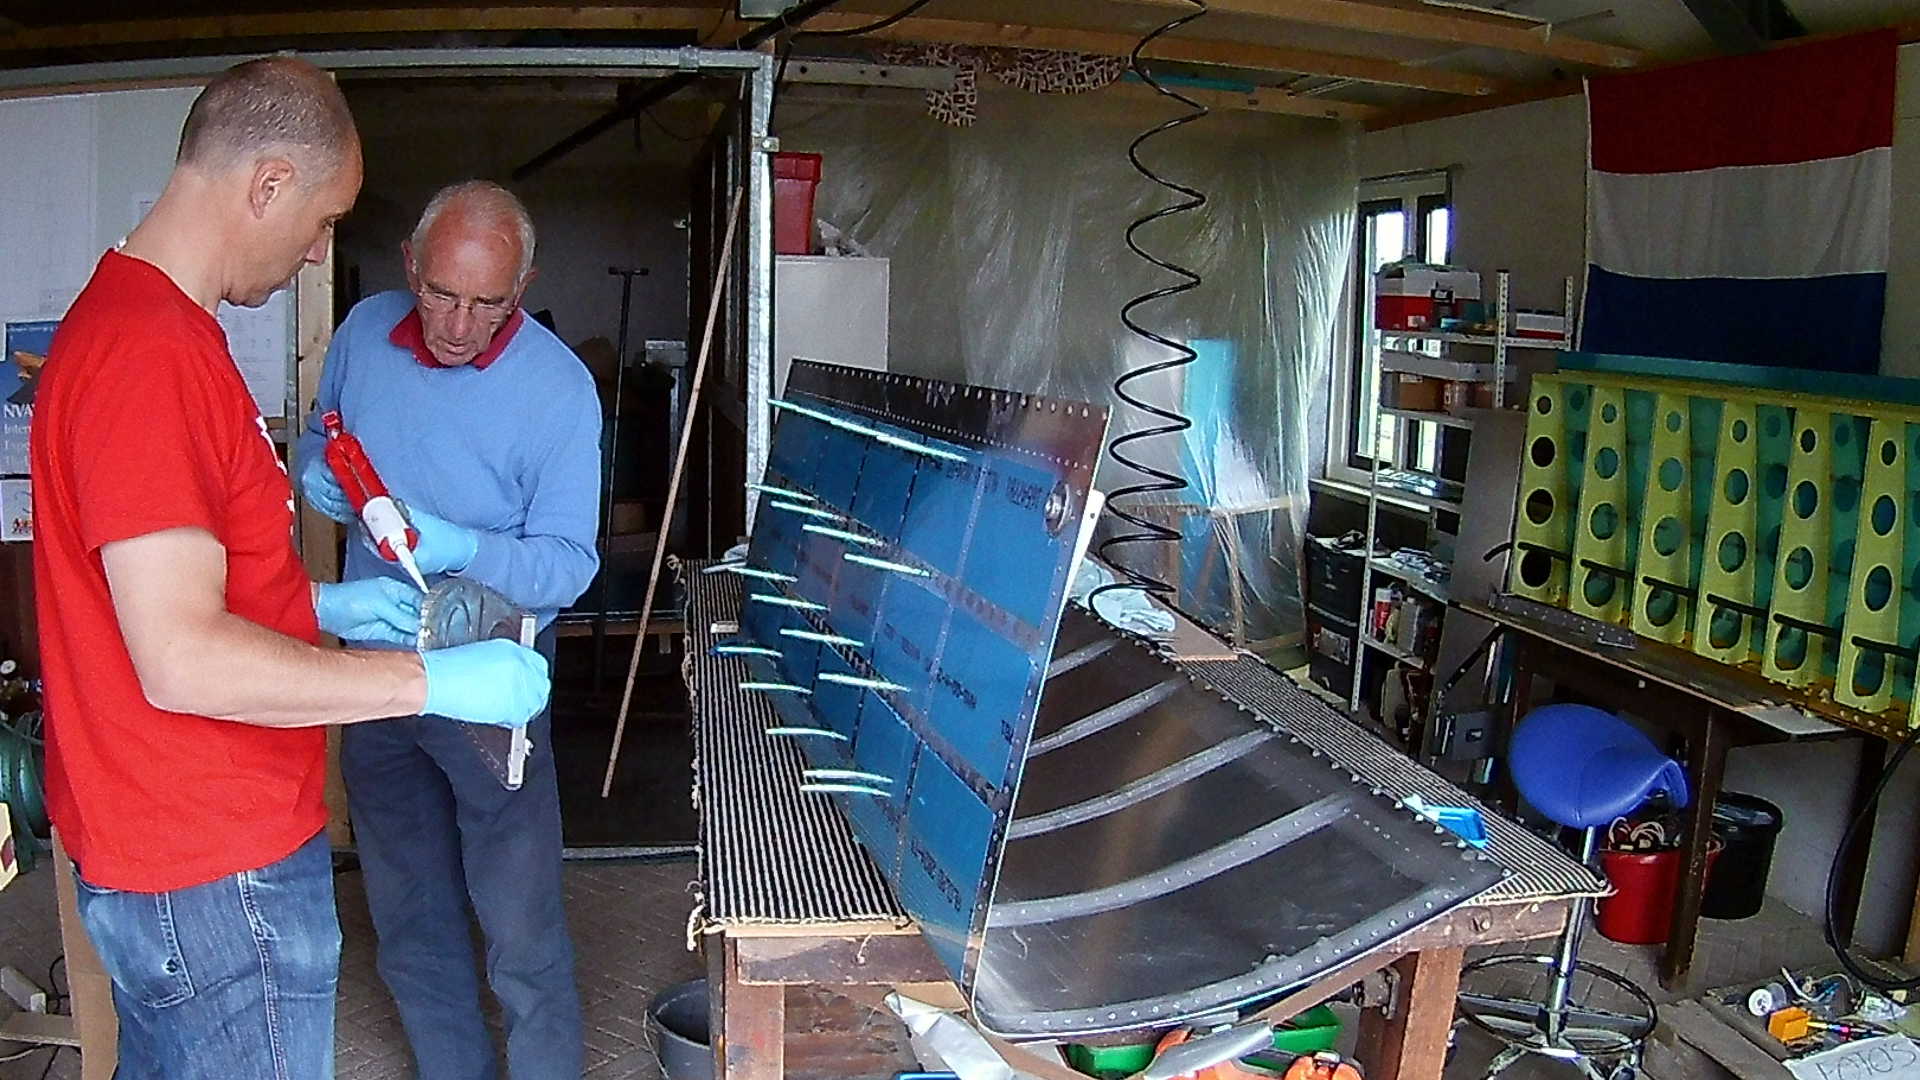
So I decided to add tank sealant on both sides of the rib (bottom and top) and instead of “squeezing” it in, just cleco it to the bottom of the skin.
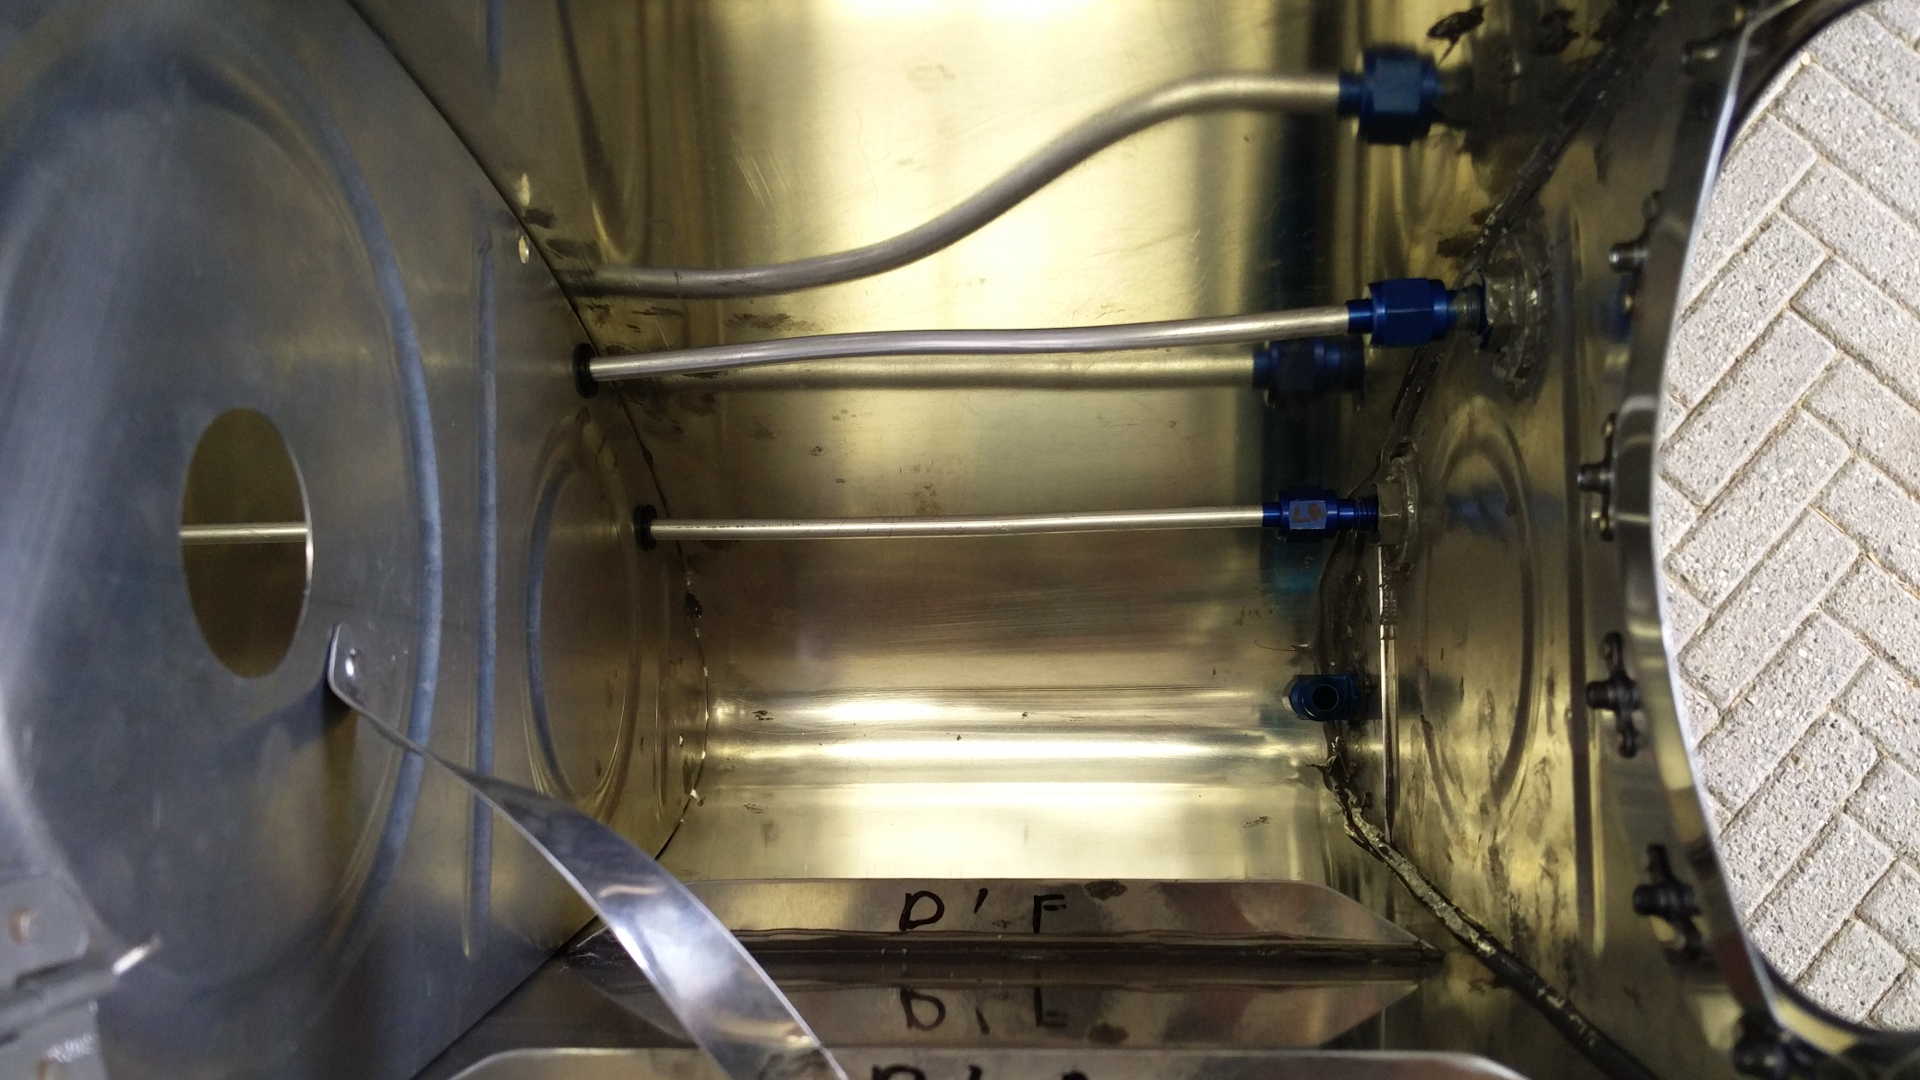
You can see this is the last inner rib, the others are already clecoed in. Meanwhile the top is still free.
After clecoing all ribs, we “squeezed” the tank into the cradle, bending the skin instead of “squeezing” the rib. It went really well and I will use the same technique on the Right Wing Tank. After all the ribs are in and the tank is in the cradle we start riveting.
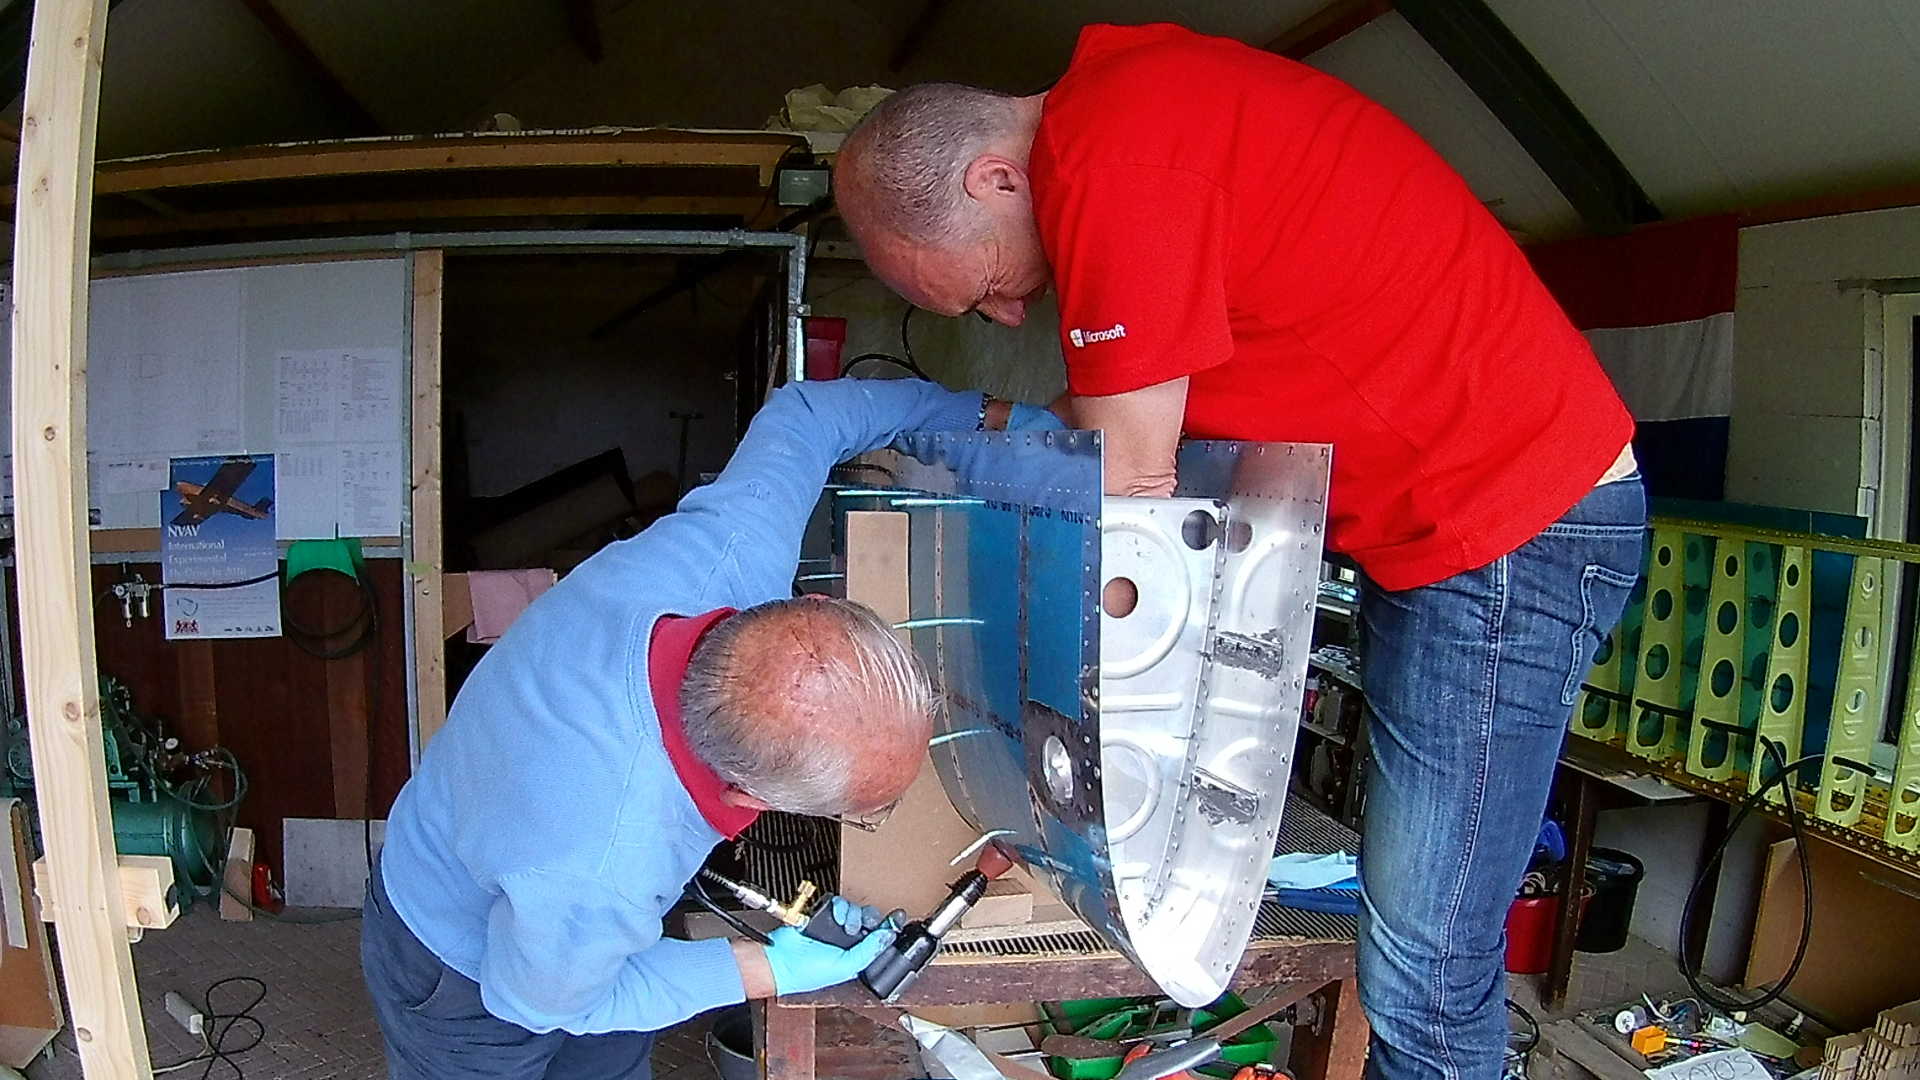
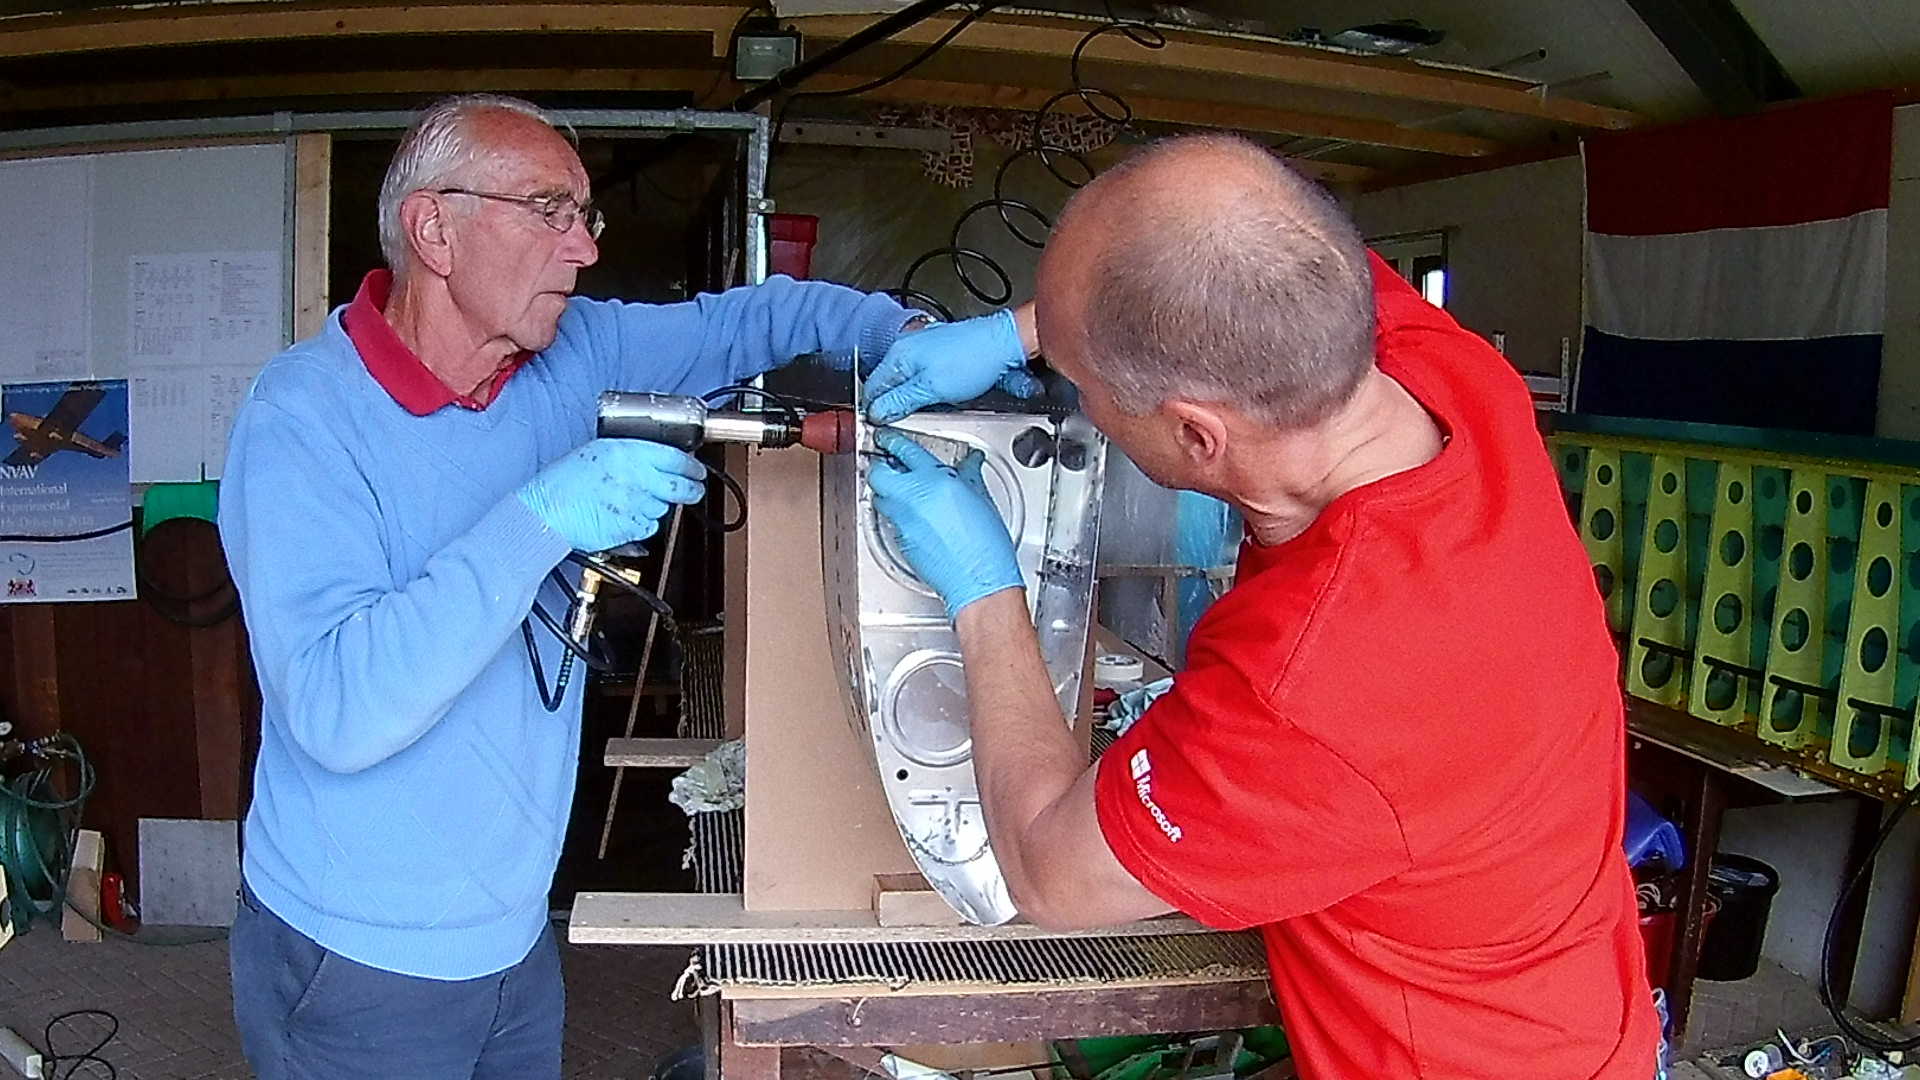
In the nose part of the Tank it’s not that easy to set the rivets. Here working with two persons is not a luxury.
The inner and outer most ribs still need to be done with “squeezing” the rib, because of the excess of tank sealant involved I didn’t worry.
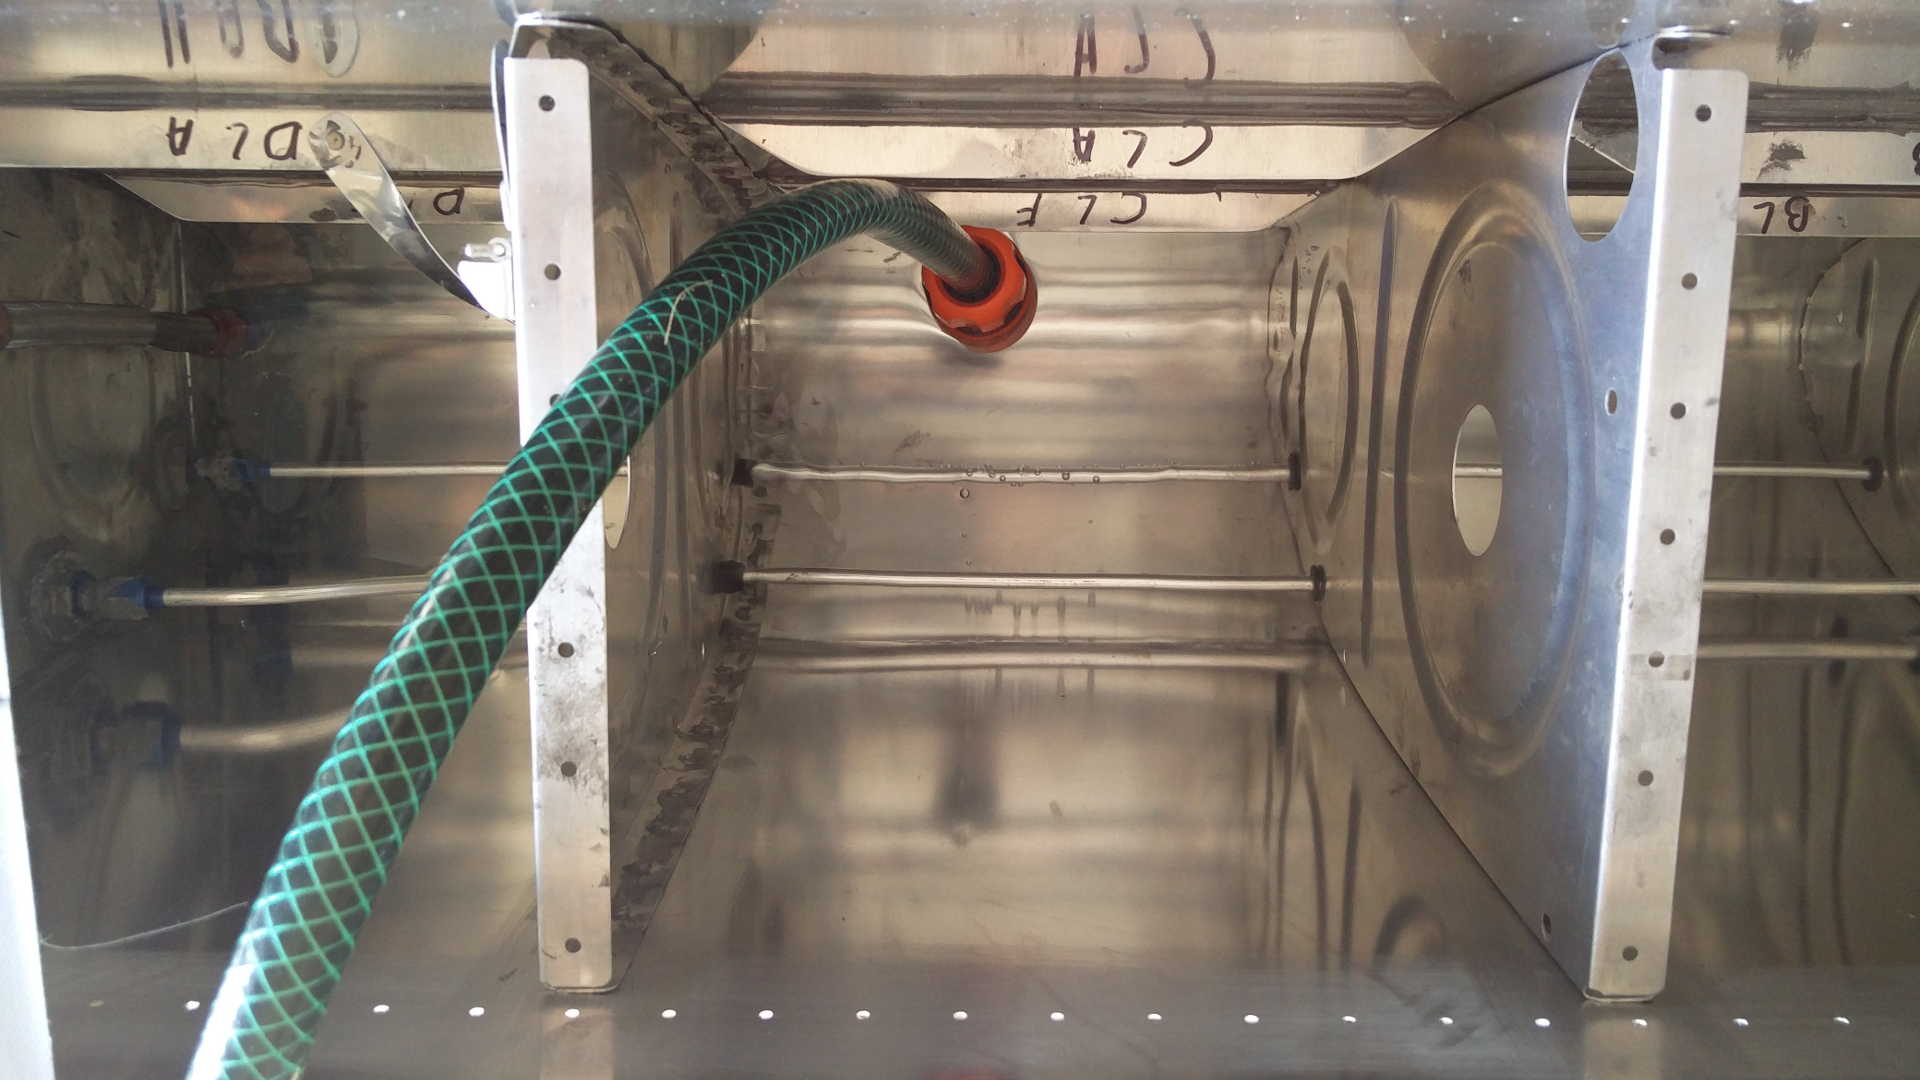
For those two ribs we can use the pneumatic squeezer (top word in this post).
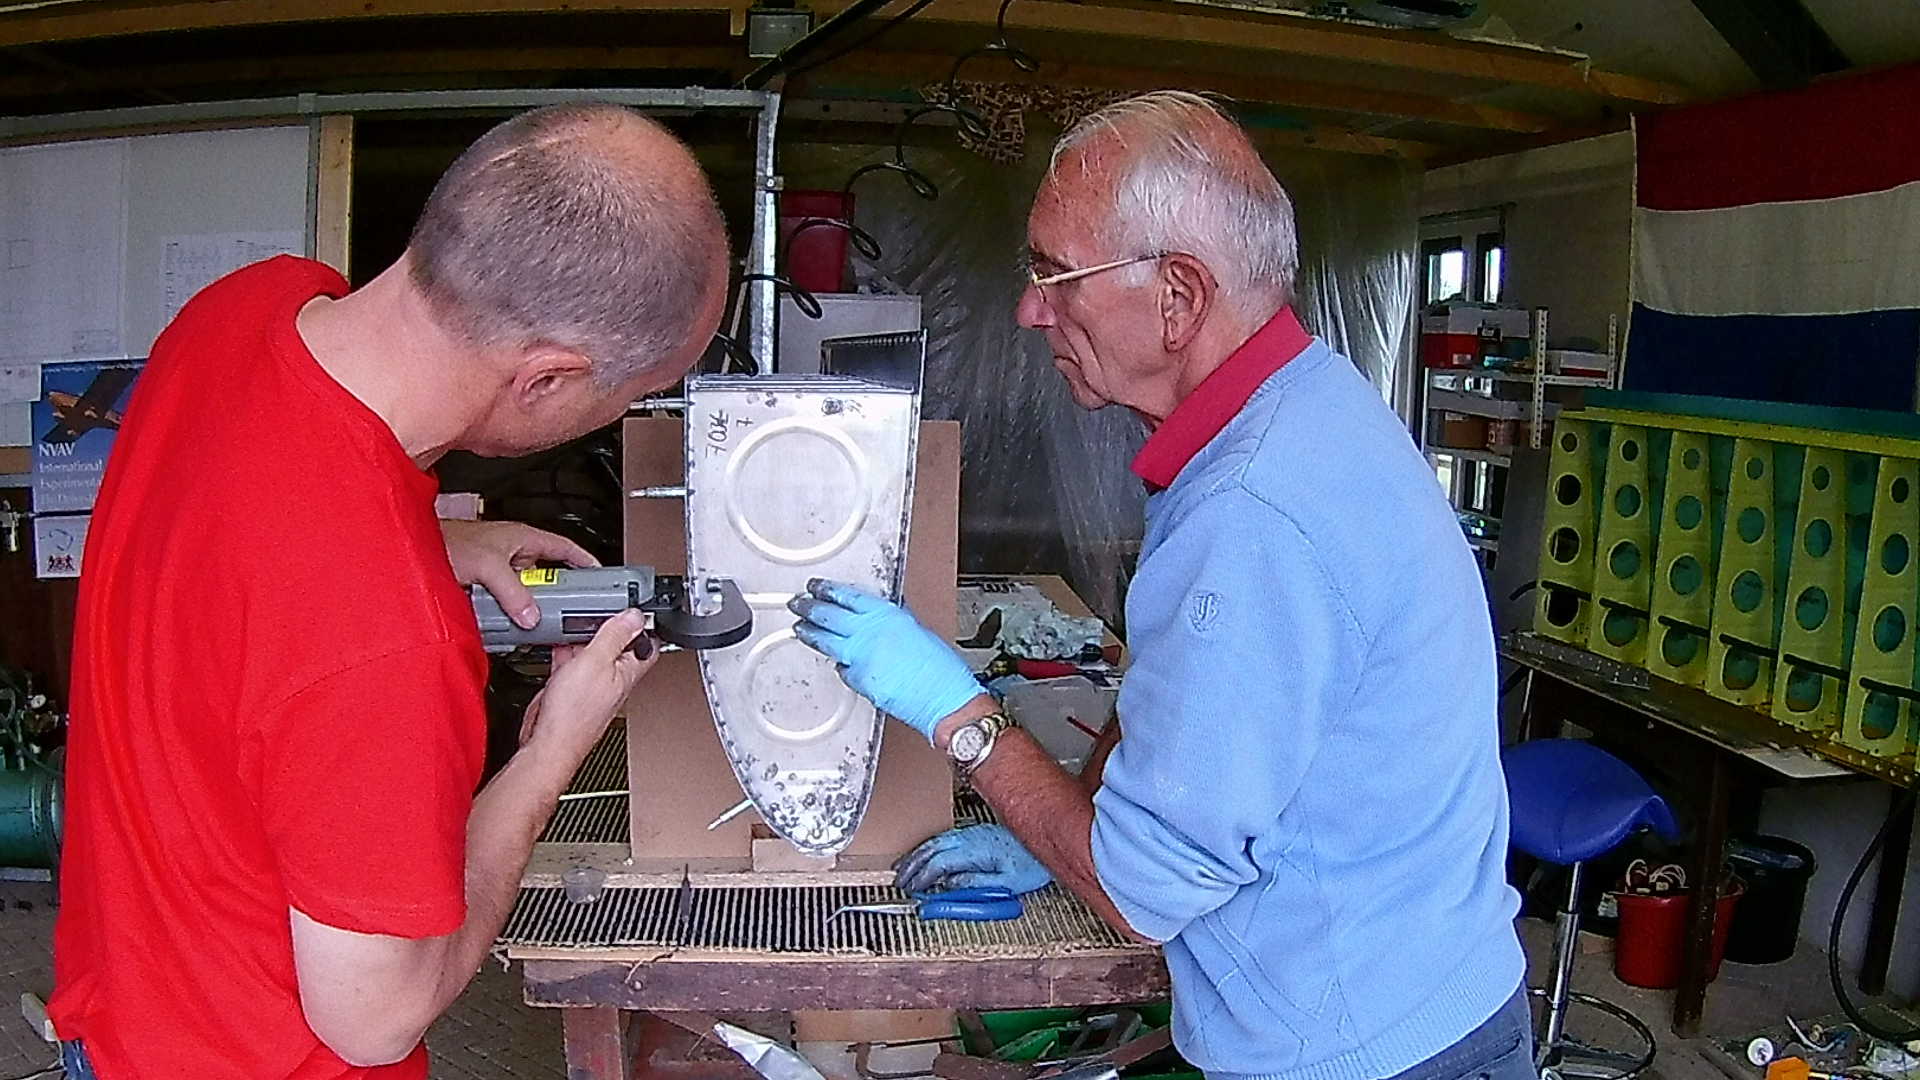
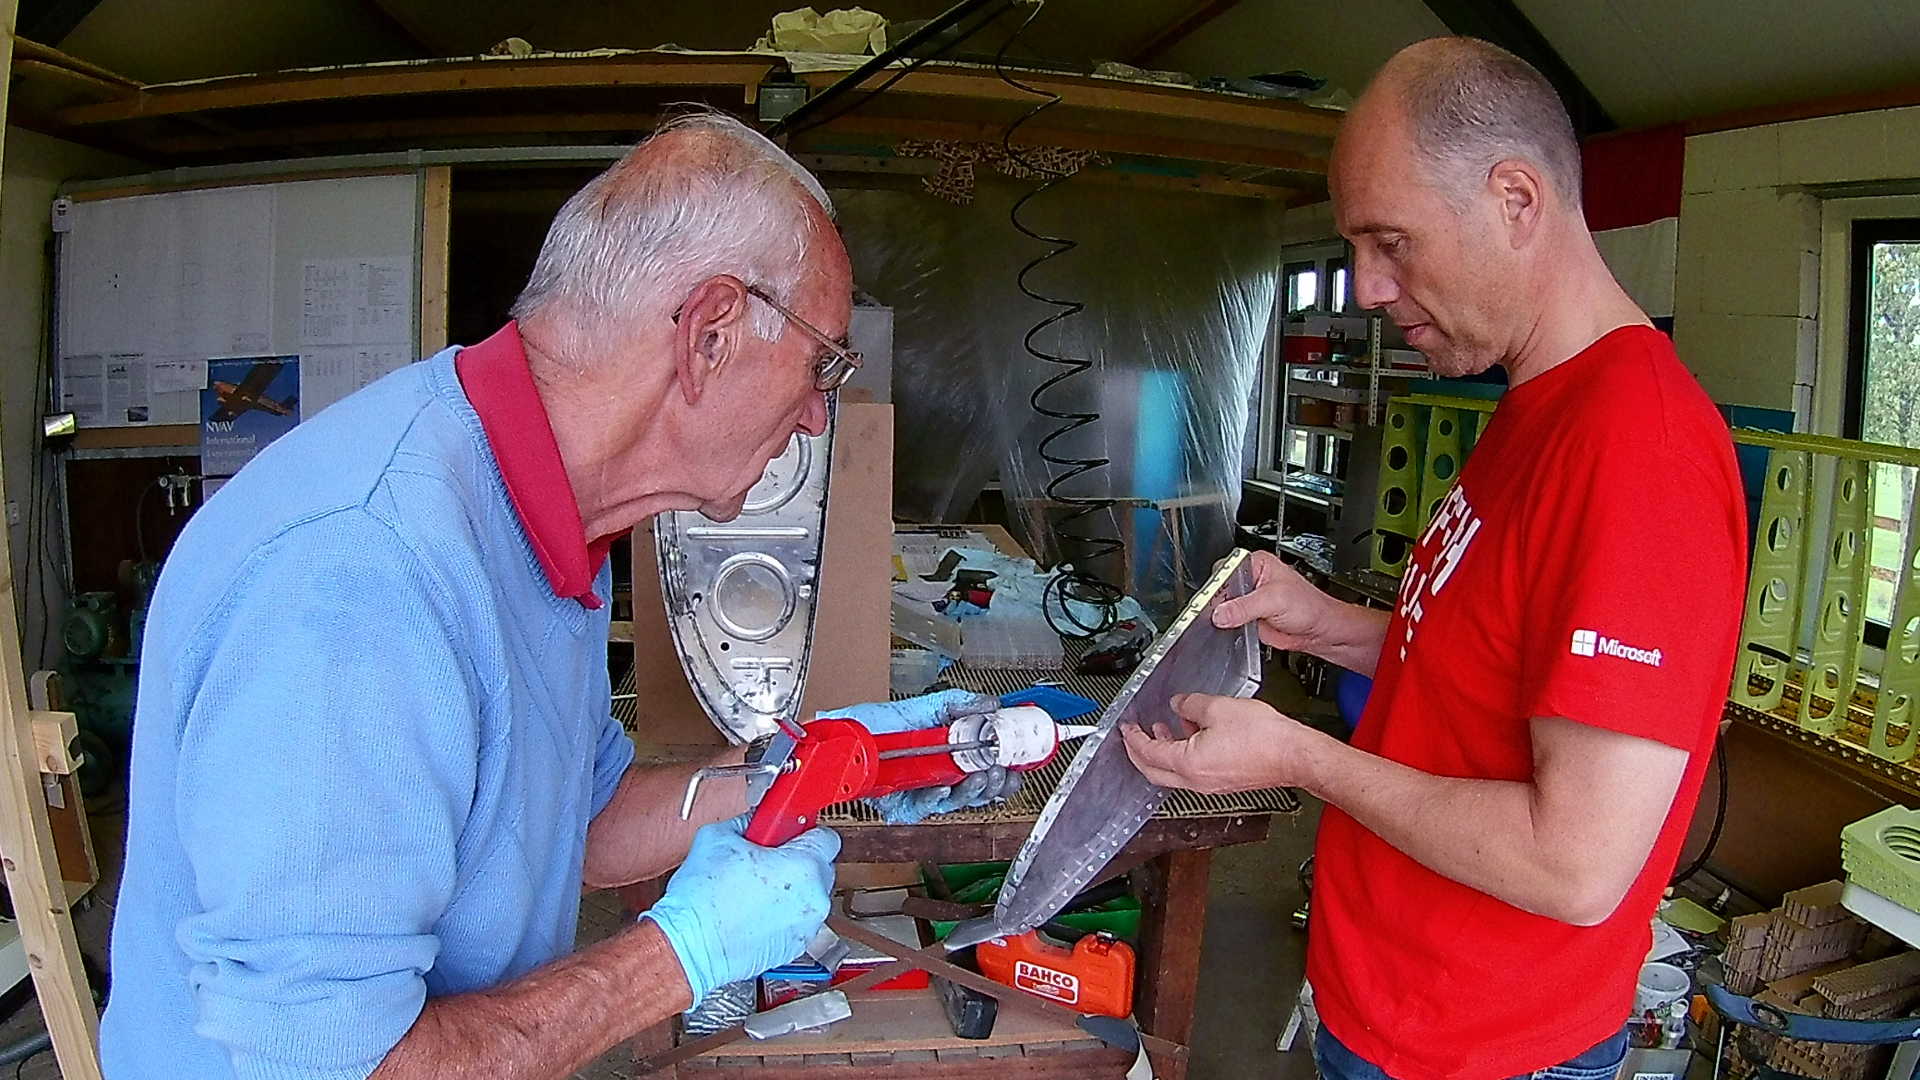
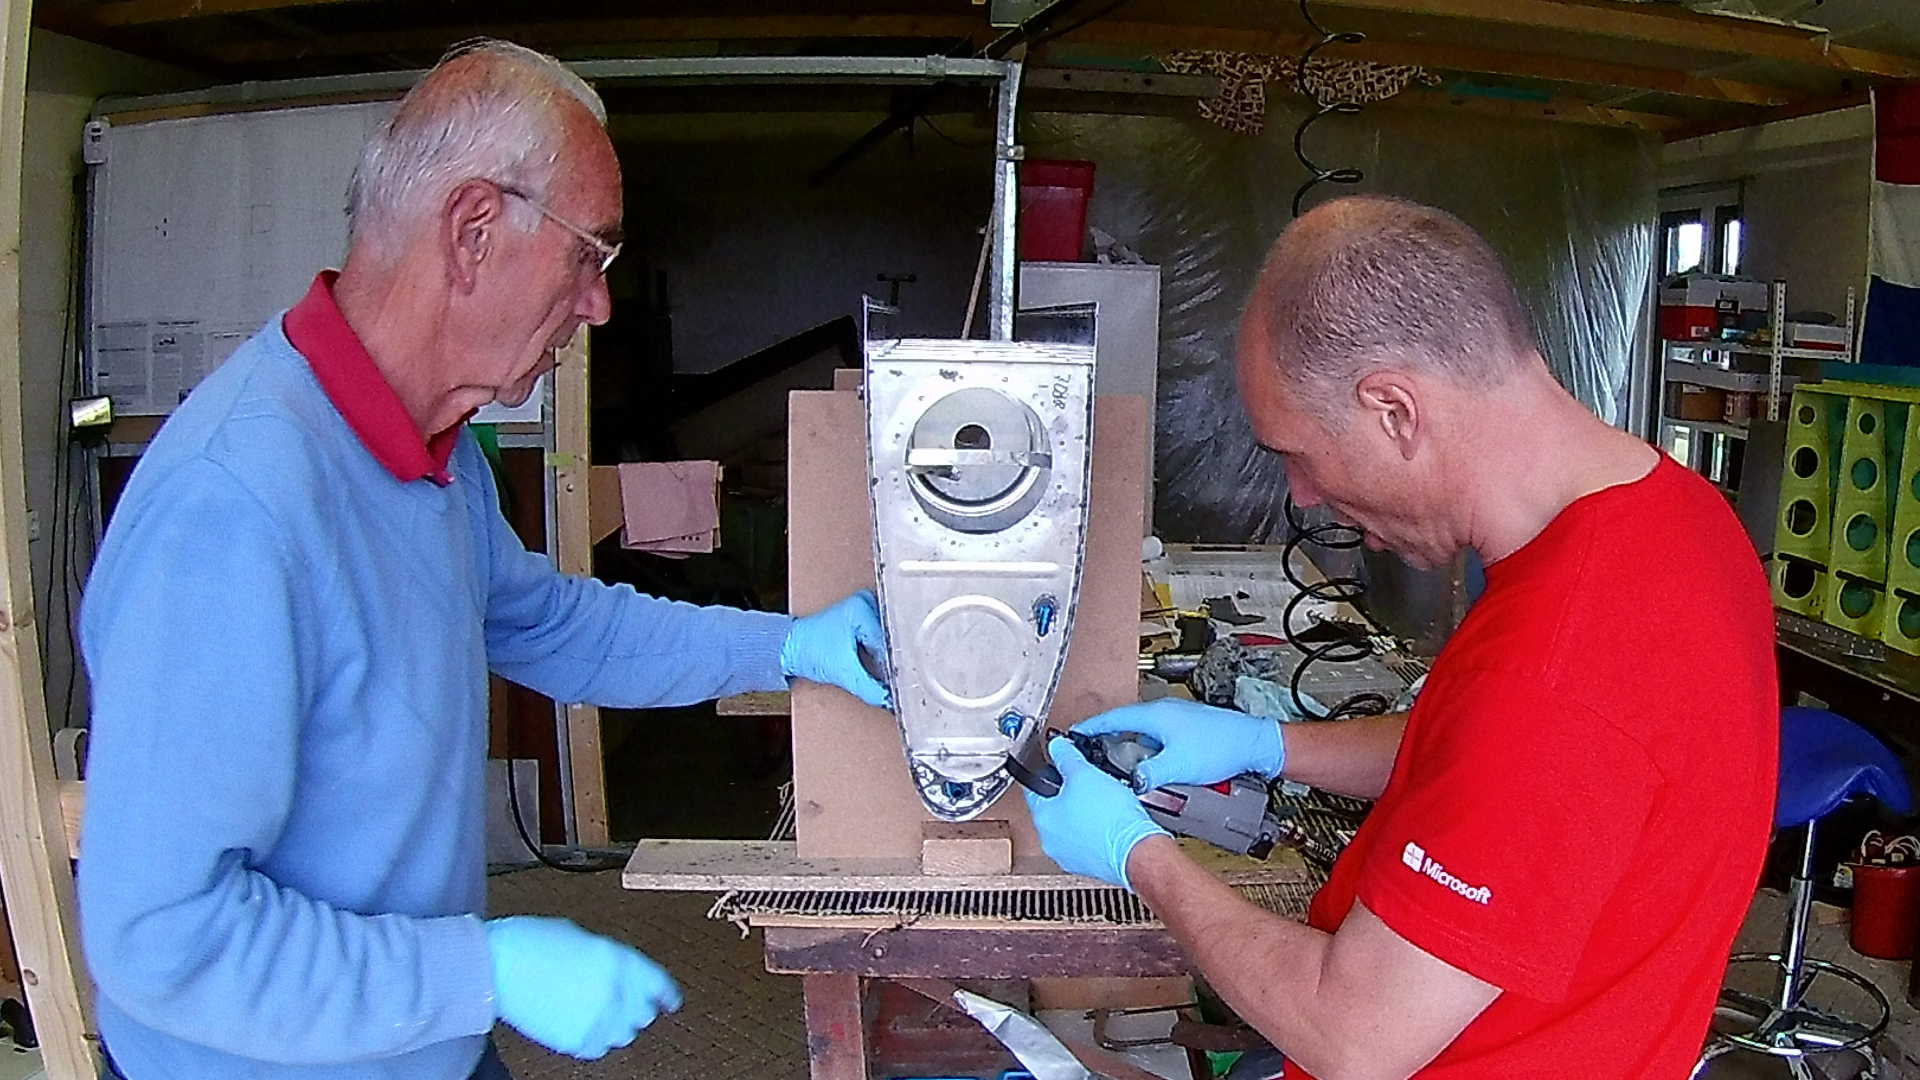
I could have prepared the inboard rib better, now we needed to seal and rivet the attach angle, so it took us 6 hours of working on the tank.

Because of the bulkheads, I used the other yoke.
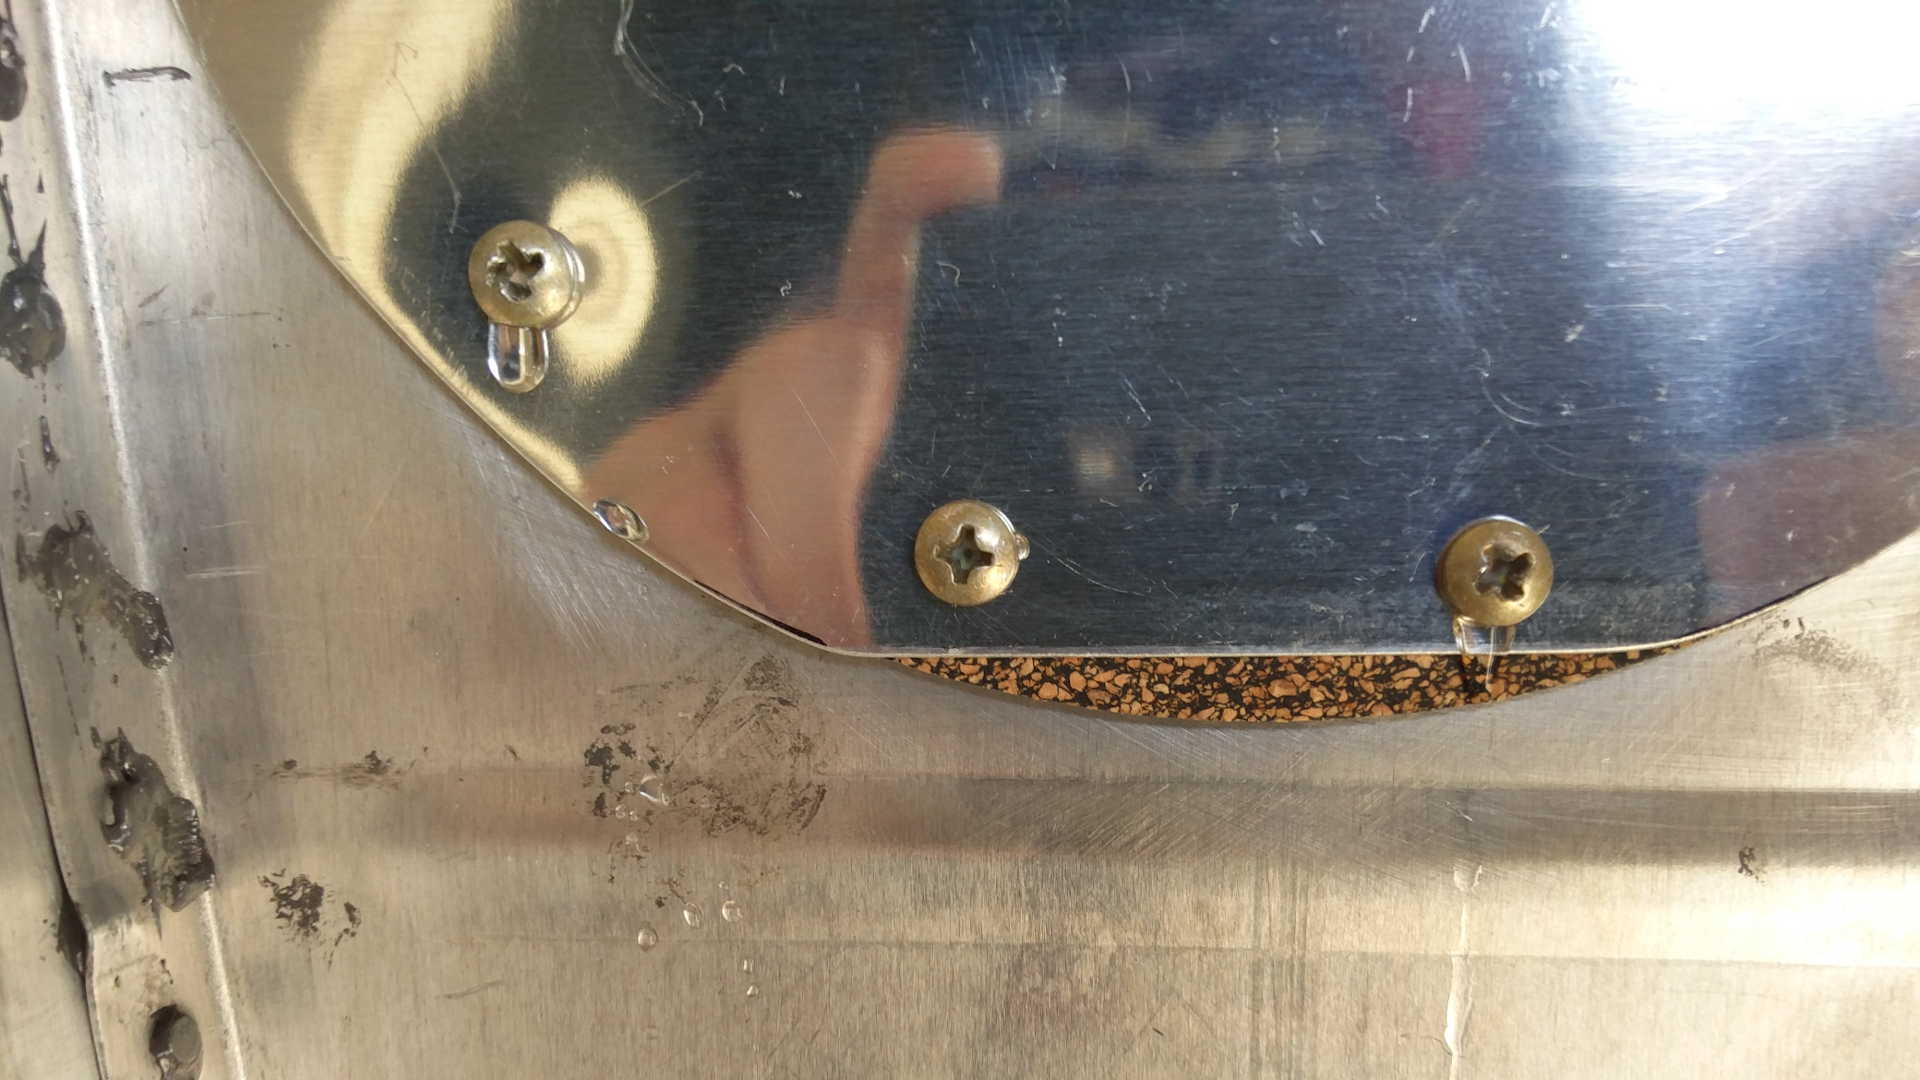
Here’s the result. I tested the tank and it leaked on the gasket of the big hole. Without thinking too long, I threw out the gasket and used tank sealant to seal that part.
Maybe I should have been more patient and wait if the gasket would need some time emerged in water to get set.
My biggest frustration of this tank is that the hole didn’t have to be there at all. If you use a flop tube (as I do in the left wind) that hole is not necessary. So it took me 30 minutes to create the hole and than another hour to seal it tight again.
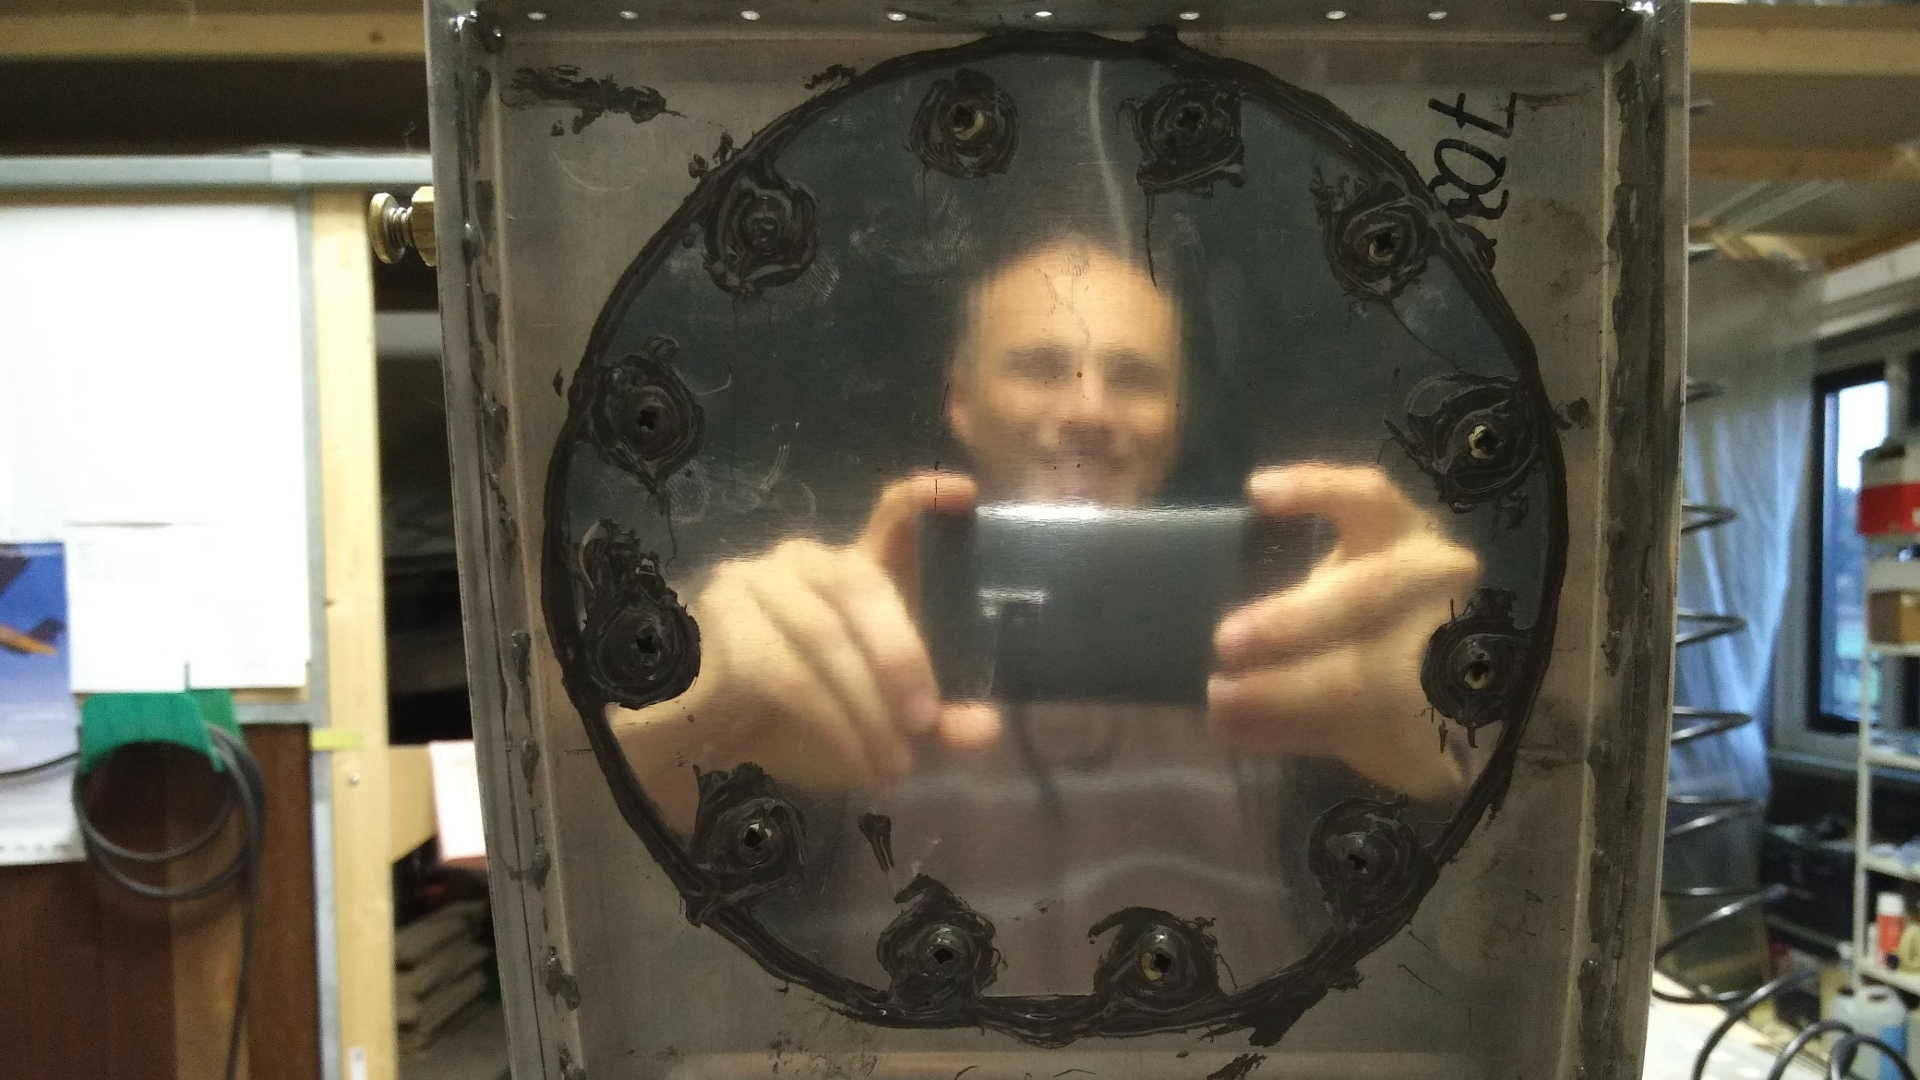
Well you could argue that if something goes wrong with the bulkheads later you still have access. However that would be awkward to work through that hole as it isn’t that big at all.
Time: 6 Hours, Rivets: 259/1 (2018-09-26)
Time: 4 Hours, Rivets: 1/0 (2018-09-30)
Video