
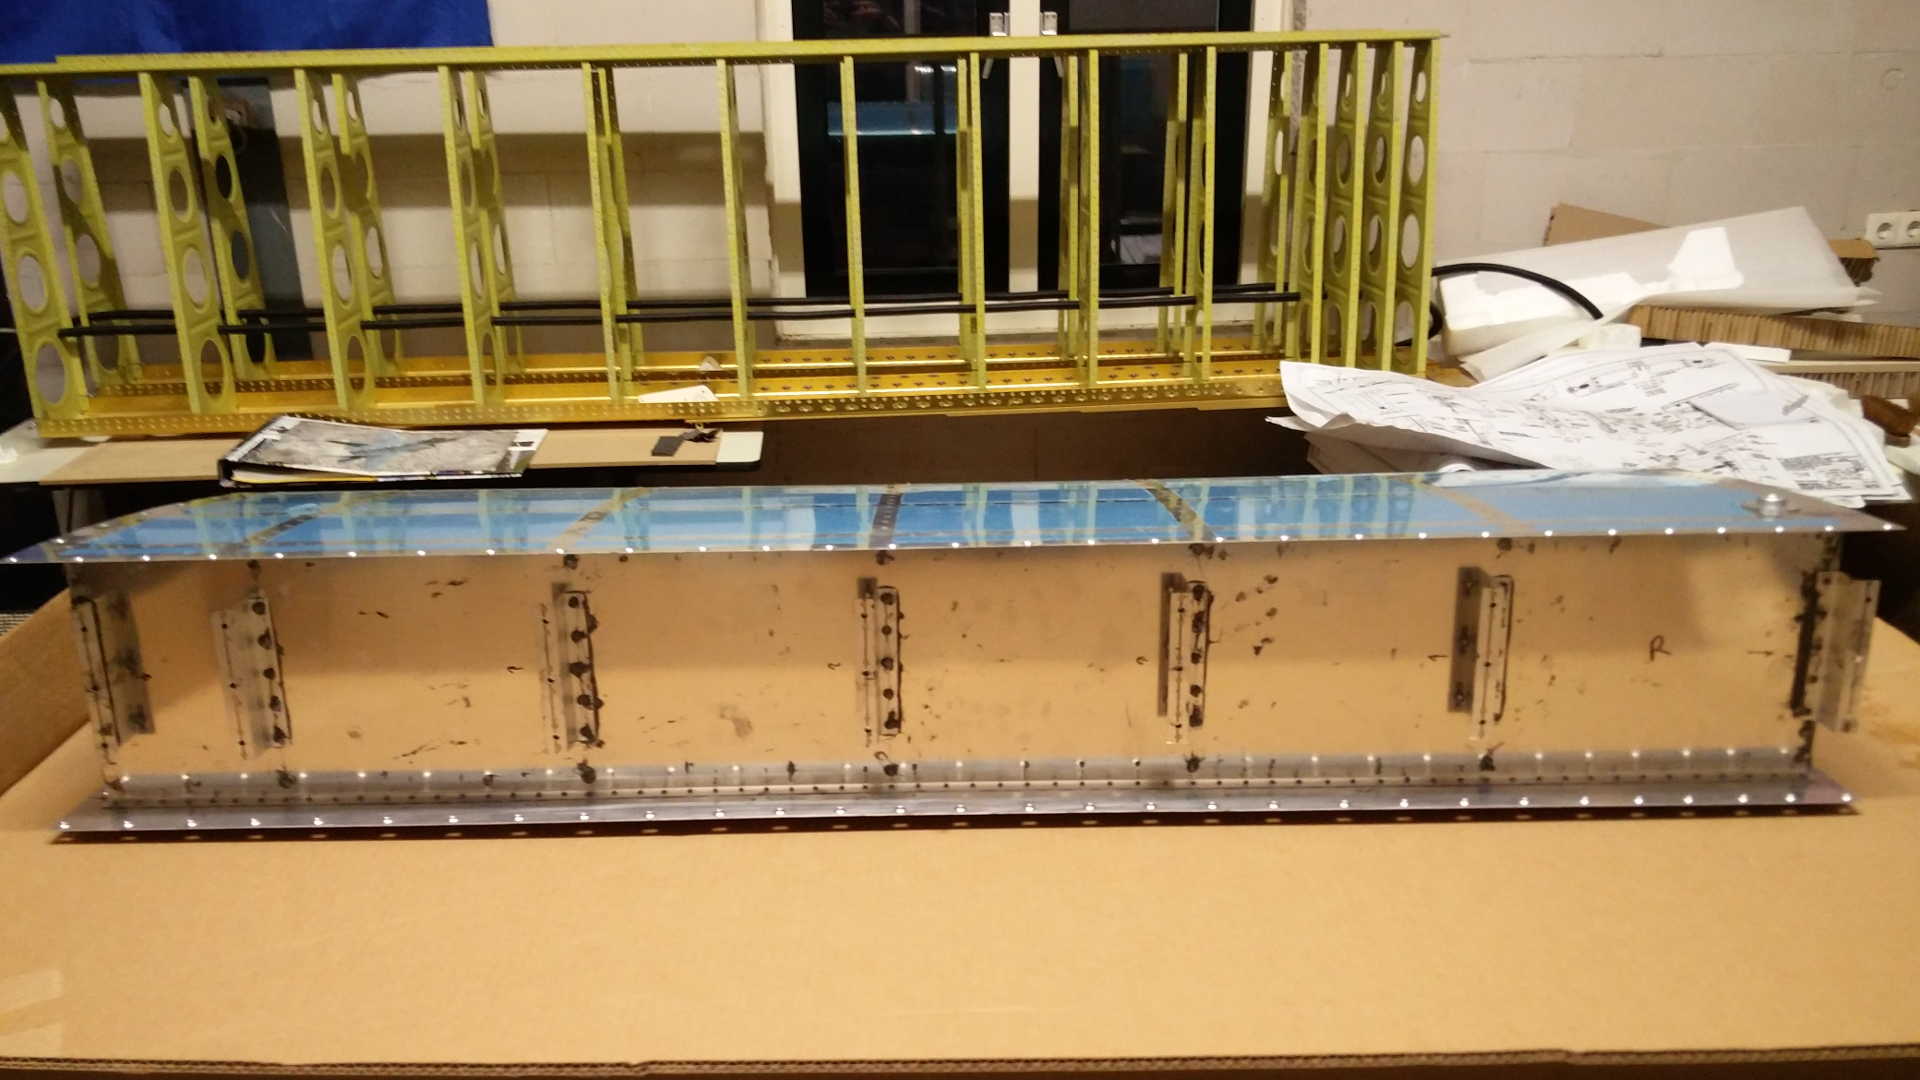
Before starting to rivet the leading edges, not being the tanks, first the results of the final leak-test of the right tank. Just as with the test for the left tank, I placed the right tank with its baffle on top of a cardboard plate and filled the tank up.
I checked the bottom (i.e. baffle) which is placed on its tank attach angles on cardboard beam. After filling the tank with water it turns out the cardboard stayed dry. Hence NO LEAKS!
After removing the water I visually checked the bottom meticulously, but found no traces of a leak.
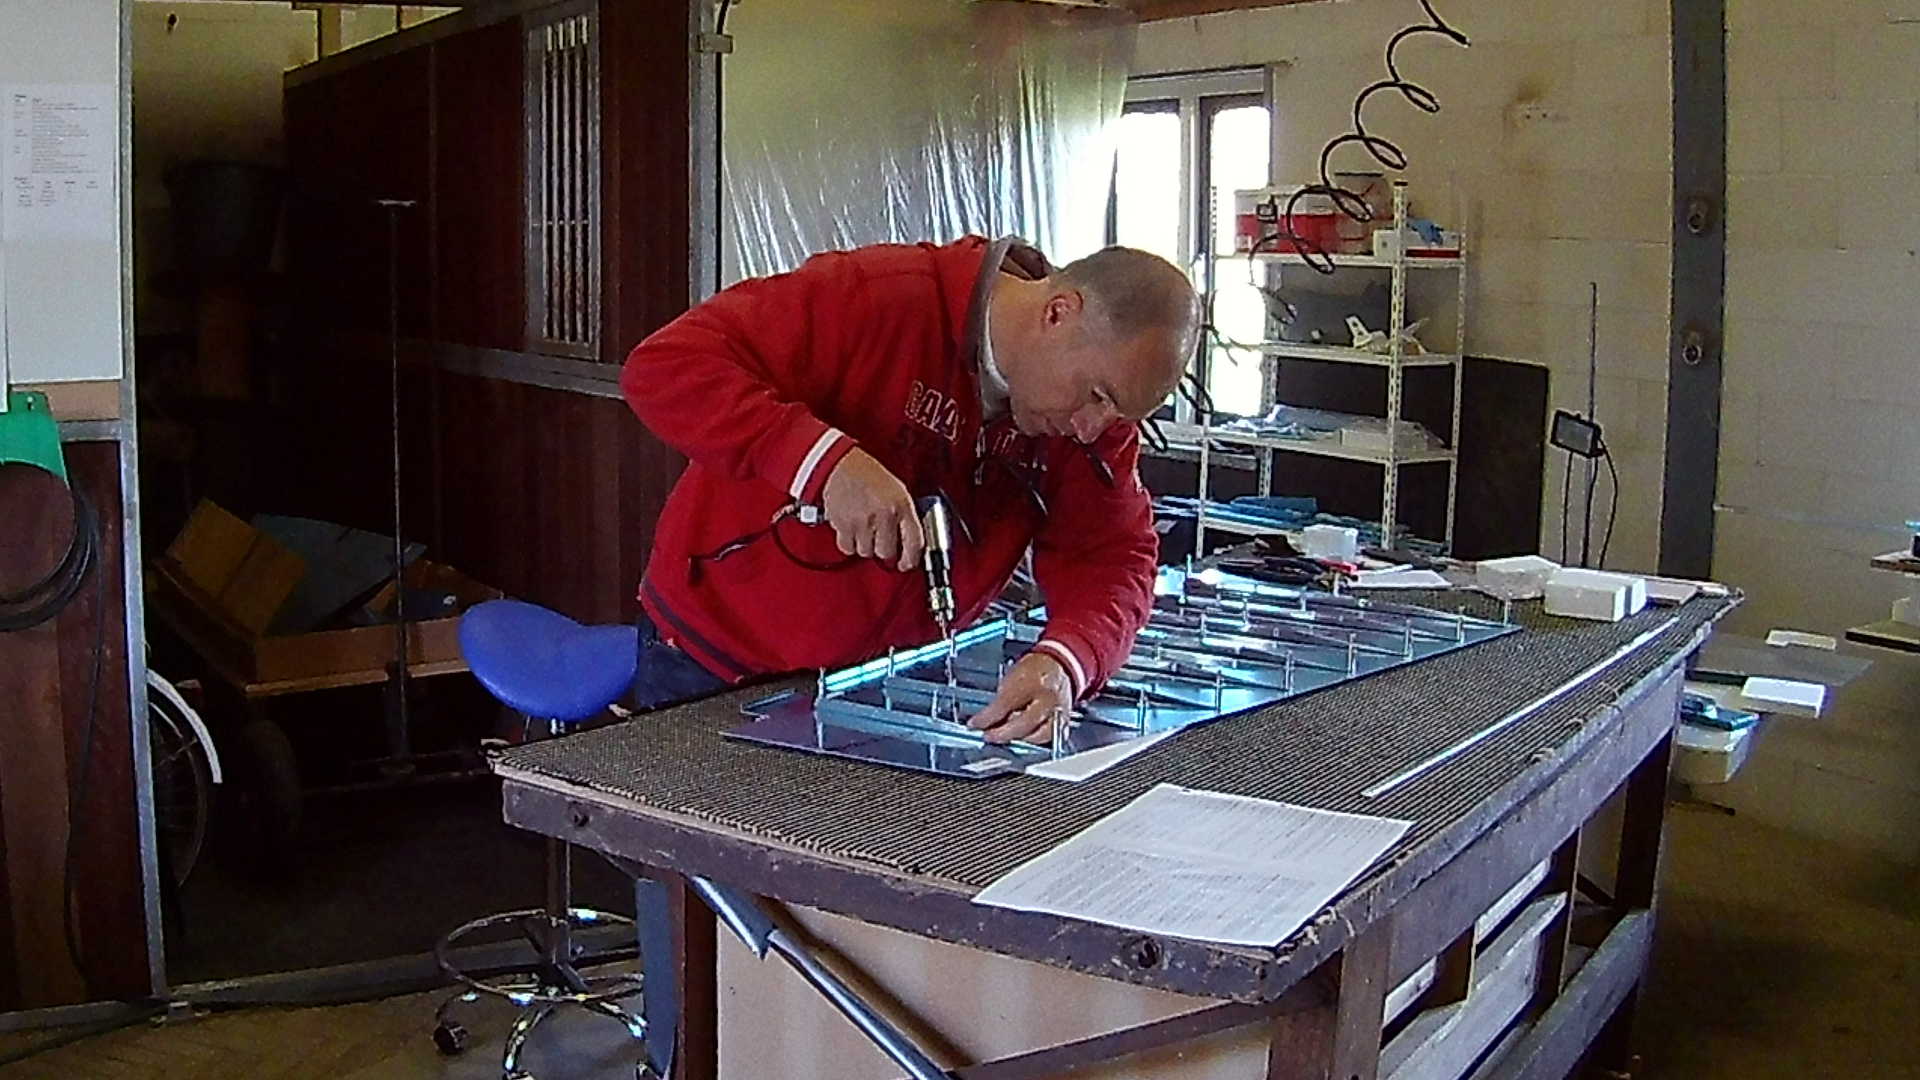
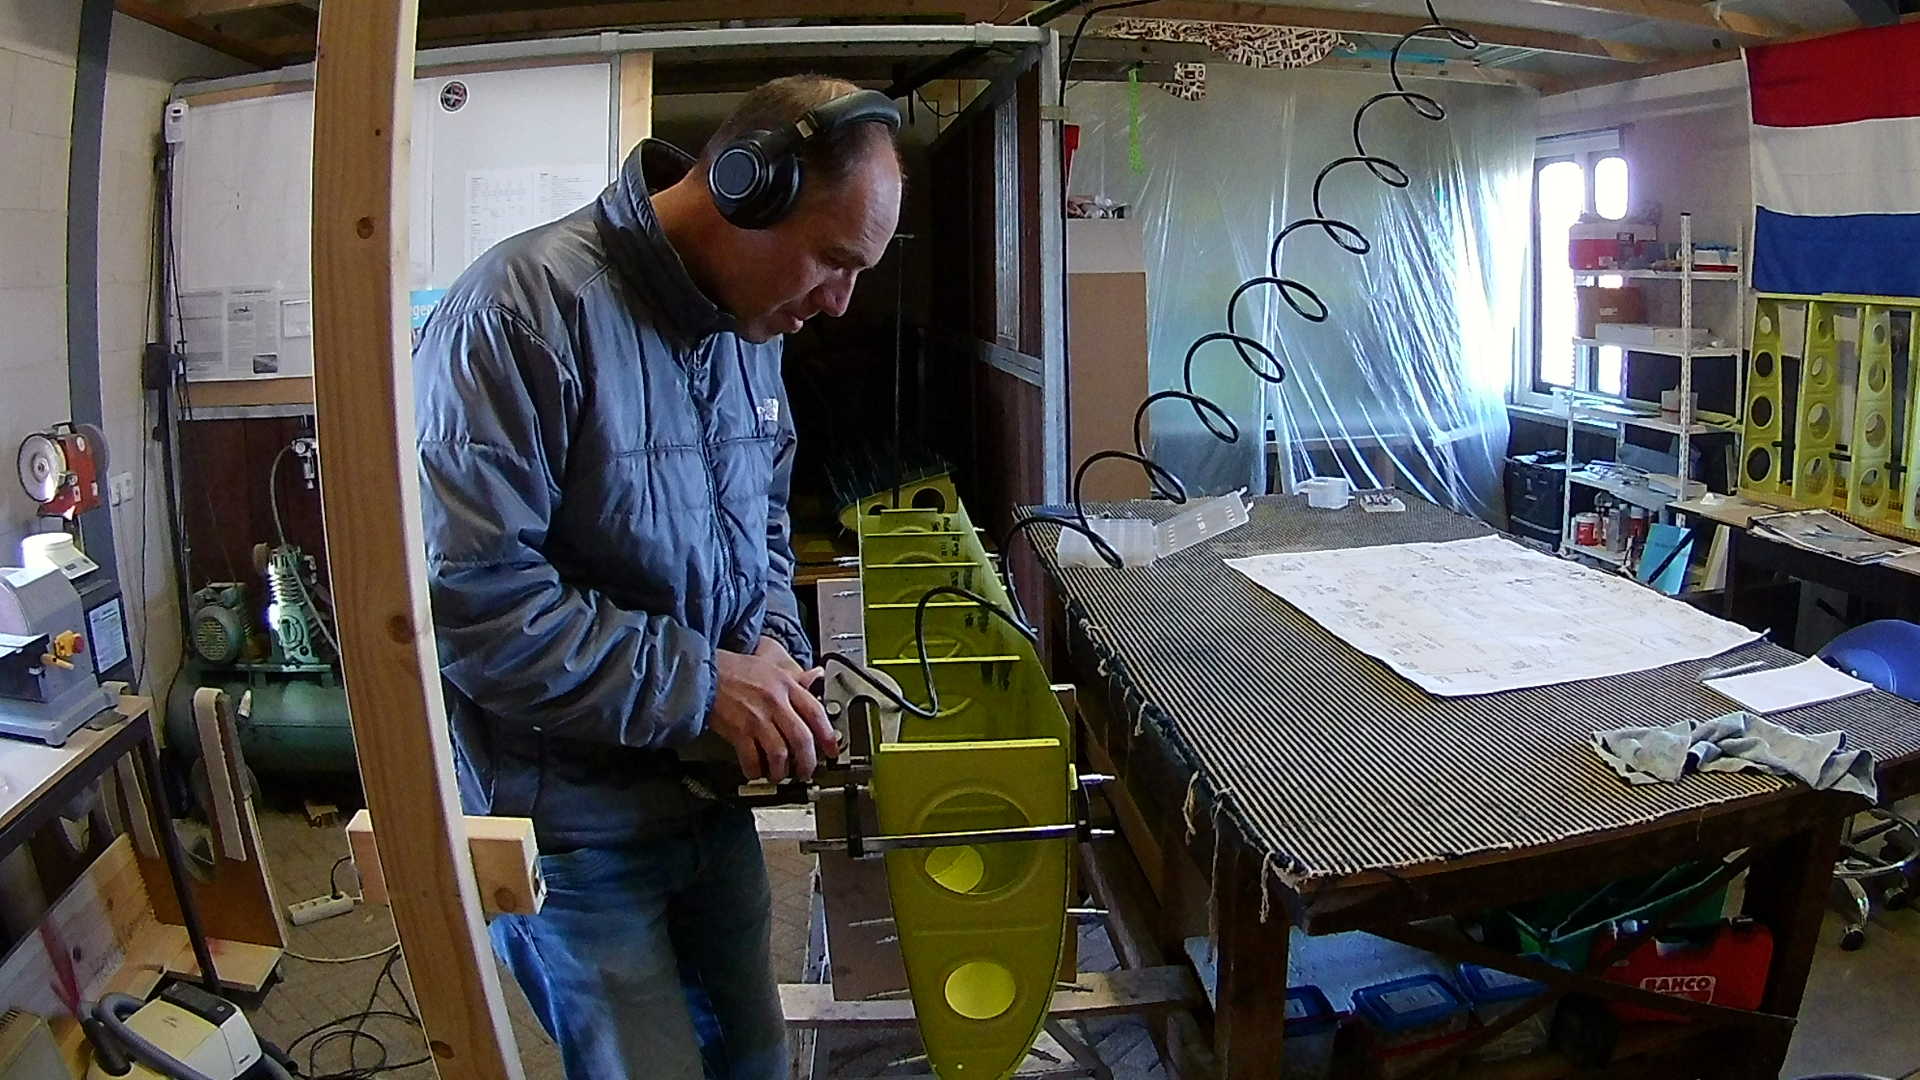
I started early by myself and riveting the top rivets with the squeezer. Turned on the heater and placed all the cleco’s.
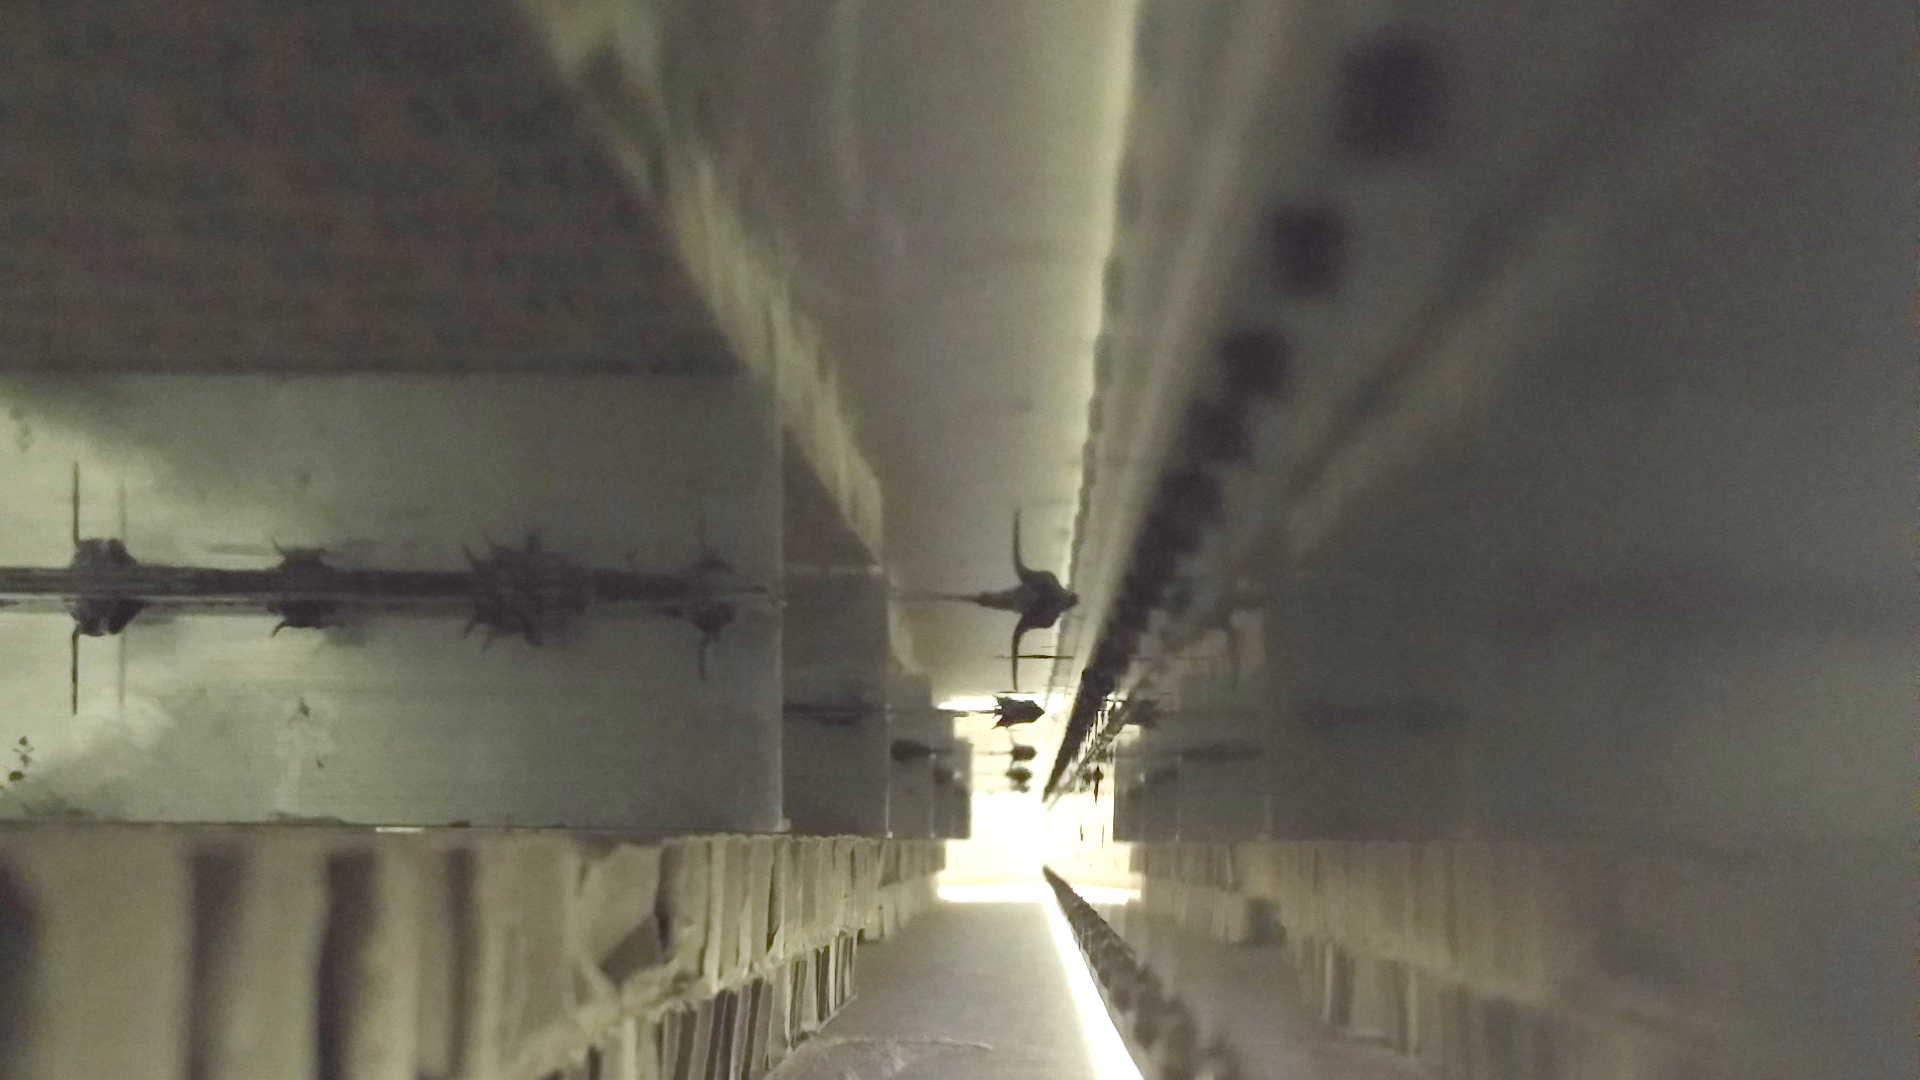
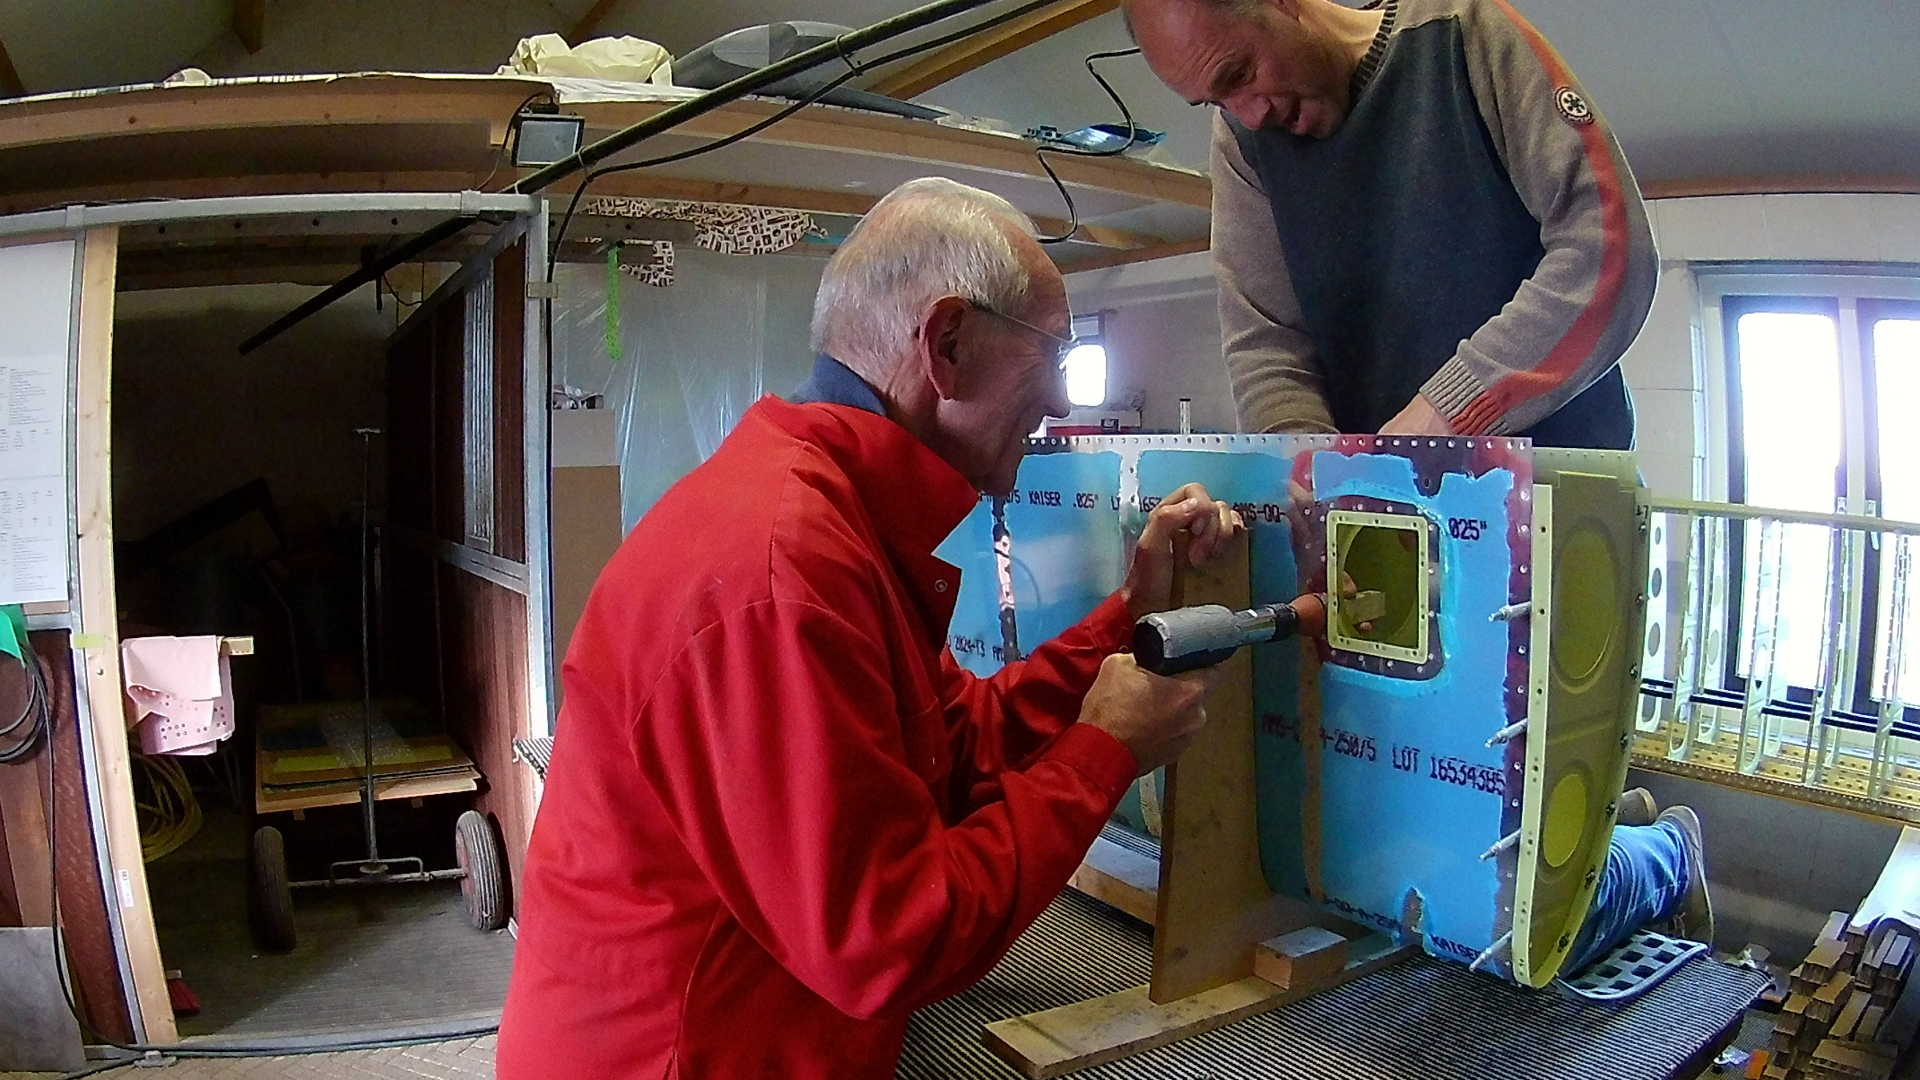
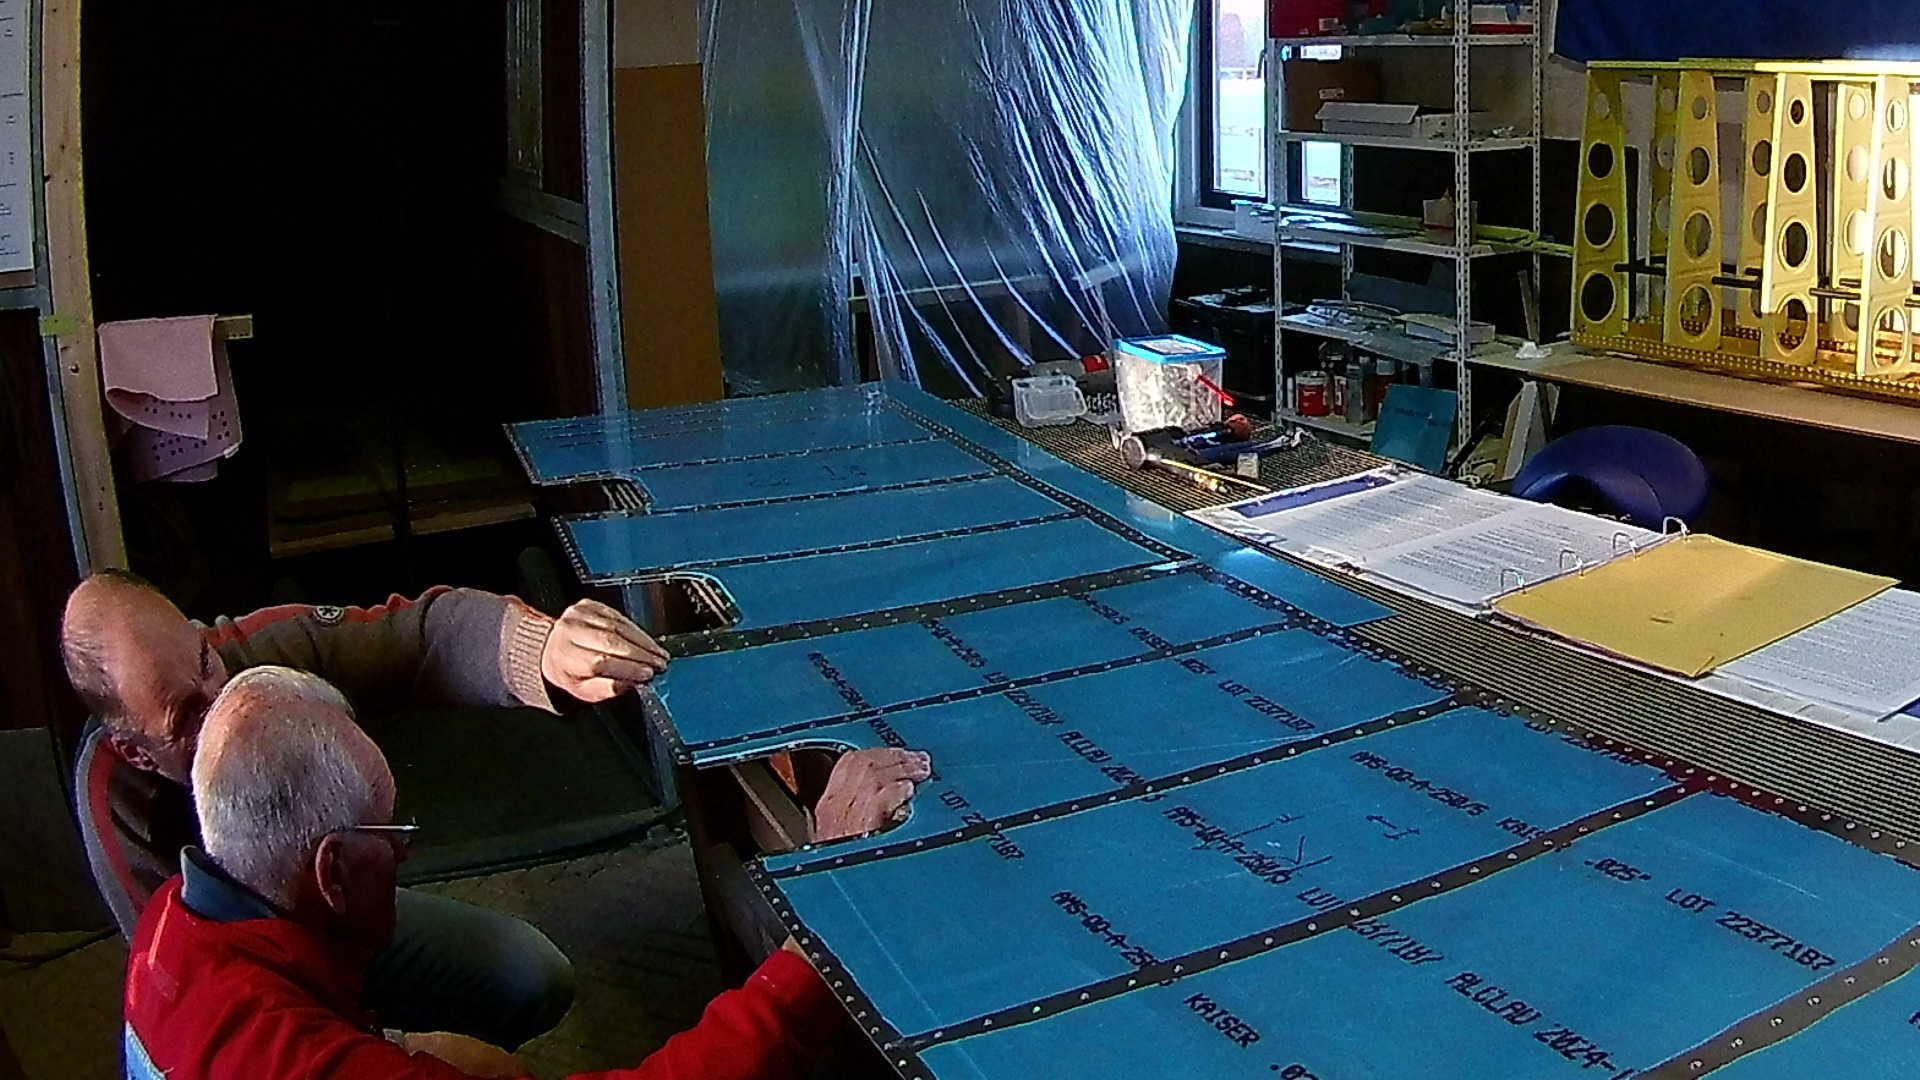
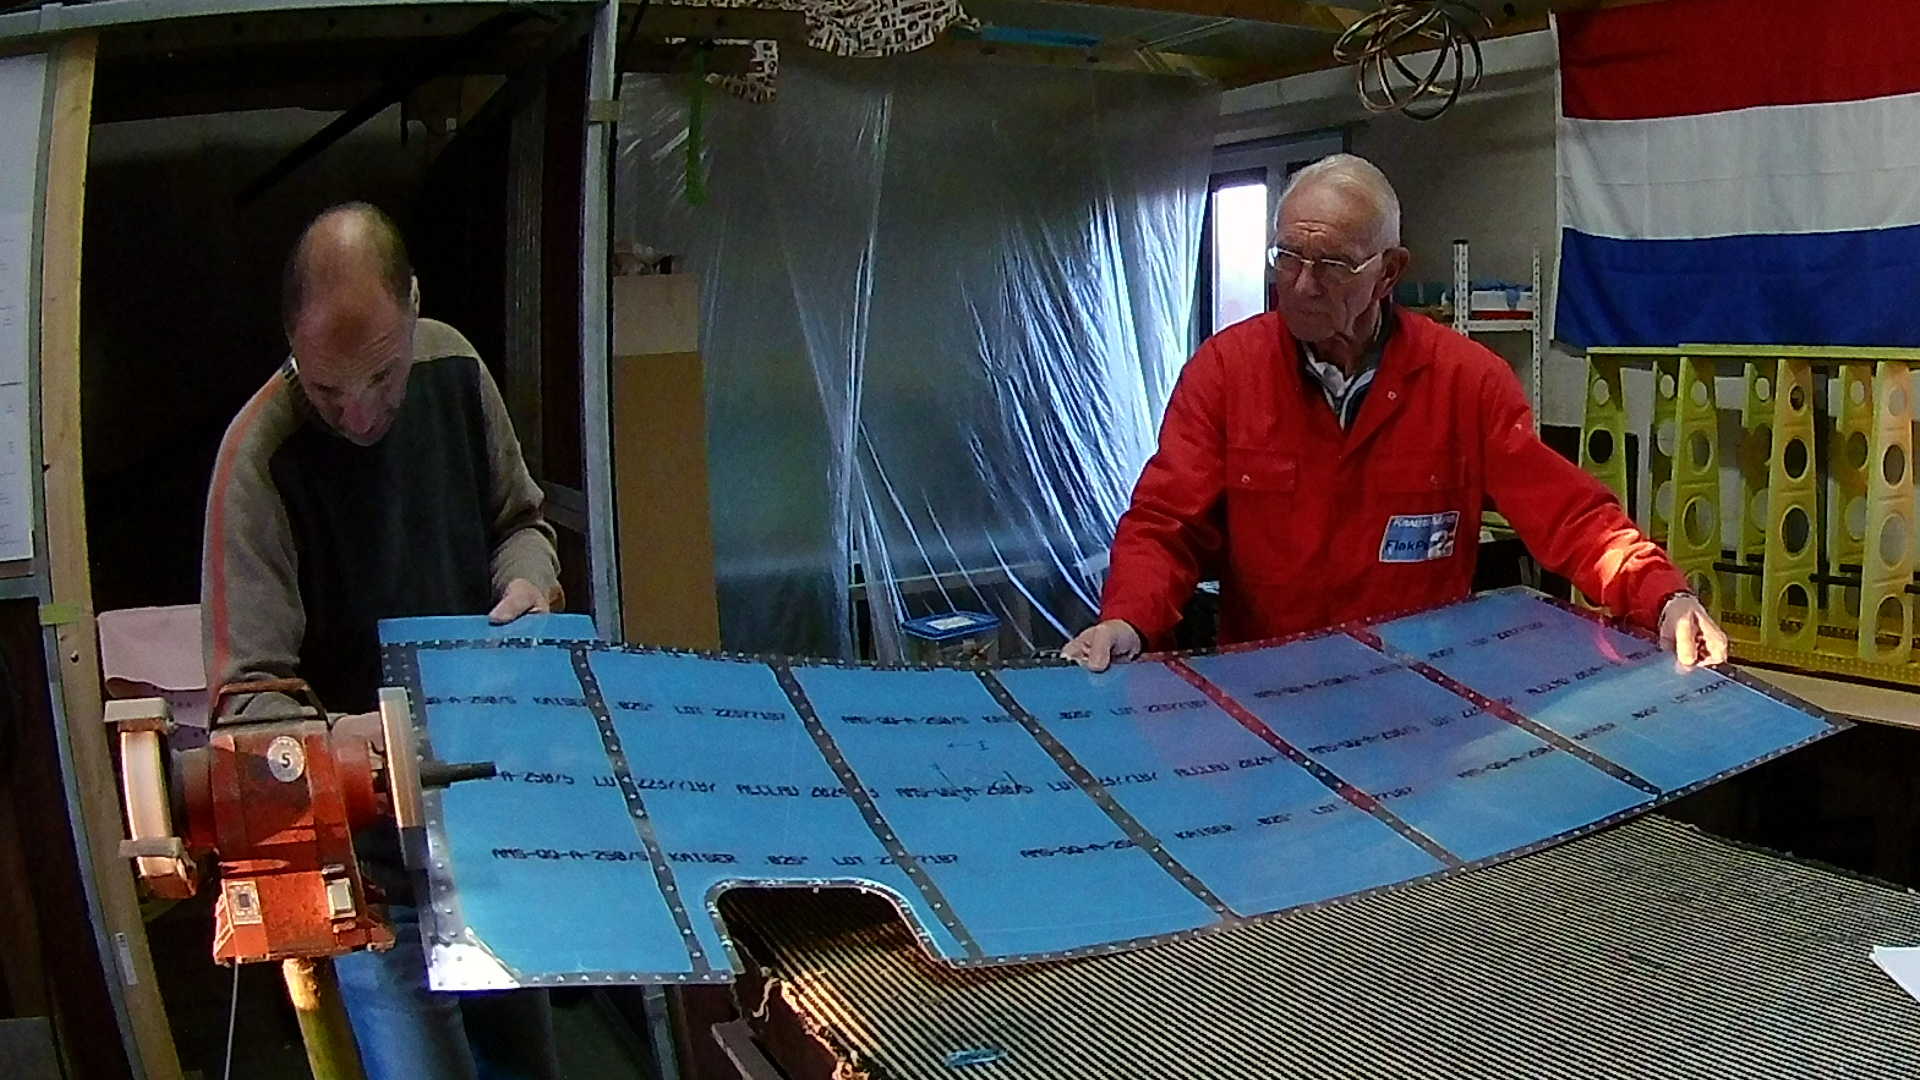
Later that afternoon my dad joined me and helped with riveting. Although you can do it by yourself, it’s much easier to do it with two persons. Through the access hole of the stall warner you can see the bucking bar at work.
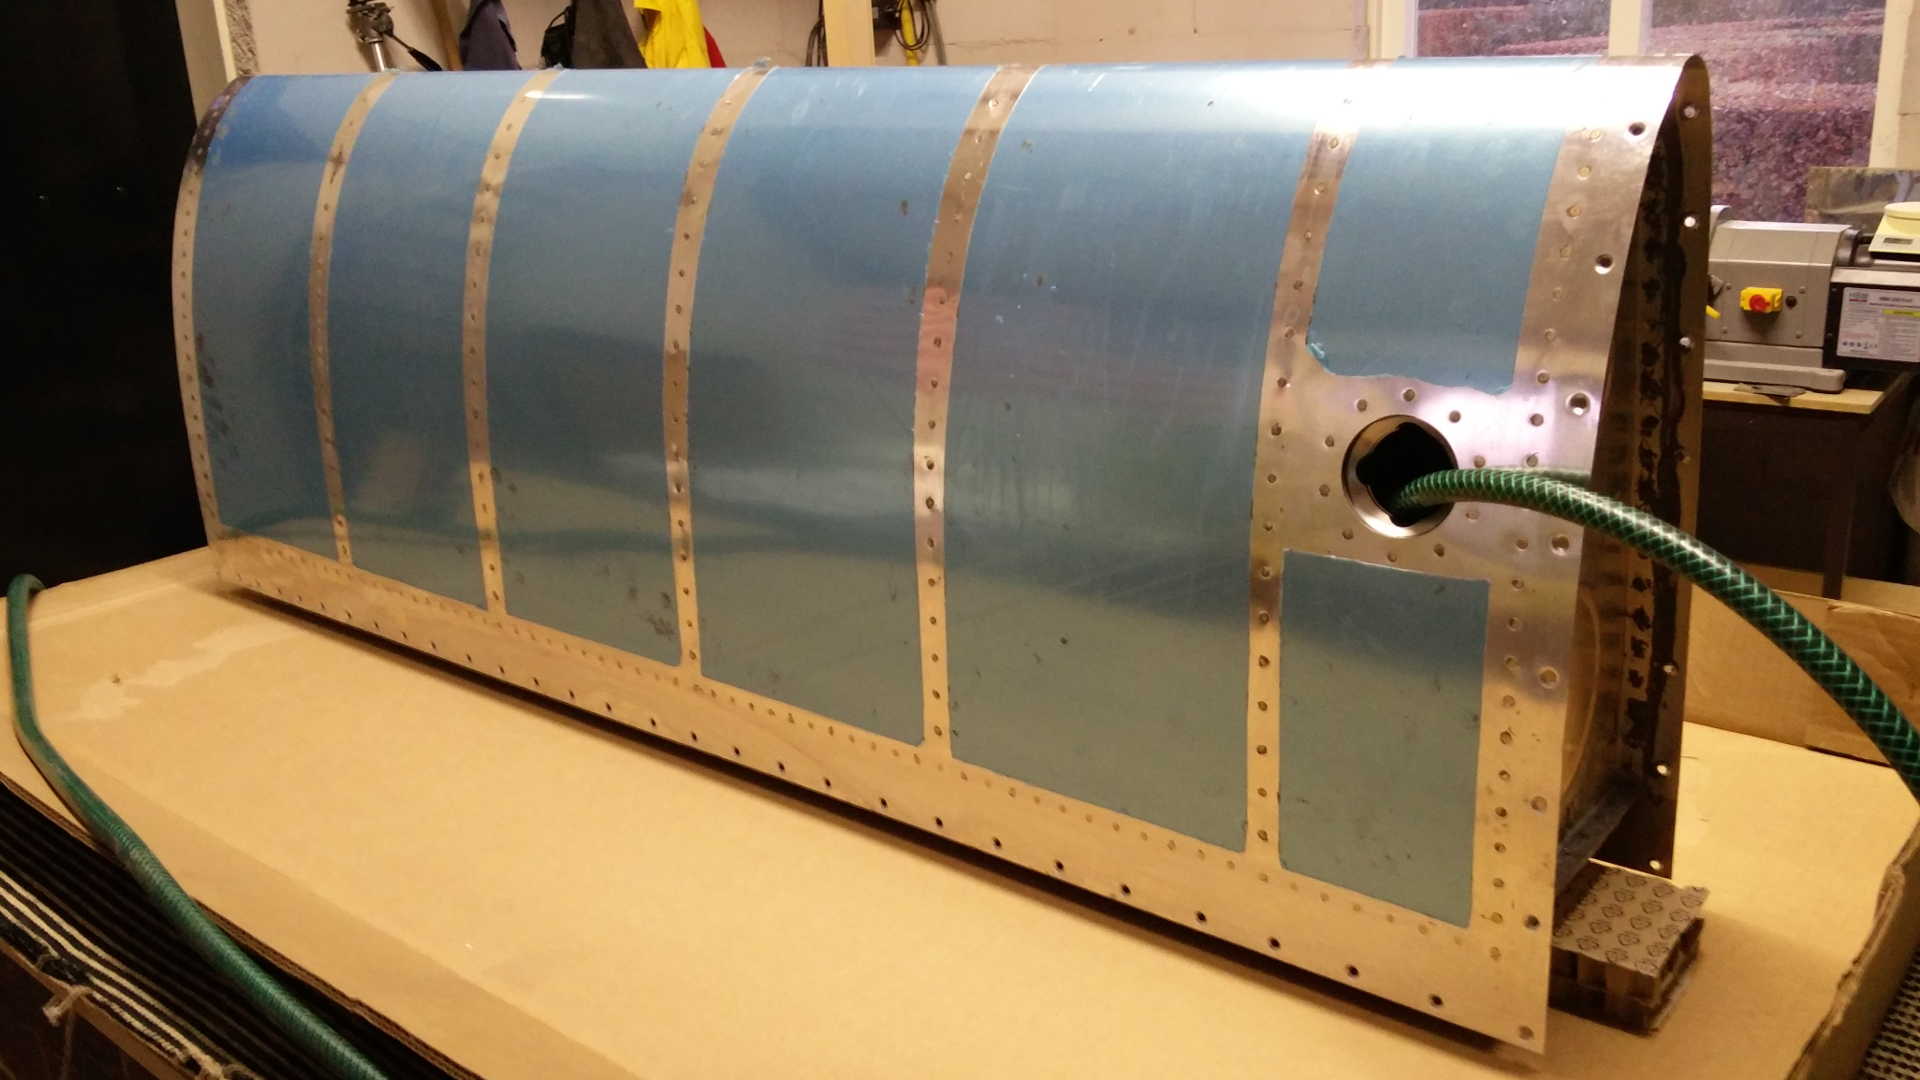
We riveted both the left and right leading edges, so next time I can assemble them to the wings (main spar).
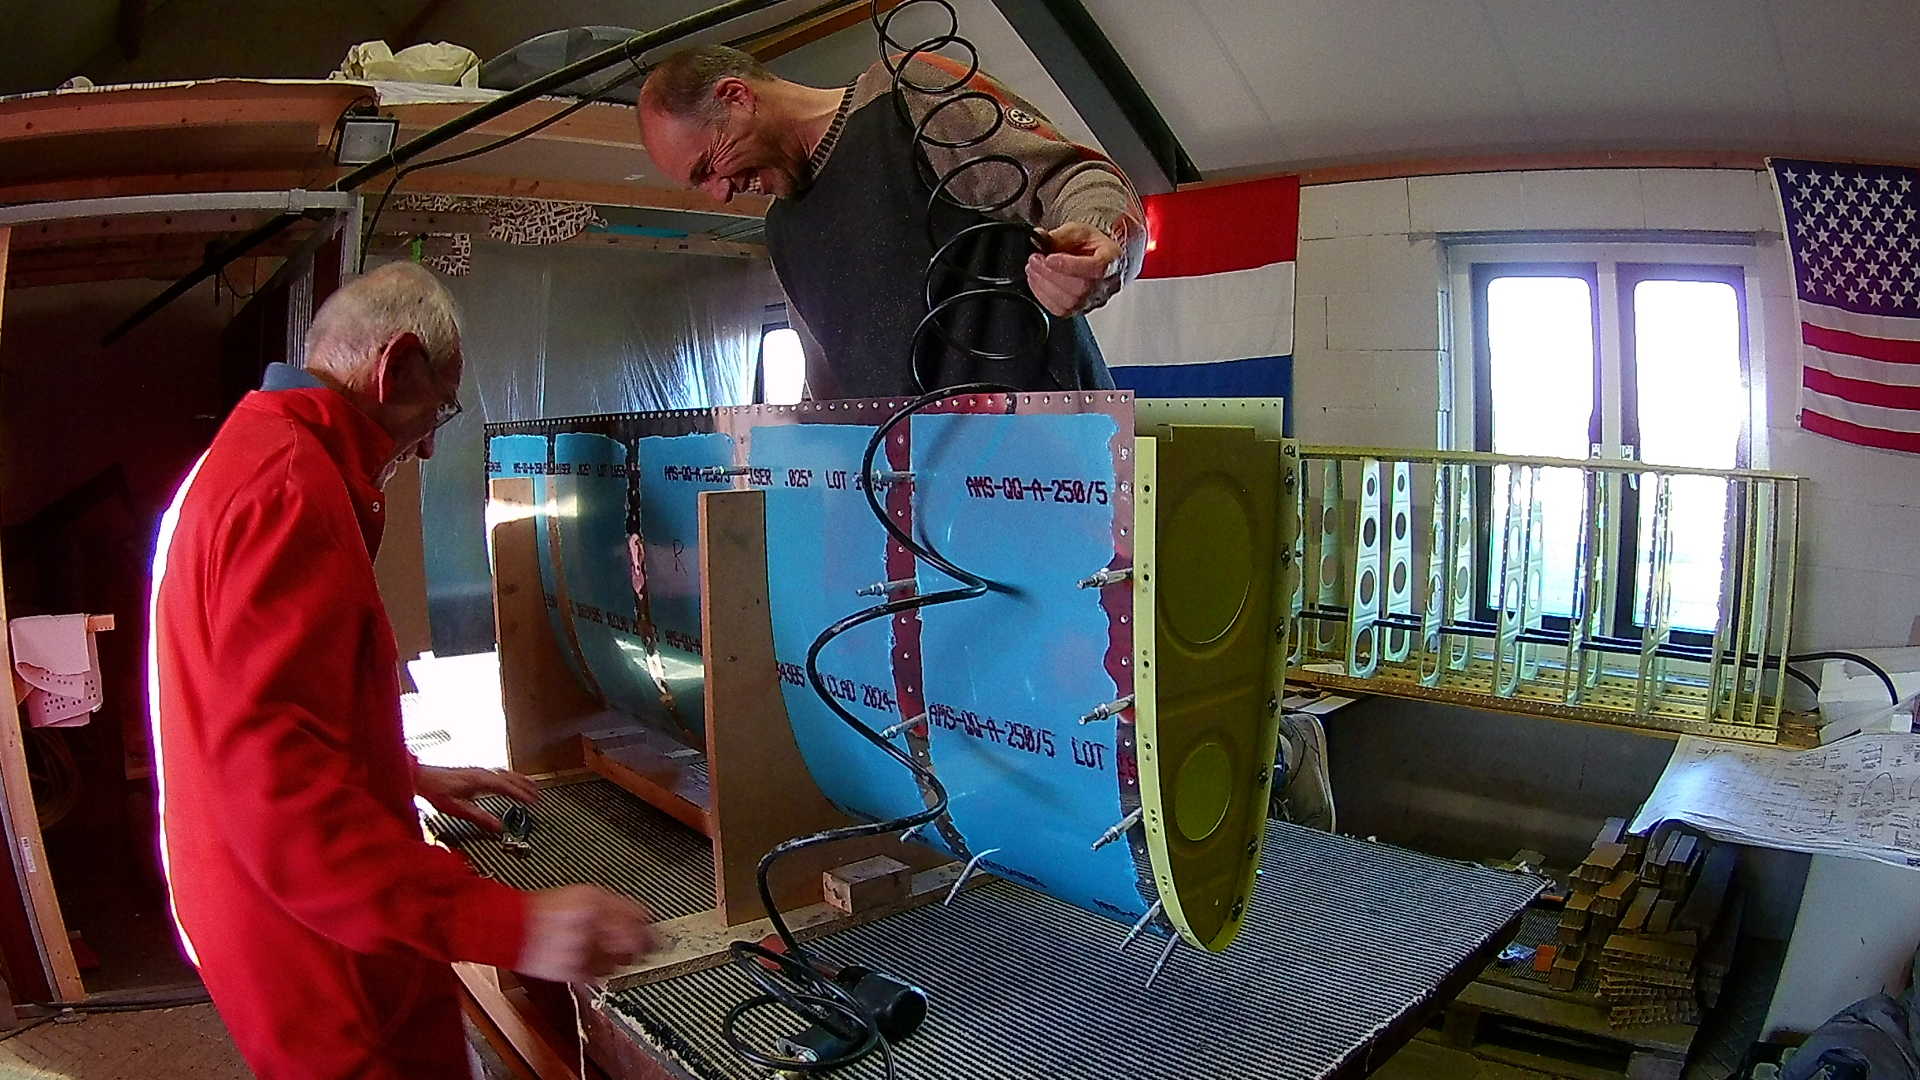
We discussed the overlap of wing skins. According to the manual joining the tank skin with the inboard and outboard skins that overlap, you need to file of the edges to make the connection less abruptly.
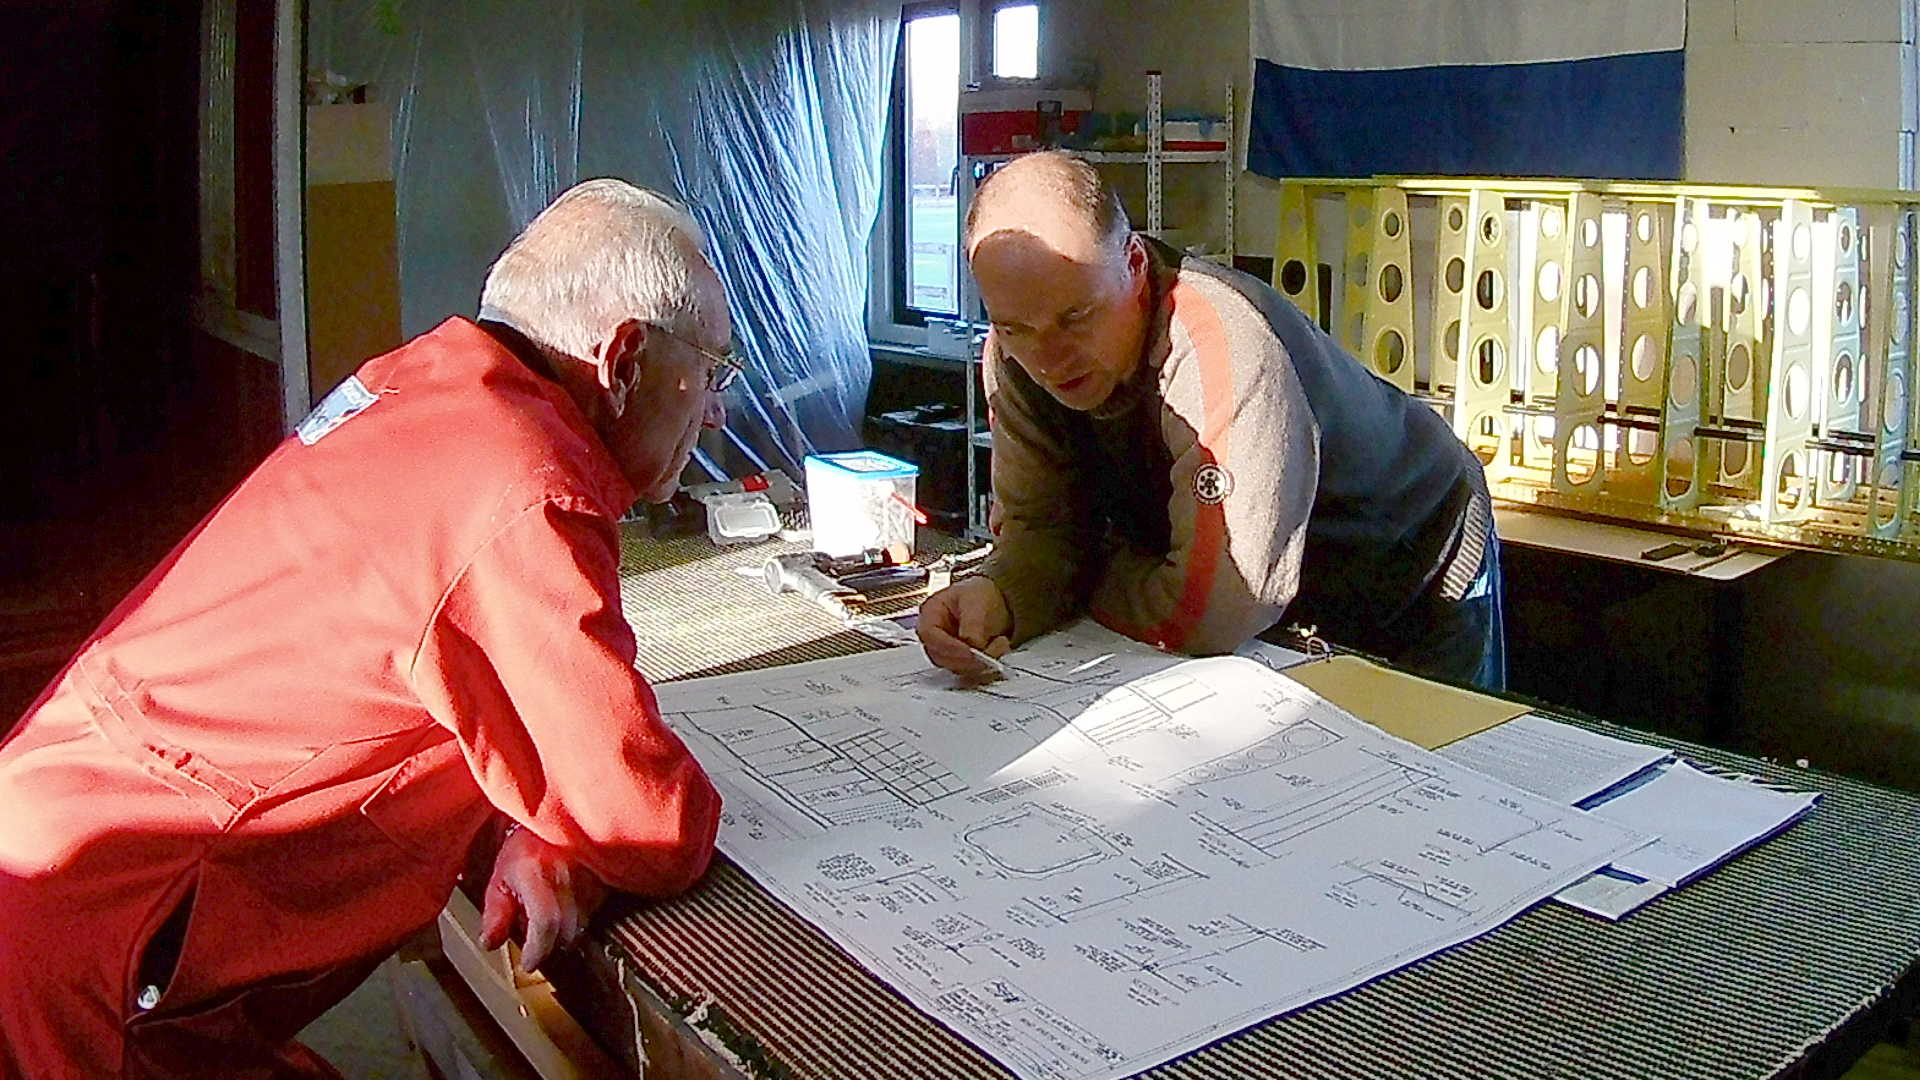
Indeed the two overlapping skins protrude significantly over the tank skin, so that needs to be reduced.
We decided to use the Scotch Brite wheel to “file” these of both the top and bottom skin.
Time: 5 Hours, Rivets: 352/0
Video