
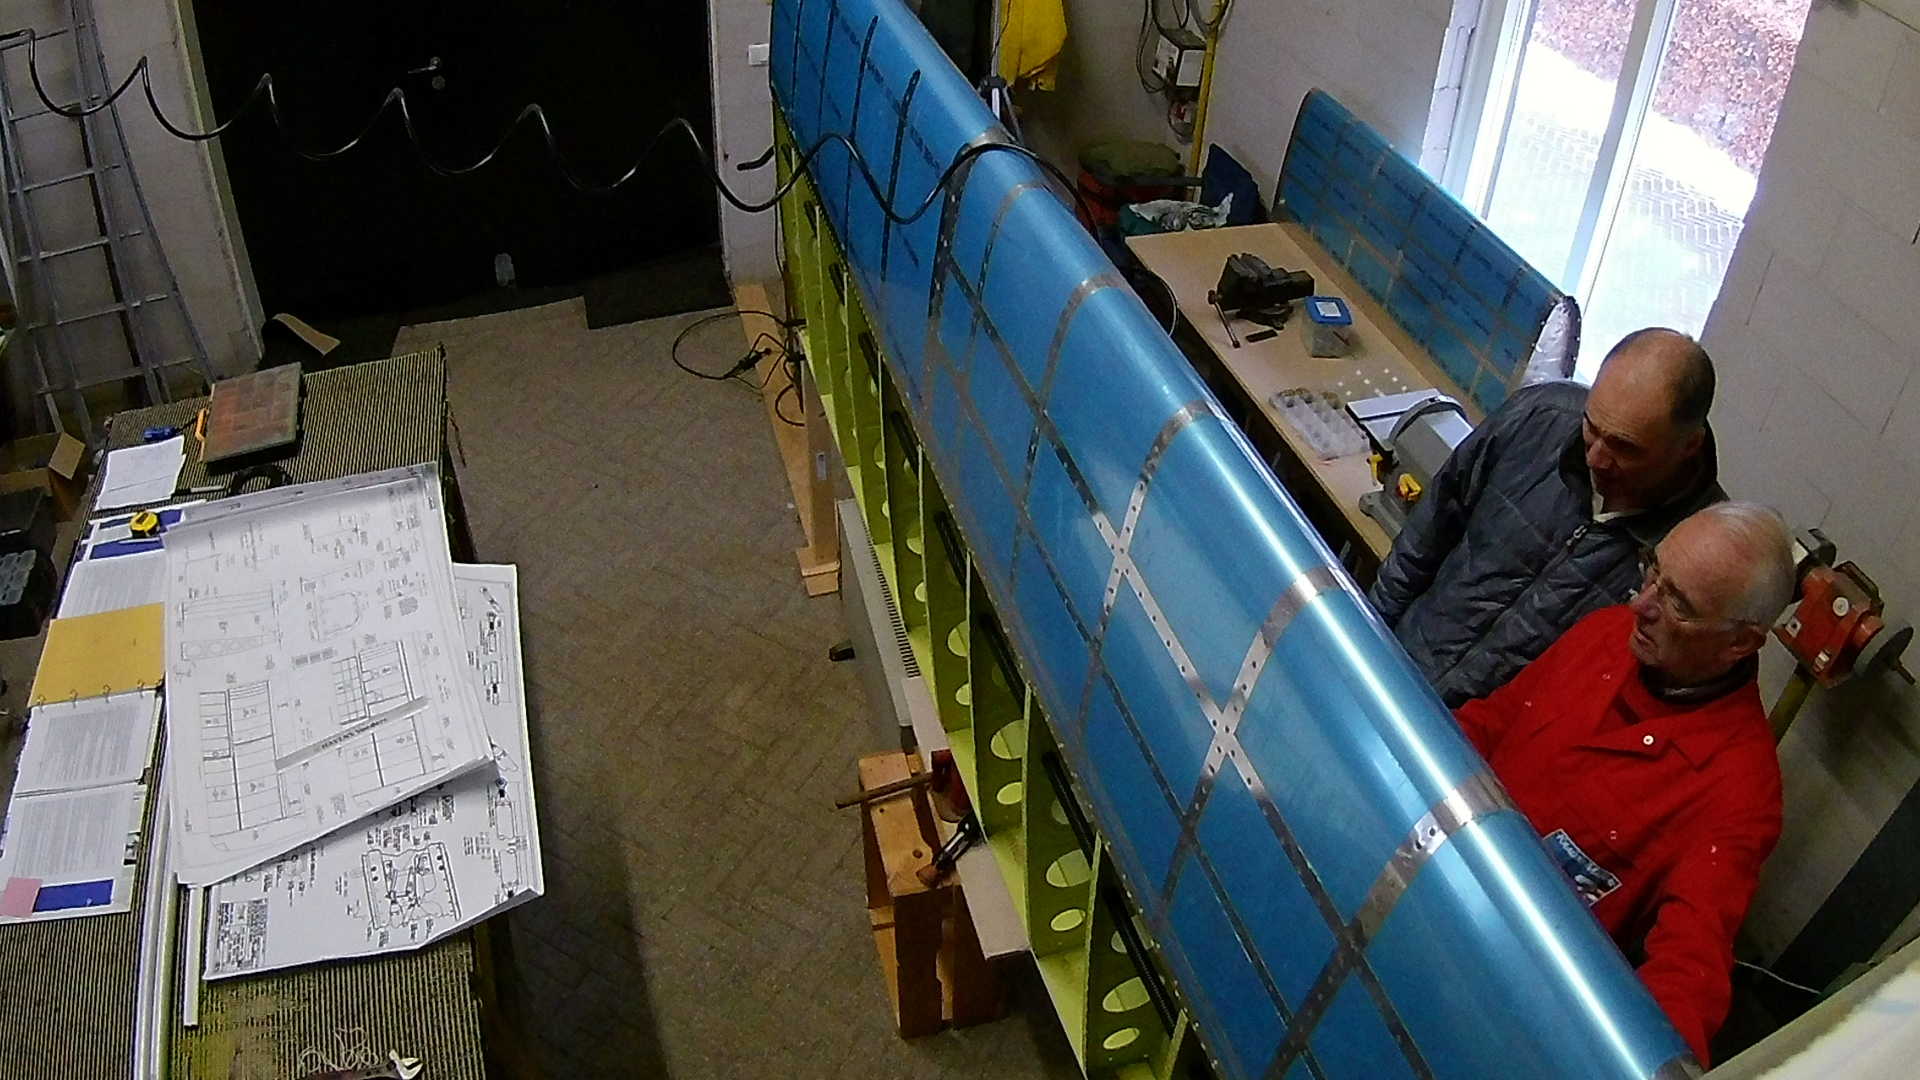
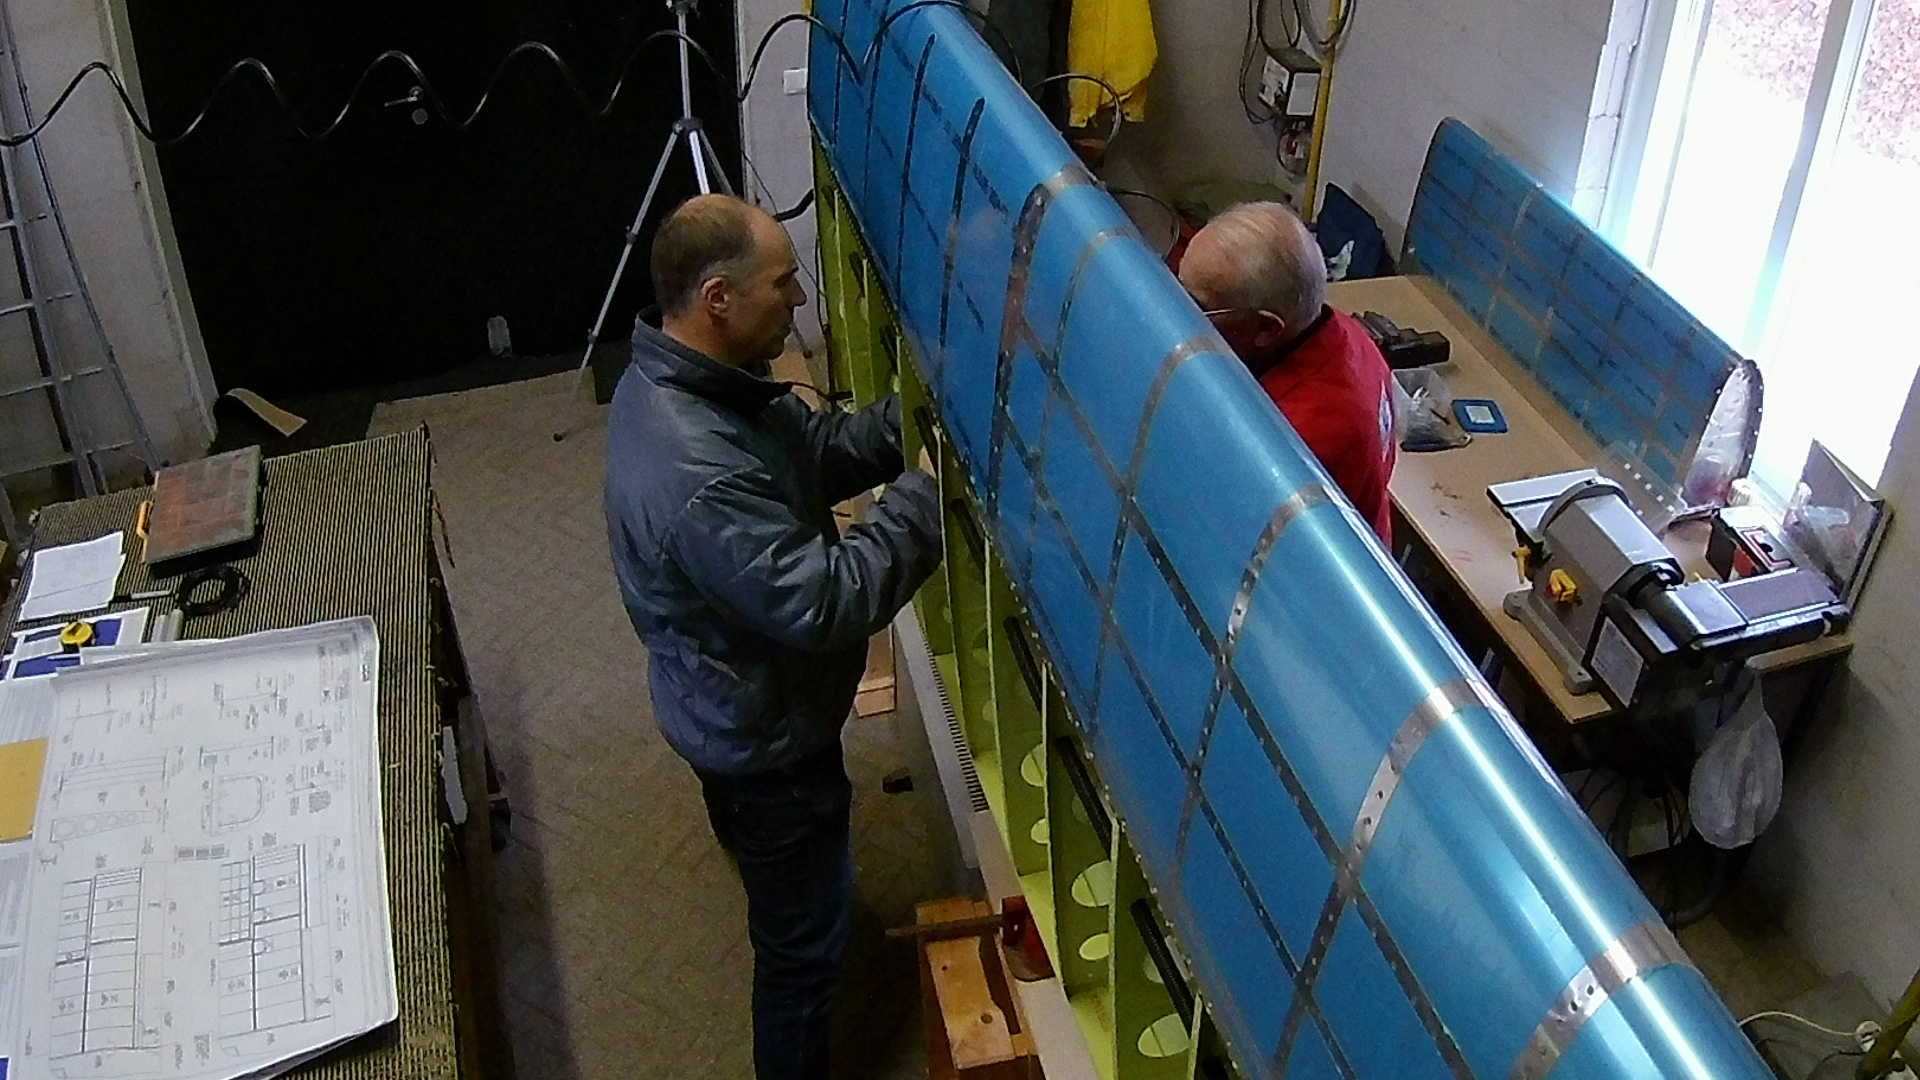
Finally we can start riveting the top skin to the wings. We start with the right wing. Many tasks can be done by yourself, but riveting the skins to the wing is really hard if not impossible. There are places that would be really hard to reach if you do it by yourself. Hence my dad accompanied me on this task.
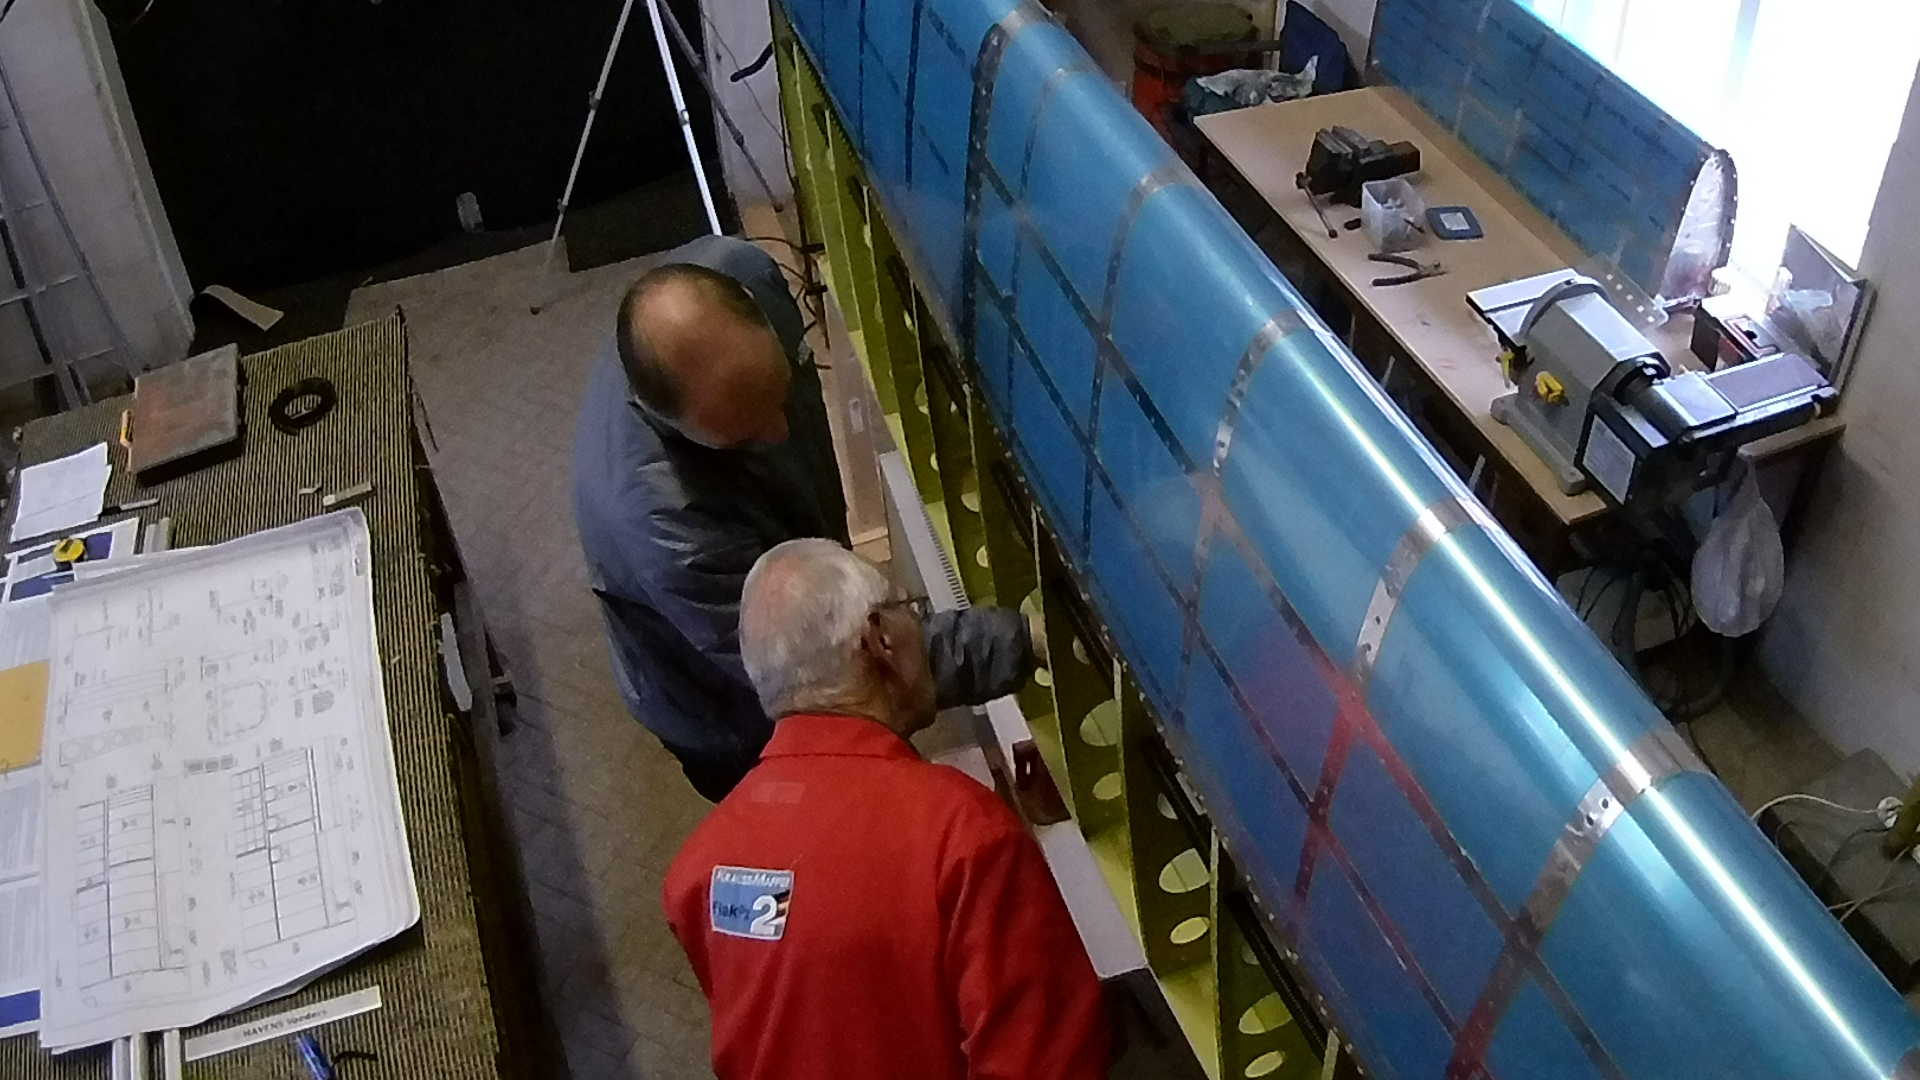
We are deciding where to start with riveting. The leading edge and the tank is installed. According to the manual you start with the outboard skin in the middle going inward and outward interleaved.
Since you have to use rivets of different lengths, due to different thicknesses of material. I prepared the skin in such a way that cleco’s are in the holes that required different lengths to prevent error. Also we found just in time that the most inboard rib does leave some holes un-riveted for fairing assembly. So we put the cleco’s in those holes too.
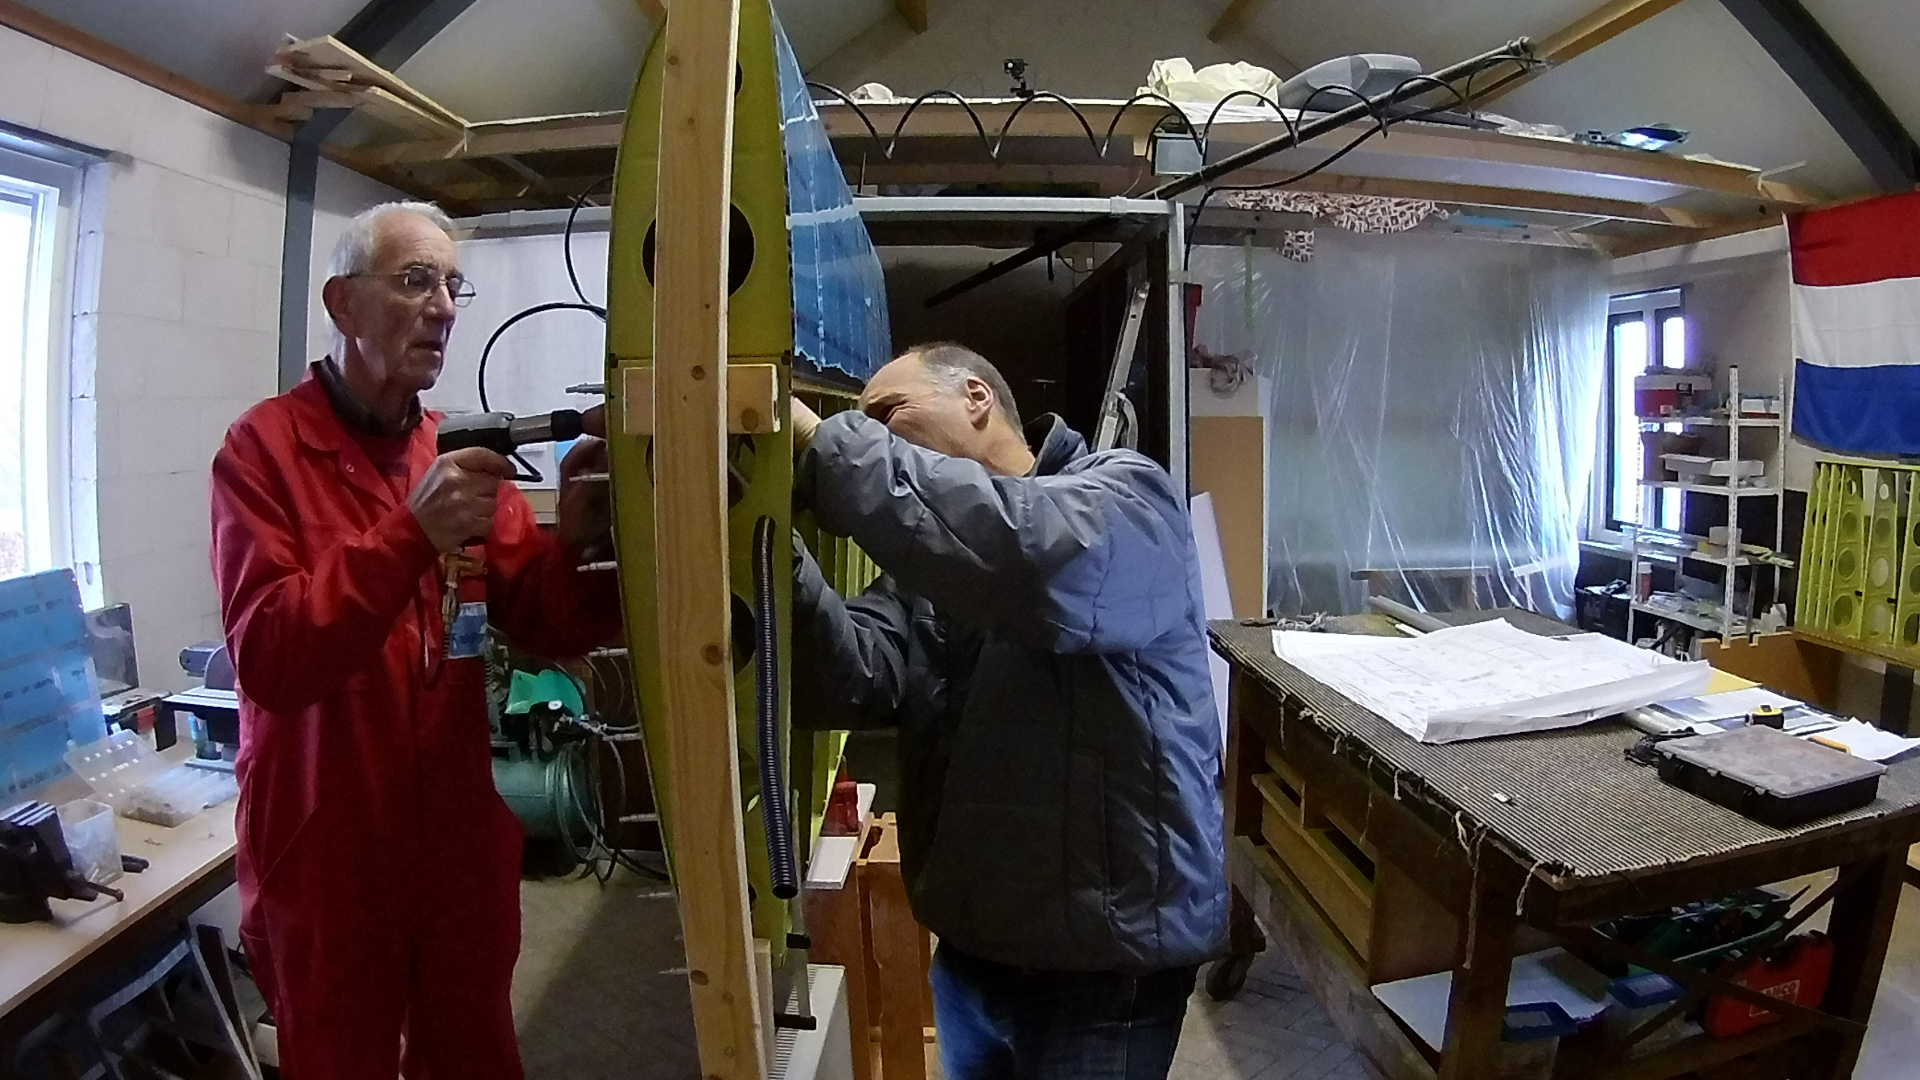
The process is simple, every rivet is hammered with the rivet gun by my dad on the outside and bucked by me on the inside (times 500).
Careful inspection is required, because after closing the wing it is impossible to reset rivets.
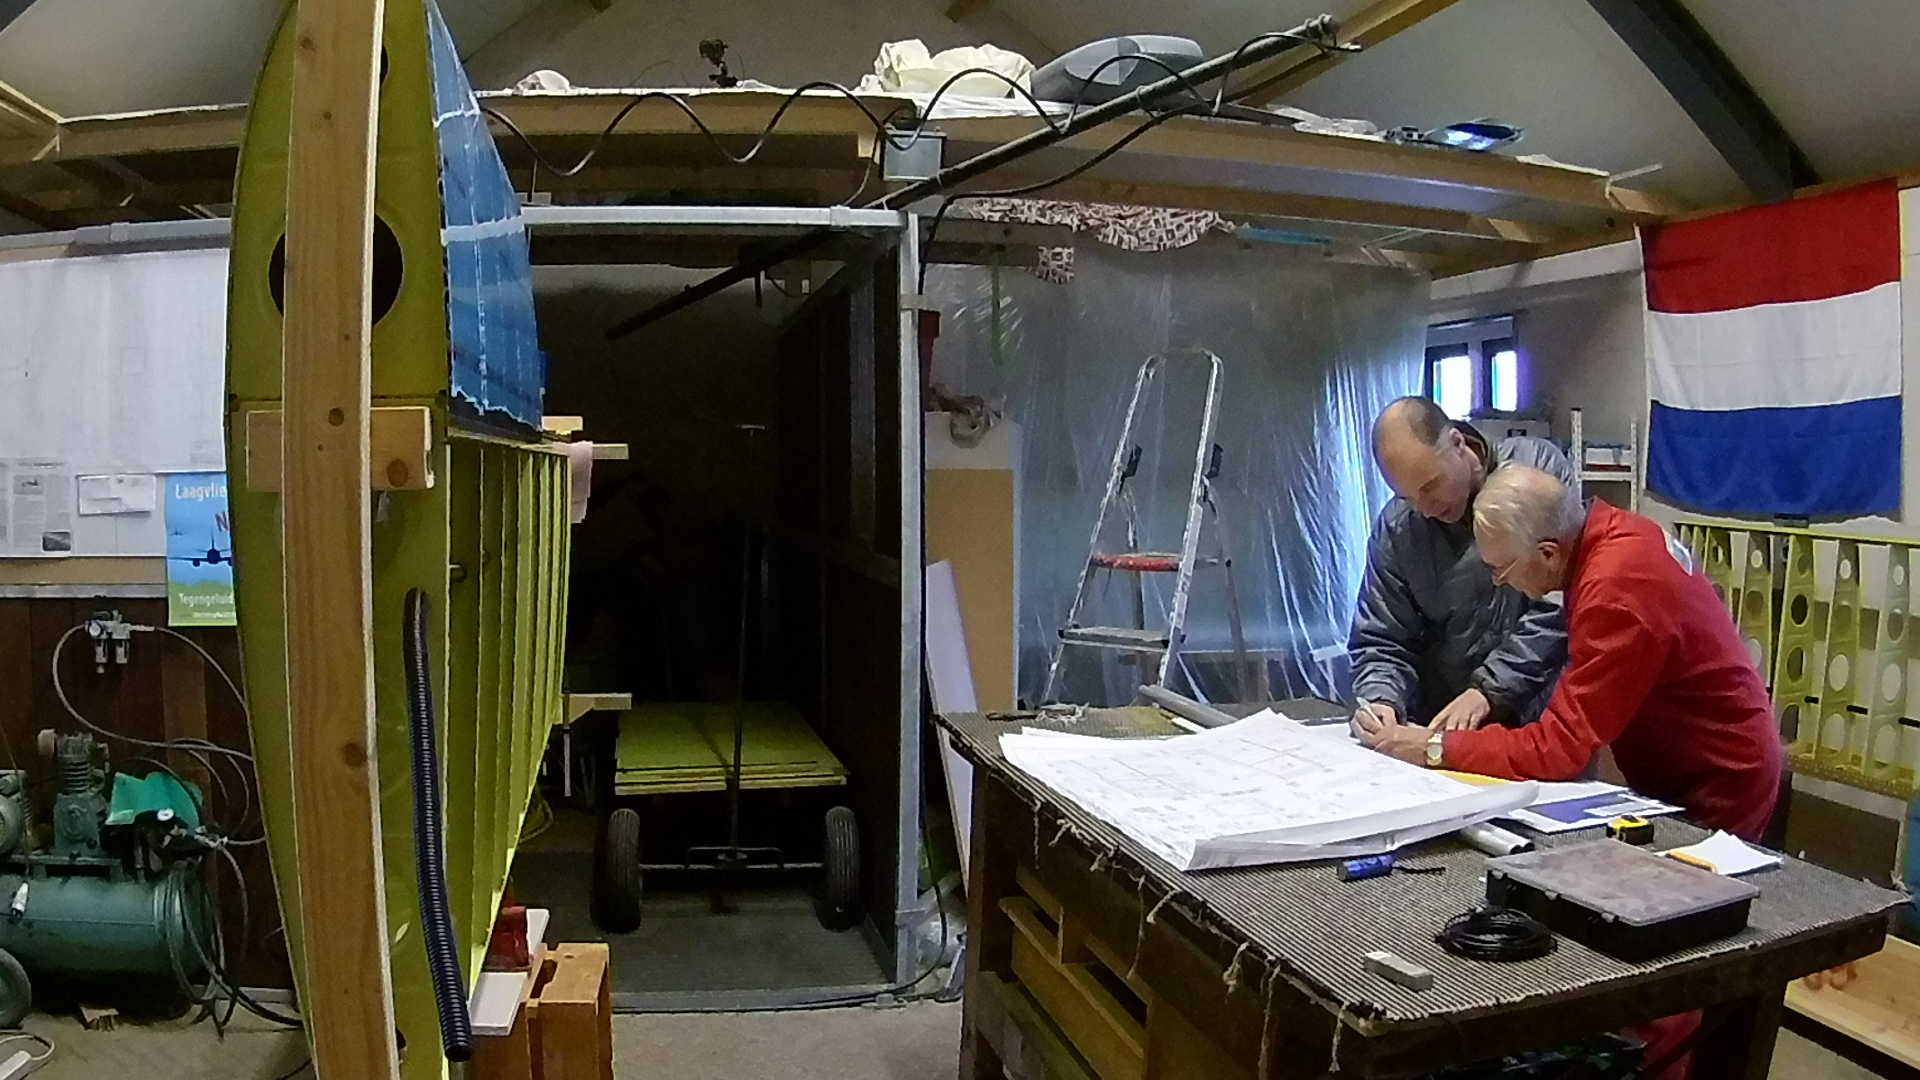
We double checked the lengths of the push-rods of both wings. I learned that before I start drilling or sawing, I’ll explain what I’m about to do to either my dad or my wife and this way I tend to defend may actions, which will bring flaws into my reasoning to the front.

Ok, I must admit we are just admiring the result here. Now it really looks like an airplane part and it feels super flush. No protrusions or rivet seam.
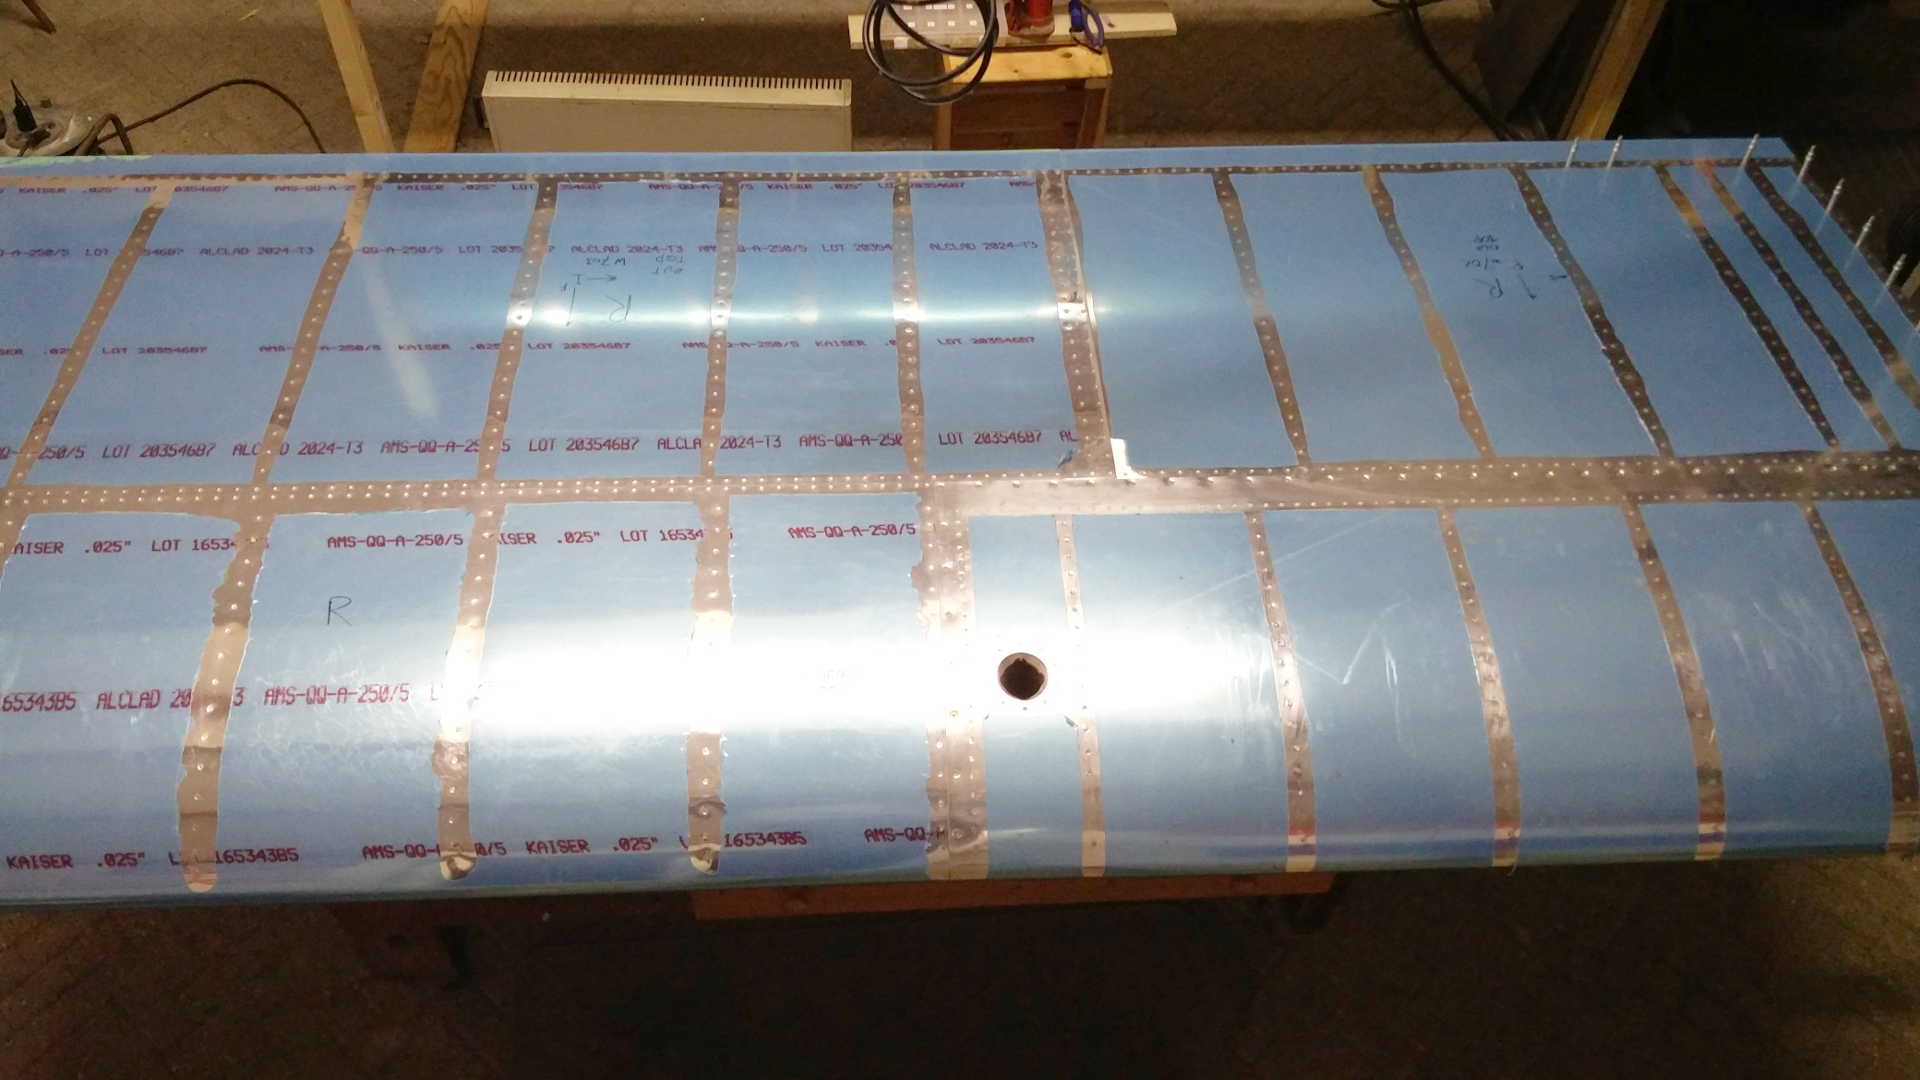
I’m really amazed by the precision of Van’s kits. Being a first time builder (and a software guy), I didn’t expect this result. Although I tend to be anal in getting this right, I know my motor-skills are not sufficient to get these results. So kudo’s for the CNC-machines of Van’s Aircraft and there manuals.
Time: 5 Hours, Rivets: 558/0
Video