
With the top skin riveted to the right wing, I started attaching the Aileron brackets, the aileron fairing and the flap brace. I also worked on the push rods.
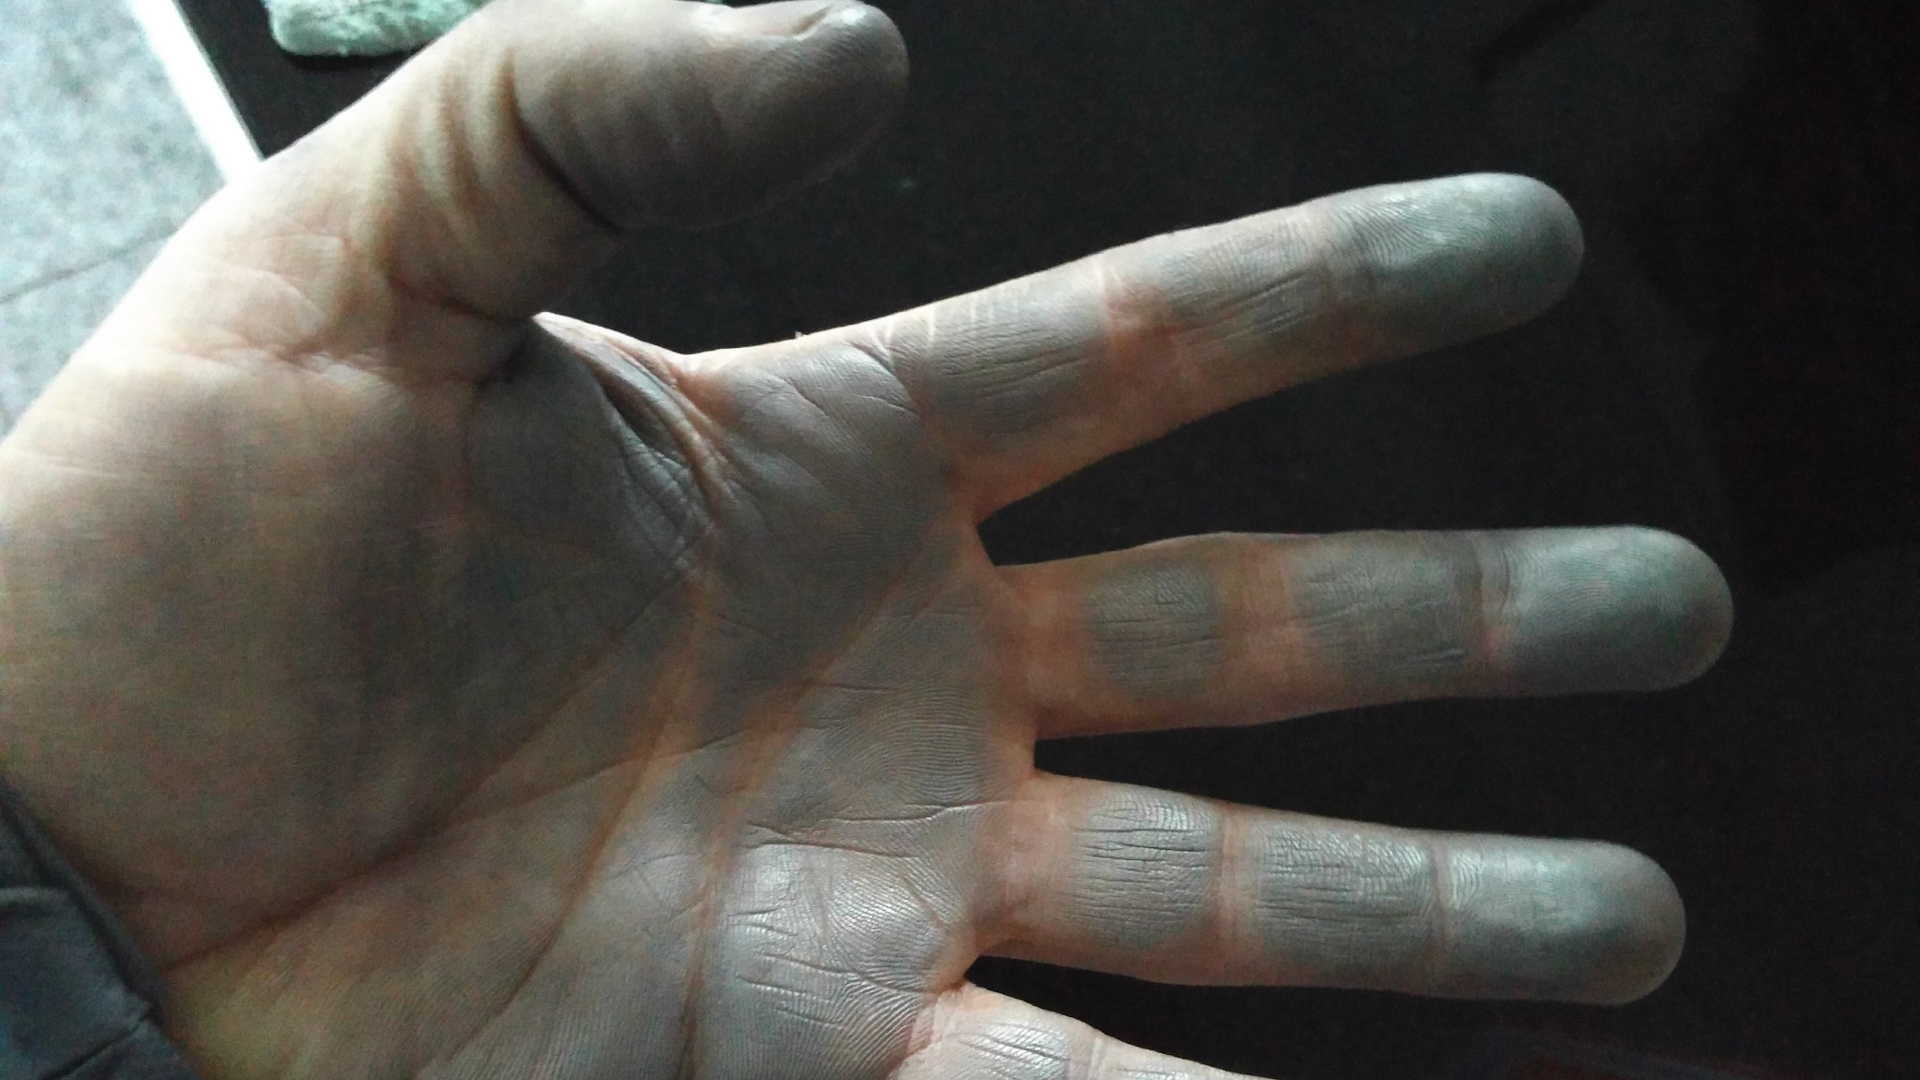
Scuffing the 167 cm Aluminum push rods with Scotch Brite pad results in beautiful push rods and great hands.
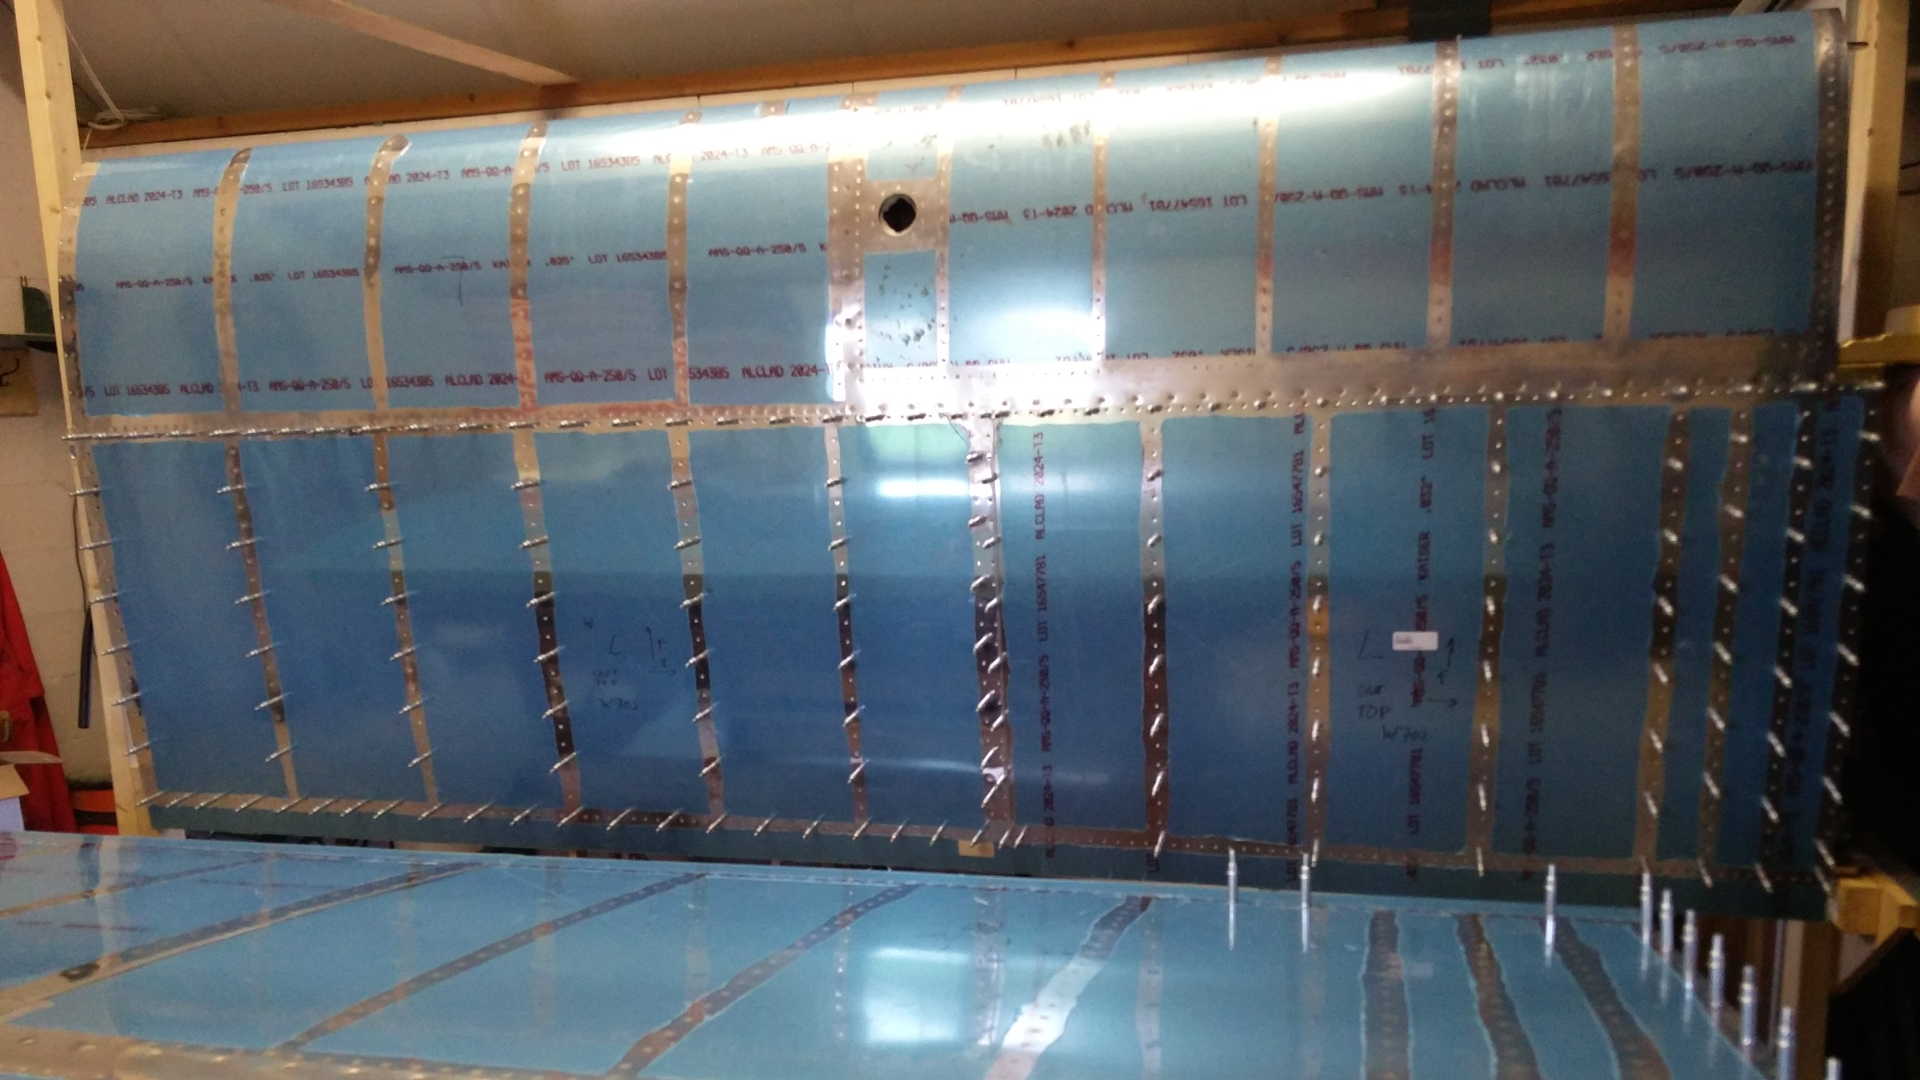
I love the smell of Aluminum in the morning! I placed the left wing in the stand, attached the tank and clecoed the top skin to it, in order to rivet it this weekend.
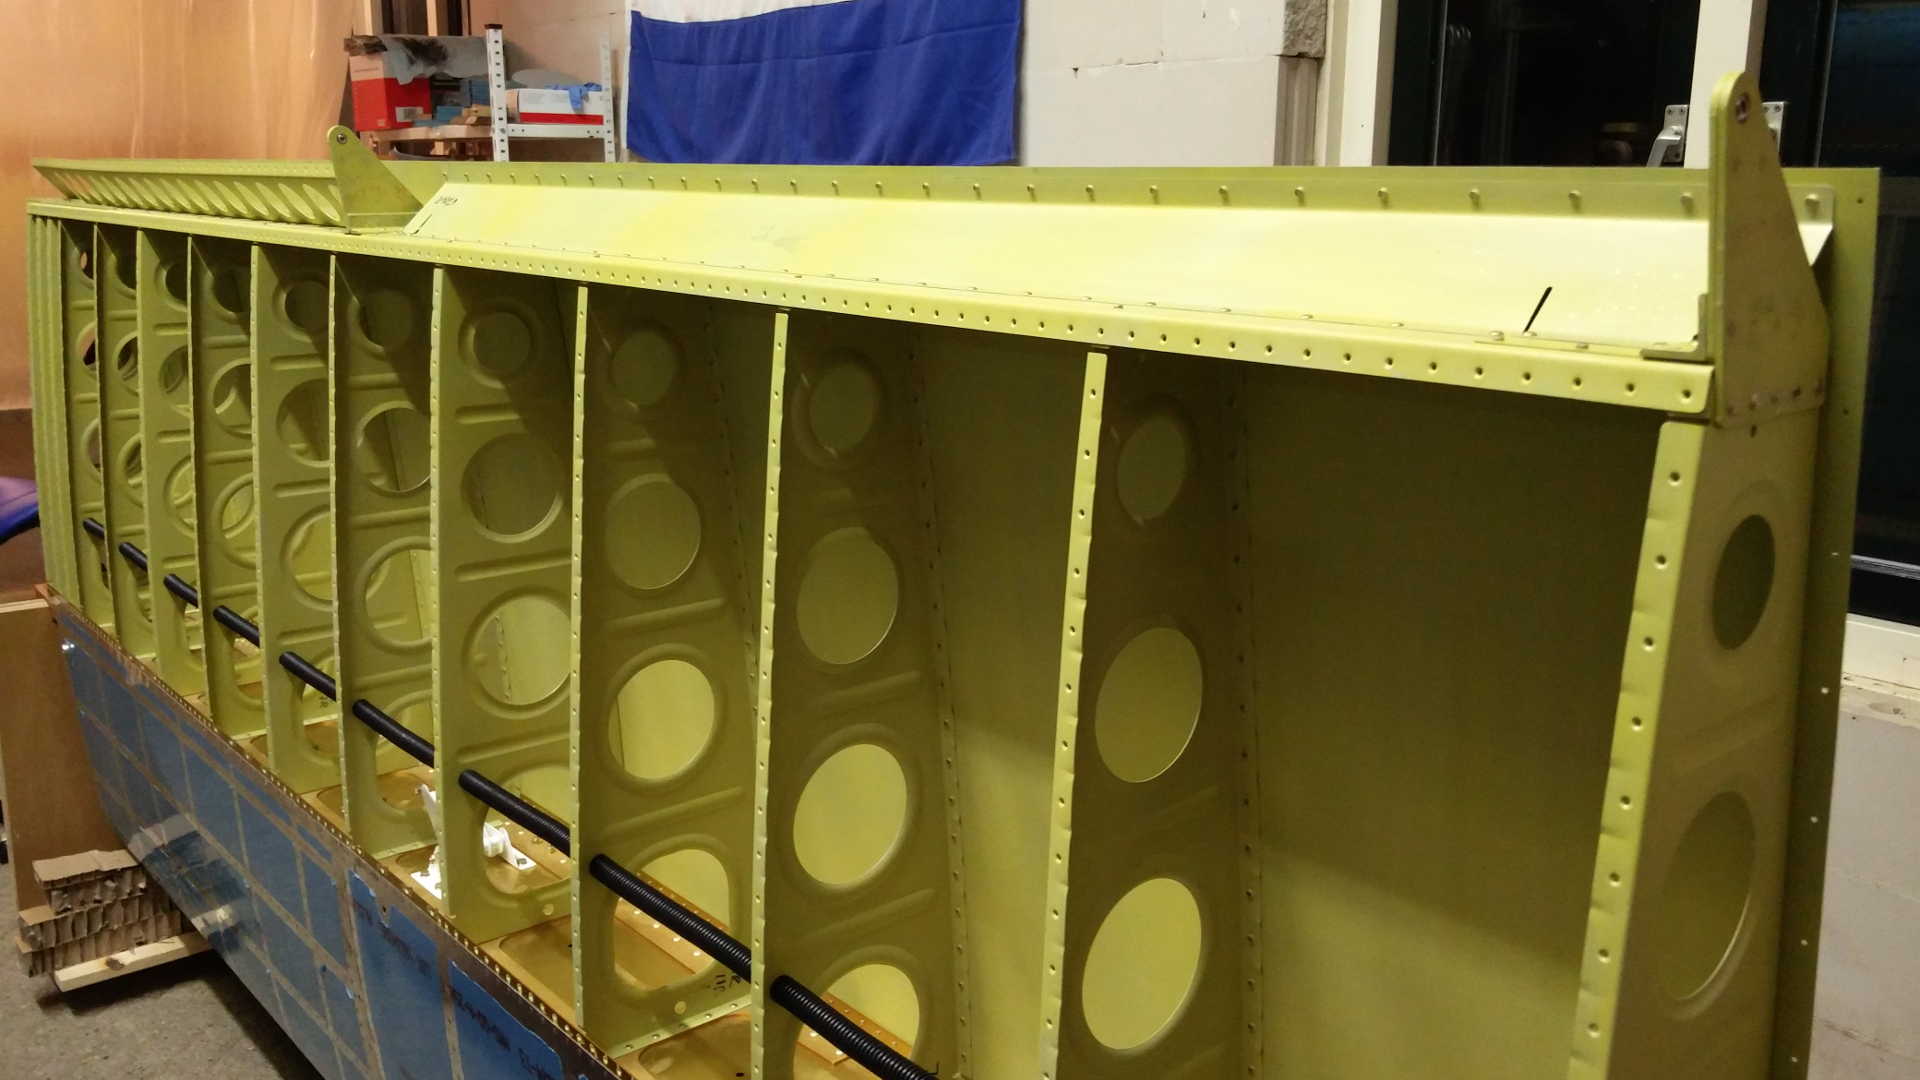
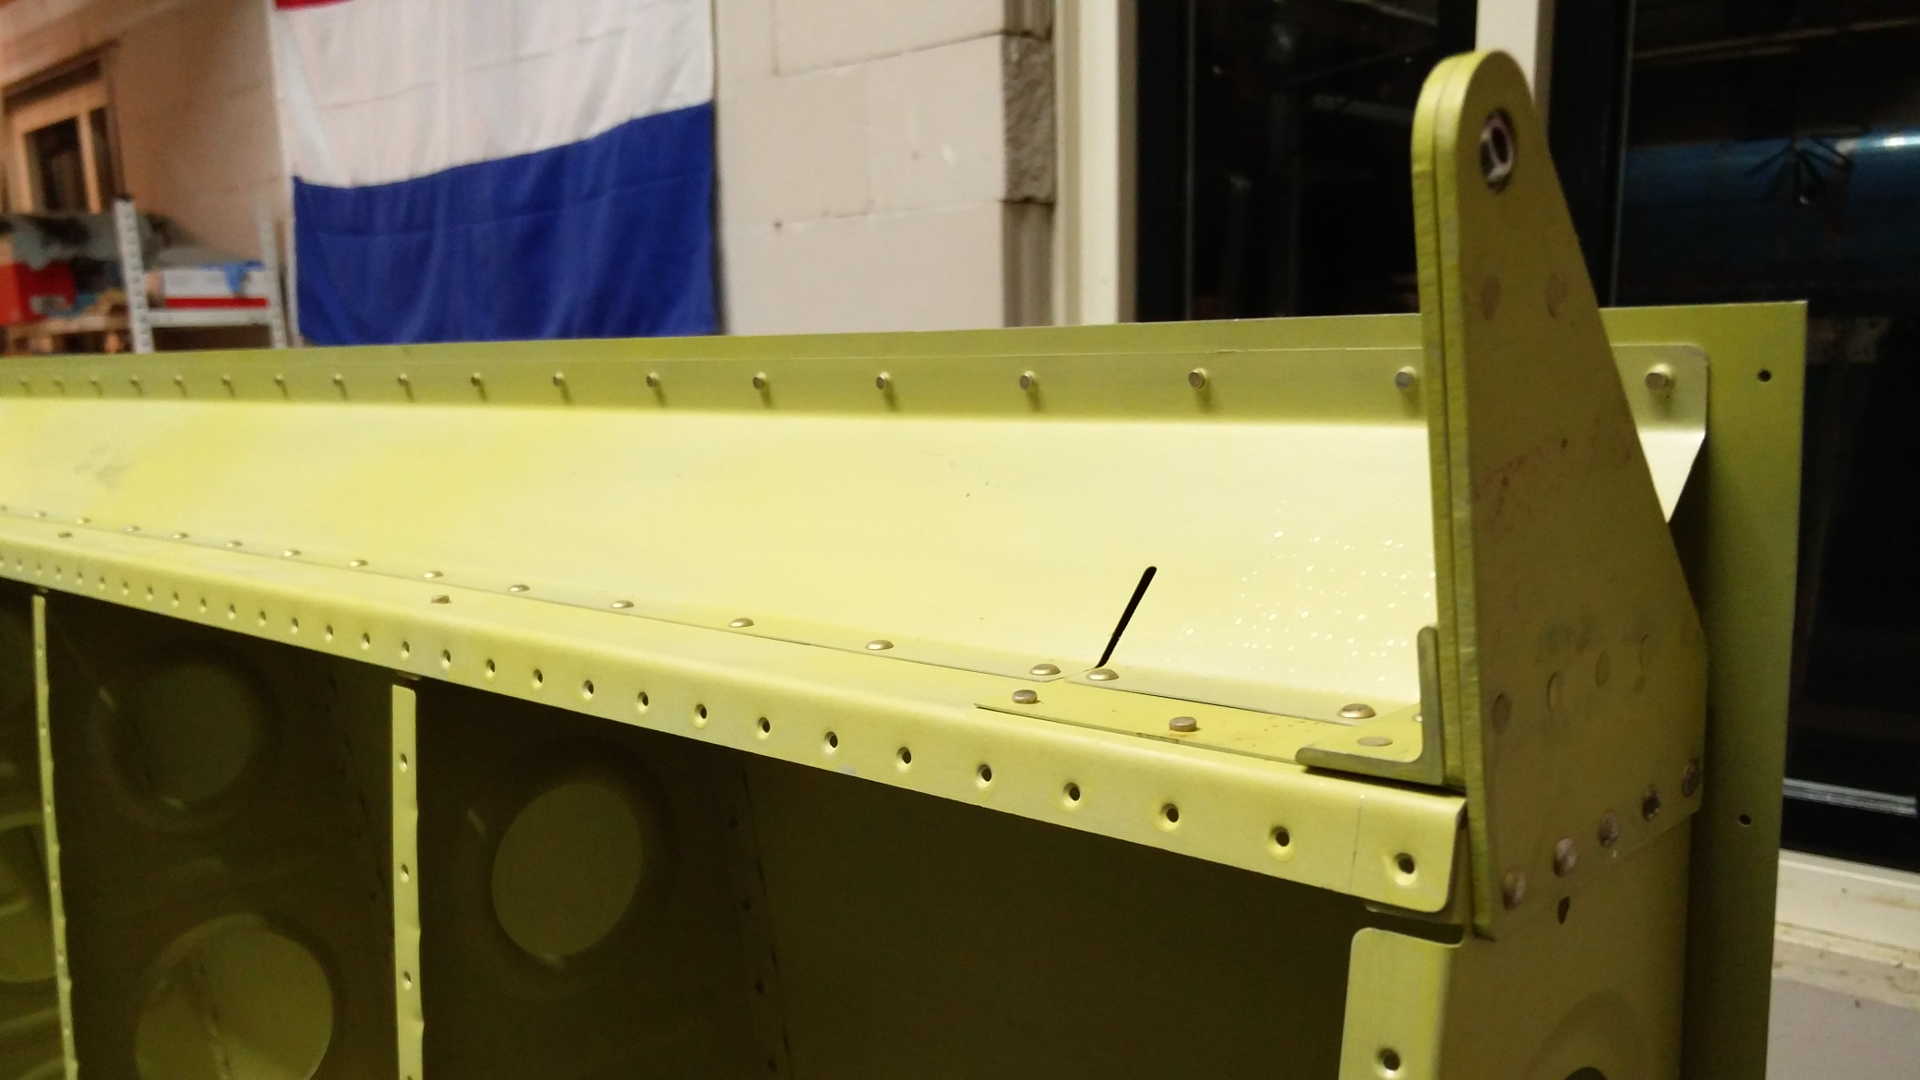
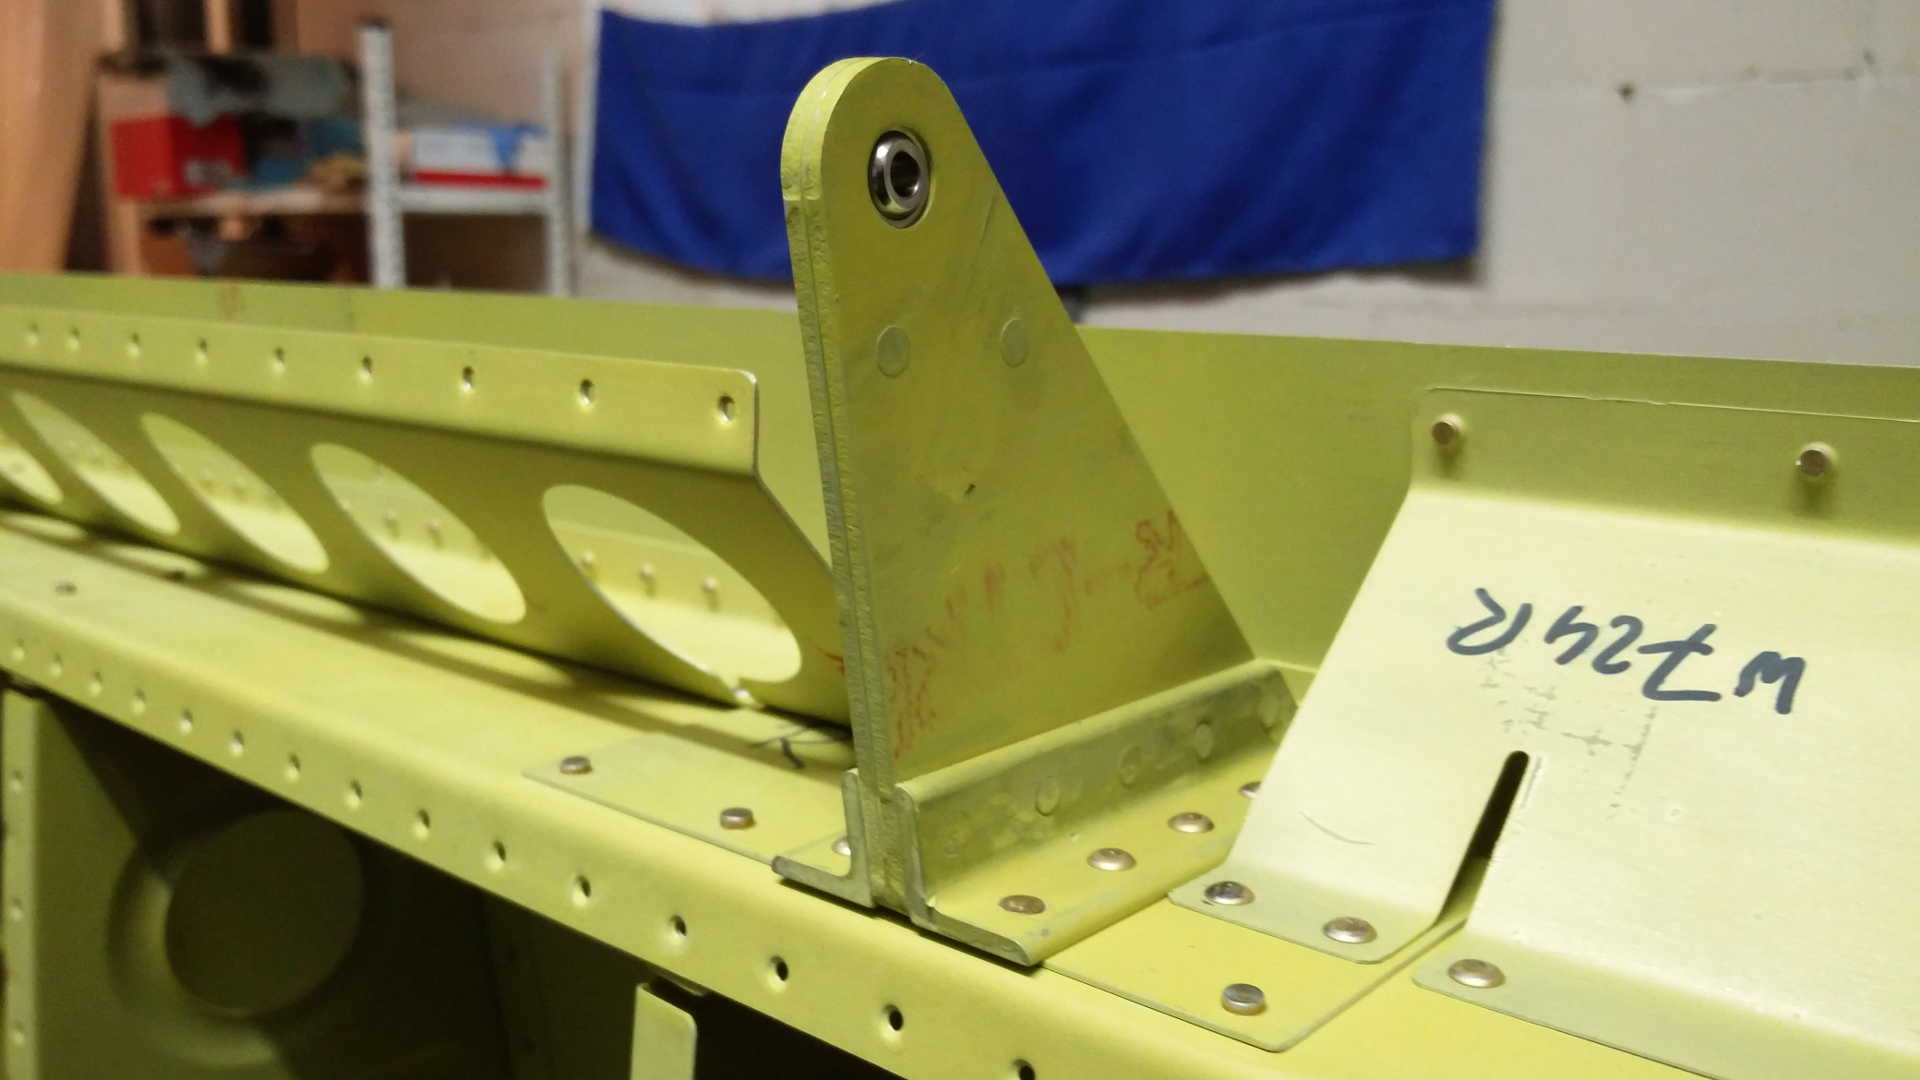
After five hours of doing little things here and there and cleaning up, the right wing could be placed in the wing cradle. The flap brace is the one with the lighting holes and the aileron fairing in the sloped strip between the aileron brackets.
Here’s the outboard aileron bracket, I used a flush rivet in the bottom hole, so the aileron won’t touch the bracket attachment. The aileron fairing is attached to the rear spar and the top skin.
In the center of the wing is the other aileron bracket. Again on the aileron side I used a flush rivet.
According to SERVICE BULLETIN 16-03-28, there can be Cracking of wing aft spar web at the inboard aileron hinge bracket attach rivet. Van’s Aircraft send me some doubler plates enclosed with the wing kit.
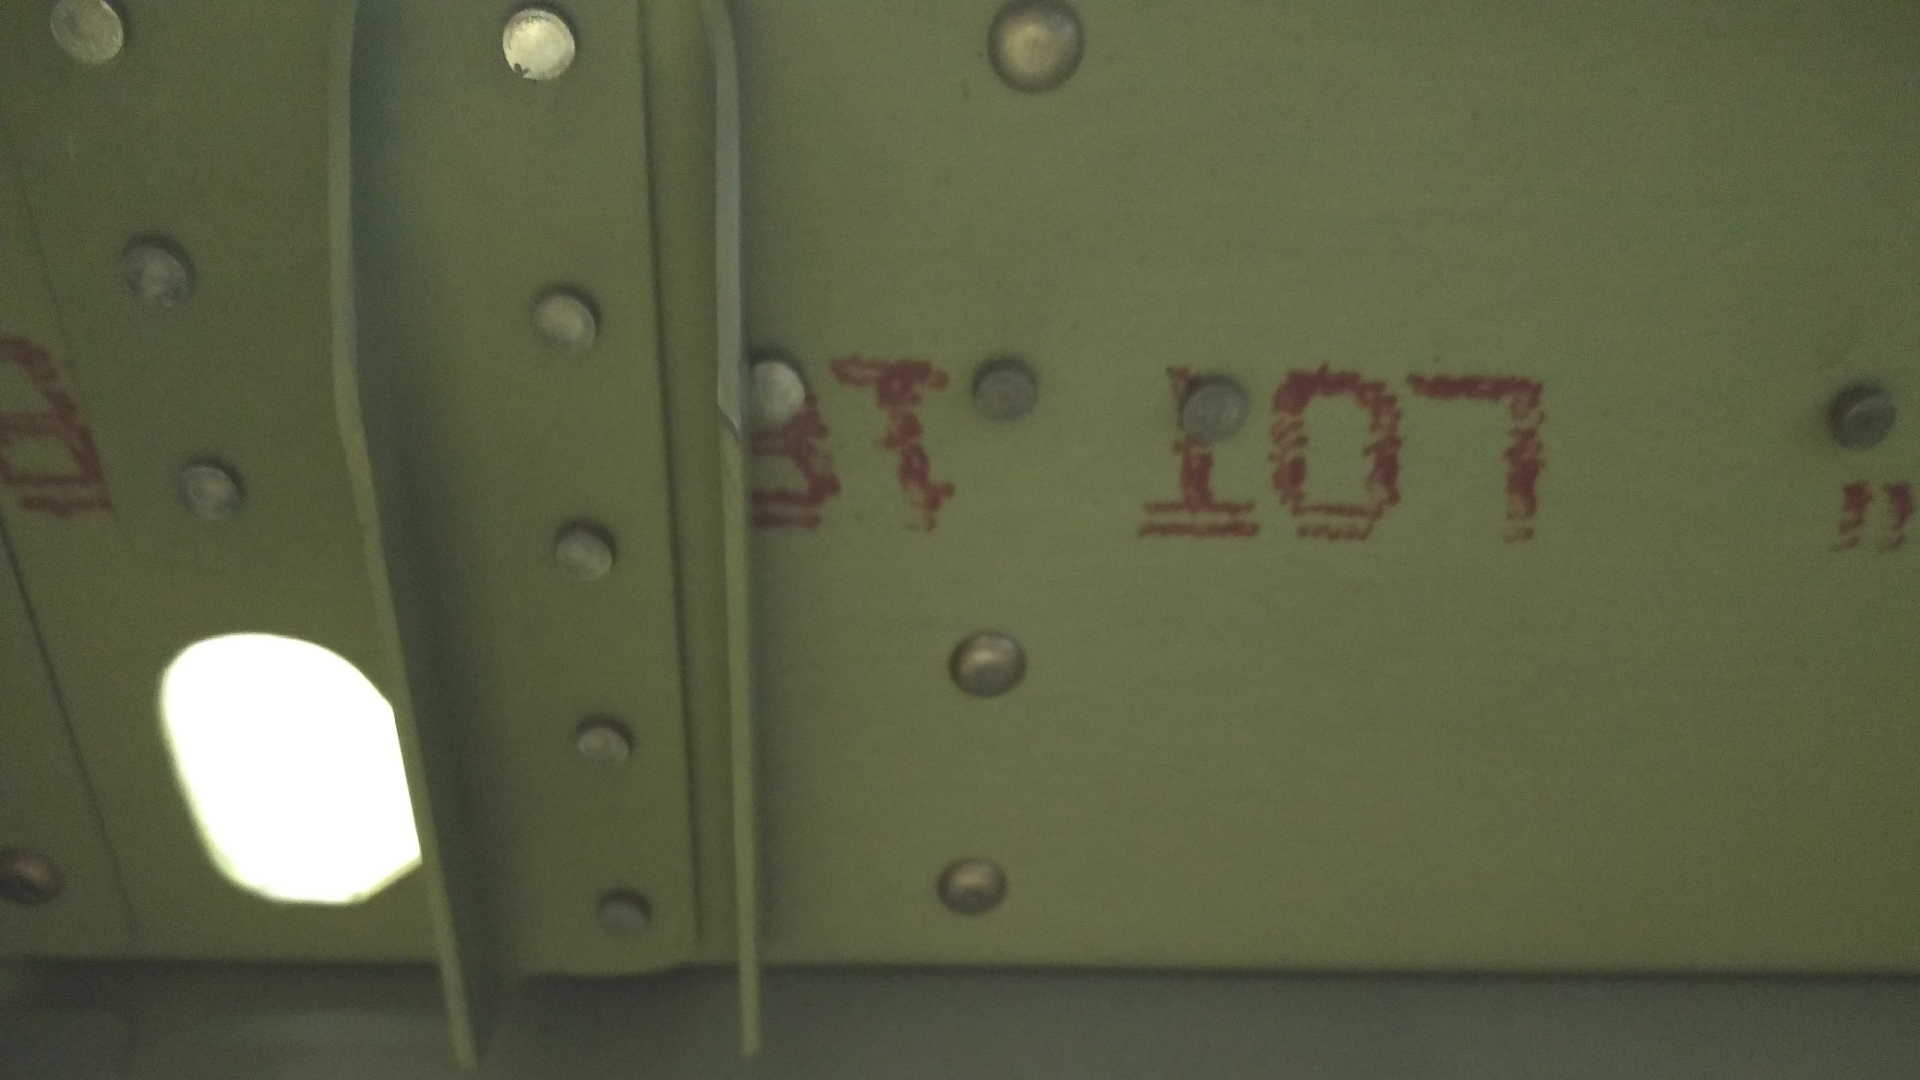
I attached the aileron bracket together with the new doubler plates. I did modify the plates by trimming the bottom side, to be able to buck the rivets when riveting the bottom skin.

The flap brace is thicker than the aileron fairing. It’s also attached to the rear spar, but will be clecoed together with the flap hinges to the bottom skin. So the ailerons are attached to the wings with brackets with bearings, while the flaps are attached to the brace with a piano hinge.
Time: 5 Hours, Rivets: 114/1