
I underestimated the amount of work with respect to deburring, scuffing, dimpling, countersinking, degreasing and priming. I thought I could do all this in one straight session. Especially priming is something I need to plan, because after that I can’t use the workshop for a few days (insufficient ventilation).
It took me more than double of what I expected for the Ailerons.
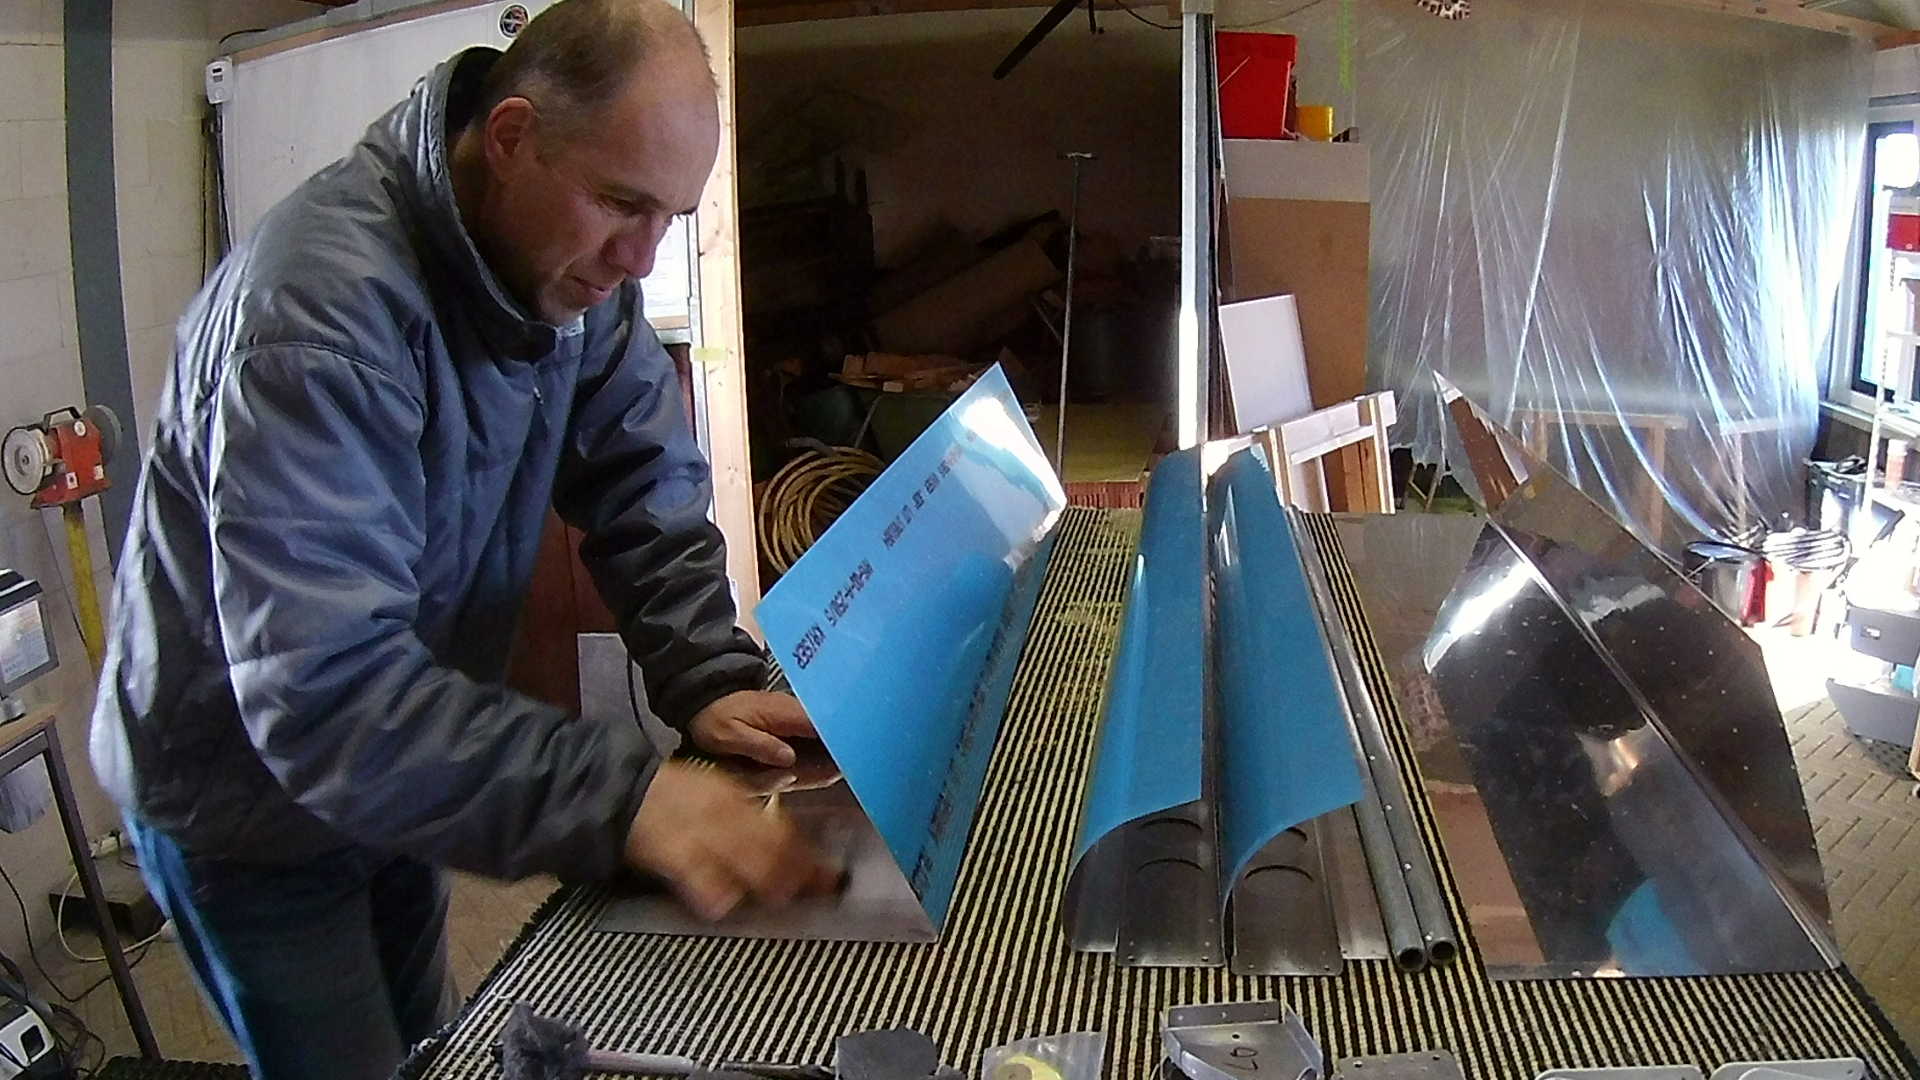
After deburring I use the Scotch brite pads to scuff the Aluminum, before dimpling. I specifically use this order to minimize the damage on the pads. You can only use them for one such a session, but scuffing without deburring will rip the pads apart quickly. Also scuffing after dimpling has similar effects, because the dimple rips the pad.
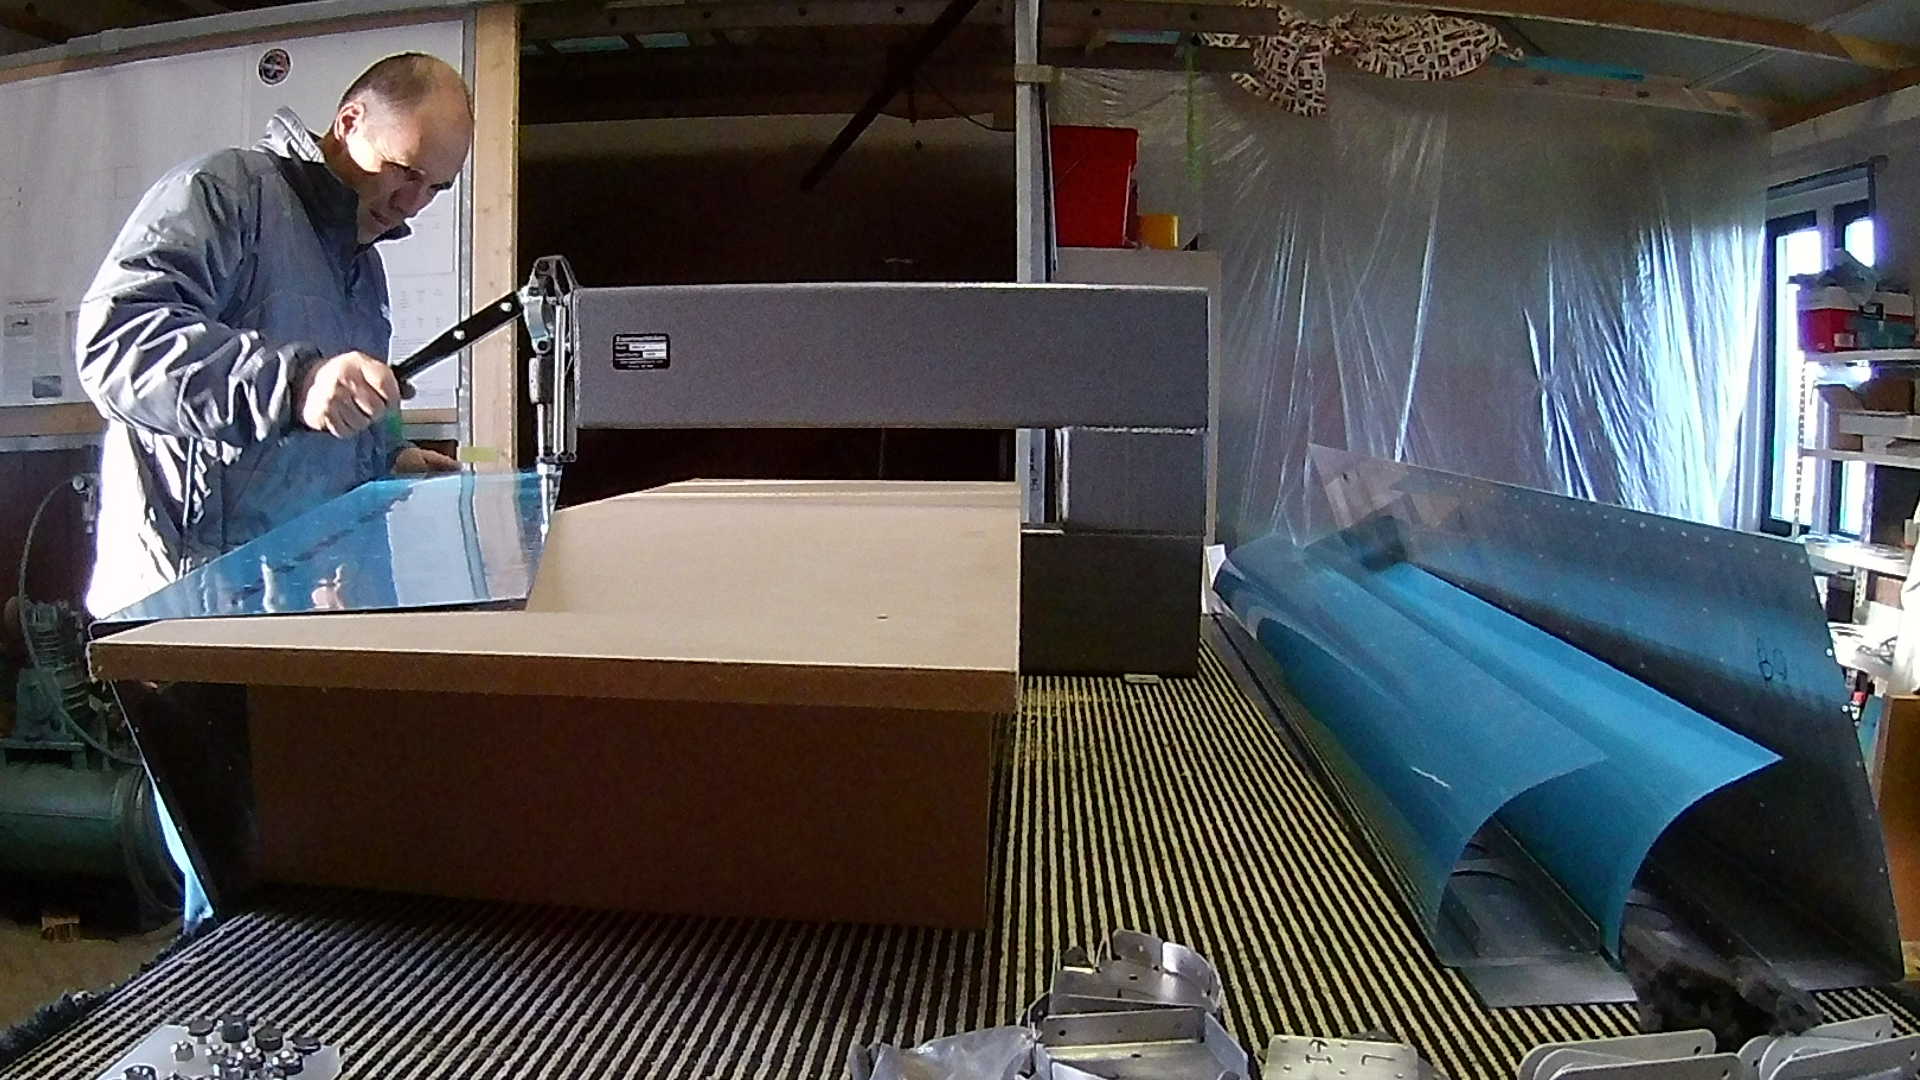
To dimple the skins, I really like the DRDT-2. According to some fellow builders the C-Frame is “better” because of the impact, but I don’t think Aluminum is affected that way. The DRDT-2 provides consistent dimples and is fast. Also if you give me a hammer, I might hit other stuff then just the plunger of the C-Frame.
I always check the other side if I got all holes. Sometimes I skip one (mostly due to printing on the blueing).
The same dimple sets that are used in the DRDT-2 can be used in the squeezer, with the same result. Due to the limited reach through the length of the yoke, this method is not applicable for skins. But stiffeners and ribs are easy dimpled this way. Ribs are almost impossible to dimple with the DRDT-2 because of the flanges.
The pneumatic squeezer is very versatile, because you can dimple and rivet with it. You have to be careful though, if you misfire it will punch holes in Aluminum of this thickness.

The narrow parts of the ribs are even for the squeezer unreachable. Here I use the dimple set with ordinary pliers. It’s really slow and cumbersome, but it is only a few holes that need this treatment.

The Spars and the doubler plates are too thick to dimple. It would distort, deform and probably damage the parts. Fortunately because of its thickness you can use the countersink drill (called machine countersink in the manual). Setting the depth of the drill once and then drill away.
Time: 5 Hours, Rivets: 0/0 (2019-01-09)
Time: 5 Hours, Rivets: 0/0 (2019-01-12)
Video