
In order to attach the Flaps, we first need to (re)install the Ailerons, to be able to align the Flaps.
Especially the lateral adjustment with the washers is important.
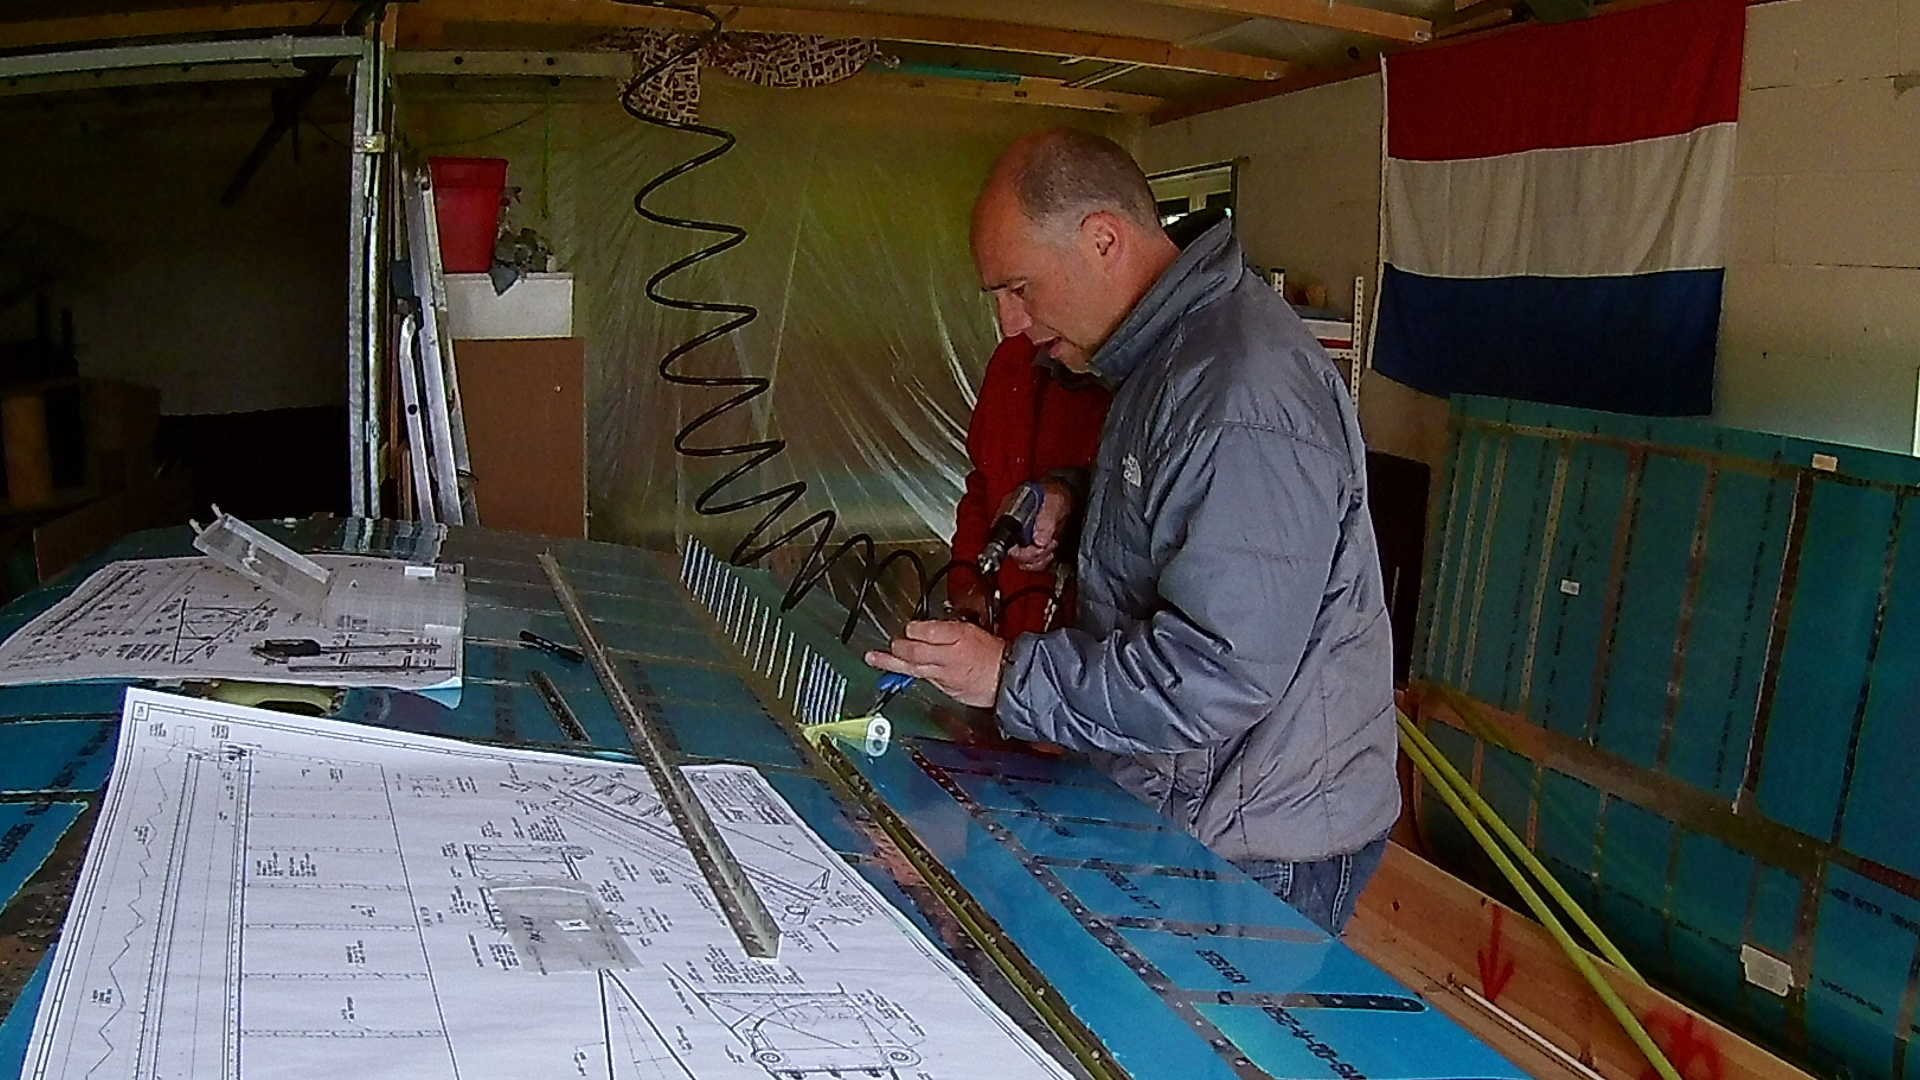
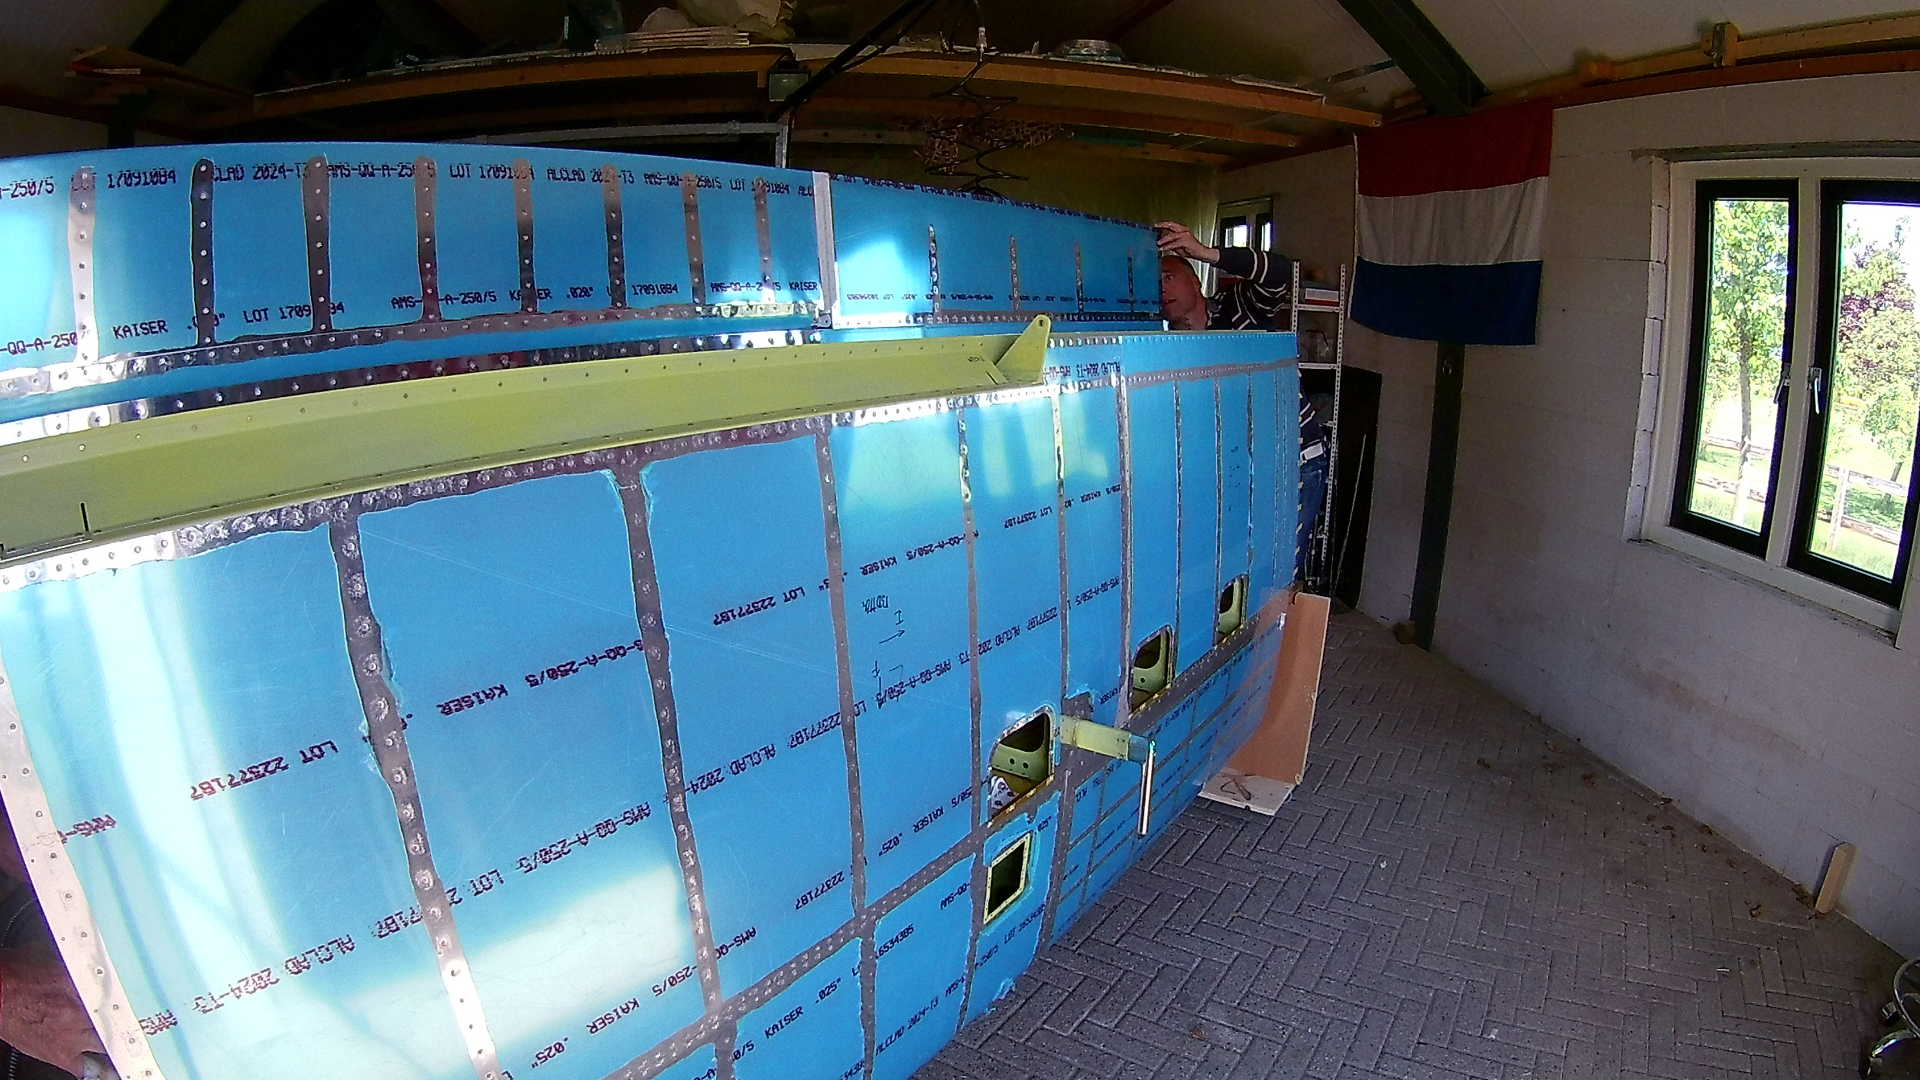
Once the Aileron is set, I use an Aluminum angle to align the Flap.
First I drilled the outboard and inboard most rivet holes in the piano hinge.
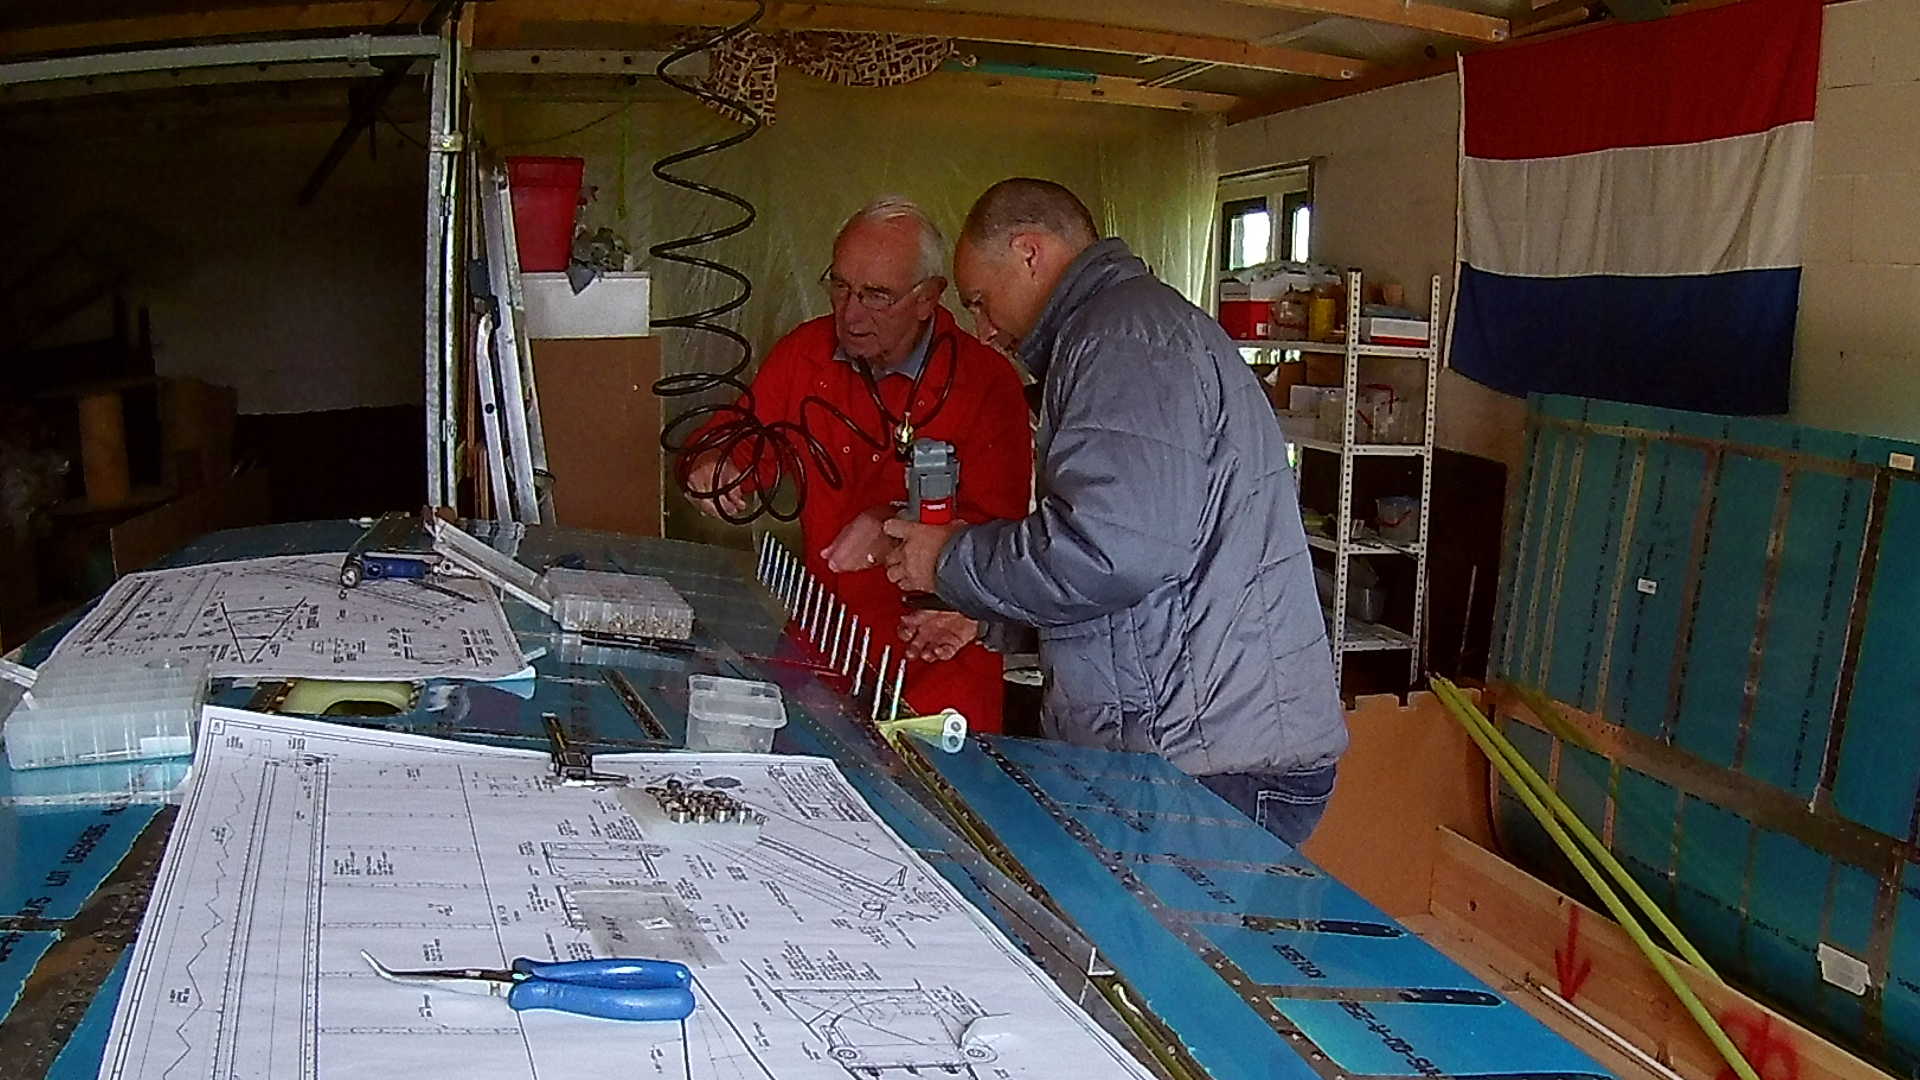
Than drilling and cleco-ing all the other rivet holes.
We can now remove the Flap and start riveting the piano hinge together with the last piece of bottom skin to the Flap brace.
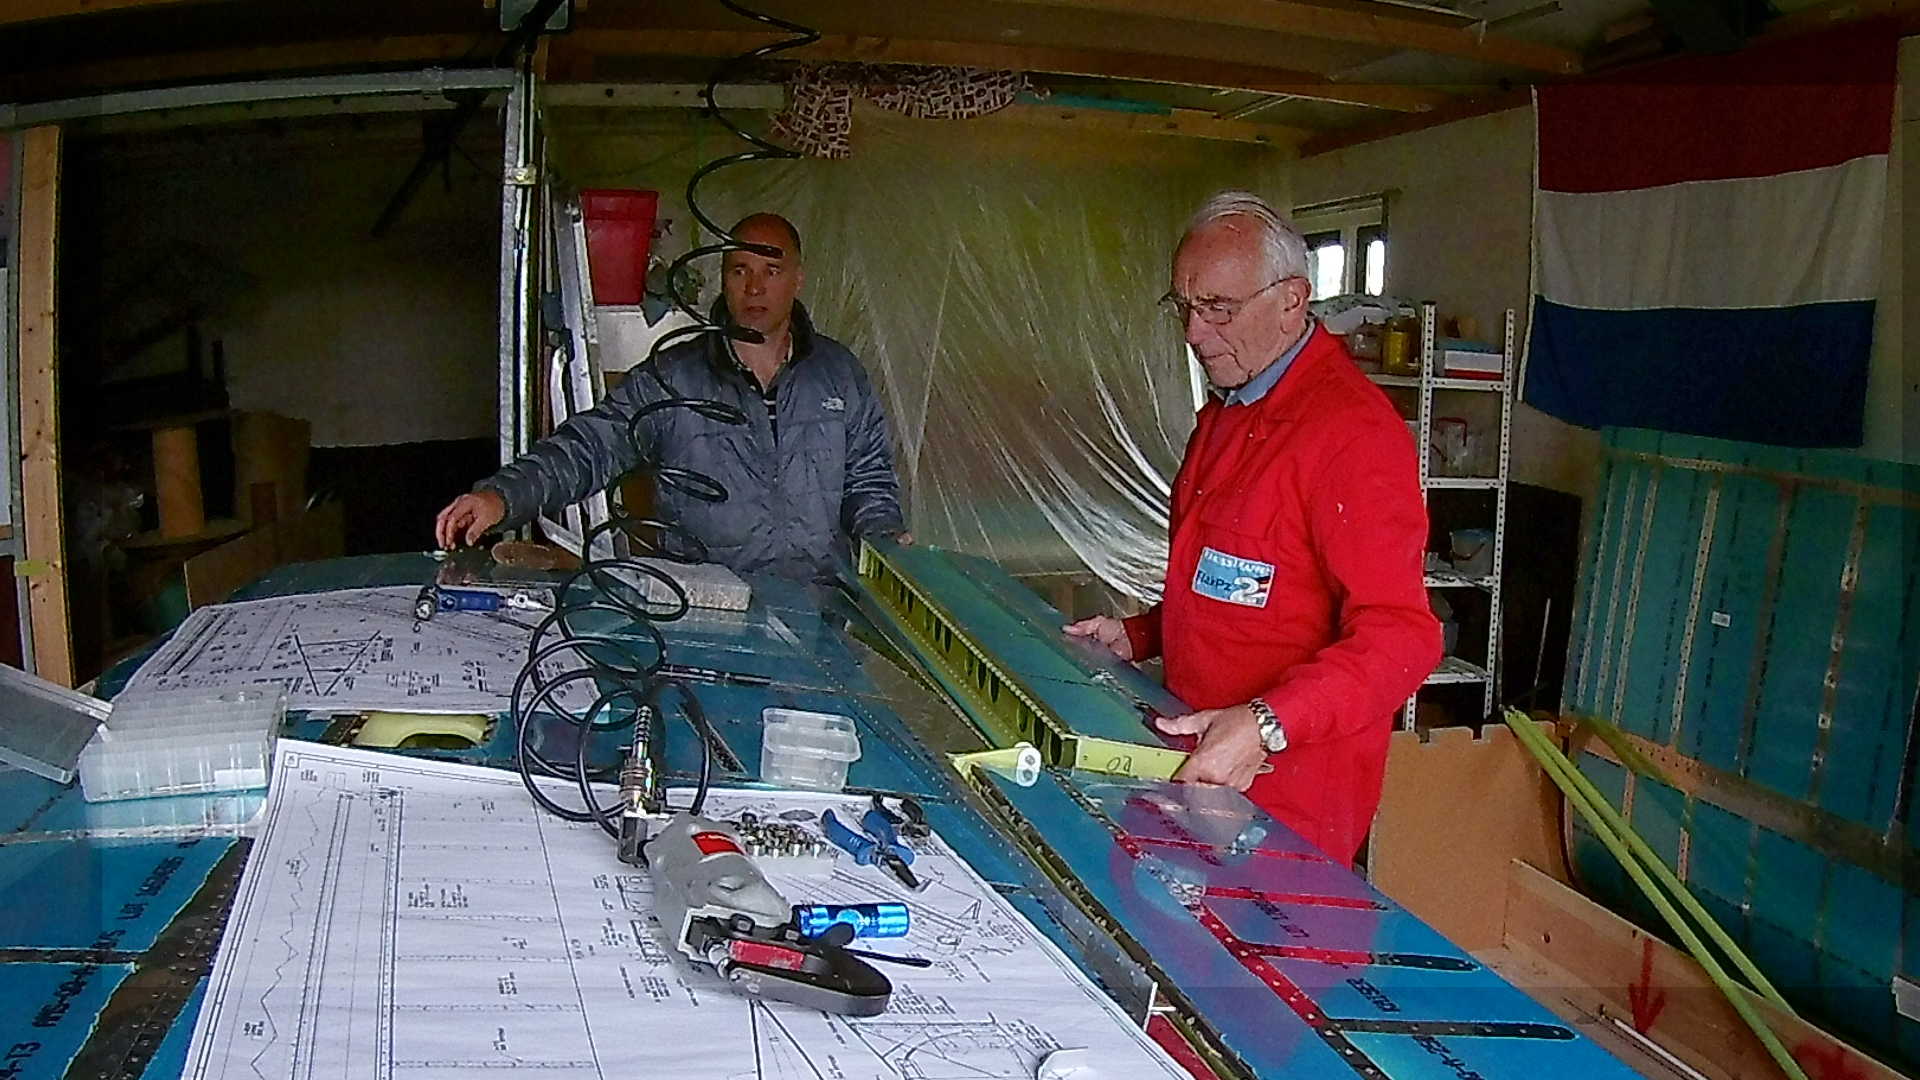
Wherever possible I use the pneumatic squeezer.
Now we can attach the Flap with the piano hinge.
According to the plans there are two ways to lock the piano hinge. One is to drill a small hole (off center) in the Aileron hinge, the other is to remove some piano hinge “eyes” in the middle and lock it there.
I decide to take the first approach, but I’ll execute that later (much later, when I attach the wings to the Fuselage.
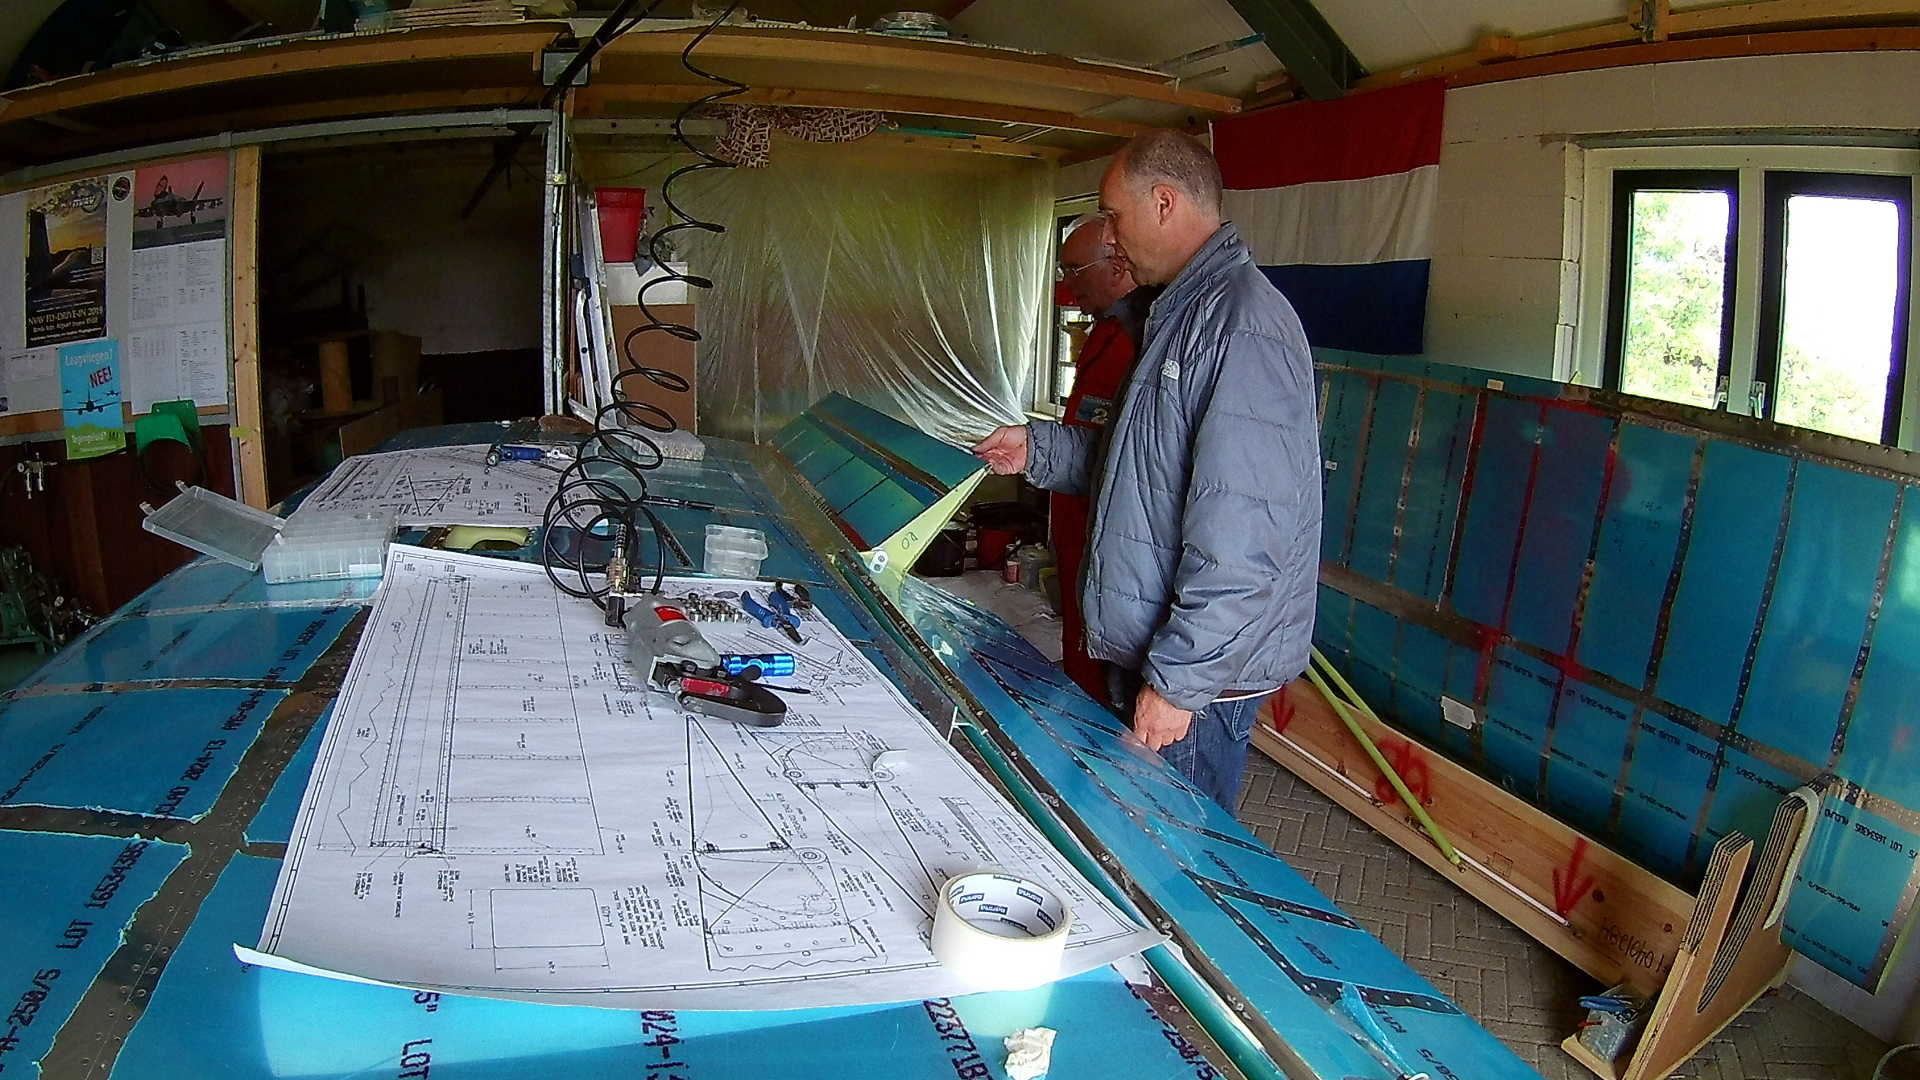
Now with the Aileron and Flap attached to the right Wing, we move it to the other side of the workshop to work on the left Wing.
Else we had to lift the left Wing over the right one, which is not convenient.
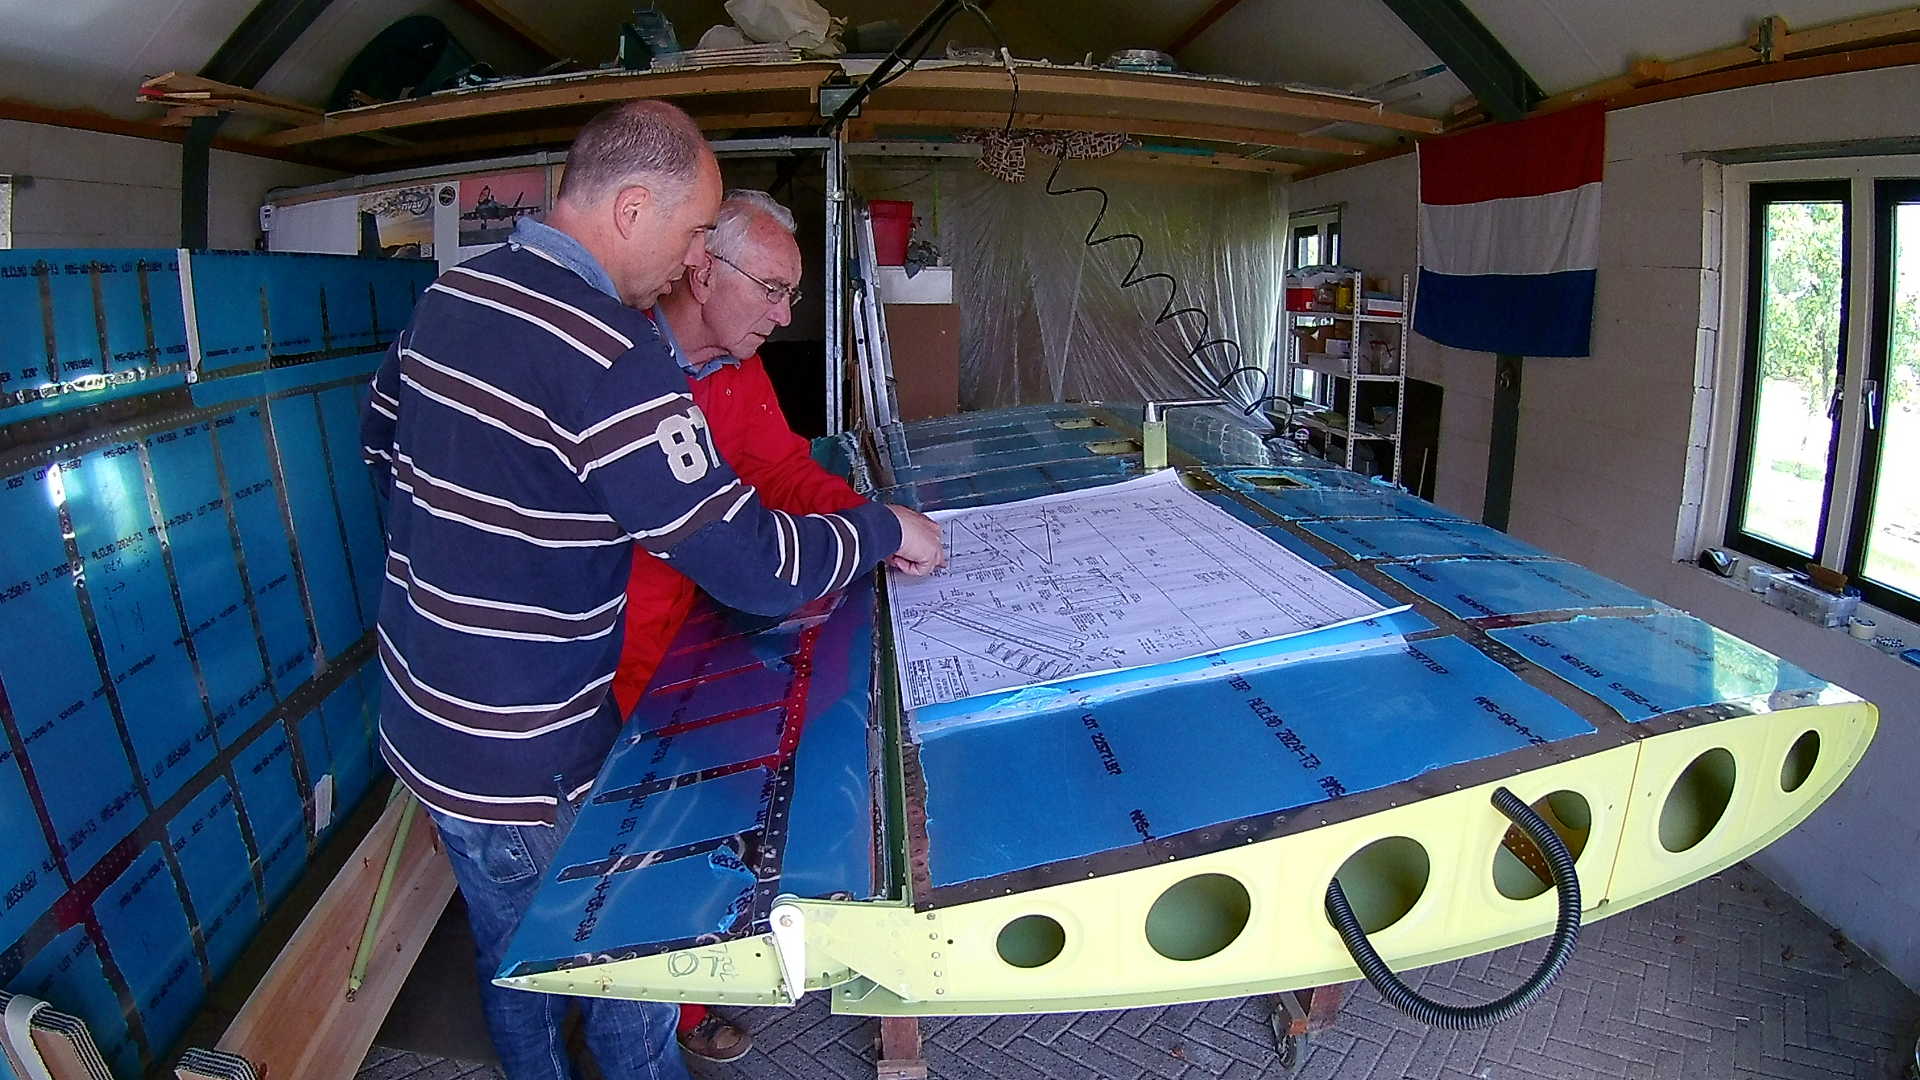
With the Wing stand on the other side we can easily pick up the left Wing and place it on the table.
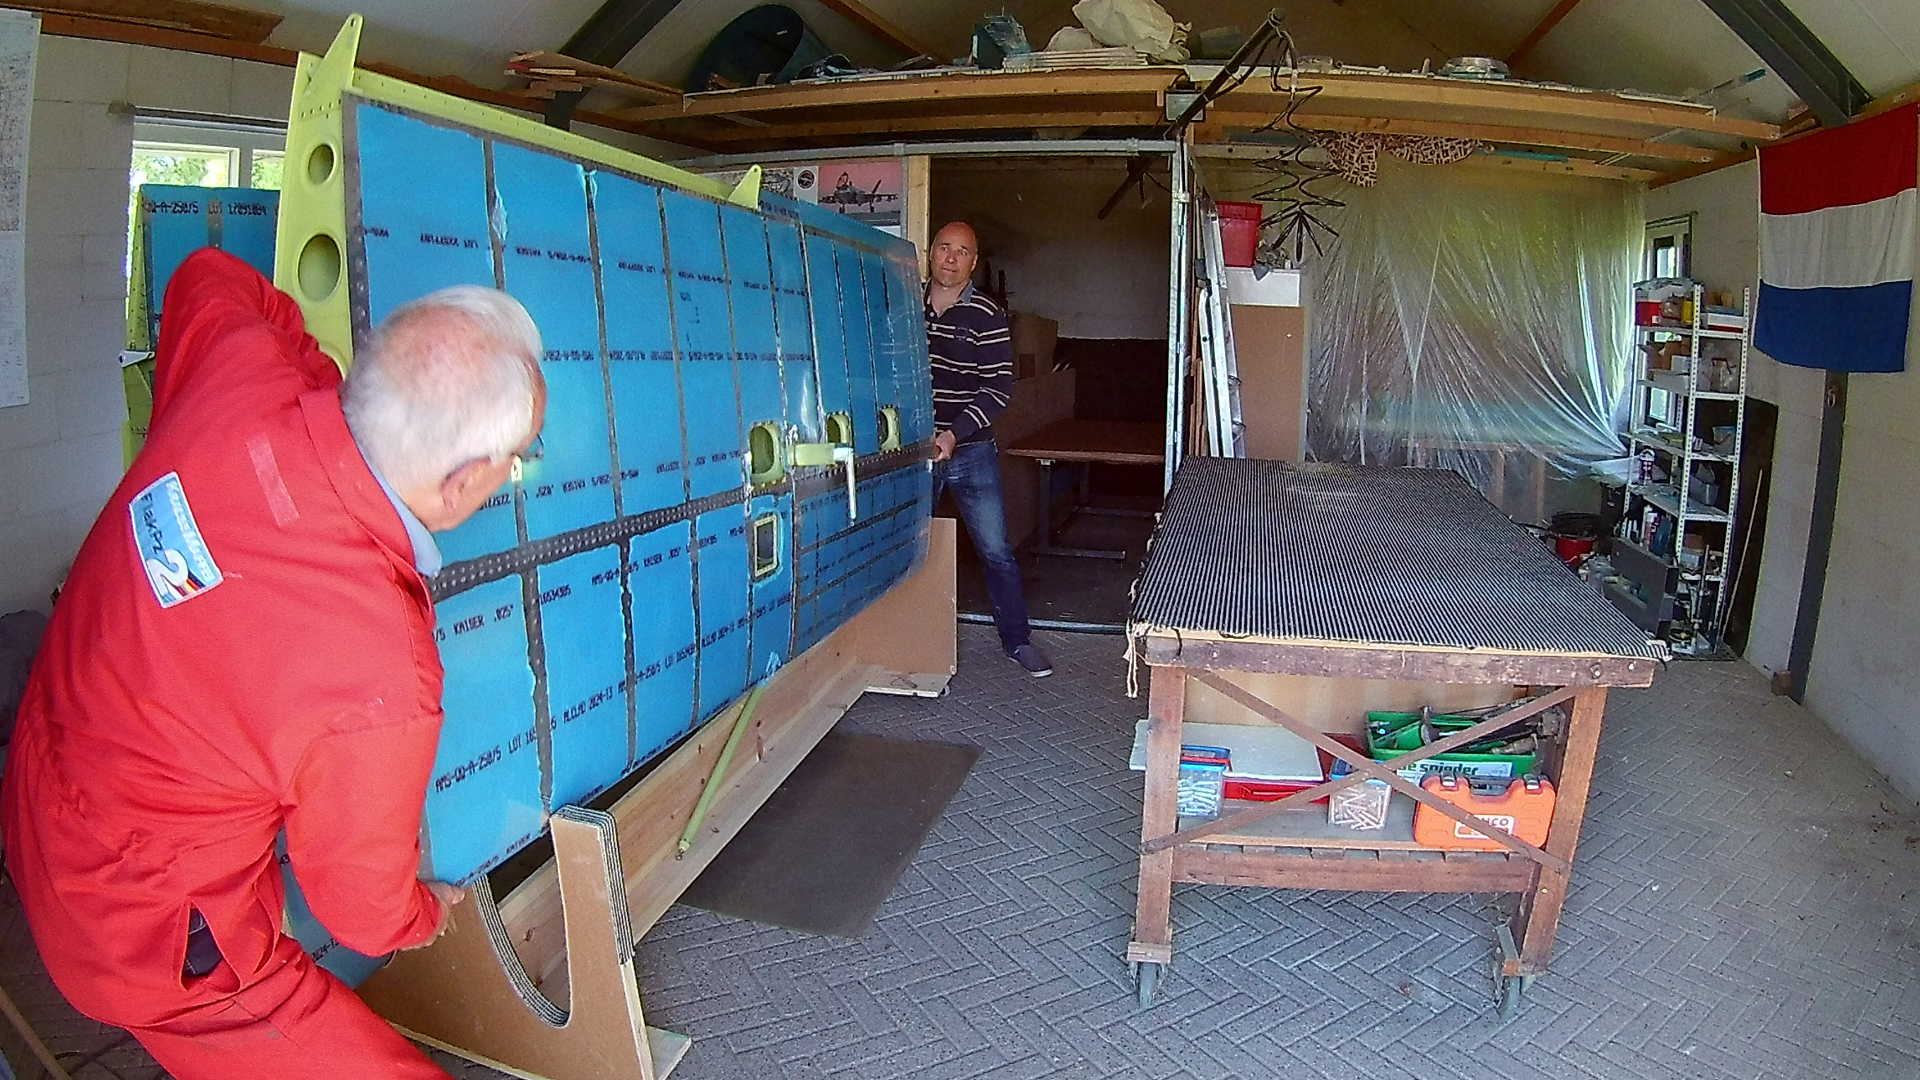
We have to be careful, because the pitot-tube is extending from the bottom side.
Now we can repeat the actions for the left Wing.
Time: 4 Hours, Rivets: 190/1 (2019-03-03)
Time: 4 Hours, Rivets: 92/0 (2019-05-12)
Video