
Besides the pre-drilled and pre-formed parts, you sometimes have to create specific (mostly smaller) parts from “raw-material”.
In this case it are spacers, that fill up the gap between some ribs and the seat bulkhead. The reason is that all the ribs are the same, where the distance to the bulkhead differs. Instead of making different ribs, Van’s decided to let the builder create spacers.
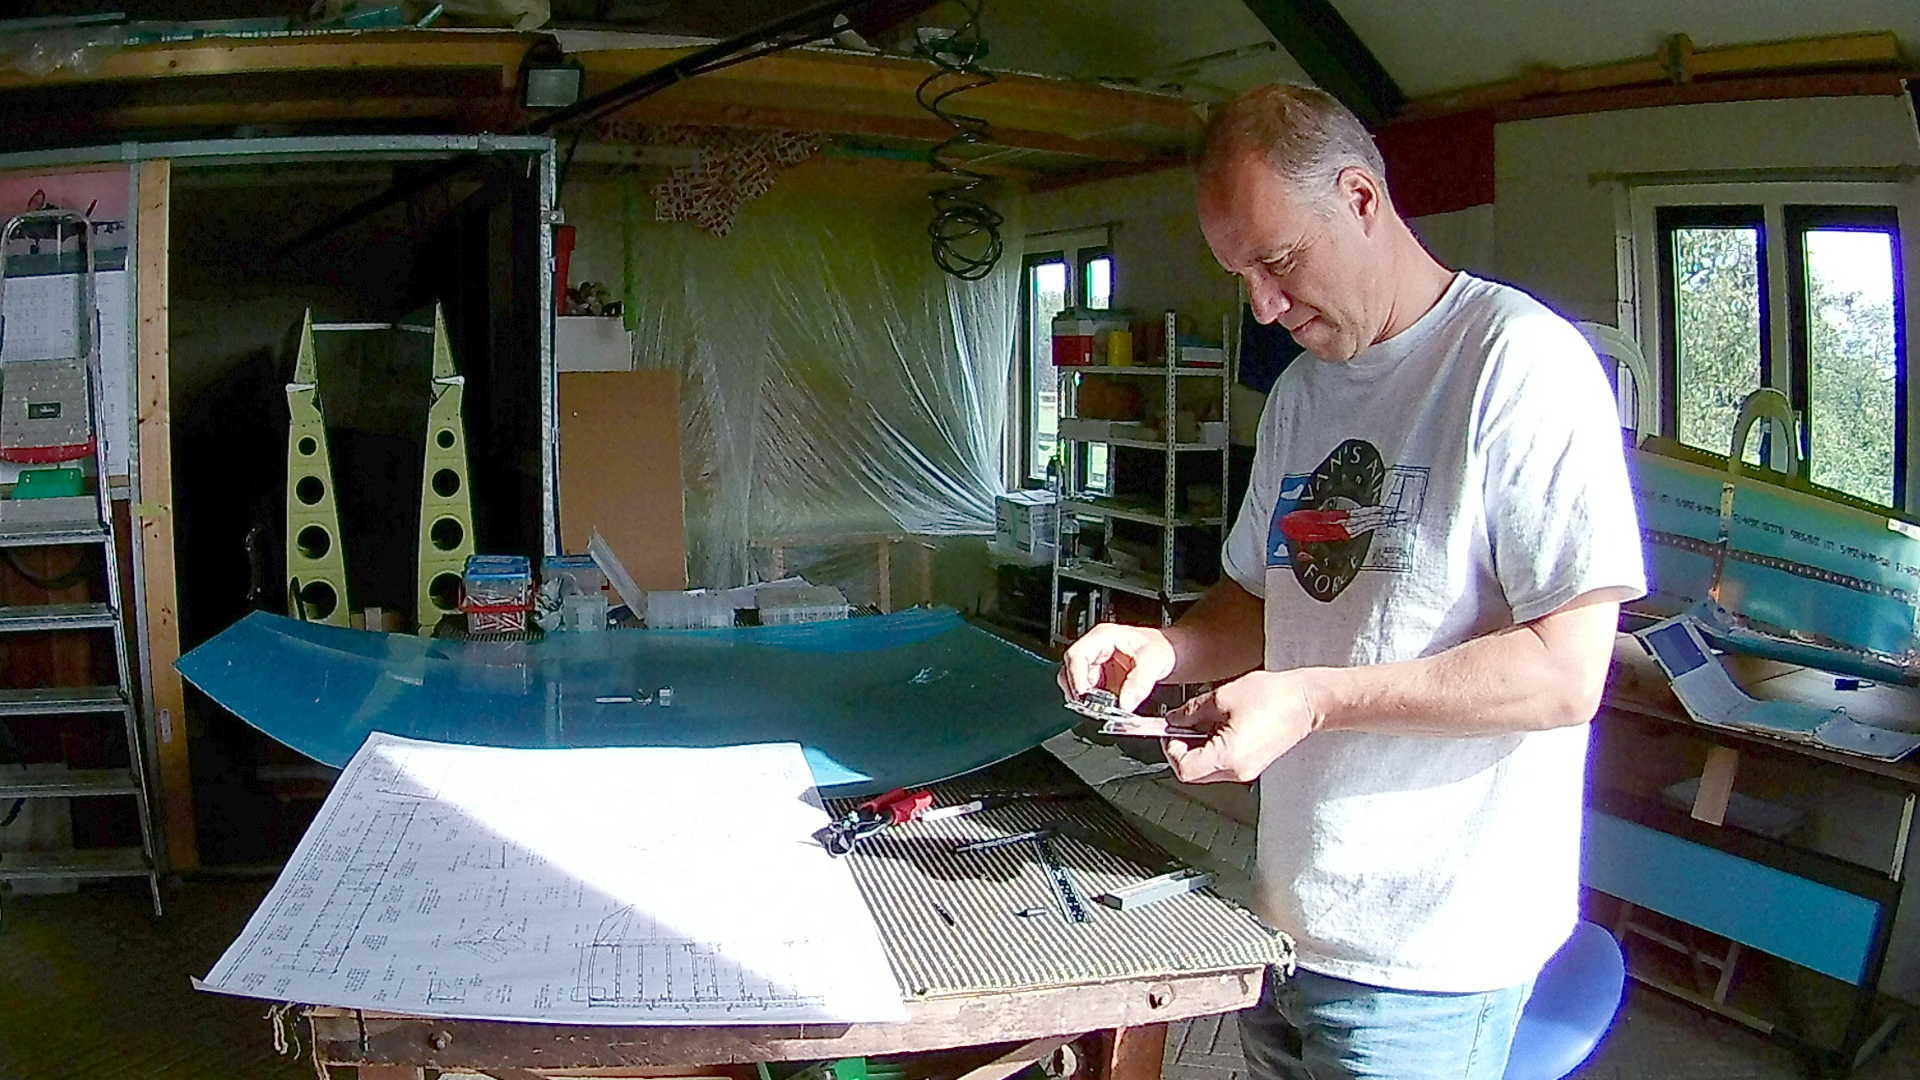
Since size does matter when building a plane, better use the caliper. A simple ruler won’t cut it here.

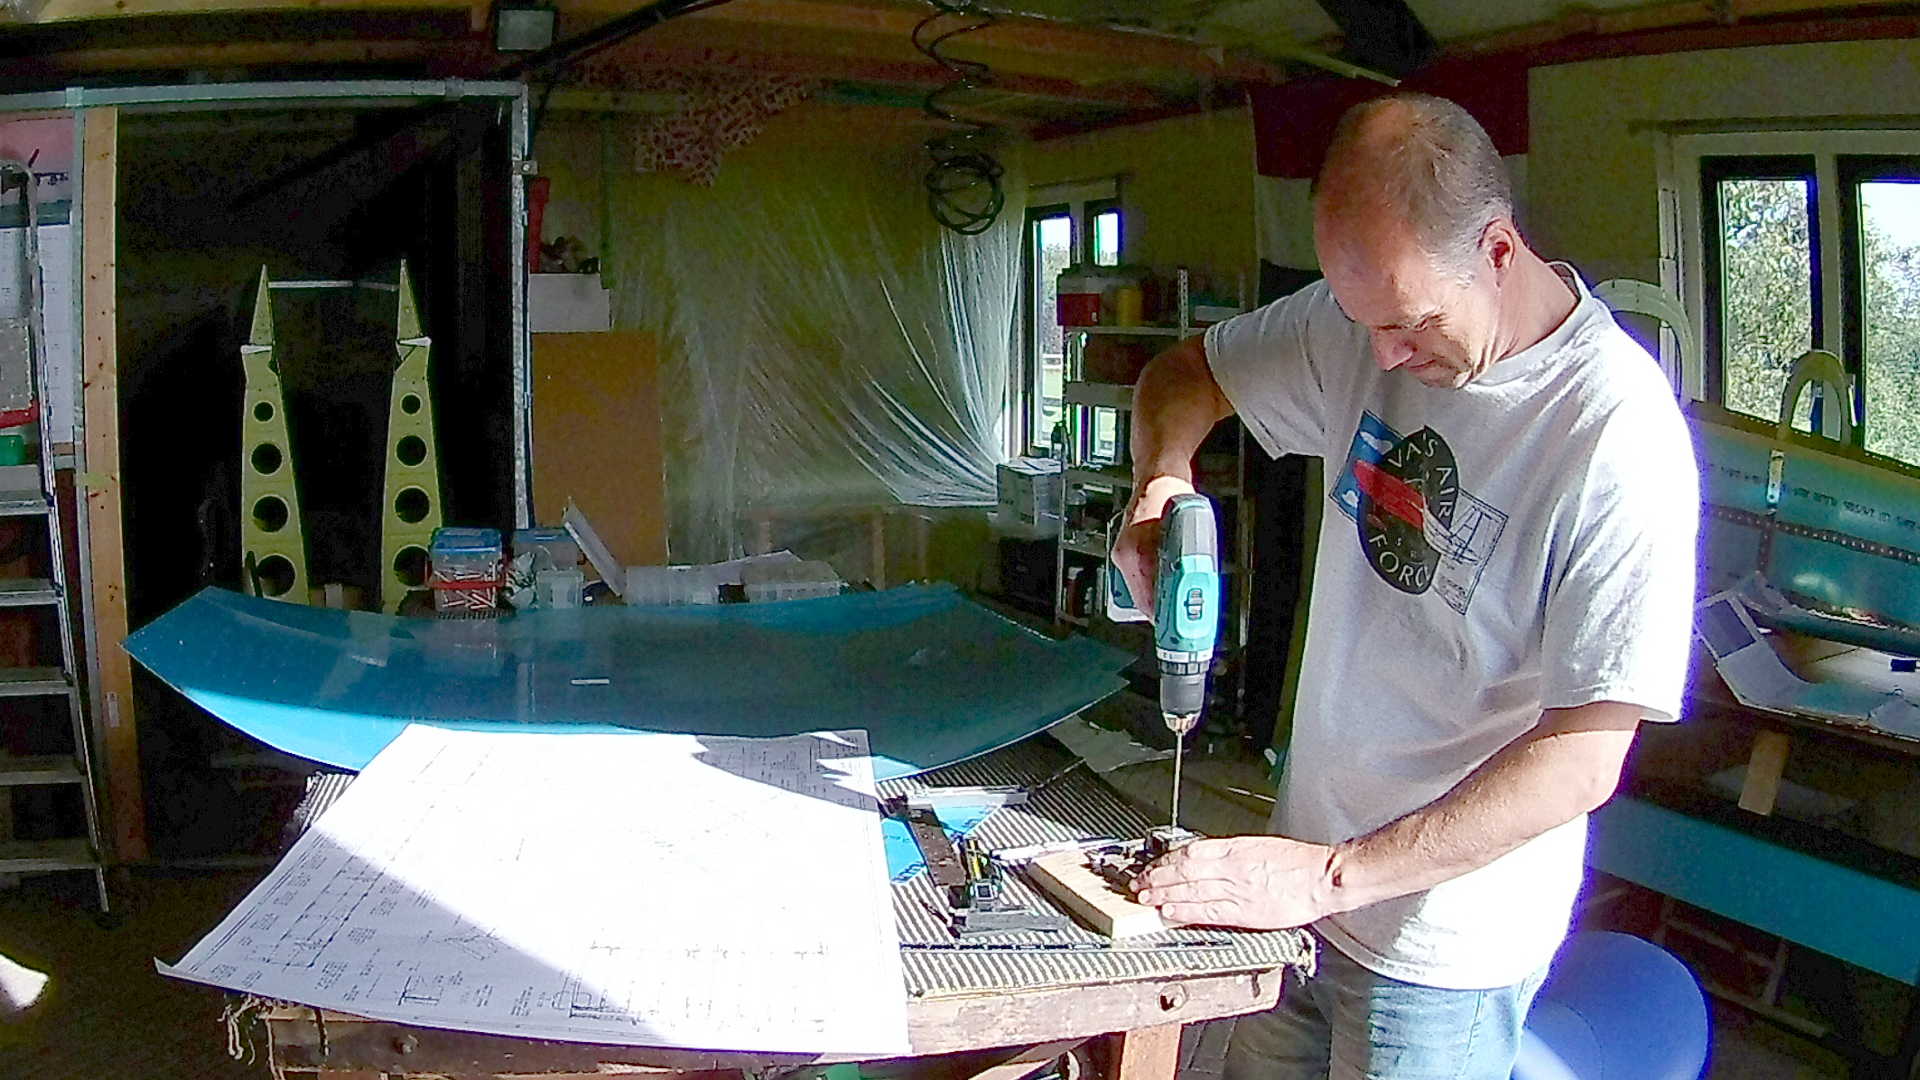
Talking about cutting, the middle (four) ribs need to be trimmed significantly, to make room for the control stick mechanism.
The first rib I start snipping with the scissors. That was not very handy.
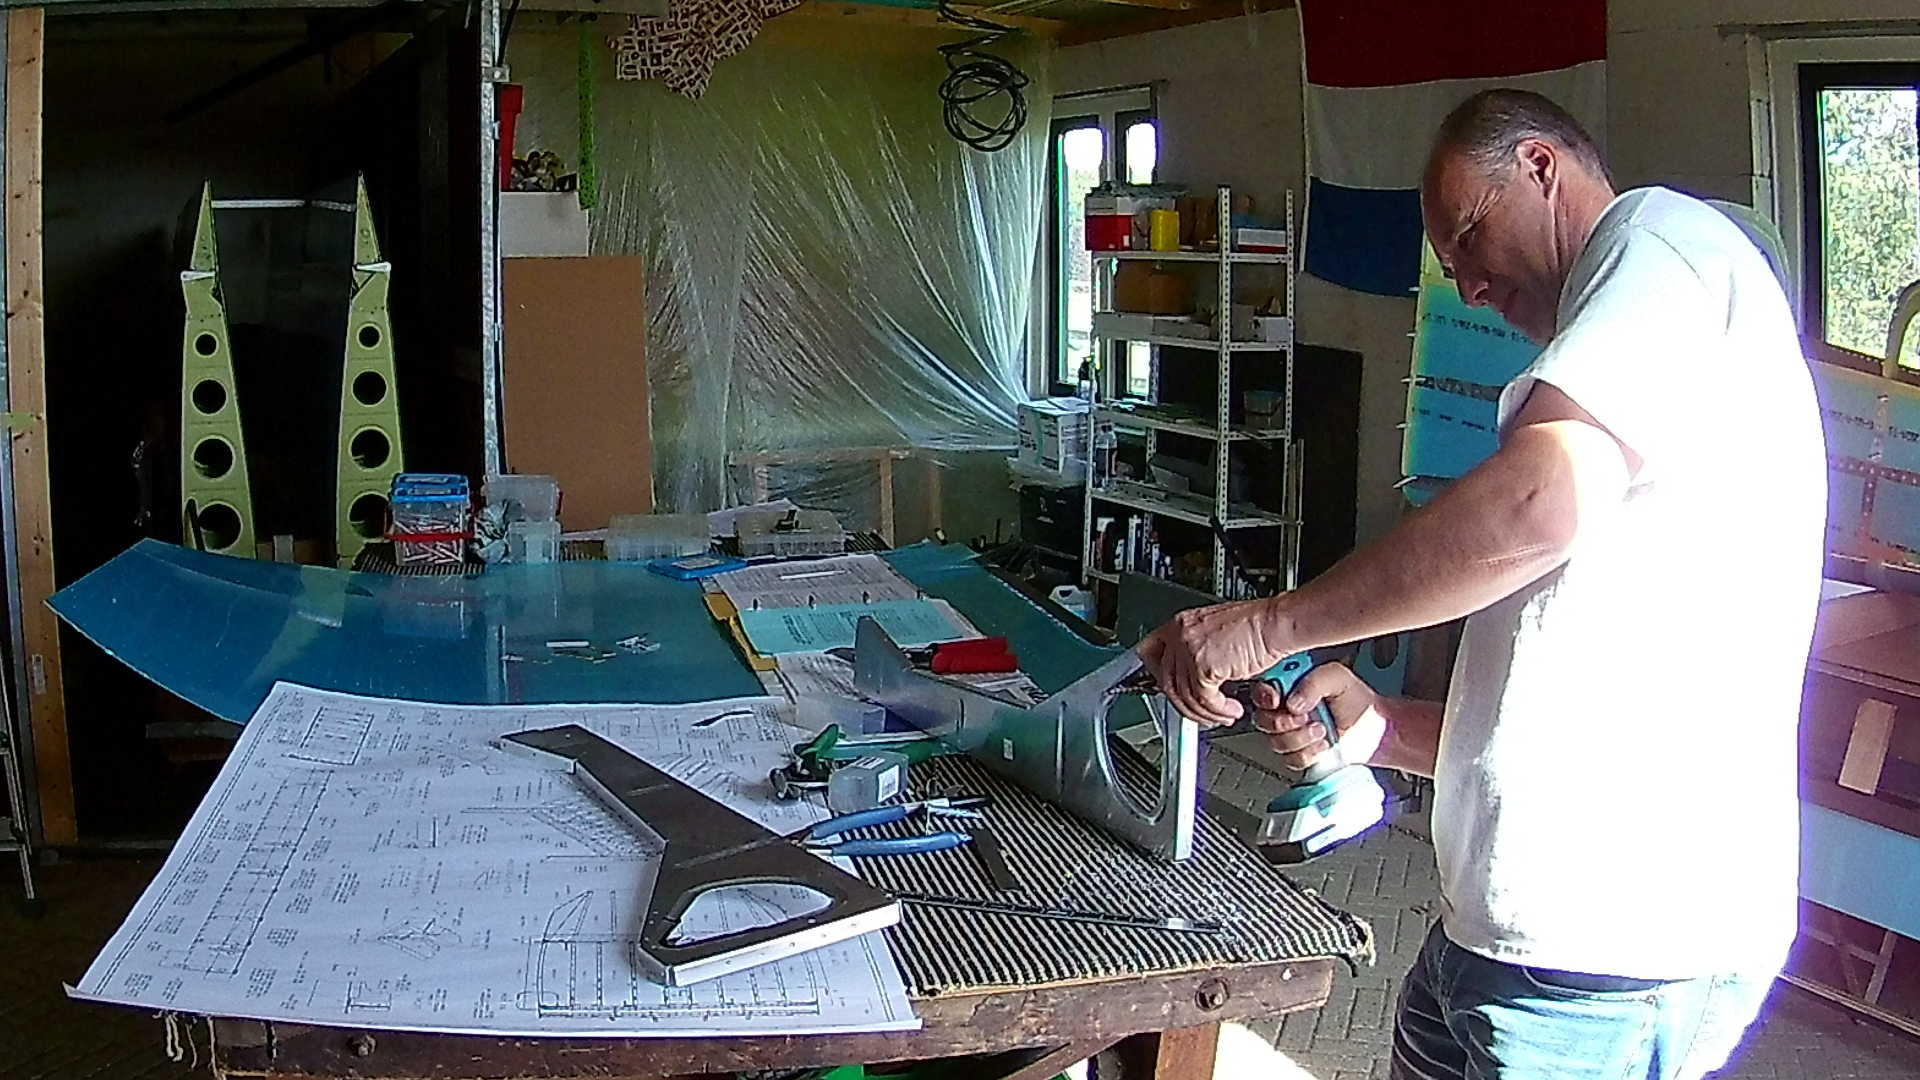
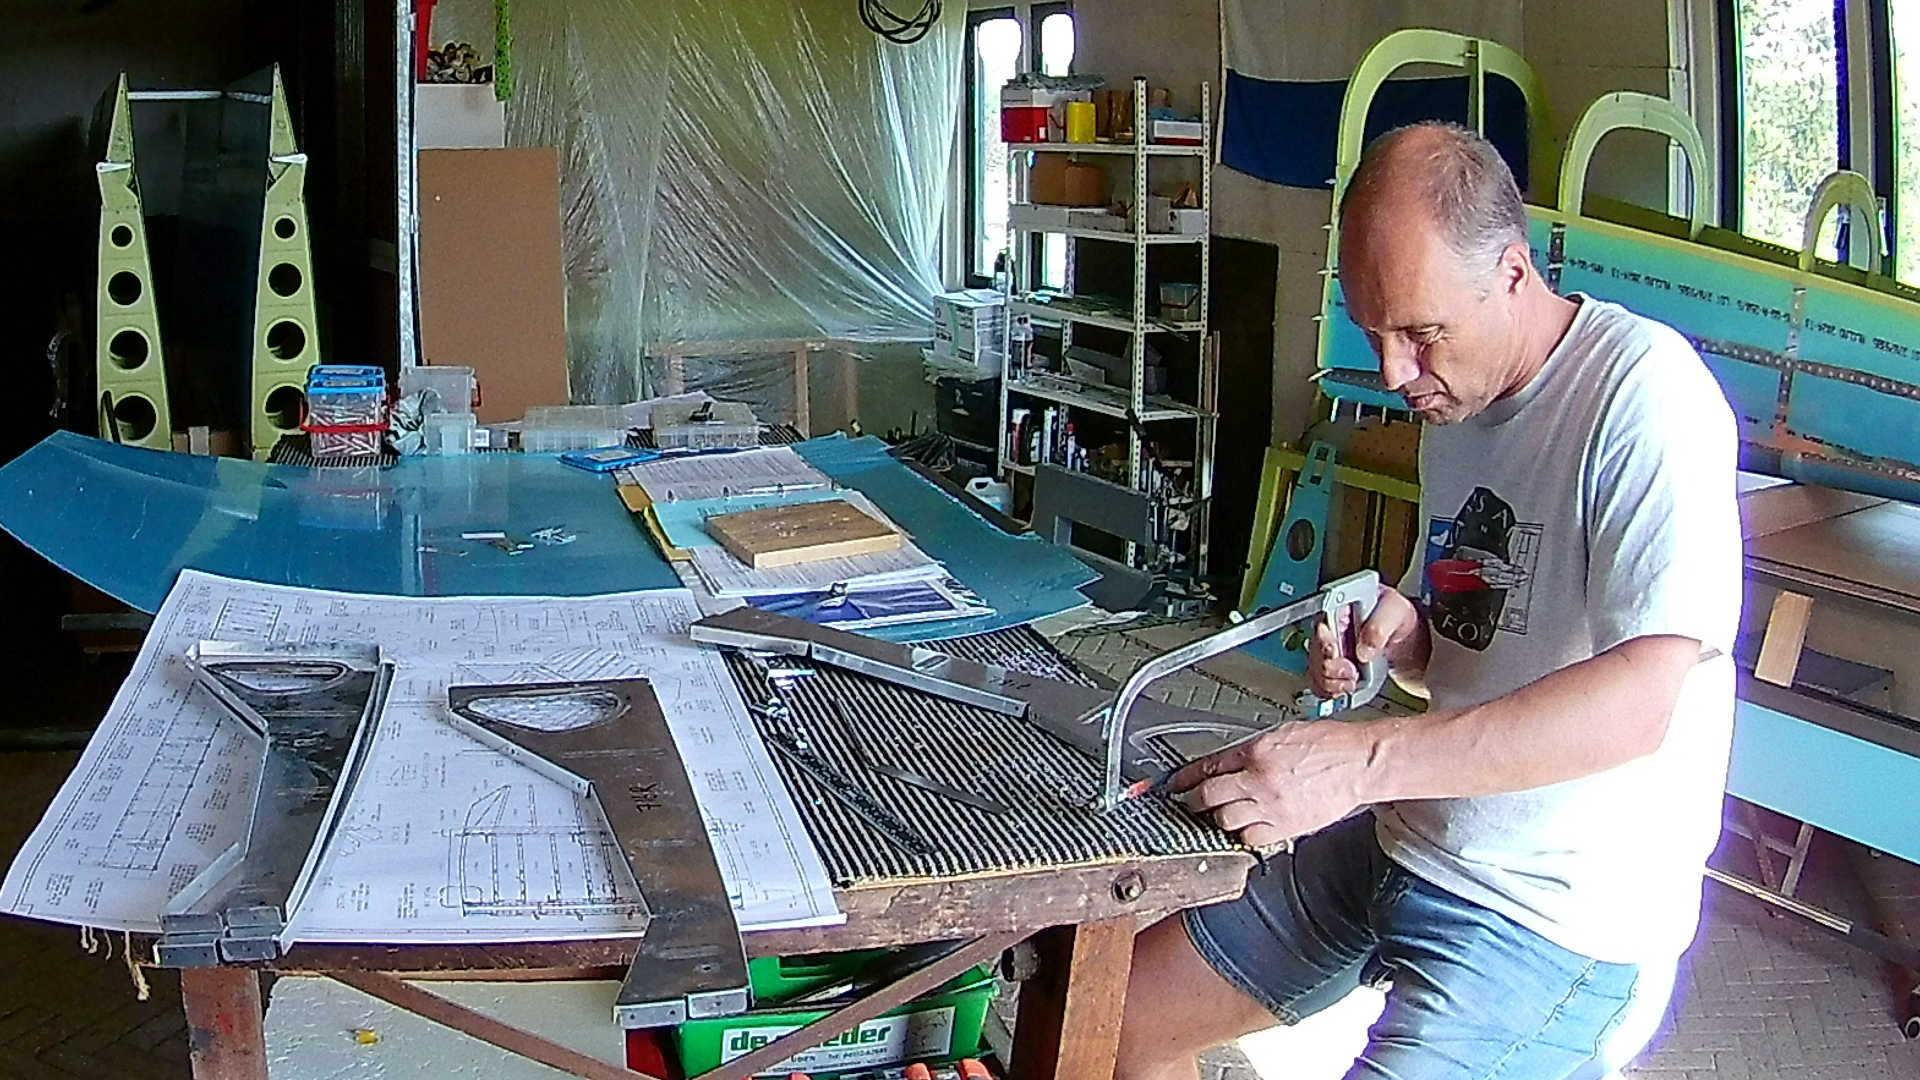
Second one I started with drilling a really big hole and then use the scissors to remove the remaining parts. That turned out to be much easier. Hence I use the same procedure for the remaining two seat ribs.
After drilling and snipping, you can remove the jagged edges with a file.
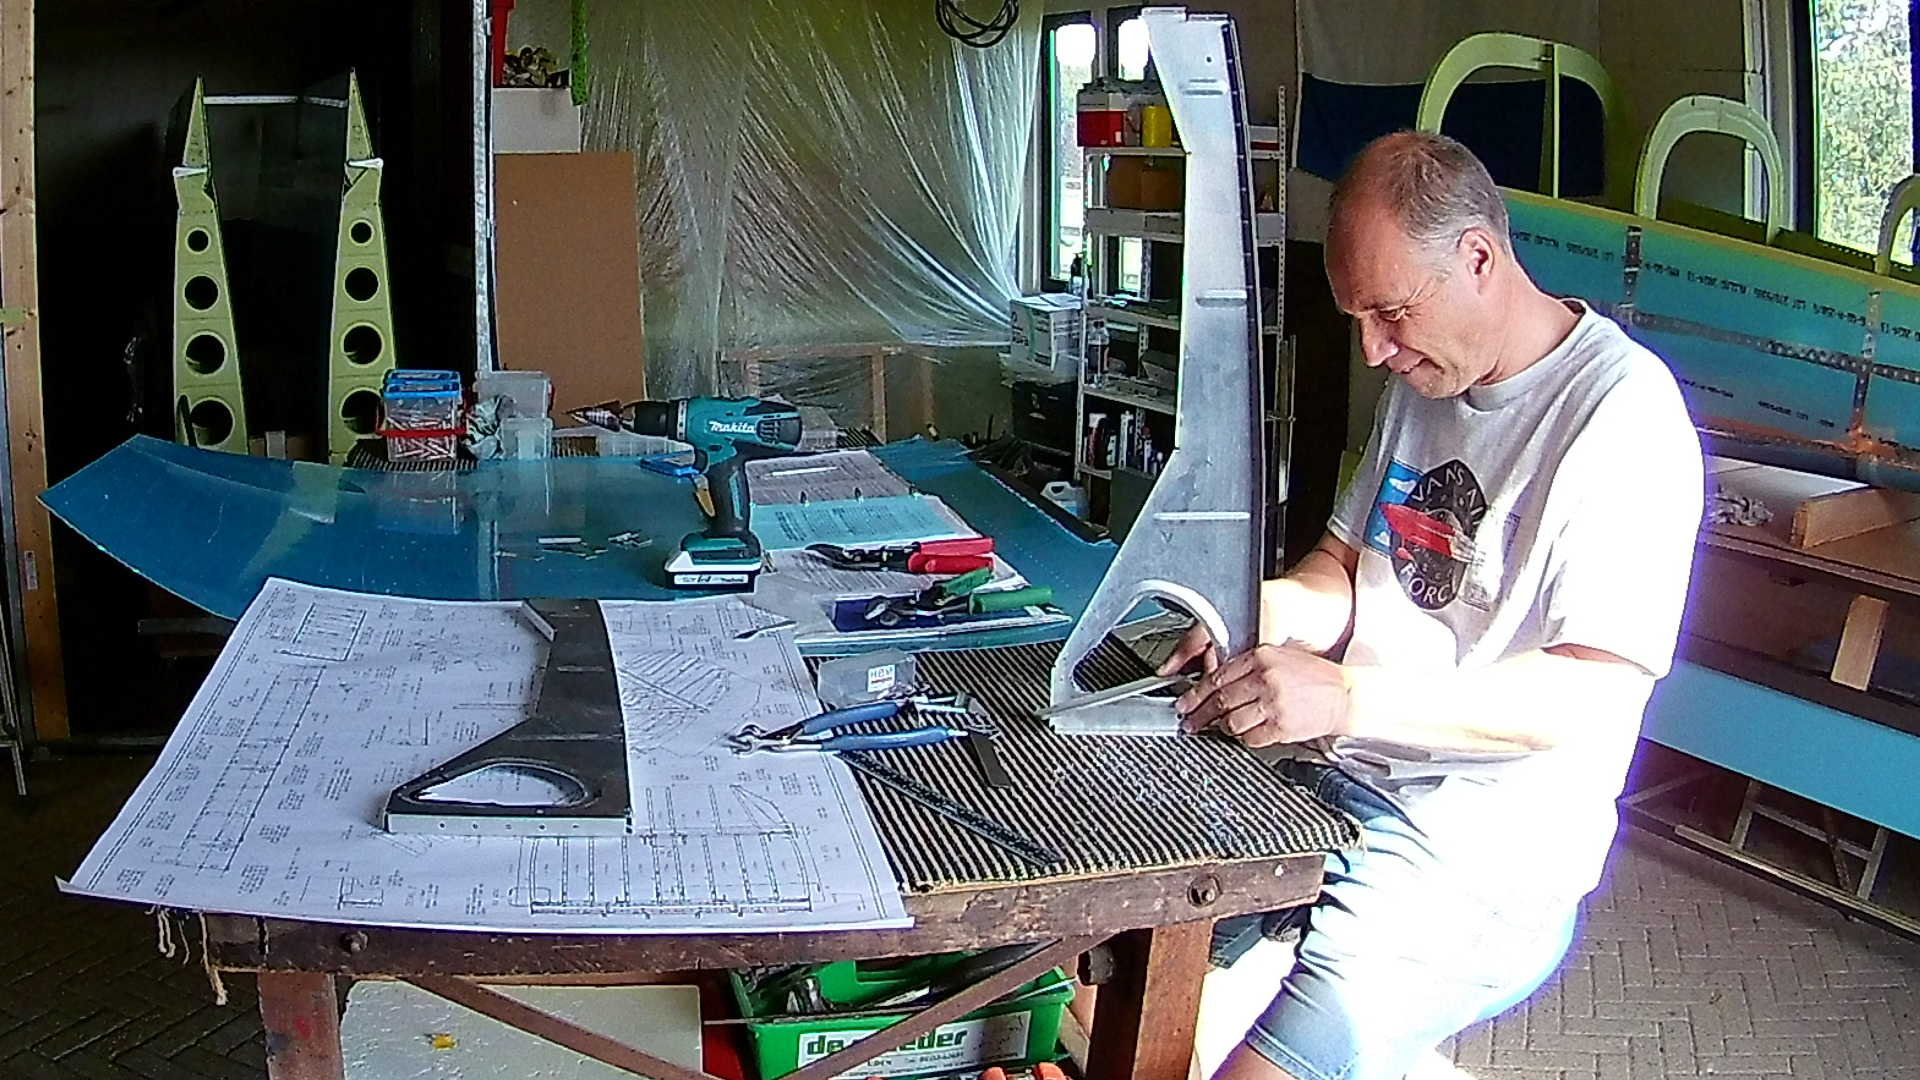
The two center seat ribs need to be cut to insert the control stick mechanism later.
Again measure before cutting.
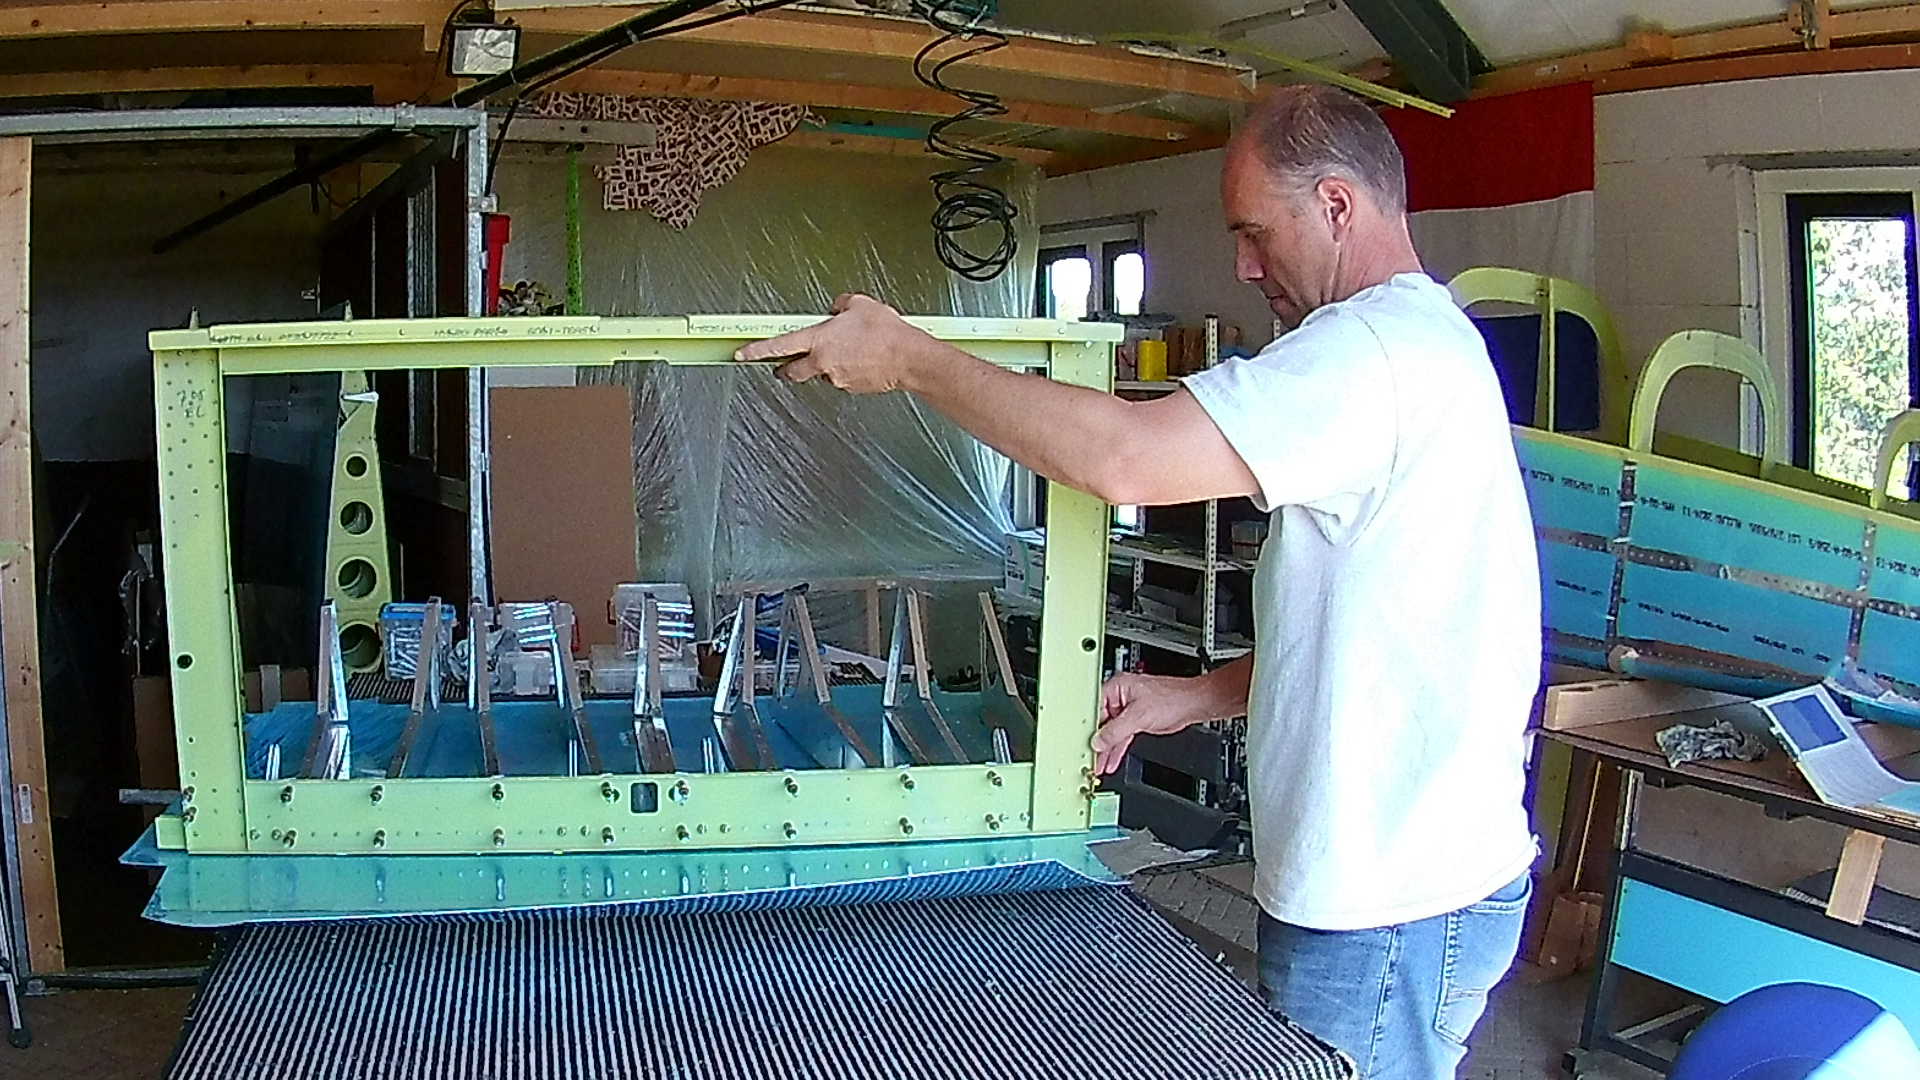
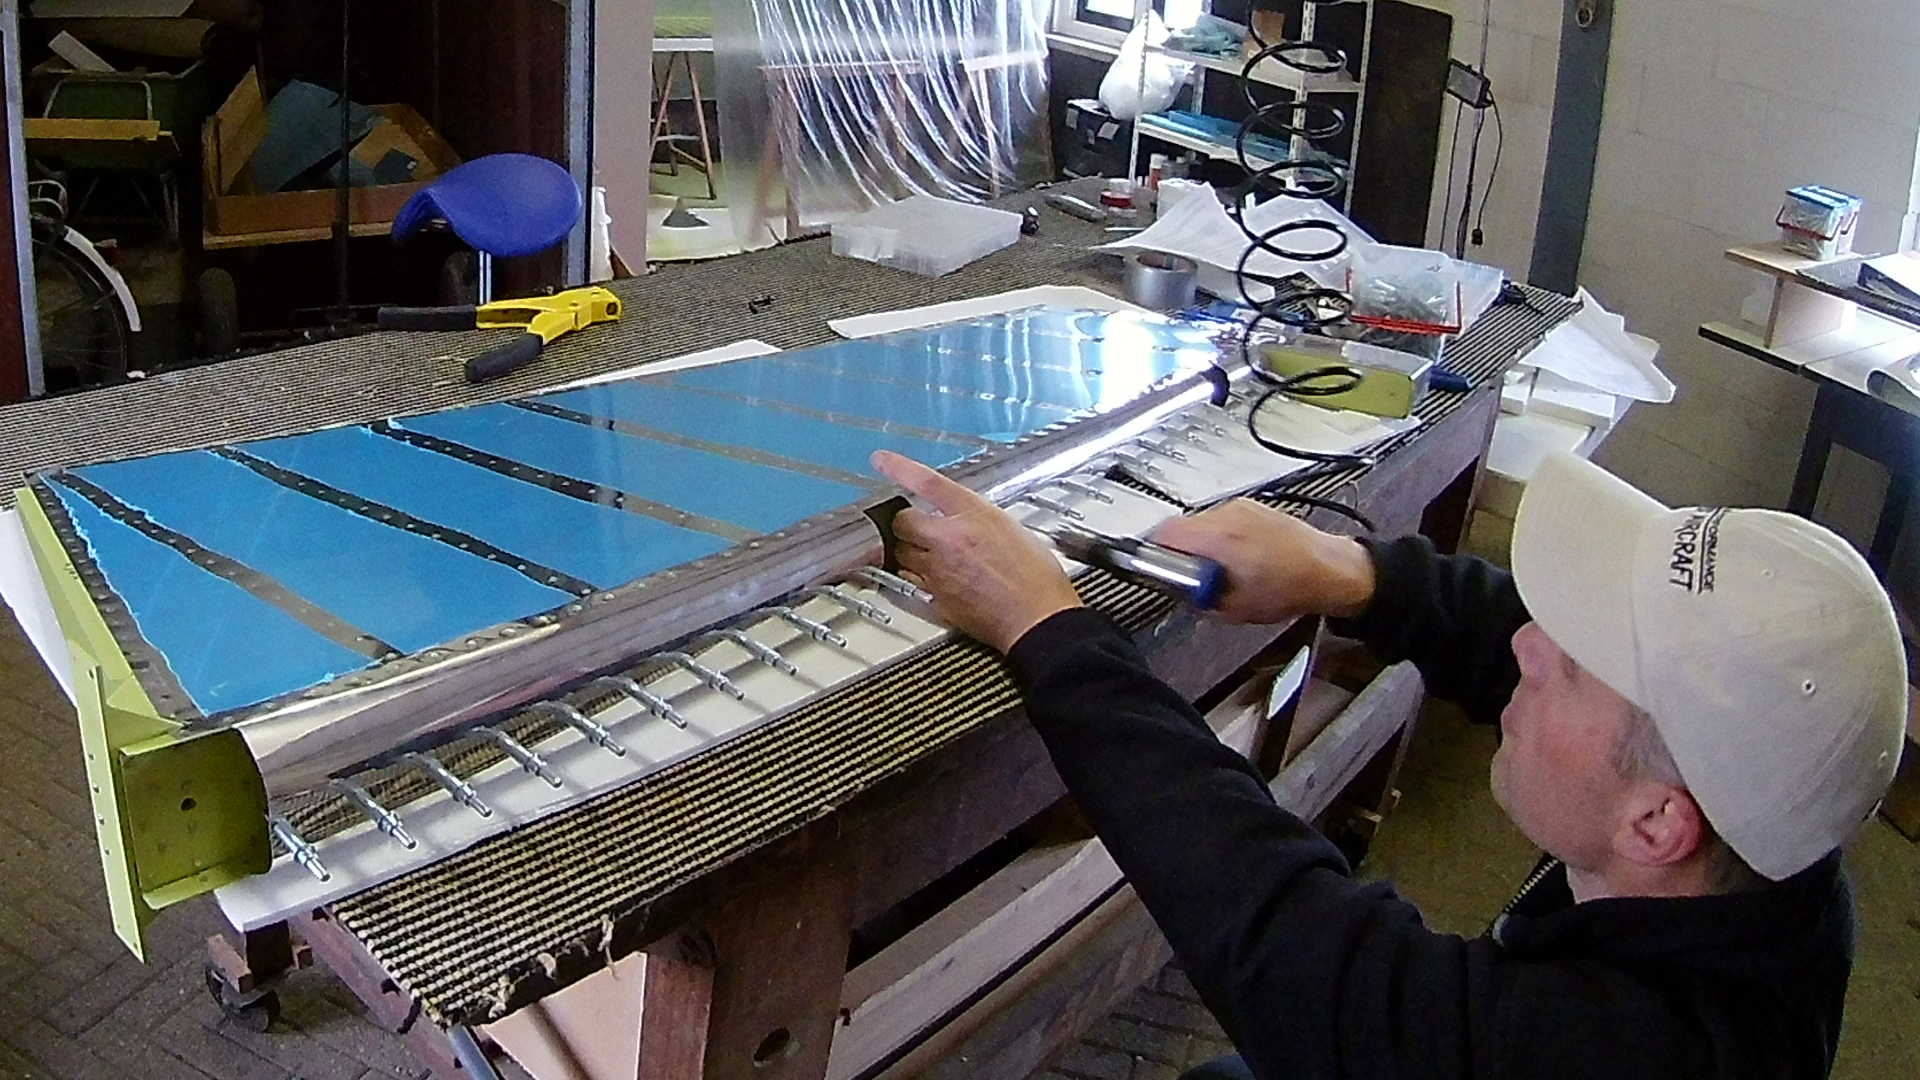
With all the seat ribs clecoed to the bulkhead, I can fit it to the center bottom skin.
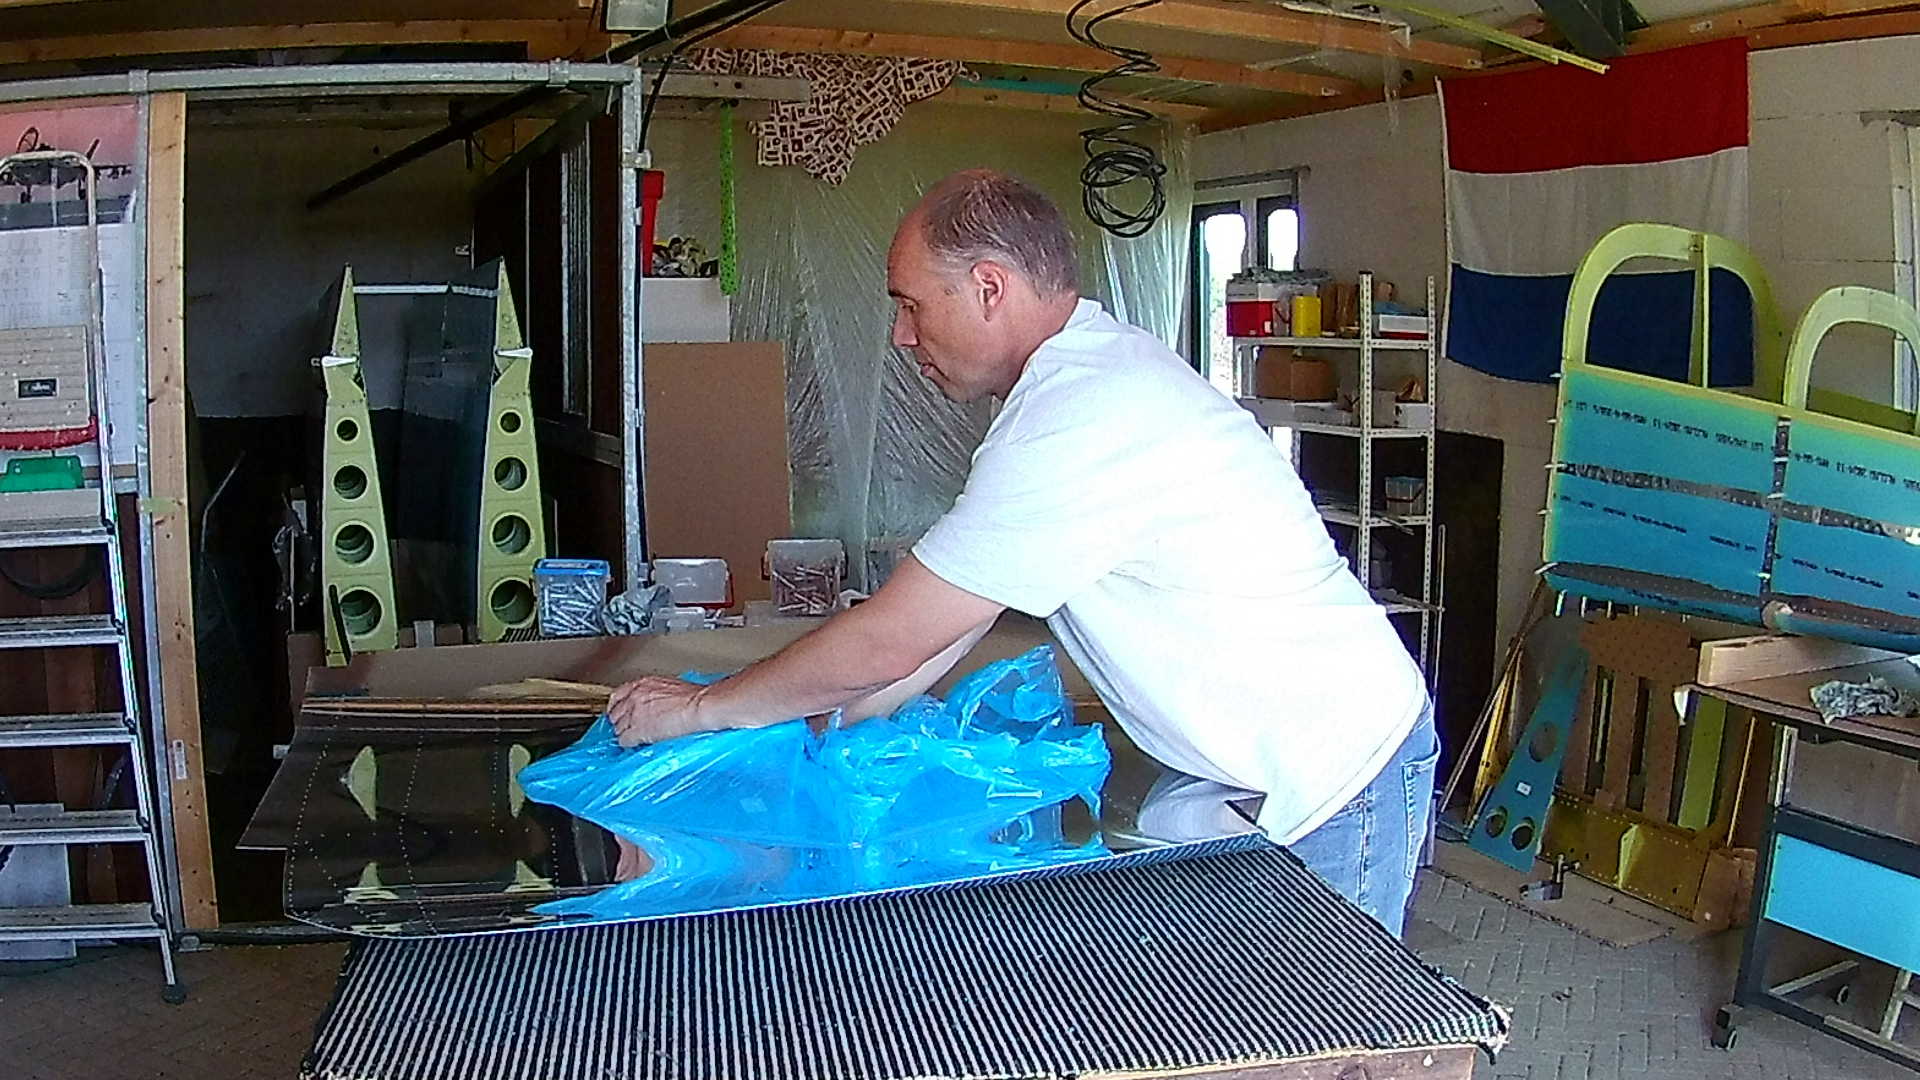
Look how shiny the skin is beneath the vinyl blue foil.
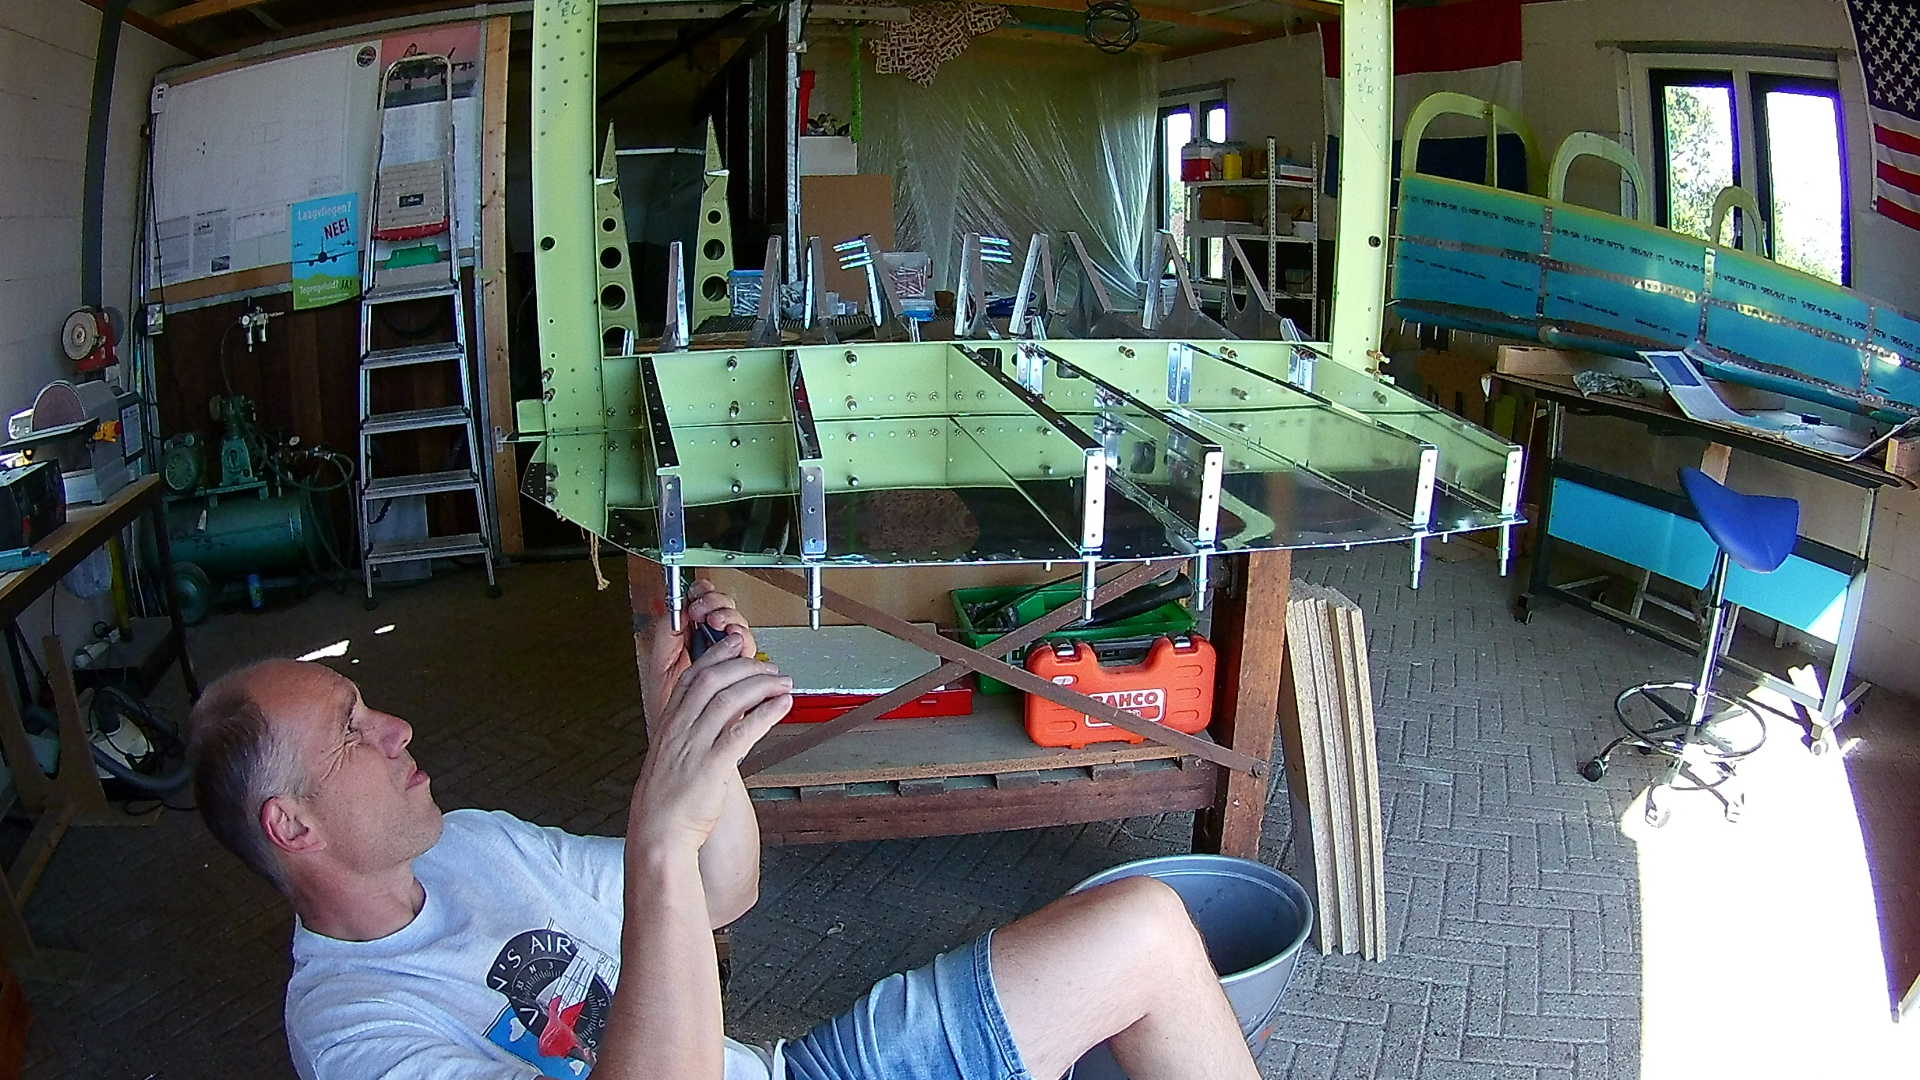
Not sure if there is a more comfortable way of clecoing the structure to the skin. The only way I came up with (after 10 seconds of thought) is sitting on a bucket on the floor.

And this is where it was all done for, to match drill all the holes. Sometimes I’m really doubting the purpose of all this. I’m wondering if I would just drill the skin and rib holes to size separately, if that would realy be a difference. Unfortunately I do not have the time and money to do this test. So better stick to the build plan.
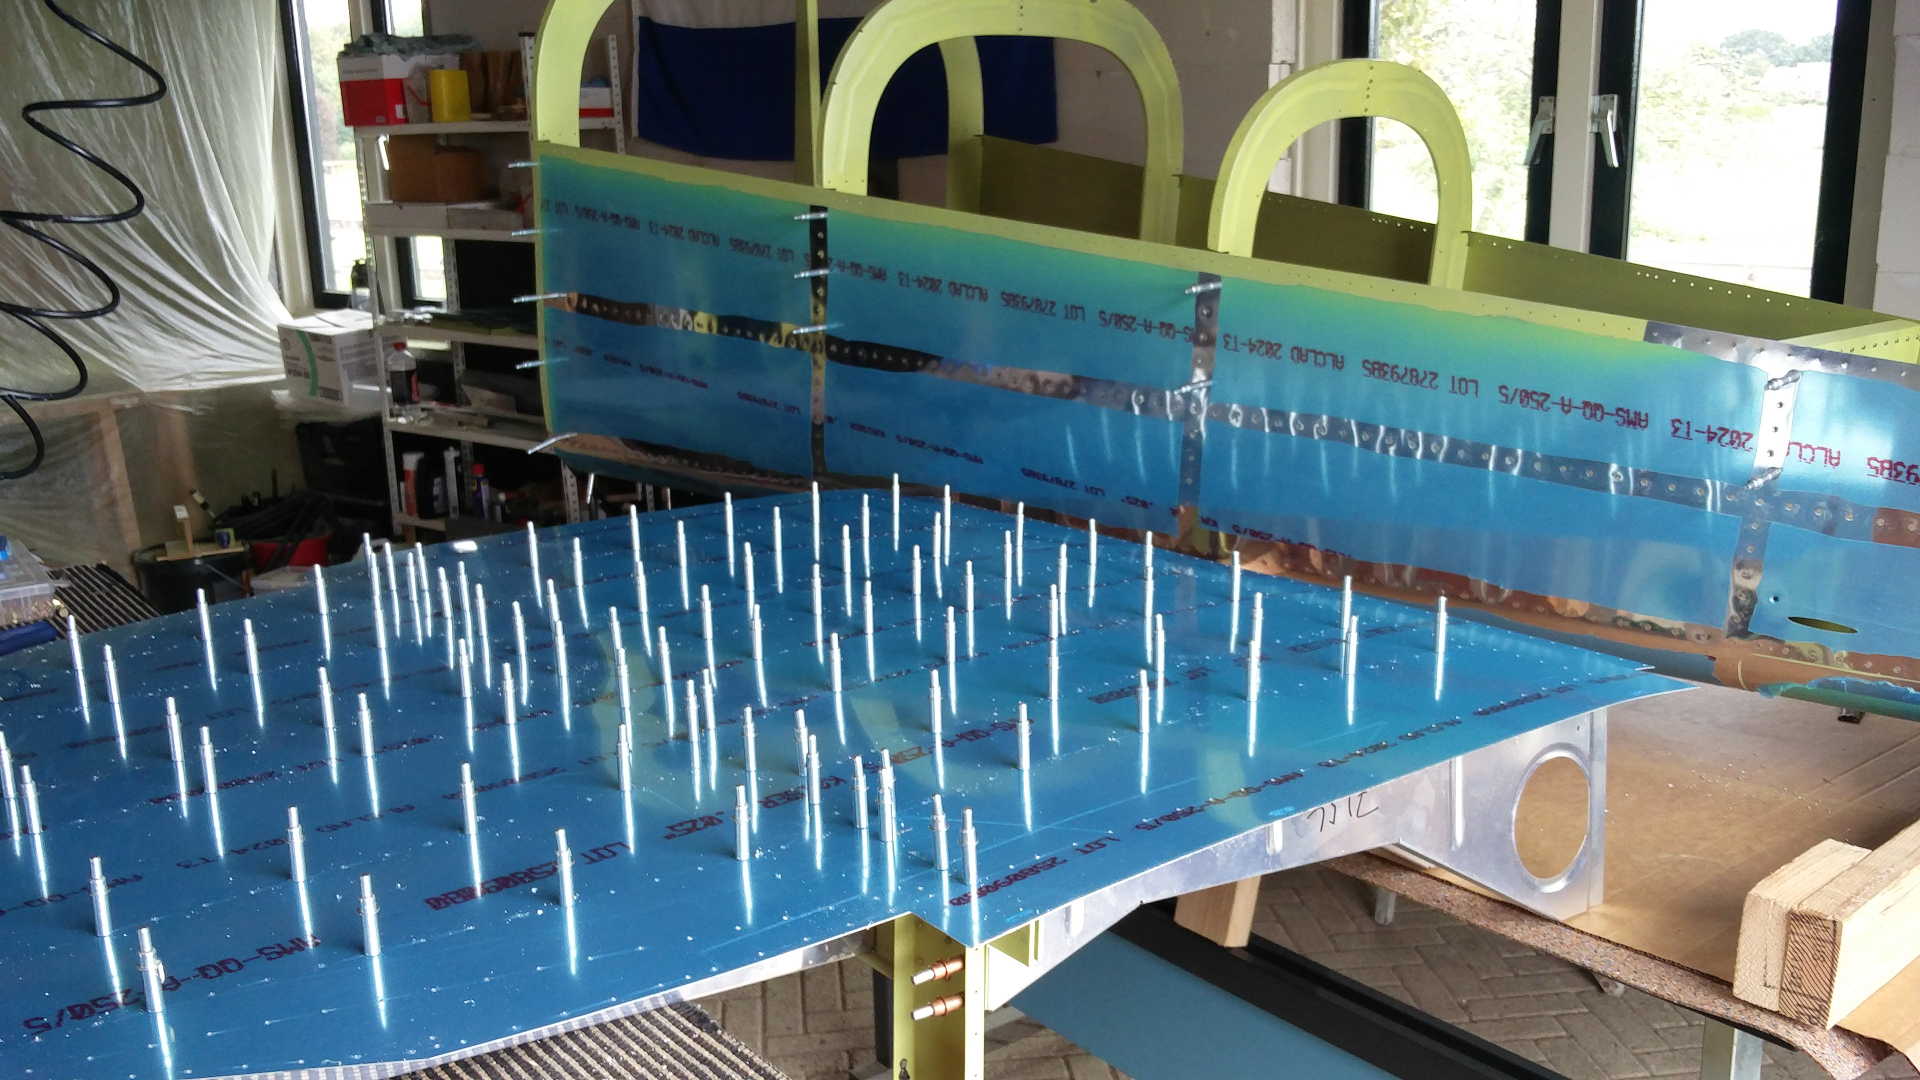
Fuselage Center Section ready for priming and the tail cone in the back. It starts to look like a plane.
Time: 7 Hours, Rivets: 10/0
Video