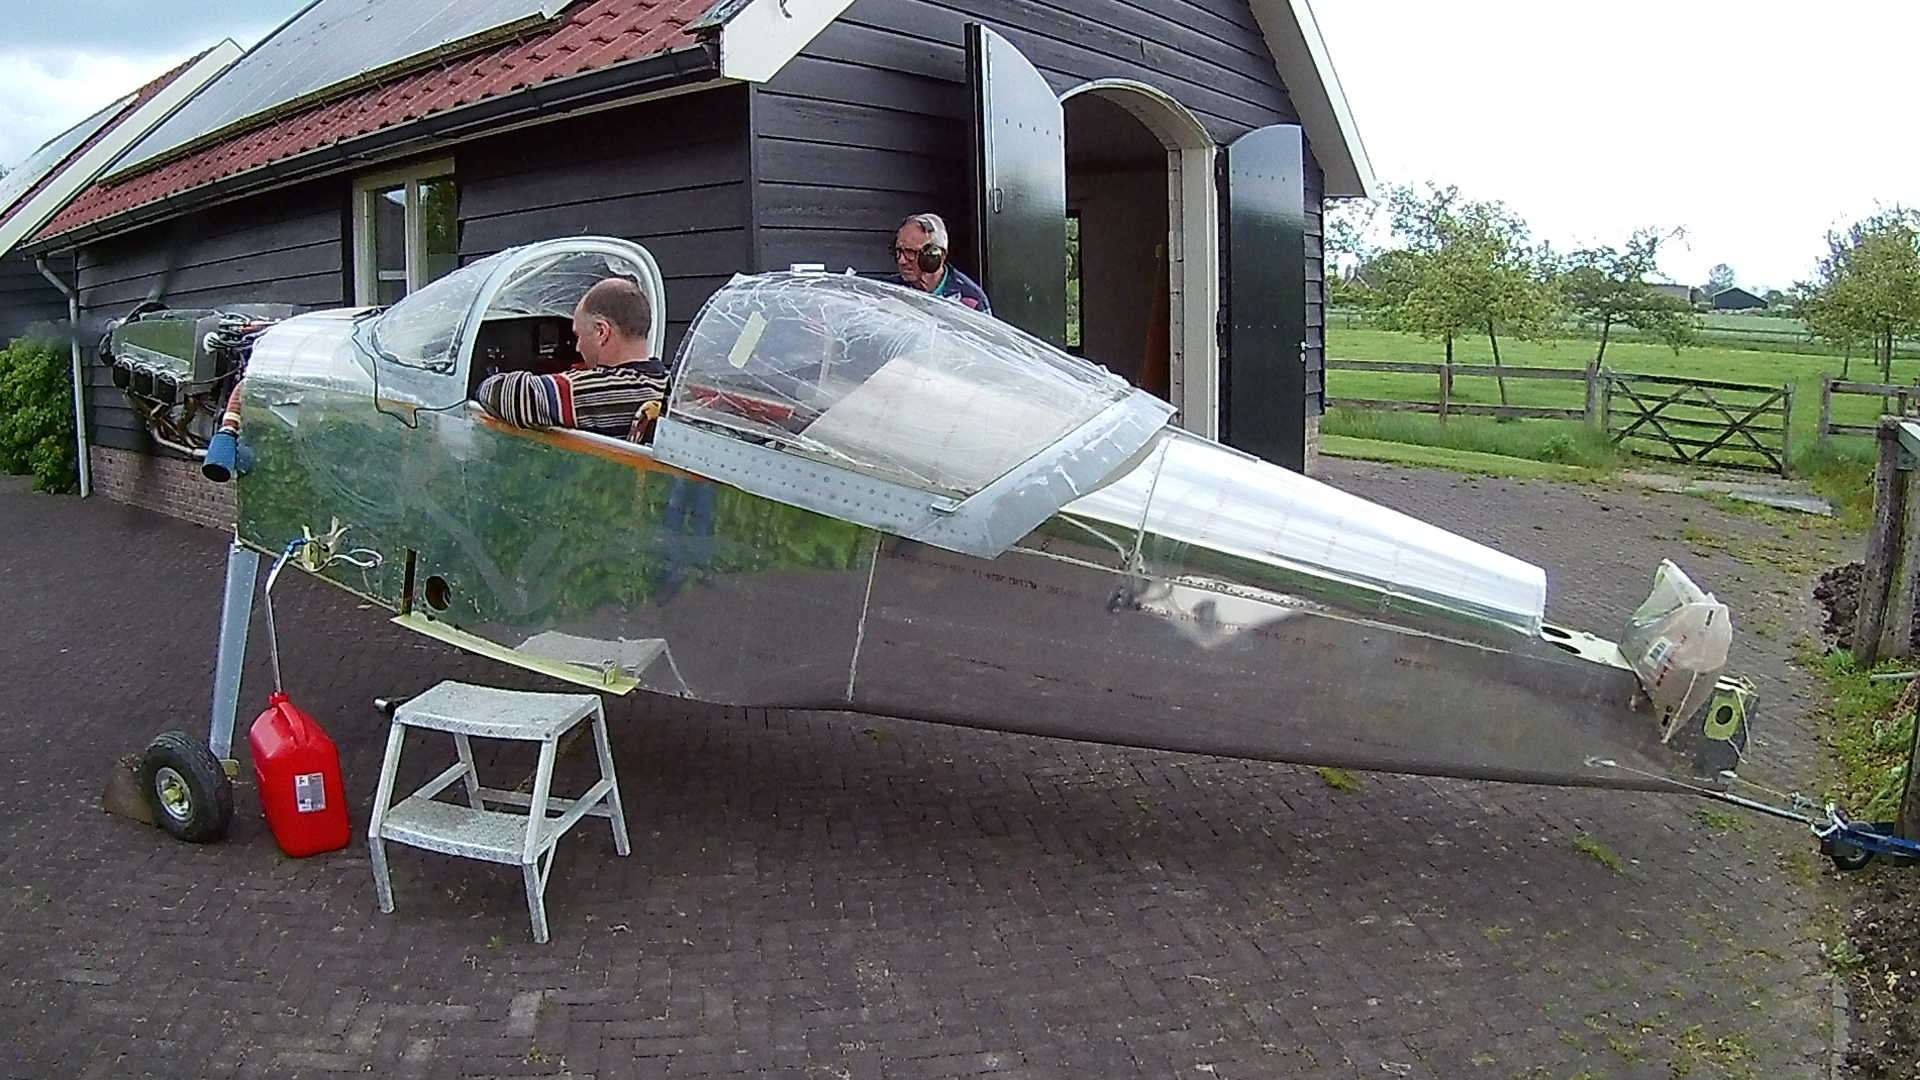

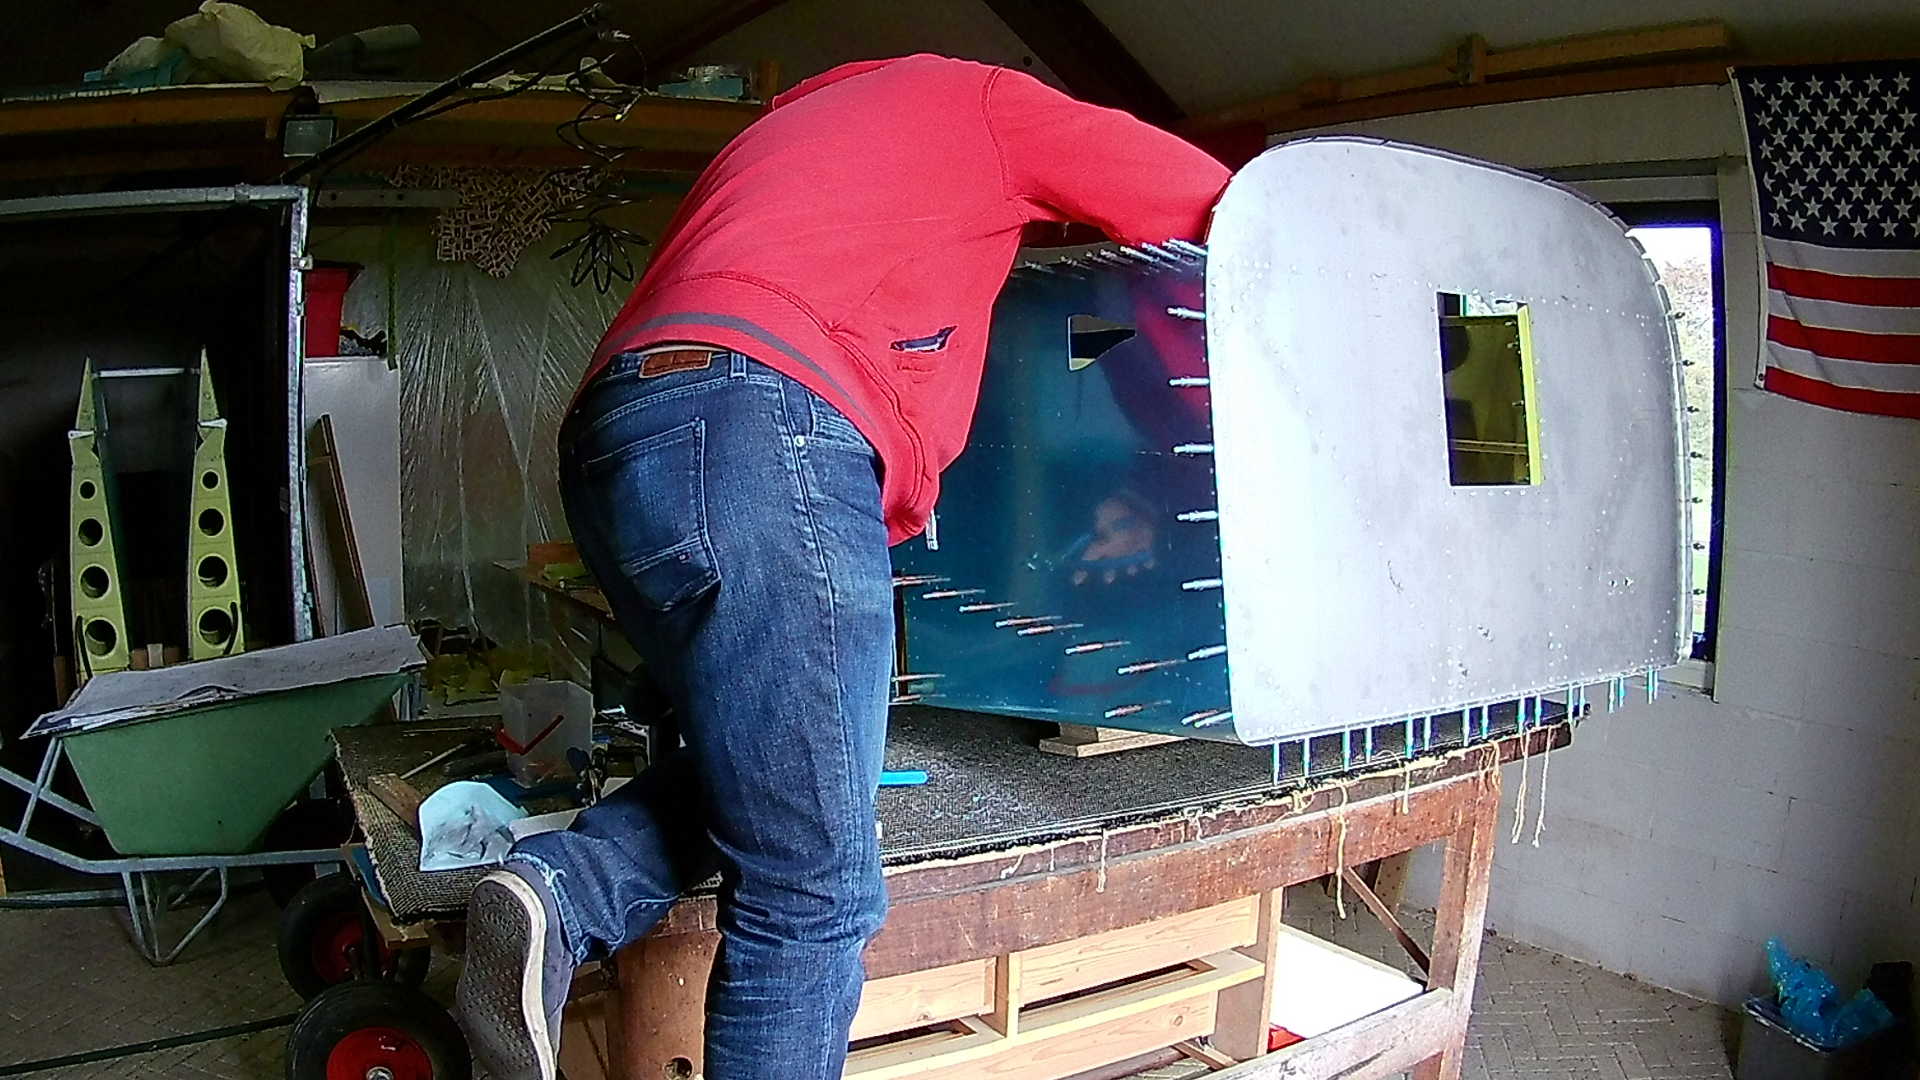
With the side skins attached to the longerons and the bottom skin inserted, the firewall can be installed. Important is that the firewall goes “in” the fuselage.
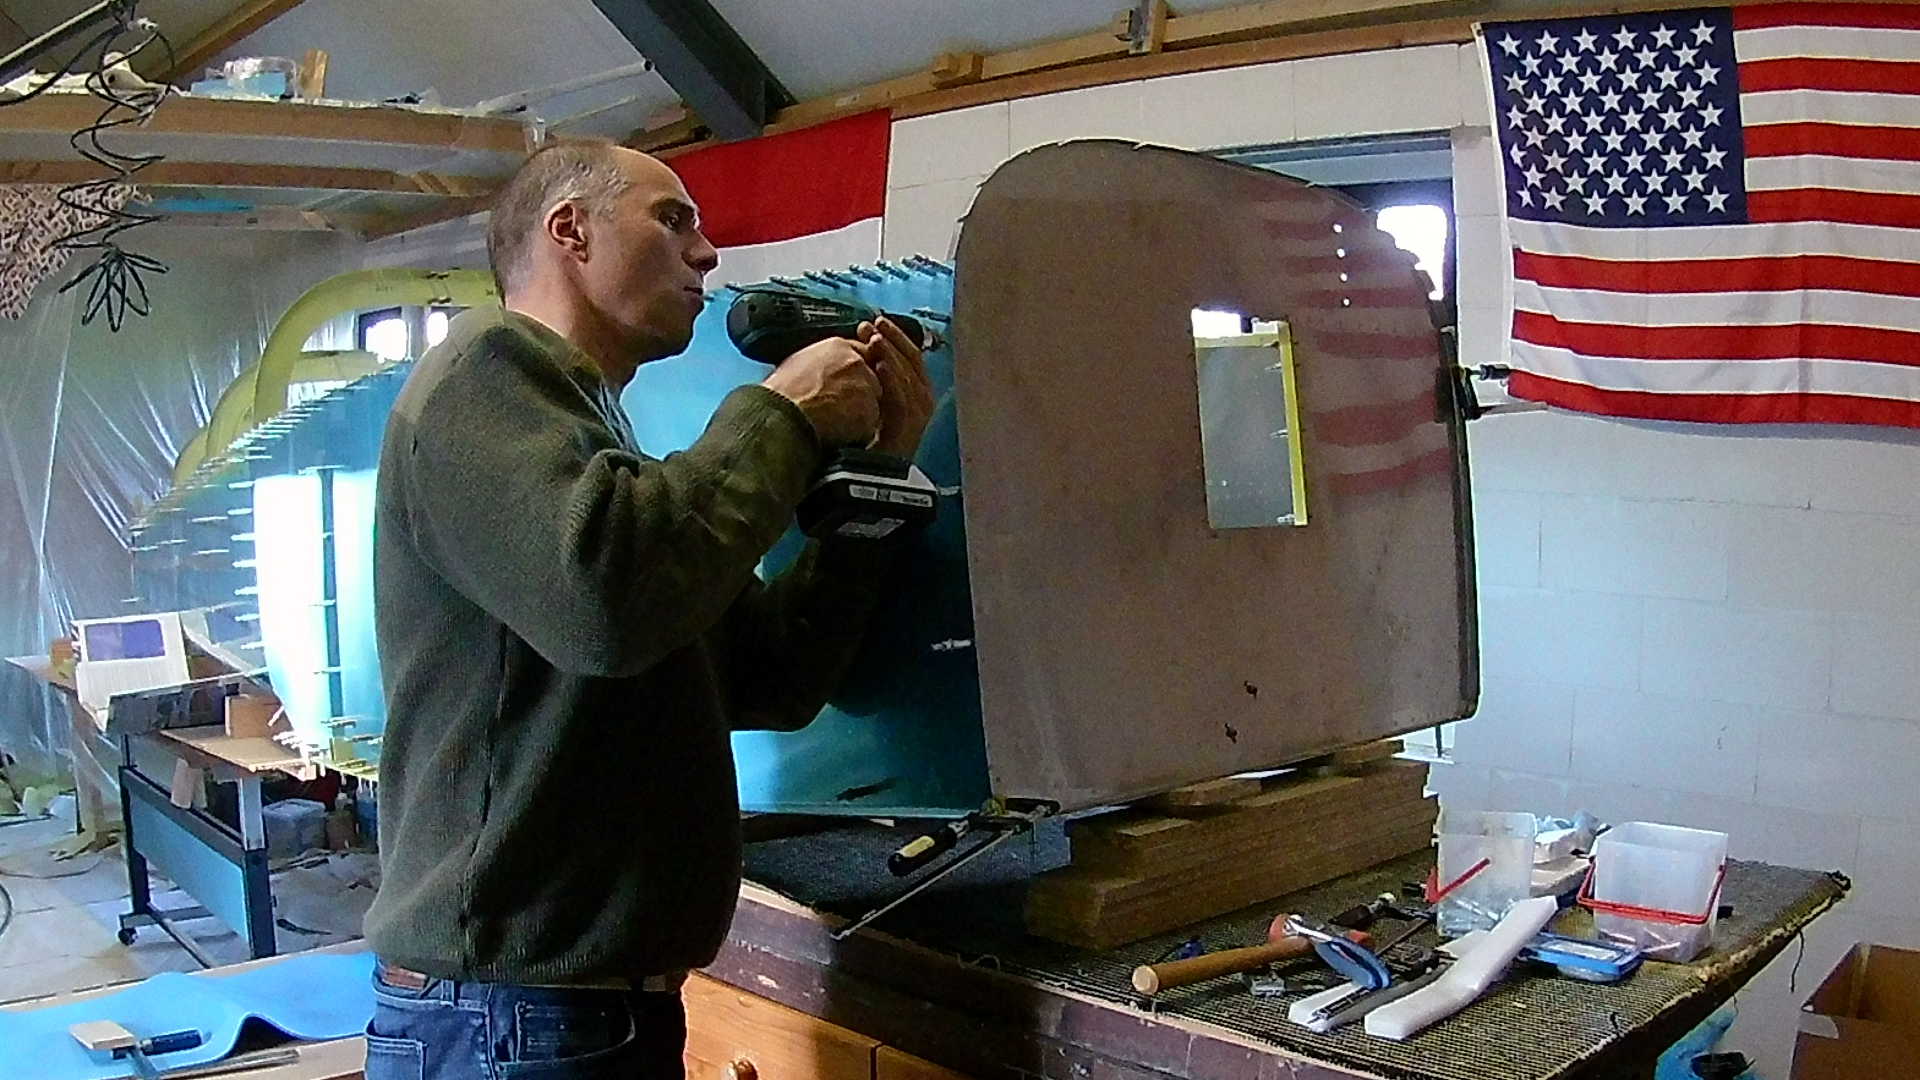
The flange of the firewall is about 1mm behind the forward edge of the side and bottom skin. Be careful to have the skins clecoed to the longerons.
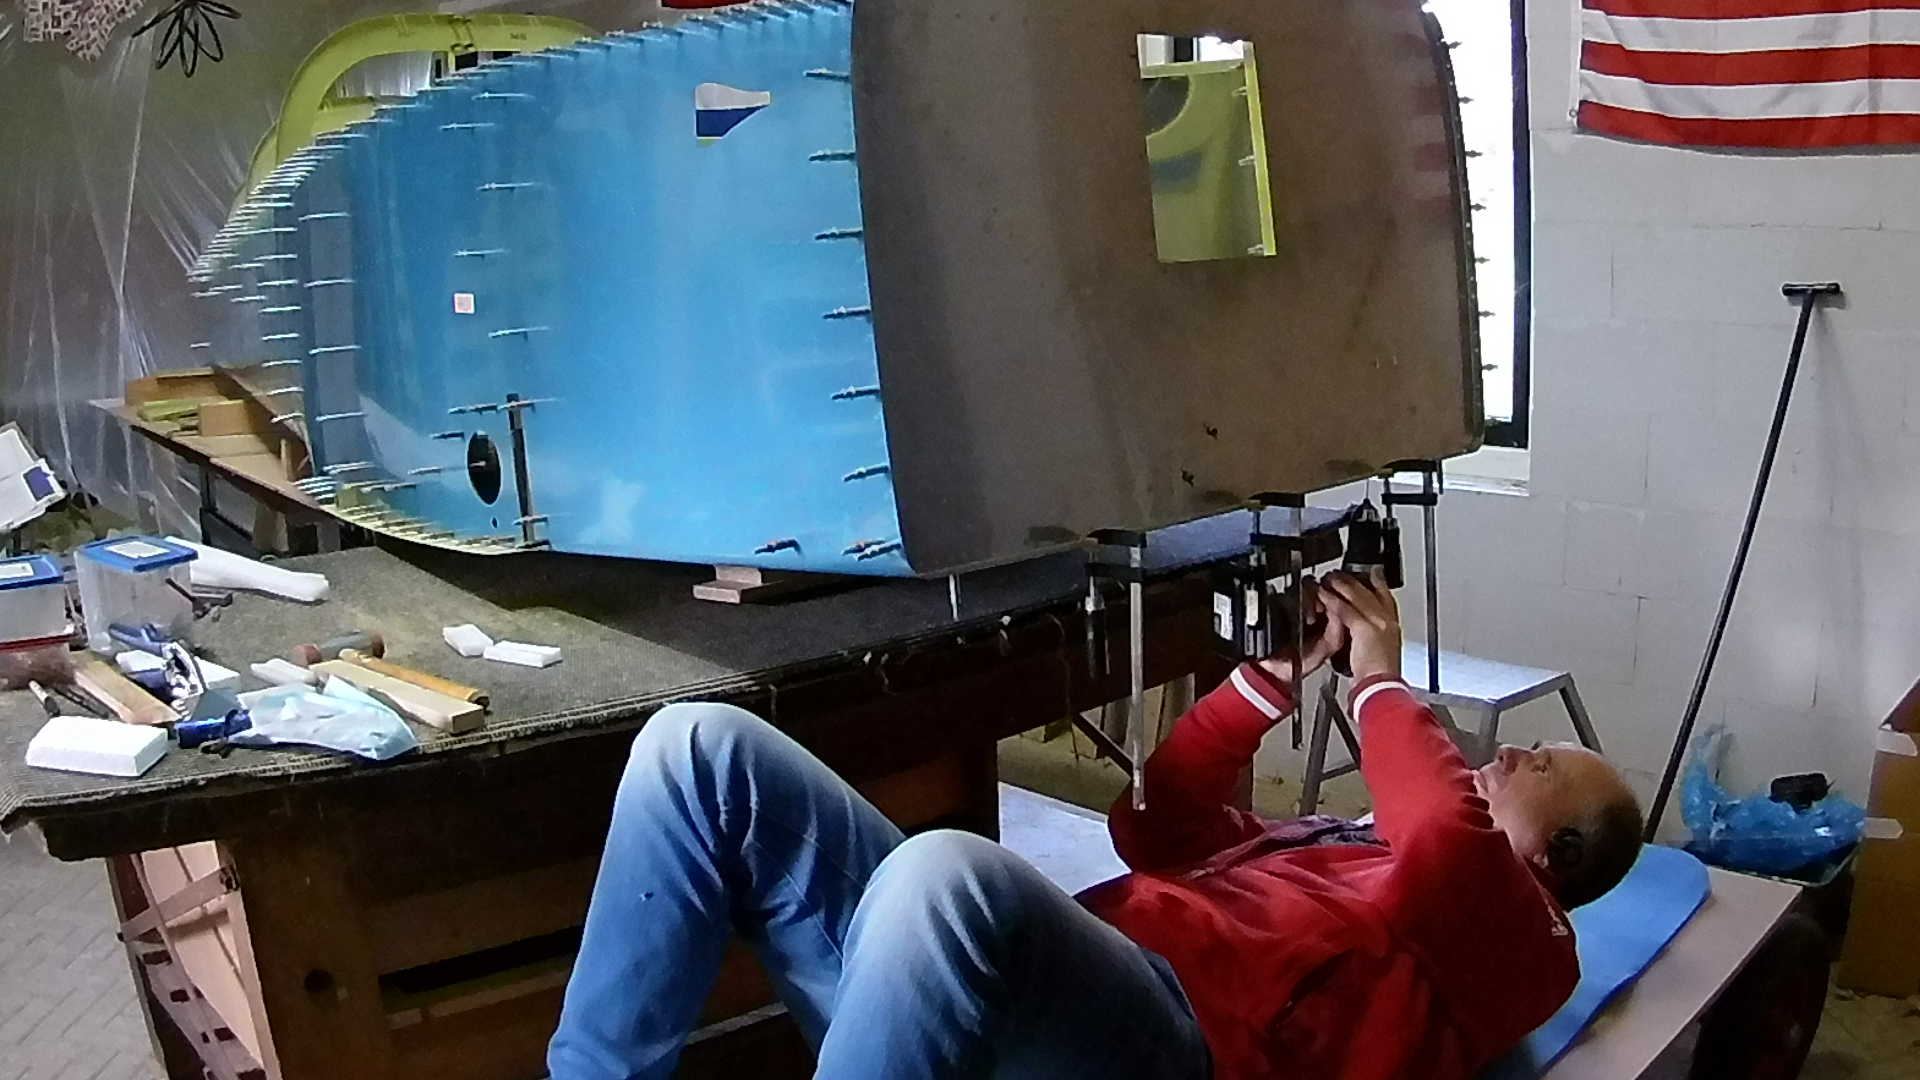
With the sides drilled, and everything matched up, the bottom part can be drilled (two rows). It looks comfortable, but I accidentally got an Aluminum splinter in my eye and it took me 3 days to get it out.
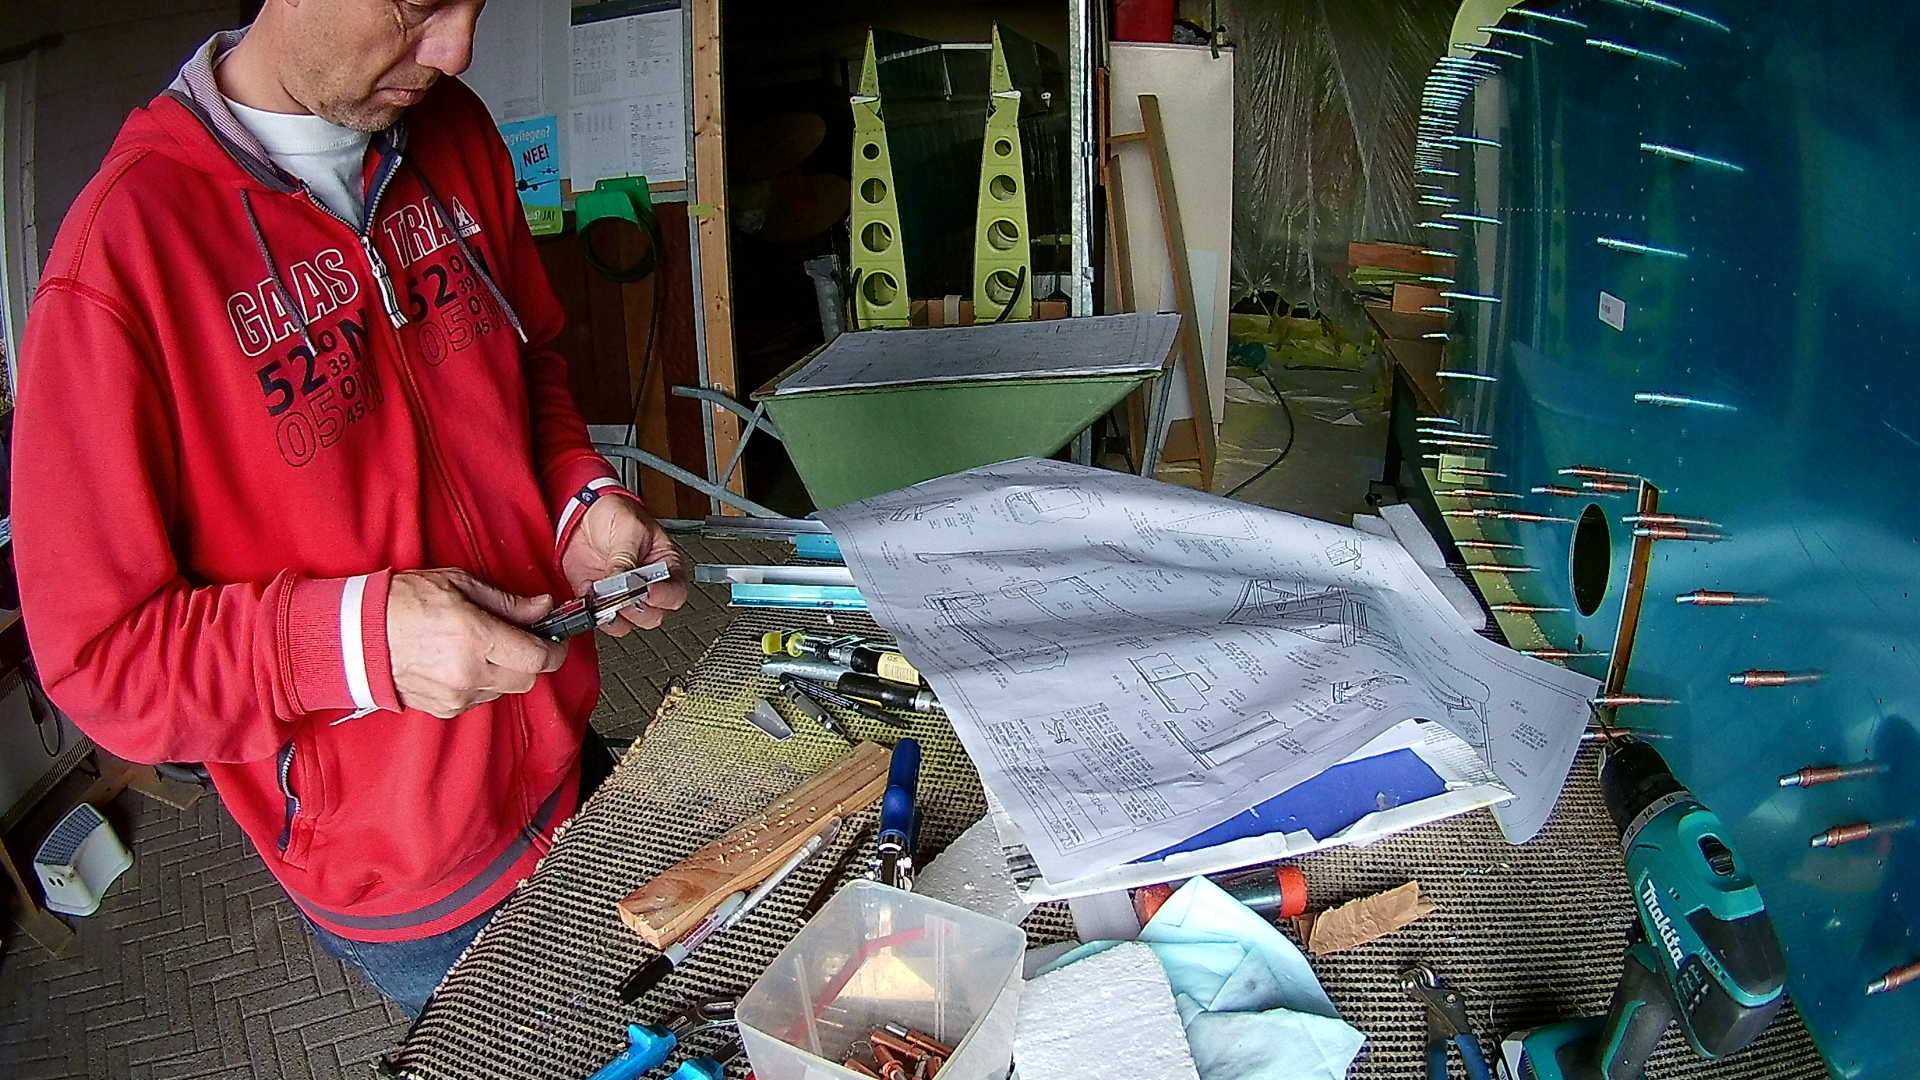
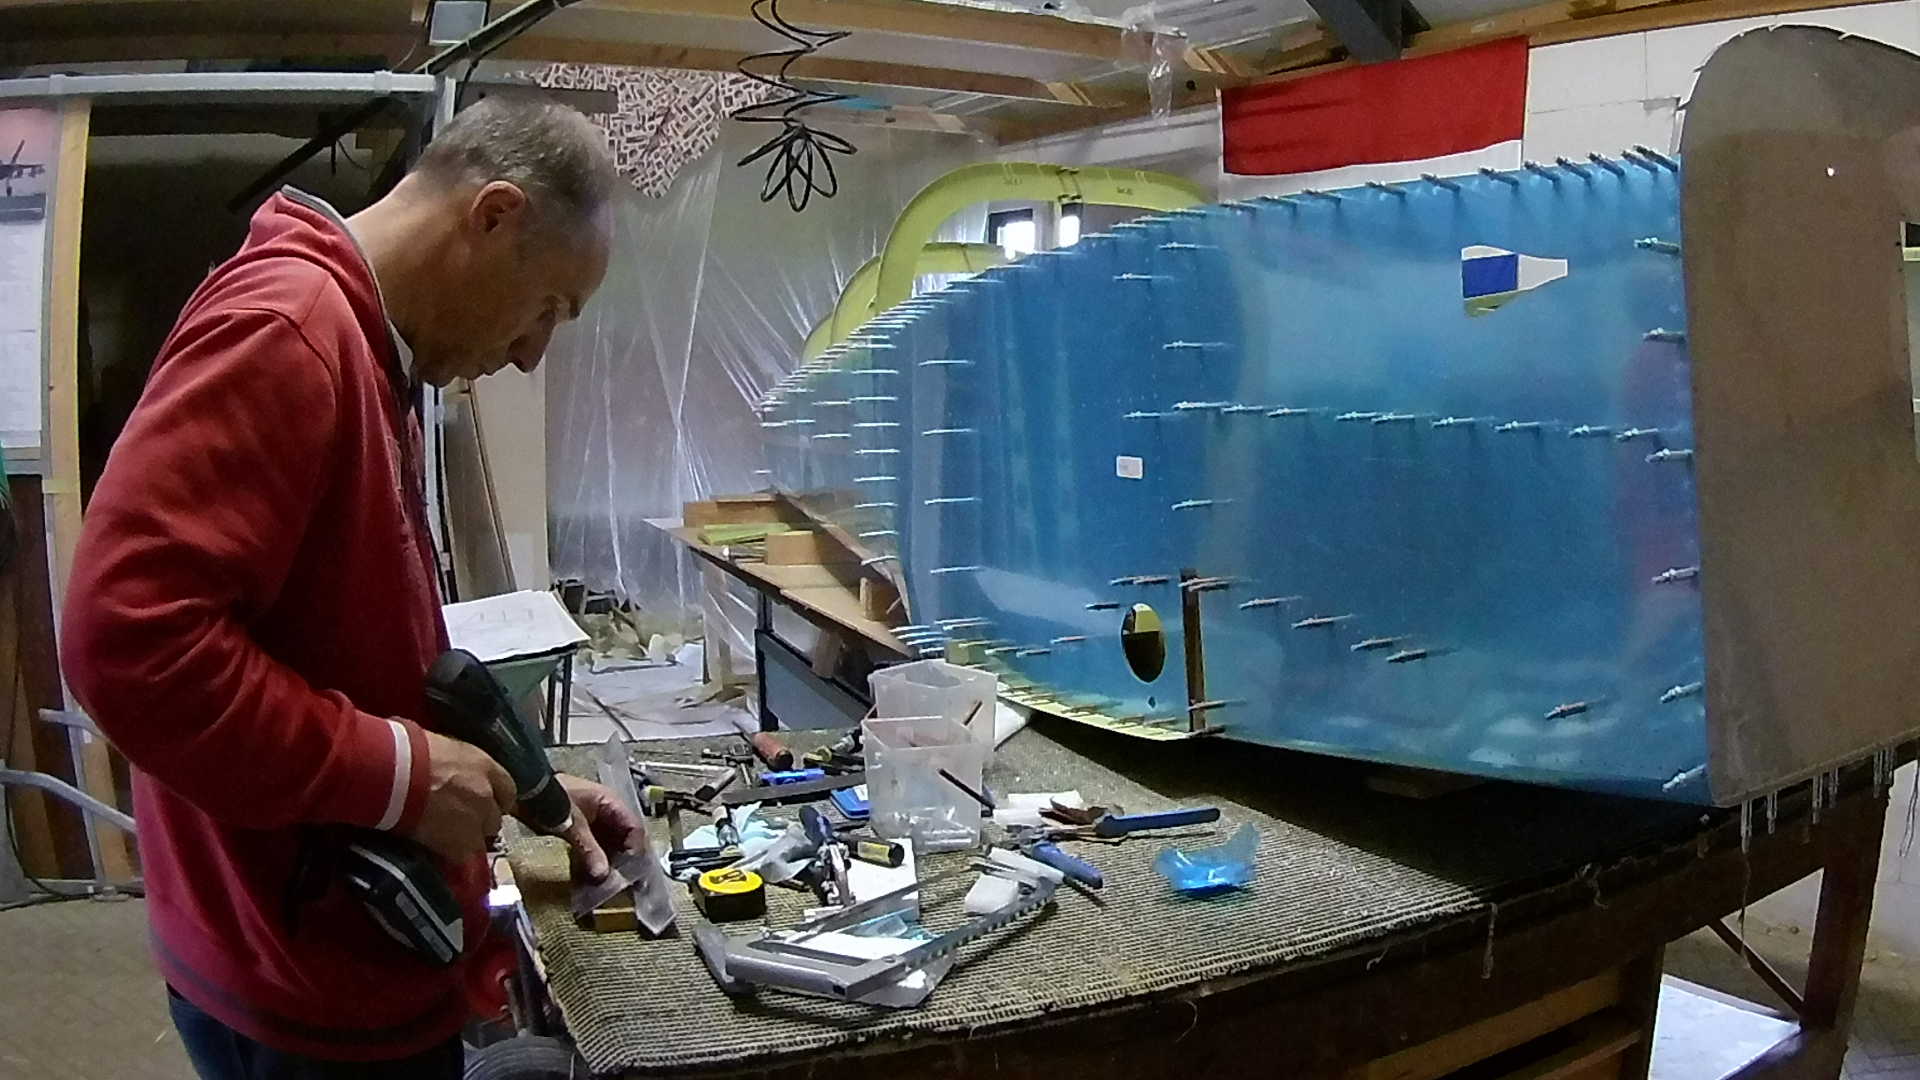
In the forward side of the center section (just after the firewall) there are several auxiliary longerons and bulkheads that require creating specific parts. Here I’m working on an attach angle to fasten one of the longerons to the firewall.
I think according to the plans, you should do this while the fuselage in upside down, but that didn’t make sense to me, so I do all the stuff upright.
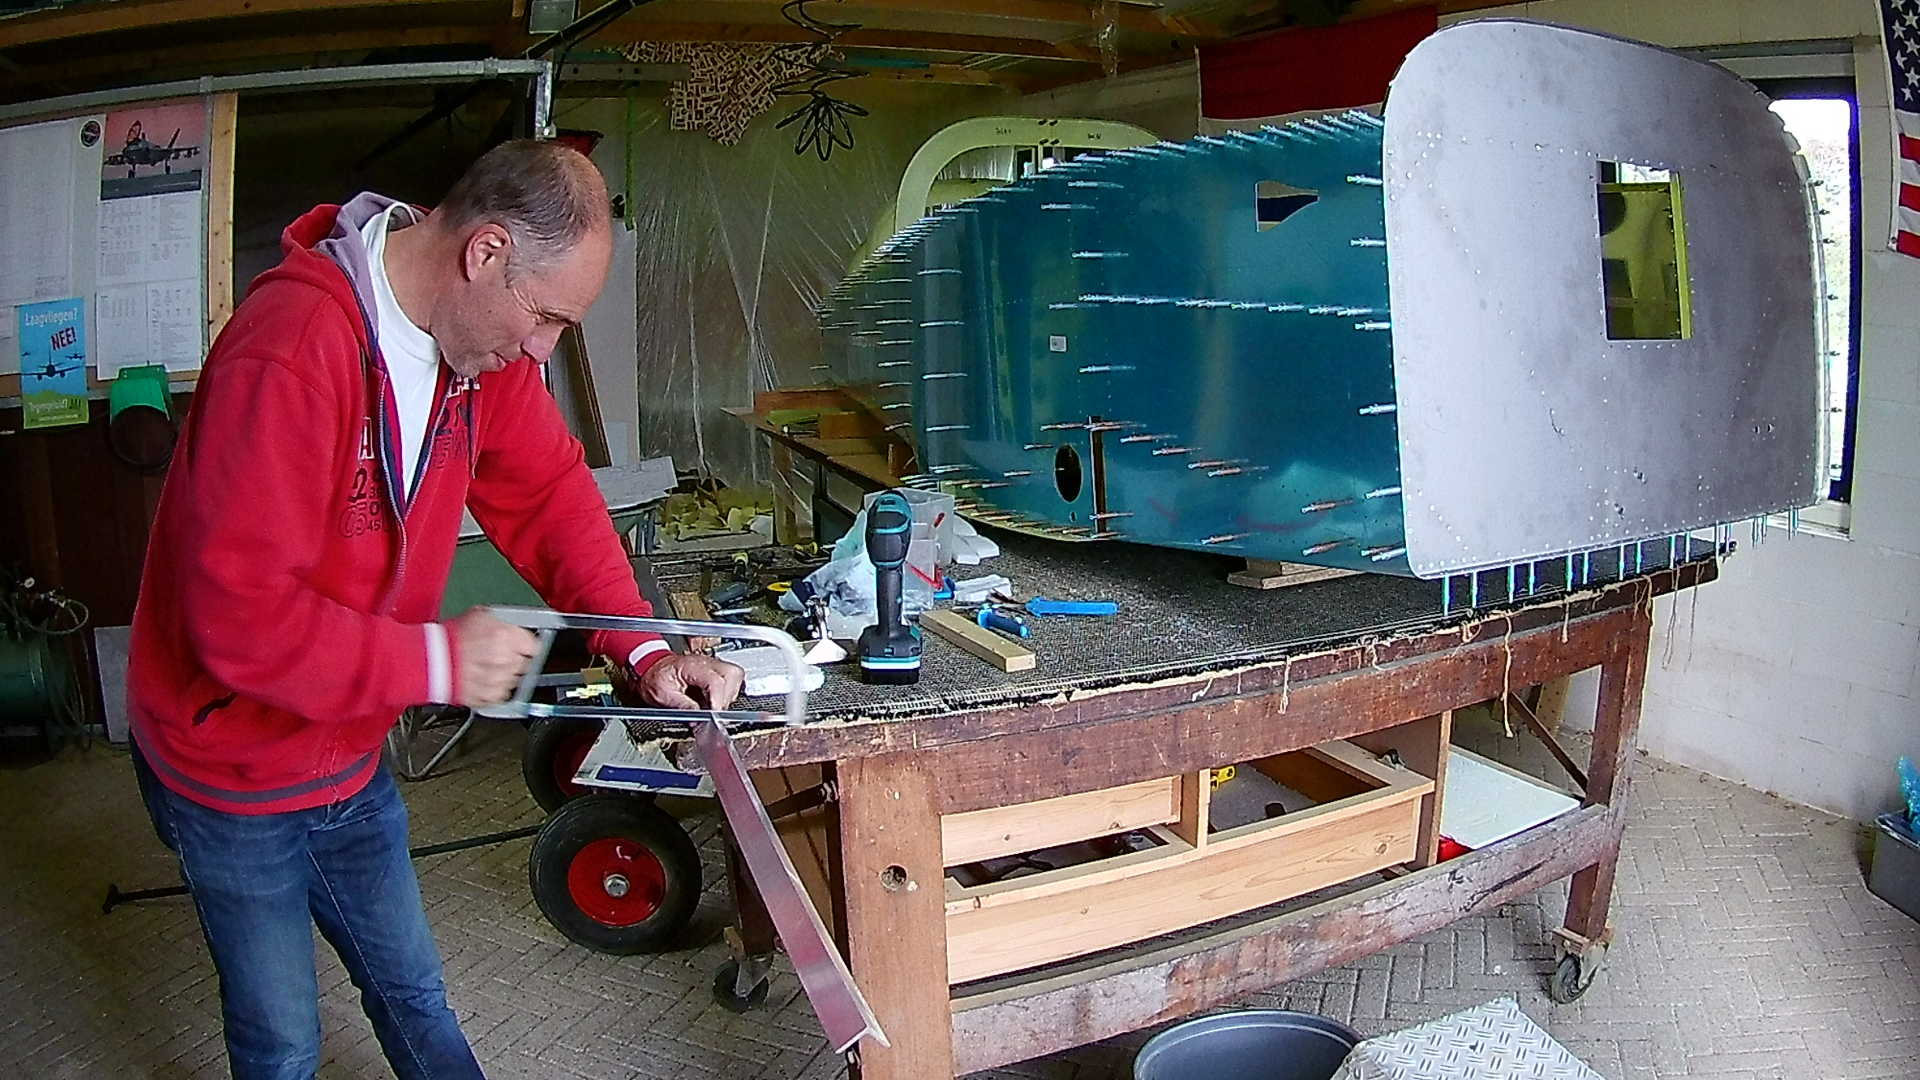
I didn’t buy a band-saw, because it seemed superfluous to me. However sometimes I do need to saw Aluminum.
Here I’m sawing the bottom longerons from a big piece of Aluminum angle. The hand saw works great, so I don’t regret not buying a band-saw.
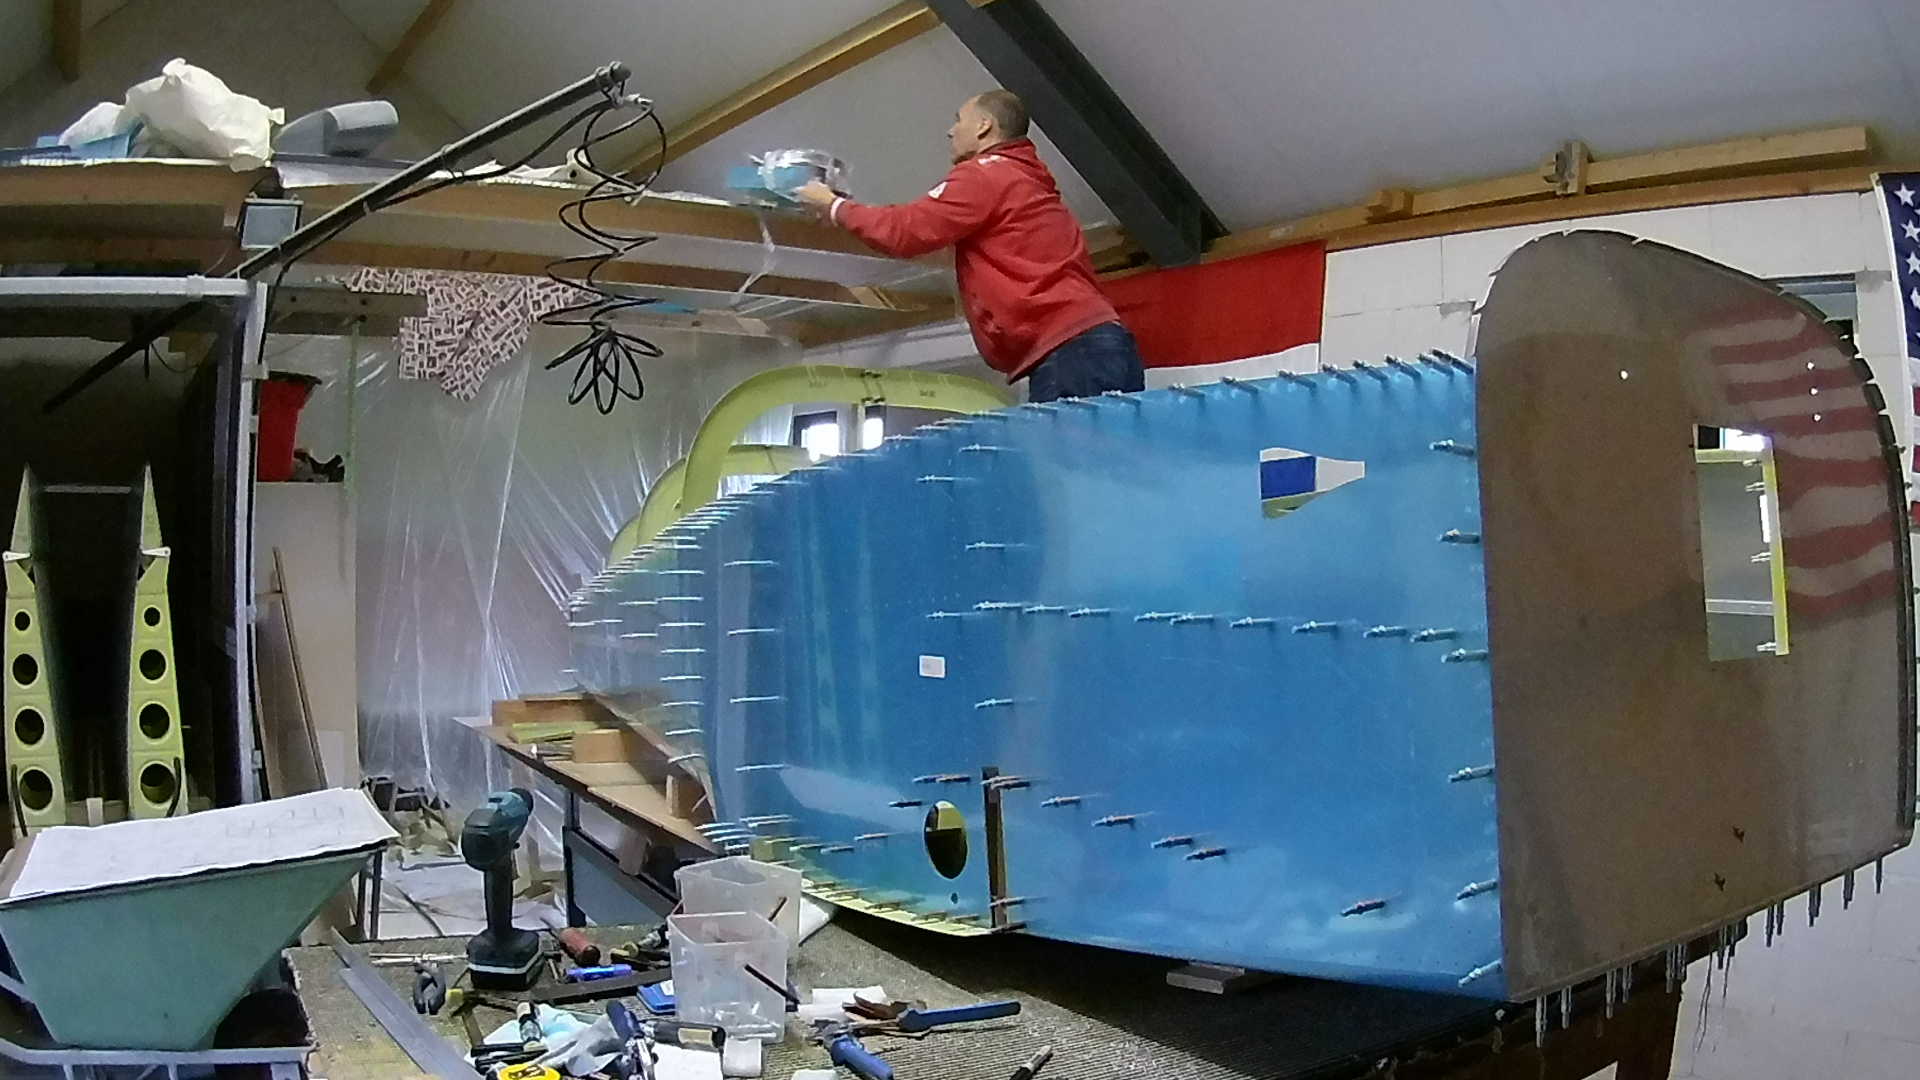
Sometimes I need to get some parts from a specific subkit. I store those after inventory on my home-made attic.
The F-684 gusset is a tricky part. It needs to be installed on the inside on the firewall attach angle. I misinterpreted the drawing and fubar-ed them both. I’ve ordered new ones at Van’s and they are mailed to me shortly.
Time: 3 Hours, Rivets: 0/0 (2019-10-30)
Time: 6 Hours, Rivets: 0/0 (2019-11-03)
Video