
Included in the Dynon Pitot tube & Angle of Attack package was also the Static air kit. This consisted of two Static air ports, several connectors and a few feet of tubing. I’ve postponed the installation of the Static air kit, because I didn’t want to mess with wires, cables and tubes too early. However I’m now close to riveting the Aft top skin and I’d better install it before that or I make it very inconvenient for myself.

The Static port is a disc with a half inch in diameter protruding nozzle. After some consideration, we decided to attach it with three rivets.
The Static ports are placed in the tail part on both the left and right side. It took a while to make the hole, which consisted mostly of time hesitating to drill. If you screw this up, you’re in dire straits. We installed the tubing in such a way that in case that moisture in the port cannot go into the tube going forward.
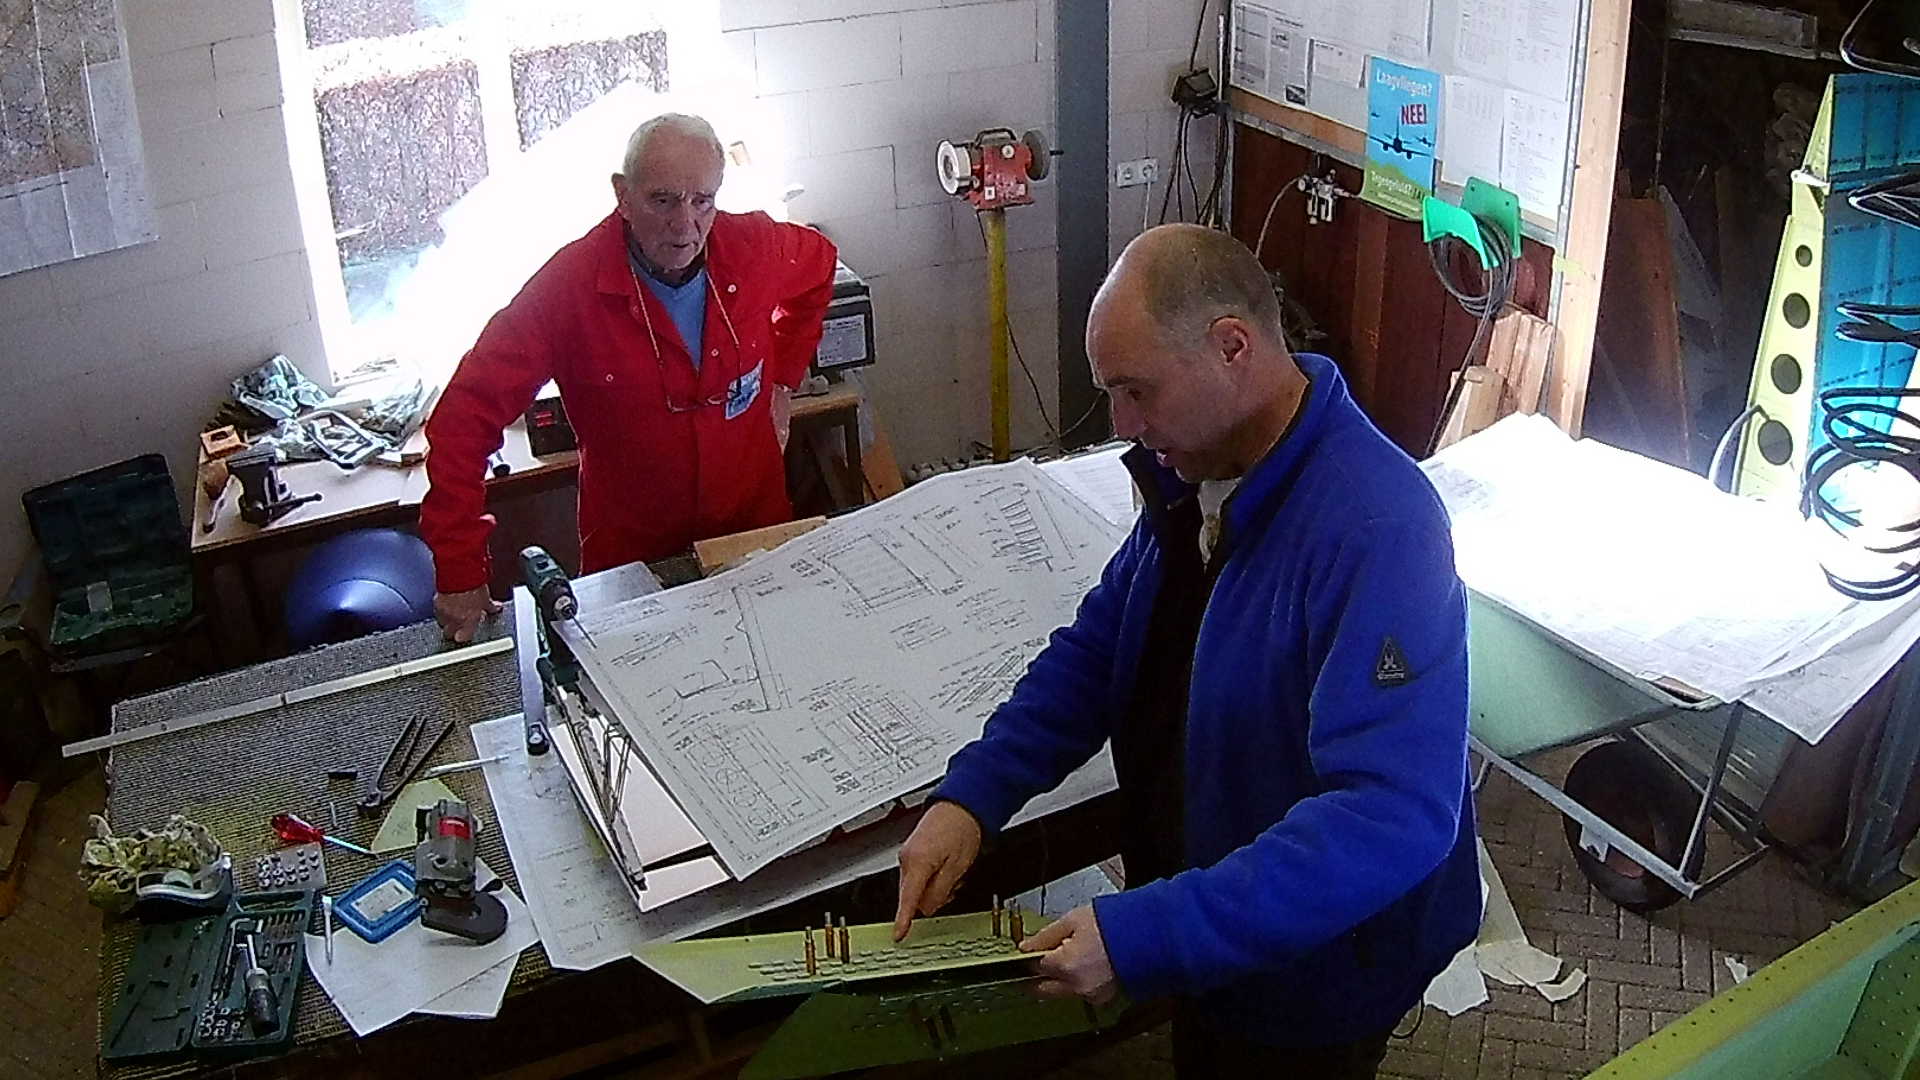
The Seat floor has three piano hinges, which determine the preset attach points for the Seat back. I created them earlier and now we will start building the Seat backs.
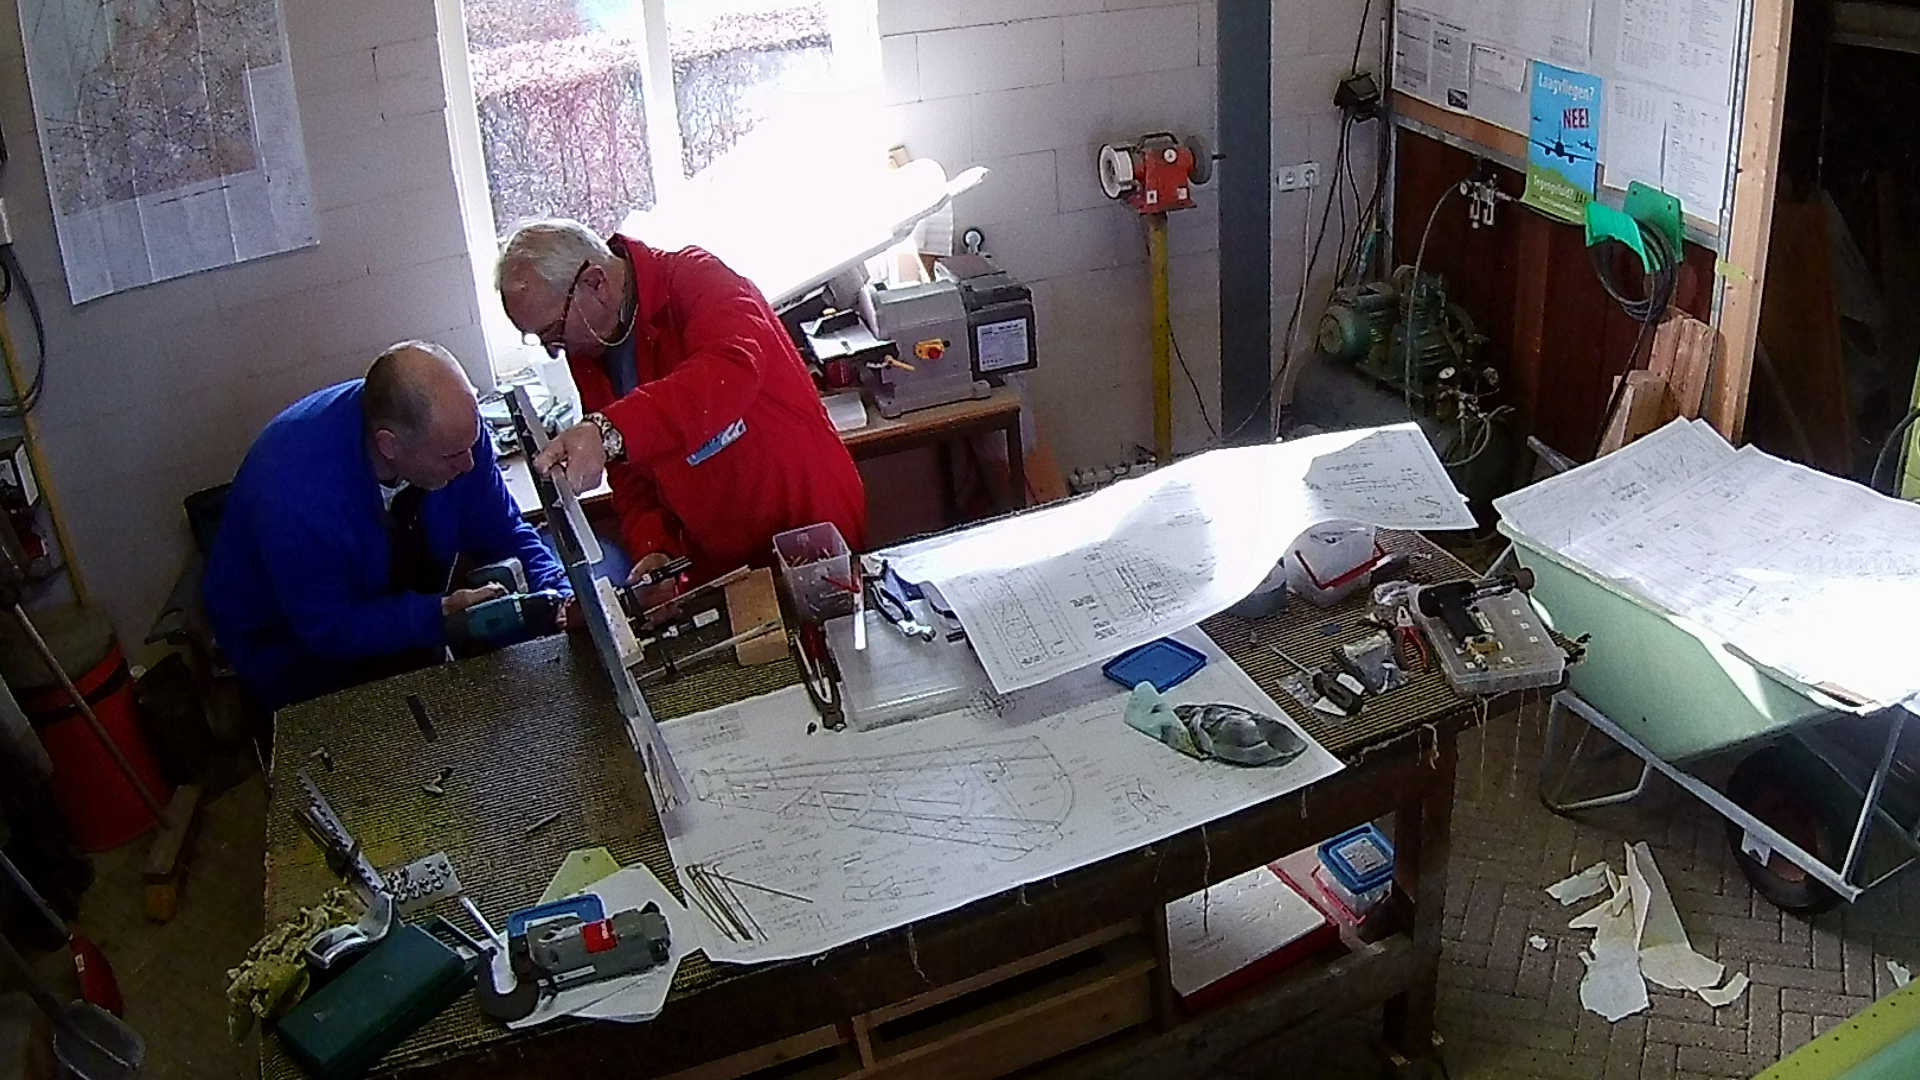
We check with the Piano hinge clamped to the Seat back if it fits correctly to the Seat bottom (floor).

We can now check the Seat floor and Seat back placed within the Fuselage. The Seat bracket lined-up nicely with the Seat bulkhead.
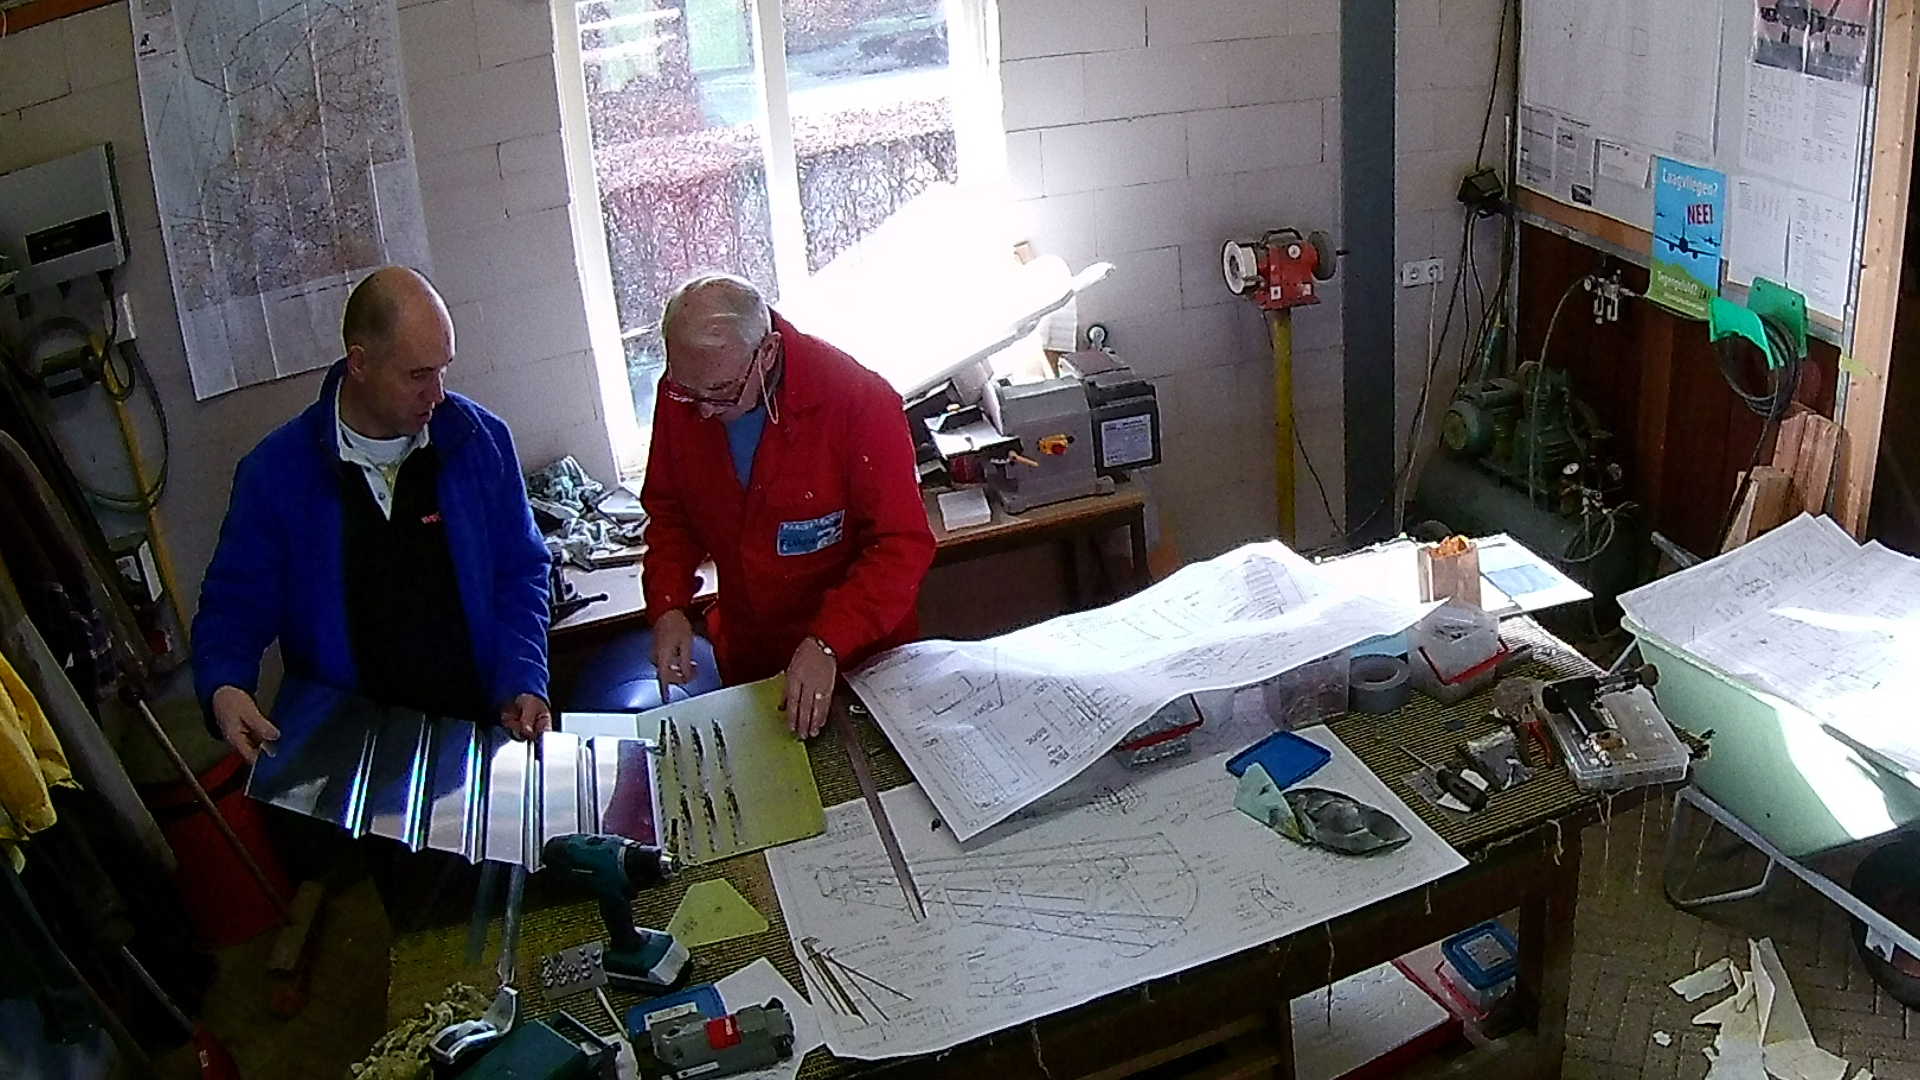
Now we can start with assembling the Seat (back). The Aluminum of the Seat is thin and without stiffeners bends very easily. There are ridges in the Seat back that give it horizontal strength. Vertically strength is provided by two sturdy Aluminum side angles.
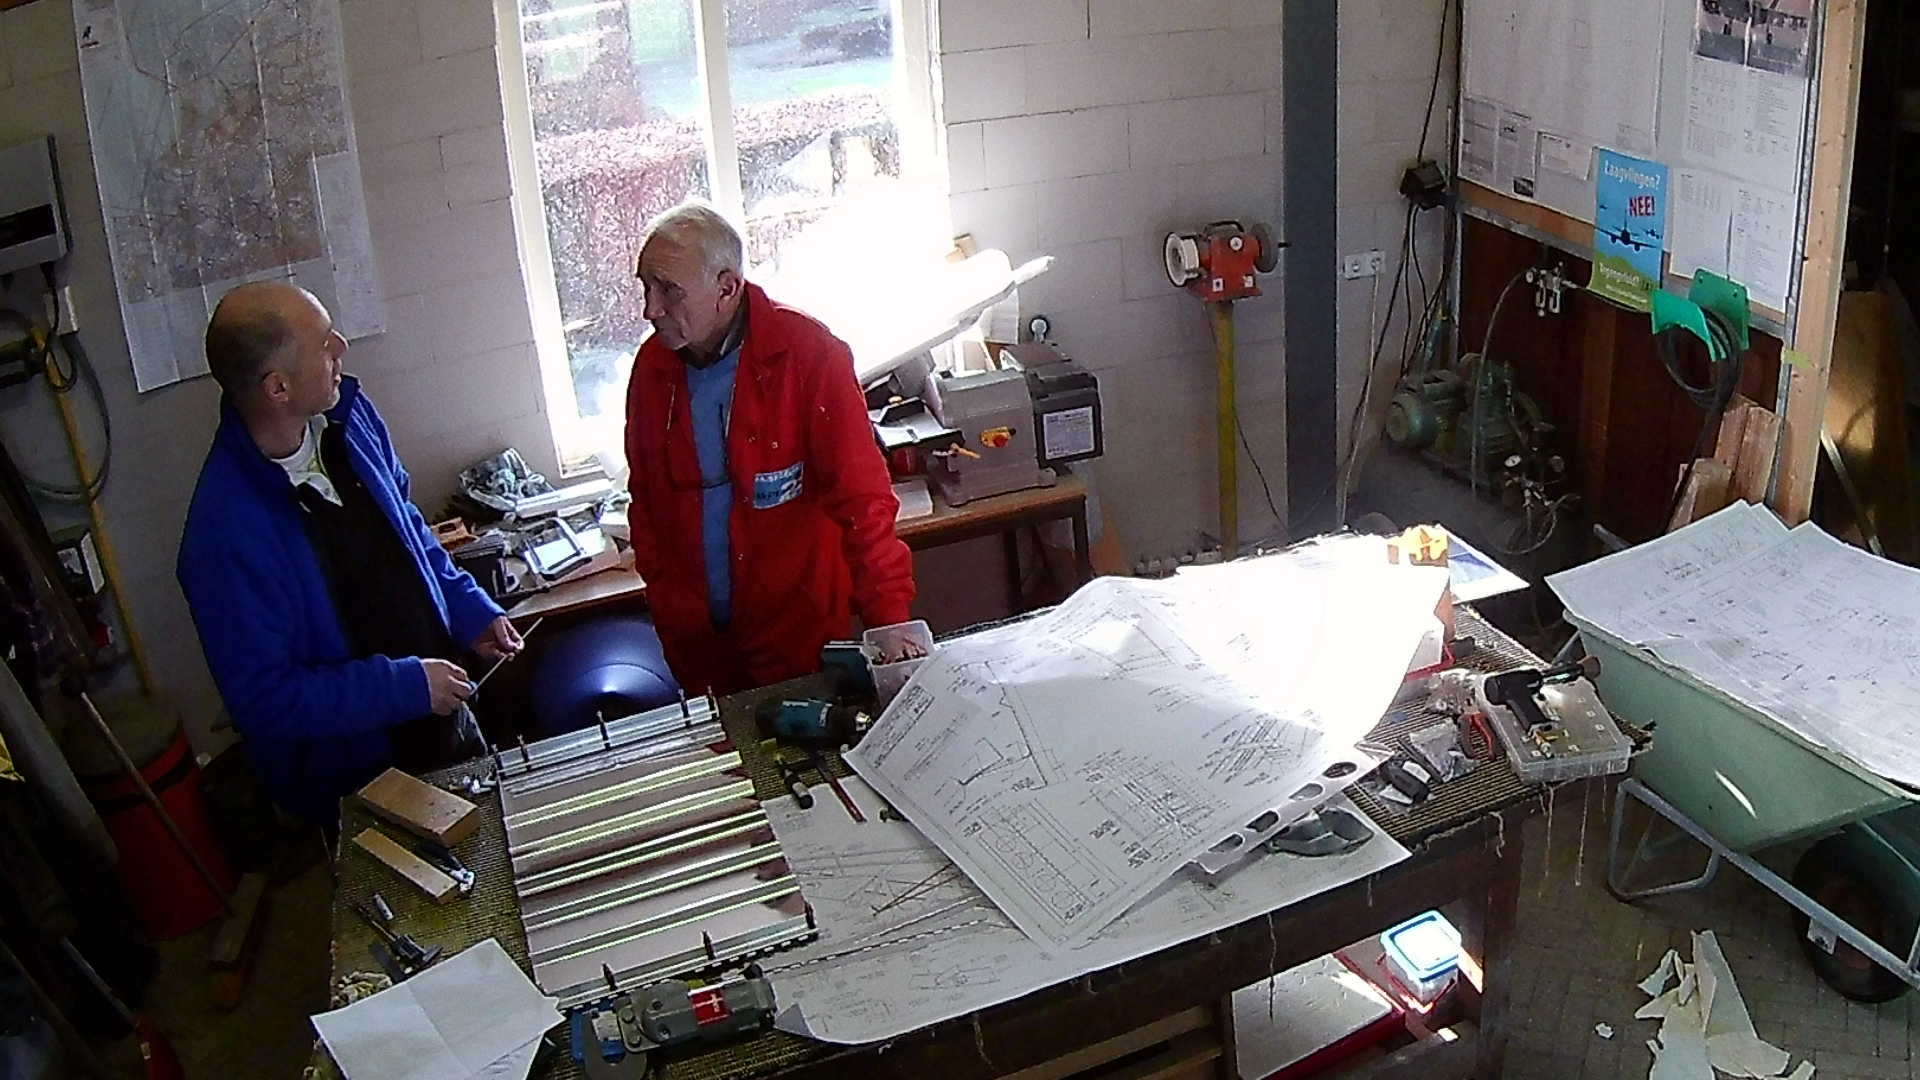
The top and bottom are also strengthened by Aluminum angles, however they are less thick than the side angles.
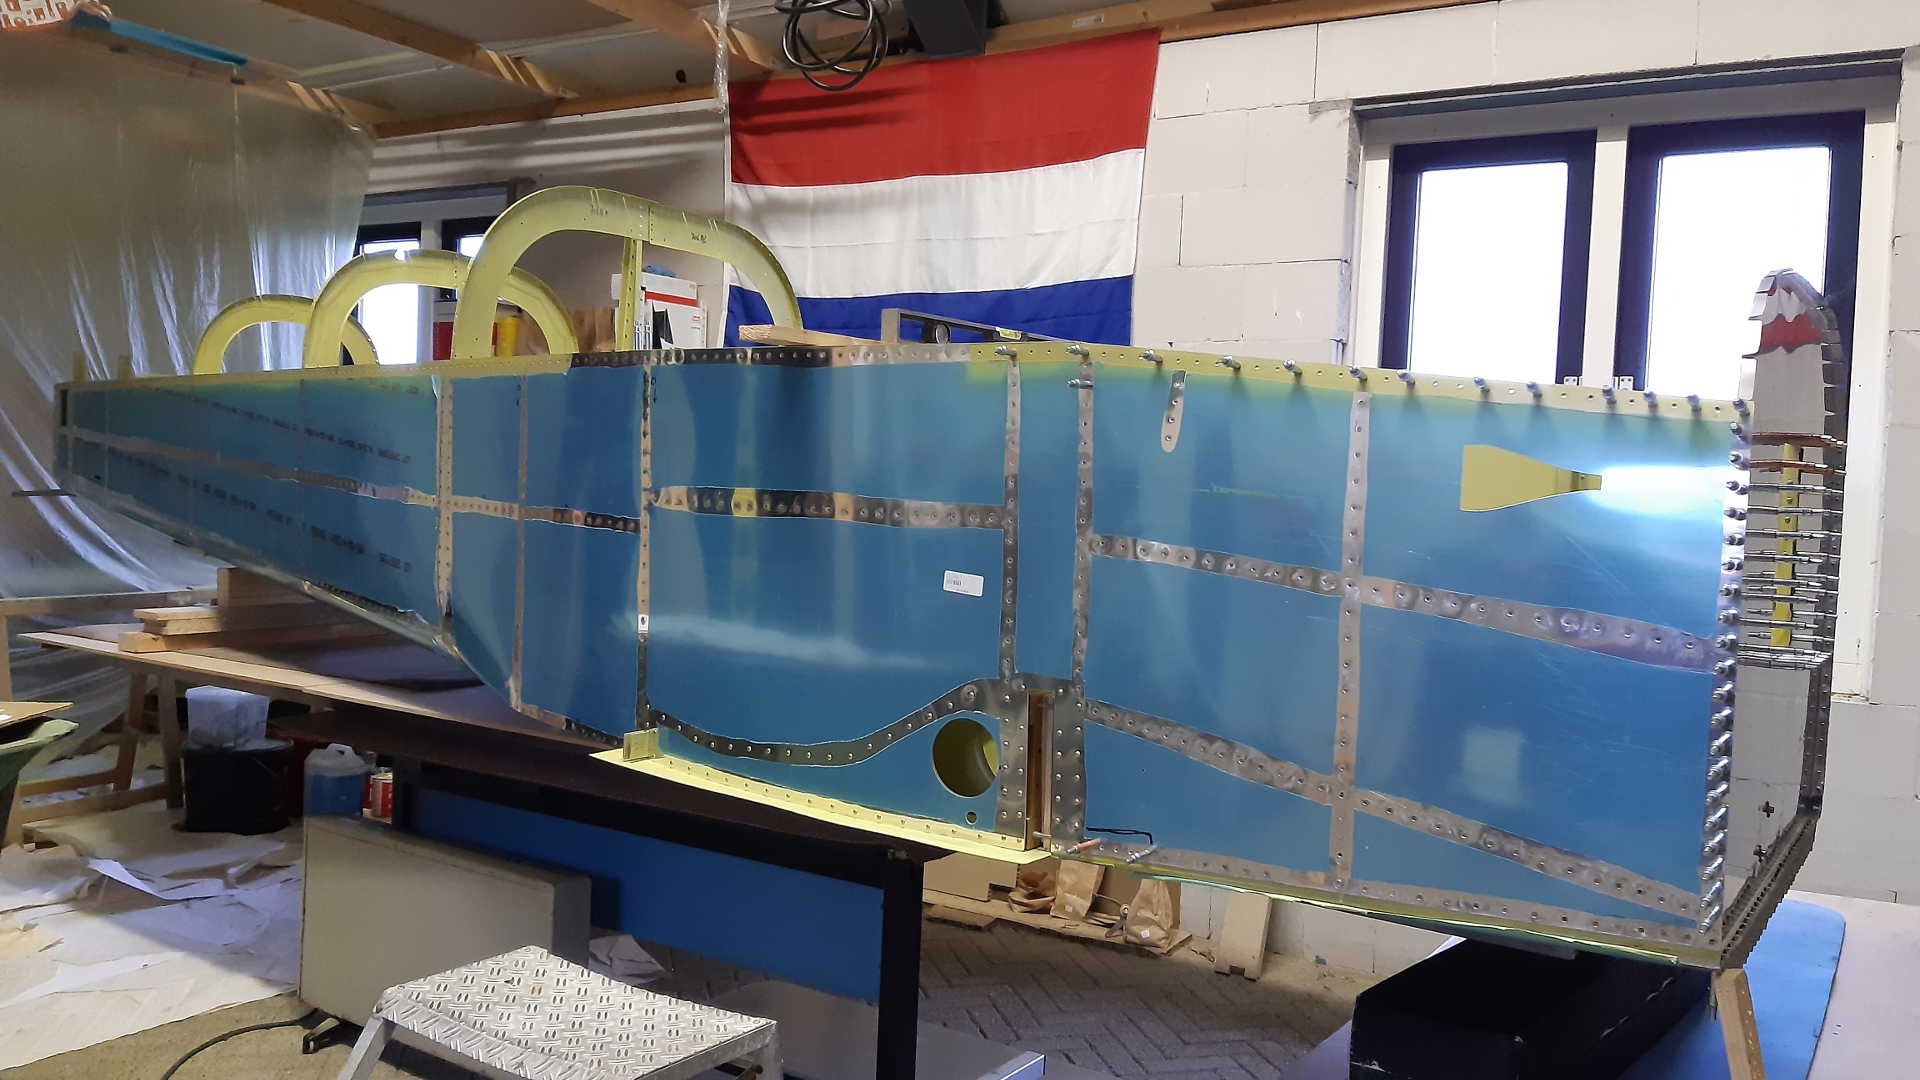
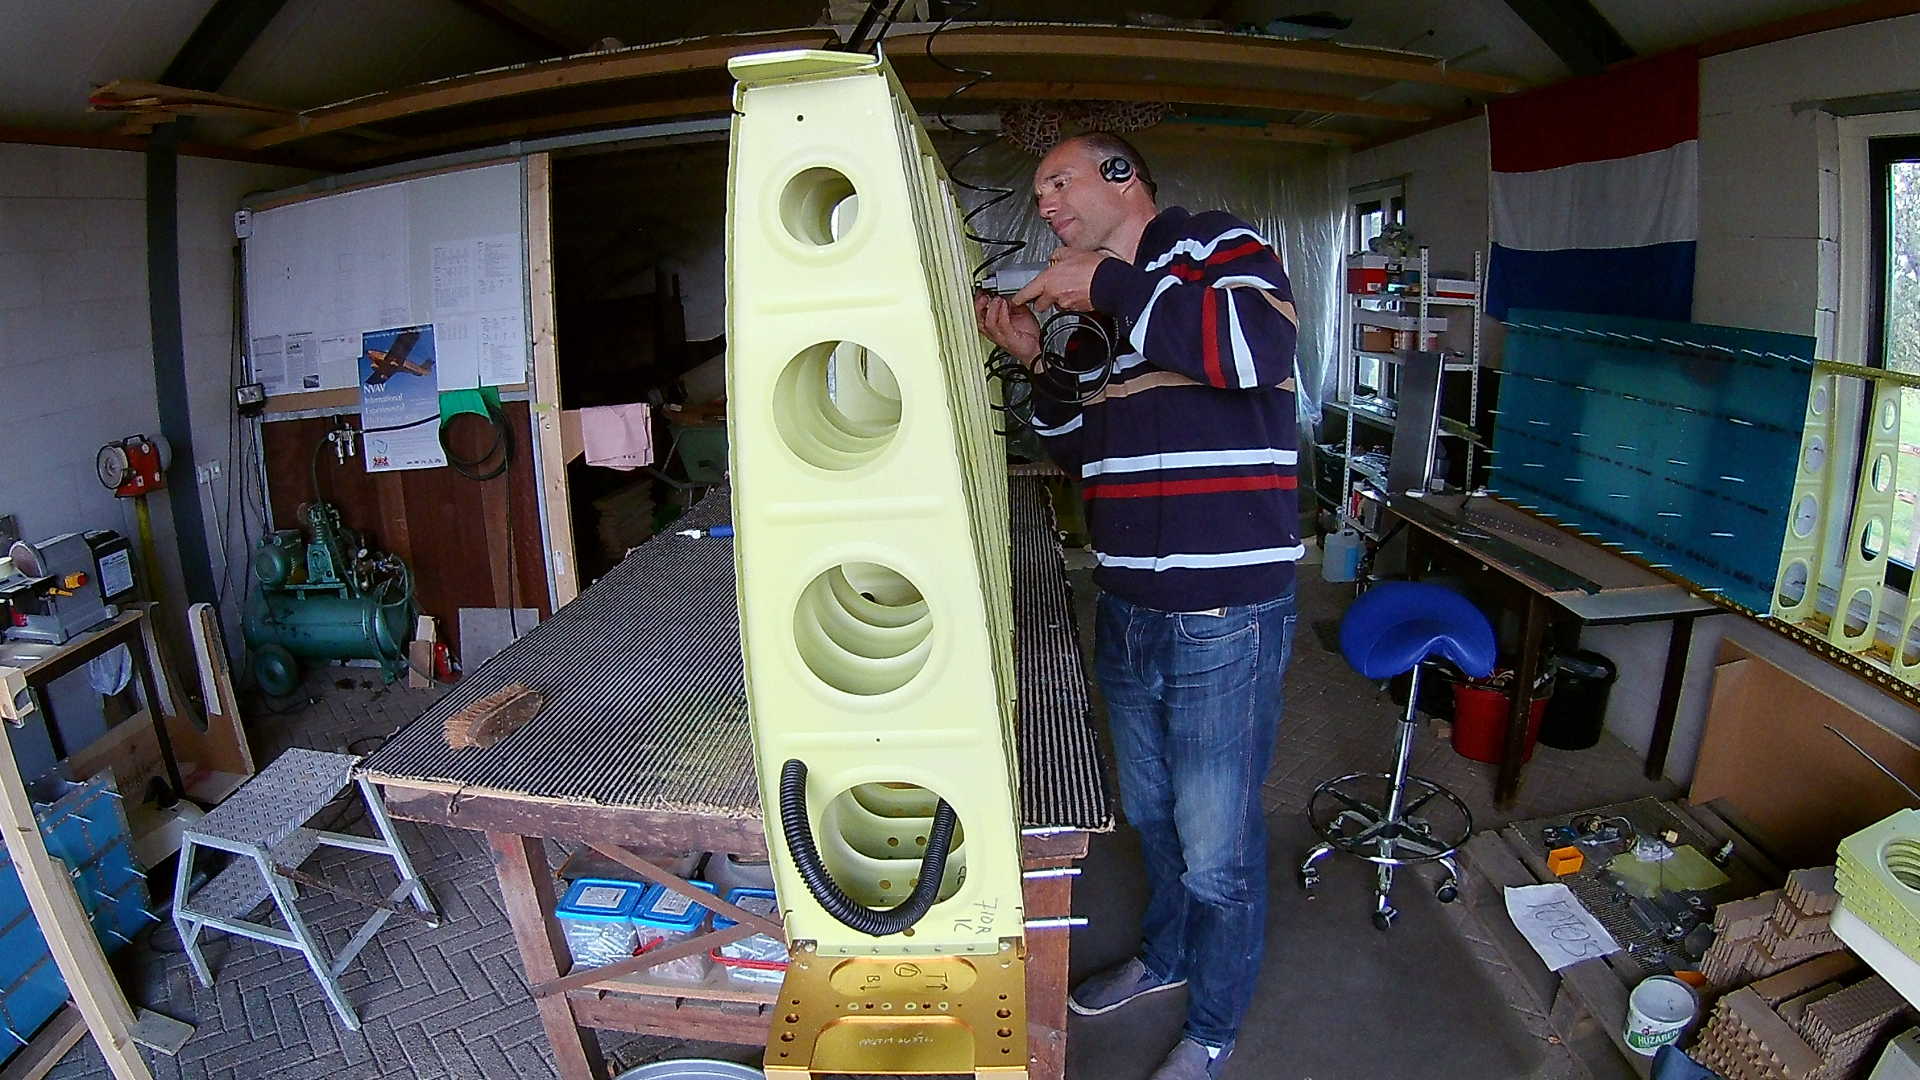
The fuselage is now resting on my old computer-table with some foam under the main bulkhead.
Time: 4 Hours, Rivets: 6/0 (2020-01-19)
Video