
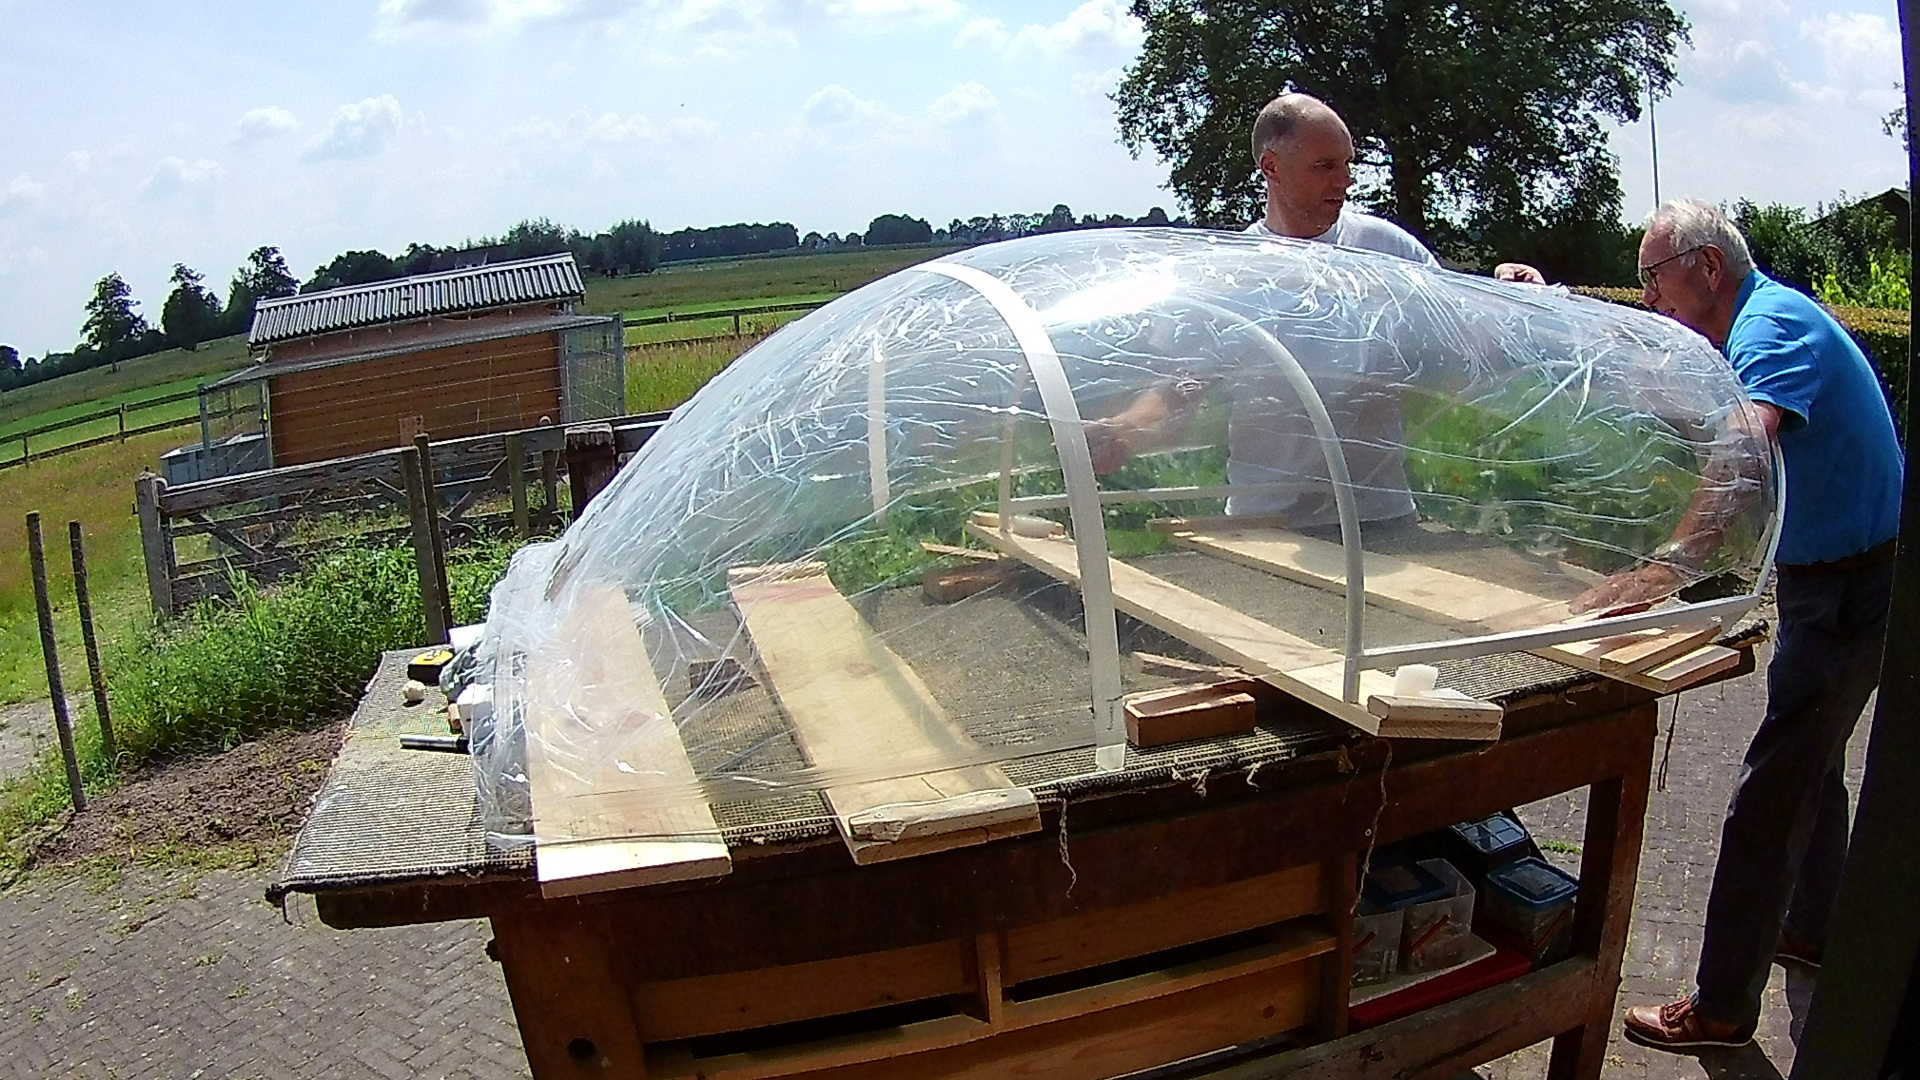
Today it’s time for “The Big Cut”. The Big Cut is the action of cutting the plexiglass bubble into two parts: the windscreen and the canopy bubble.
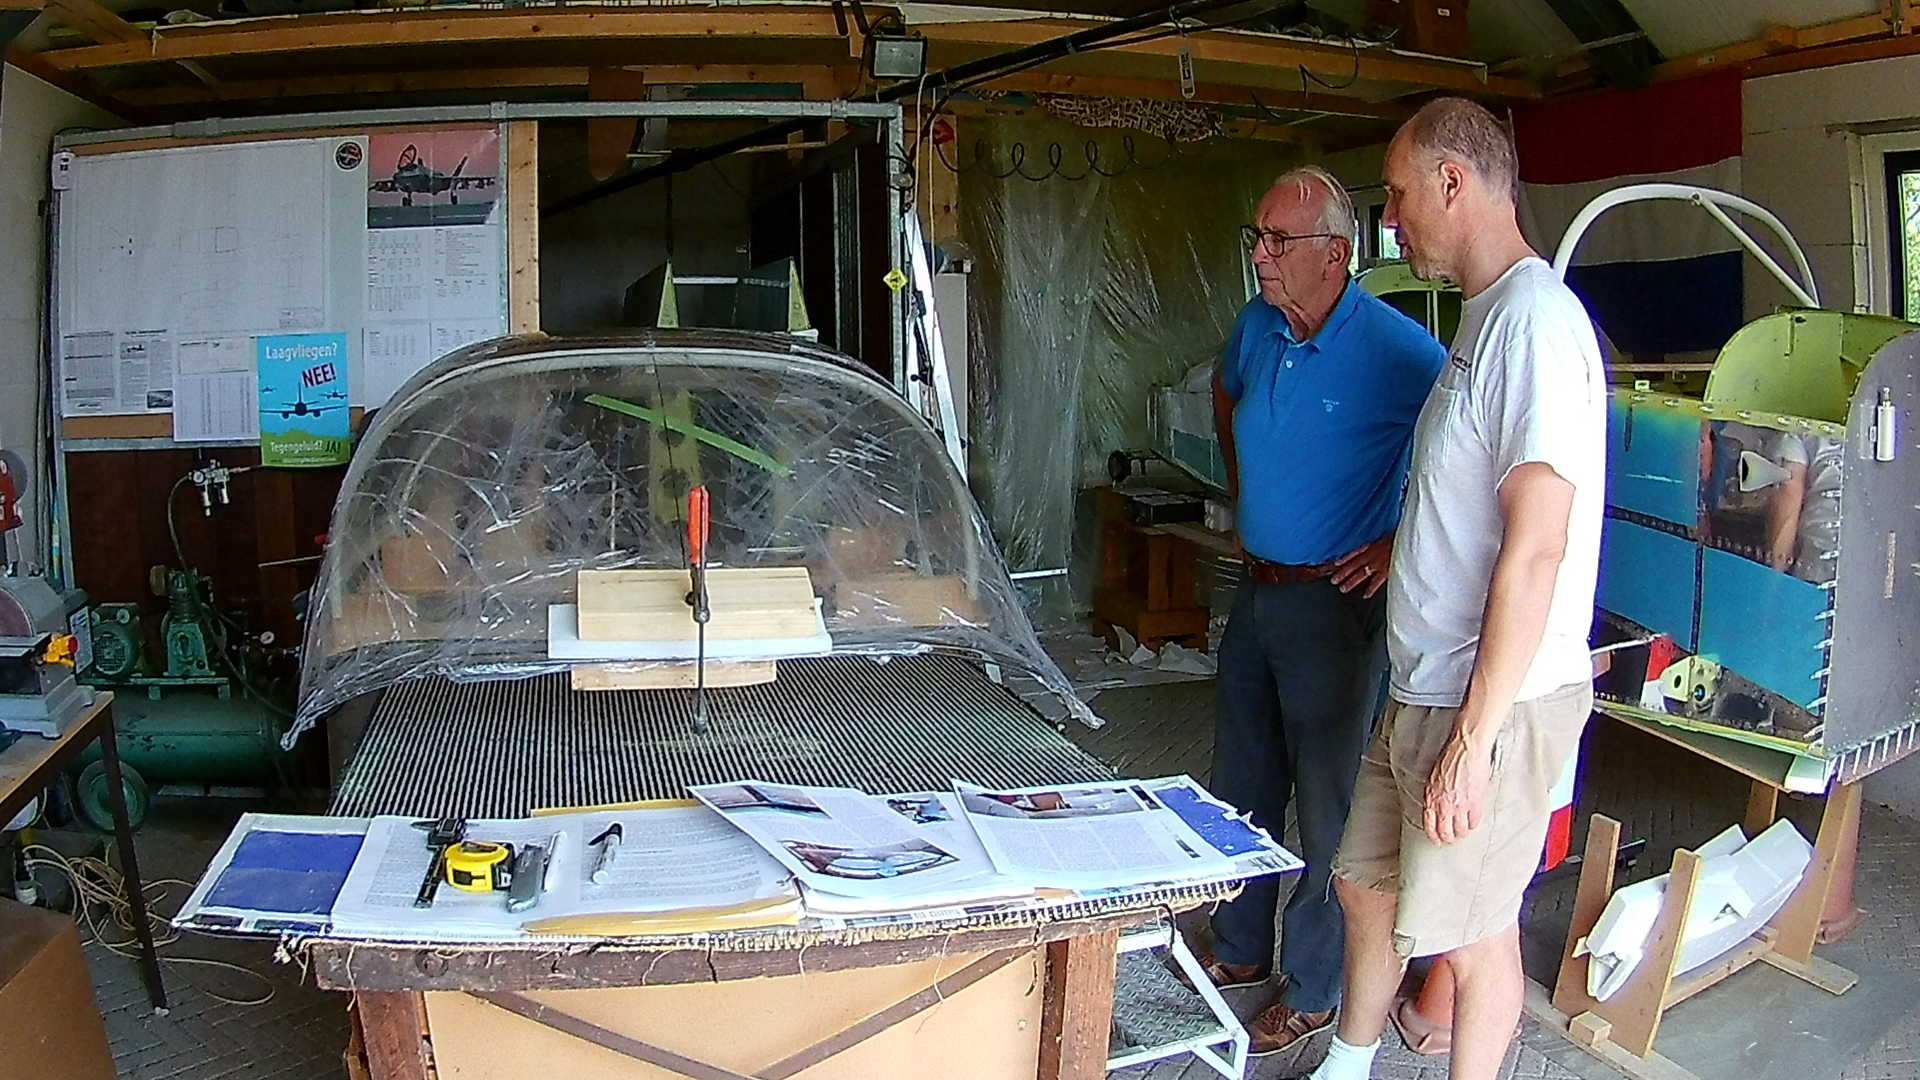
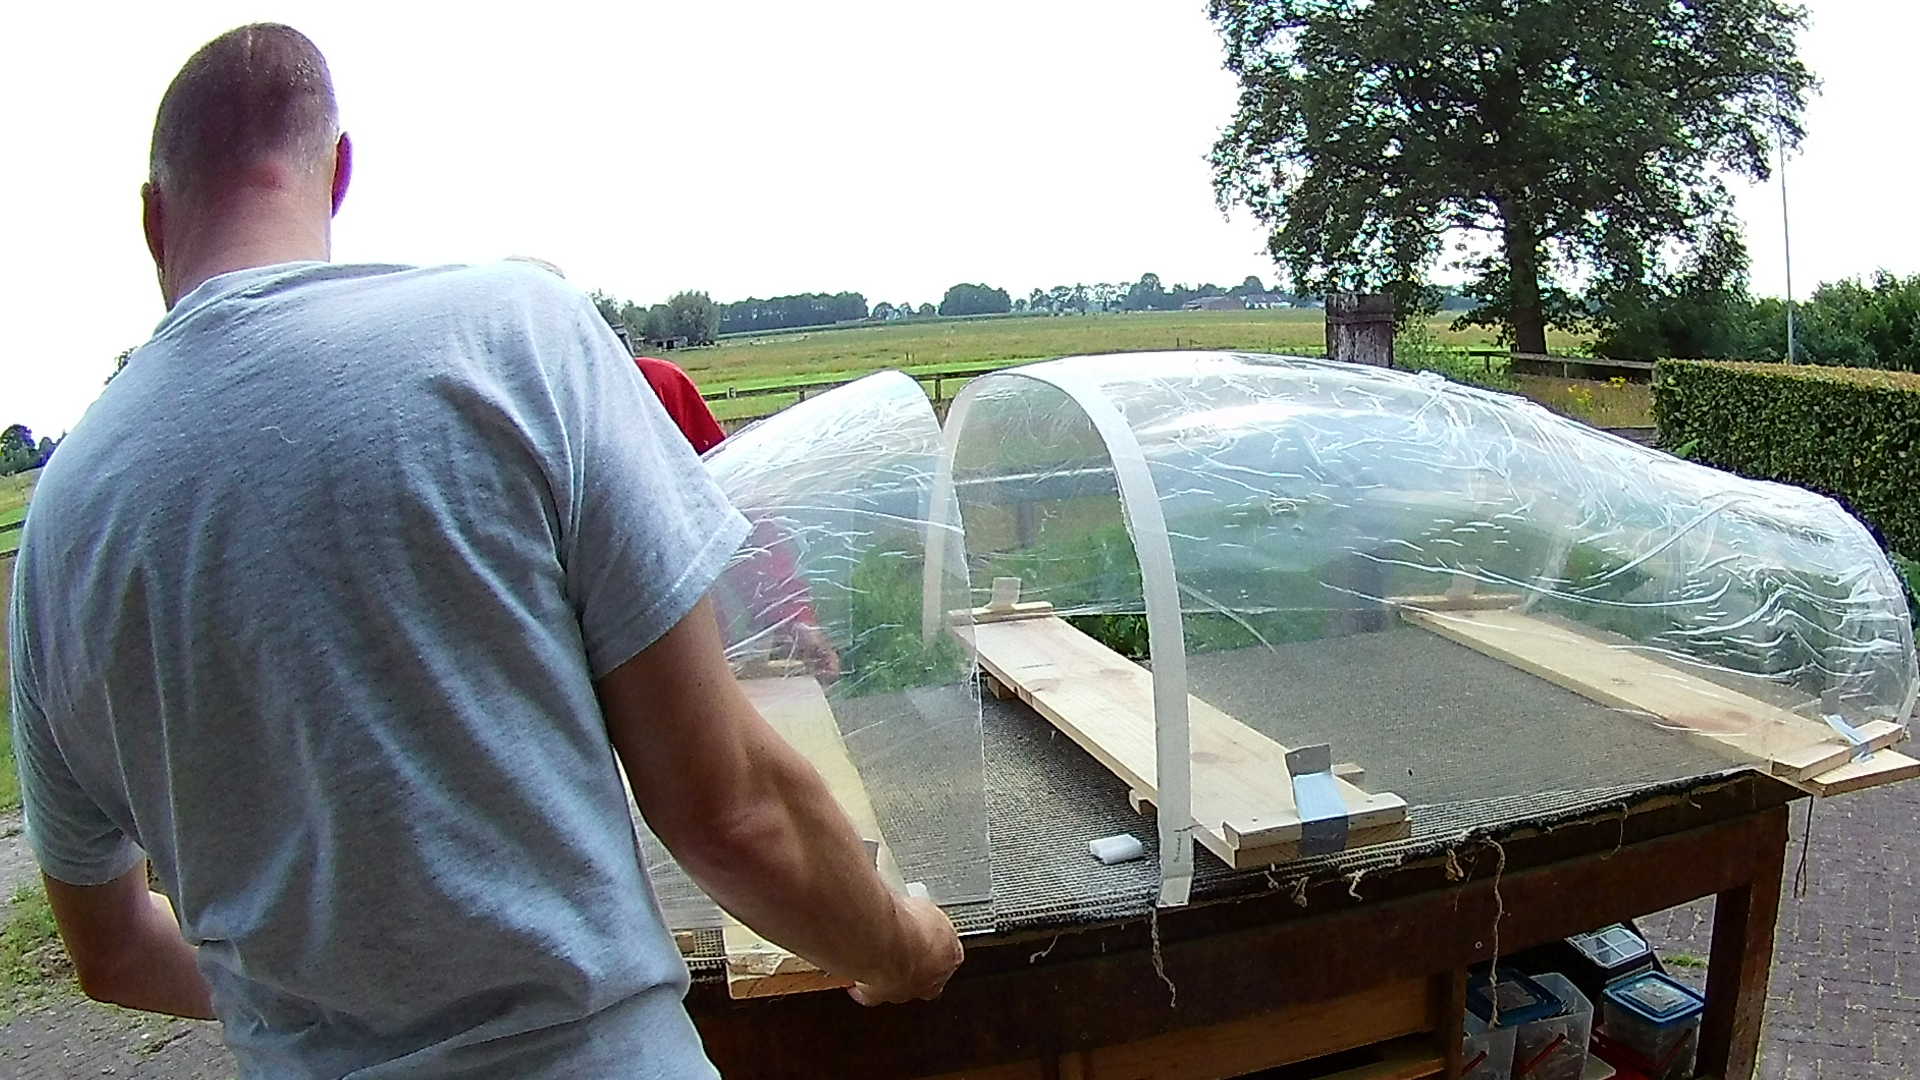
Continuing on the previous session, we are going to mark the exact location of where to make the Big Cut.
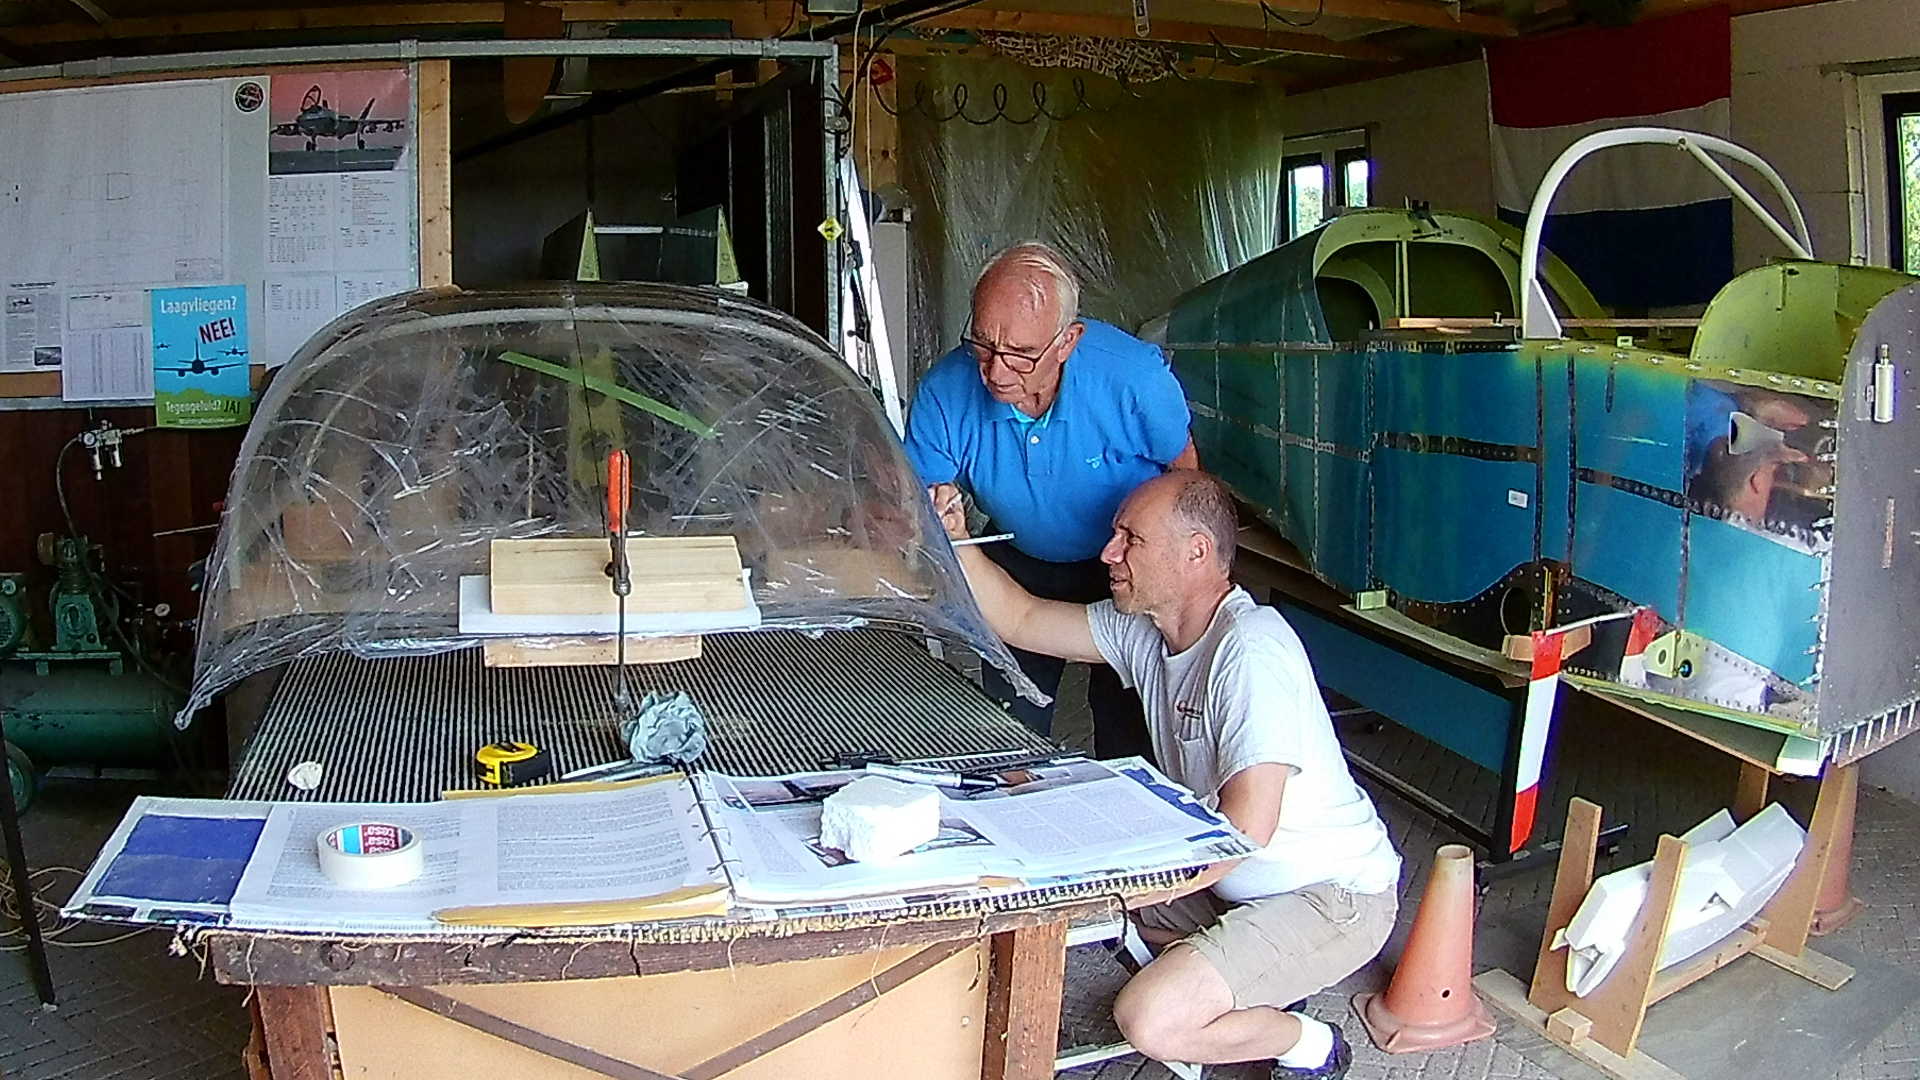
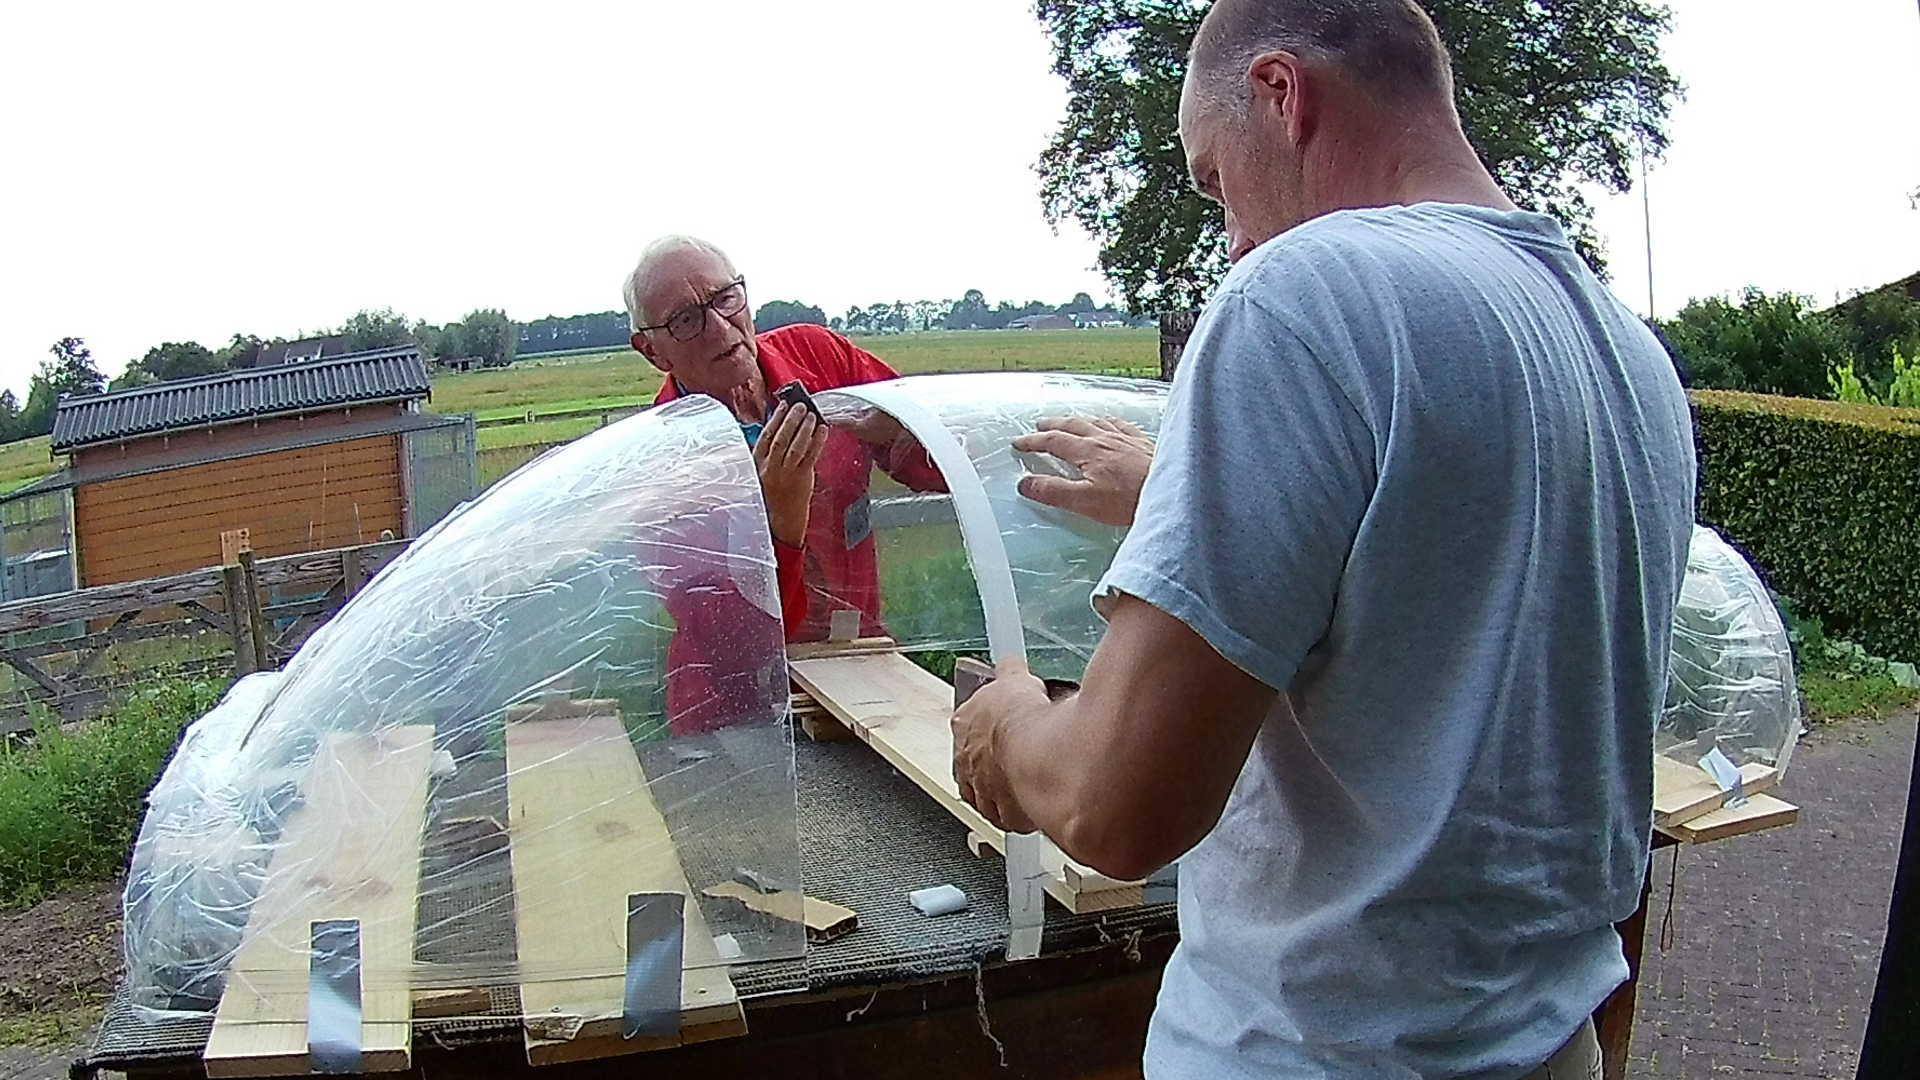
Today this we insert the Canopy frame that we fitted in the previous session and use a piece of aluminum strip on the inside to mark the place of the cut on the outside.
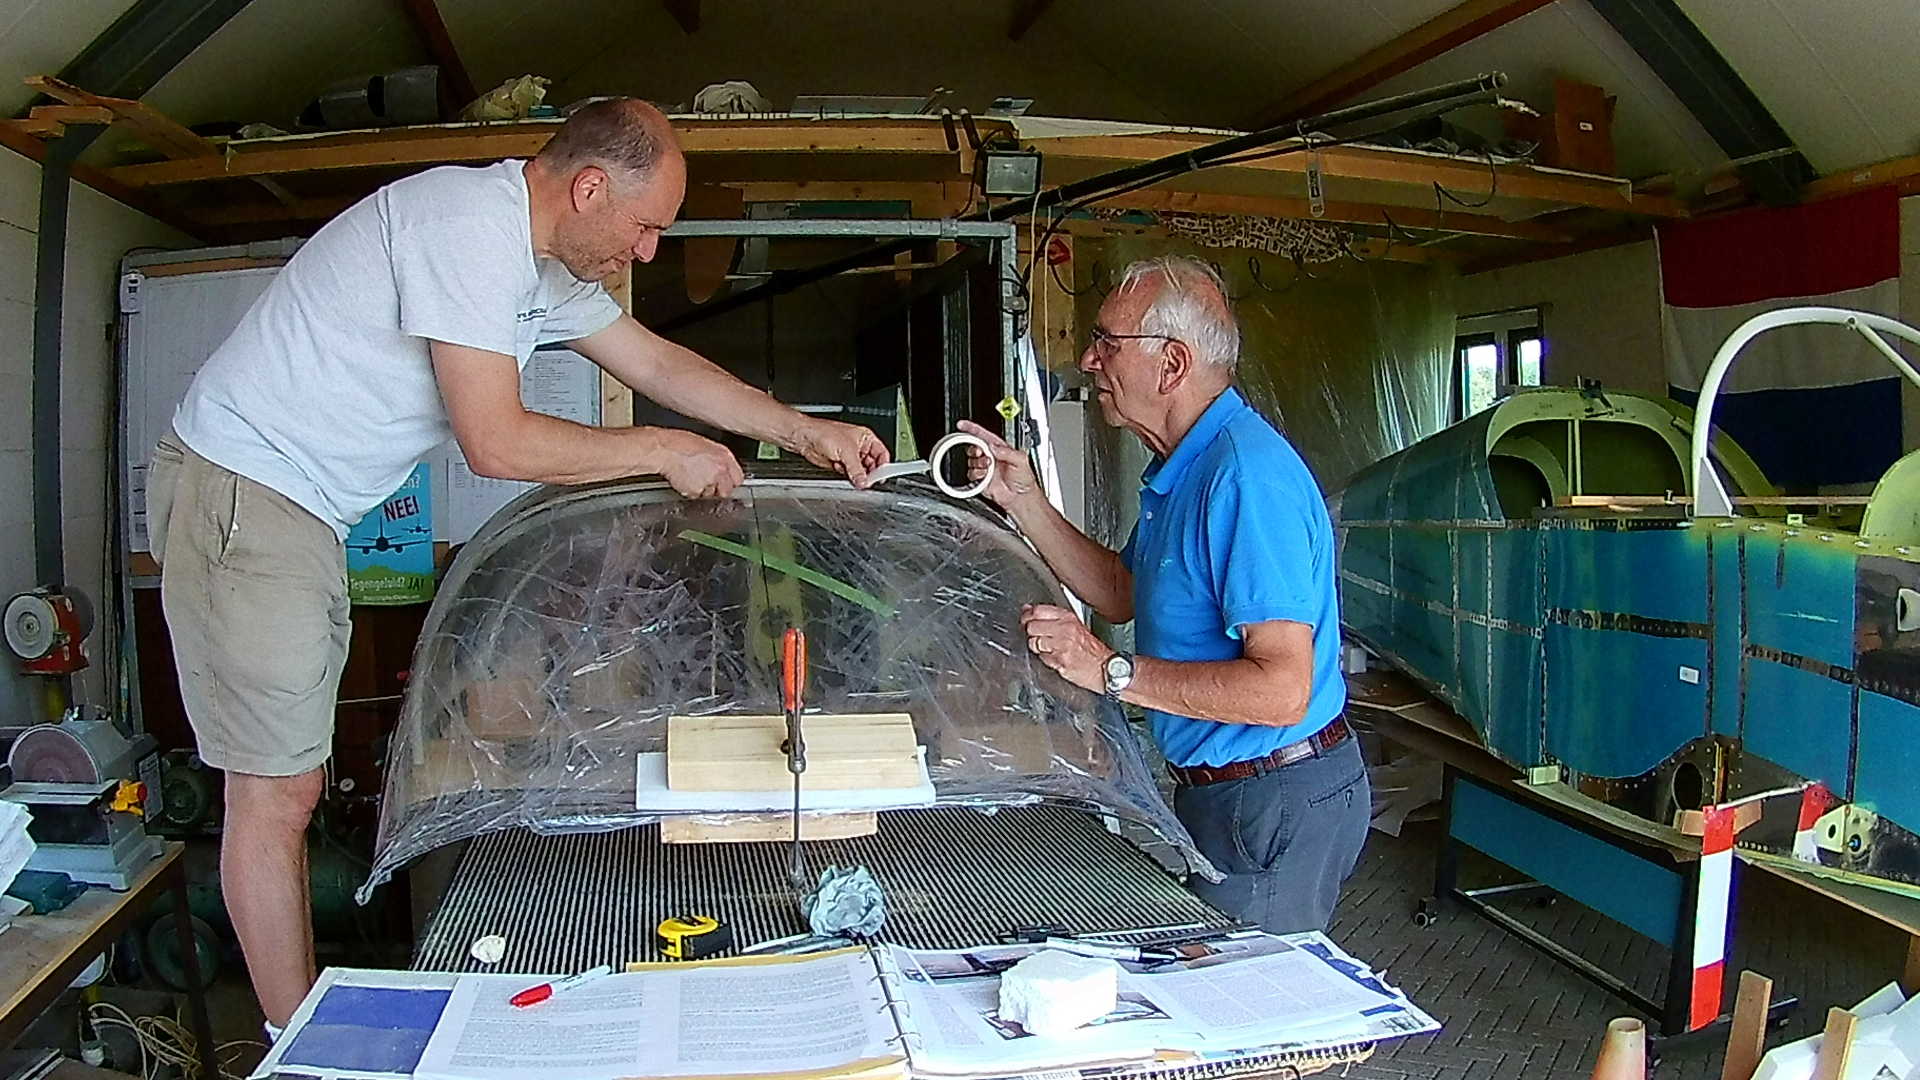
I like to use painters tape to mark the cut line, because for me it’s easier to follow tape than a Sharpie line.
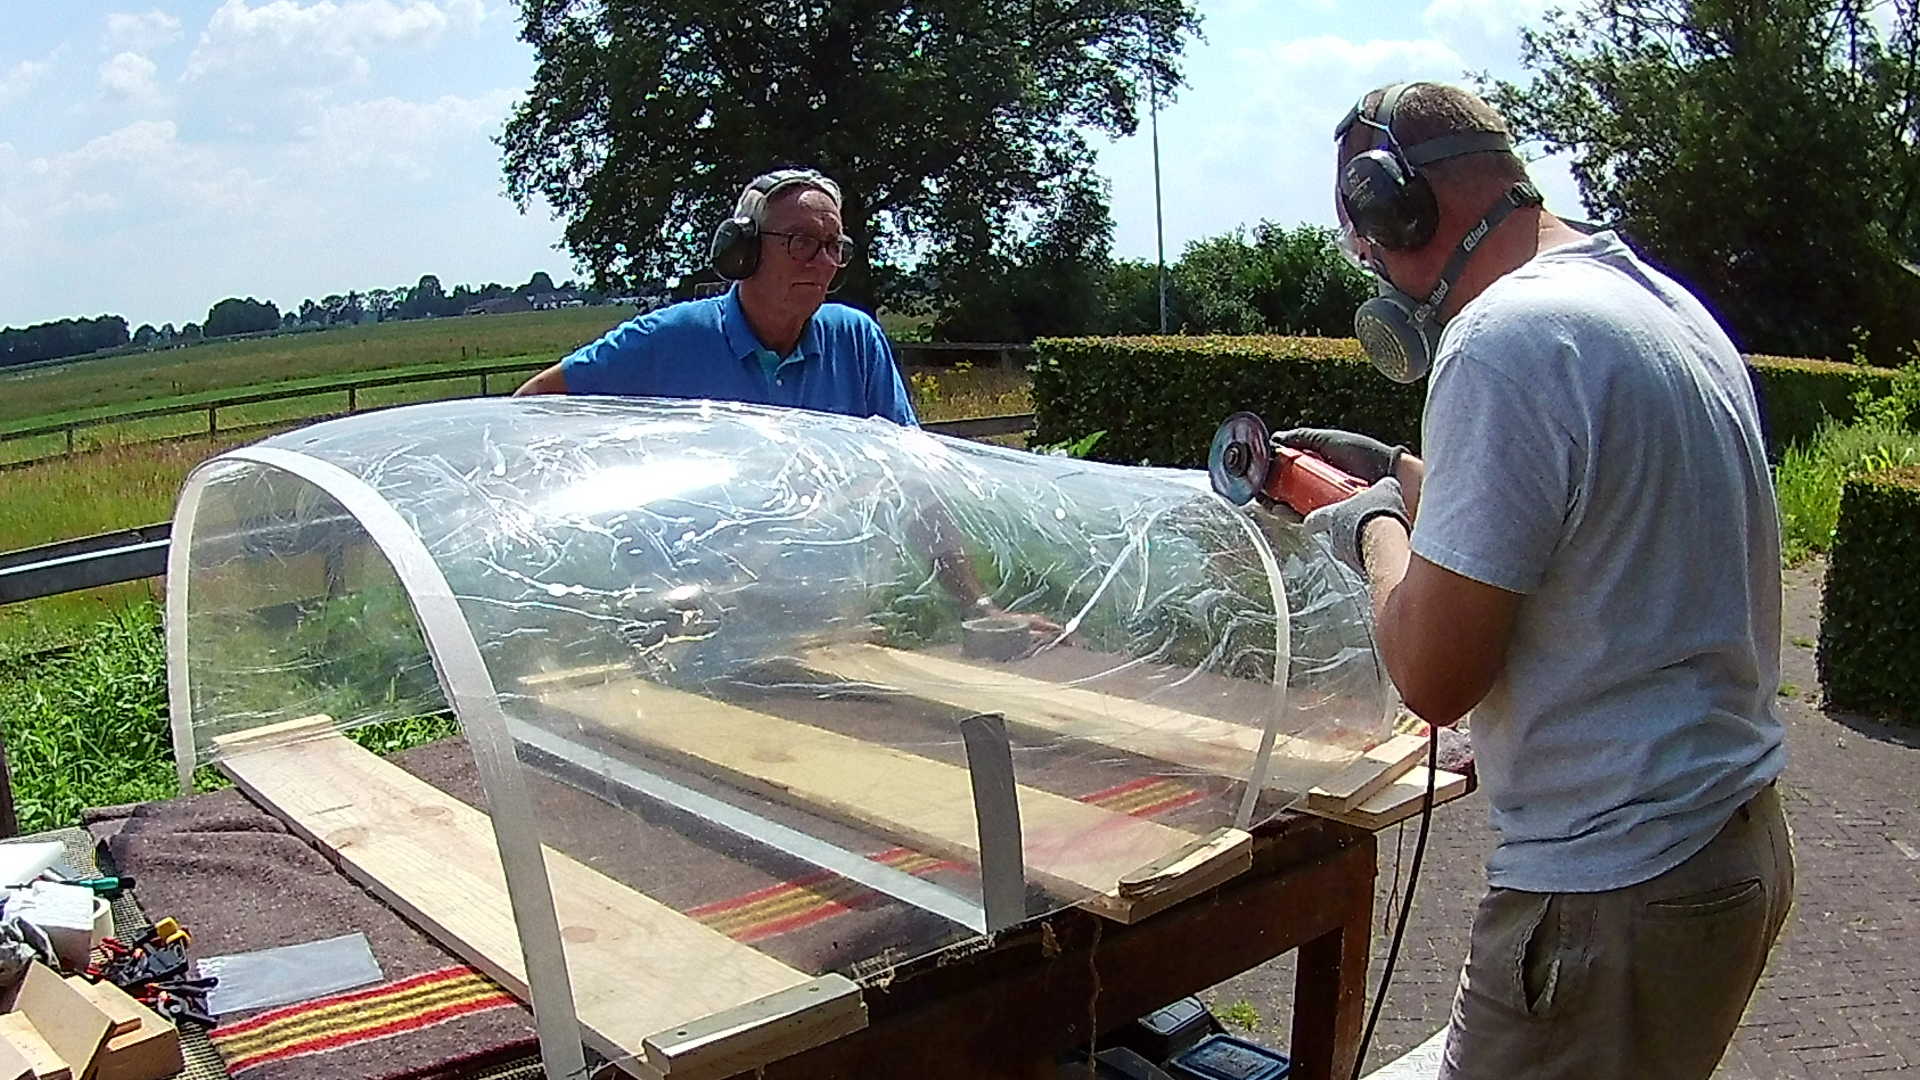
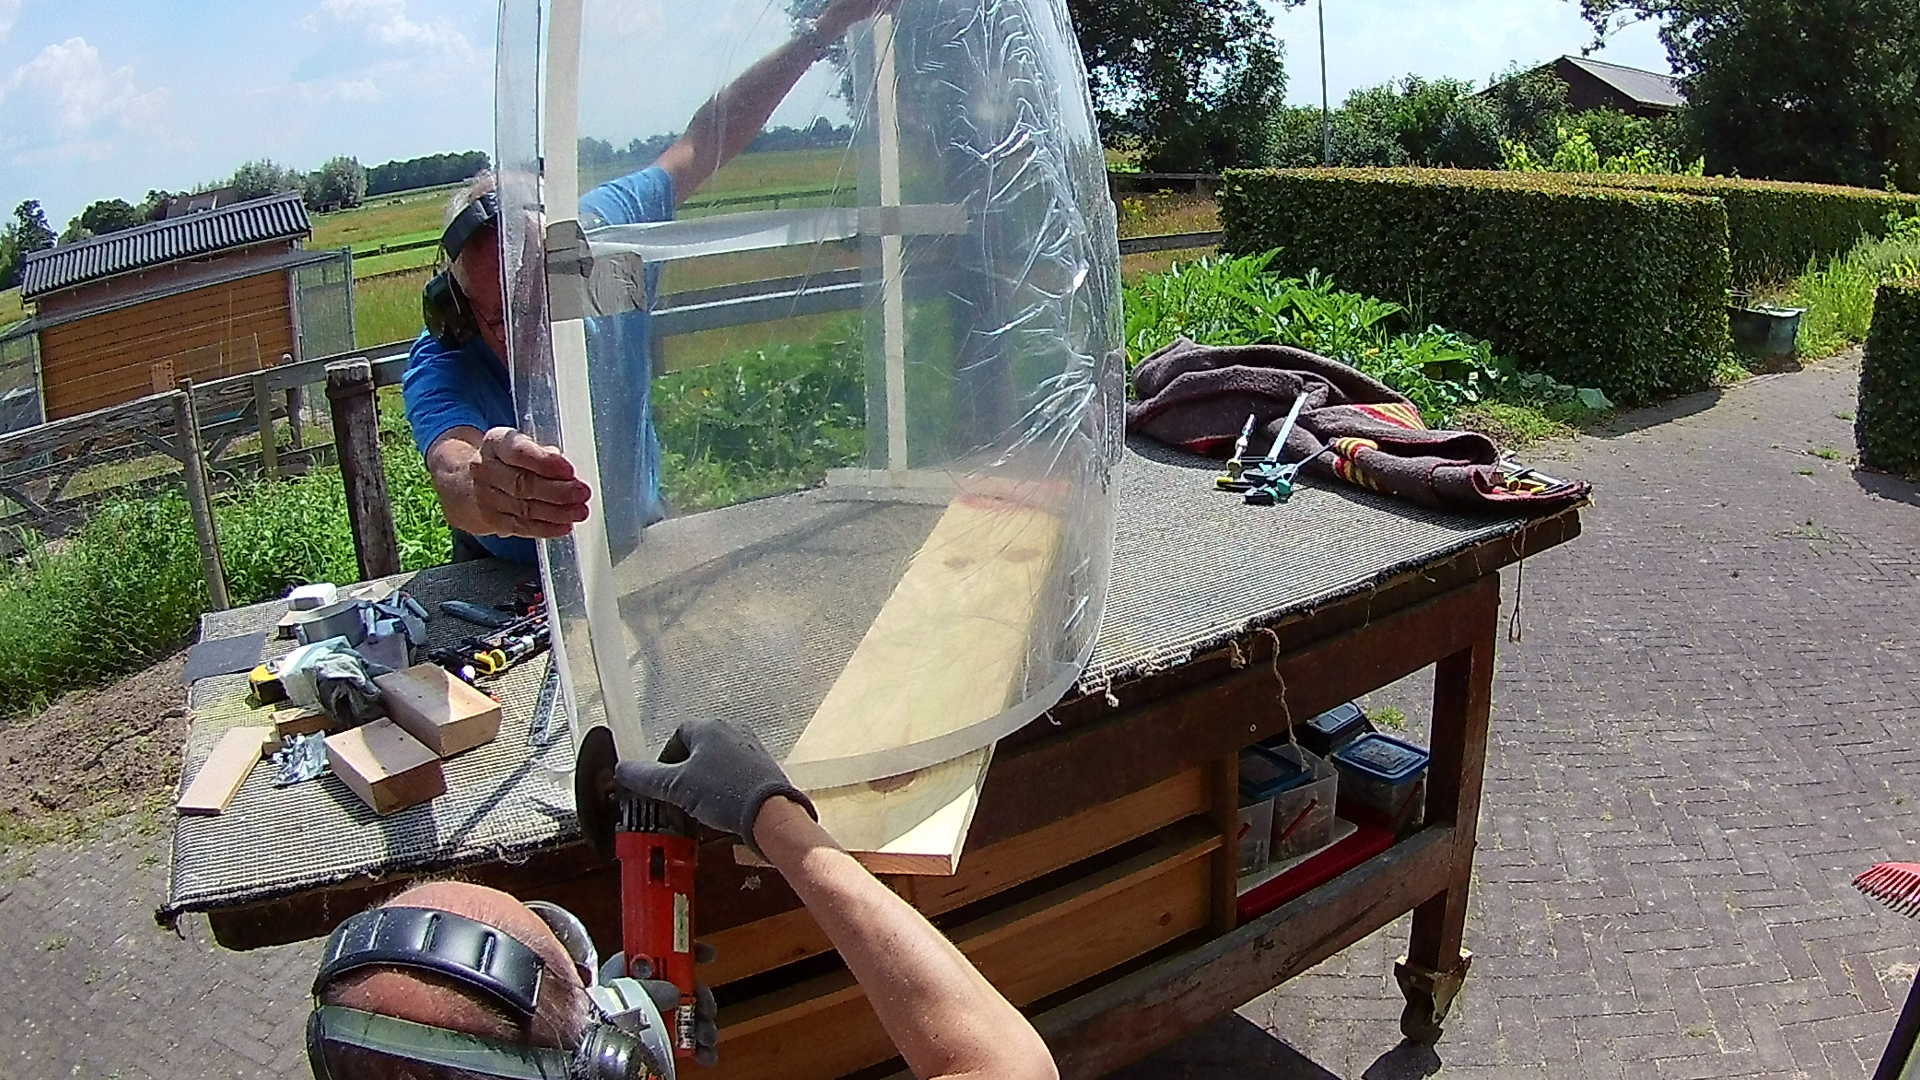
Because it’s the middle of Summer and the sun is really nice the temperatures are high enough to cut plexiglass without extra heating.
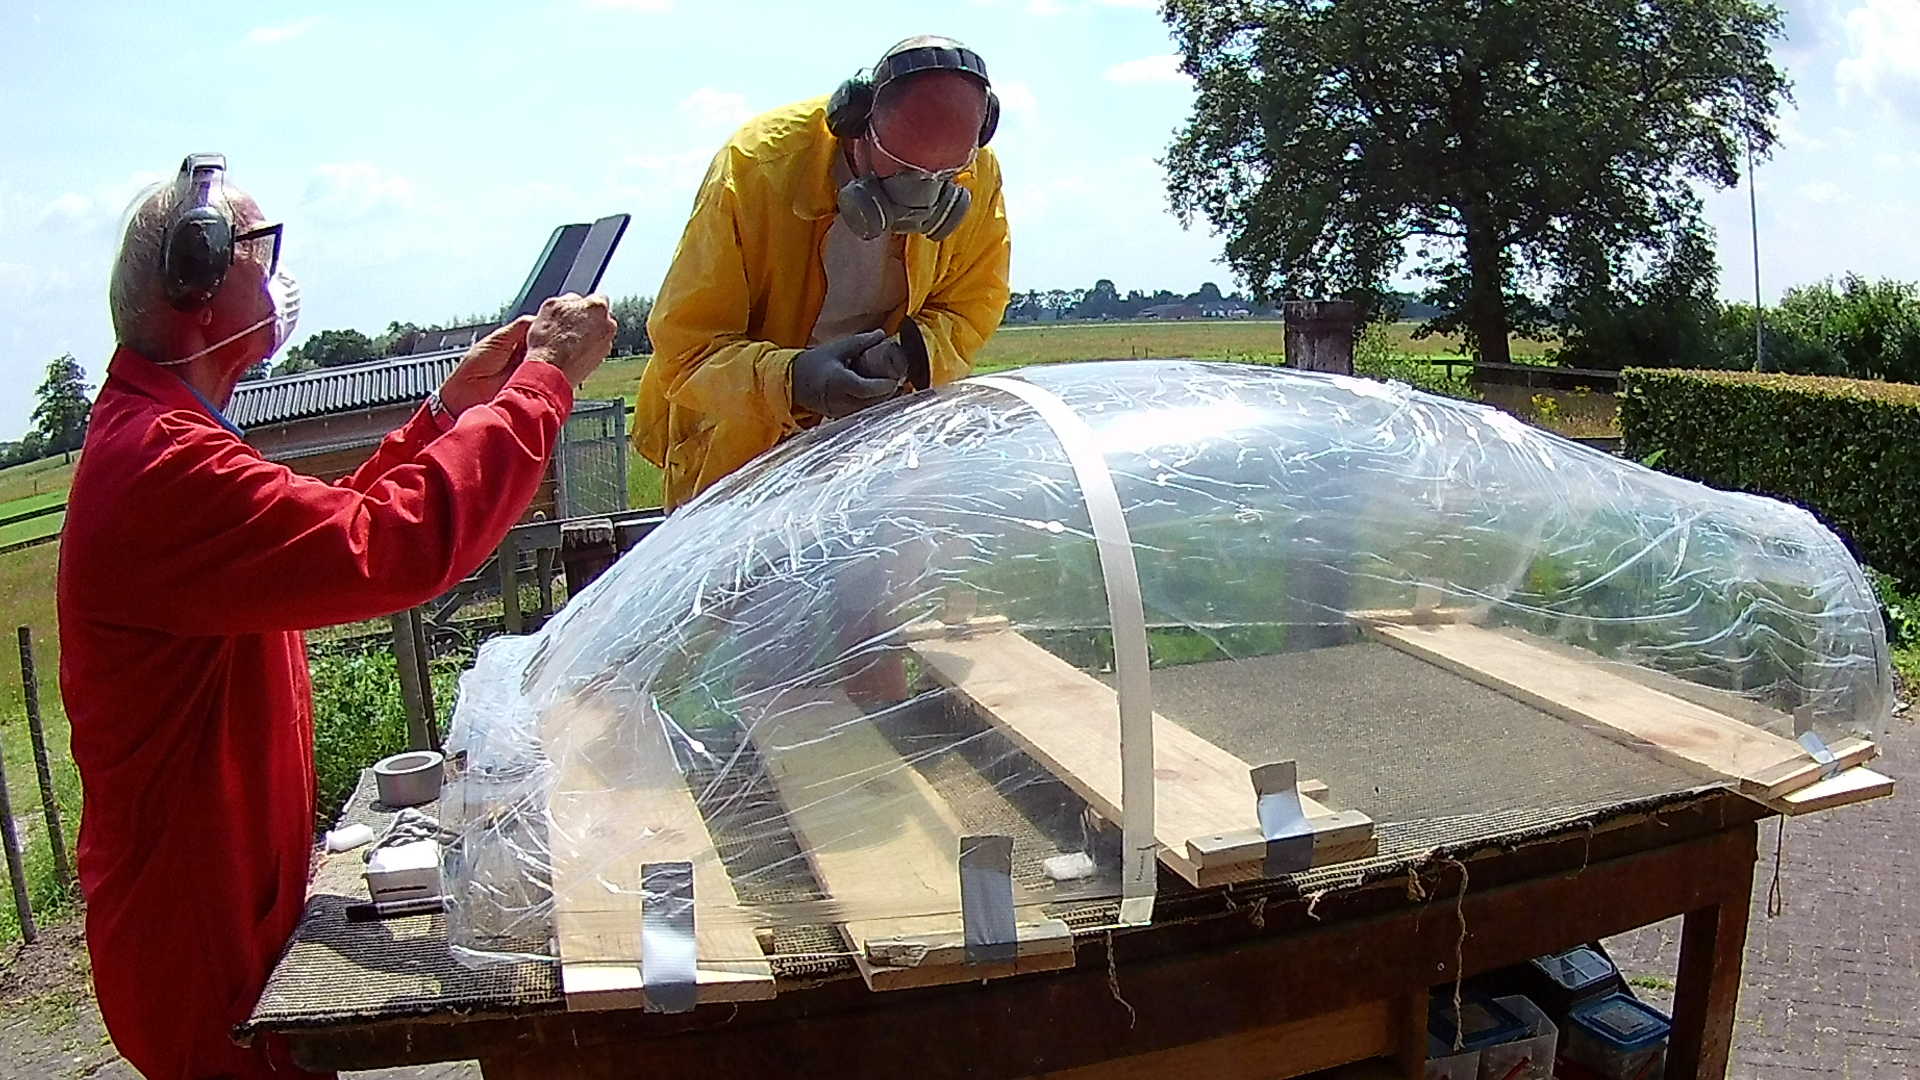
Armed with an angle grinder, glasses, sound barrier and a respirator, we can now finally start cutting.
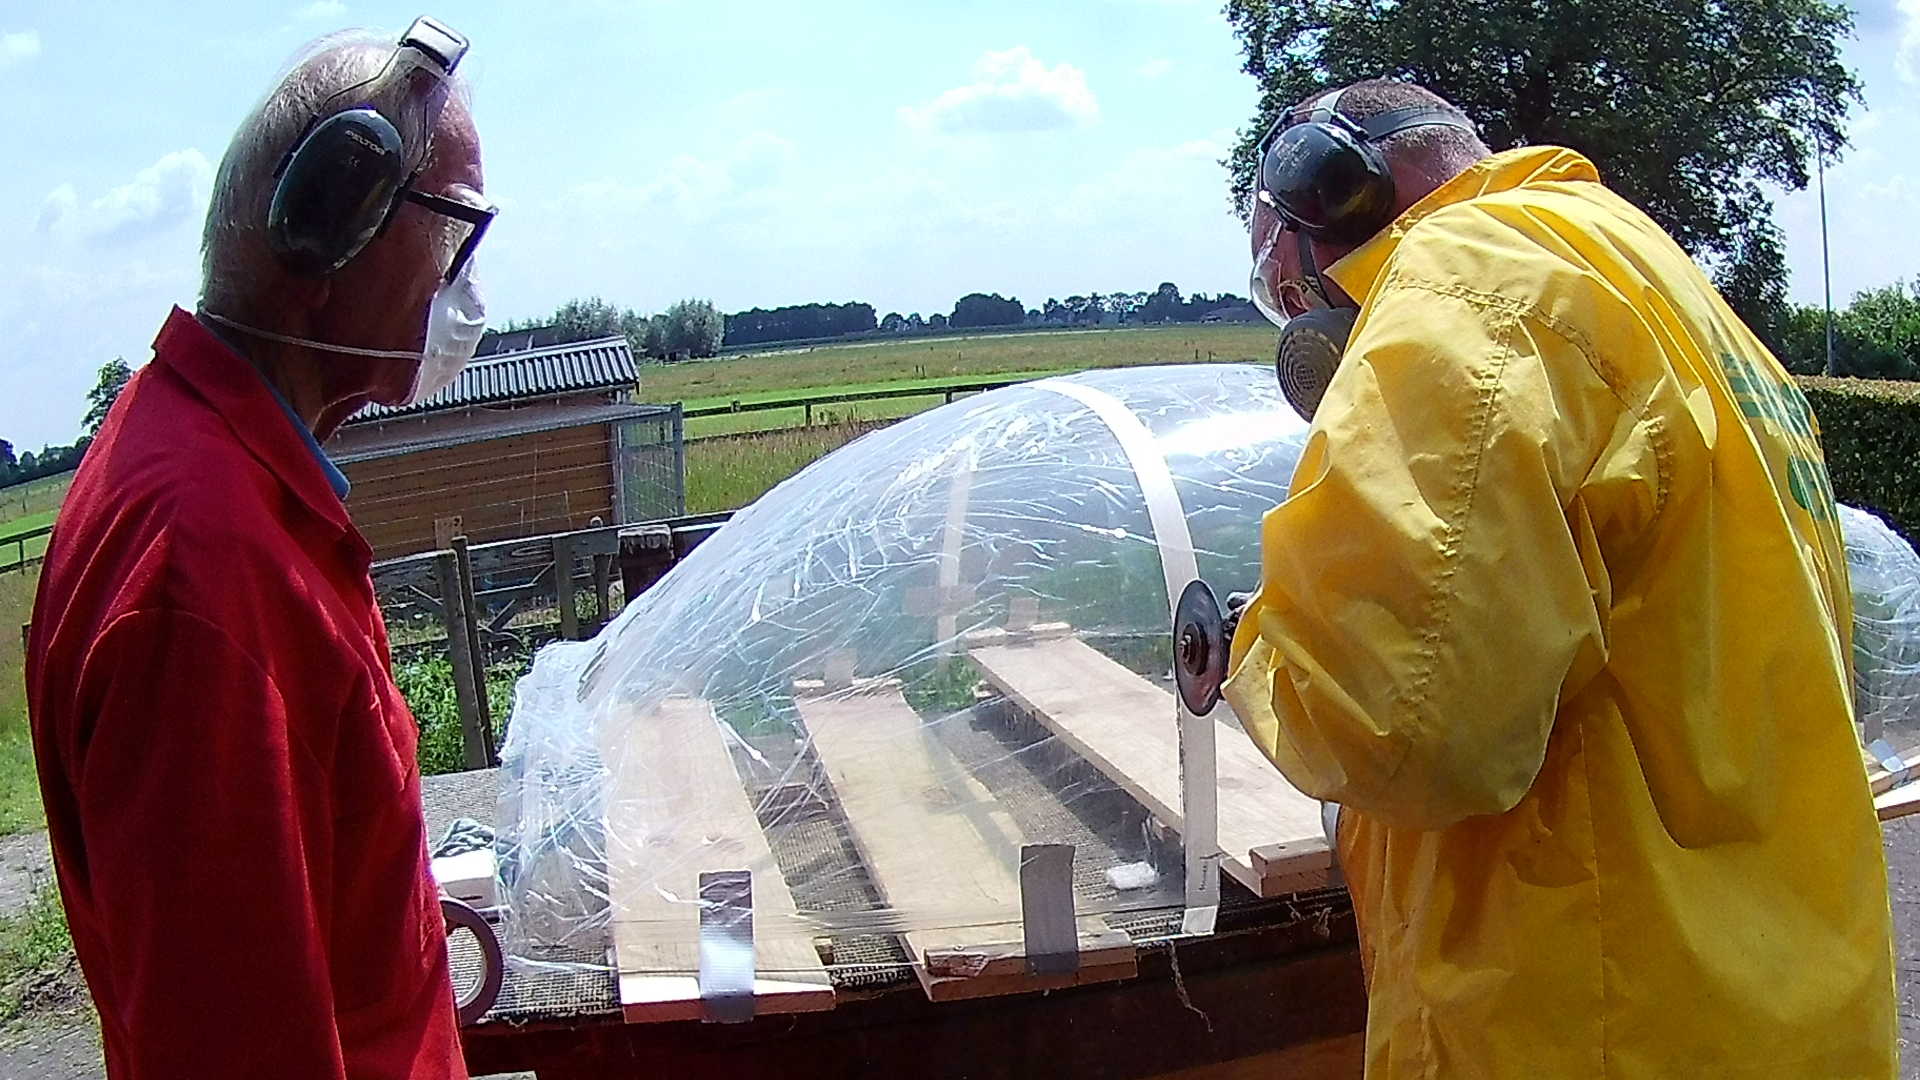
I was a little tensed because of the severity people discuss “The Big Cut”, but I must say it’s actually pretty easy (with the correct preparations).
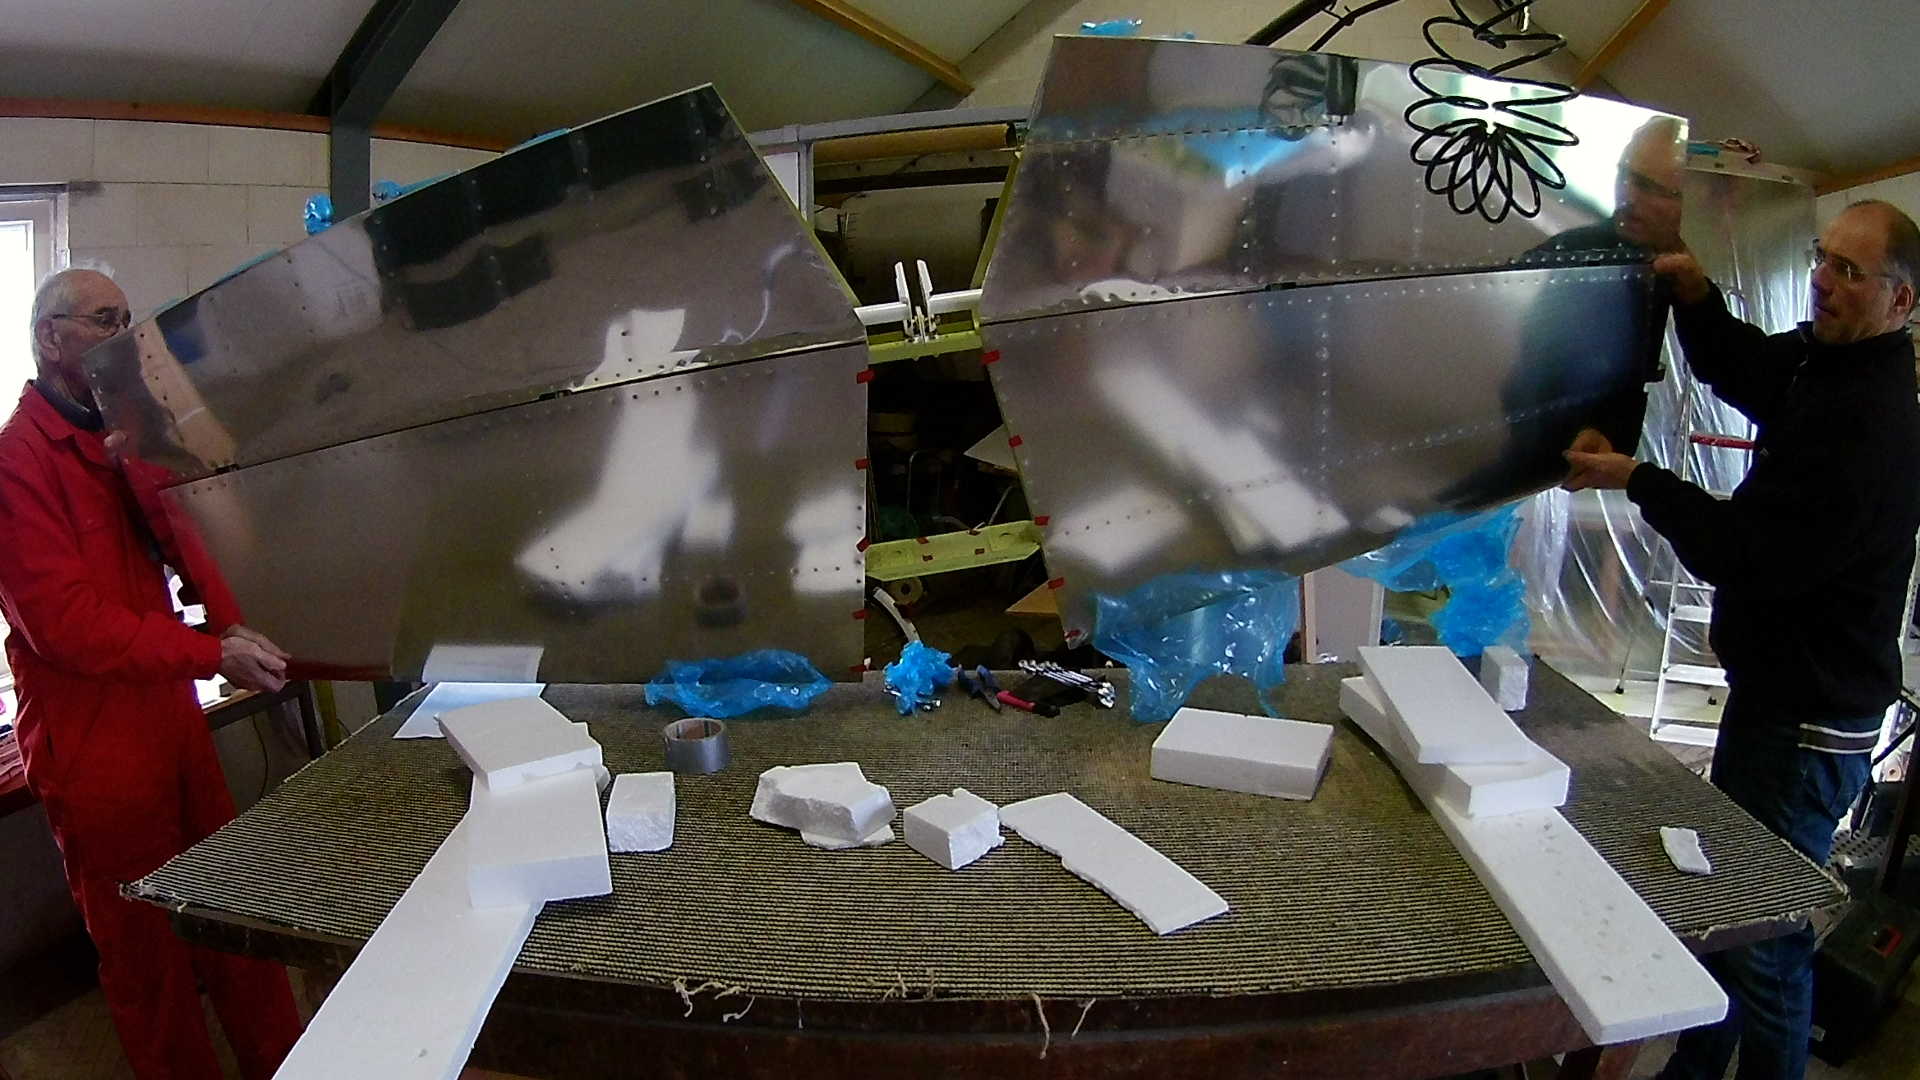
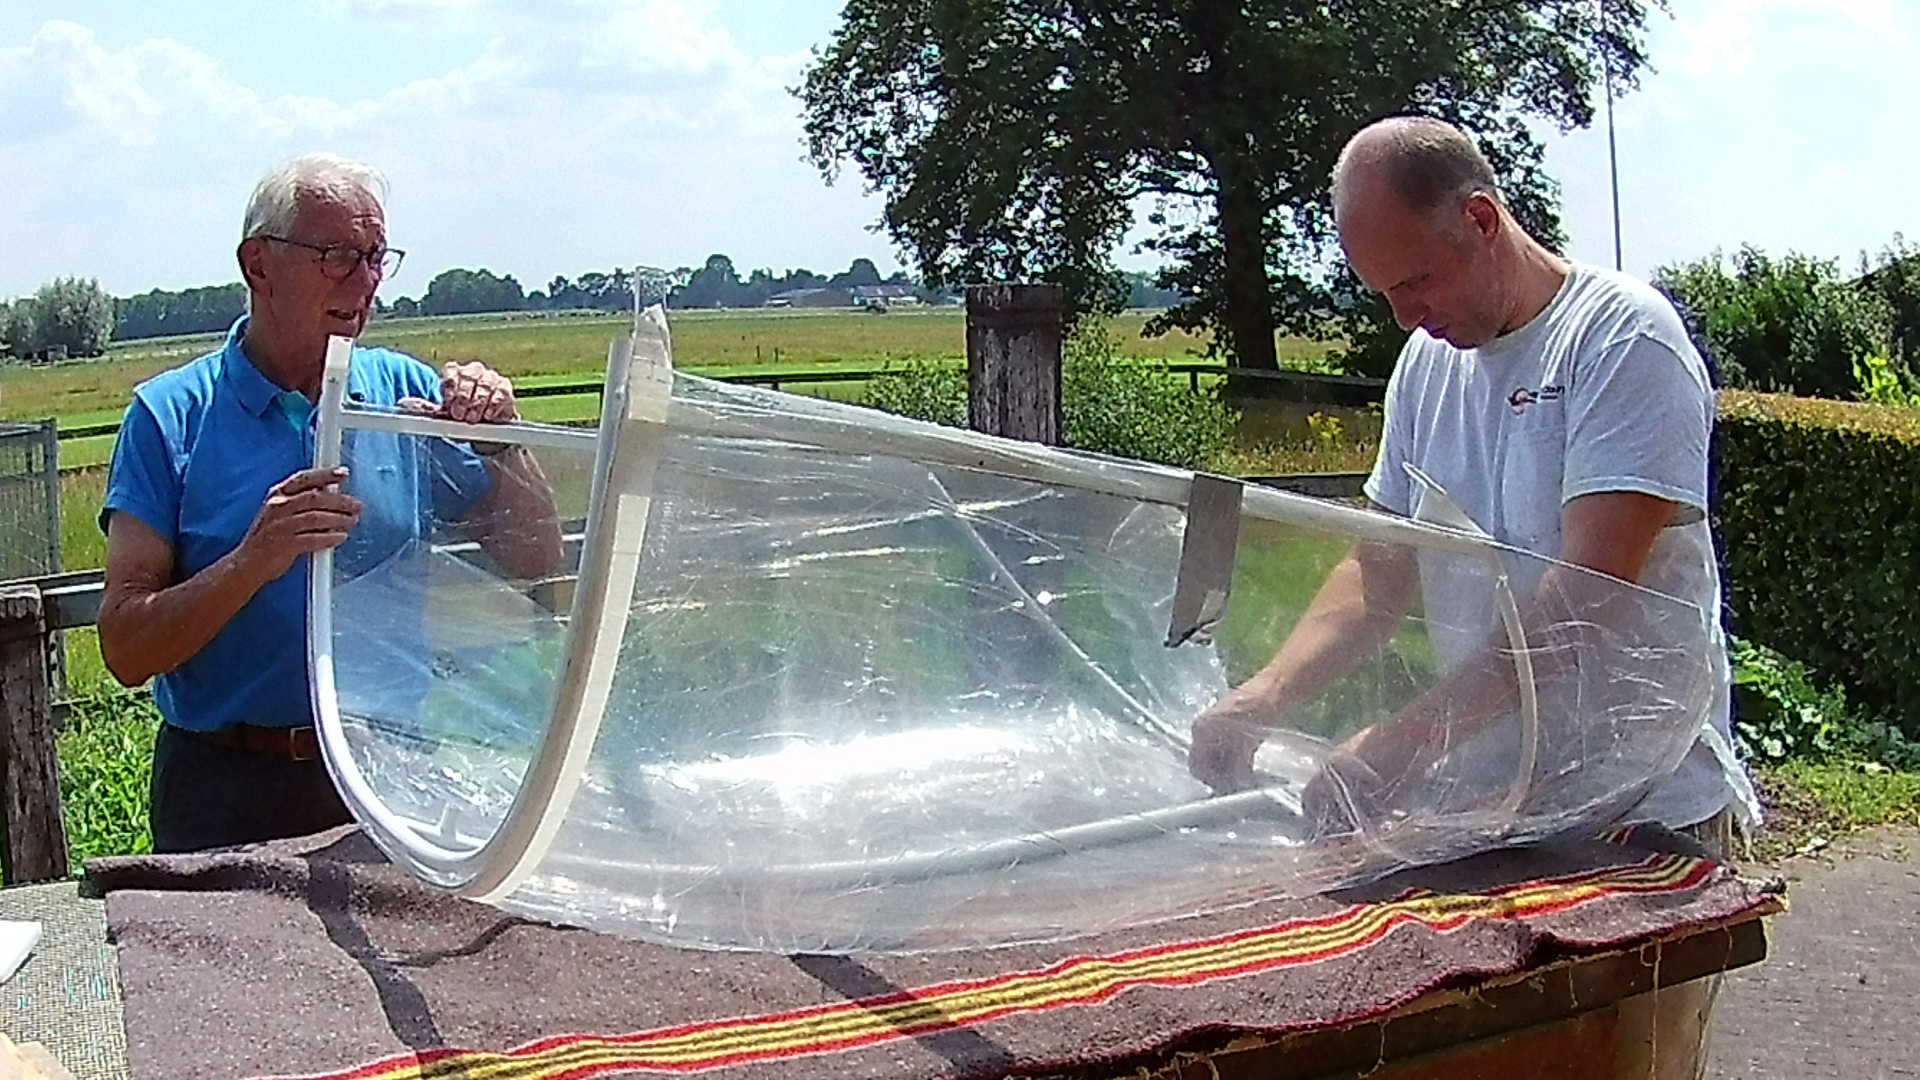
Done, and really nice, so minimal post cutting work is required.
Just sanding the cut edges, to prevent tension spots that can grow into cracks.
With the canopy frame into the bubble, we can now mark the rear side of the Canopy bubble. We leave some overlap, because it’s our intention to bond the Frame and bubble as well as the aluminum rear skirts with SikaFlex, instead of screwing them together.
I’m getting better in cutting plexiglass by the minute.
Last step is the sides. I found out later that I did these too conservatively, but than again, better save than sorry.
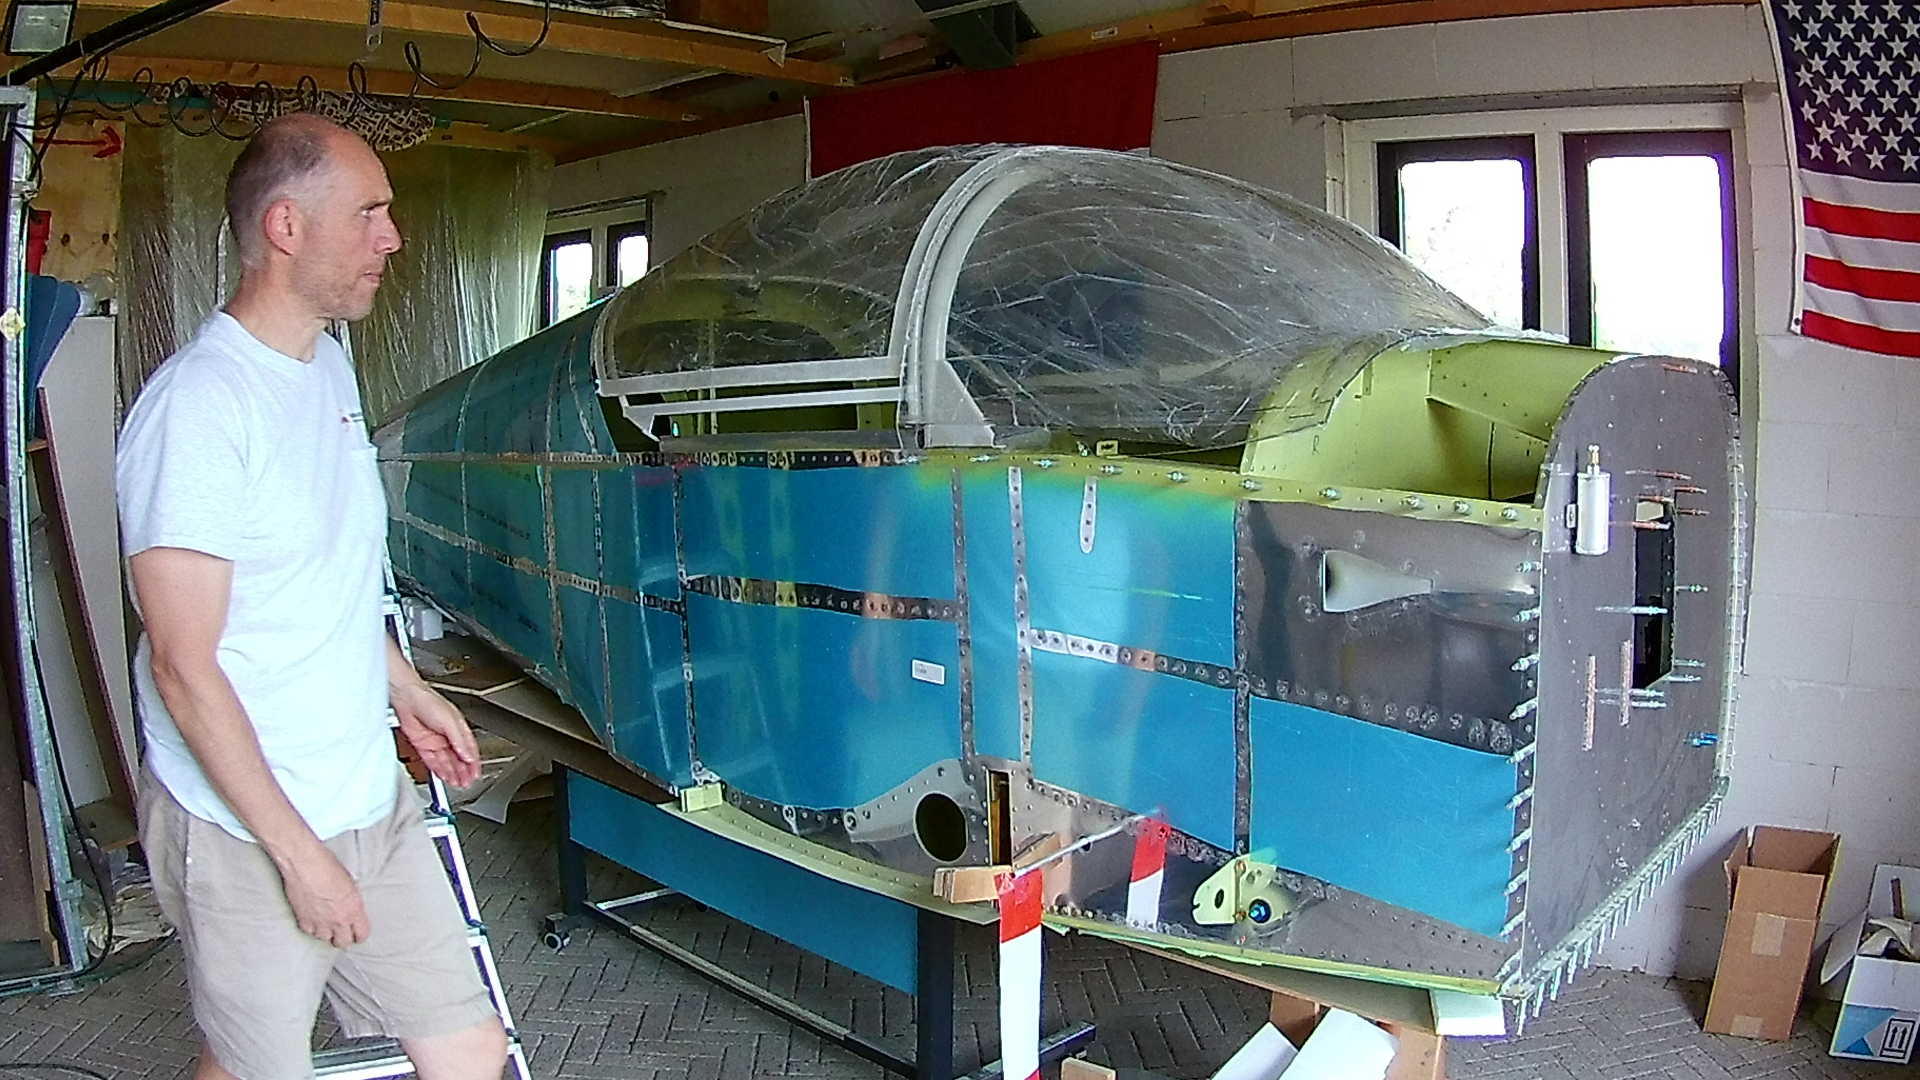
Wauw, that really looks great. Unfortunately still a lot of work to do, before it will look like this.
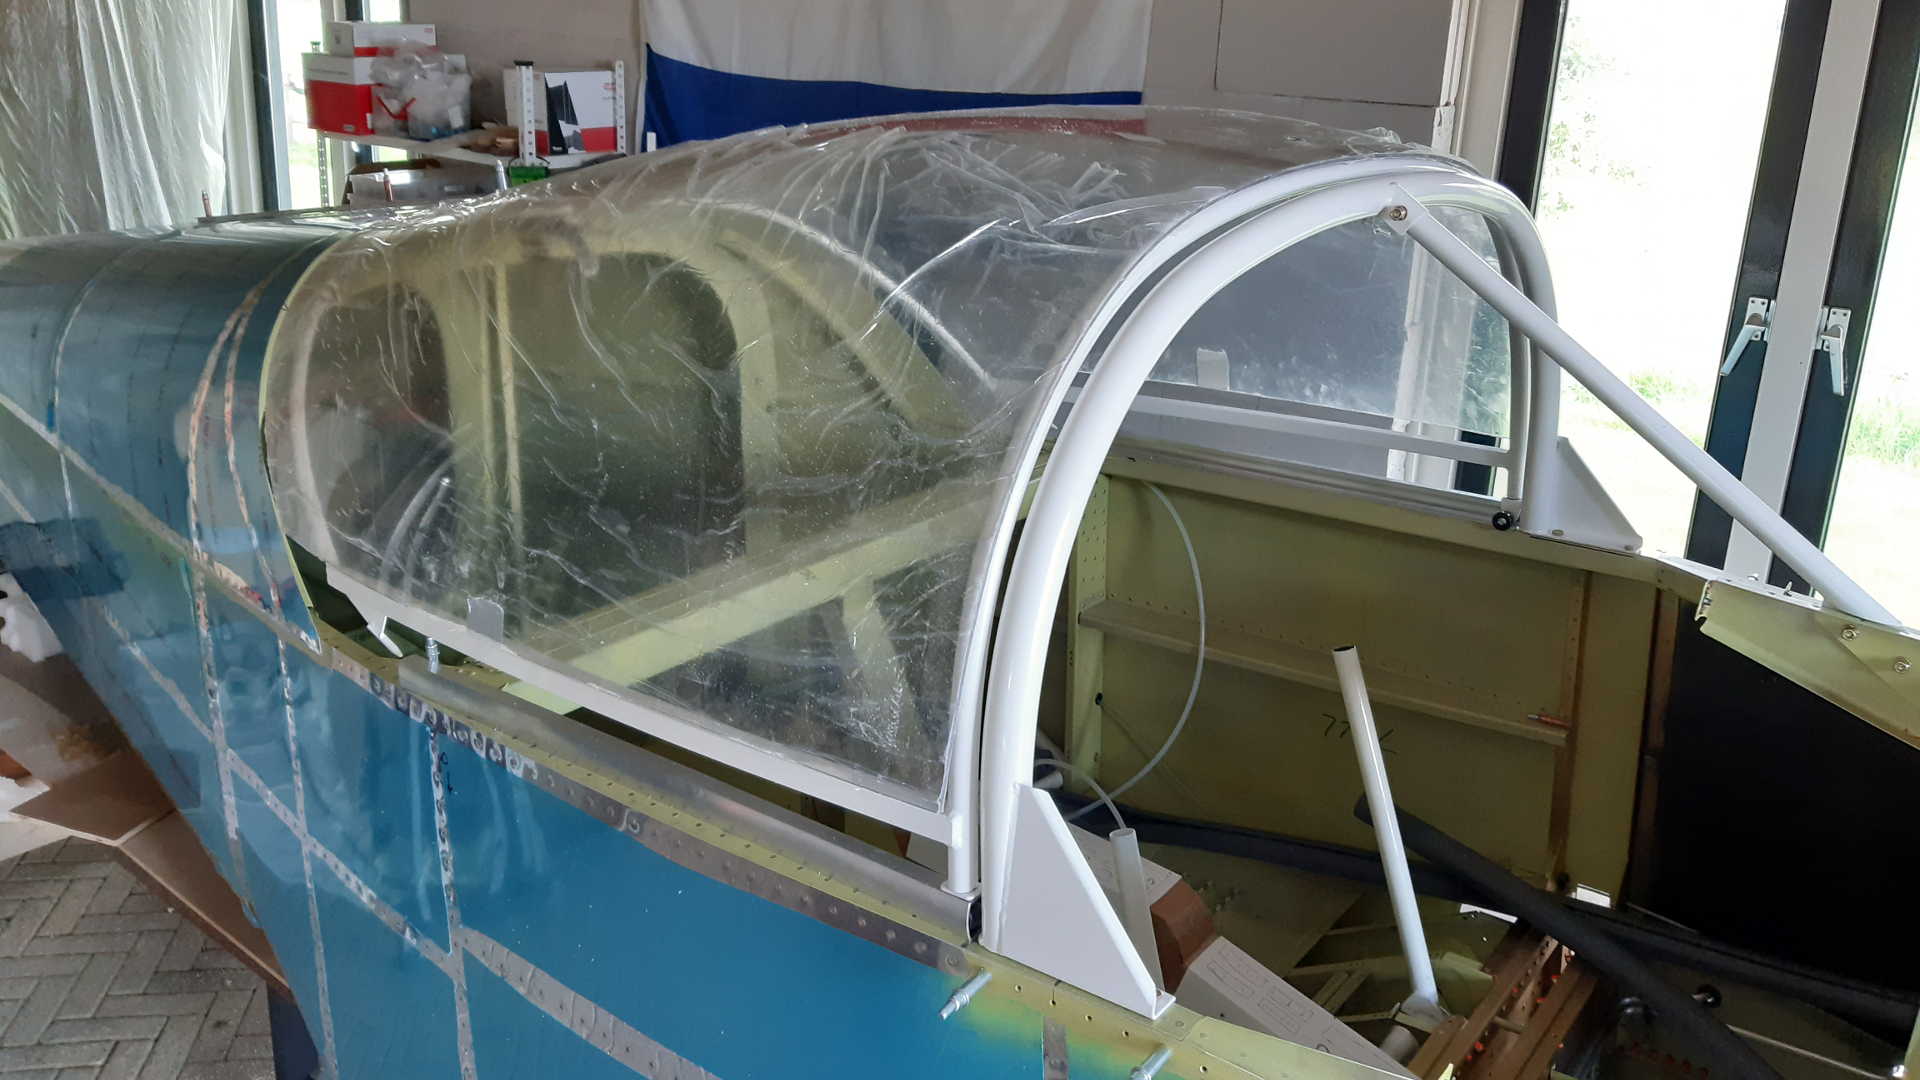
The Canopy frame with bubble looks very promising.
Time: 8 Hours, Rivets: 0/0 (2020-07-18)
Video