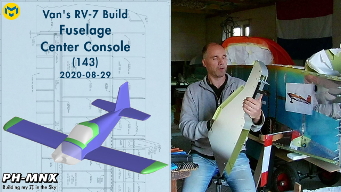

Previously I’ve been working on card board mockups of the Center Console. The Van’s RV series don’t have a Center Console by default. The Throttle and Mixture control are on a separate bracket hanging just below the panel. I’m used to this setup, because many small Cessna’s have this setup too. However I don’t find it a very elegant solution.

I experimented with several Center Console designs and although I liked the one which connects all the way up to the panel, I was advised not to do that. Main argument was that it confines you to a rigid position and when flying by yourself it prevents “relaxing”. So I decided to follow this advise and create a Center Console that connects to the Fuel selector.
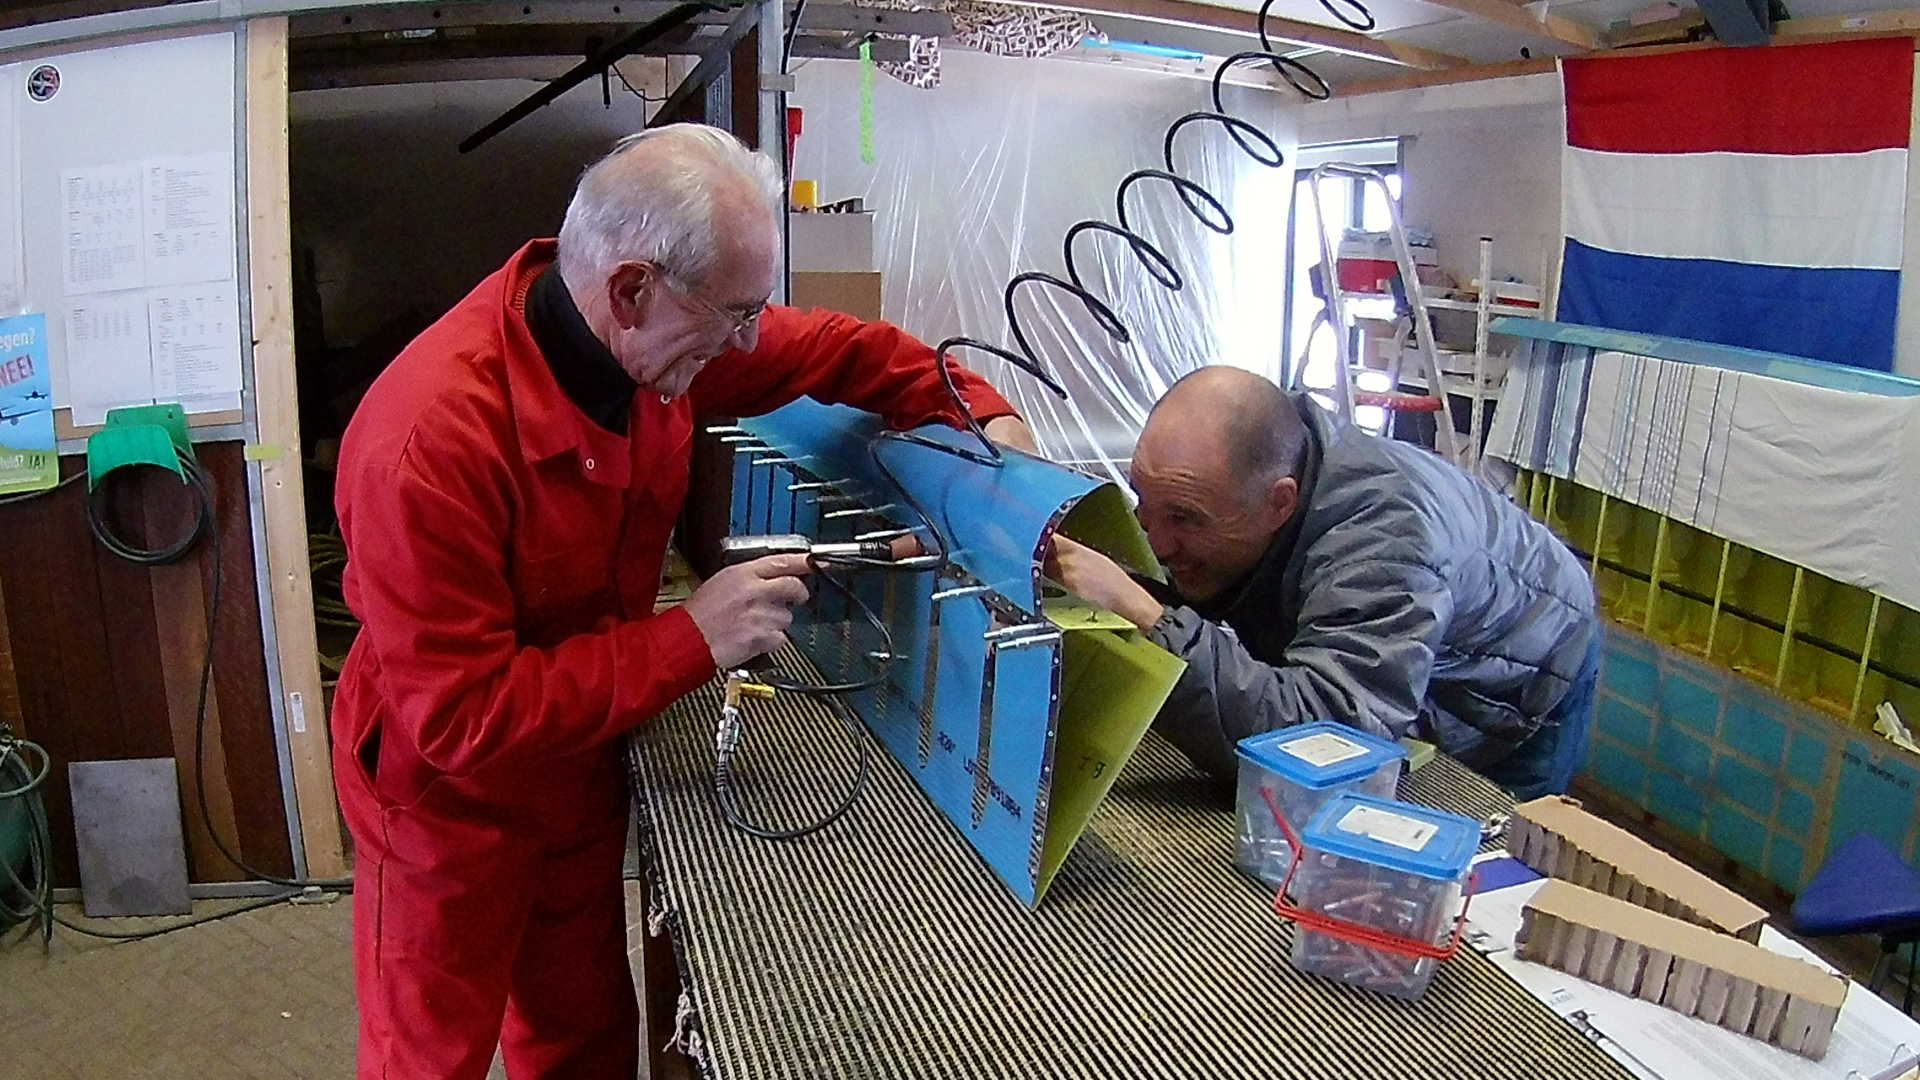
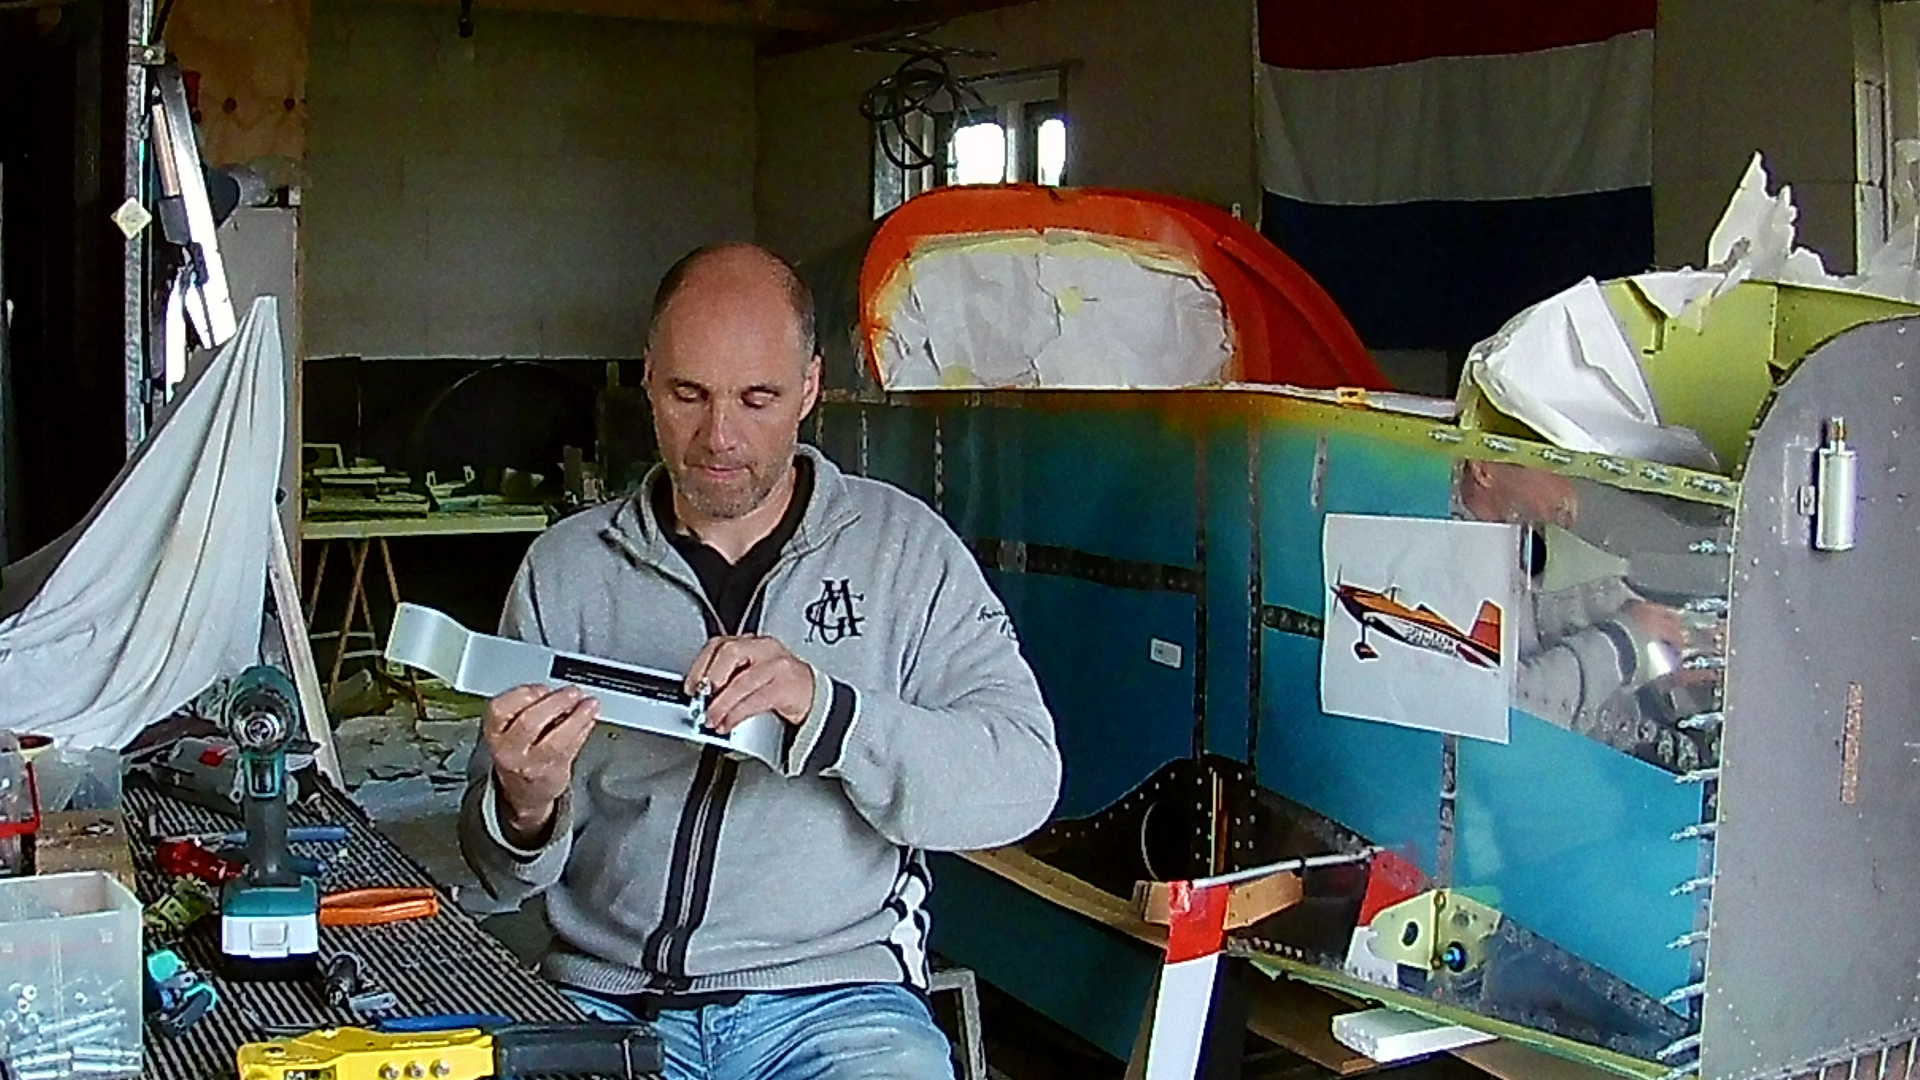
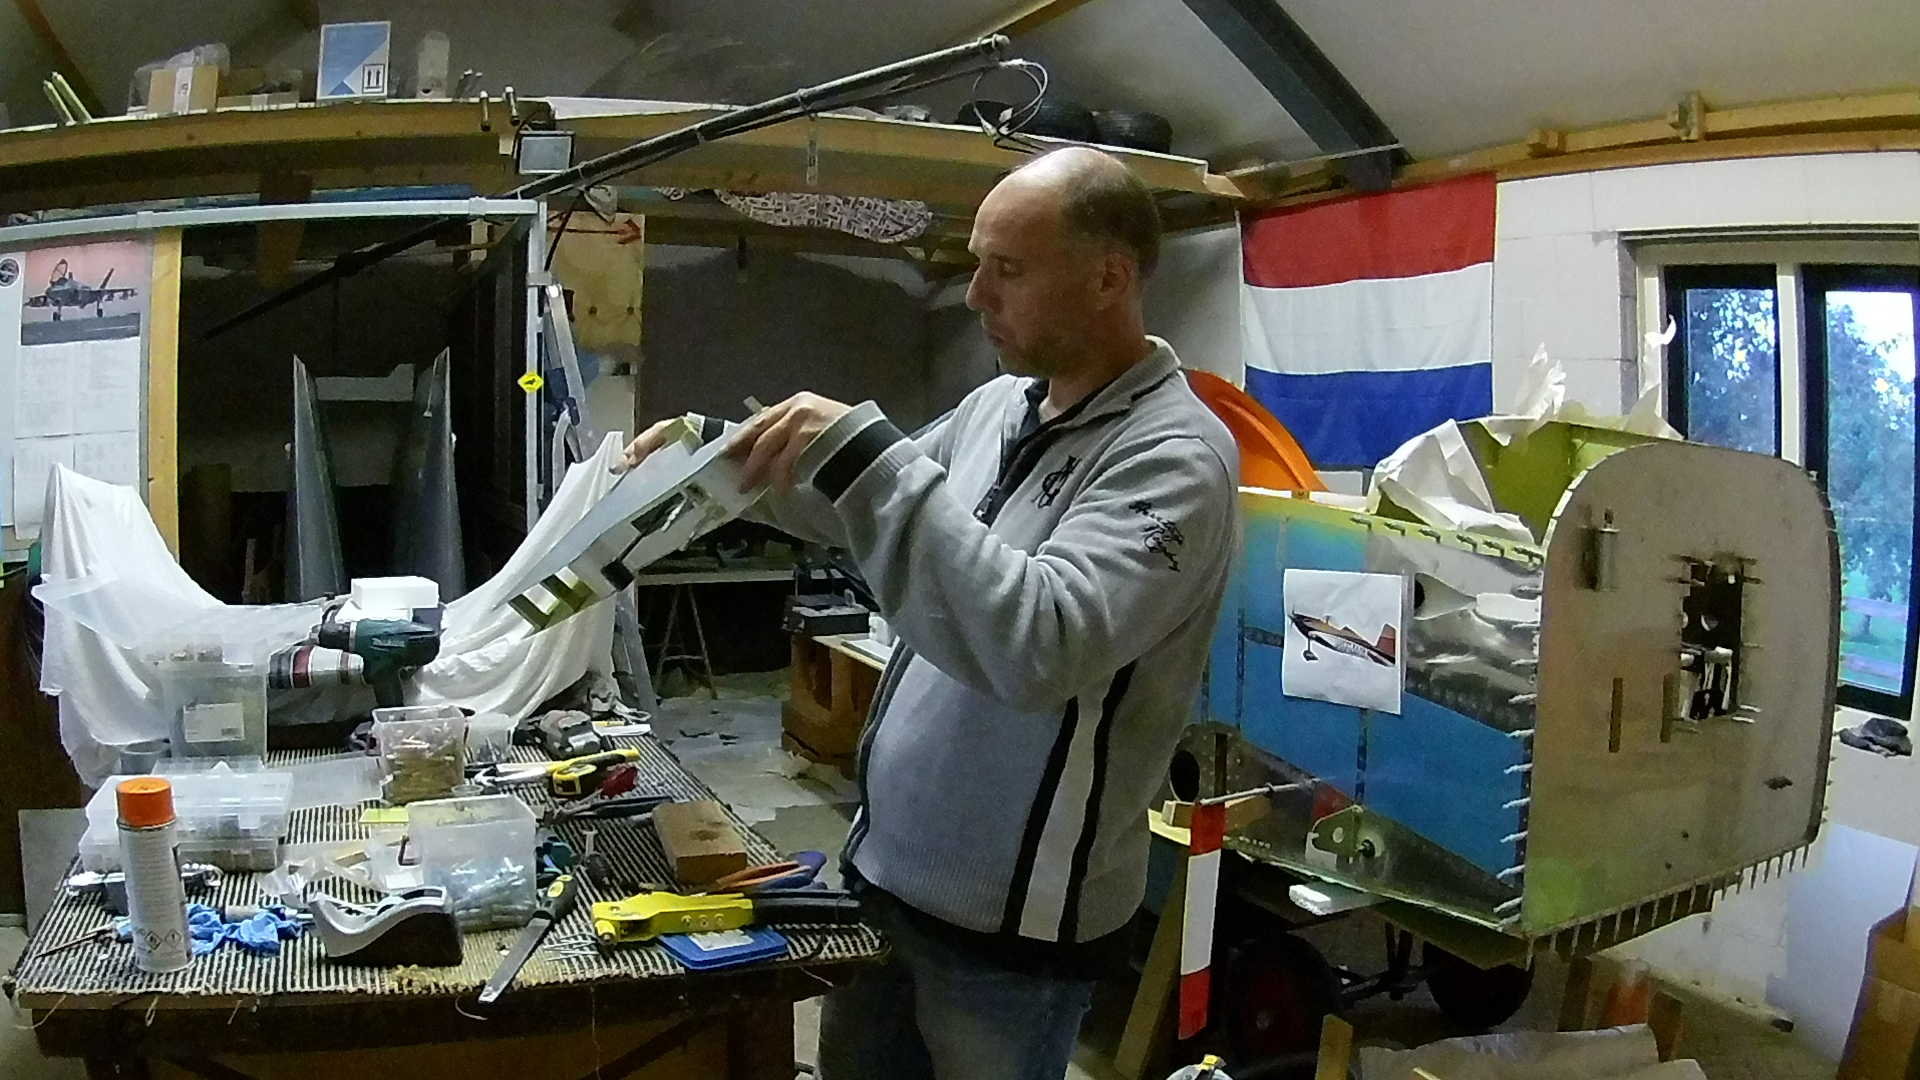
I use quite thick Aluminum and although it is not meant as a place to lean or stand on while stepping in or out of the RV, It must be sturdy enough when you slide against it during a maneuver.
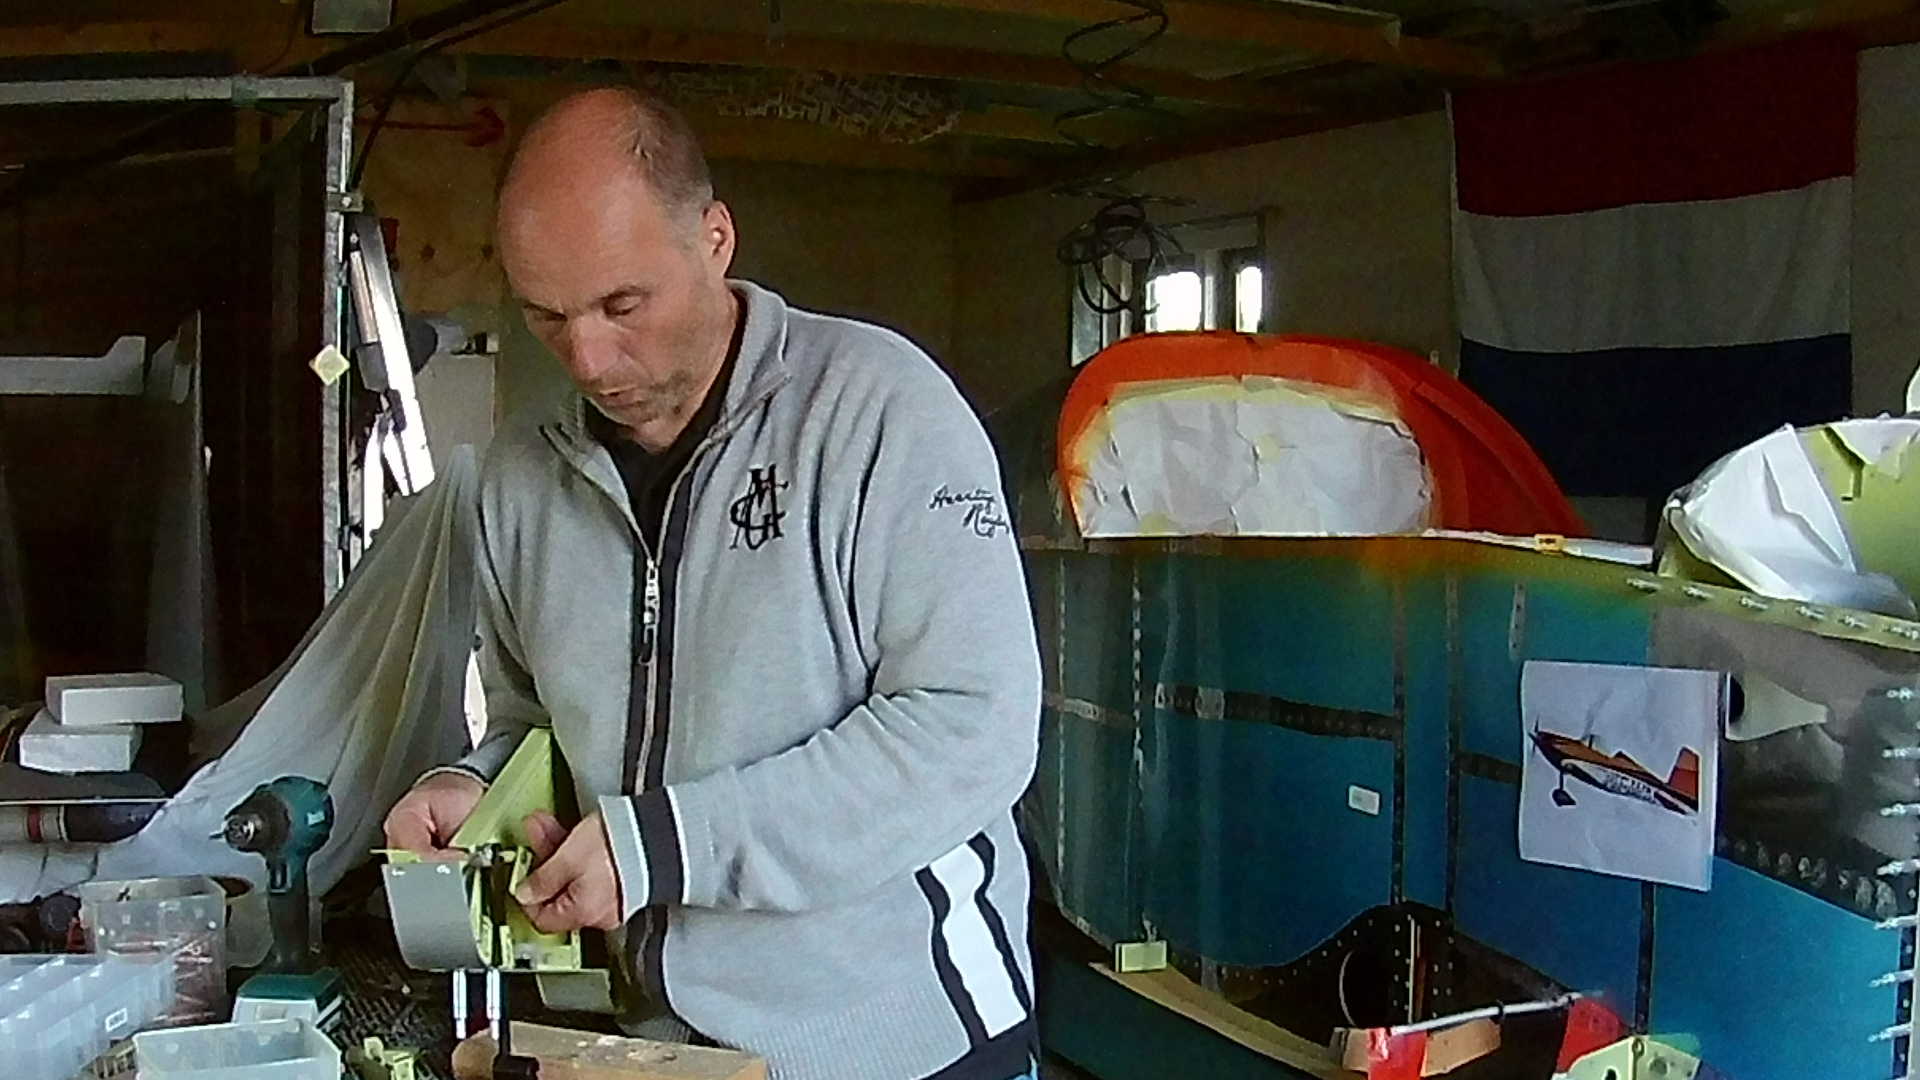
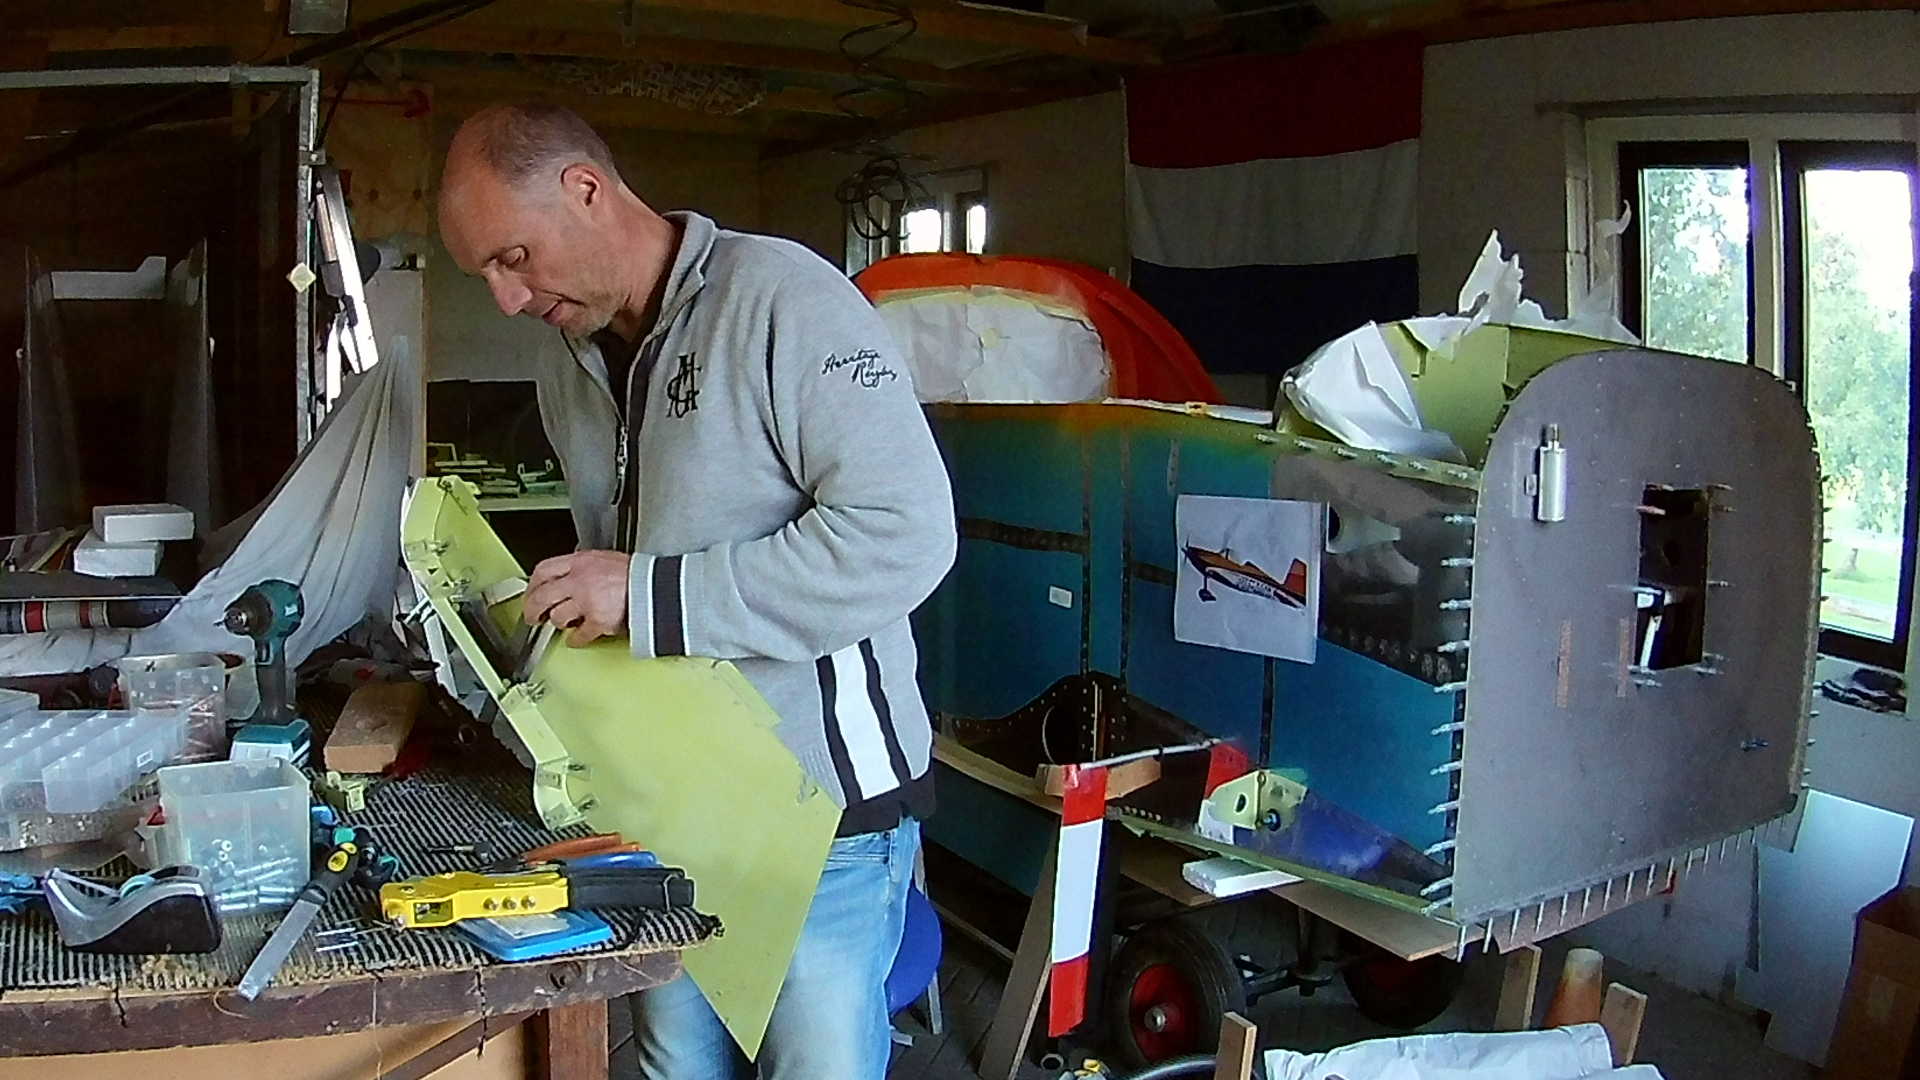
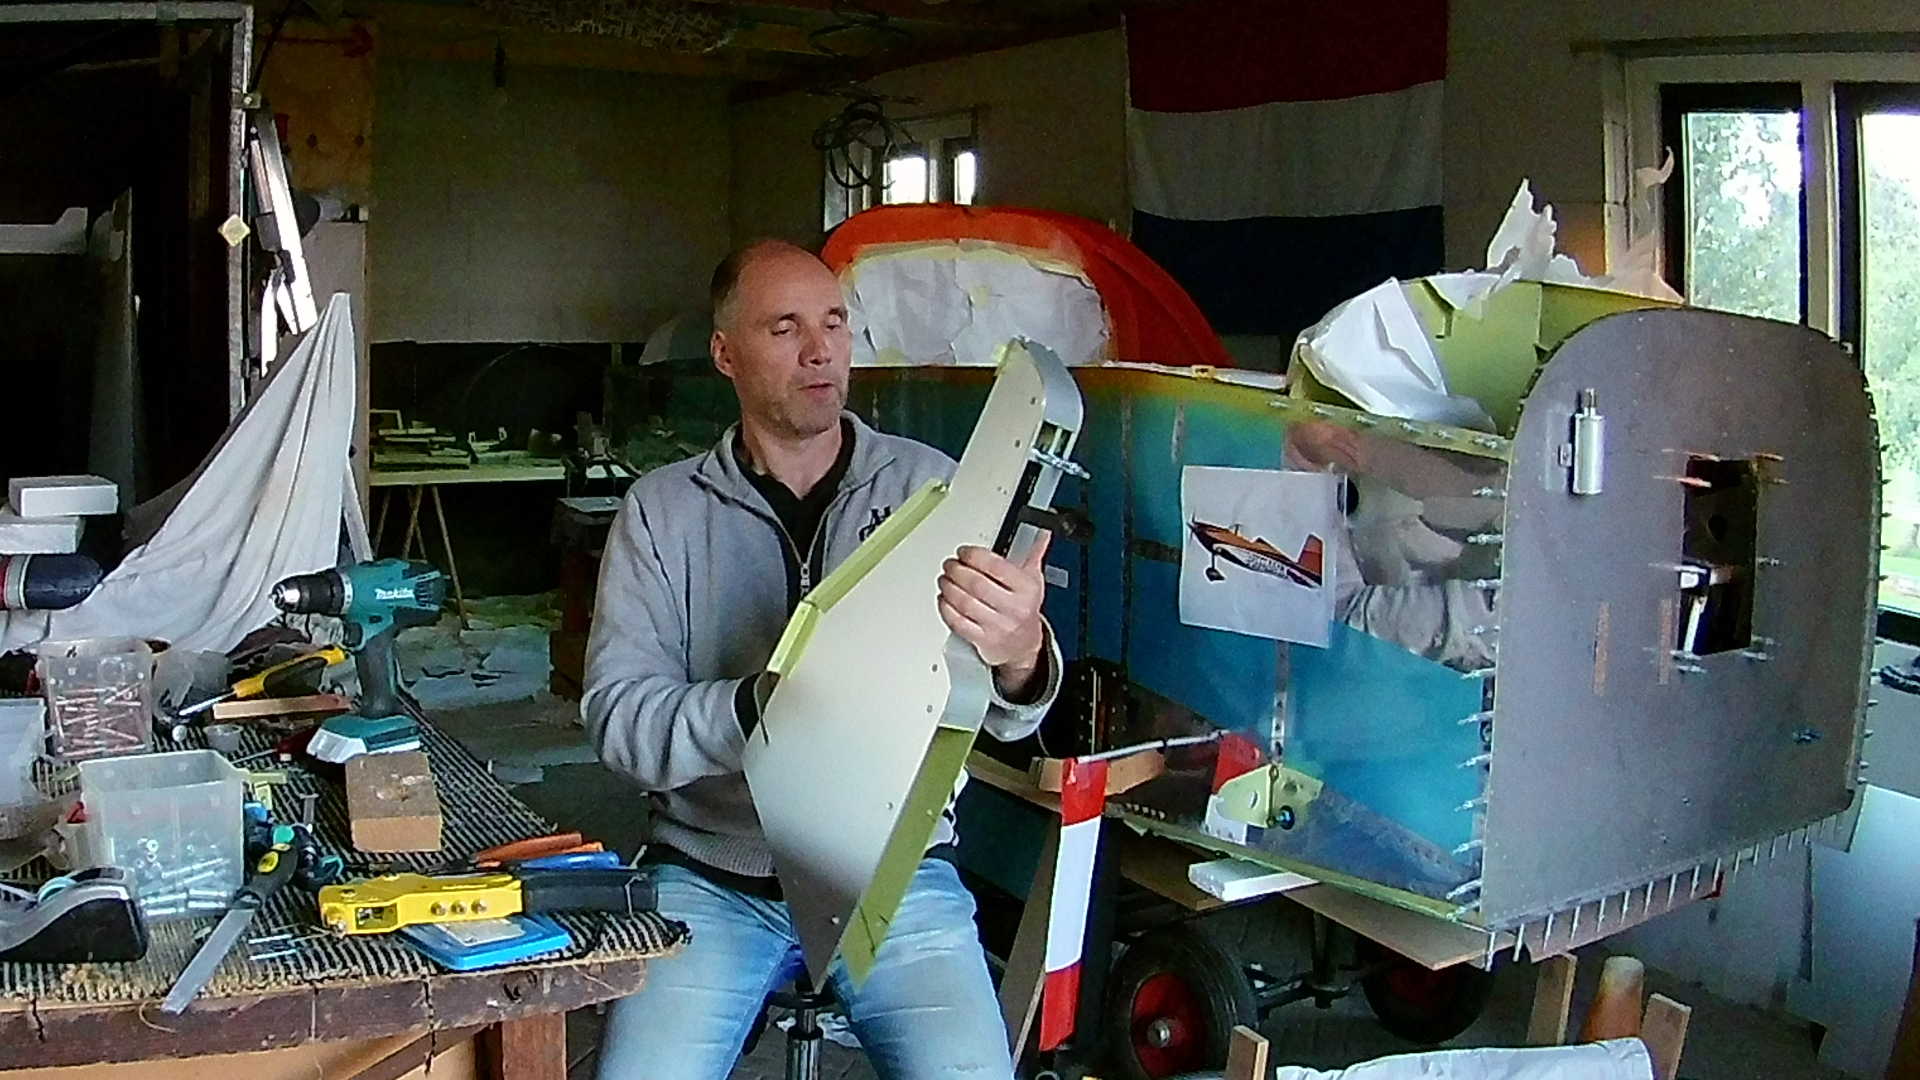
I integrate a standard Throttle only Quadrant, because my ULPower 520iSA does not require a manual Mixture control and also the Propeller Pitch control is integrated in the controller unit in the Panel.
Besides the one lever Throttle Quadrant, there will be three knobs controlling the Lighting (Flyleds), Preset Flap positions (home made) and a led indicator selection. The latter is to select between Flap and Trim to show on the standard Ray Allen led indicator in the kit. There is also a backup Flap selector, in case my Flap controller fails.
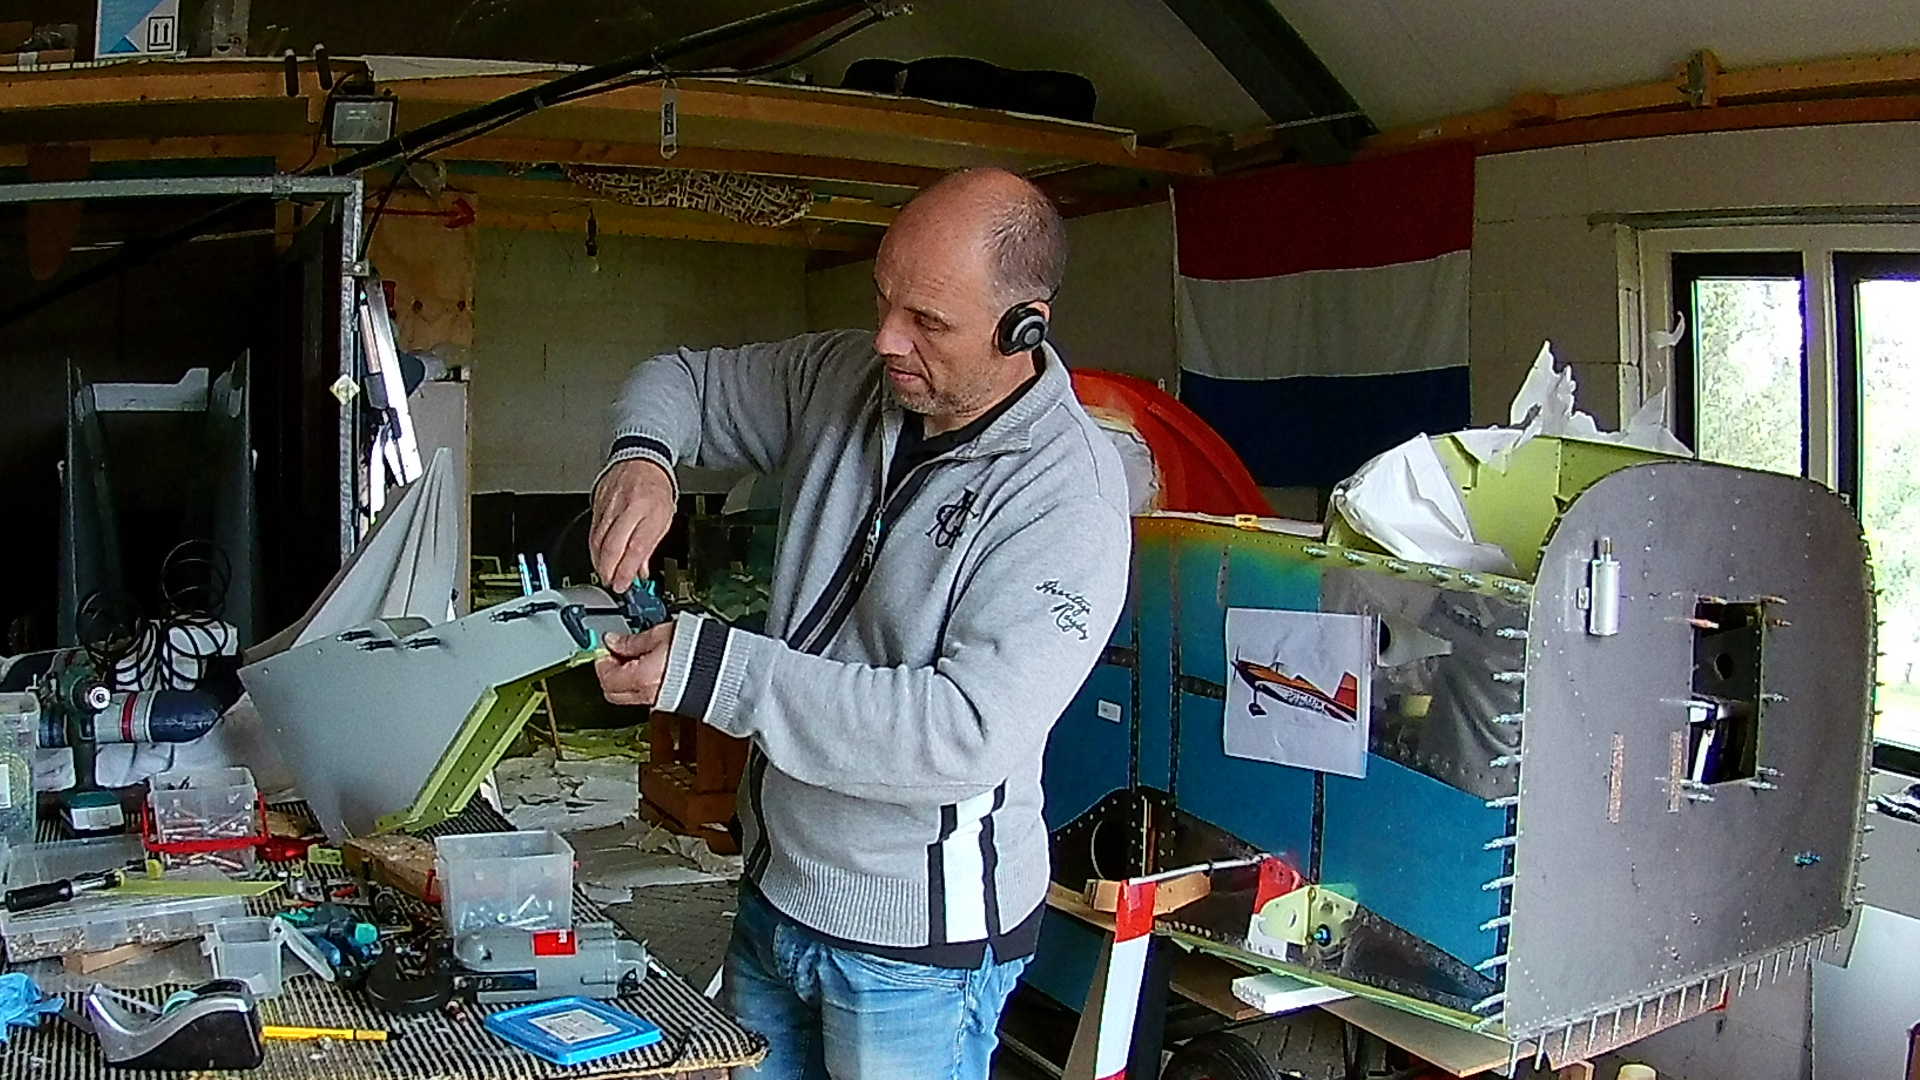
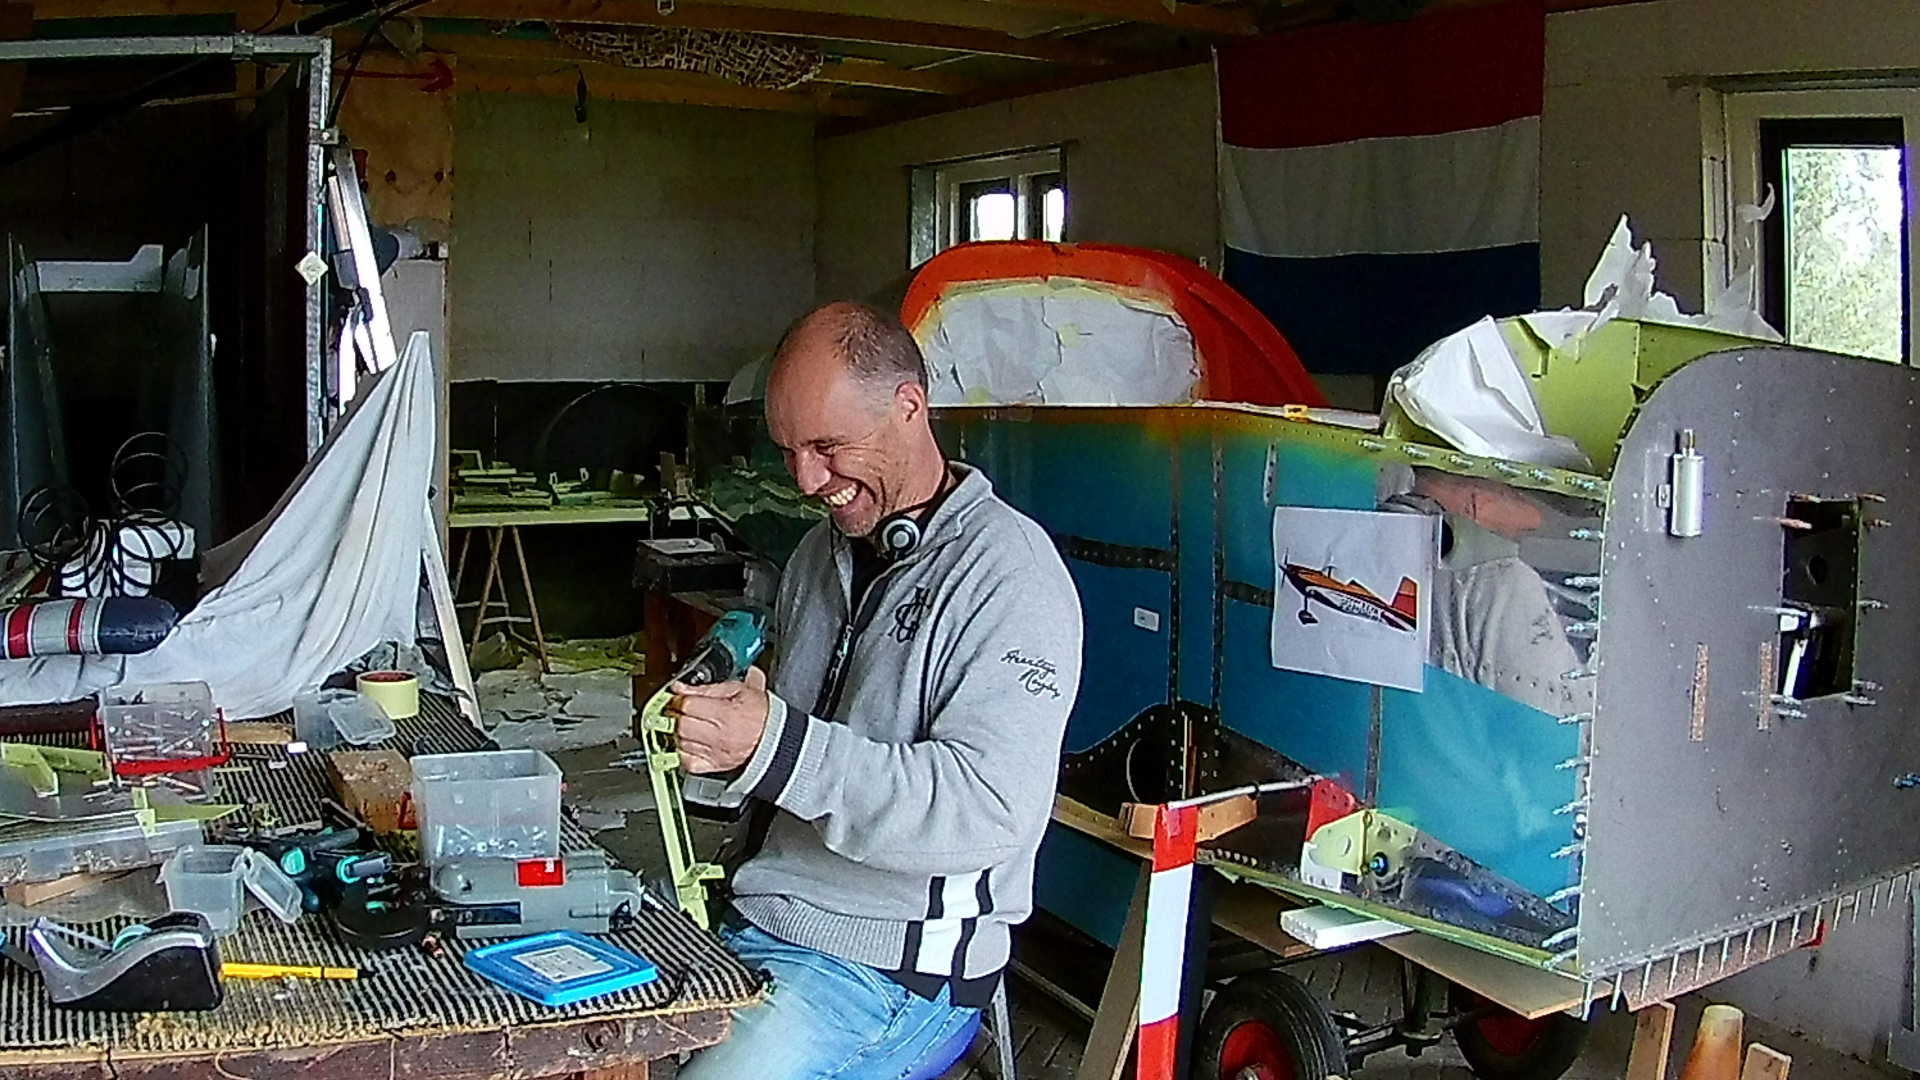
The last two control units I will integrate are the seat heaters (sounds fancy? it is). I found a solution to modify the Throttle friction without disassembling my Center Console. I created a fixed bolt bracket on the inside holding the friction bolt. Inserted a bolt long enough so it sticks just outside the Center Console with a nut. I do need a small wrench to adjust the friction, but I found that this is not done too often.
The hole in the aft part of the Center Console will later be “filed” with 3D printed cases to hold for instance key, phones, pens. etc. On top of these 3D printed cases, there will be a middle armrest.
I created a armrest base plate earlier and shipped it to Robert Lemke of Lemke Postlerei, who creates the interior of my RV-7. I hope it will be ready before the end of this year.
Done so far. I have to wait at the interior to determine the holes for the seat heaters. I will either use the same leather used for the seats or carbon wrap to finish the Center Console.
Time: 6 Hours, Rivets: 0/0 (2020-08-19)
Time: 8 Hours, Rivets: 0/0 (2020-08-22)
Time: 3 Hours, Rivets: 0/0 (2020-08-25)
Time: 3 Hours, Rivets: 40/0 (2020-08-29)
Time: 5 Hours, Rivets: 0/0 (2020-08-30)
Video