
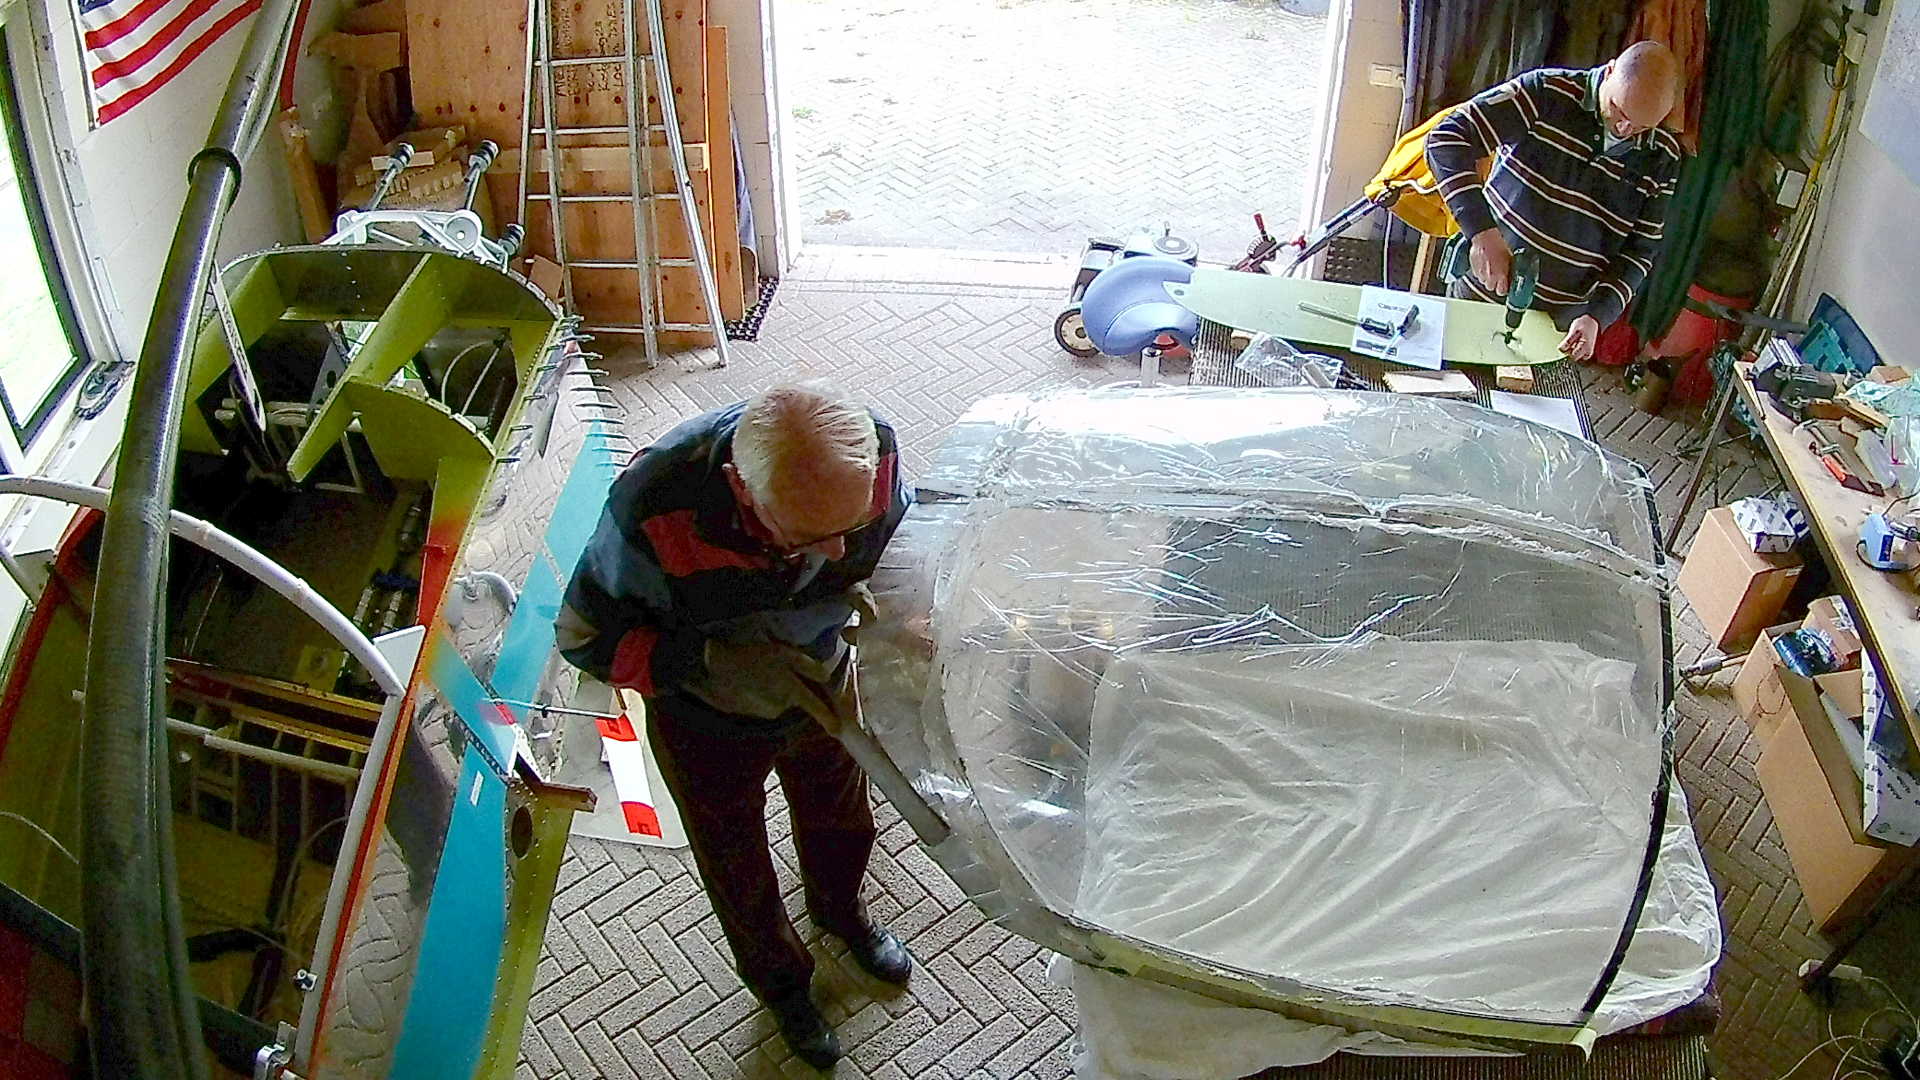
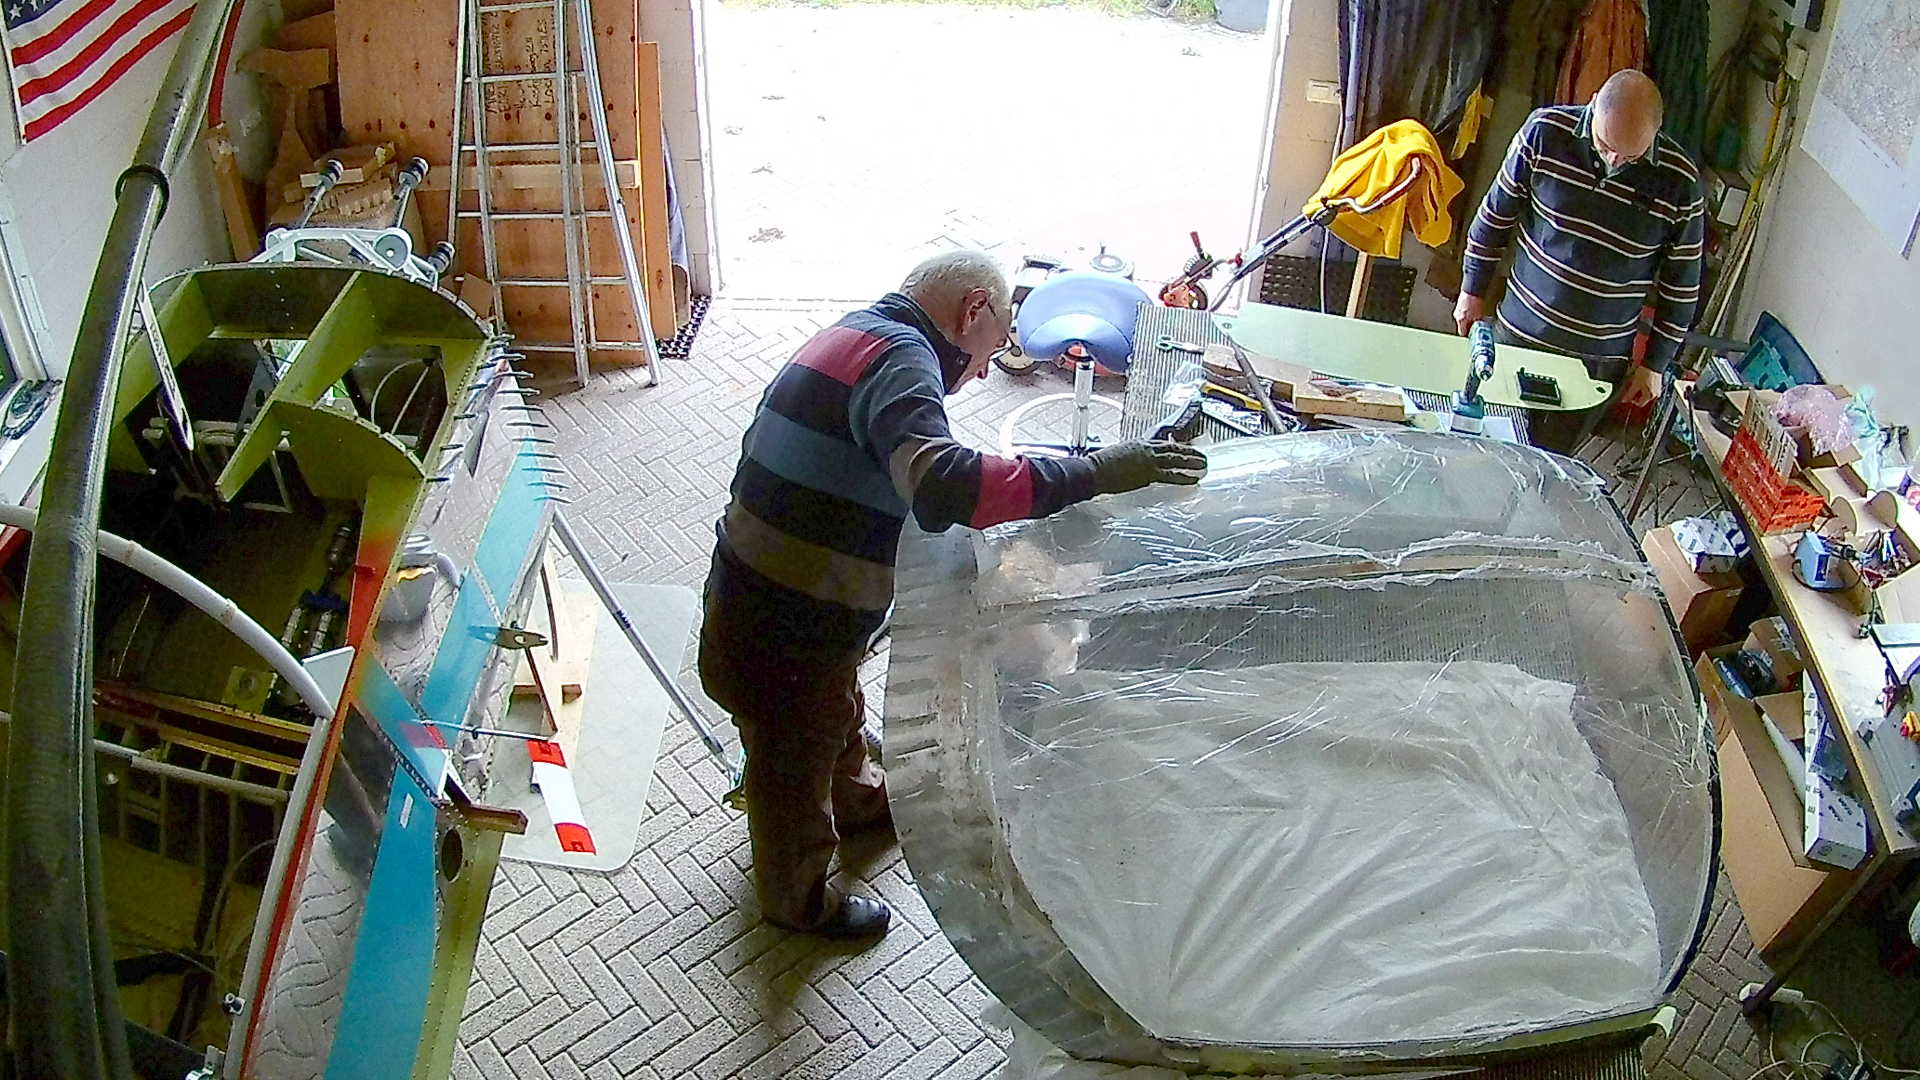
We used Sikaflex to bond the Canopy Bubble to the Frame and also to attach both the Side Skirts and the Rear Skirt to the Canopy.
Although I did measure it a hundred times and thought we really had a nice fit of the Canopy (Rear Skirt) to the Fuselage, it actually sucked.
The space between the Rear Skirt and the Fuselage was almost half an Inch on some places, especially where the Rear Skirt meets the Side Skirt. In several video’s I found that some RV builders just left the space as is, which is probably not an issue, but it just looks crappy. I decided I had to solve this.

I didn’t find many useful tips on how to create a better fit. Some builders just created fiberglass skirts from scratch, but besides the extra work, I like Aluminum.
I tried fluting strips of Aluminum and filling the ridges with resin, but it didn’t look good ad it creates a thick border layer with the Fuselage.
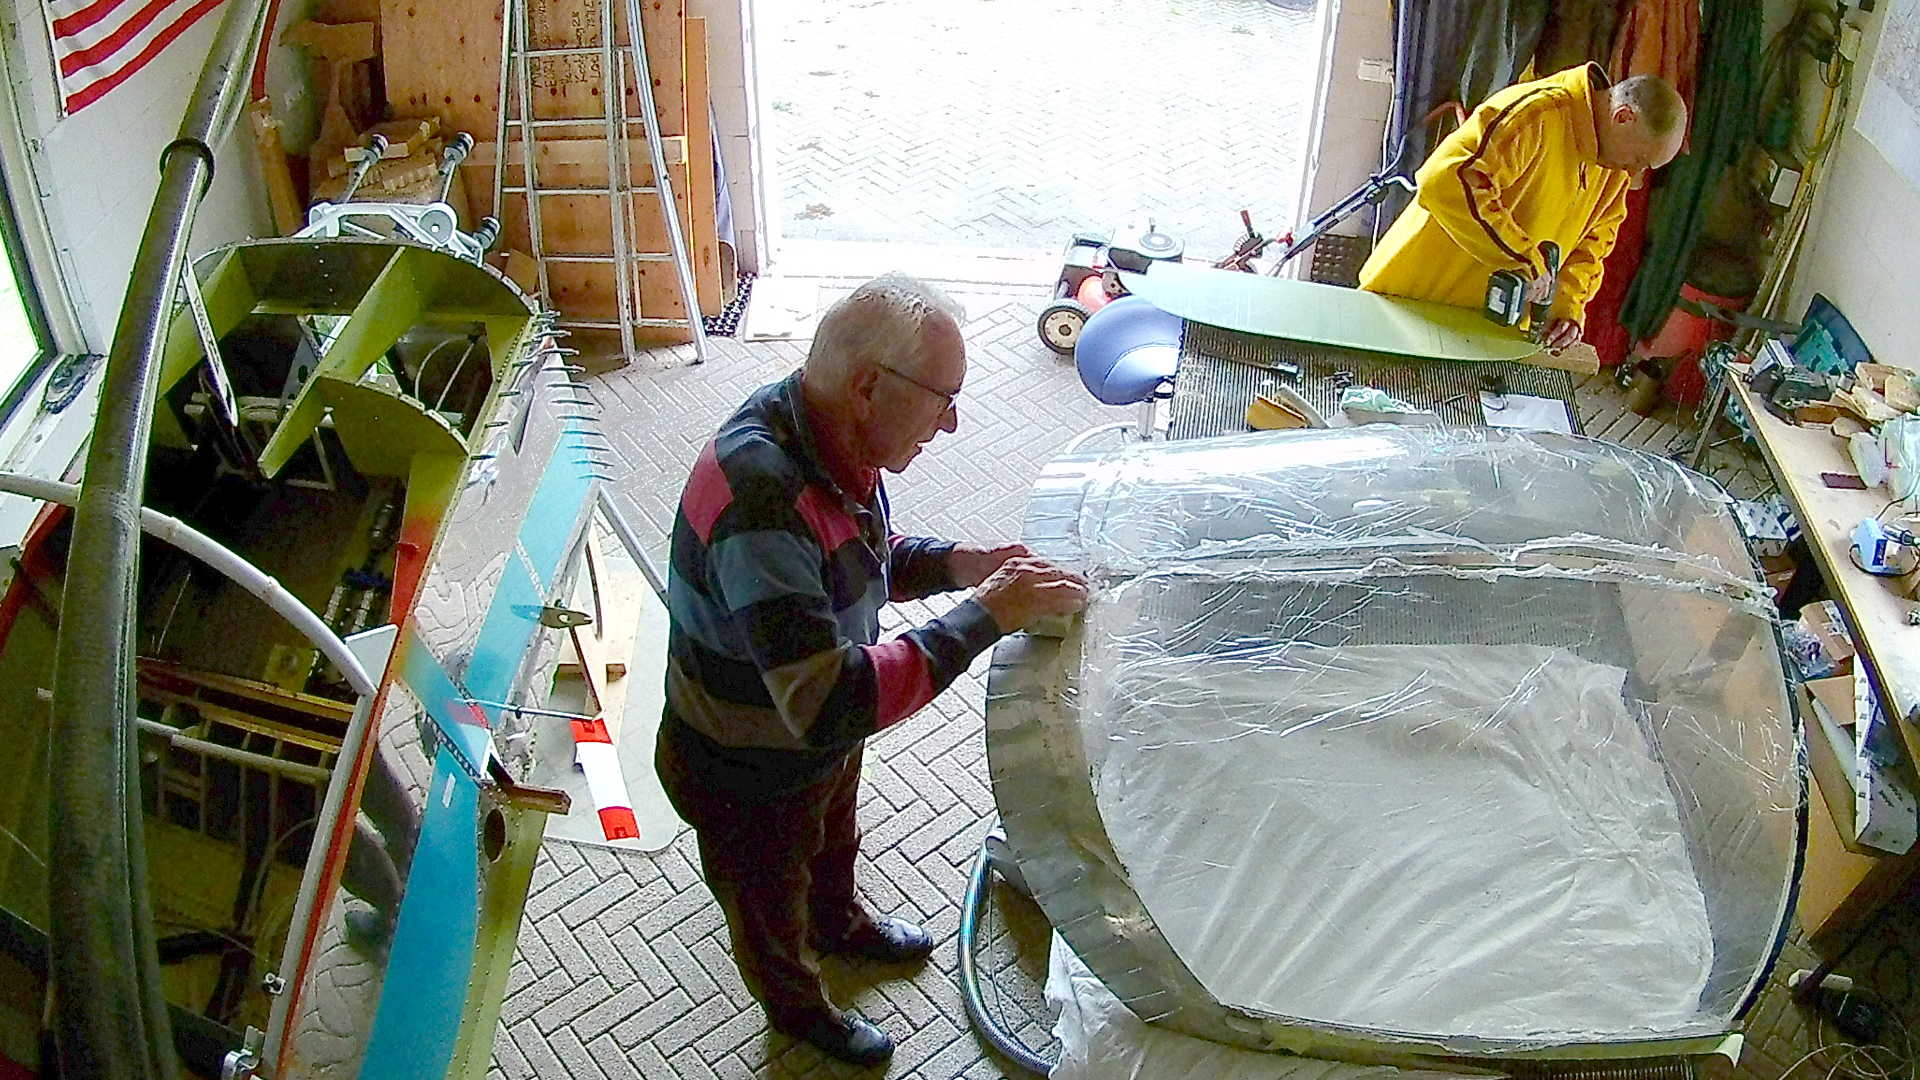
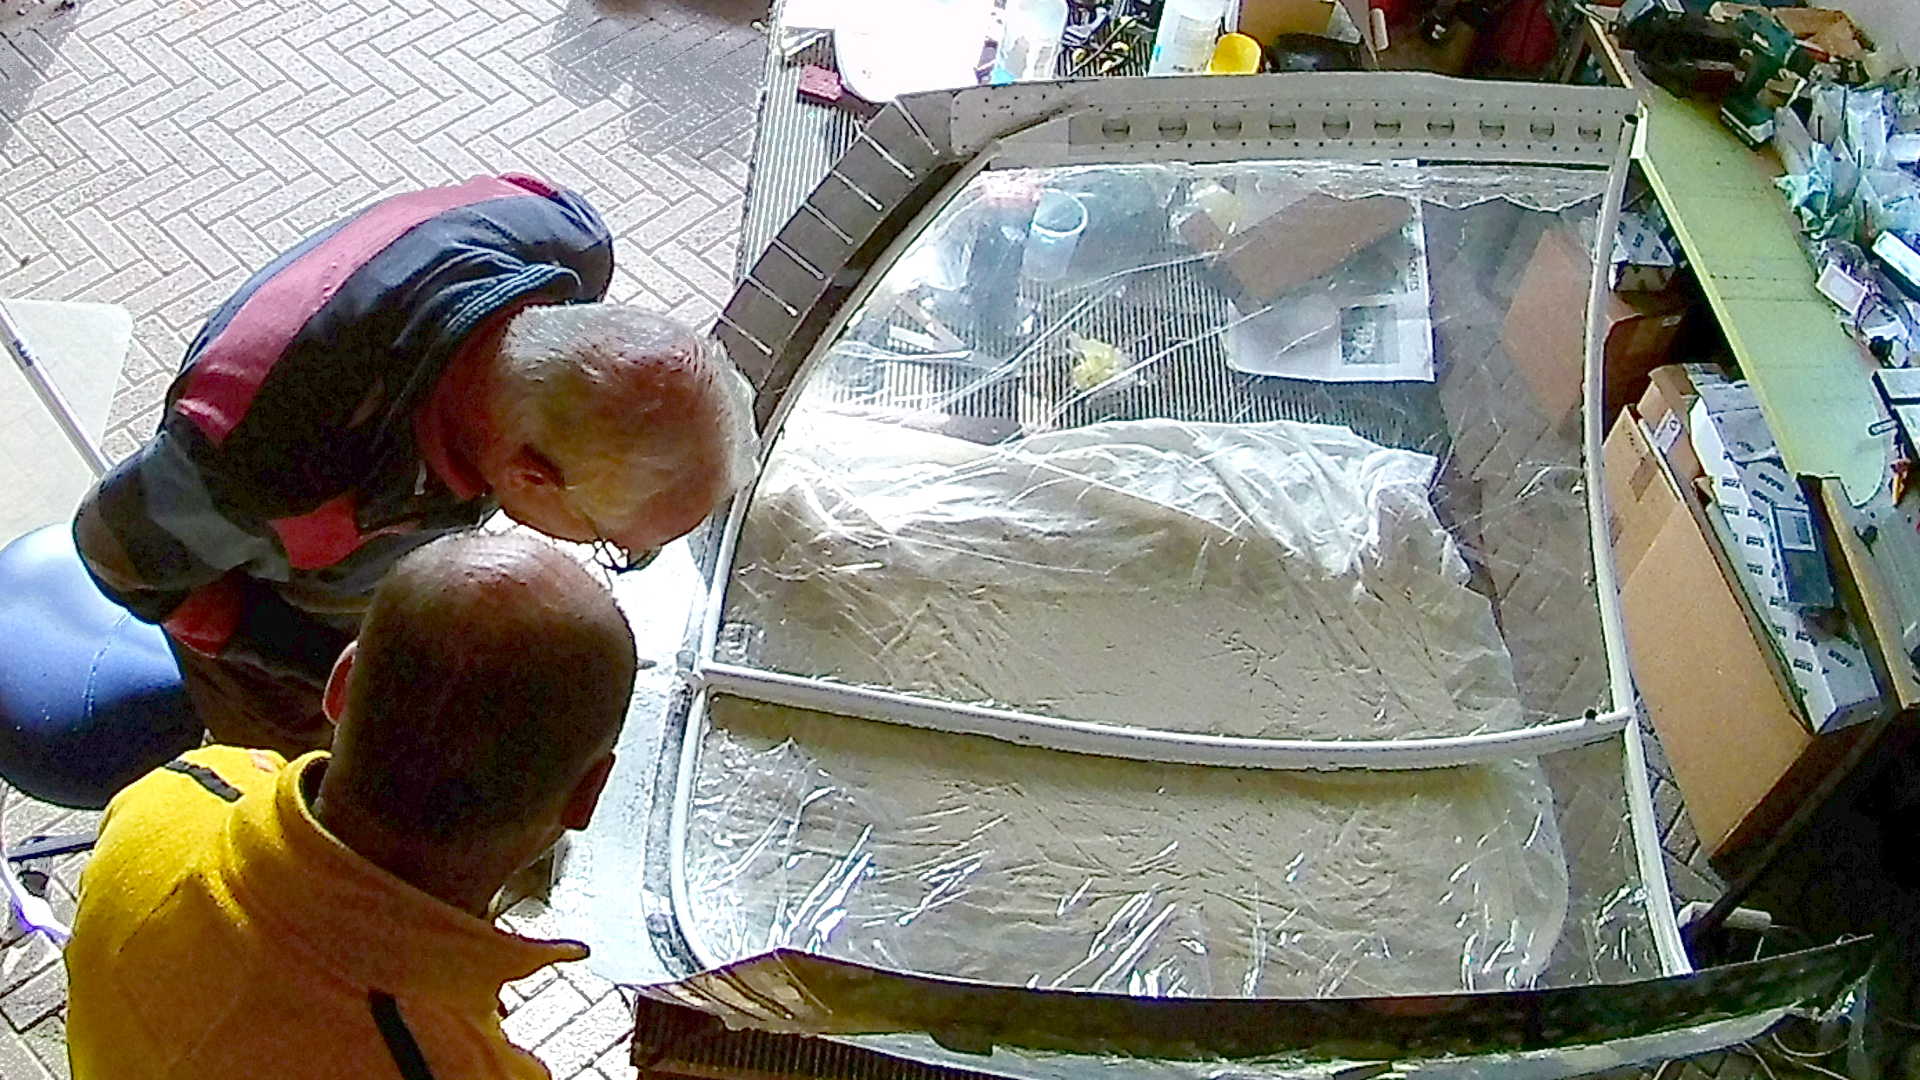
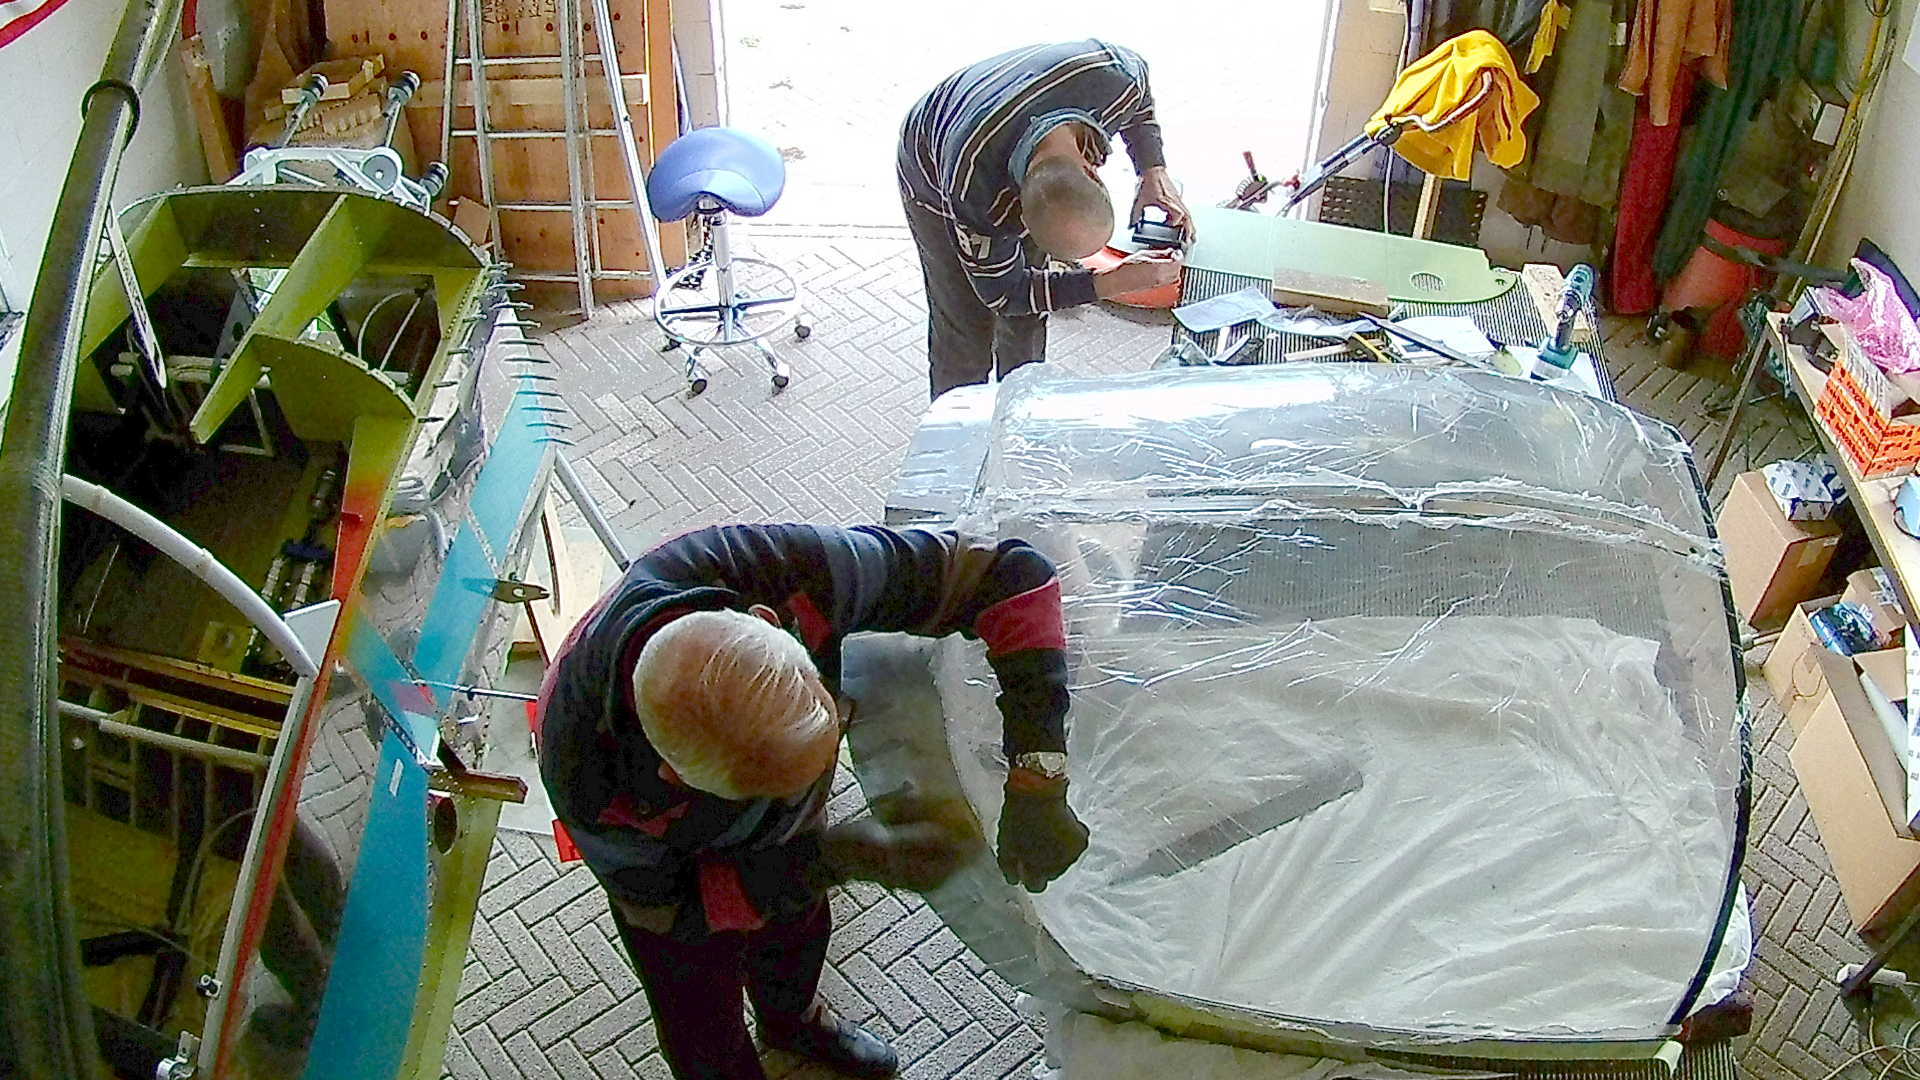
In the end I decided to cut the Rear Skirt into pieces, so I can individually bend them accordingly to the Fuselage. I first drill holes about two inches apart and almost three inches from the edge. This will prevent the cuts from cracking. This will probably not happen, because there is no stress on the Skirt, but … whatever.
Now I can attach fiberglass to the inside of the strips, close the Canopy with the strips tightly bend against the Fuselage an let the resin cure. The result is a excellent fitting Canopy. The excess of resin needs to be removed and to finish it, I used Aluminum putty.
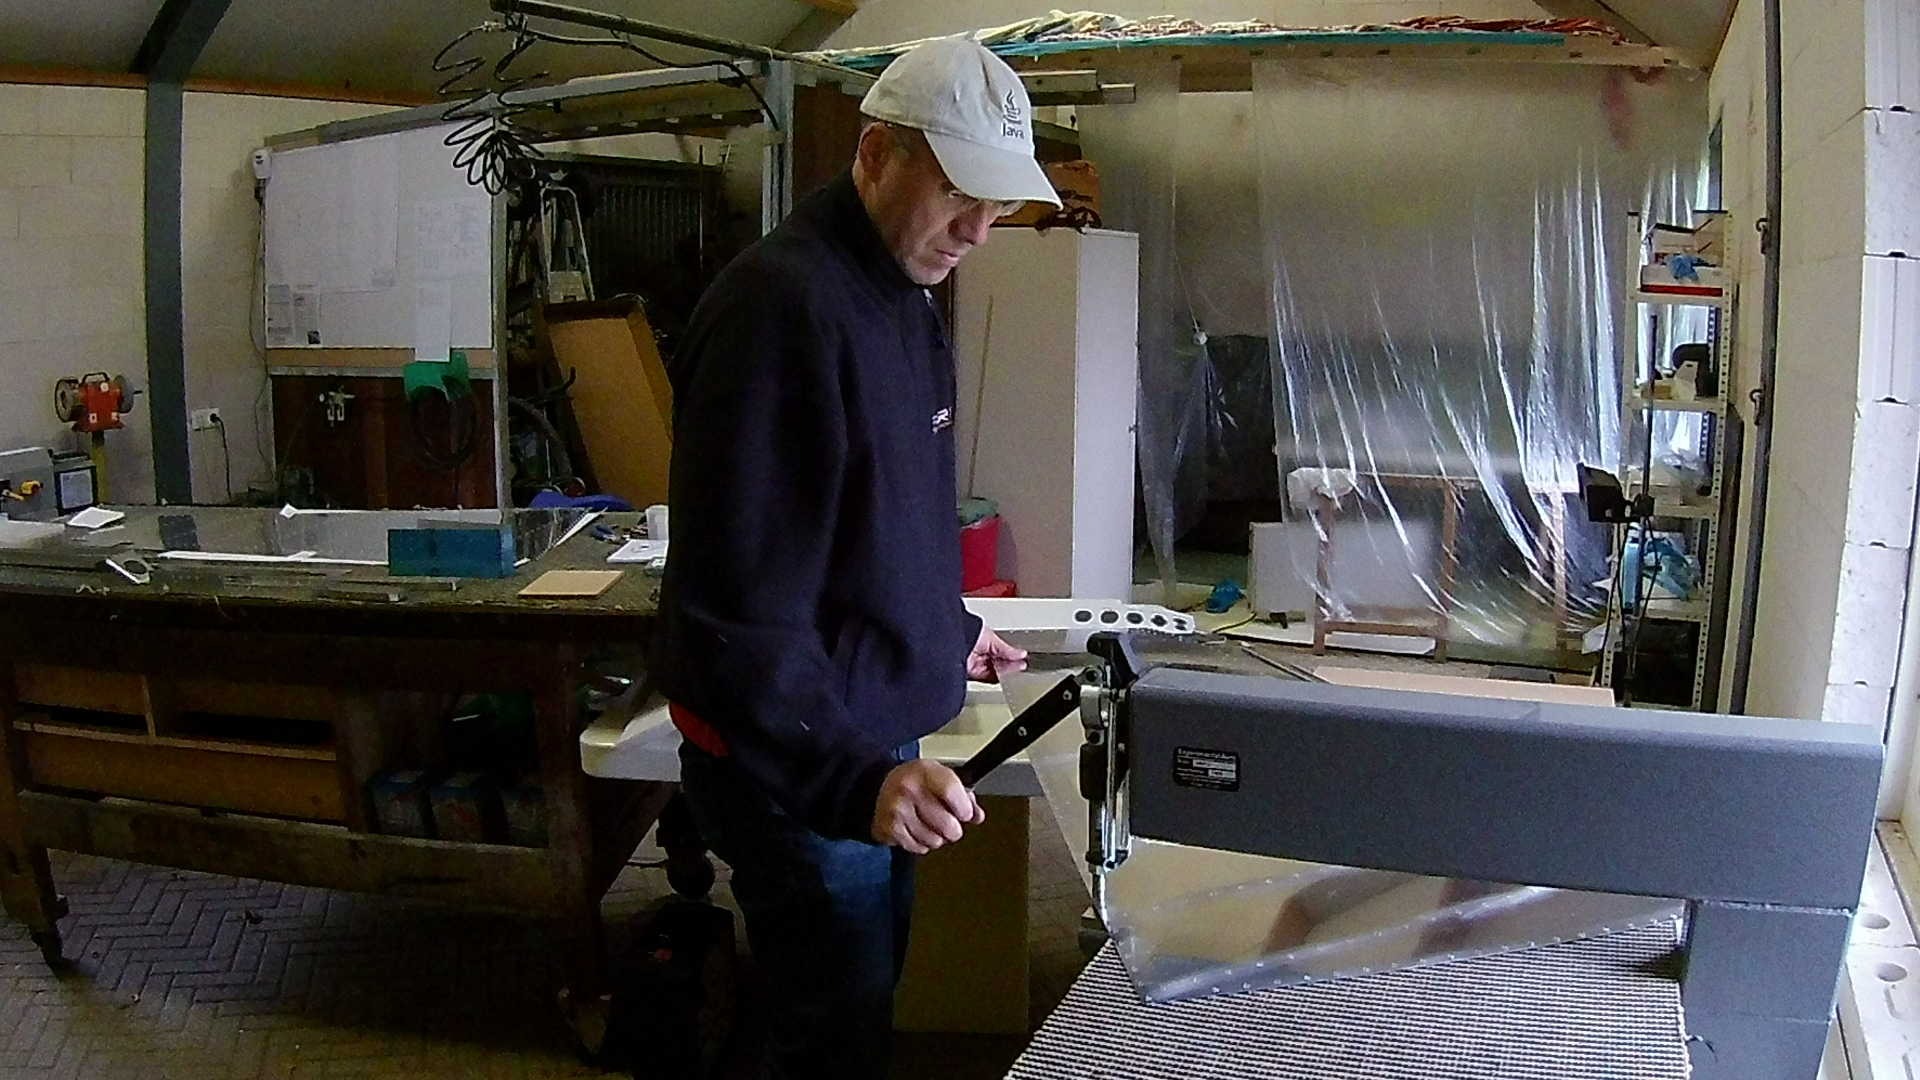
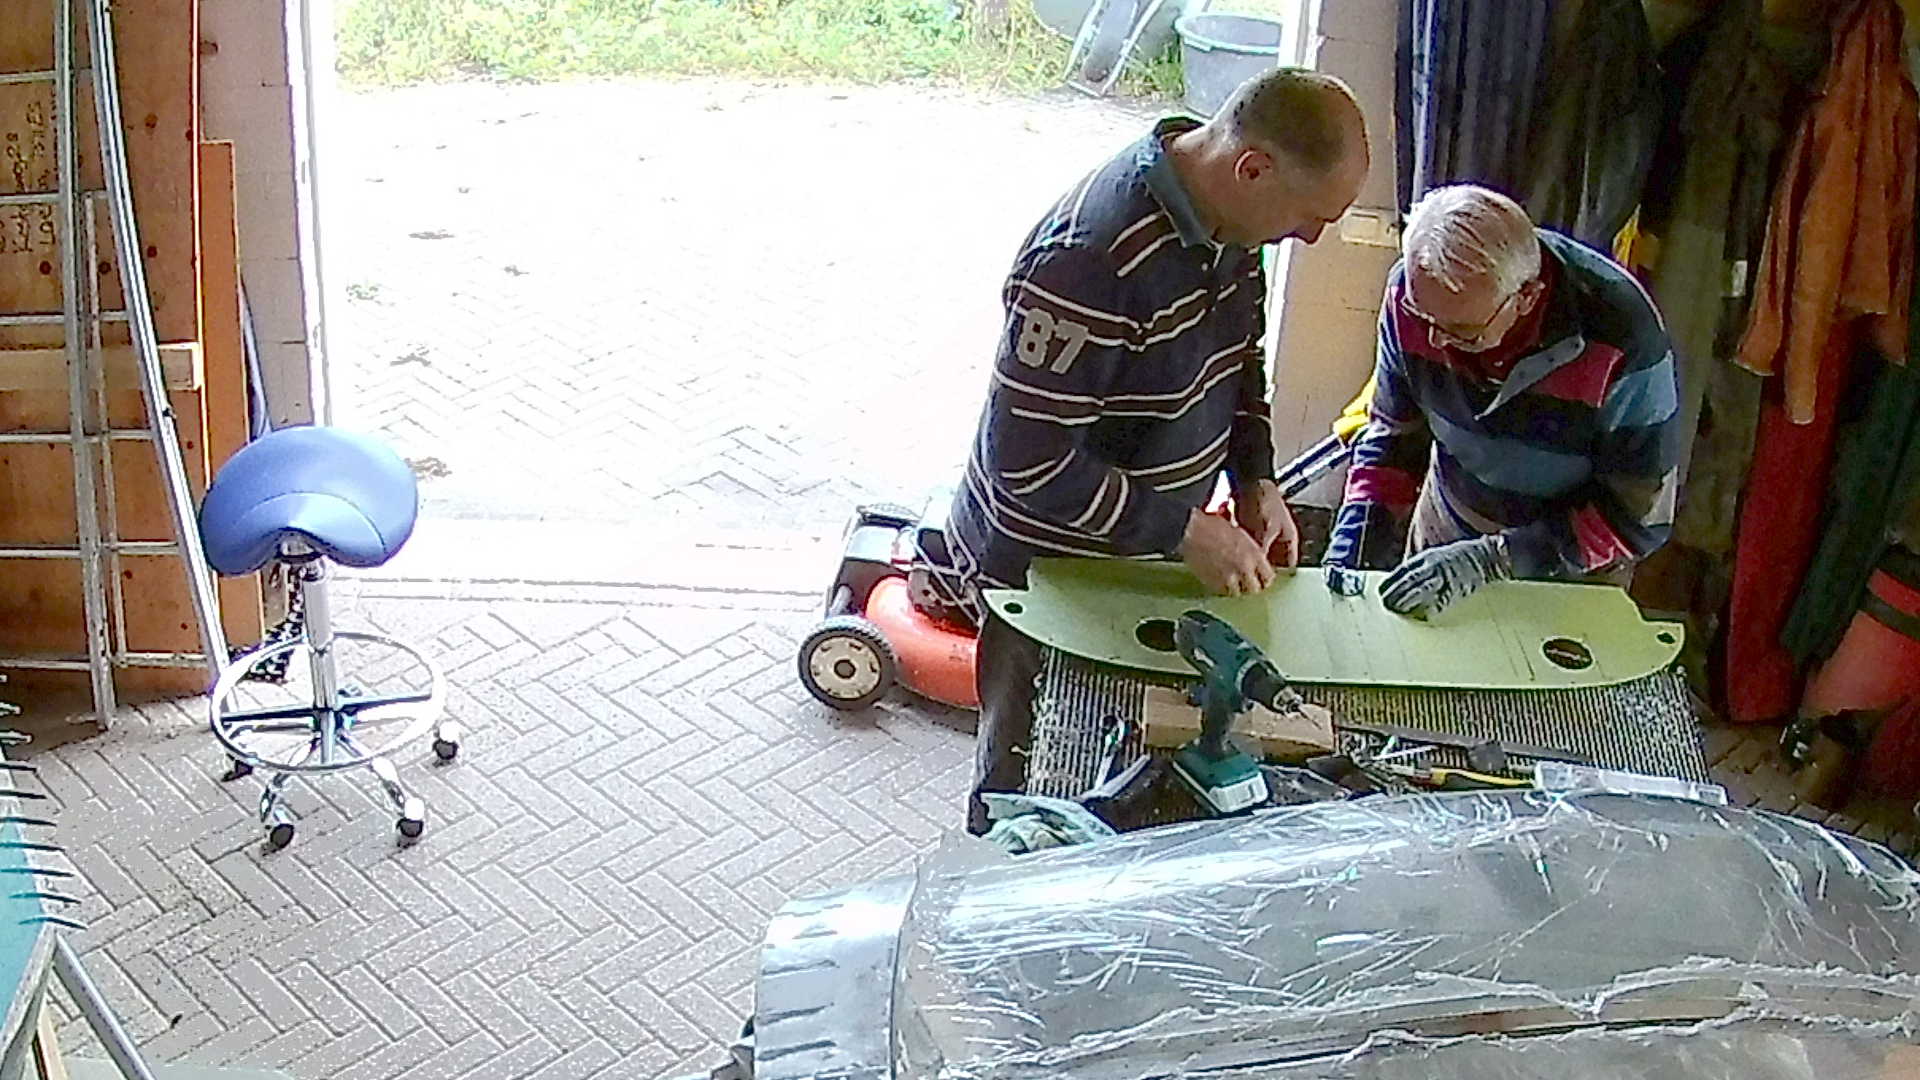
Meanwhile in the background I’m working on the Panel. The holes for the USB chargers are already drilled and I’m now working on the holes for the EFIS.
I’m a sucker for symmetry, so the EMS (which looks identical to the EFIS is on the right side of the Panel.
In the middle at the bottom is the hole for the propeller controller.
I bought a Airmaster propeller that is specifically designed for the ULPower 520iSA engine. It’s a constant Speed propeller with a electrical governor (the ULPower engine does not support hydraulic governors).
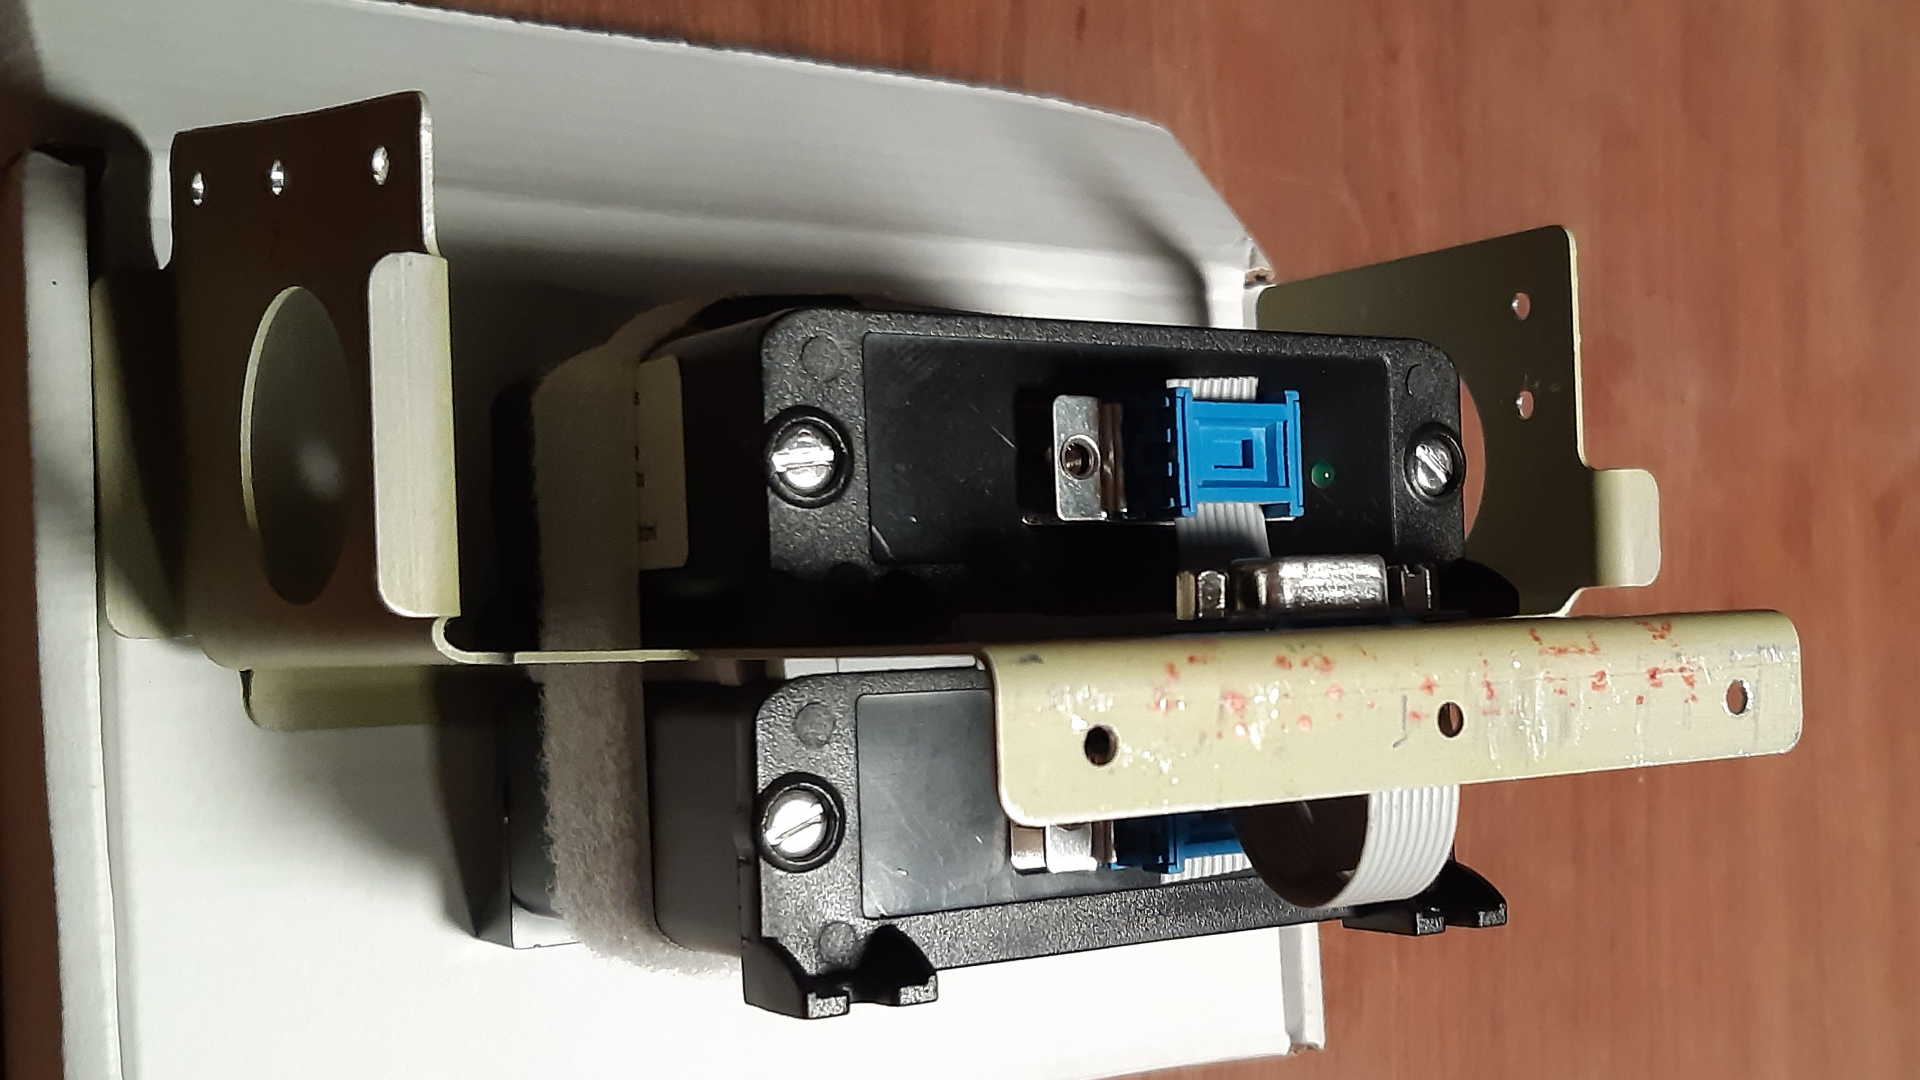
Oh I also finished my AHARS system, which consists of an MGL SP6 Magnetometer and an SP7 Attitude sensor. I used the “standard” Van’s ADHARS bracket to install them. I can’t use the attachment holes, so I use thin rubber stickers and a Velcro ribbon (and also a tire-wrap) to secure them.
Time: 6 Hours, Rivets: 4/0 (2020-01-11)
Time: 8 Hours, Rivets: 0/0 (2020-10-18)
Time: 4 Hours, Rivets: 0/0 (2020-10-19)
Video