
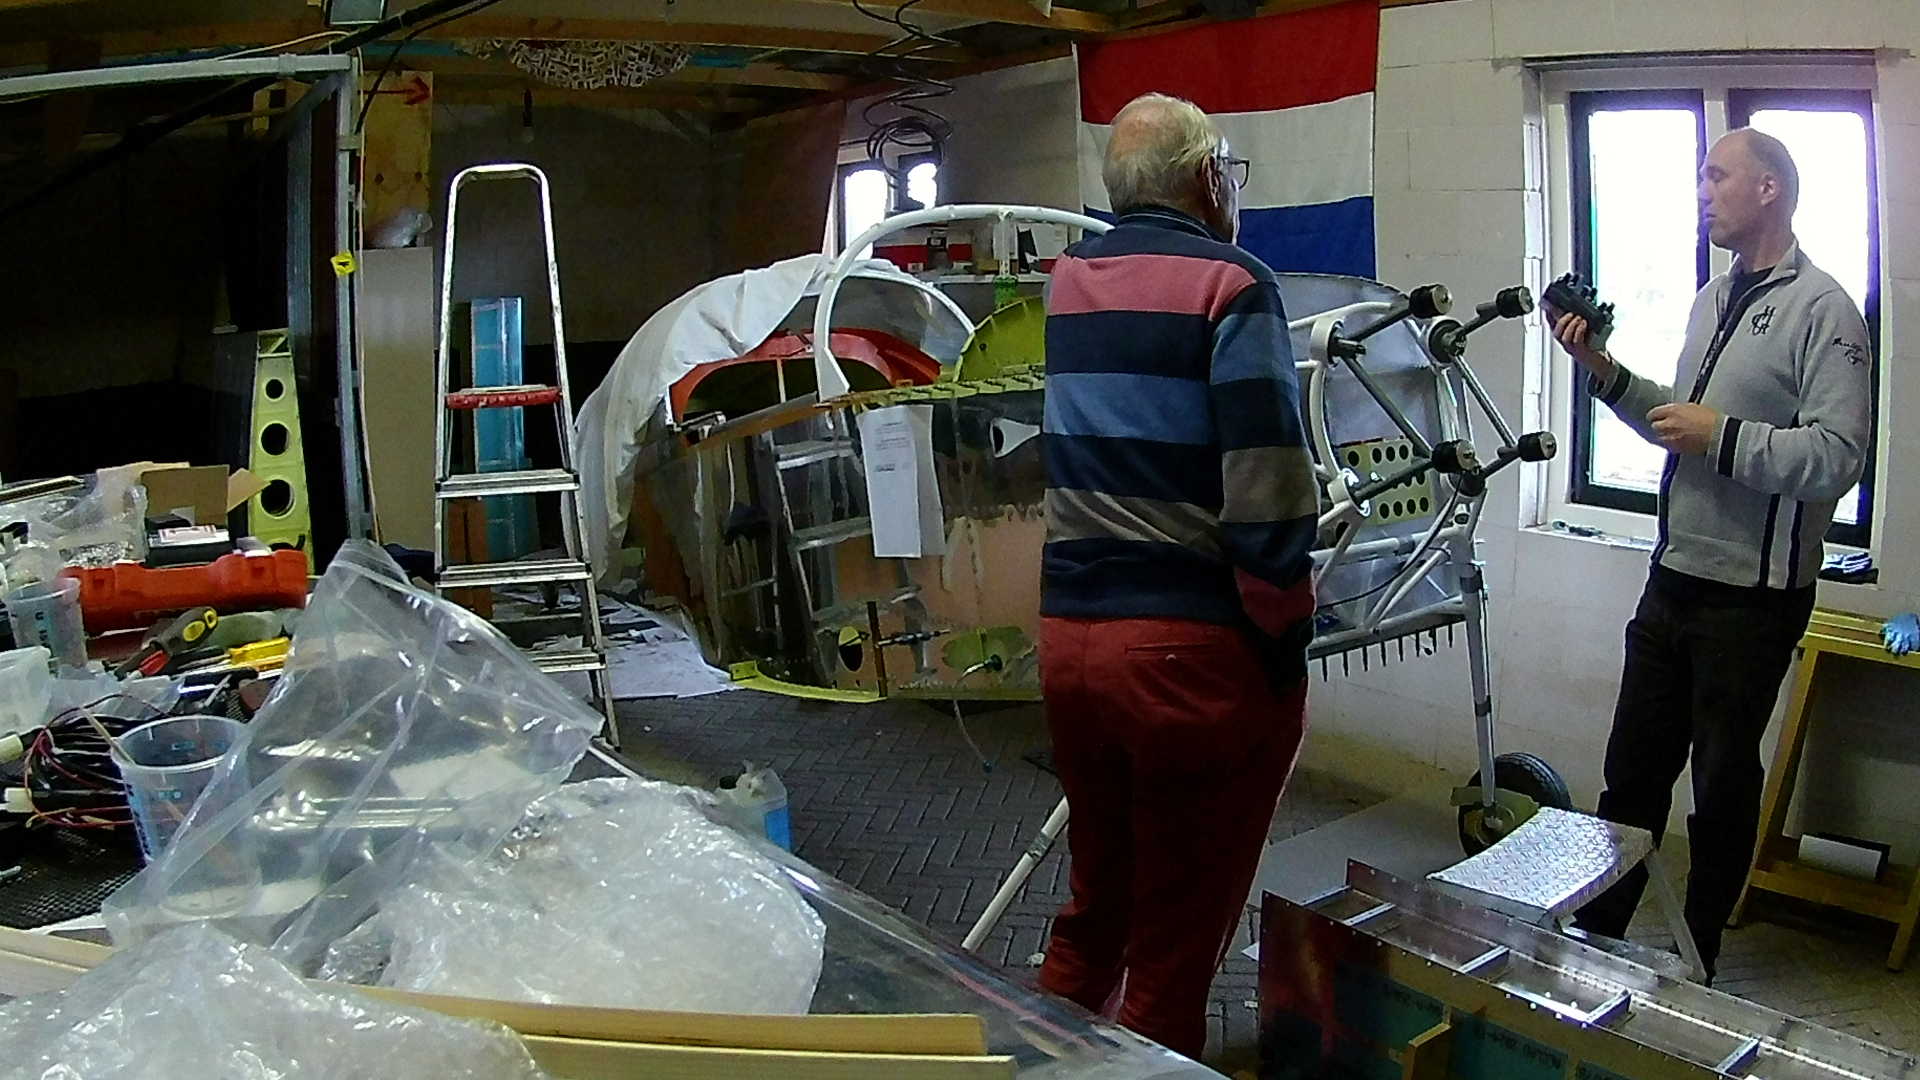
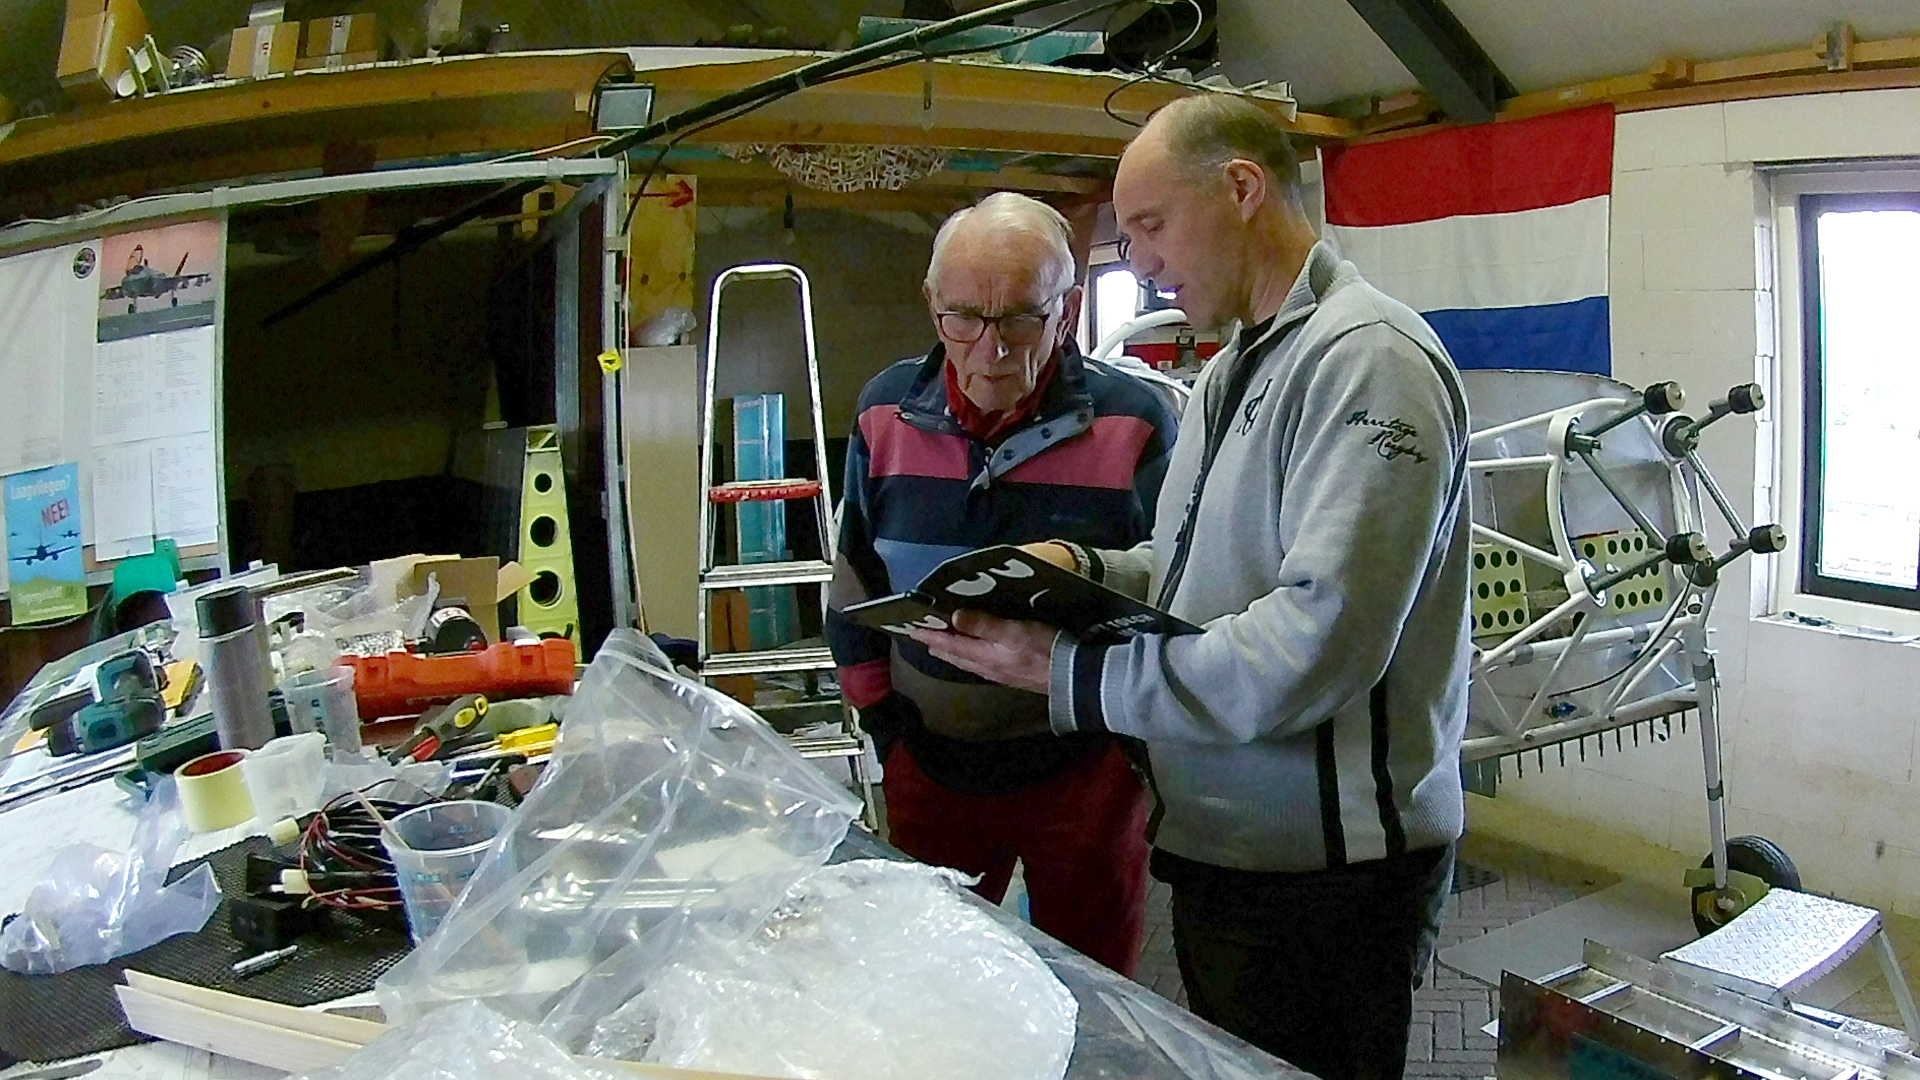
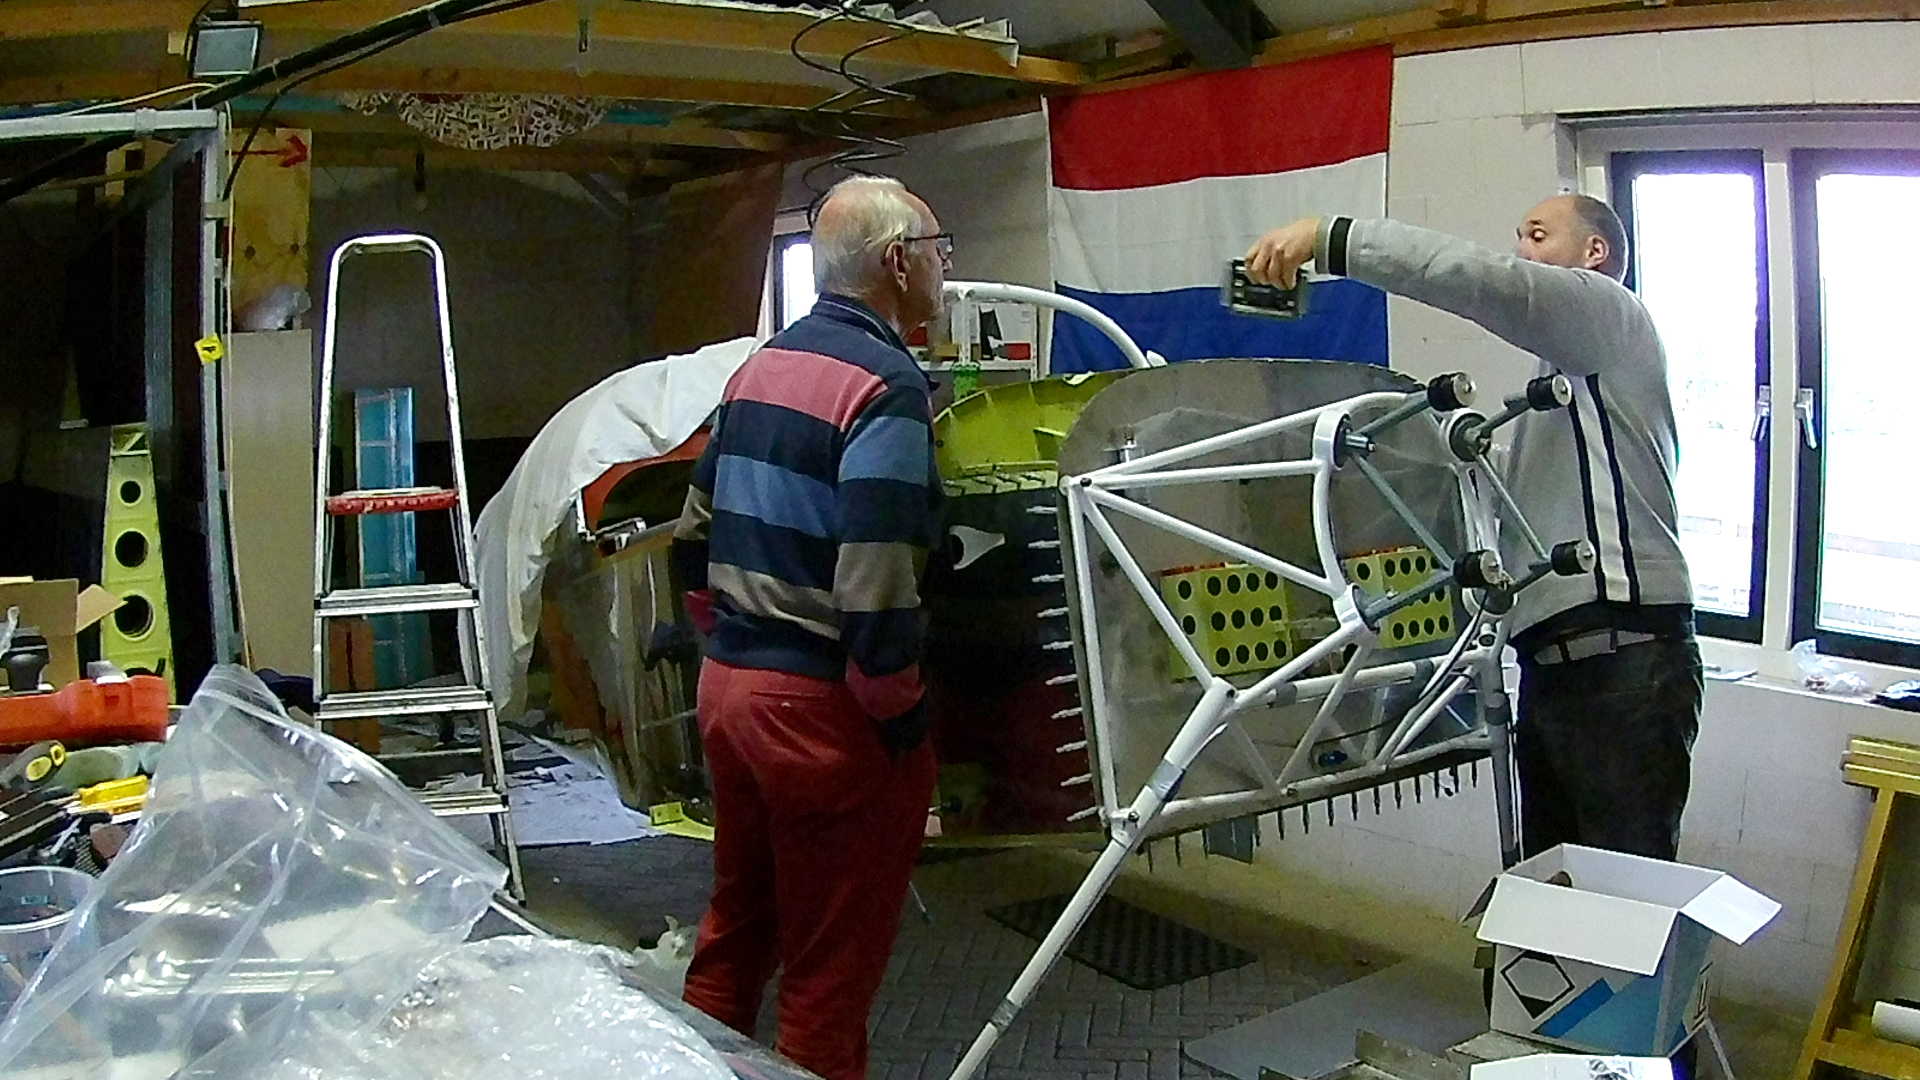
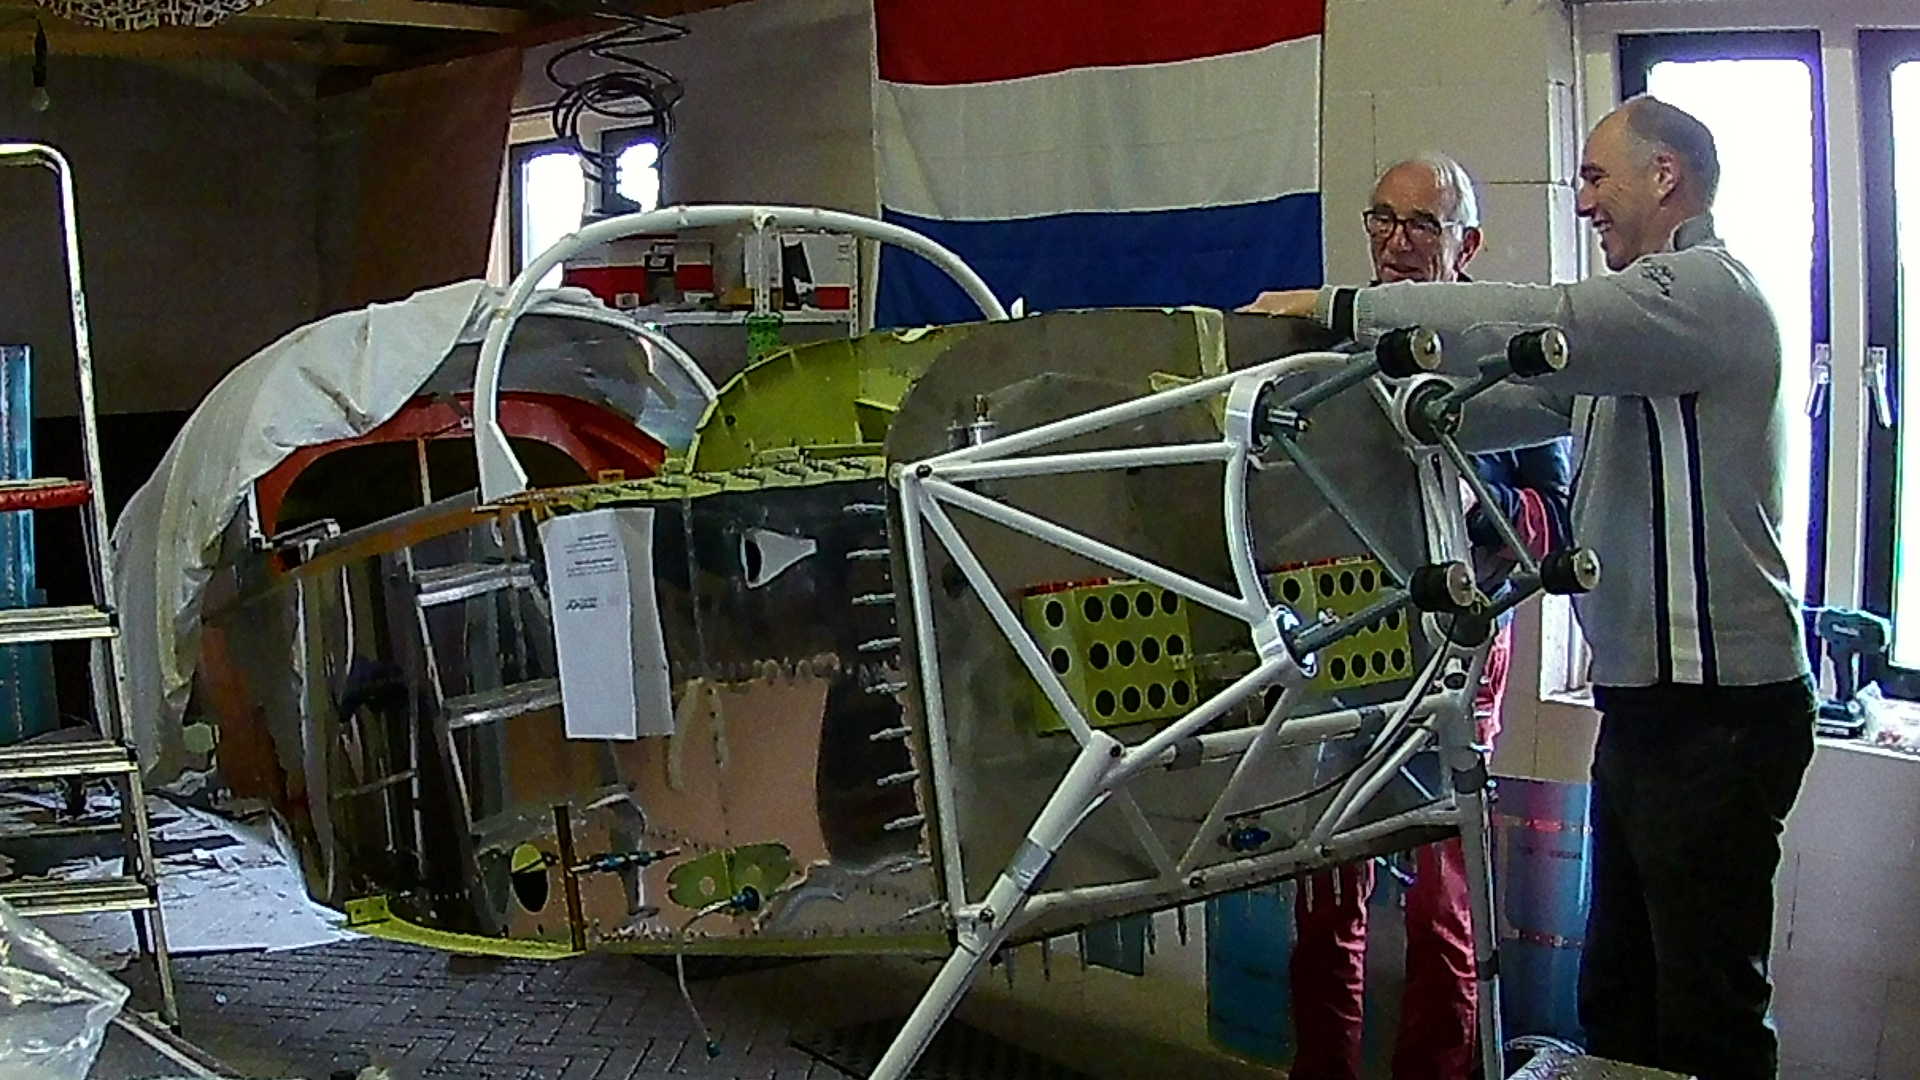
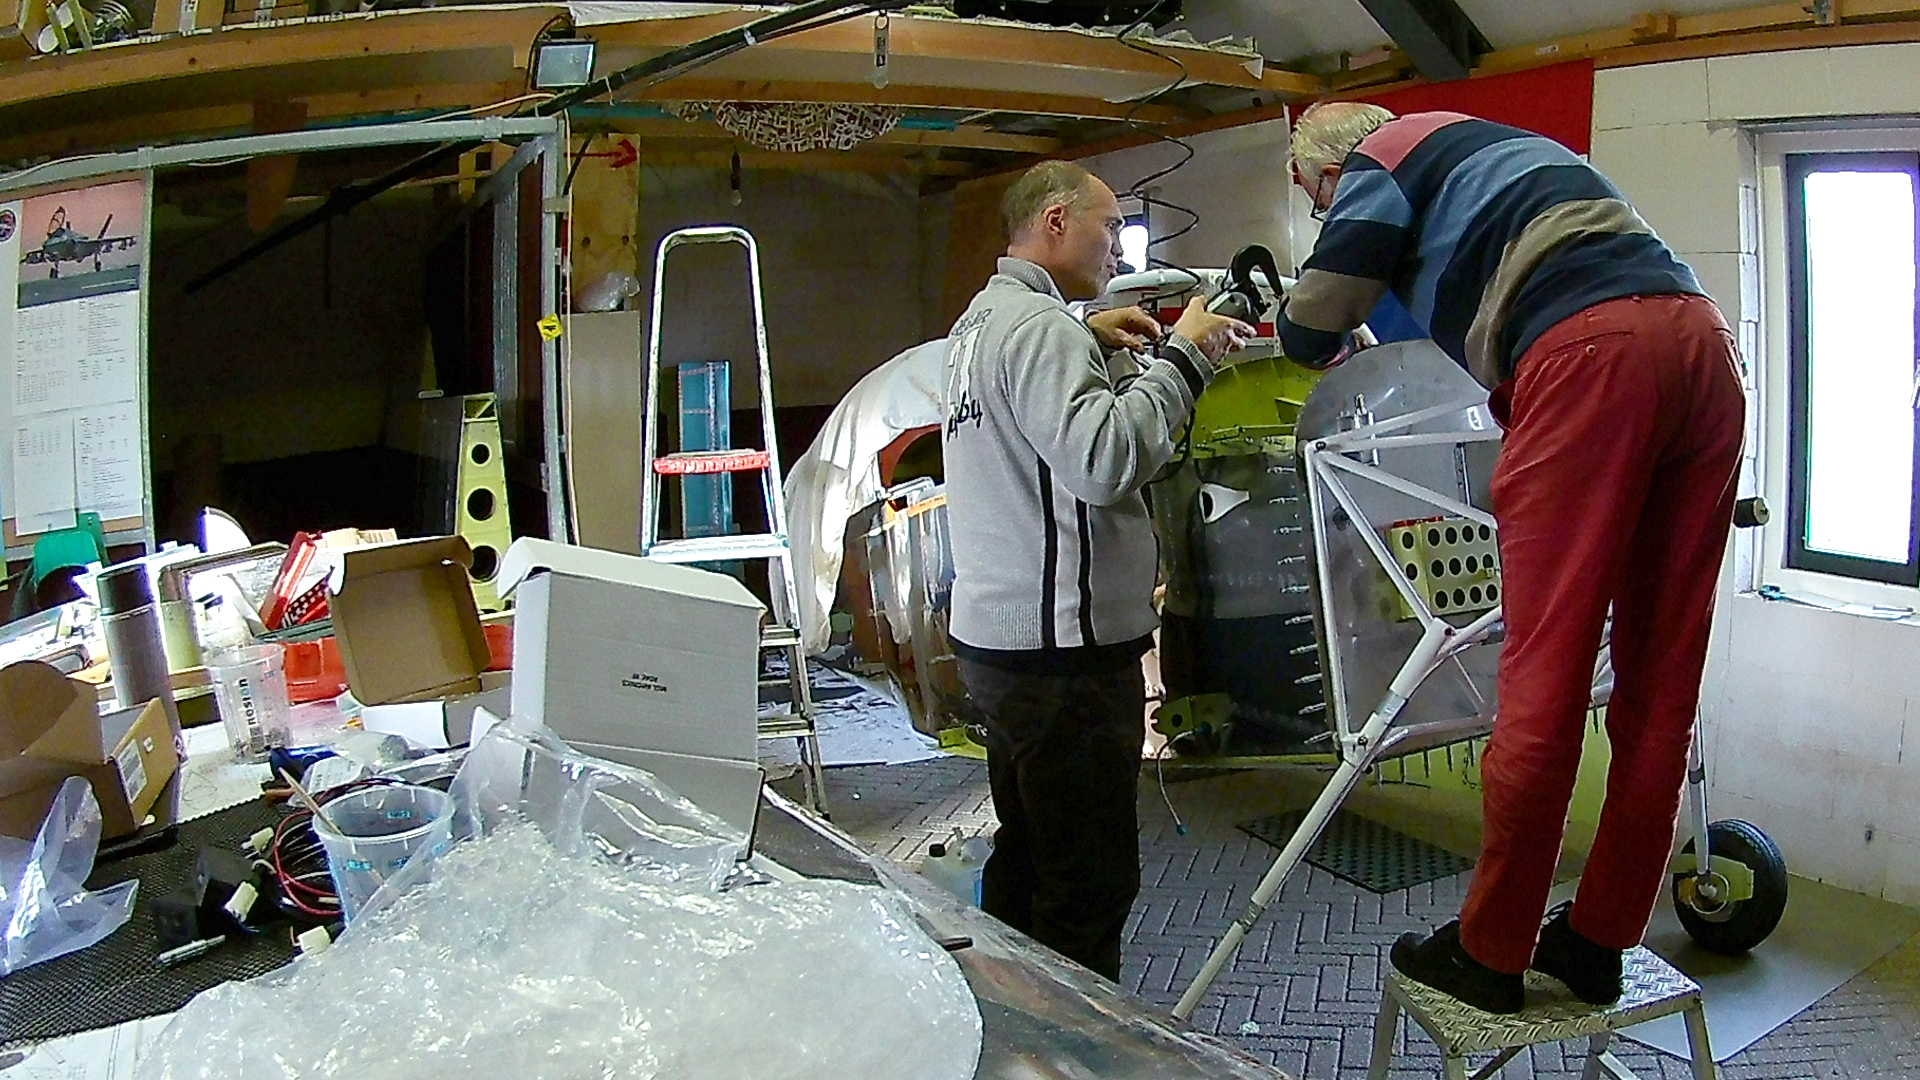
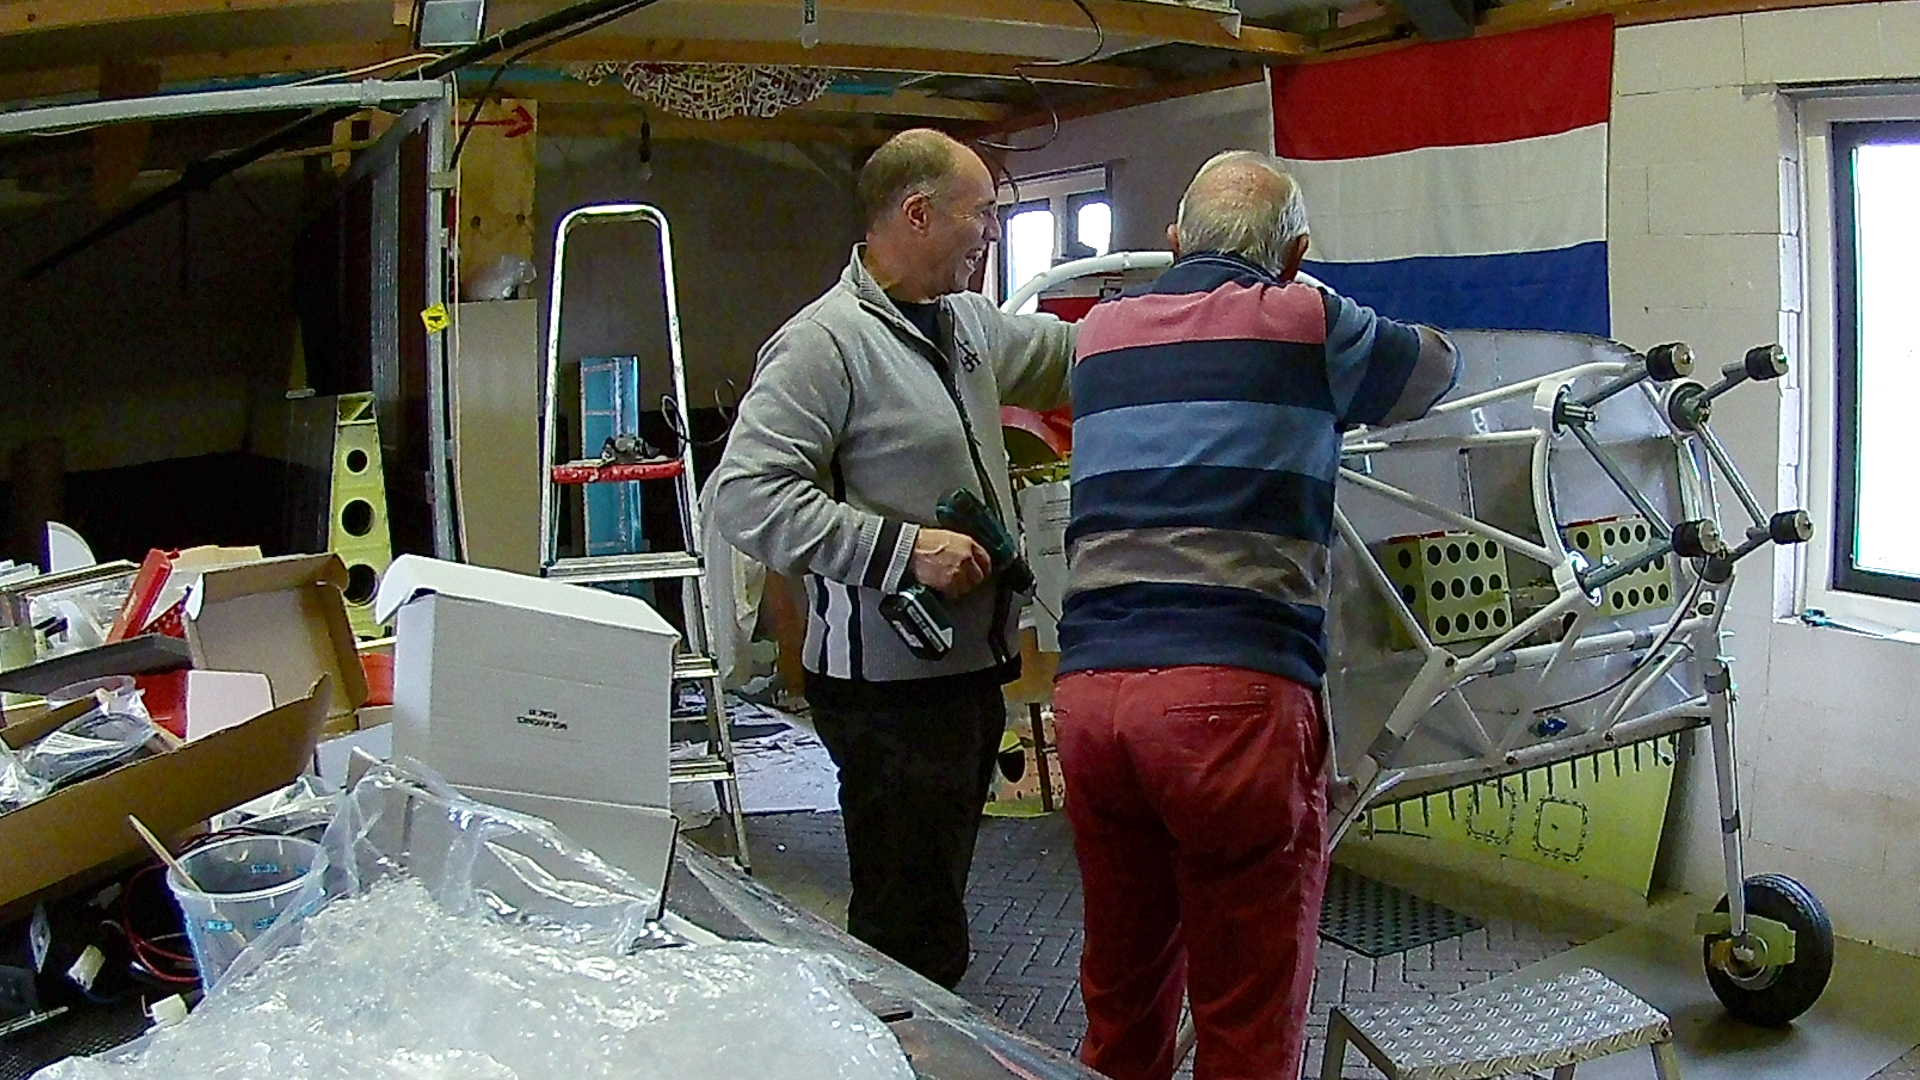
While the Left Tank is under (leak) test (bottom right), because we had to change the return fuel line, we can now start working on the Avionics. I’m discussing the location of the Coils on the Firewall.
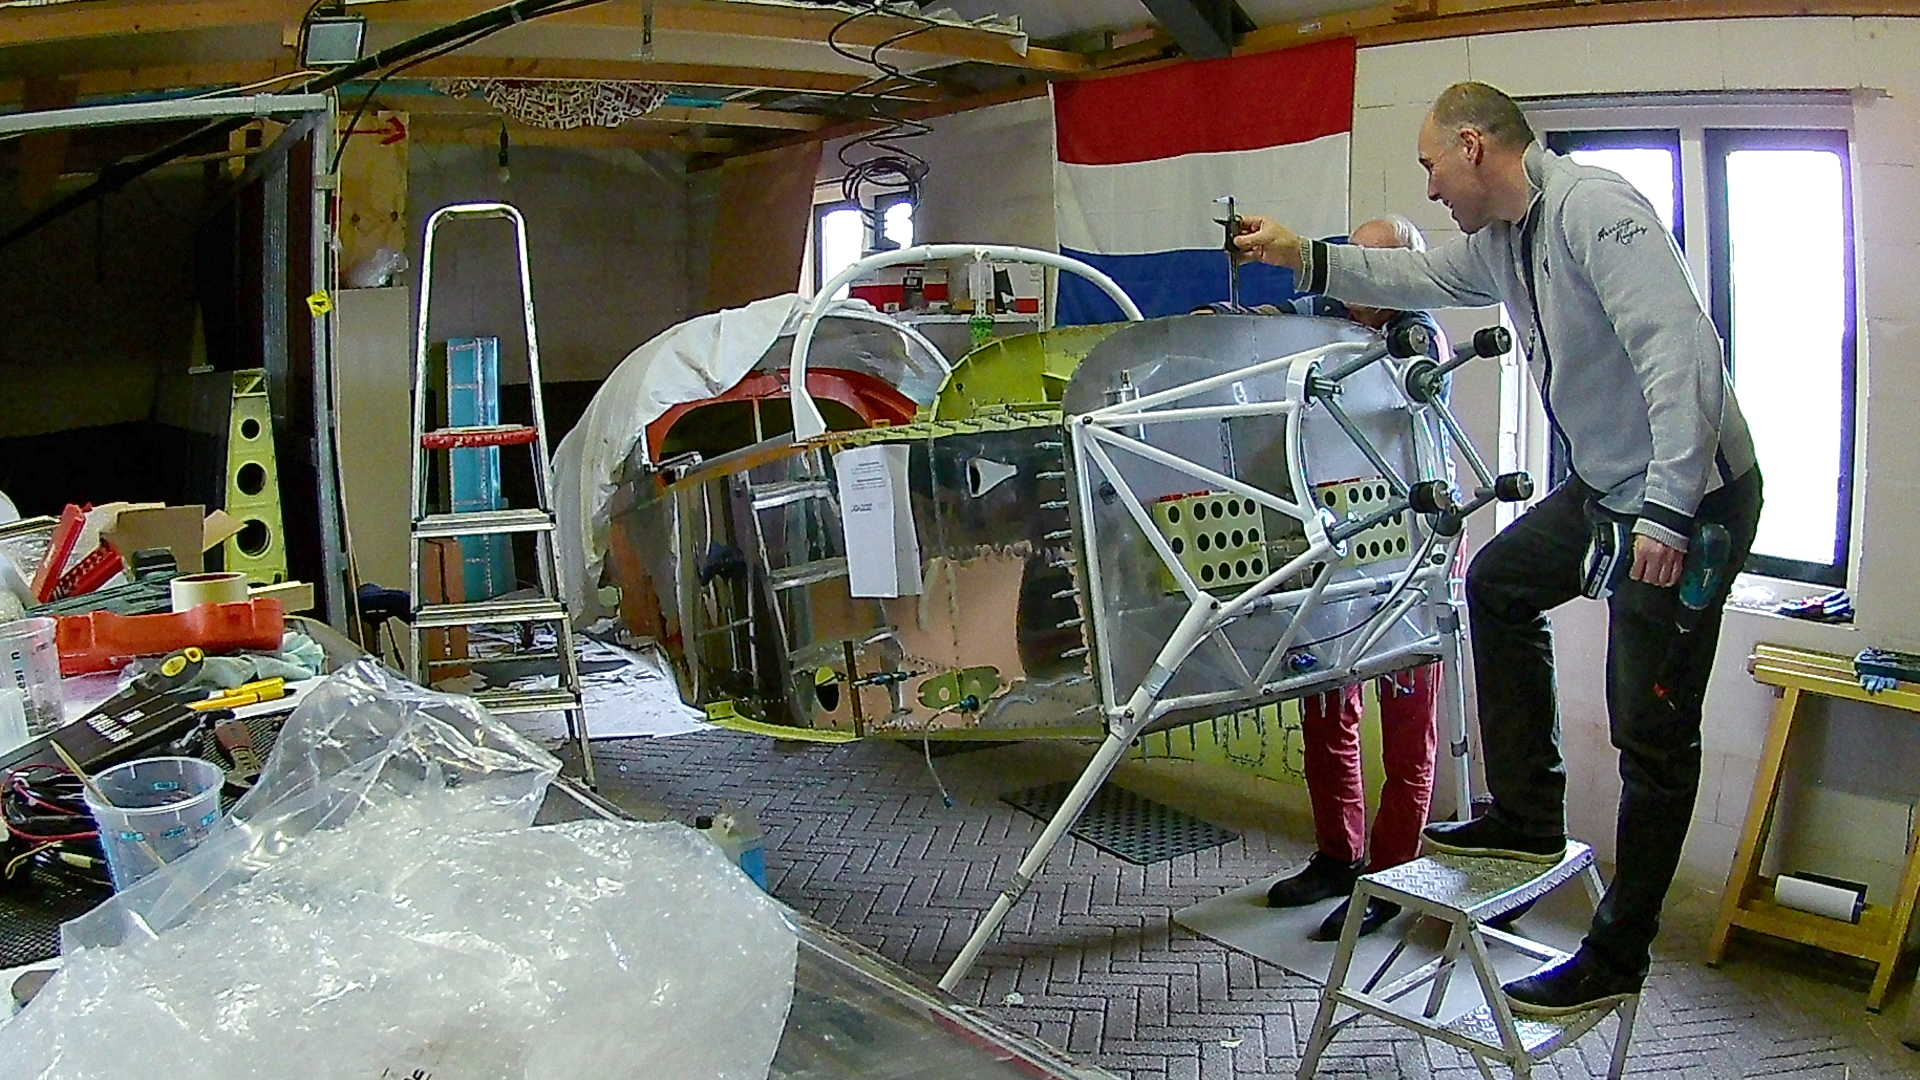
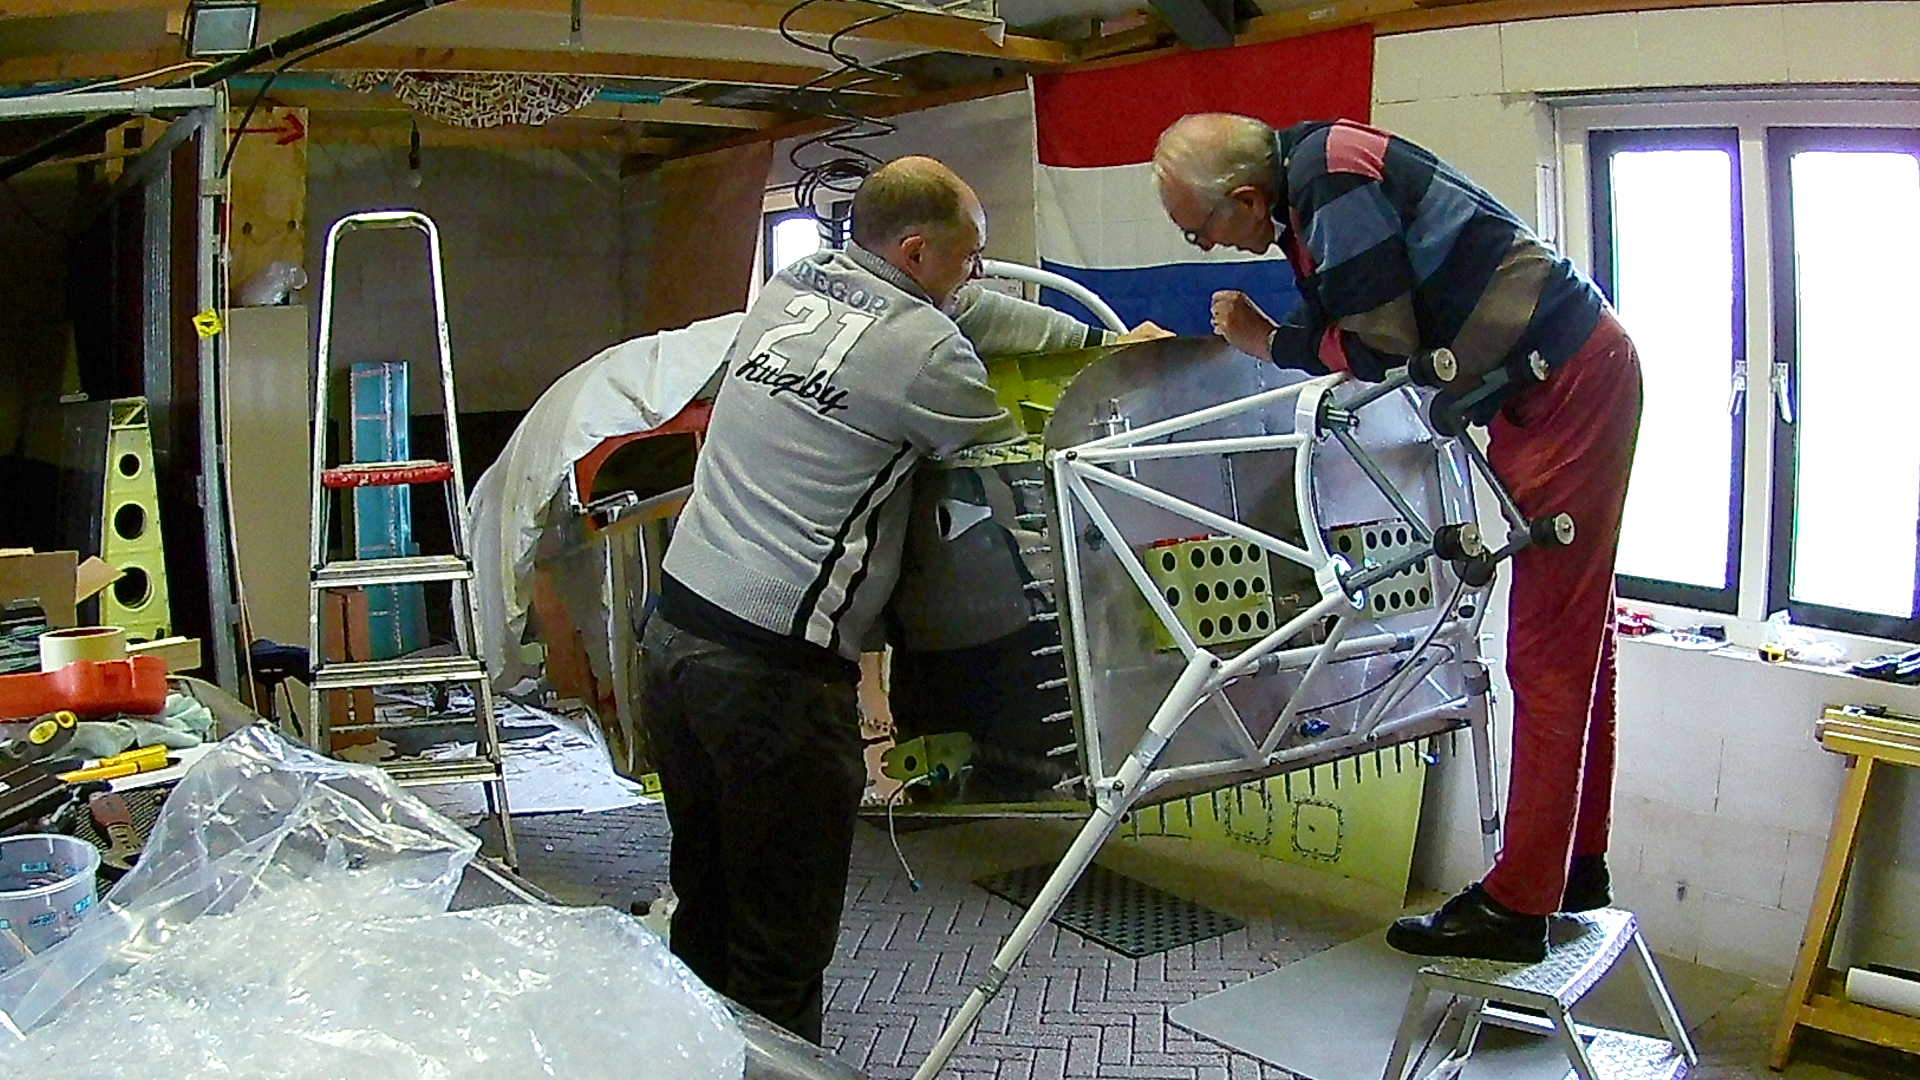
To be able to continue with the windscreen, we first need to install the last piece of Aluminum skin, which is the Forward Top Skin. However, I do want to install the Avionics first, because it is so much easier to do while that skin is still of.
I decided to place all the (back panel) Avionics on the three ribs that connect the Sub-panel to the Firewall. I don’t want to use the sub panel itself, because I want te leave that space for my own designed Avionics and for optional fans to defog the windscreen.
There are not so many Avionics to install, but still I want to install: the ECU of ULPower, an MGL RDAC specifically for ULPower, an MGL general purpose RDAC, a TRIG GPS module, the Trig Radio and Xponder, the MGL EMS end EFIS and the Airmaster propeller controller.
All Avionics are going to be installed with platenuts, so I can easily change or replace them.
Turns out the ECU needs to be lower, because the platenuts of the access plates are in the way. I forgot the top skin had these access plate doors with platenuts.
The middle rib between the Sub-panel and the firewall is going to hold the power buses. There are three power buses: the main bus, the Avionics bus and the E-bus. The latter holds the power for the ECU and Fuel Pumps and must be fault tolerant. Because NO ECU, NO Engine!
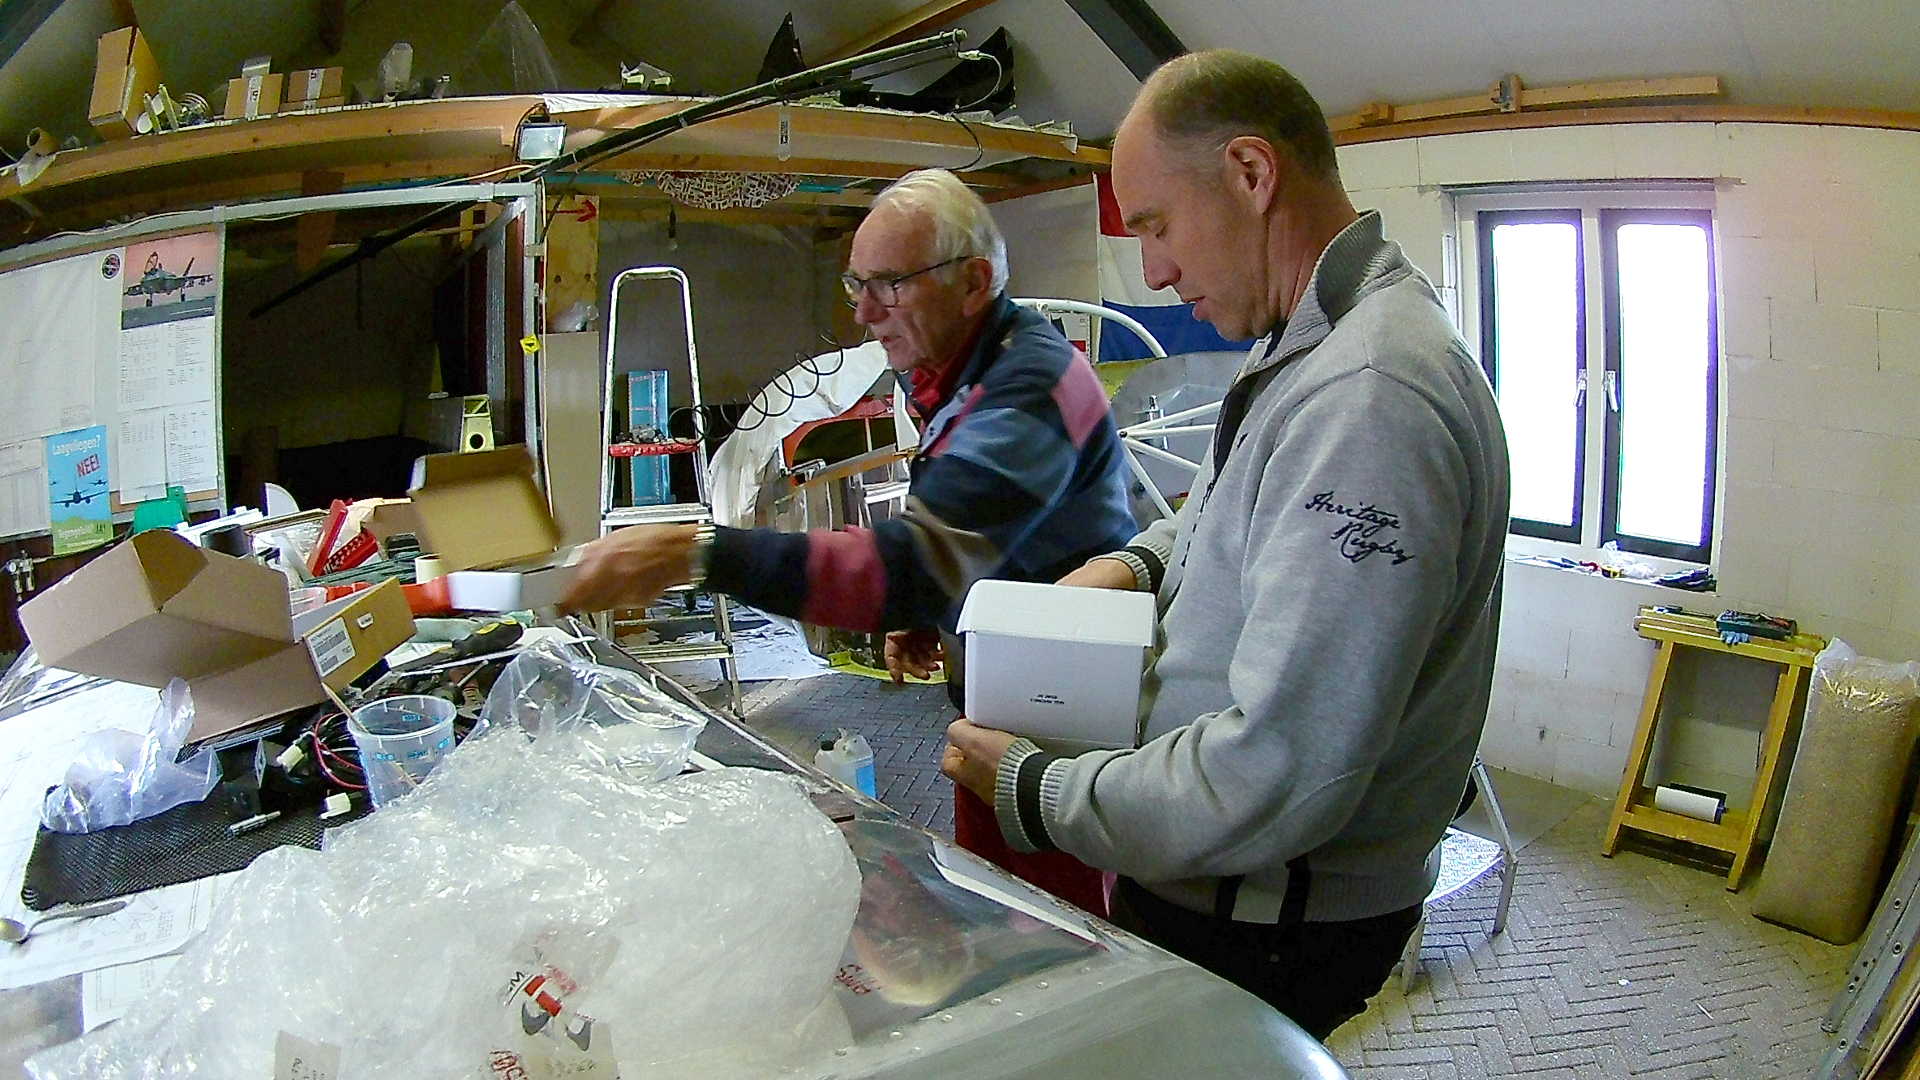
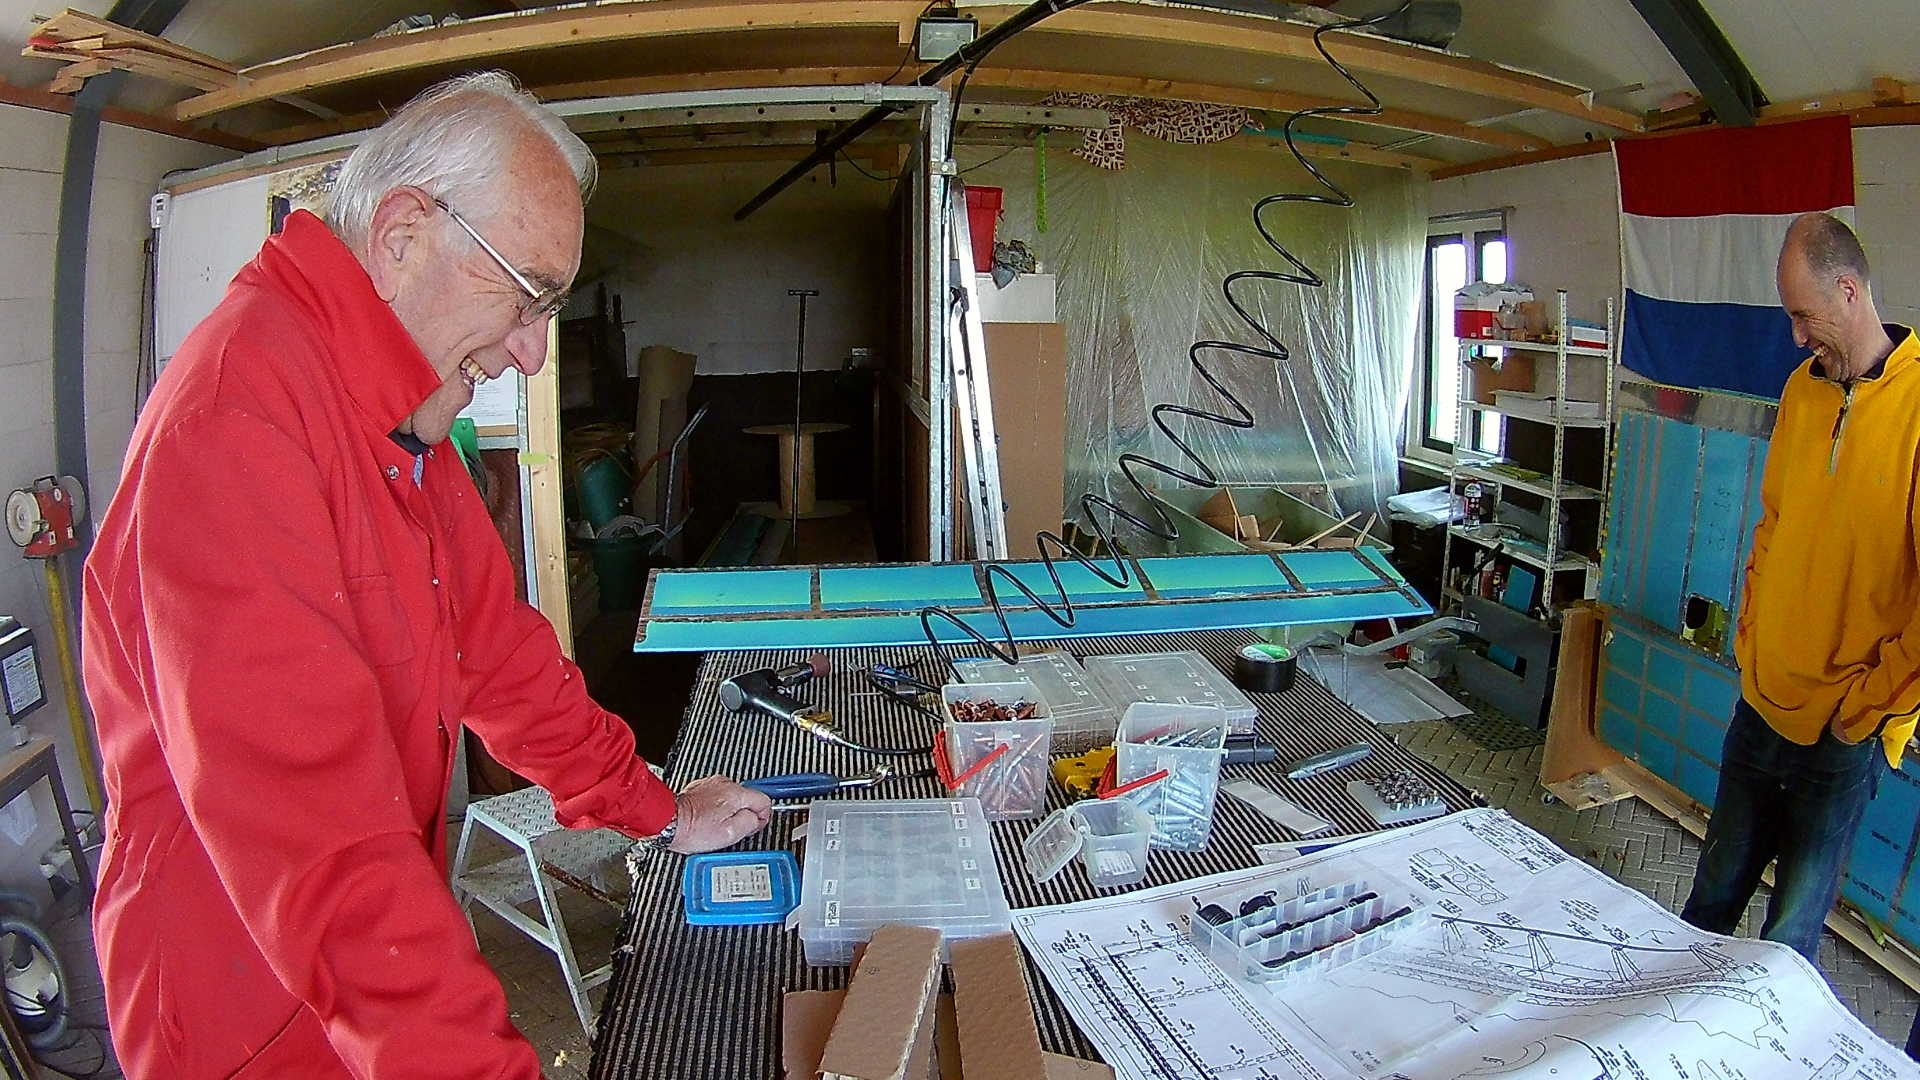
It’s like Christmas, unpacking all the packages with the Avionics.
Most platenuts can be riveted to the ribs with the Squeezer, however a few need to be done with the rivet gun and bucking bar due to space constraints.
When all the Avionics are installed, I need to wire them all up. I created several schematics to guide me while connecting all devices. After installation the Panel looks like this. The two empty spaces are reserved for standard Android tablets, that I’m going to install later.
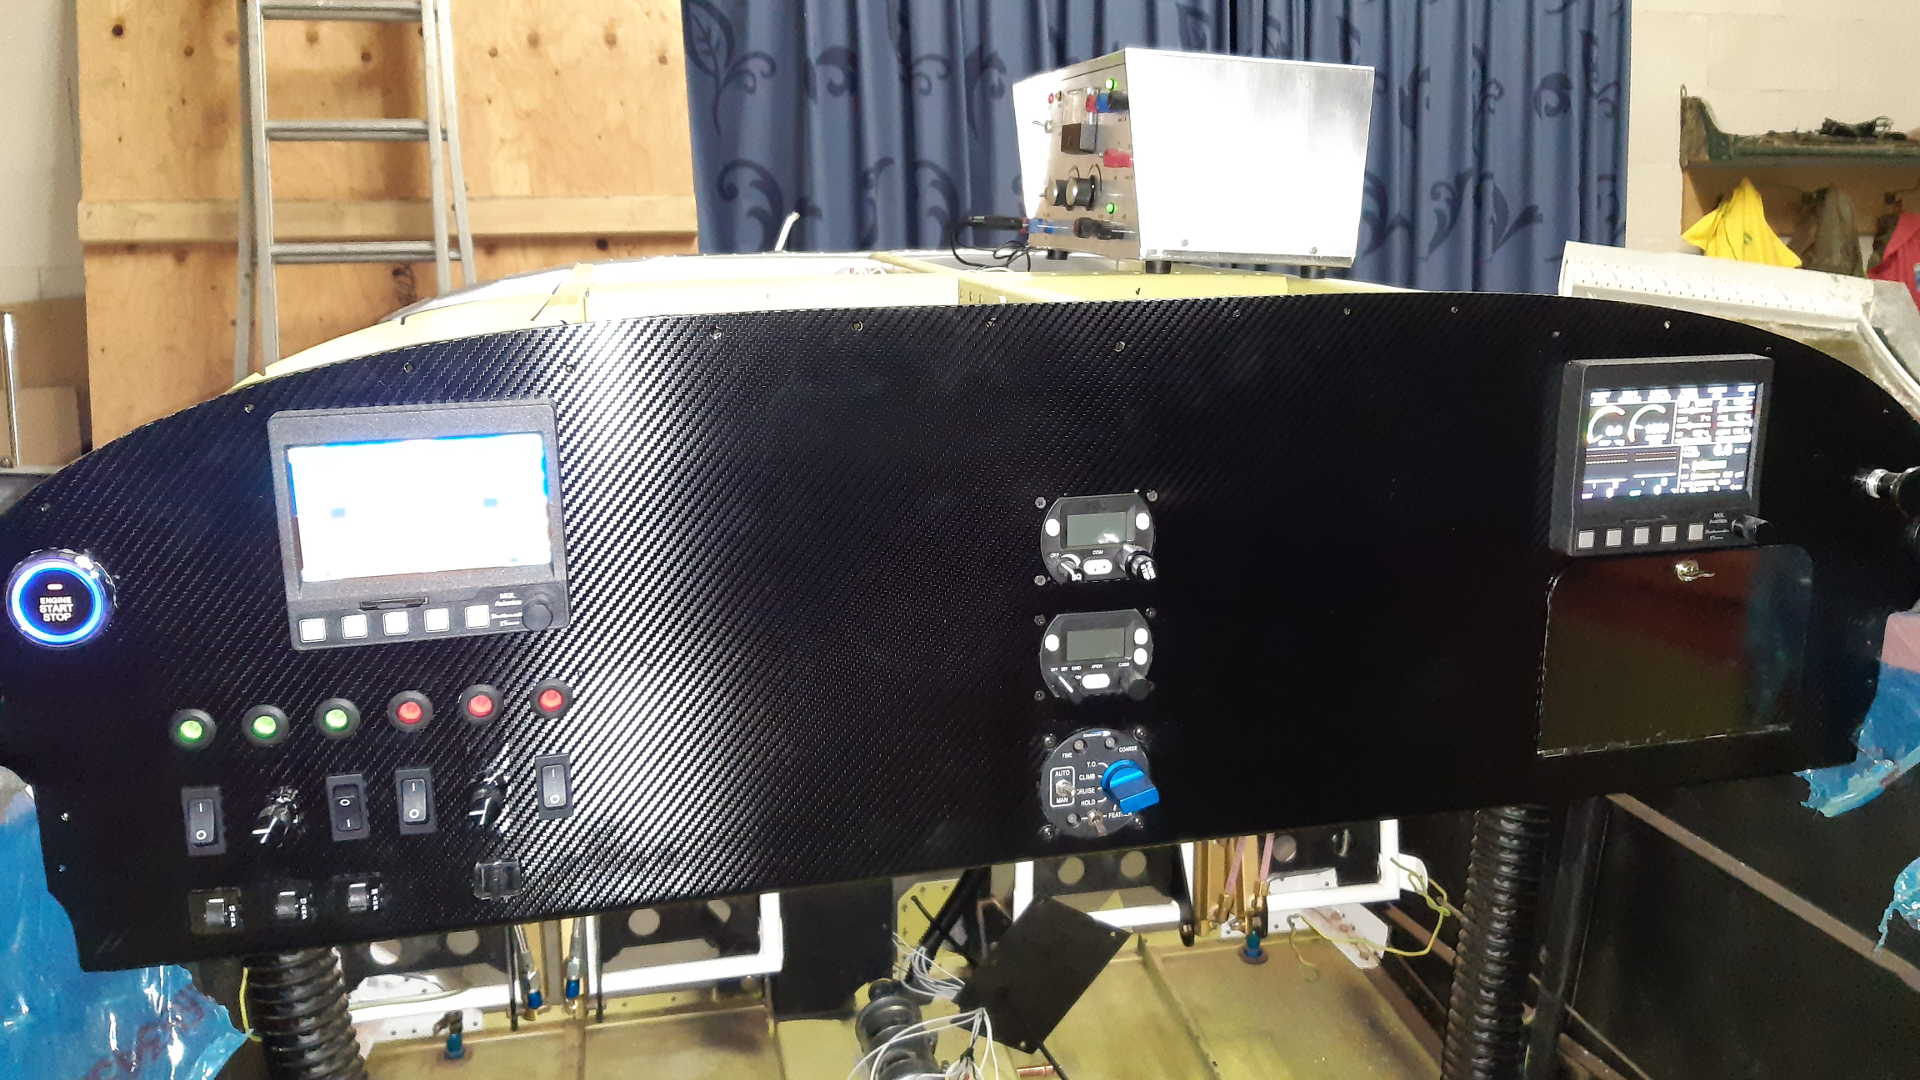
These will be the main screens of my own Avionics. As you can see I tried to minimize the number of switches and led’s. I use rotary switches in case of multi functions (in this case the Fuel Pumps and Ignition Coils). The Lights and Flaps will also be rotary switches, but they will be placed on the Center Console.
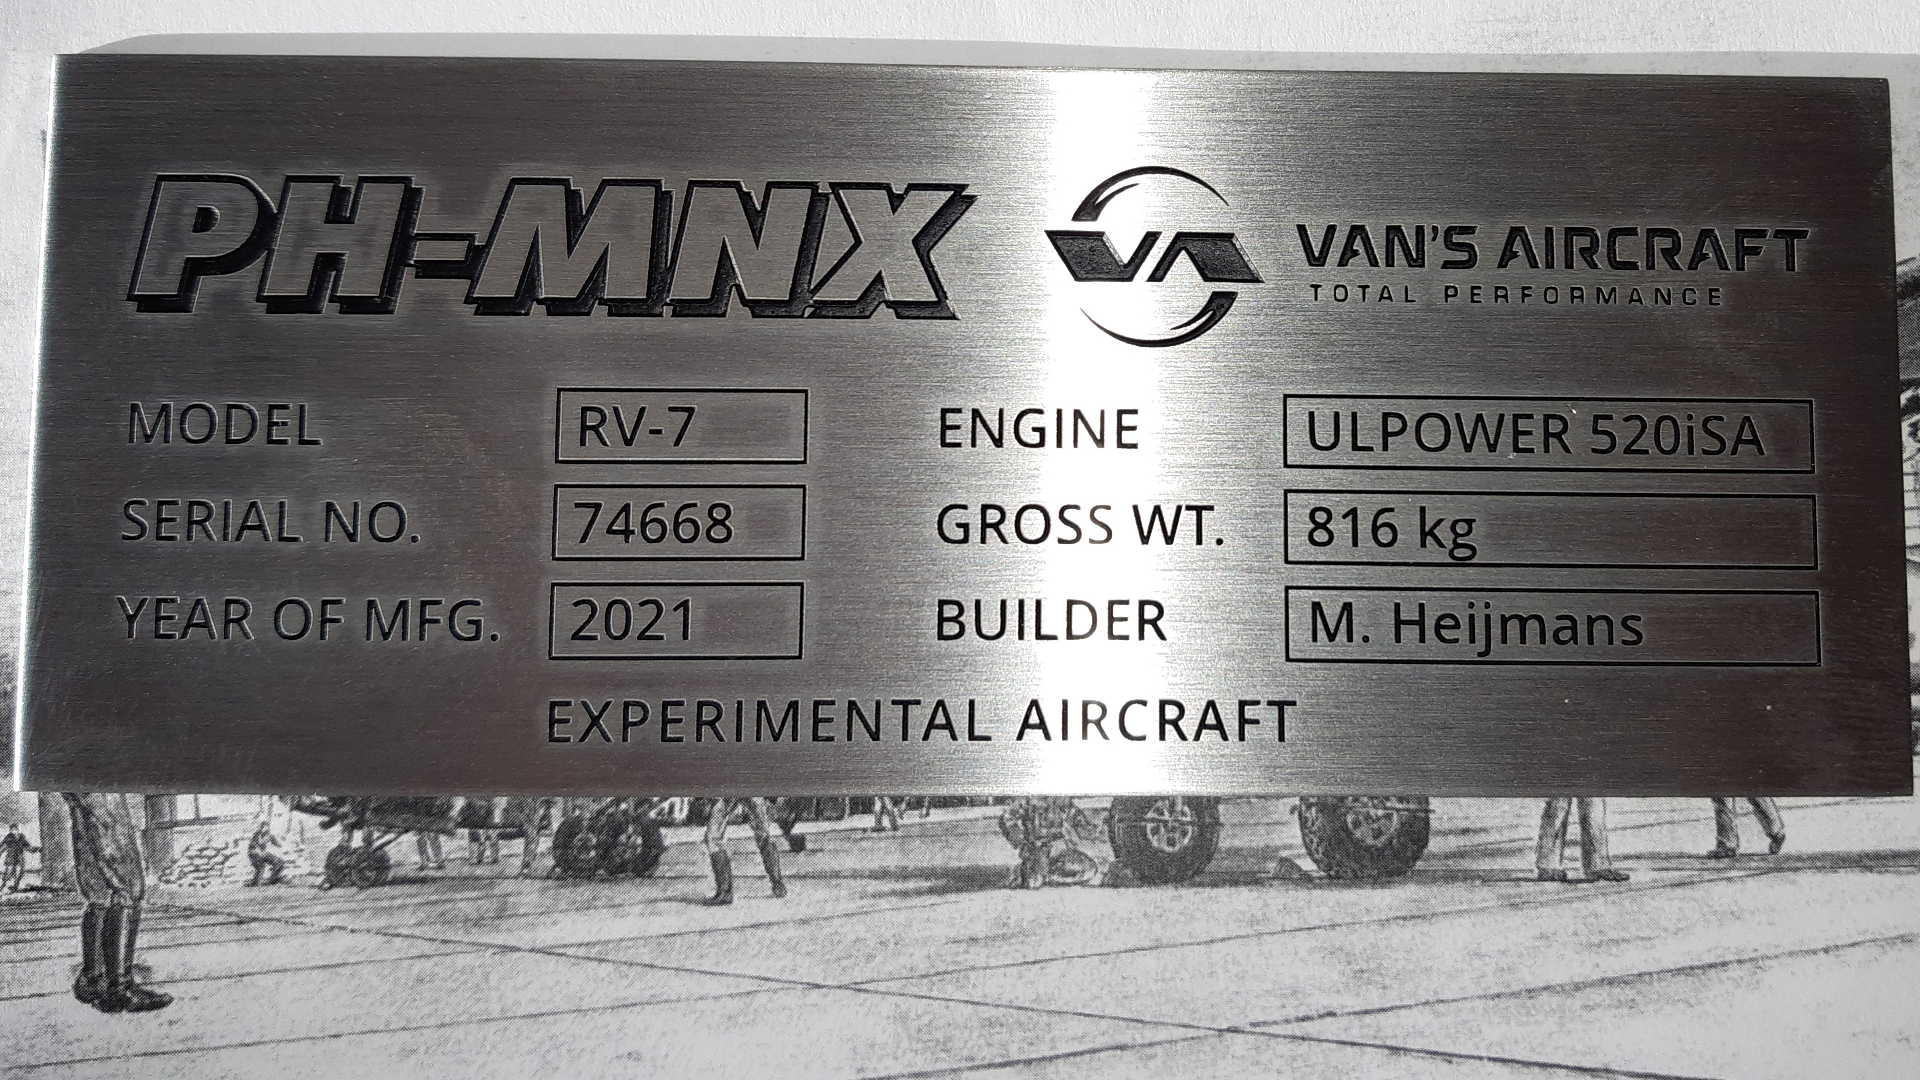
Apparently, it is mandatory to have a fire-resistant identification plate installed on your plane. So I decided to design a nice RVS plate for my RV-7.
Time: 8 Hours, Rivets: 28/0 (2020-11-22)
Time: 6 Hours, Rivets: 0/0 (2020-11-25)
Time: 8 Hours, Rivets: 14/1 (2020-11-28)
Time: 7 Hours, Rivets: 0/0 (2020-11-29)
Time: 3 Hours, Rivets: 0/0 (2020-12-01)
Time: 4 Hours, Rivets: 0/0 (2020-12-02)
Video
