
Although I’m a member of the Dutch EAA chapter (NVAV), which has a engine lift in the tool-pool, I decided to use a ladder and an old army lifting trolley.
Why would you do that?! Well, the ladder was already standing in my workshop and I’m too lazy to drive to the location of the engine lift.
Before installing the engine, I checked all the bolts of the engine mount on the correct torque.
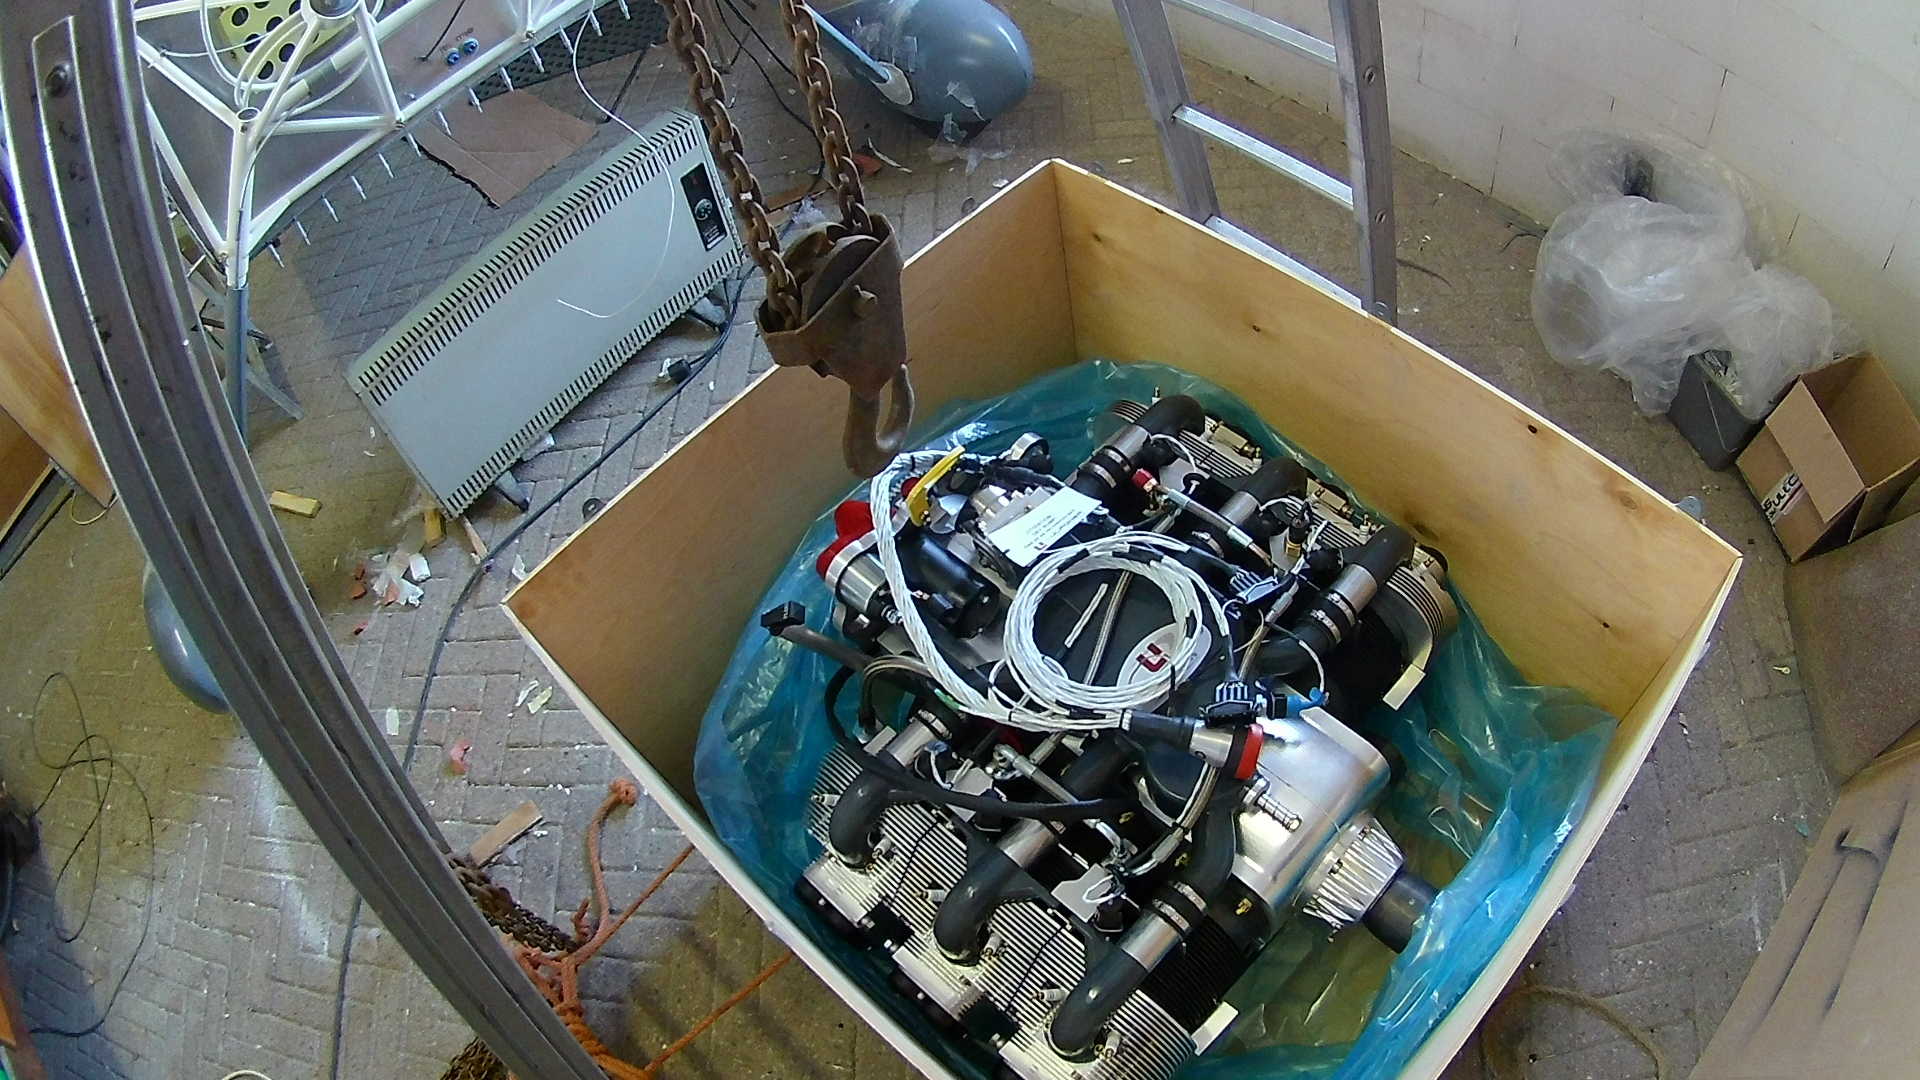
To prepare, I dragged the engine under the ladder and removed the engine guard beams. The ULPower engine is transported in a crate with all the installation parts in there.
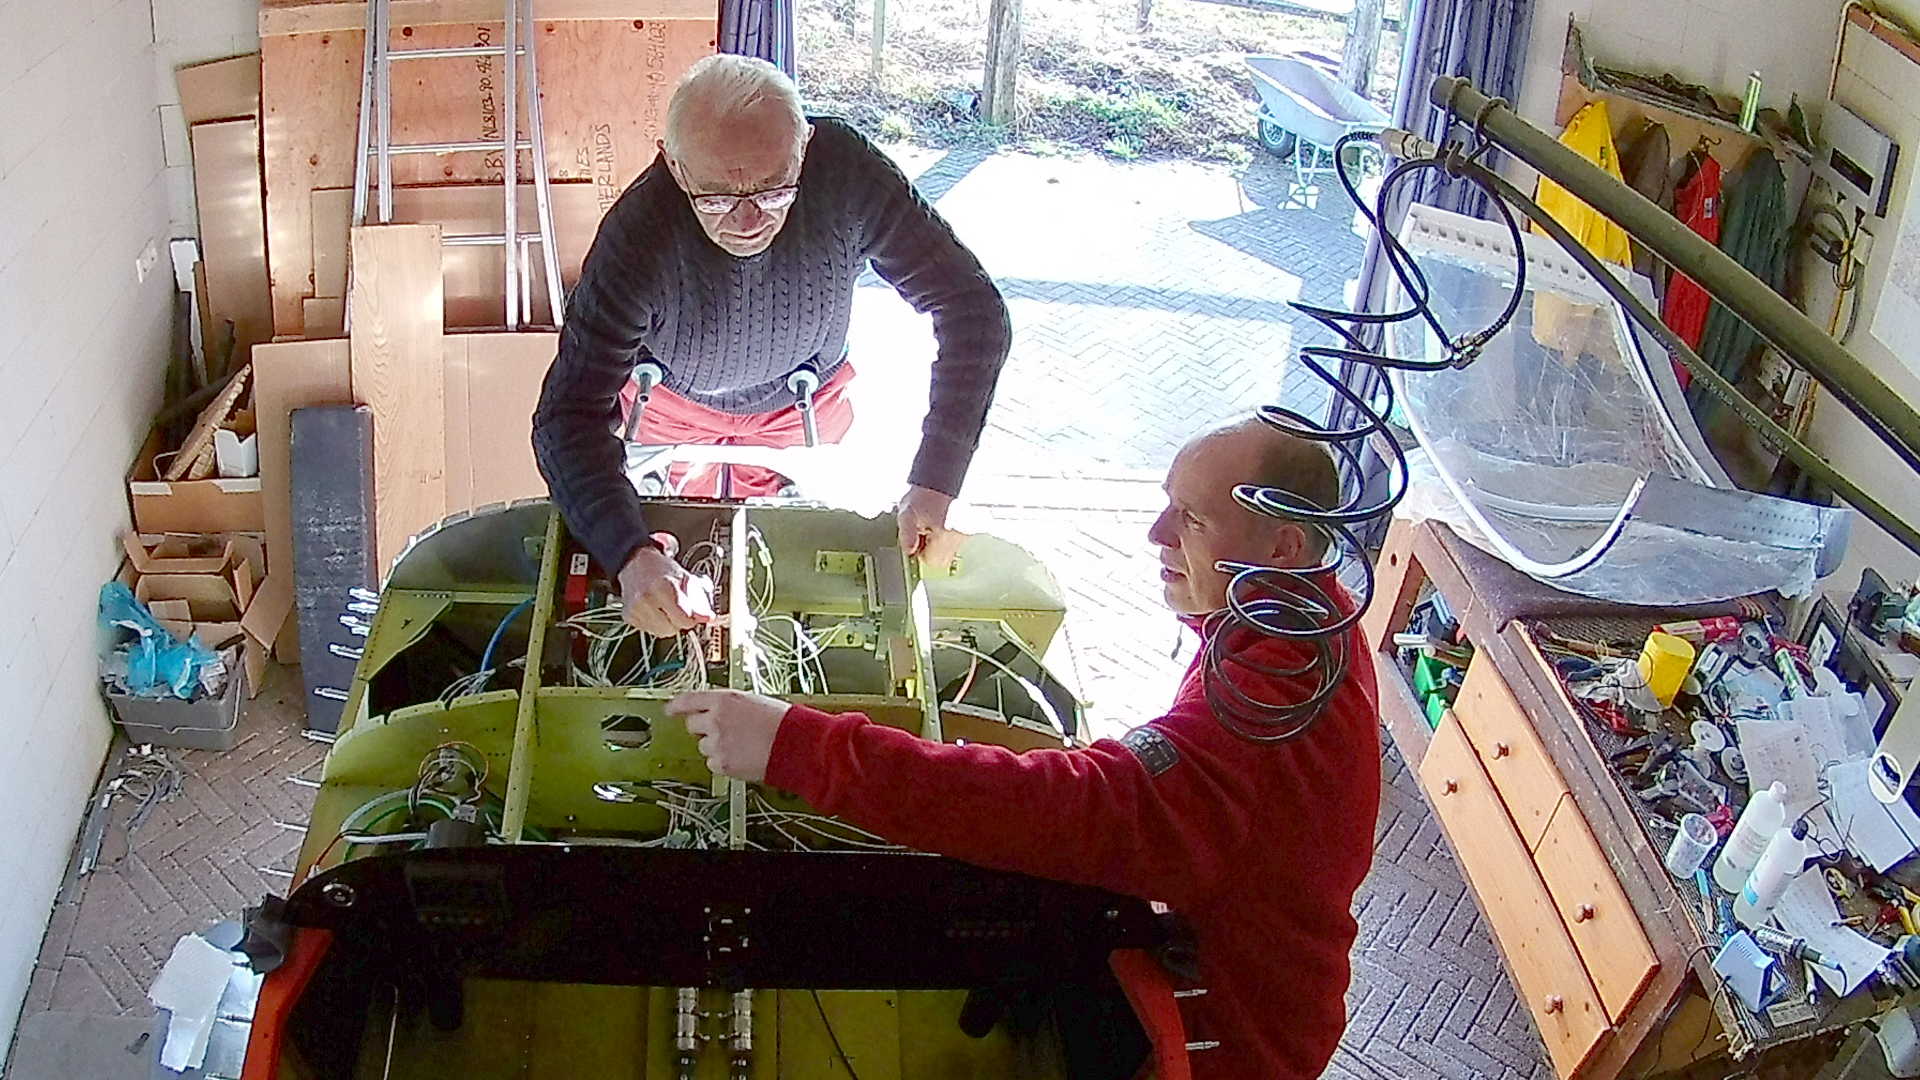
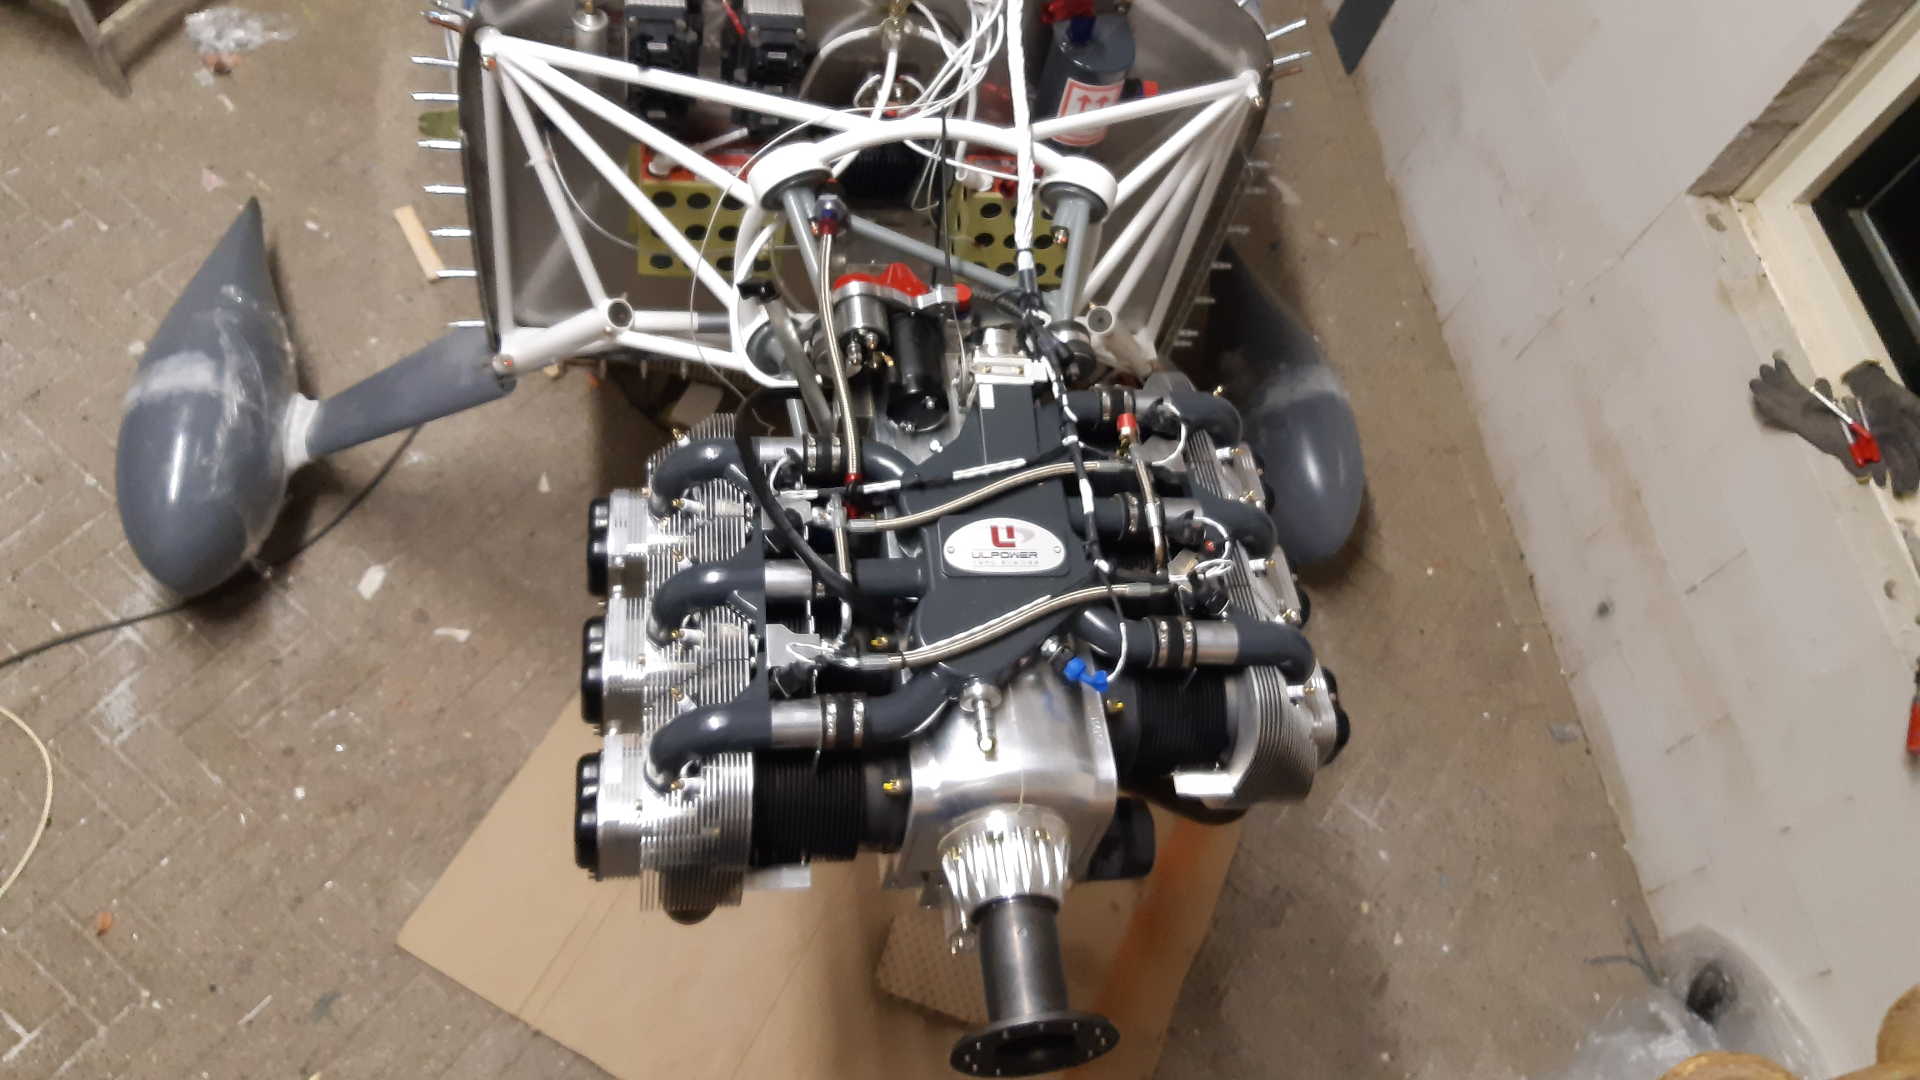
The wire harness on top of the engine is the connector between the engine and the ECU.
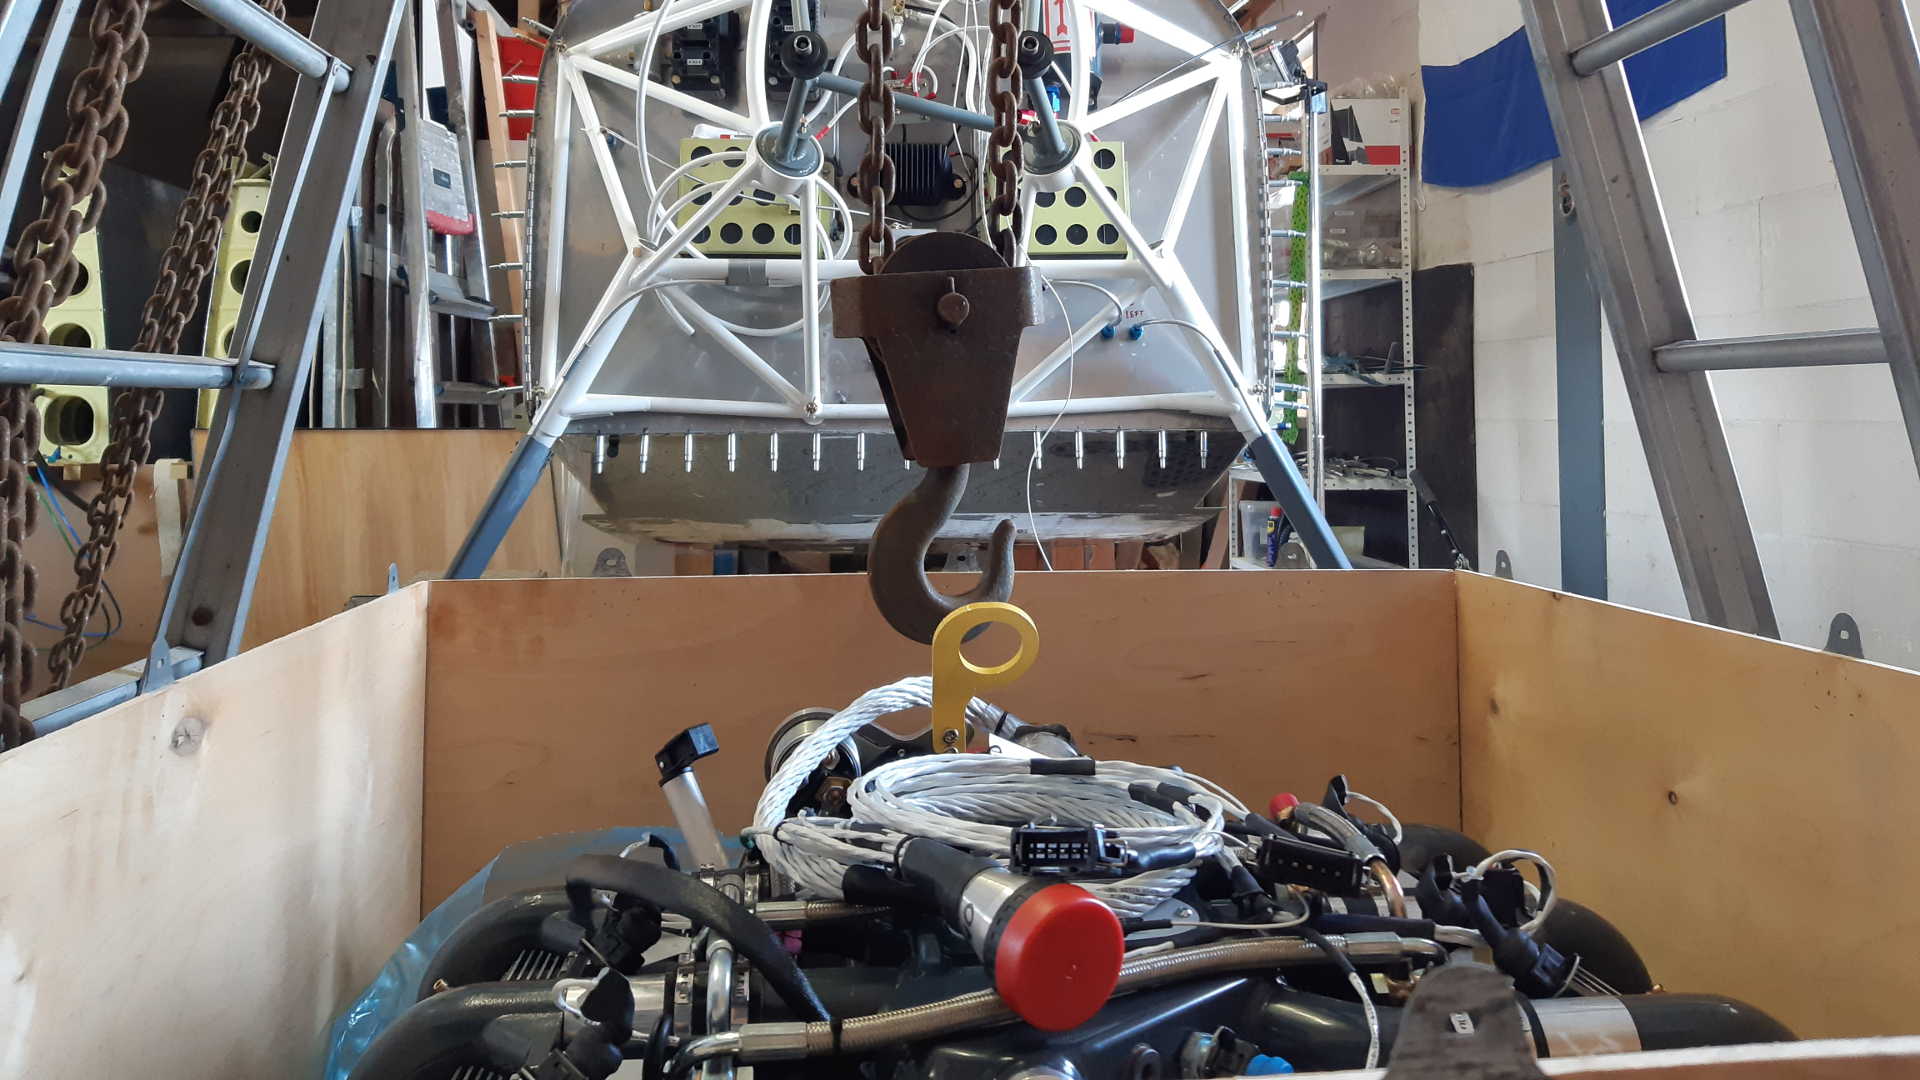
The ULPower 520 iSA engine looks great. It has a yellow lifting hook. You should NOT lift the engine only with this hook. The hoist method is to attach a strap between the hook and the crankshaft.
Ready to lift the 6 cylinder engine out of the crate. I installed the two straps between the lifting hook and the crankshaft. The second one is just a backup in the very unlikely case the first would snap.
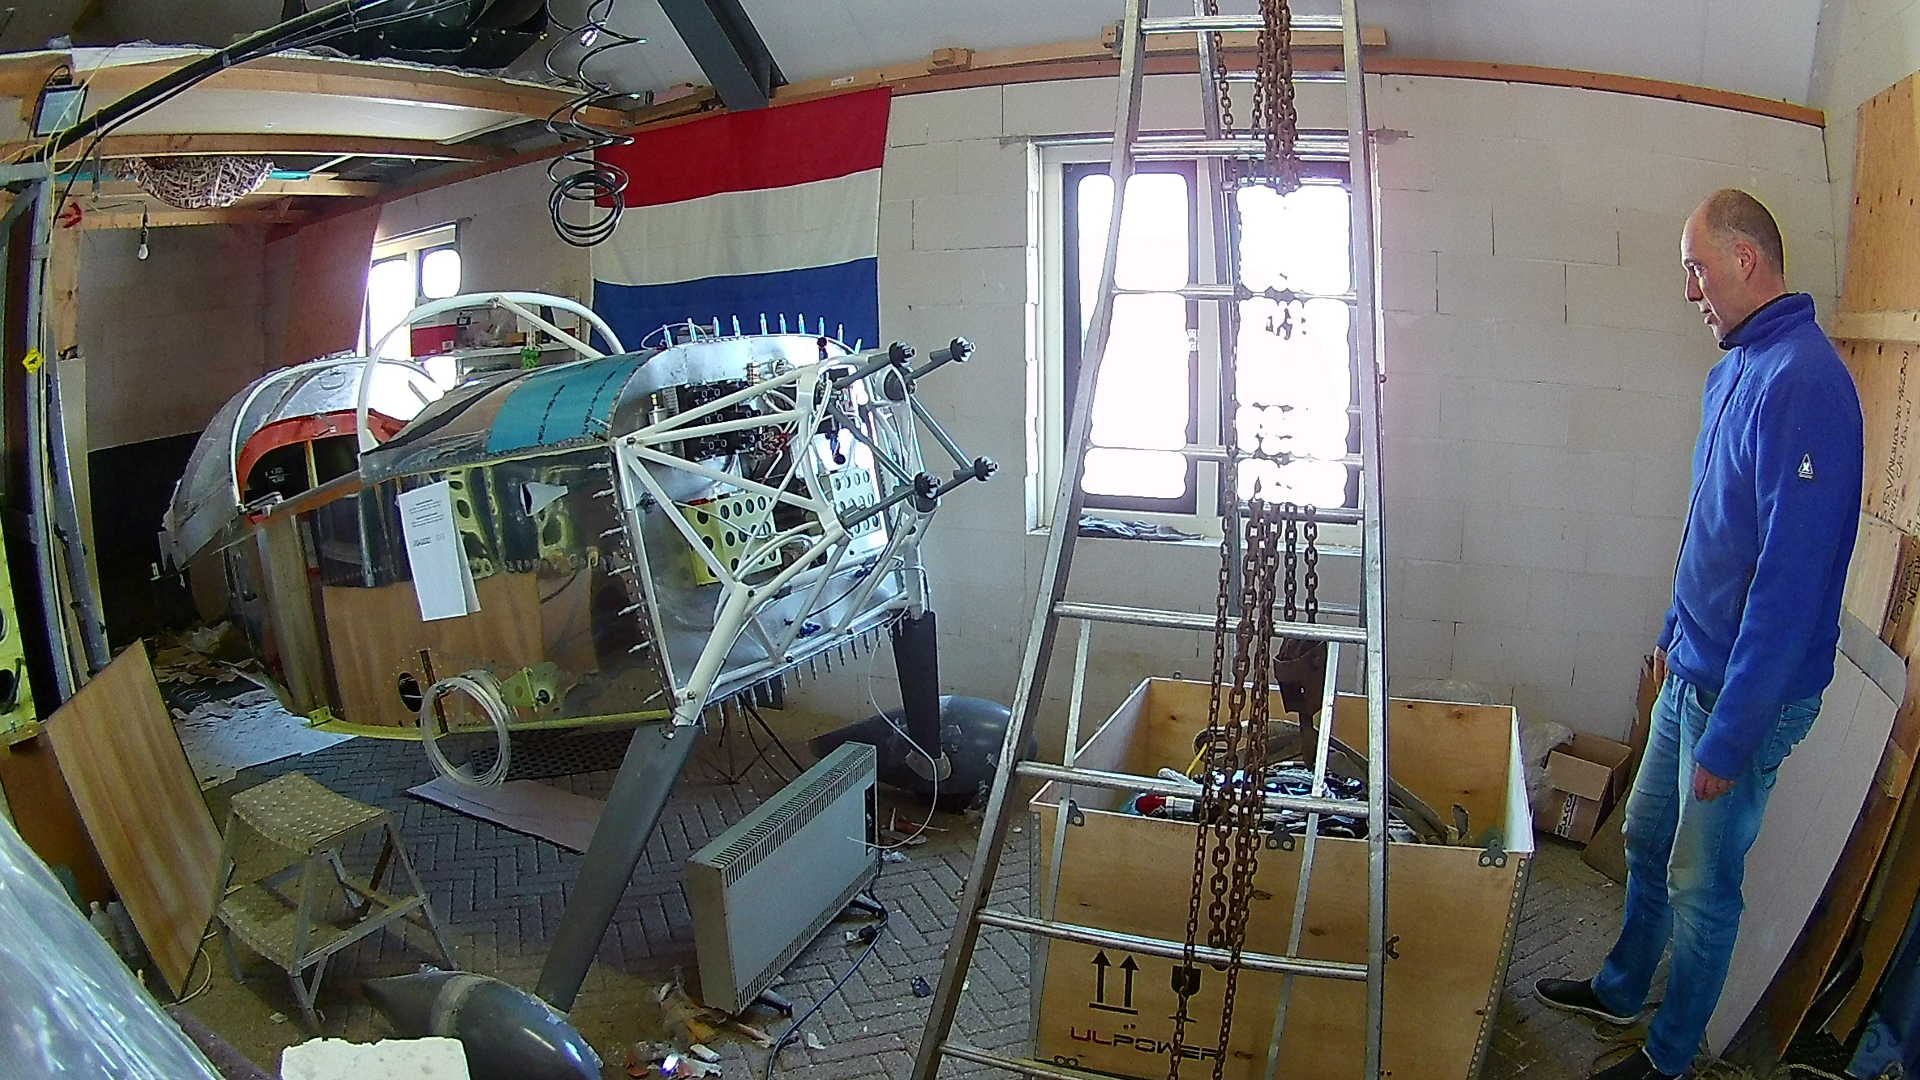
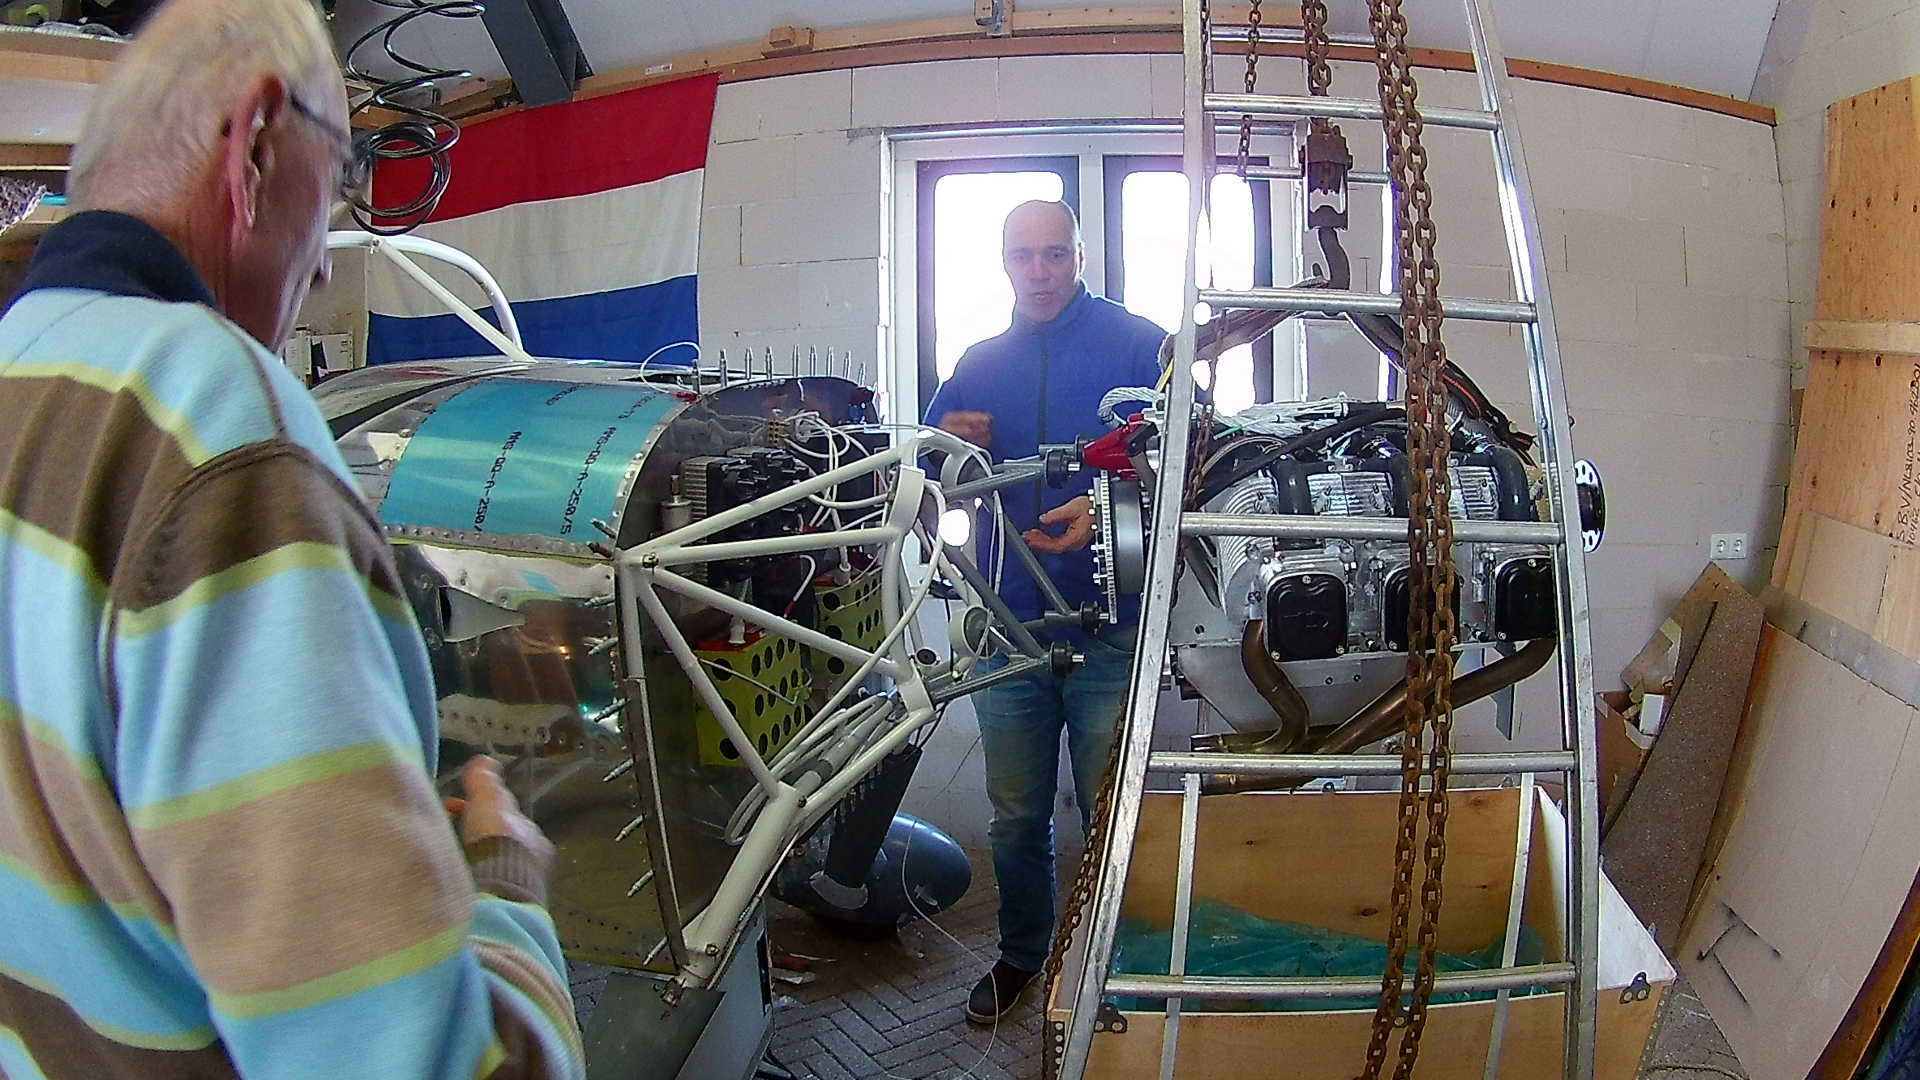
I’m eye-balling the distance between the engine mount and the ladder. Also I connected both bottom ladder rungs with a strap to prevent the ladder from collapsing.
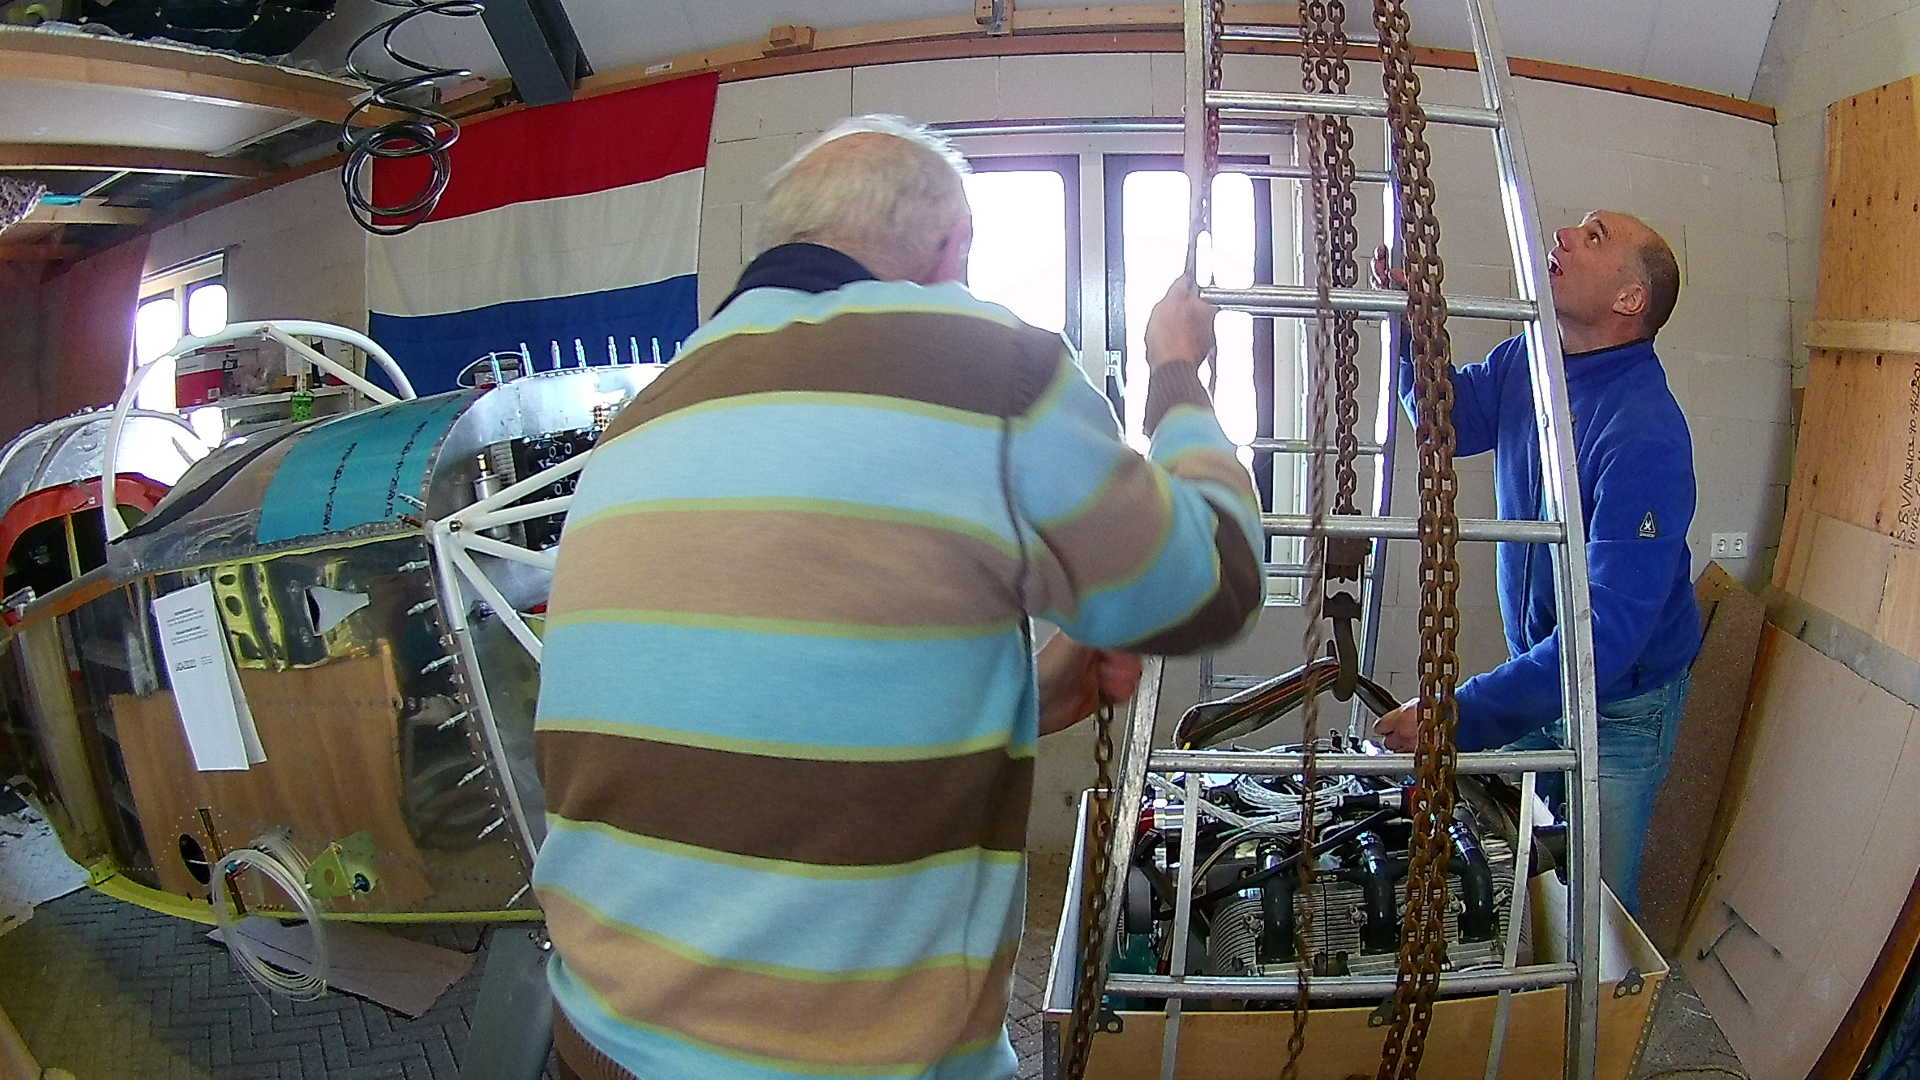
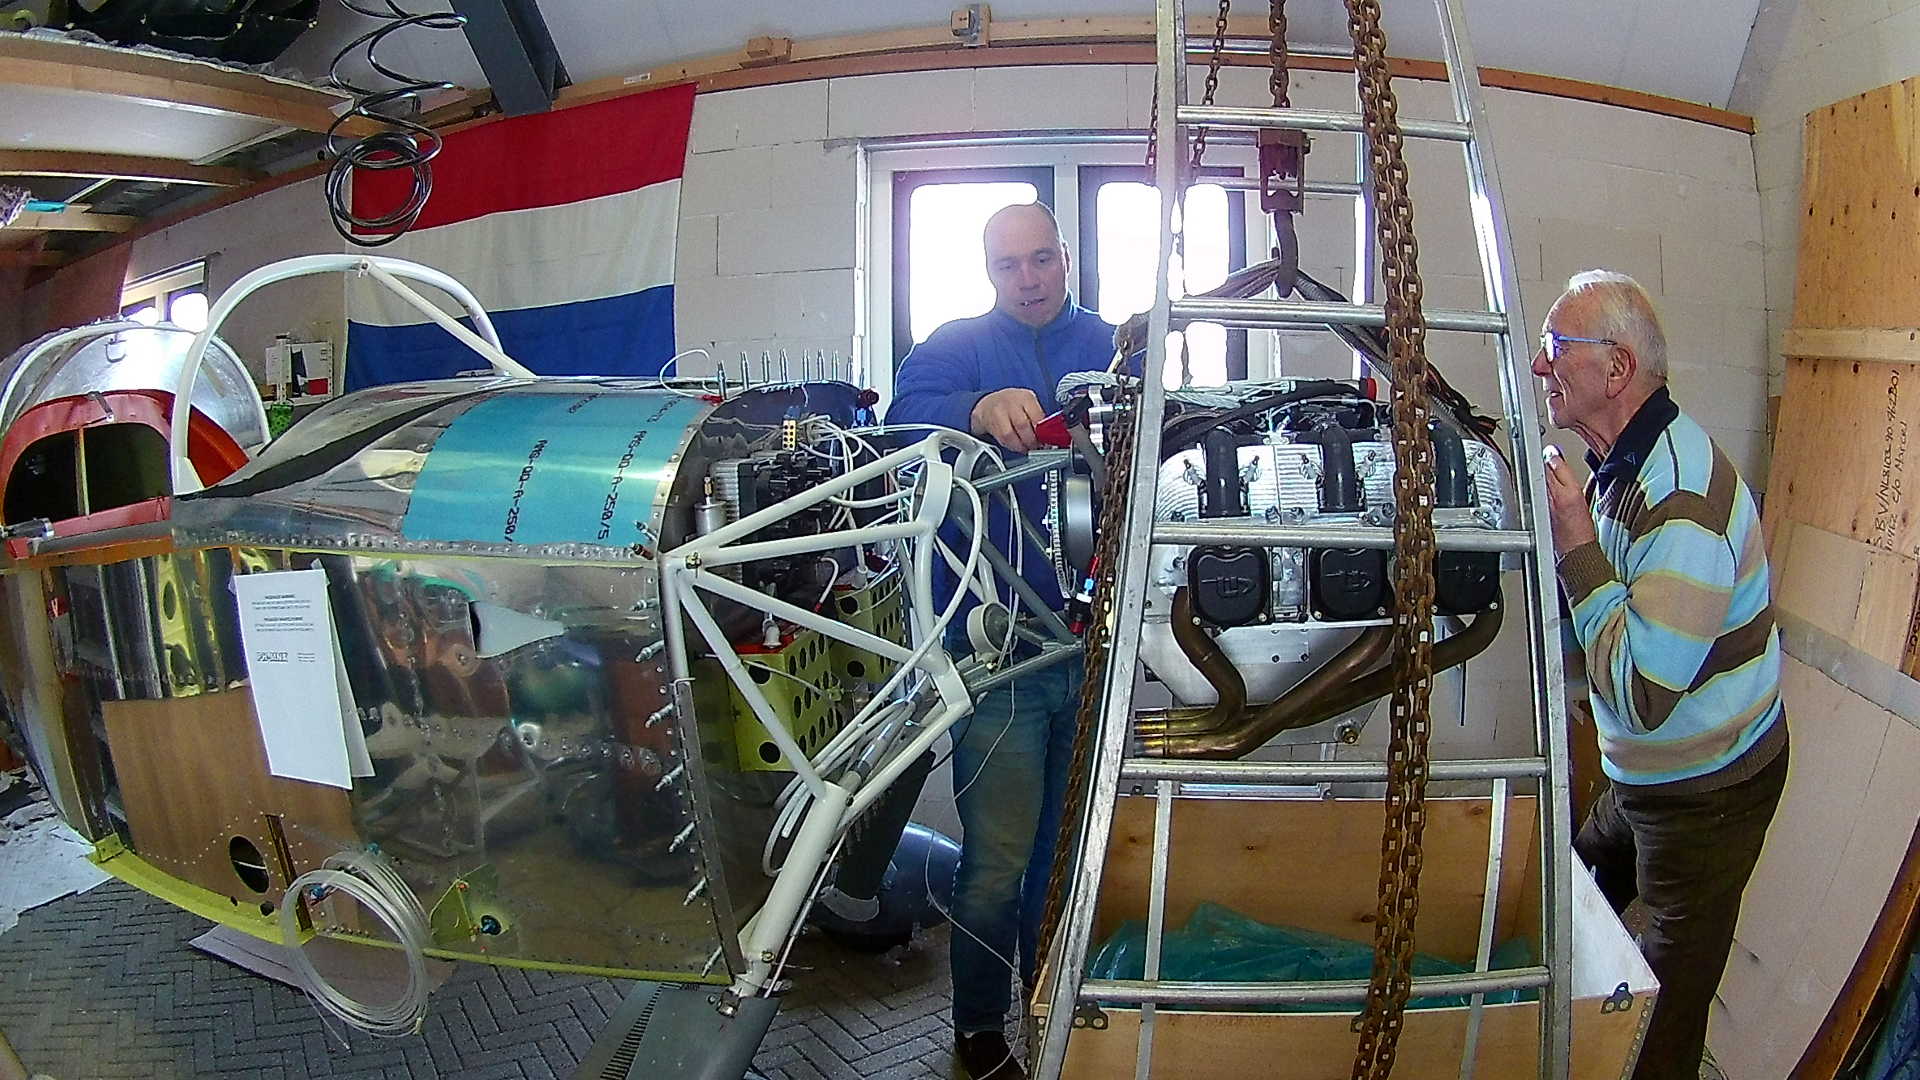
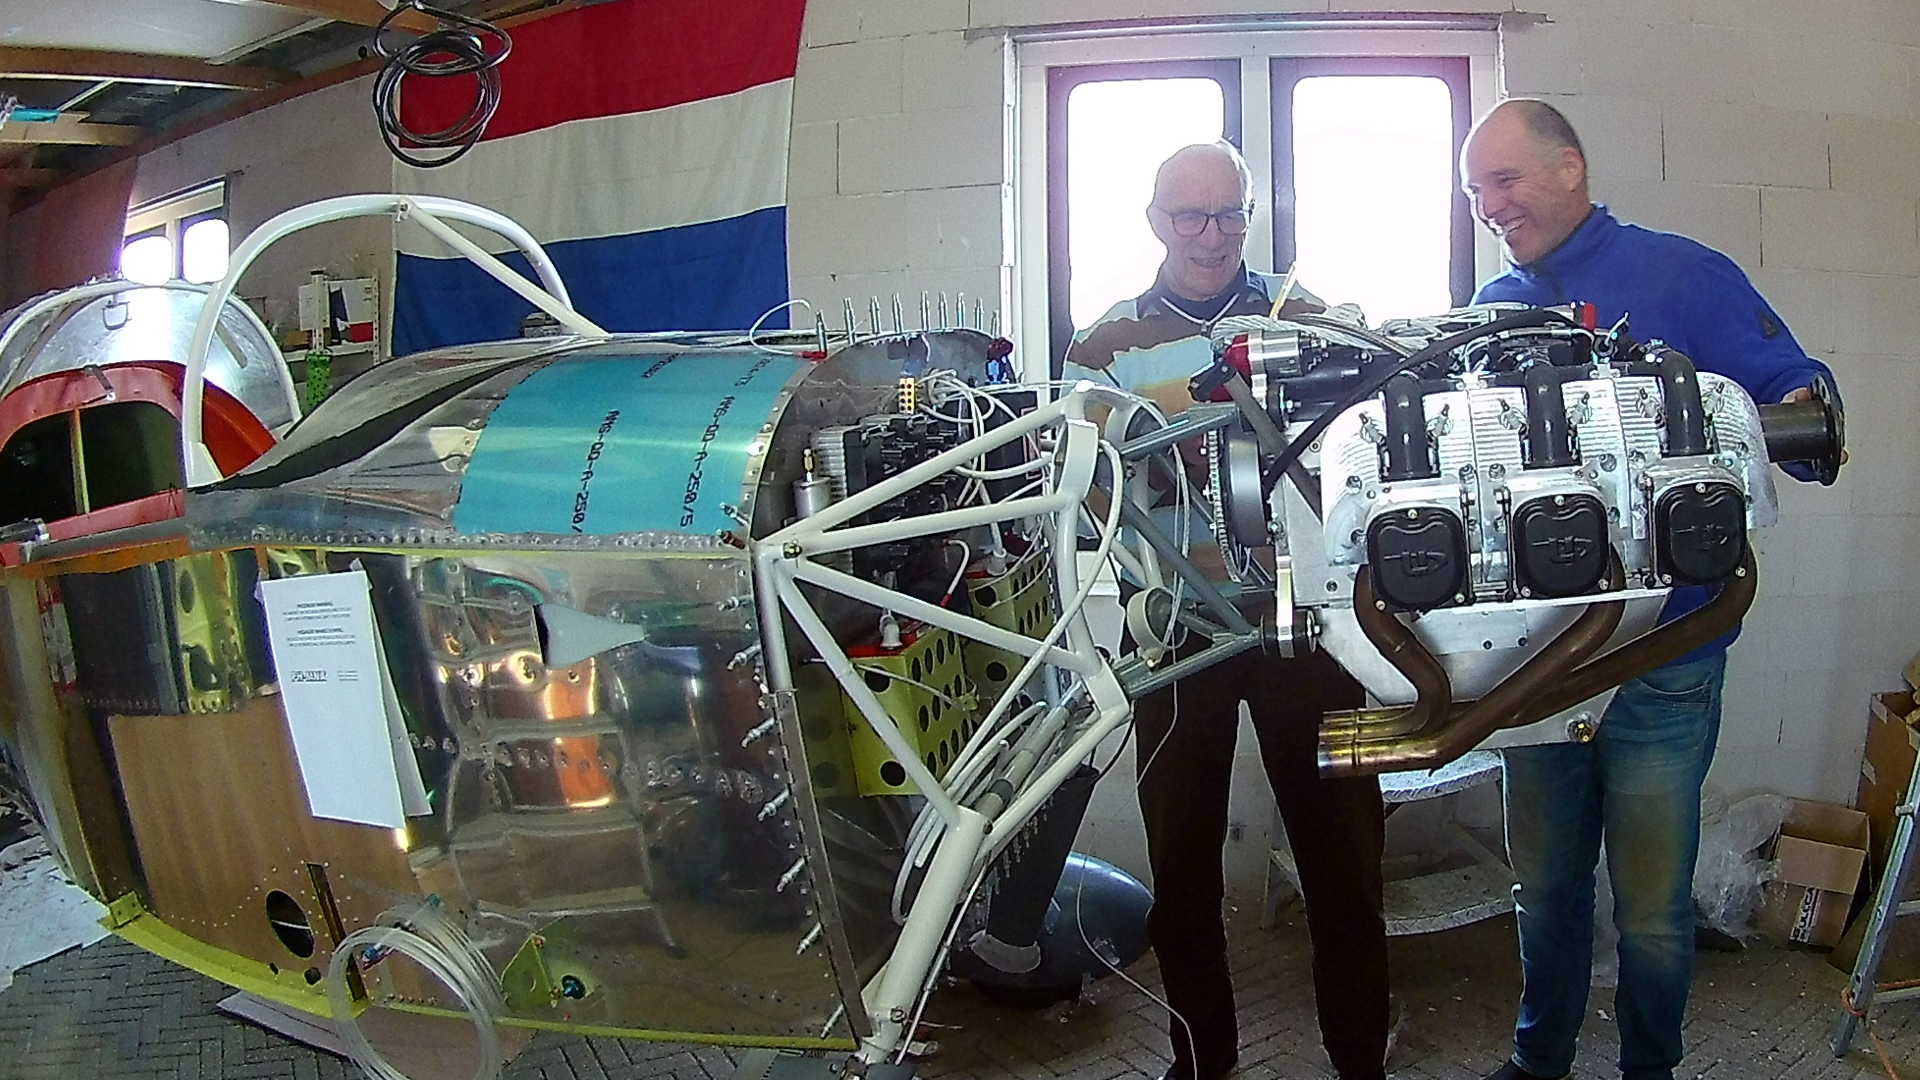
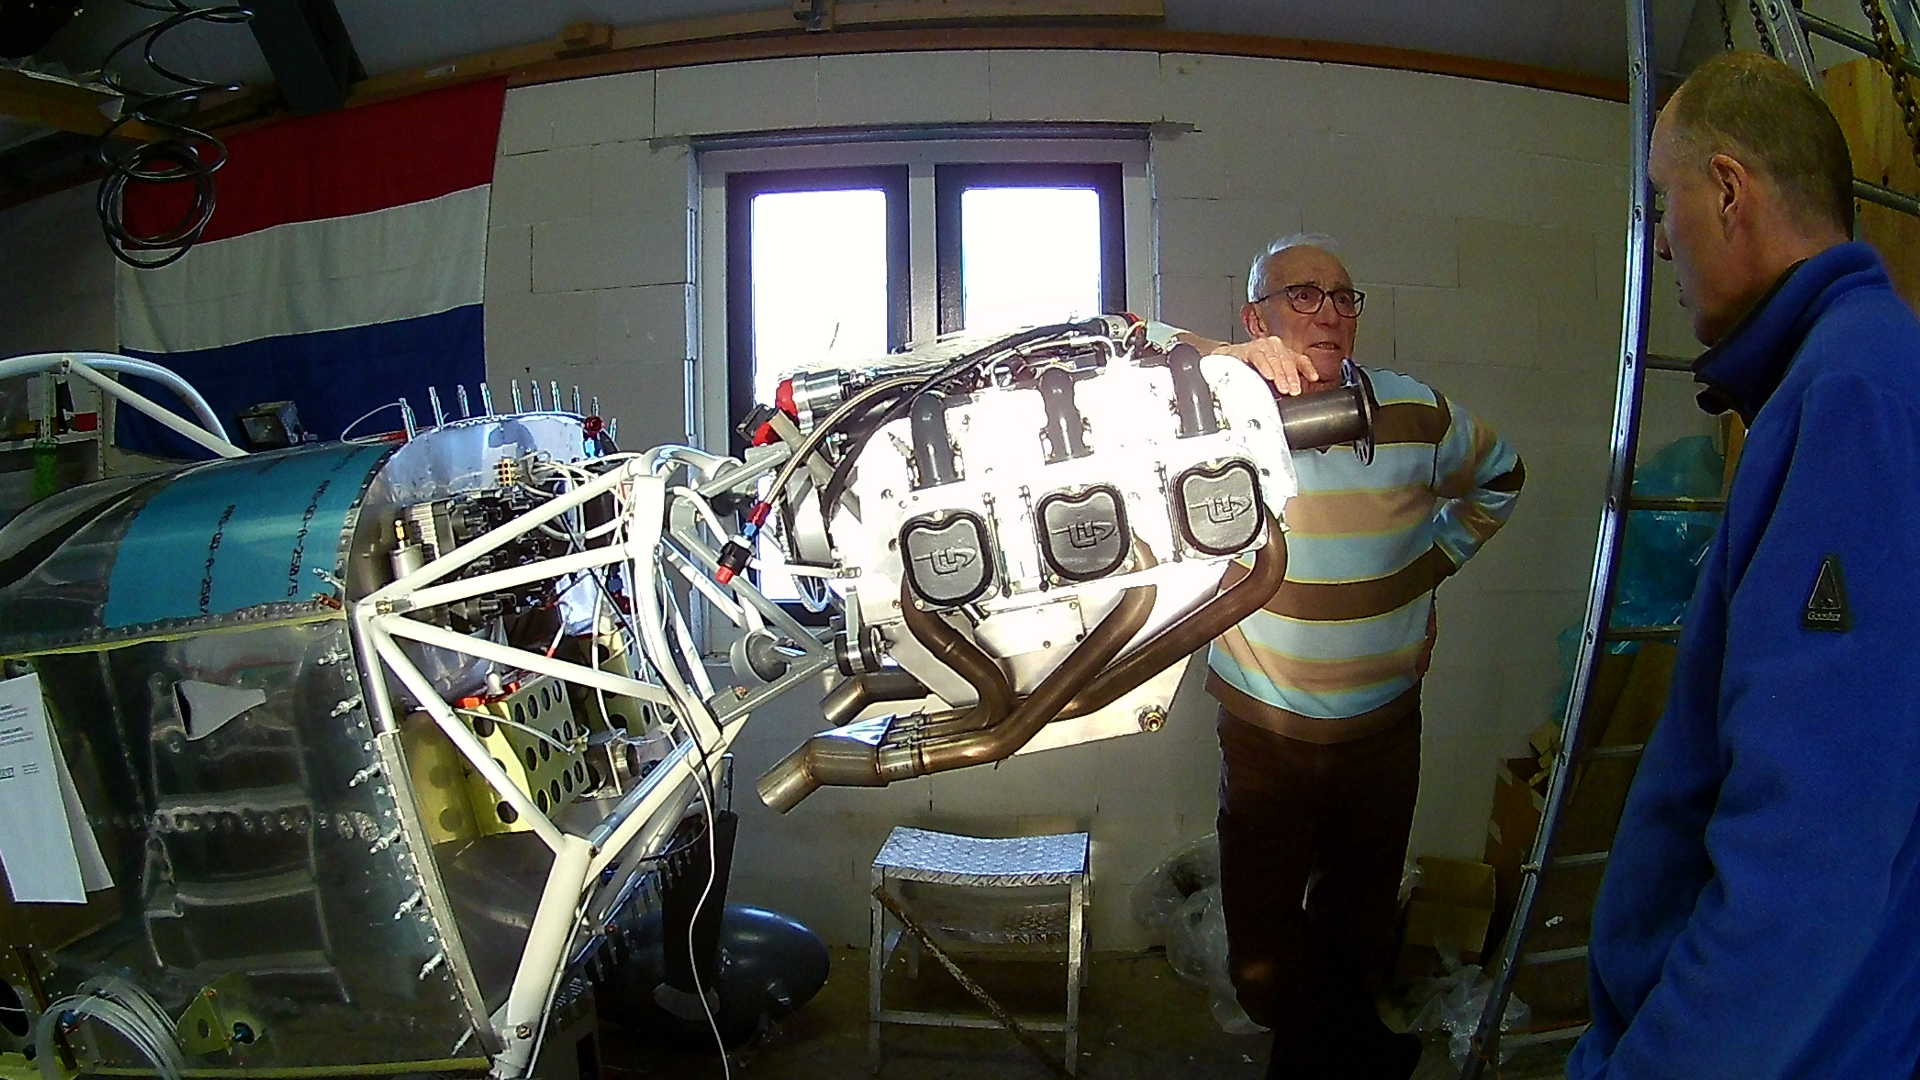
Lifting time. While my dad is controlling the trolley, I guide the engine between the legs of the ladder. We lifted the tail wheel of the airplane, so the engine mount is level with the engine itself.
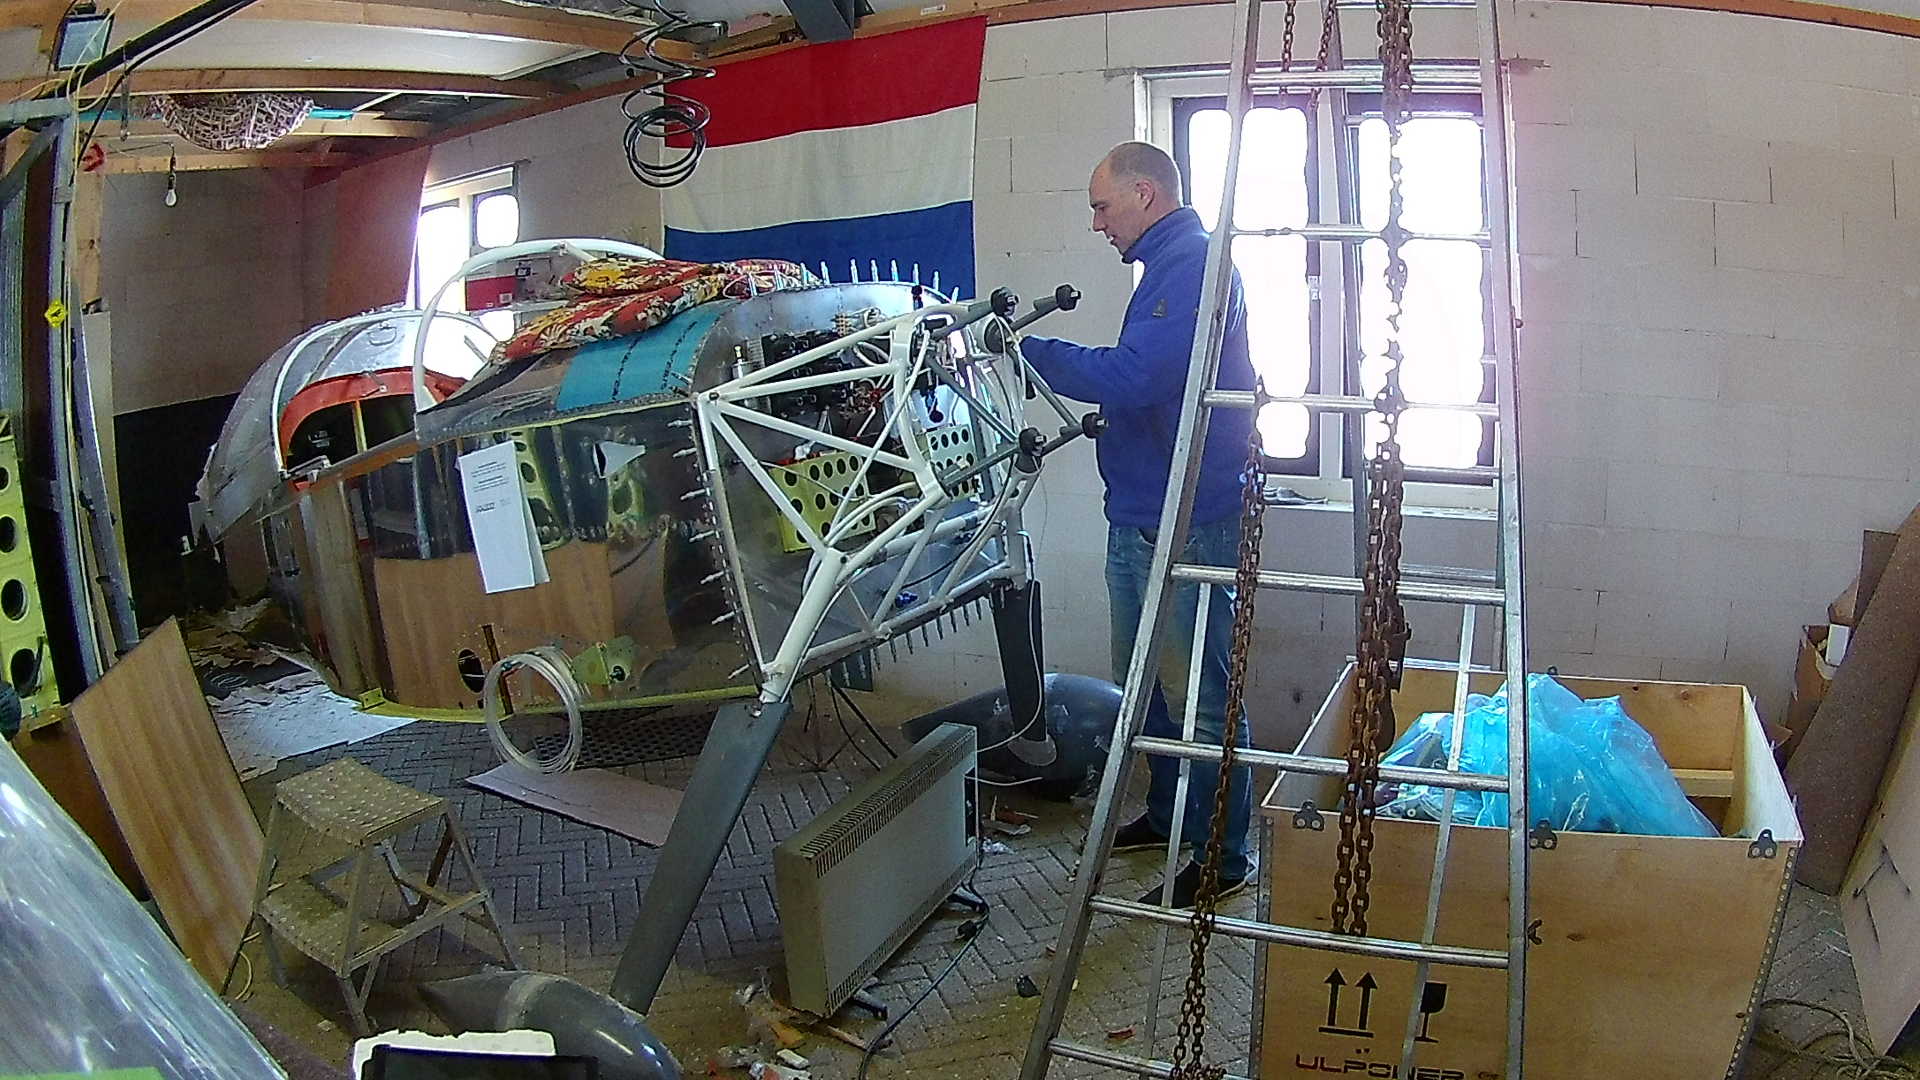
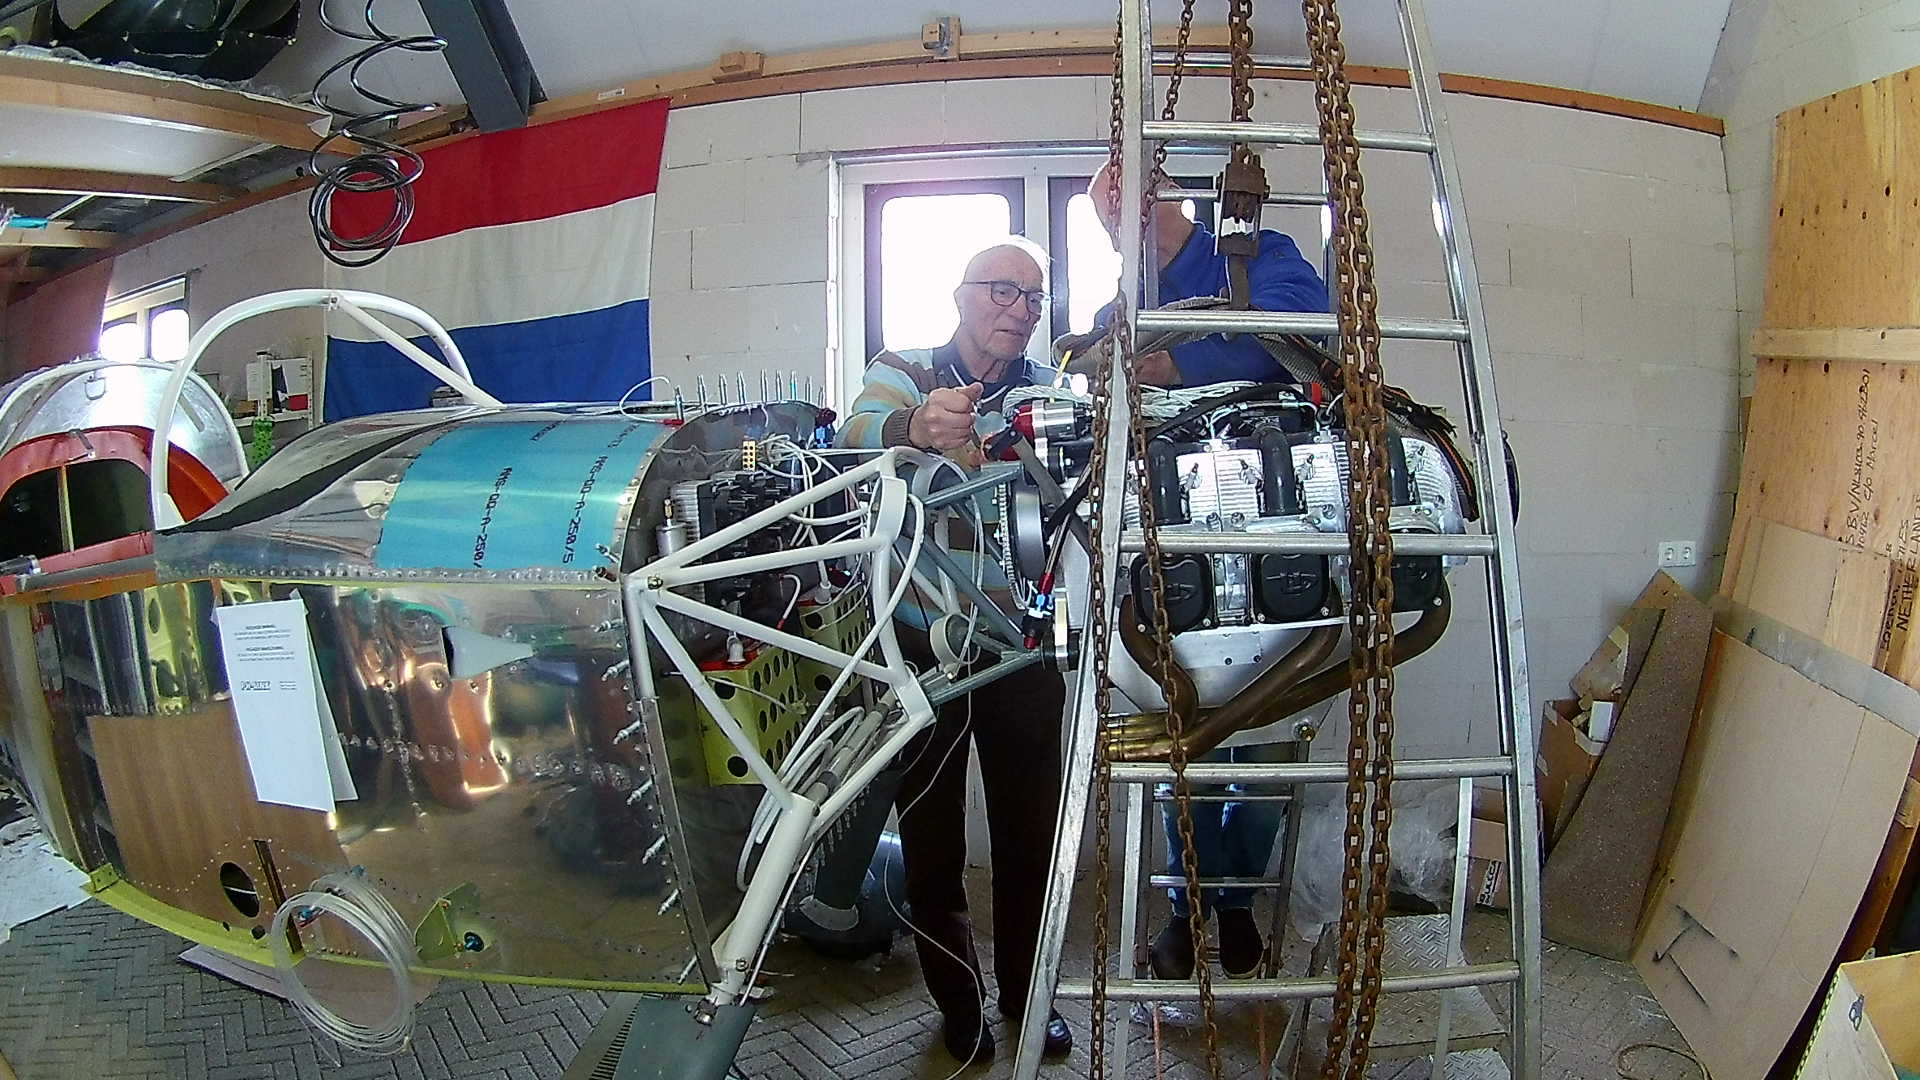
I made a big error here, with the engine mount extension. The grey powder coated steel part extents the (white powder coated) engine mount, in order to shift the engine 8″ to the front. This is necessary, because the ULPower engine is much lighter than the Lycoming engine, that is used in the design of the RV-7.
To get the CG in the right range, I had to extent the engine mount. However, I’ve accidentally attached the extension unit upside down. This shows by the angle of the extension going up. This resulted in the engine being located too high. So high that the cowl would never fit. Because we were focused on installing the engine (and most notably the rubber attach points), we completely missed this error.
Fortunately my wife saw the issue immediately when she entered the workshop to see the progress. When she said that we installed it wrongly, I thought, what does she know. Well shame is on me.
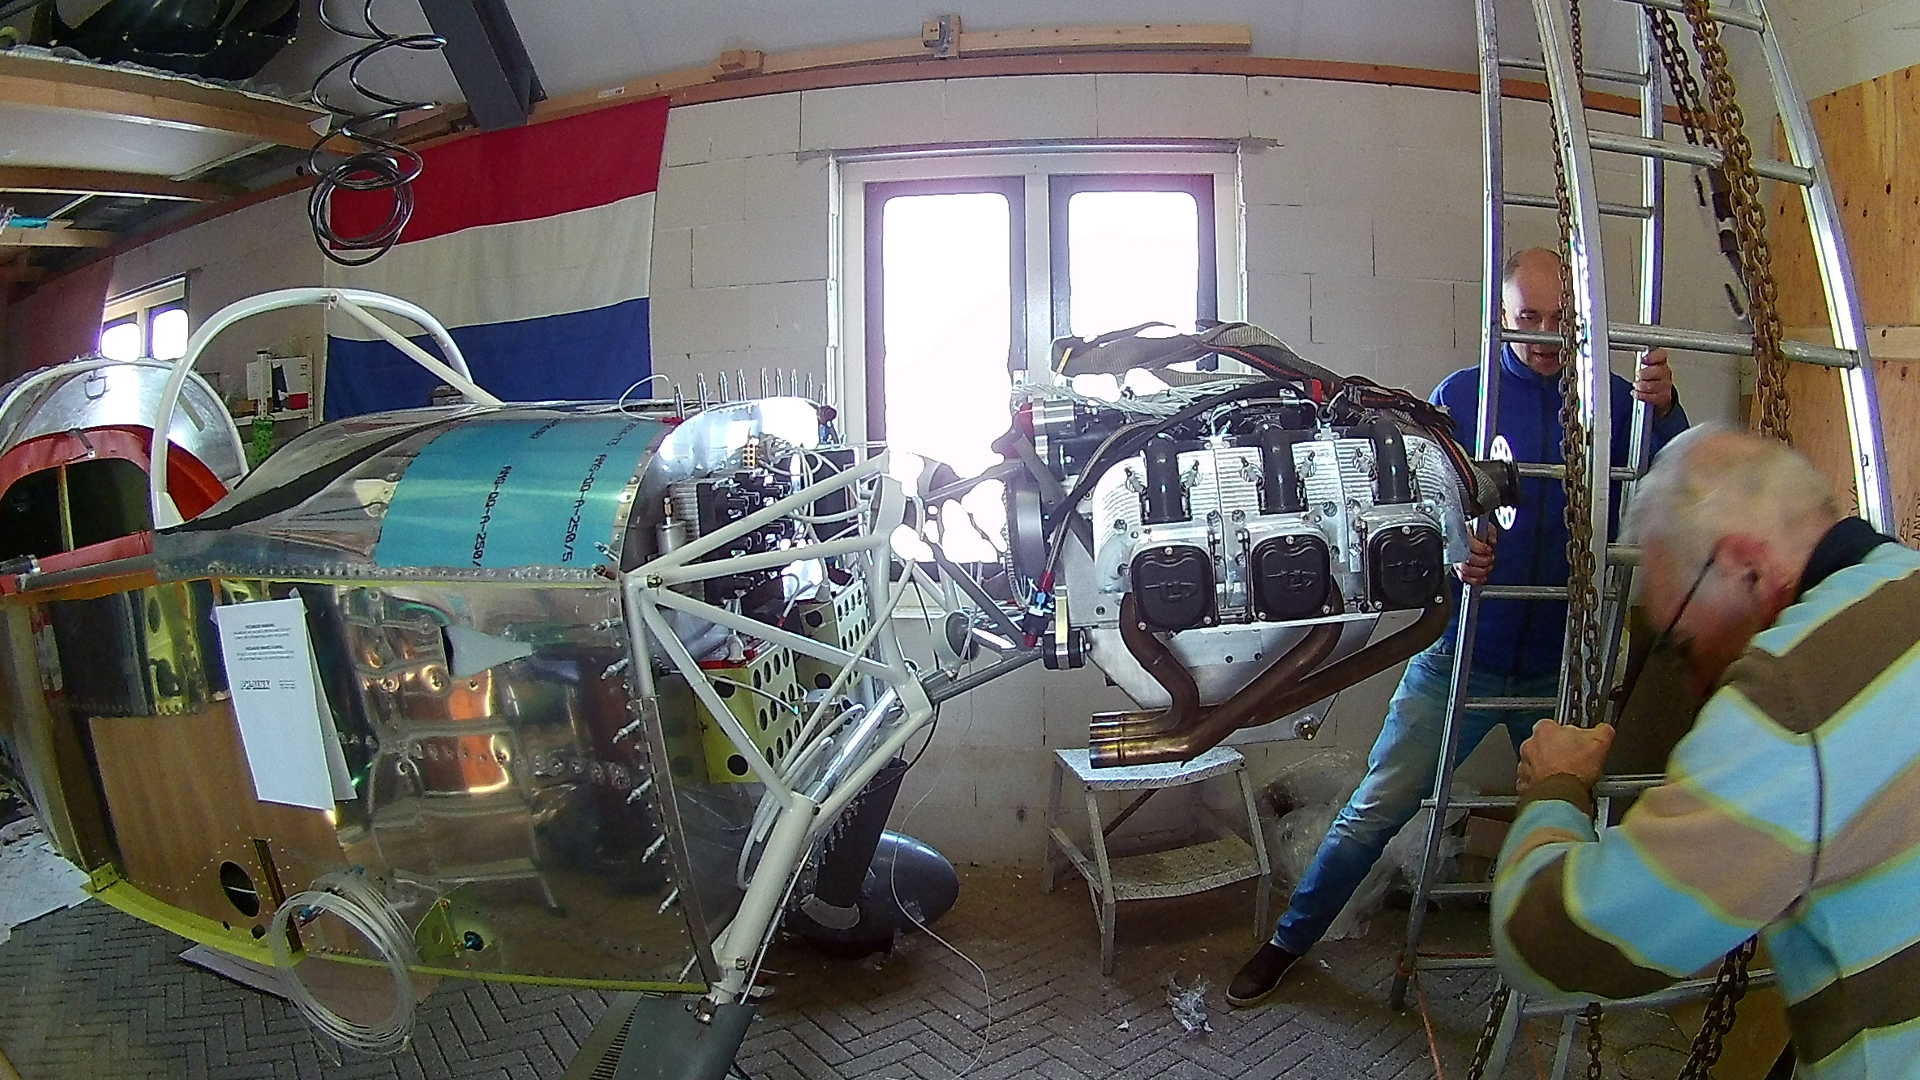
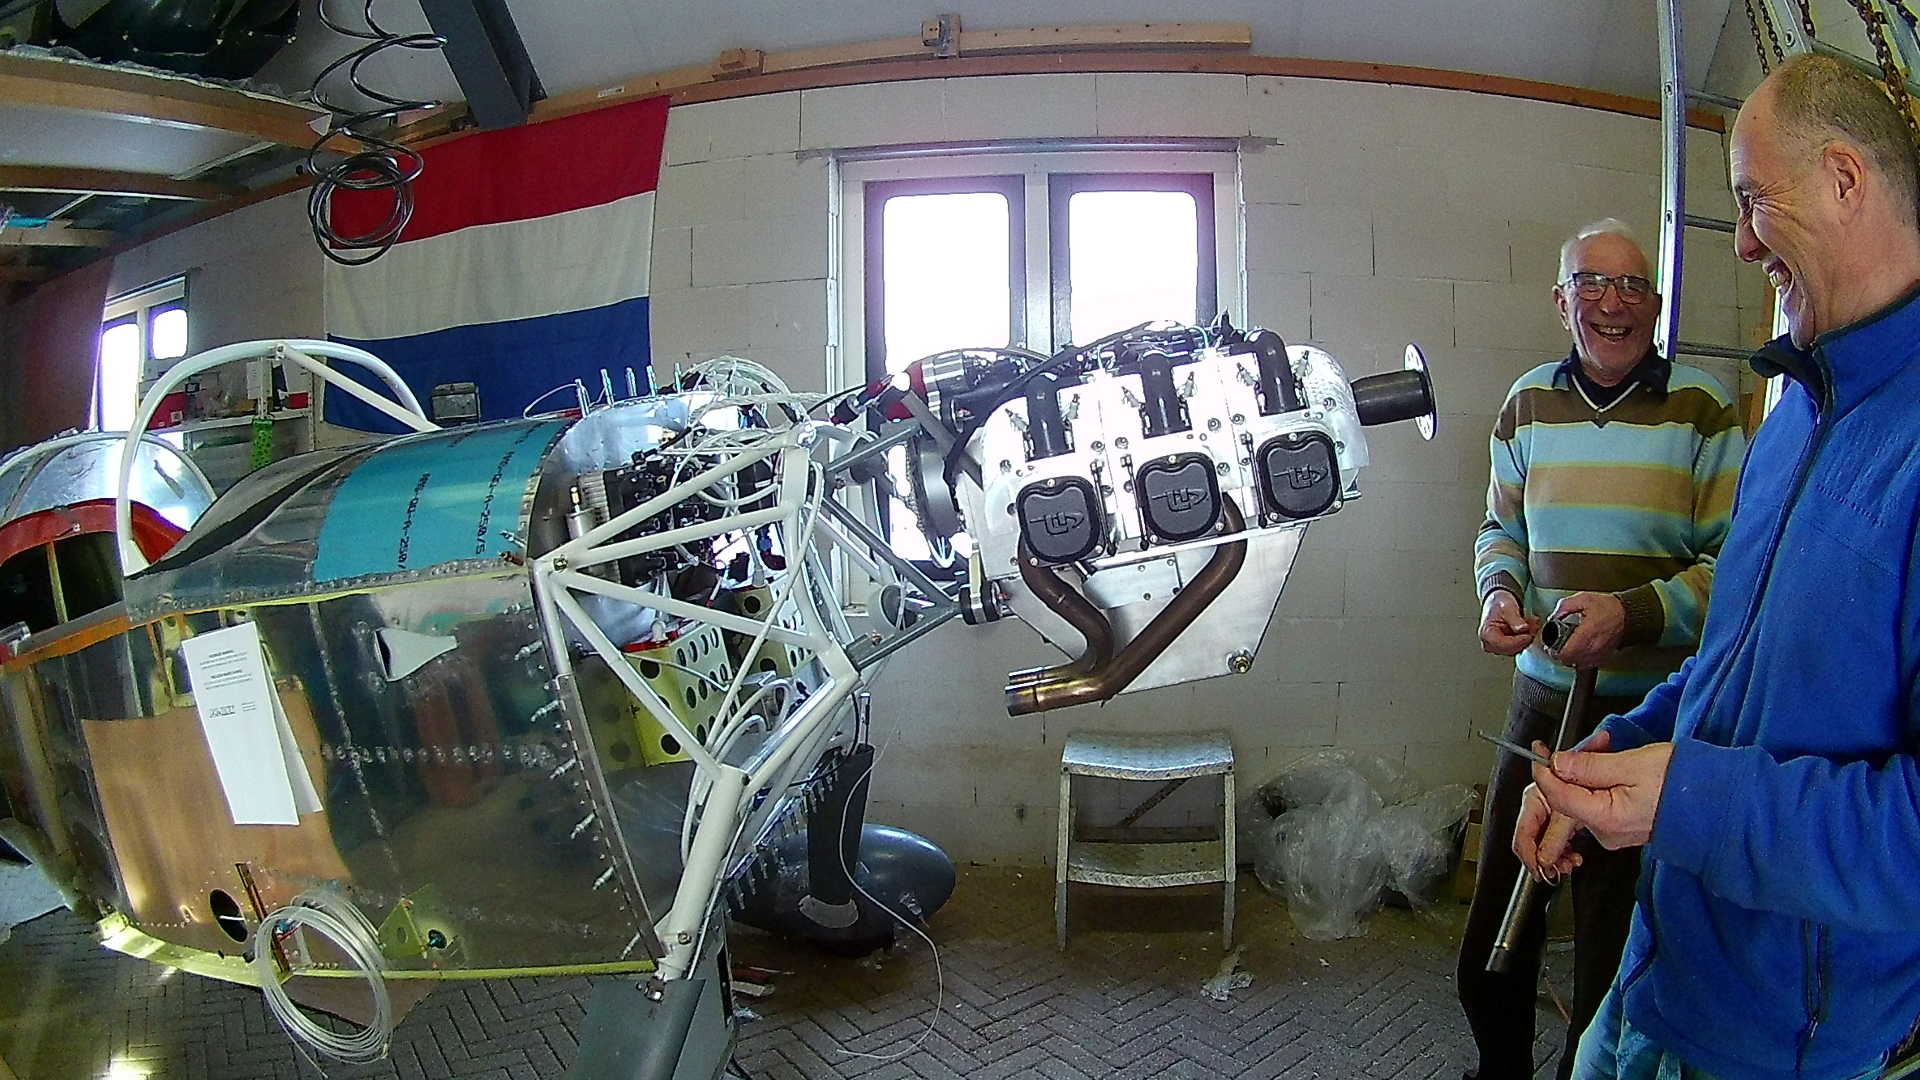
Done, the engine is attached to the (upside-down) engine mount (sigh). Now we can remove the ladder and all the transport and lift accessories.
Still laughing, because We didn’t figure out we screwed up. Now we can continue the installation.
First we have to replace the exhaust rings that were used by the test rig in the factory. The factory provides new (copper) rings that we need to install.

Some bolts are really hard to reach. With some little grease (AeroShell 22) we insert the new rings and they stick. Now we can insert the exhaust pipe.
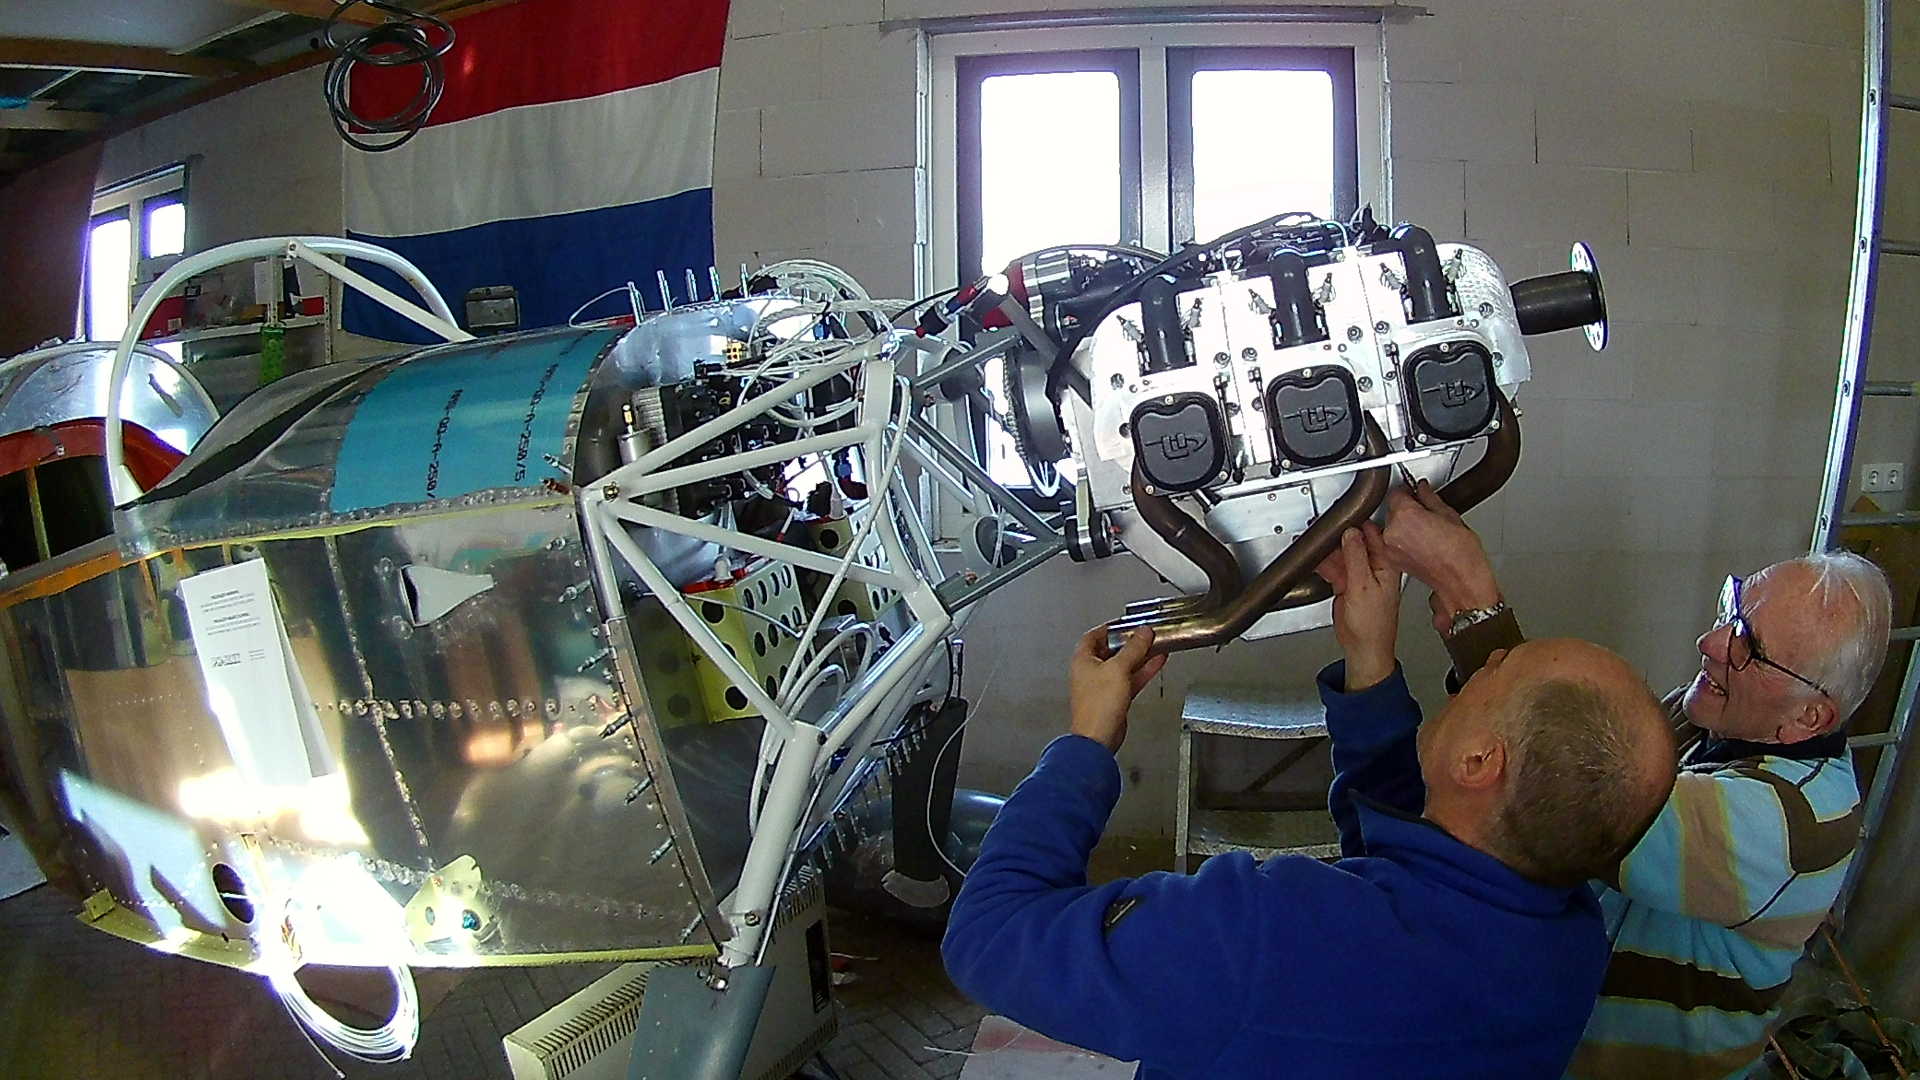
The cramped space and the angle of the exhaust, makes it really hard to torque the bolts to the right value.
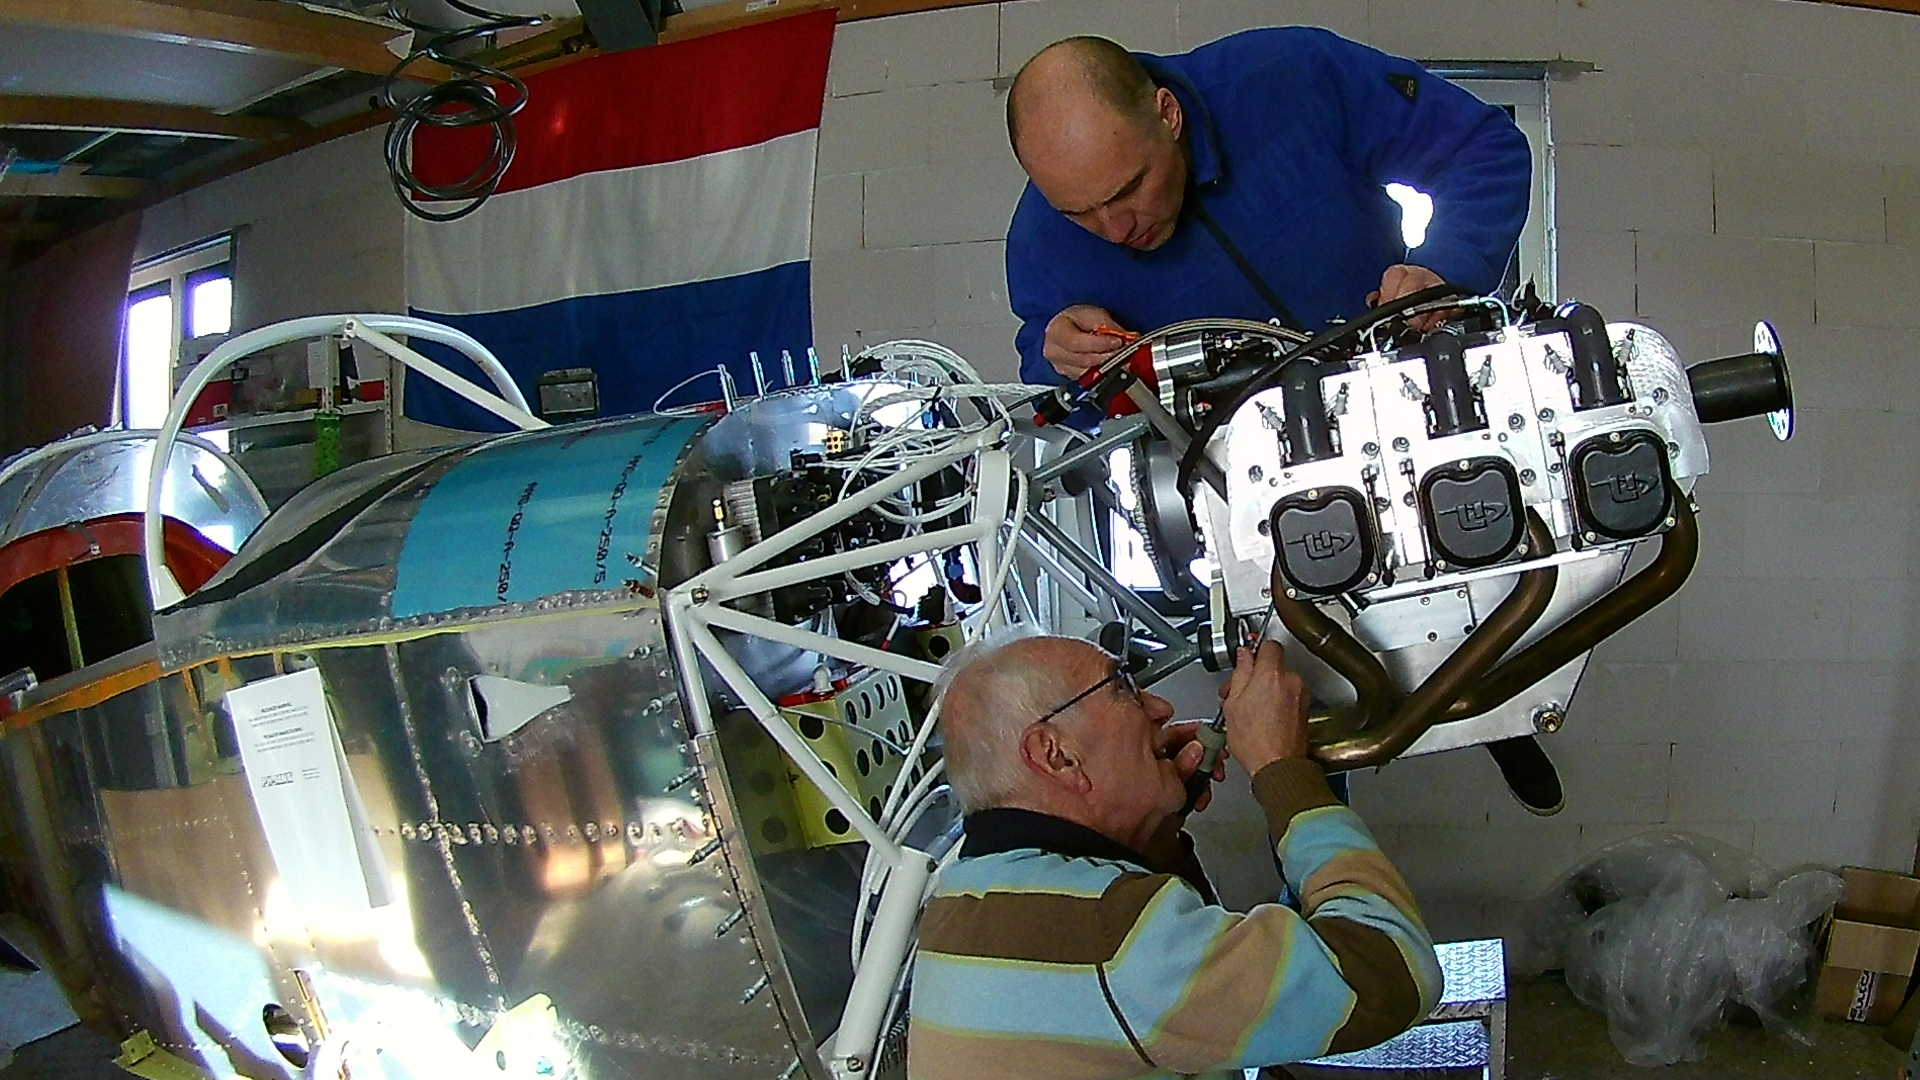
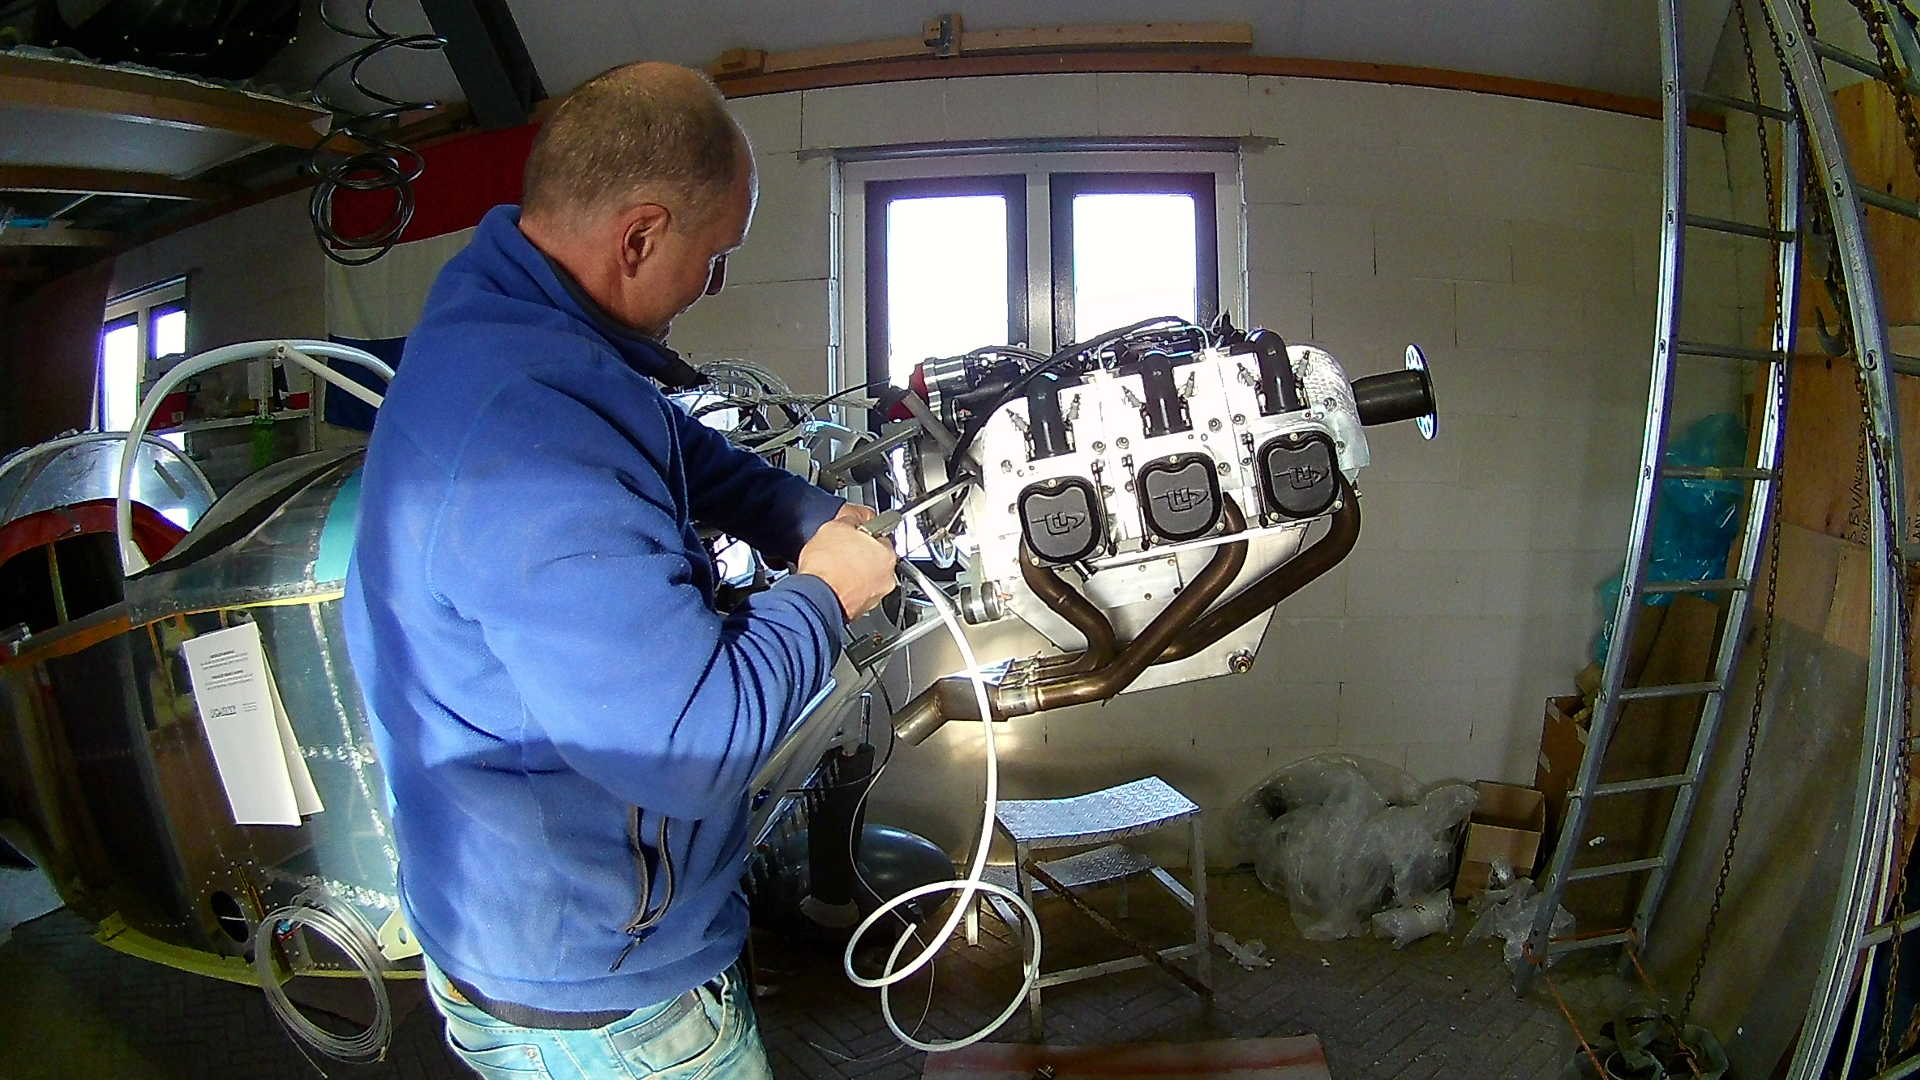
While my dad keeps working on the exhaust, I start installing the throttle cable. As per the manual, you do need to make the throttle cable curve, while installing it. The reason is that a straight cable could be actuated by vibrations (movements) in the engine.
Time to connect the huge starter engine cables. As you can see I still didn’t figure out the wrong installation.
And this is the point where my wife told me the engine is too high. After my short period of denial, going through possible screw-ups, I realized that the extension did NOT have a ‘this side up’ sticker.
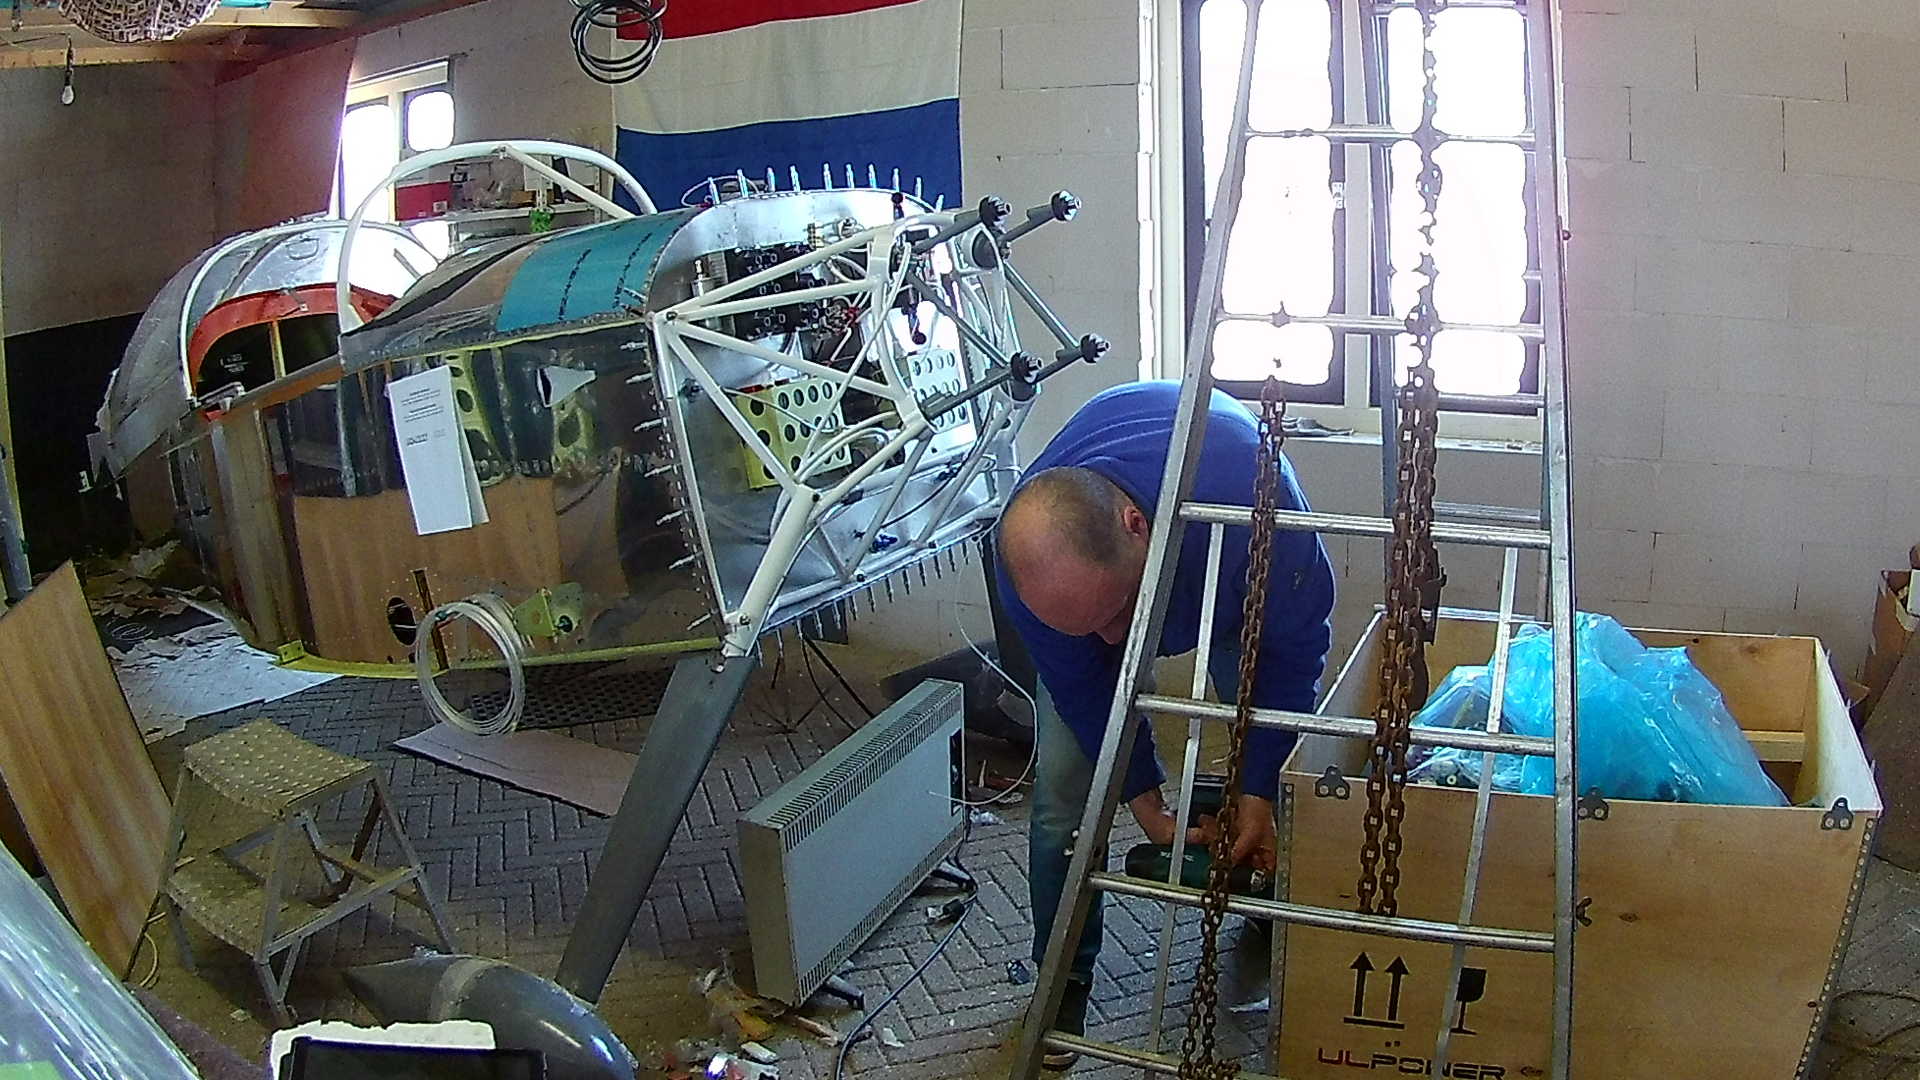
We are deciding how to fix this. Later that day I decided to hang the engine back in the ladder and unscrew the nuts of the extension on both sides. Turns out it is much easier to attach the engine with the extension loose from the engine mount.

Only one hour later I had the extension turned around. So now it fits.
A little strange is the position of the exhaust spring clamp rings. They look wrong, but I have to modify the exhaust anyway.

It’s after dark, but I was really determined to fix the extension that day.

Time: 7 Hours, Rivets: 0/0 (2021-02-14)
Time: 7 Hours, Rivets: 74/0 (2021-02-17)
Time: 3 Hours, Rivets: 0/0 (2021-02-18)
Time: 7 Hours, Rivets: 0/0 (2021-02-21)
Video