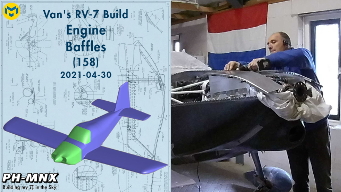

Most RV’s are powered by a Lycoming engine. The RV-kit shipped by Van’s includes a Cowl that fits (more or less) around this engine. Since I’ve decided to use a UL Power engine, I needed a custom cowl. Also the Baffles delivered with the Lycoming engine are around the entire top of the engine and the way they seal off the air intake is to the top cowl with some silicone strips.
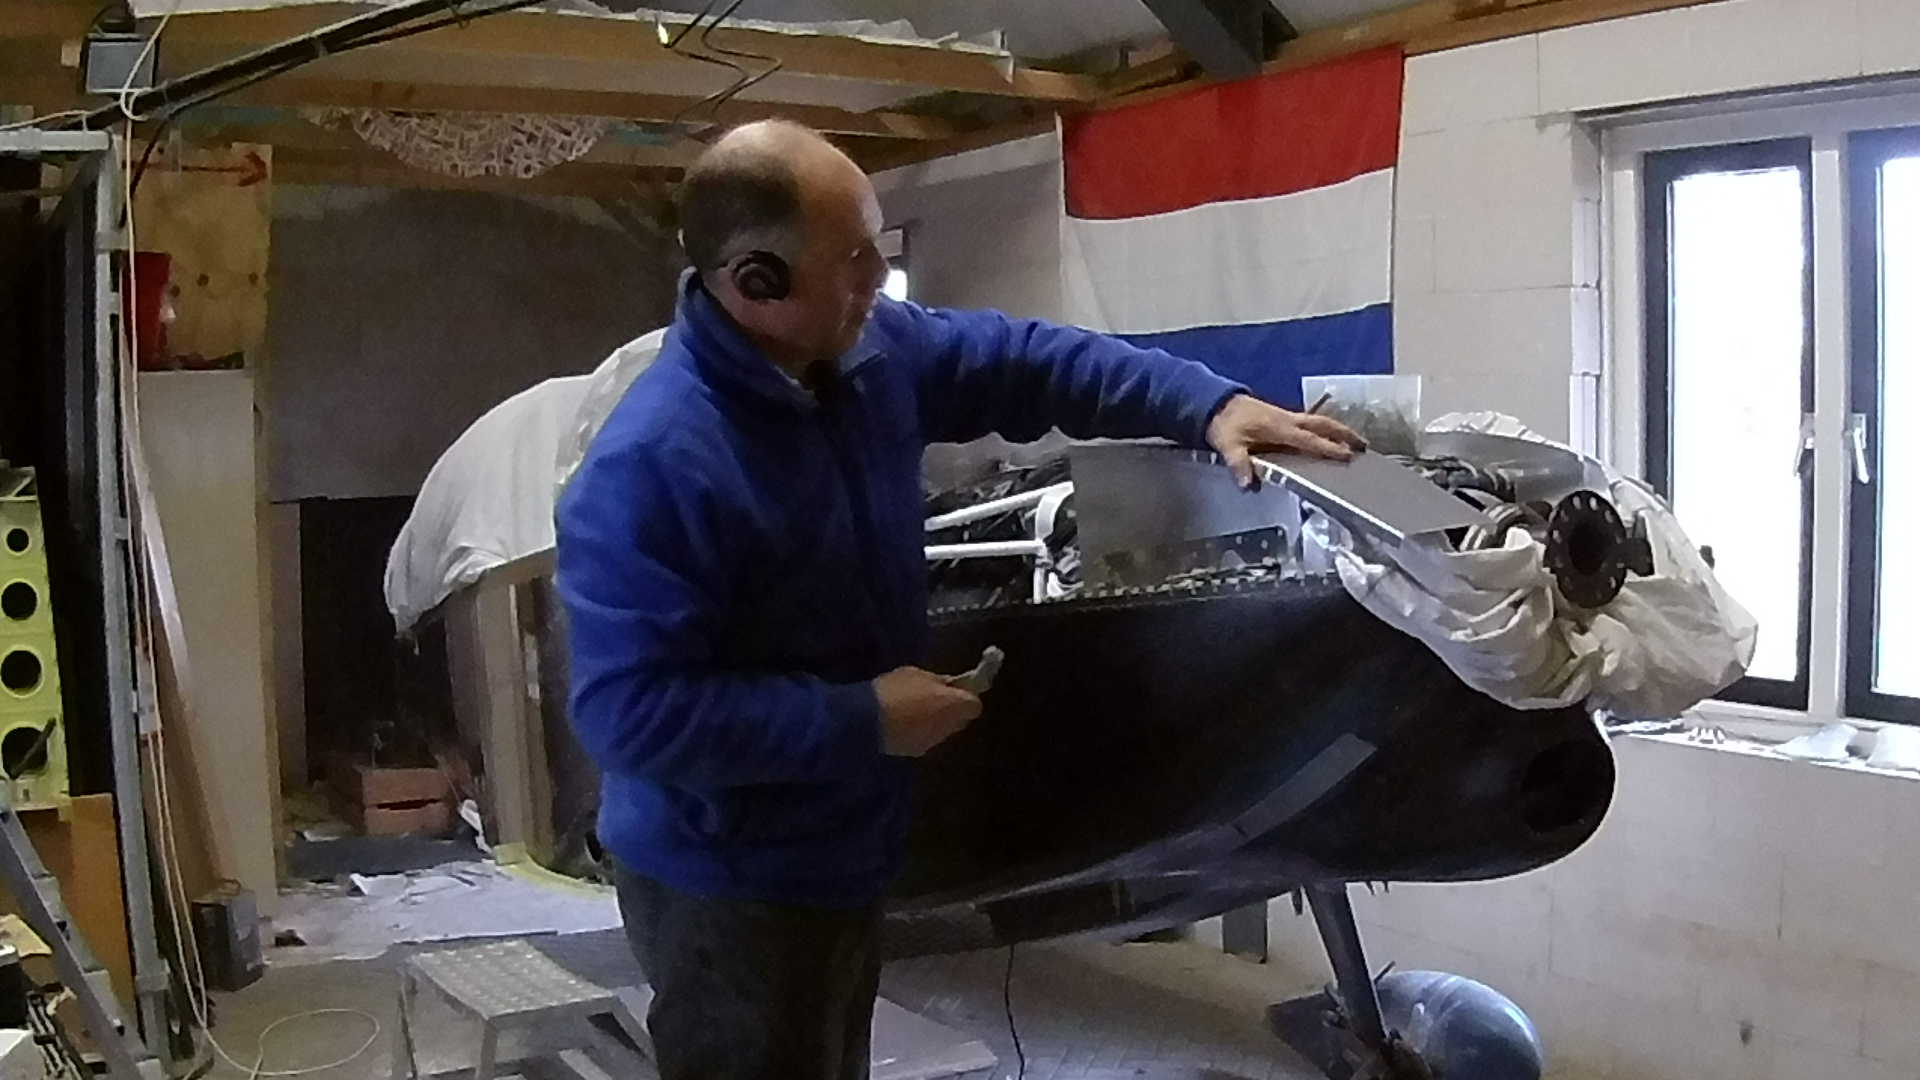
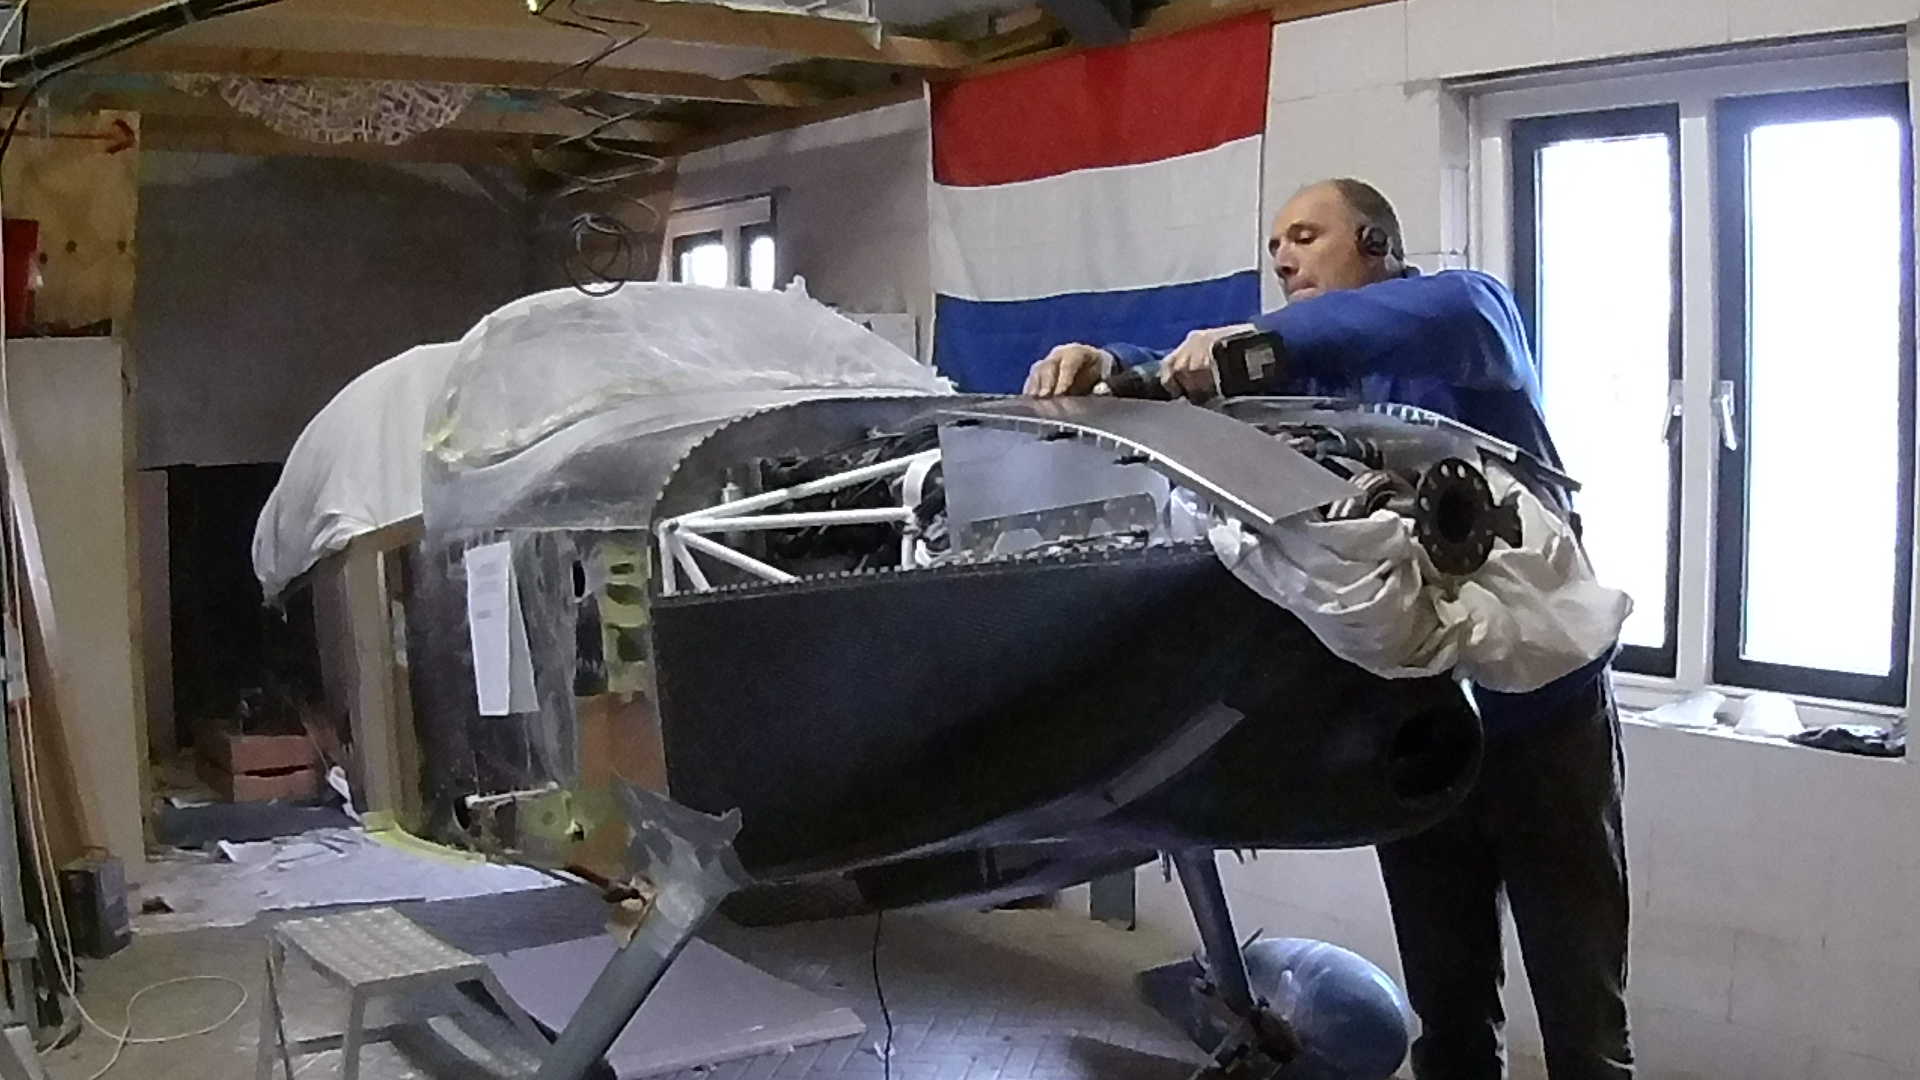
The UL Power engine has two separate Air-Boxes. Now you could seal them to the top cowl, but I didn’t like that idea. So I decided to create my own Baffle containment. It adds a little weight, but it enables more control over the airflow.
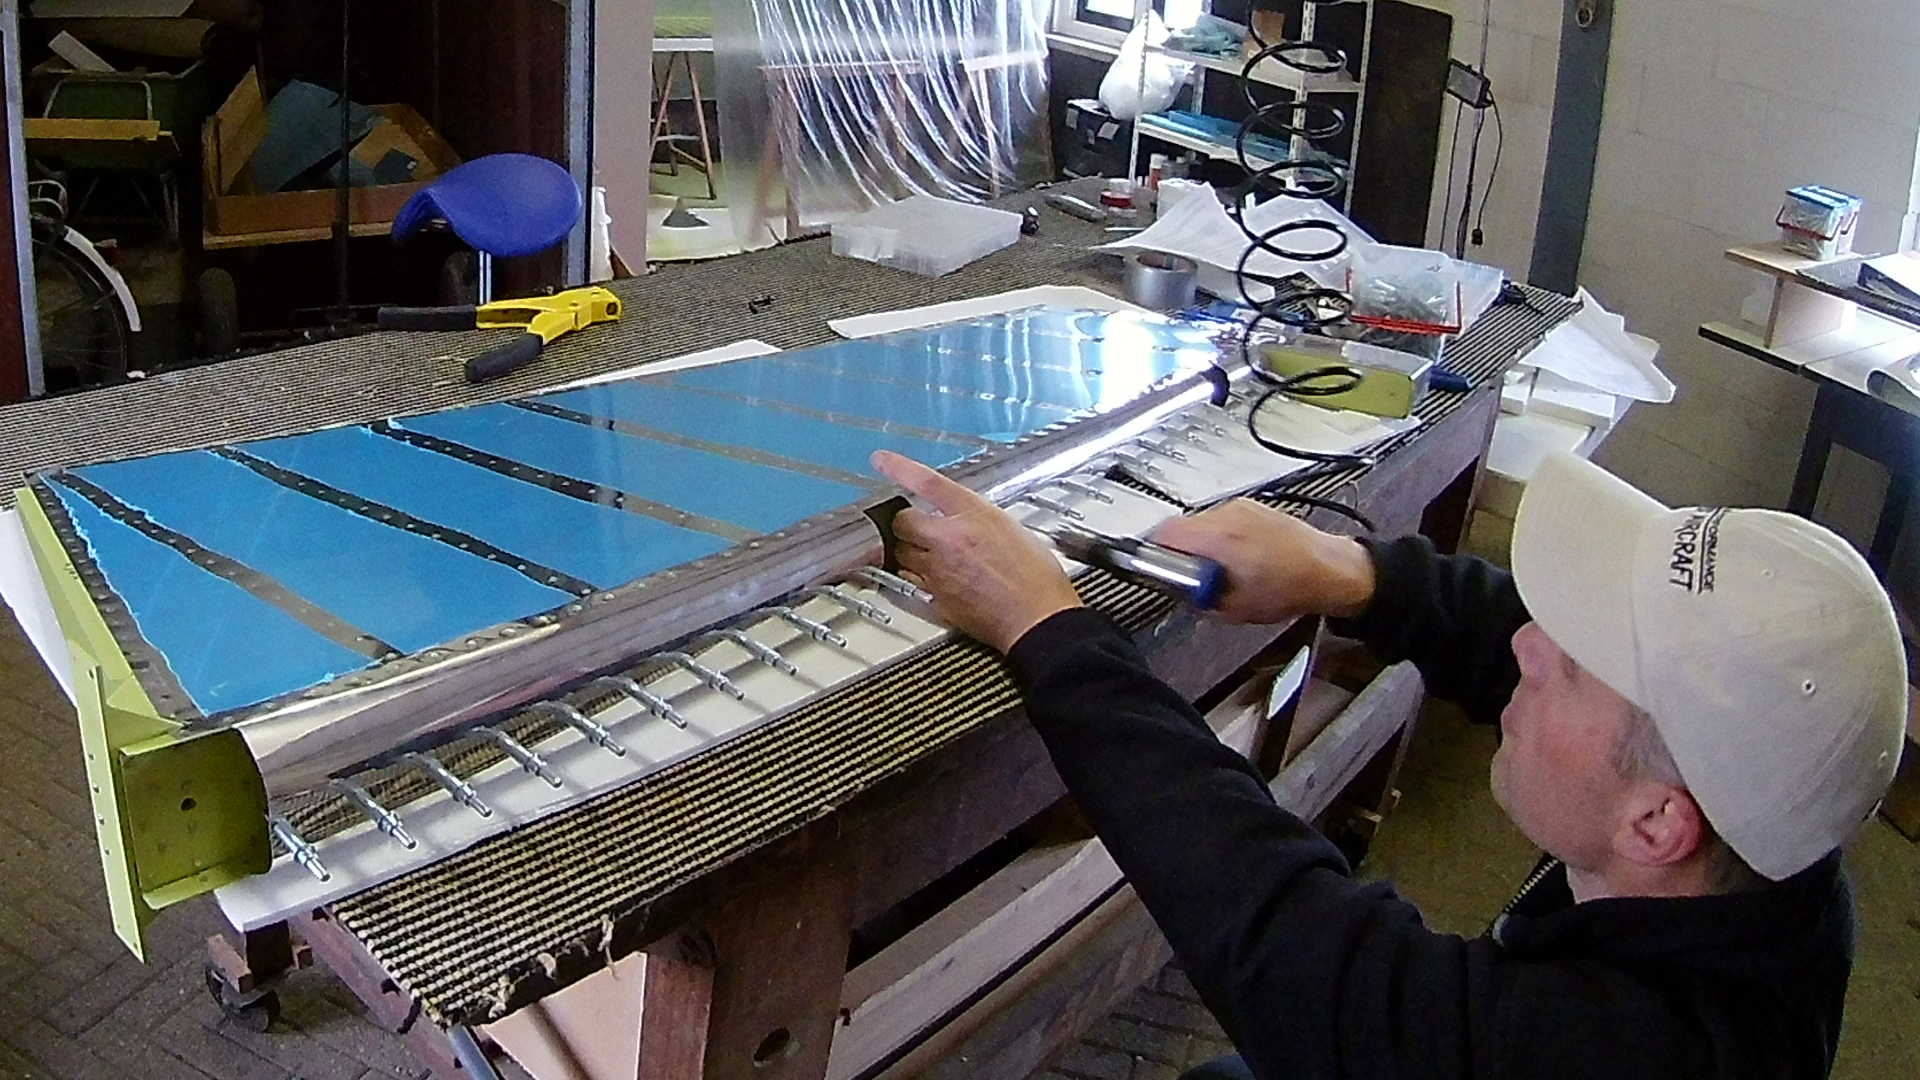
While I was designing these two plates, I was wondering how I could shape them to ‘follow’ the top Cowl. The Flute pliers are the answer, it’s magic how they can bend and shape Aluminum plates.
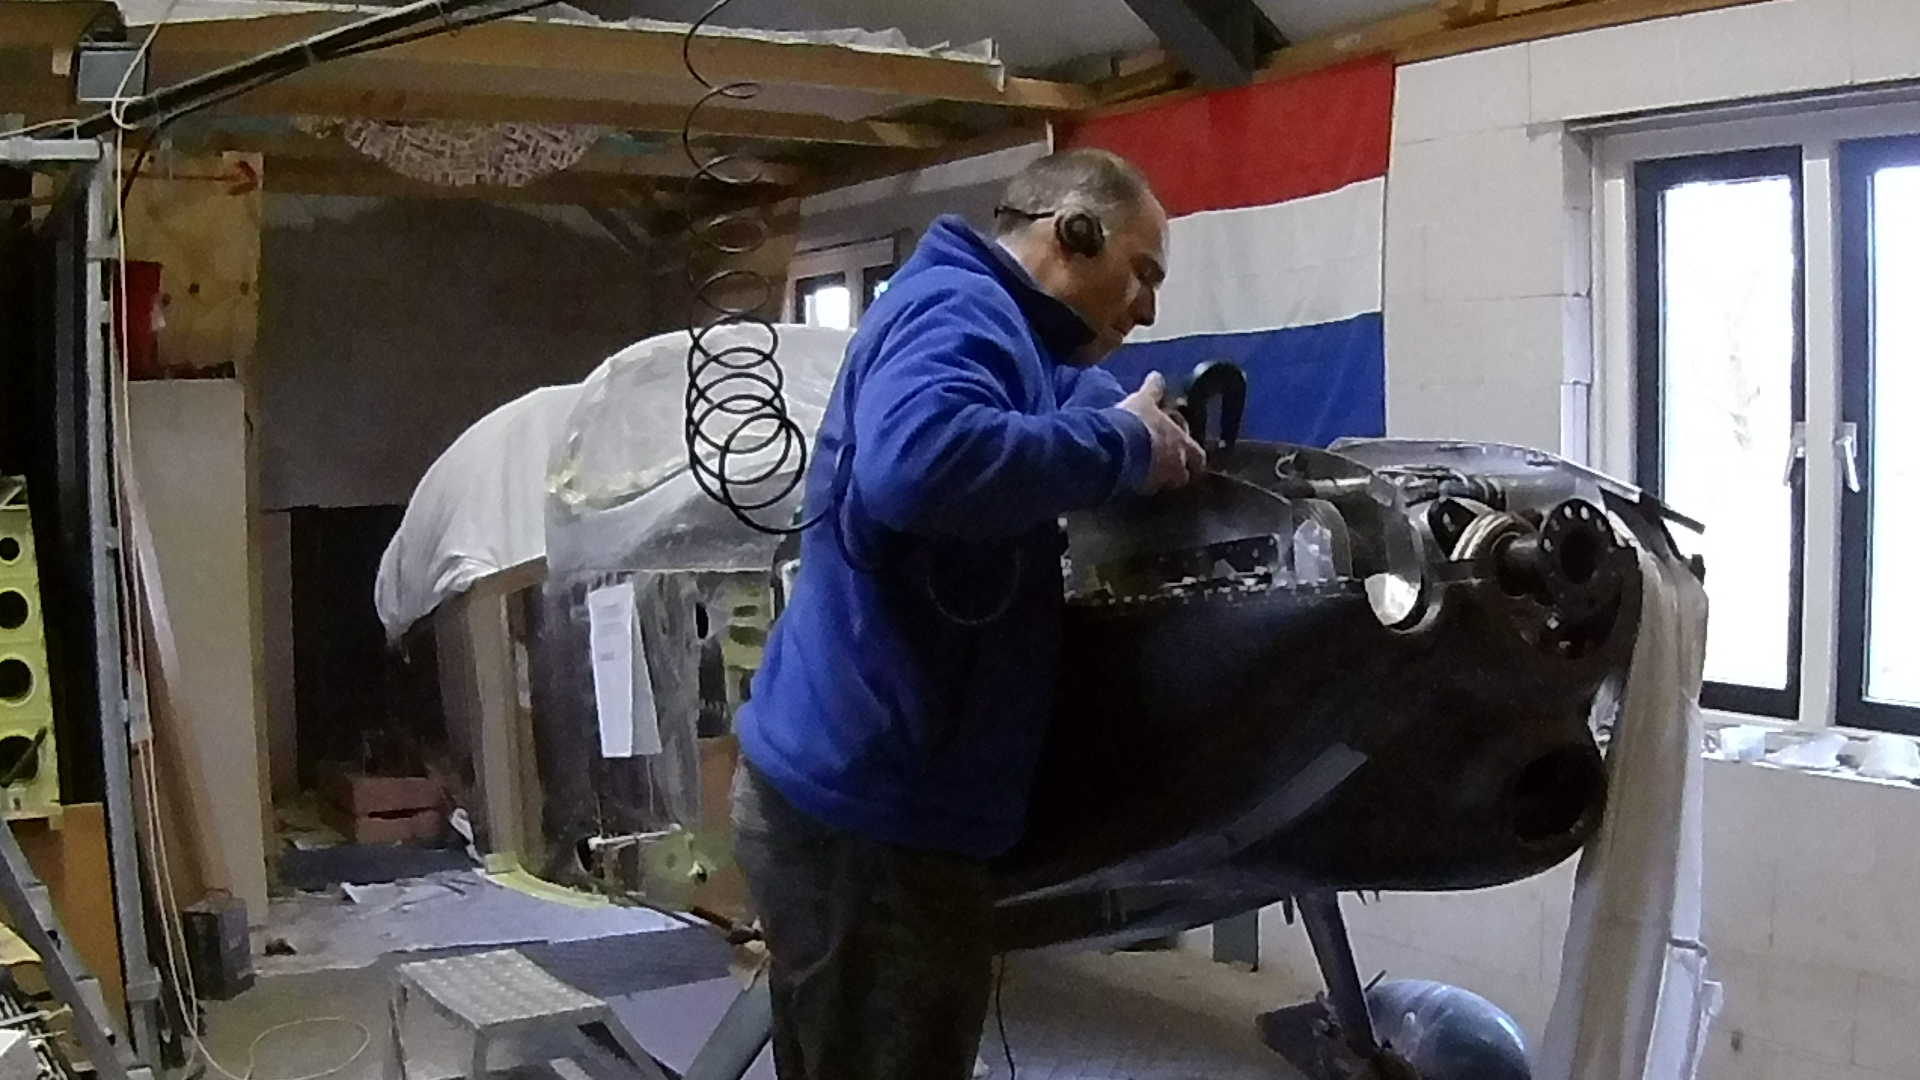
Trimming the standard UL Power Air-Boxes needs to be done in small increments. Placing and removing the top cowl dozens of times and marking the Aluminum to trim.
Also take into account that an engine will shake in its rubbers when it started or stopped.
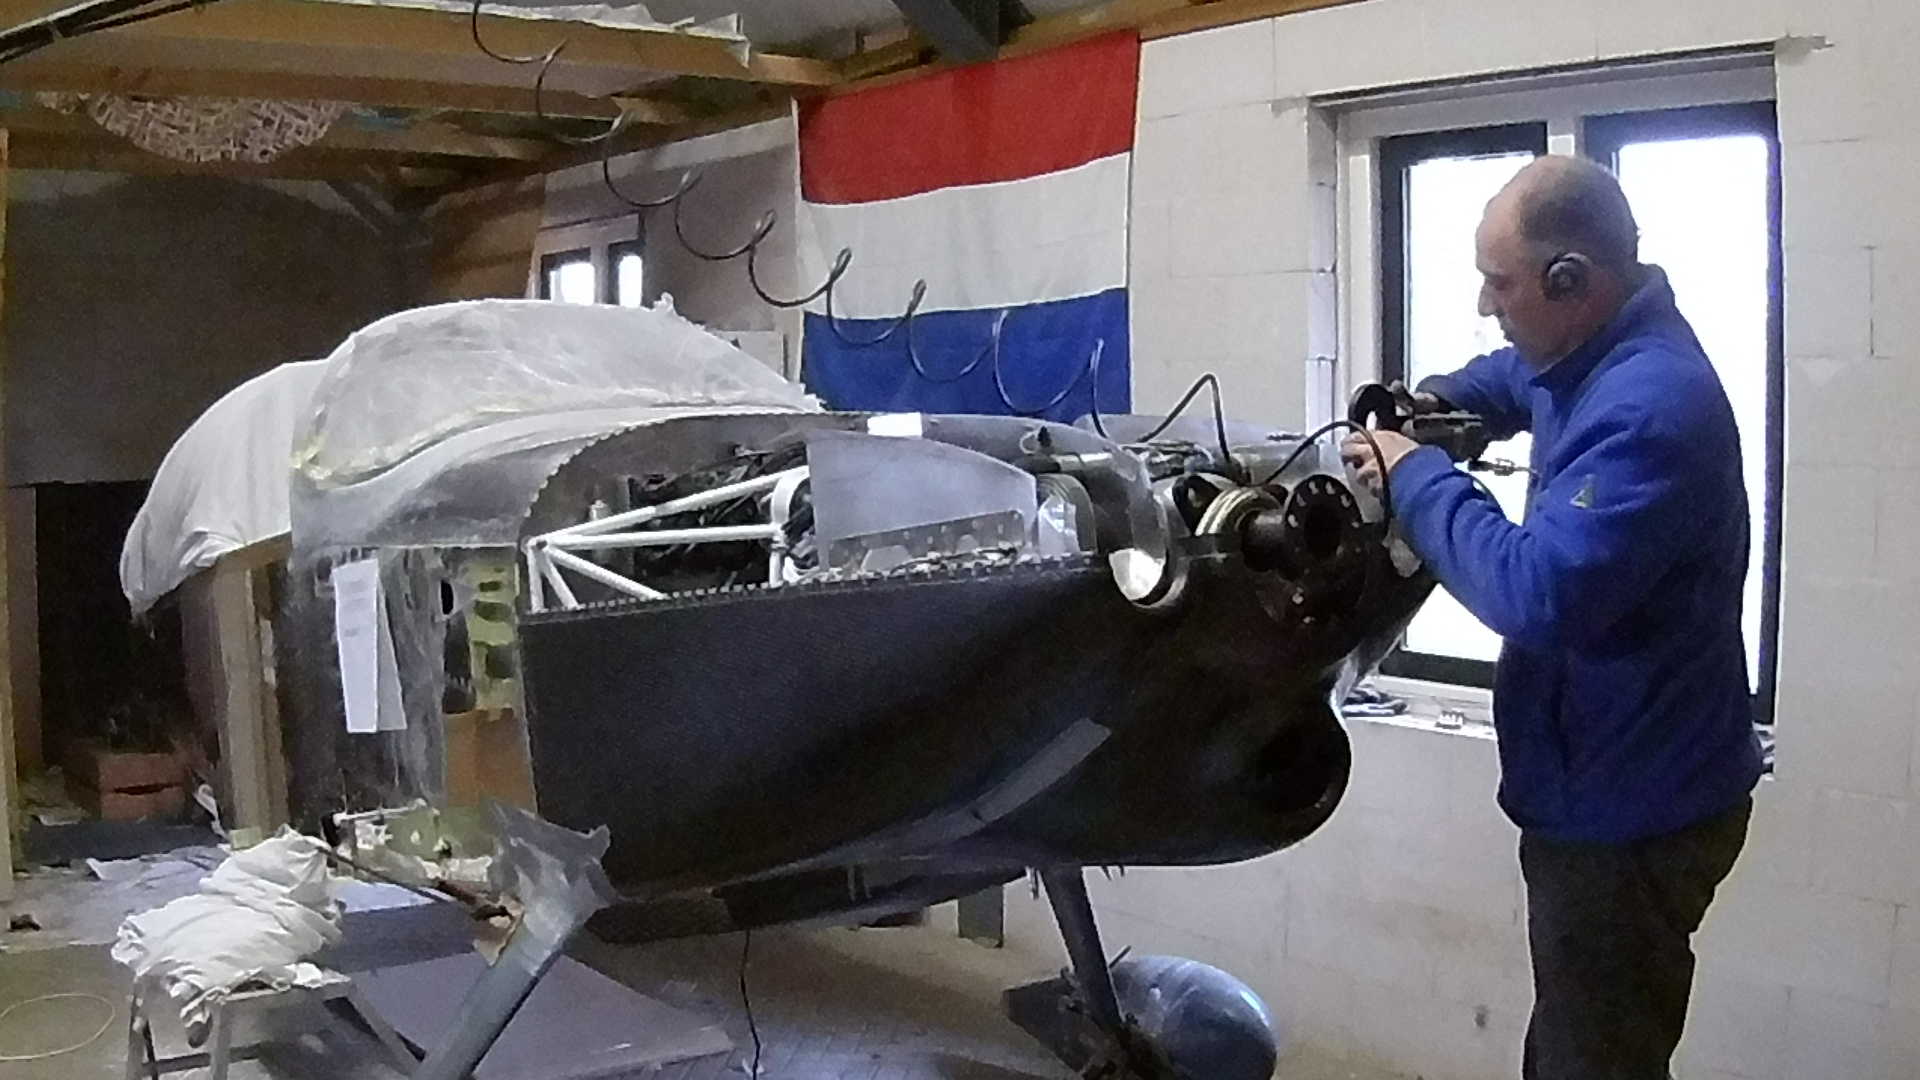
I decided to use Screws and Plate Nuts to attach the ‘Plenum’s to my Air Boxes. So after drilling the holes for the Screws and the rivets to fasten the Plate Nuts, I can start riveting them together.
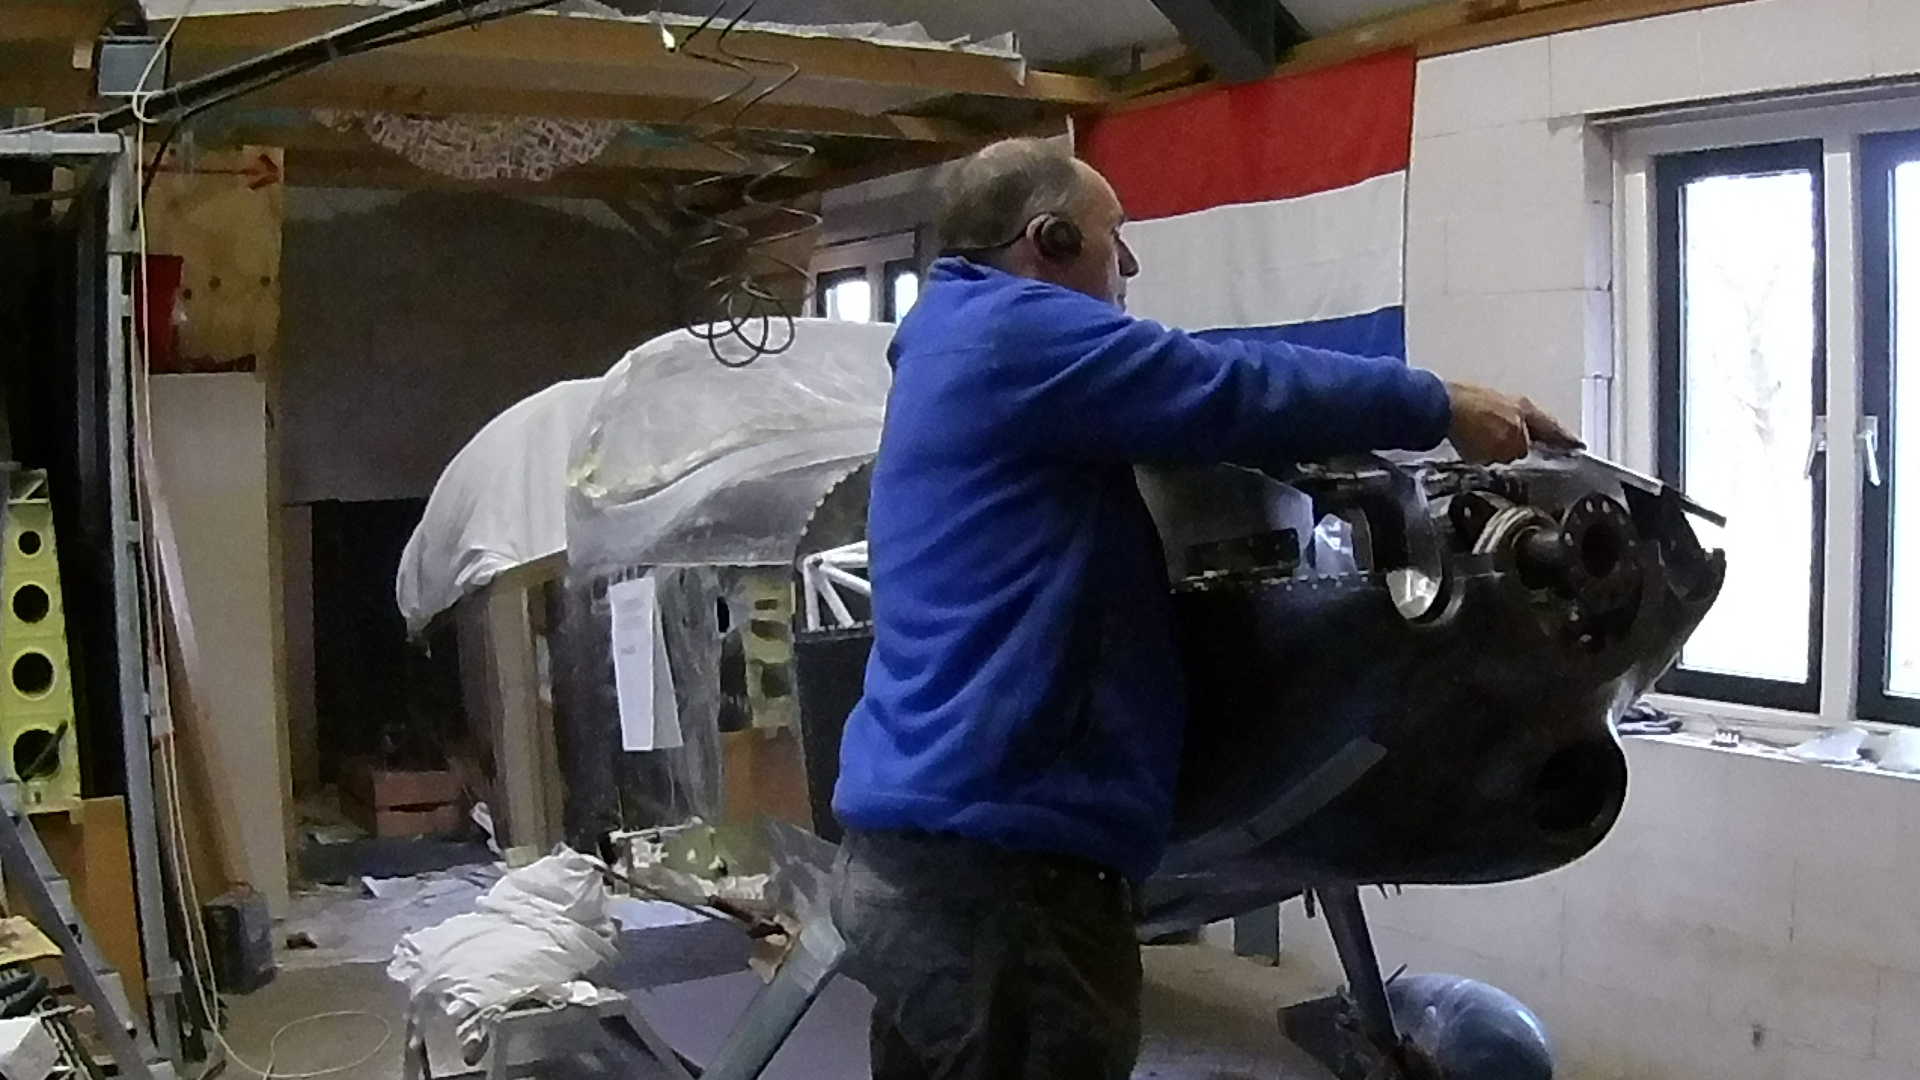
It’s a nice fit and it enable me to remove them easily when I need to do maintenance. They are not entirely finished yet, I still need to make the connection to the air intake of the top and bottom cowl. There I do need Silicone strips to seal them to the Cowl eventually.

While working on the Baffles, the resin of the bottom cowl, the intersection fairings andthe wheel pants fairings was curing. It turns out you can buy pre-build intesection fairings. Of course they won’t fit, but at least they are close. Although my Cowl is different I still think they could be useful. However I found this out AFTER I created my own.
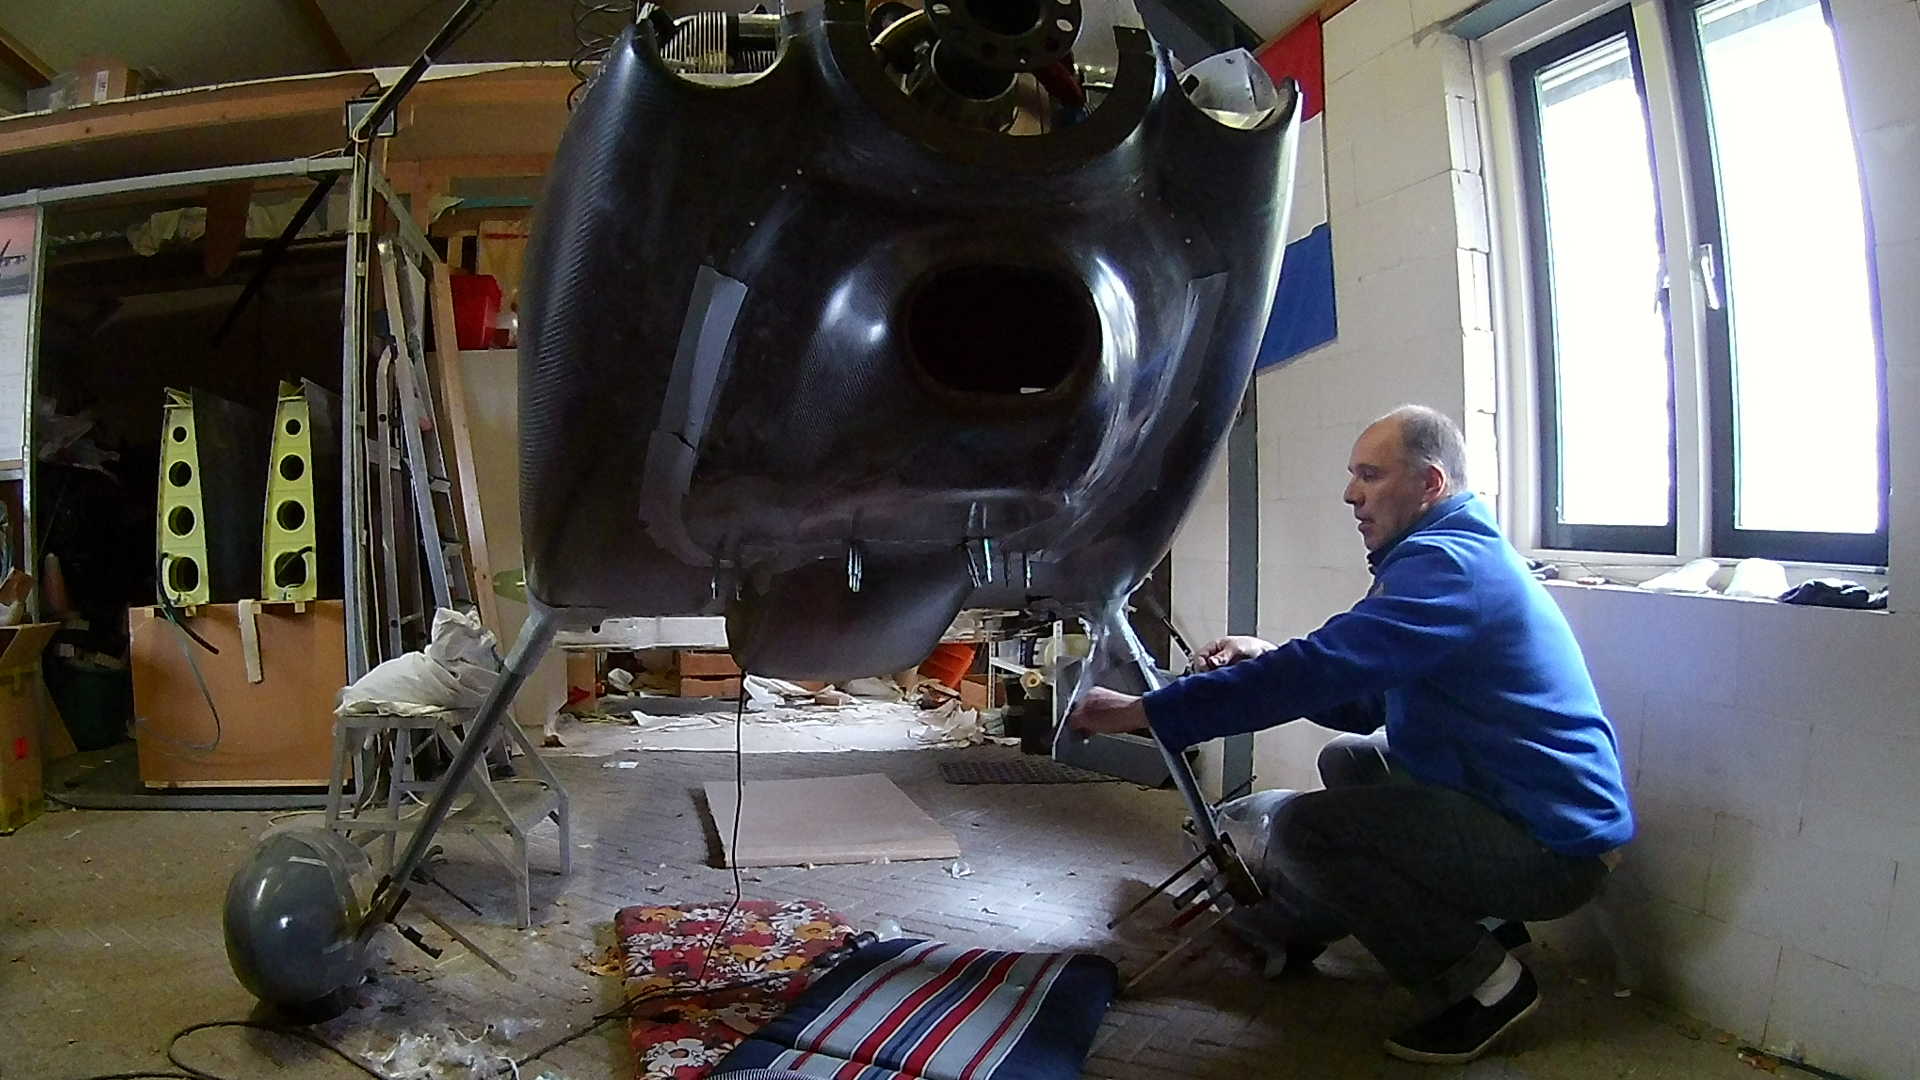
It took me two tries to get it right and it still needs a lot of work. I really like working with fiber glass and resin, but finishing them smoothly is an art I still haven’t mastered. Also working with fluids (resin) up side down is fighting against gravity. Oh well, probably airplanes ar just that: fighting gravity. In the end you always lose.
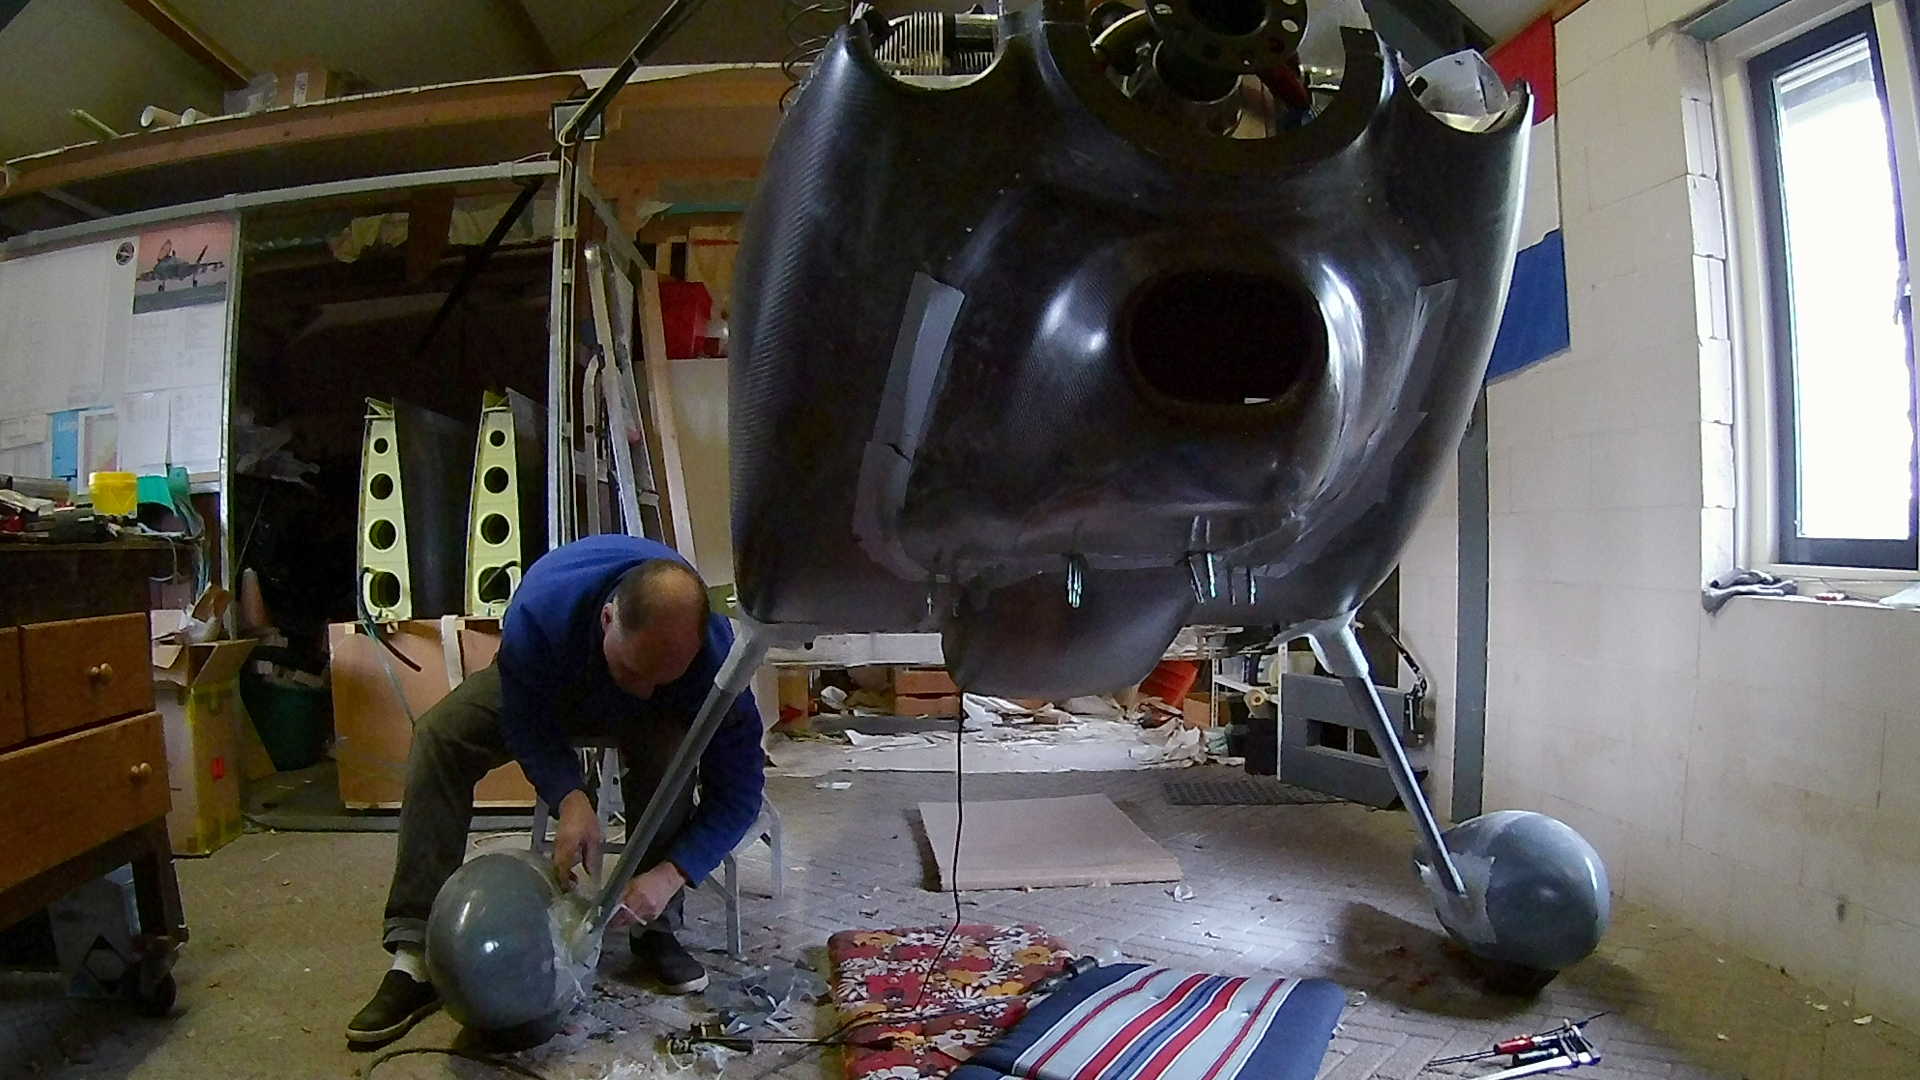
This is also the second time I created the Wheel Pants Fairings. The first time I made them too small. Also I decided to make them differently then stated on the Van’s drawings. That construction looks too hard and not easy for maintenance.
Last part is the final attachment (after several tries) of the air duct (nozzle) to the bottom cowl. It should be dry by now, so I can start finishing it up to make it smooth.
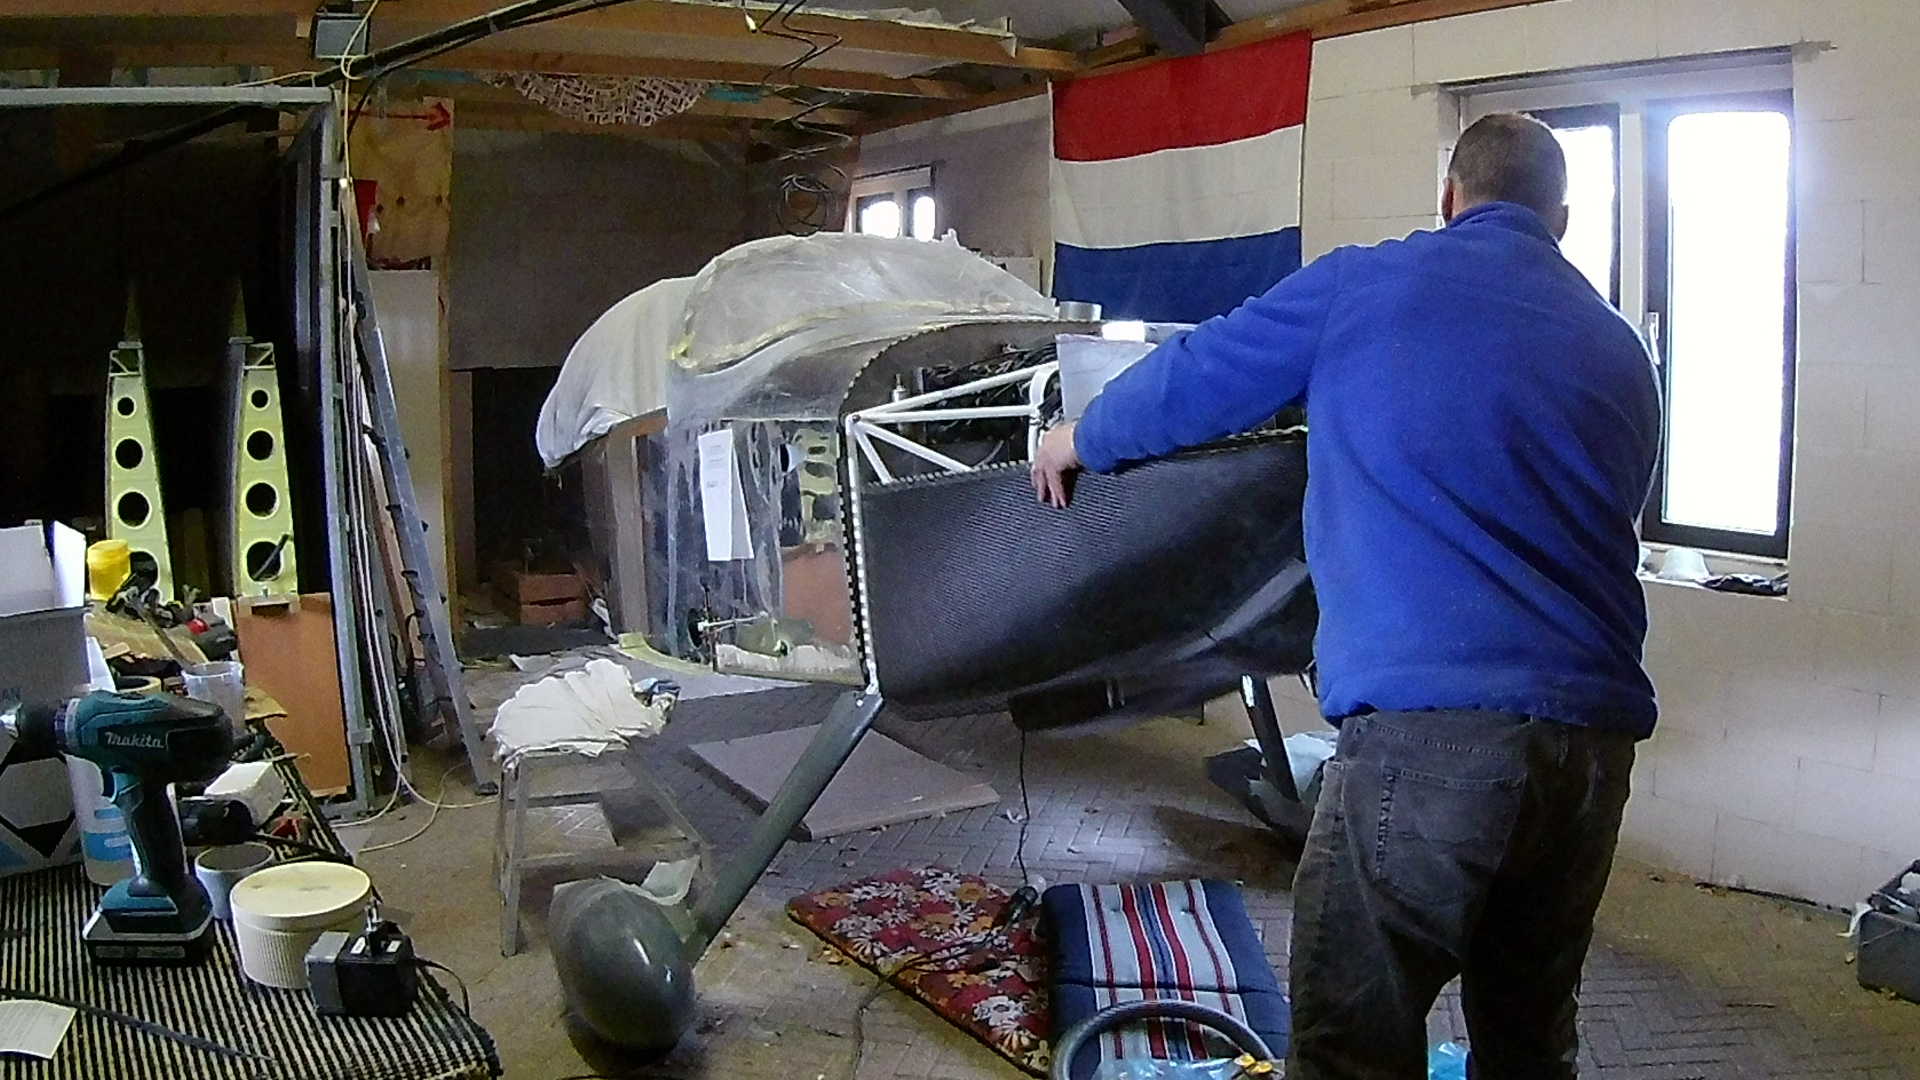
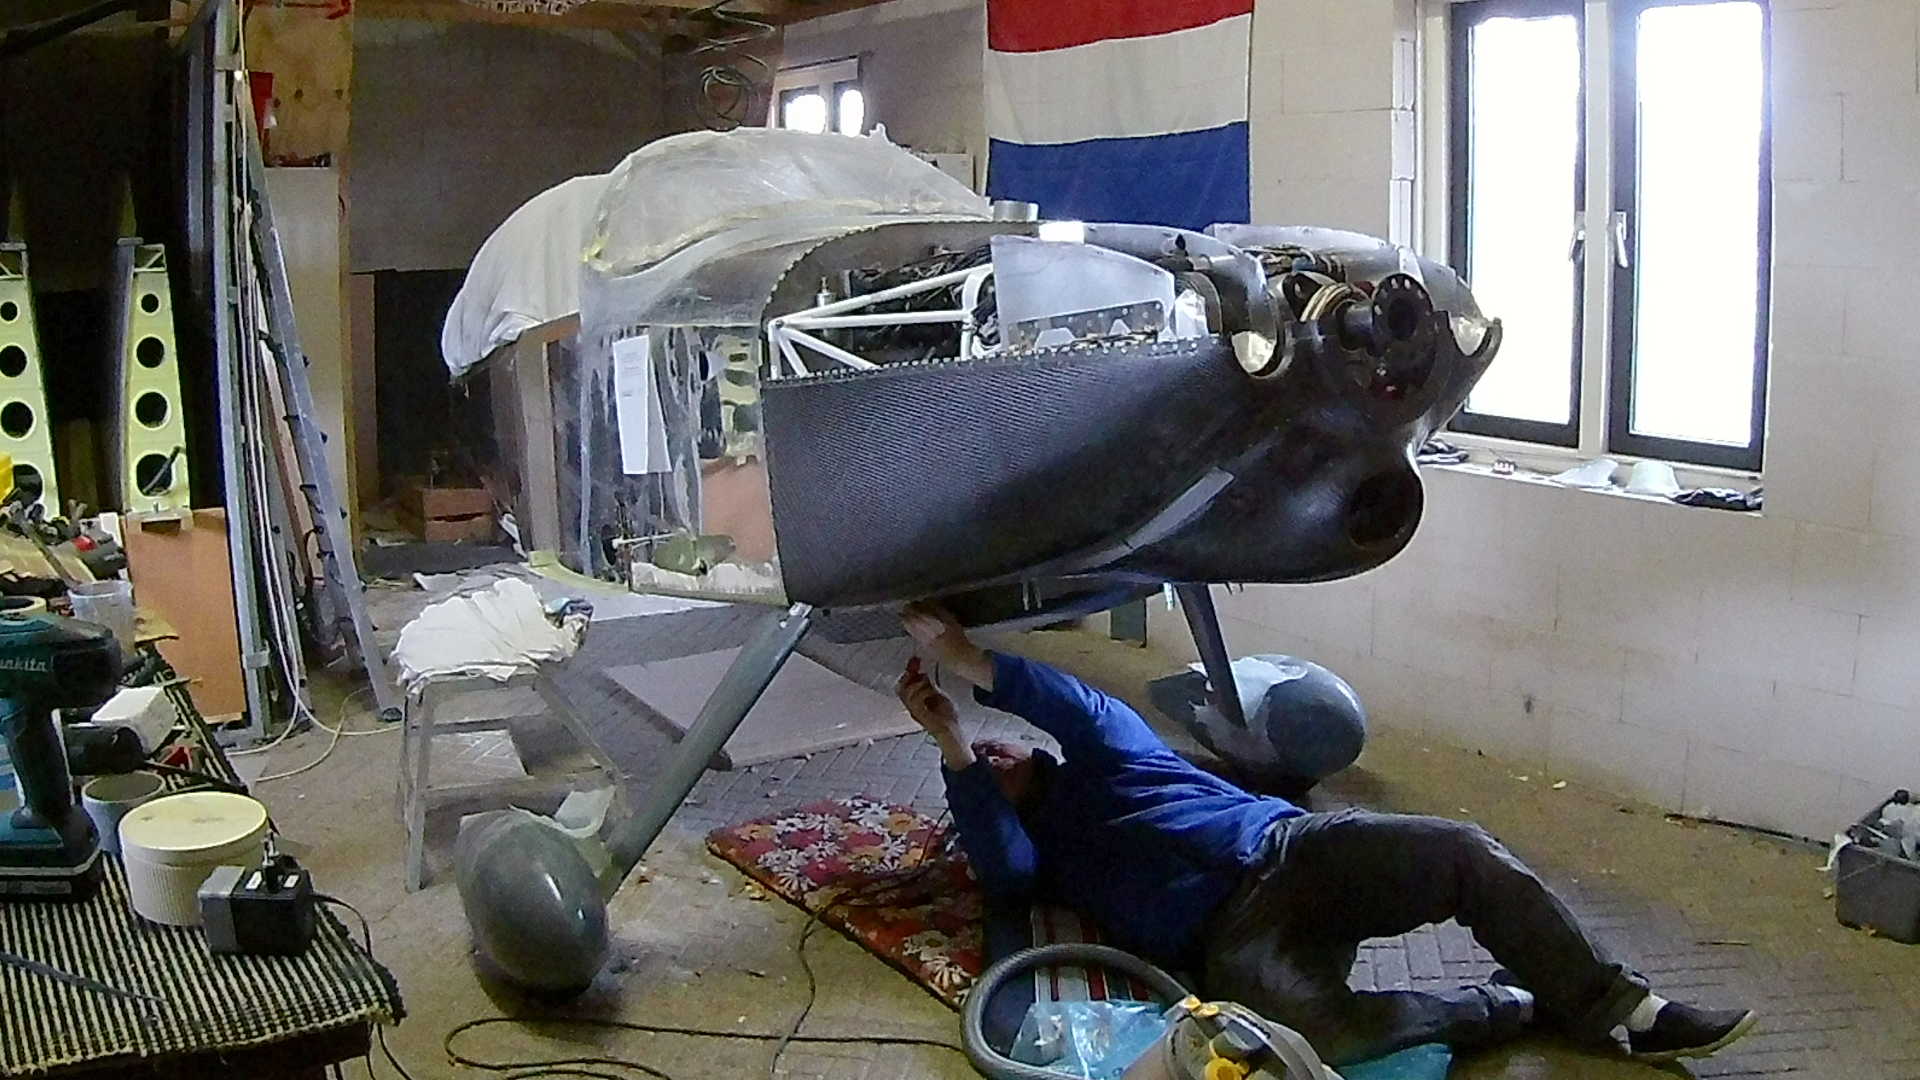
Removing the bottom cowl by yourself is do-able, but you have to be careful not to drop it.
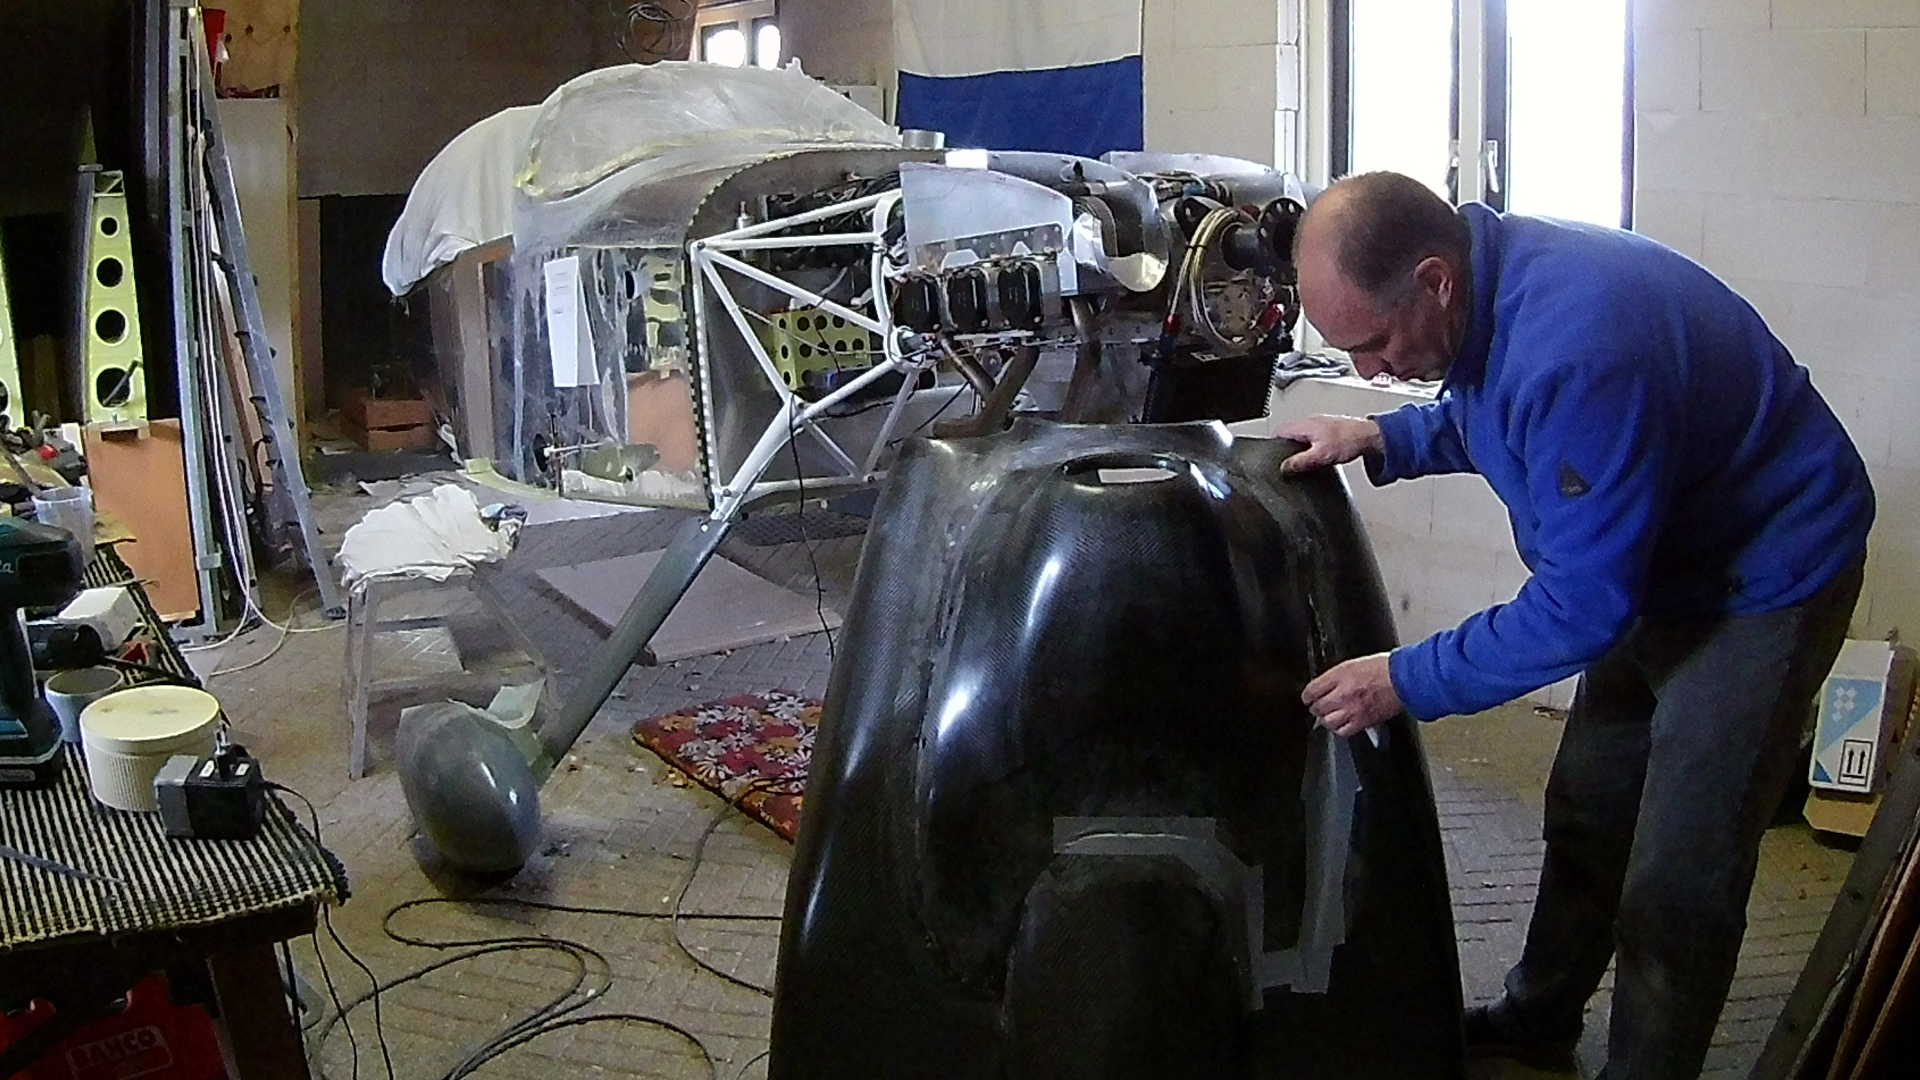
Now I can remove the duct-tape that held the parts together during the drying process. In my first attempt I didn’t want to ‘fight gravity’, so I put the cowl up side down on the workbench while drying. Well that didn’t work out, apparently the ‘deformation’ when laying up side down is too much and it didn’t fit anymore. So you have to let it dry while attached to the Fuselage.
Time: 5 Hours, Rivets: 0/0 (2021-04-23)
Time: 5 Hours, Rivets: 0/0 (2021-04-24)
Time: 7 Hours, Rivets: 0/0 (2021-04-25)
Time: 5 Hours, Rivets: 0/0 (2021-04-27)
Time: 6 Hours, Rivets: 0/0 (2021-04-28)
Time: 6 Hours, Rivets: 0/0 (2021-04-29)
Time: 8 Hours, Rivets: 0/0 (2021-04-30)
Time: 5 Hours, Rivets: 20/1 (2021-05-01)
Video