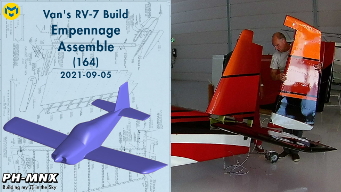

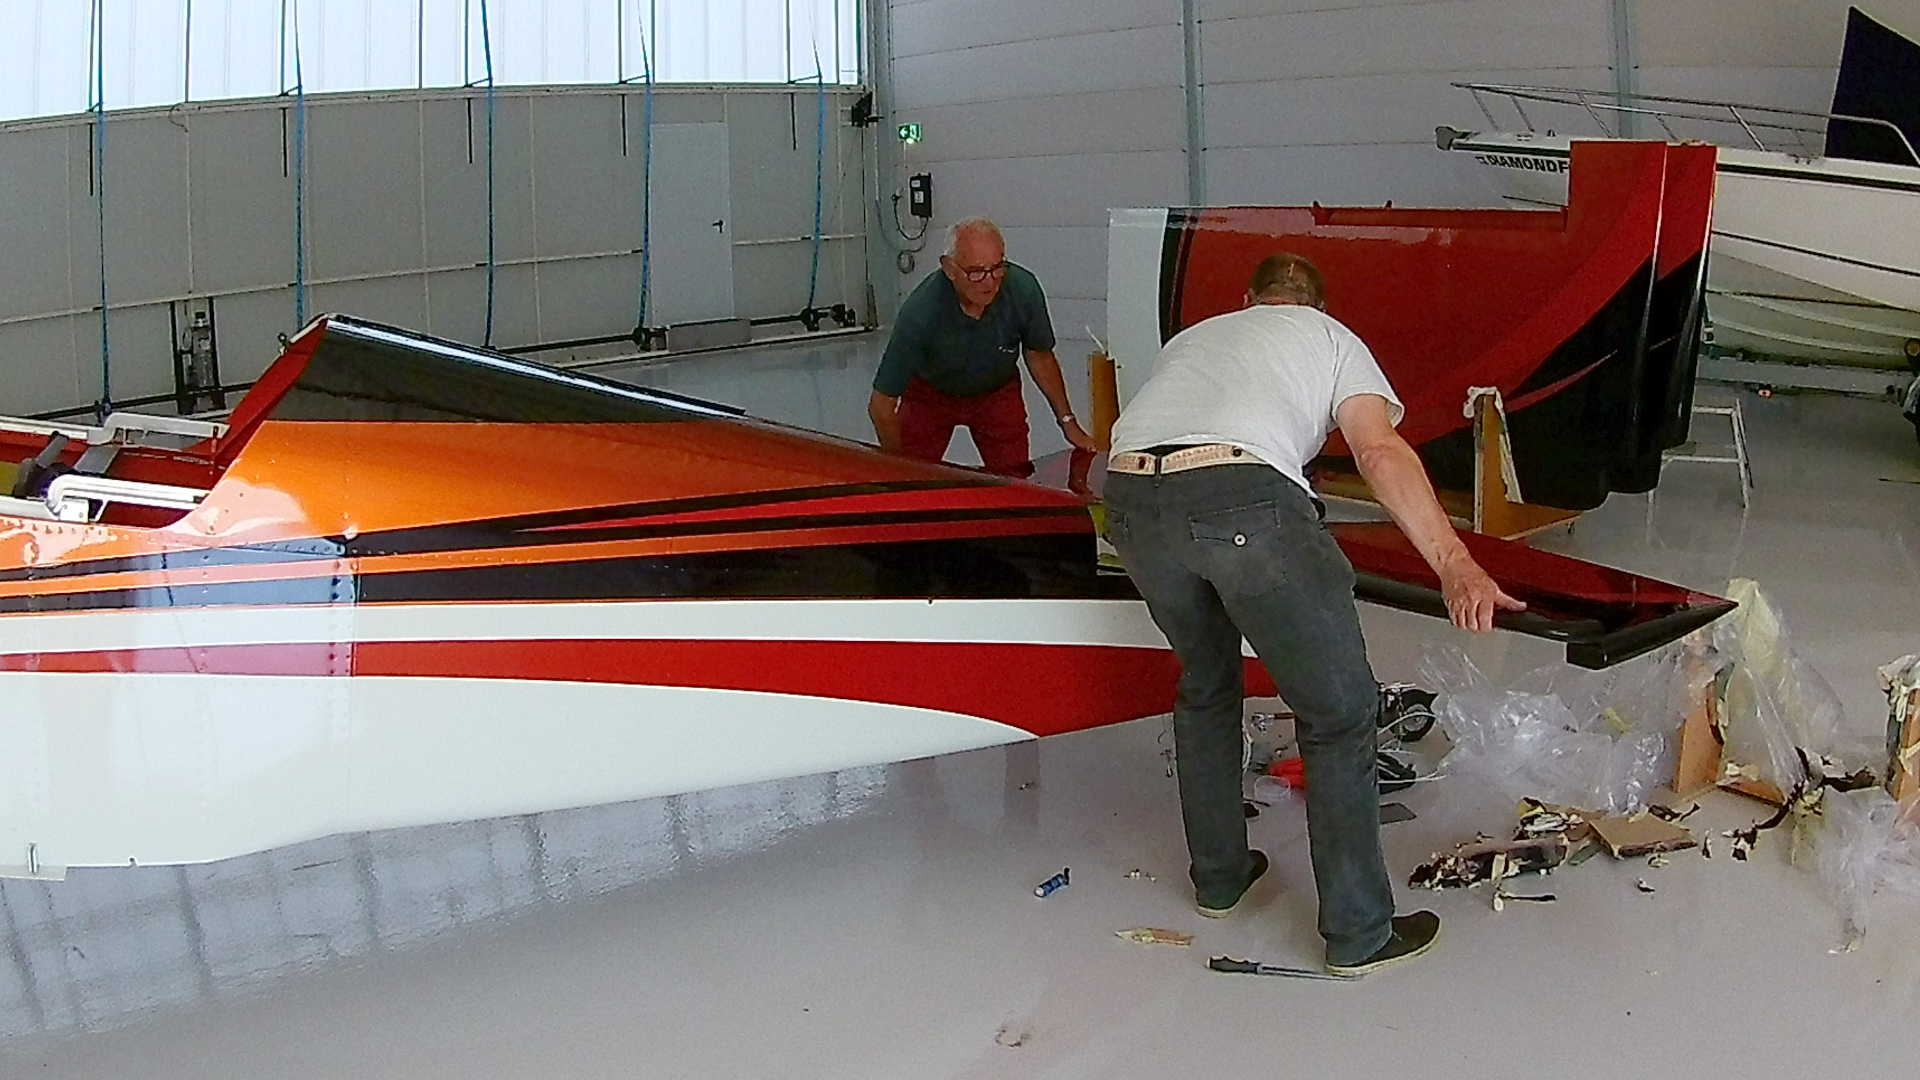
Finally, the plane is painted and located in the hangar. Still a lot of work to do. We start today with assembling the empennage.
During painting I had the Vertical Stabilizer and Rudder installed and removed the Horizontal Stabilizer and the Elevator. The main reason is that the paint scheme lines need to correctly align. The only way to do that is that the parts are assembled.
The Horizontal Stabilizer and Elevator don’t have lines that continue on the Fuselage. However we now have to remove both the Rudder and the Vertical Stabilizer in order to install the Horizontal Stabilizer and Elevator.
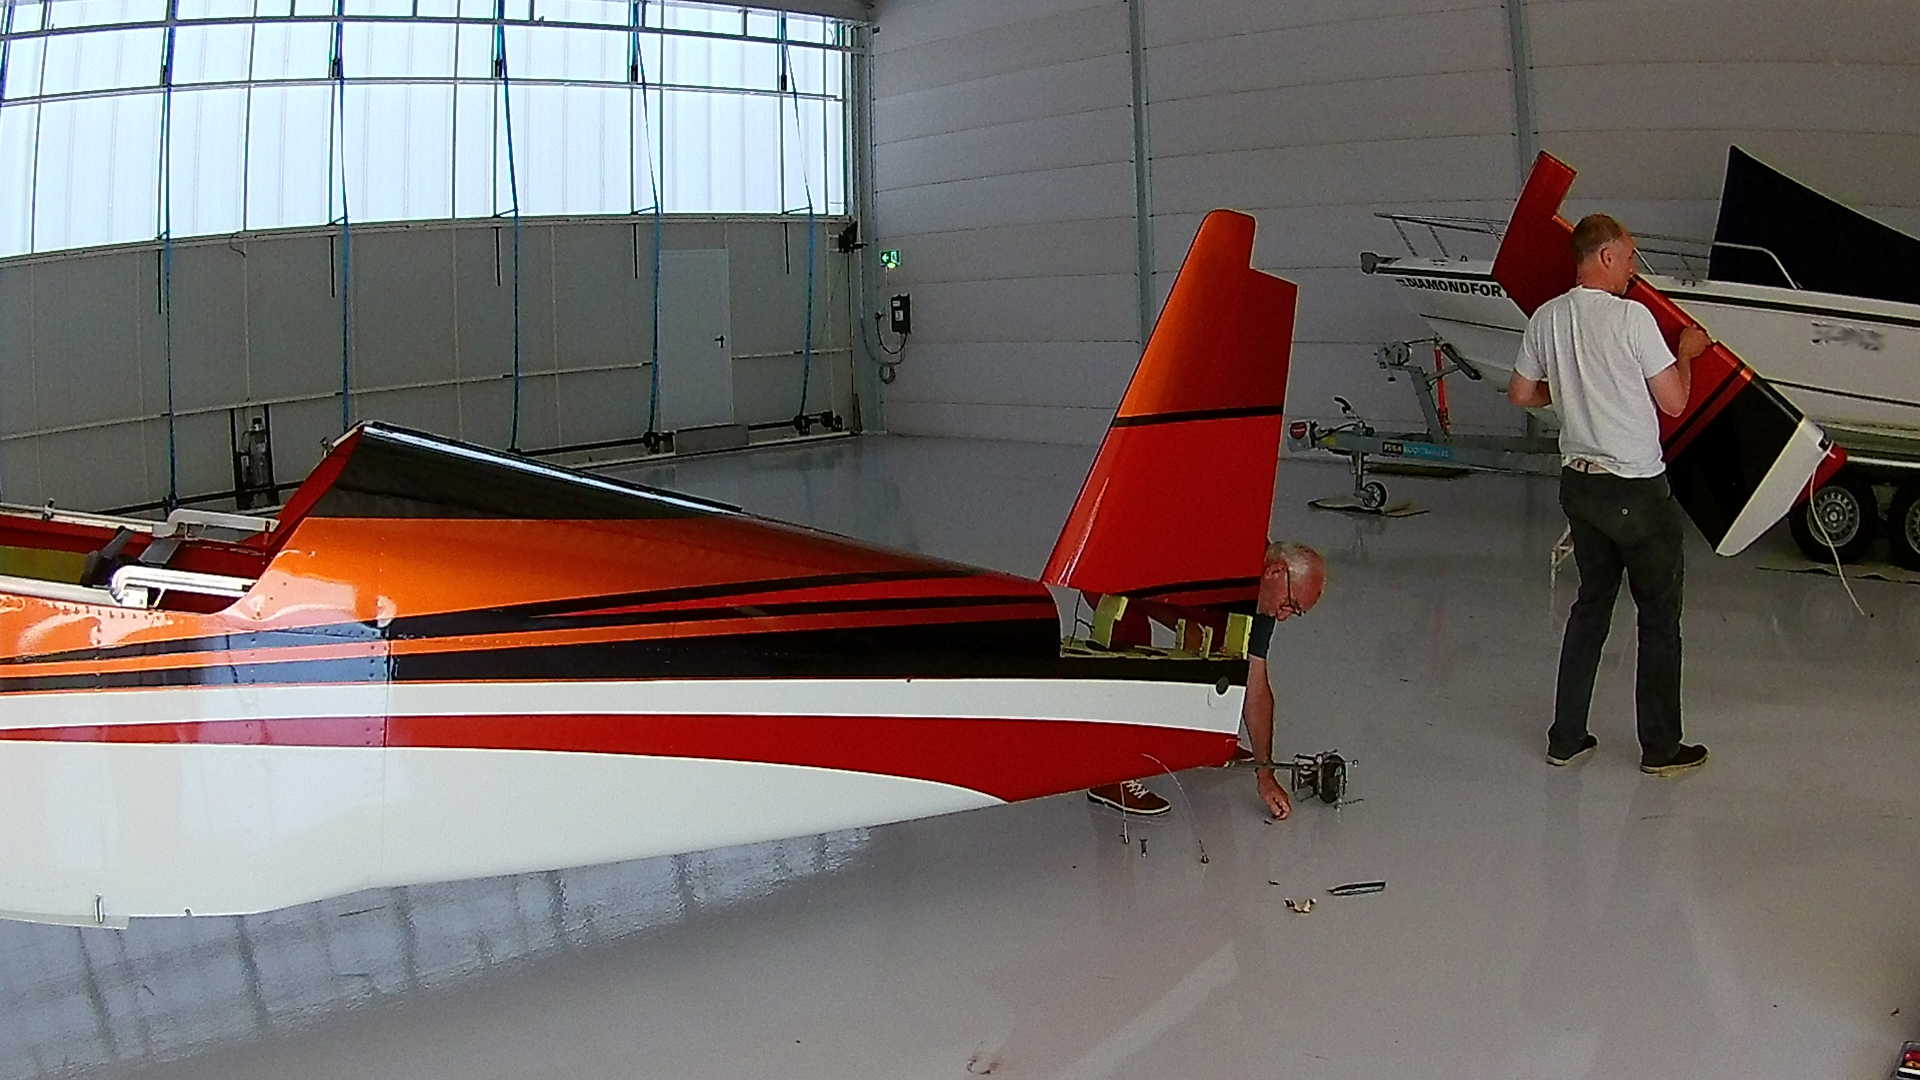
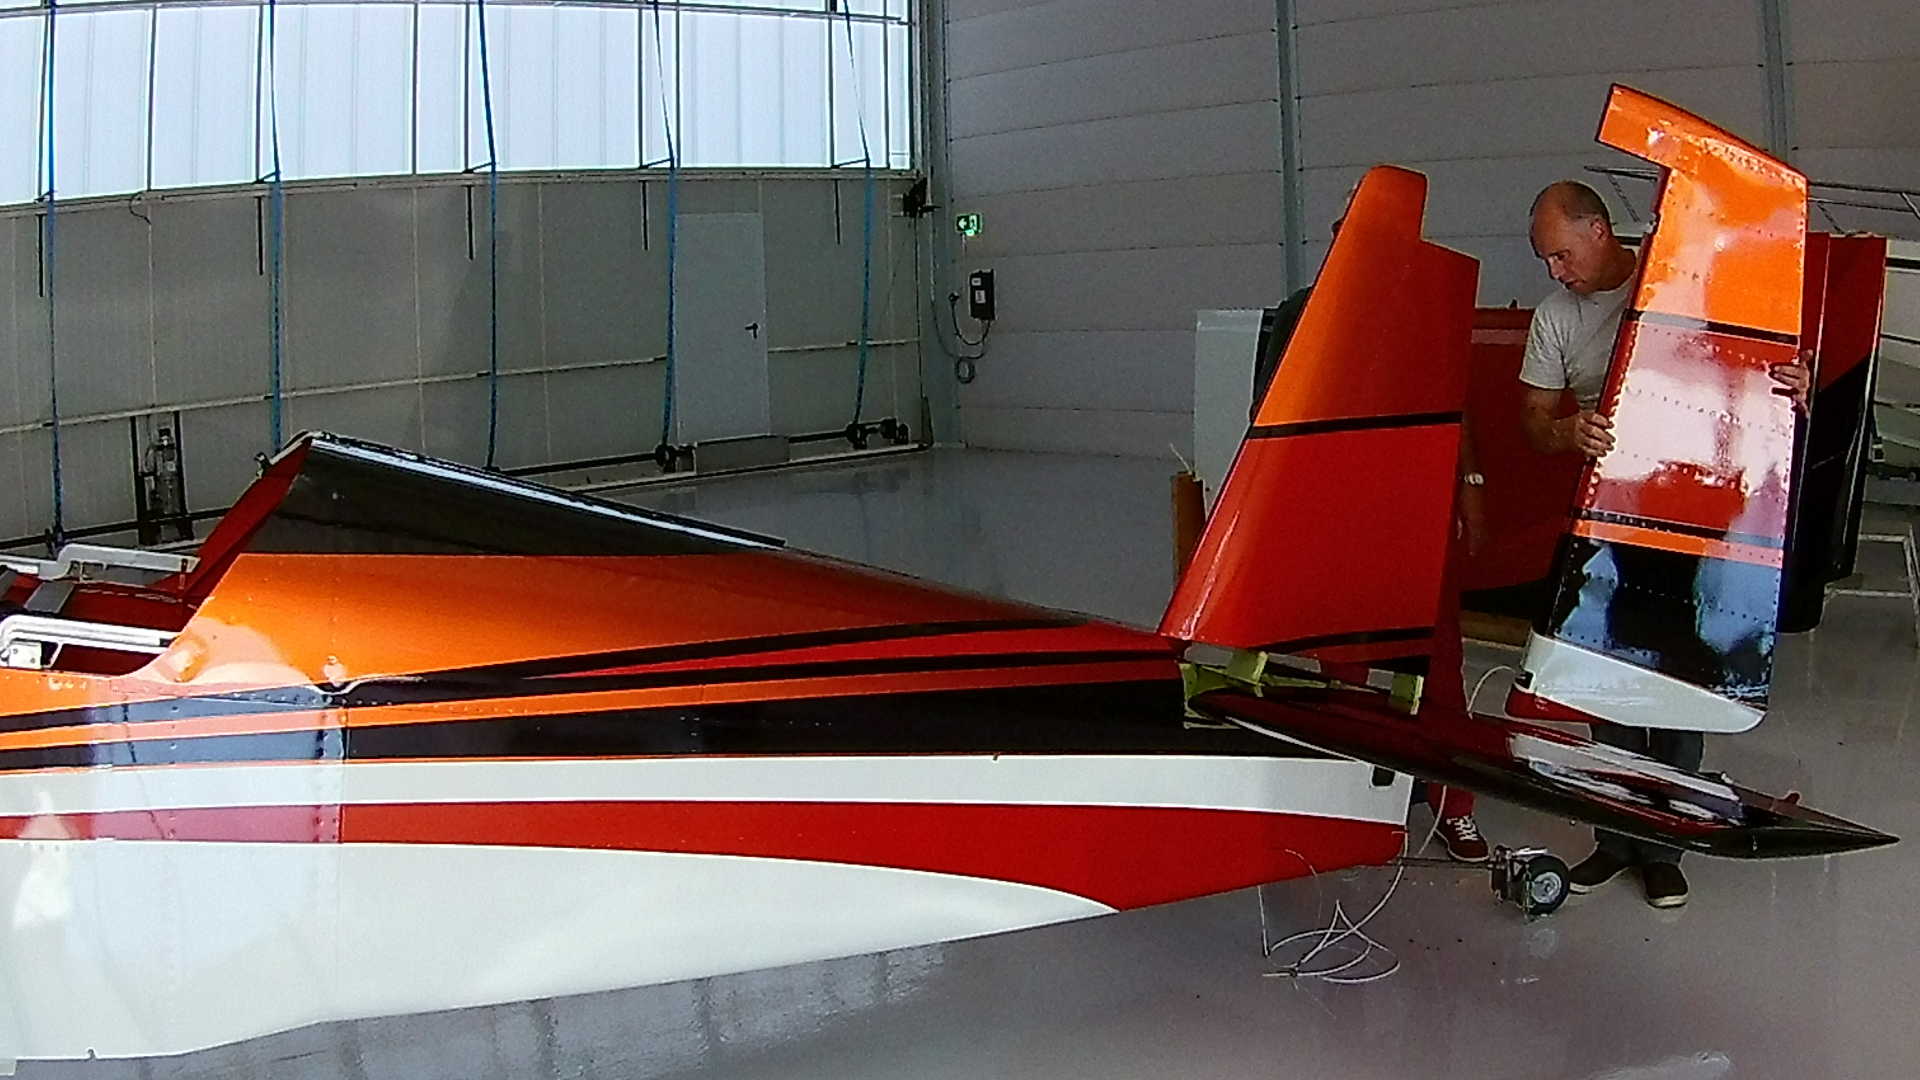
Maybe I should have only insert bolts in the Rudder instead I had installed it completly. Anyway the Rudder is off and I have to carefully place it somewhere the paint is not scratched.
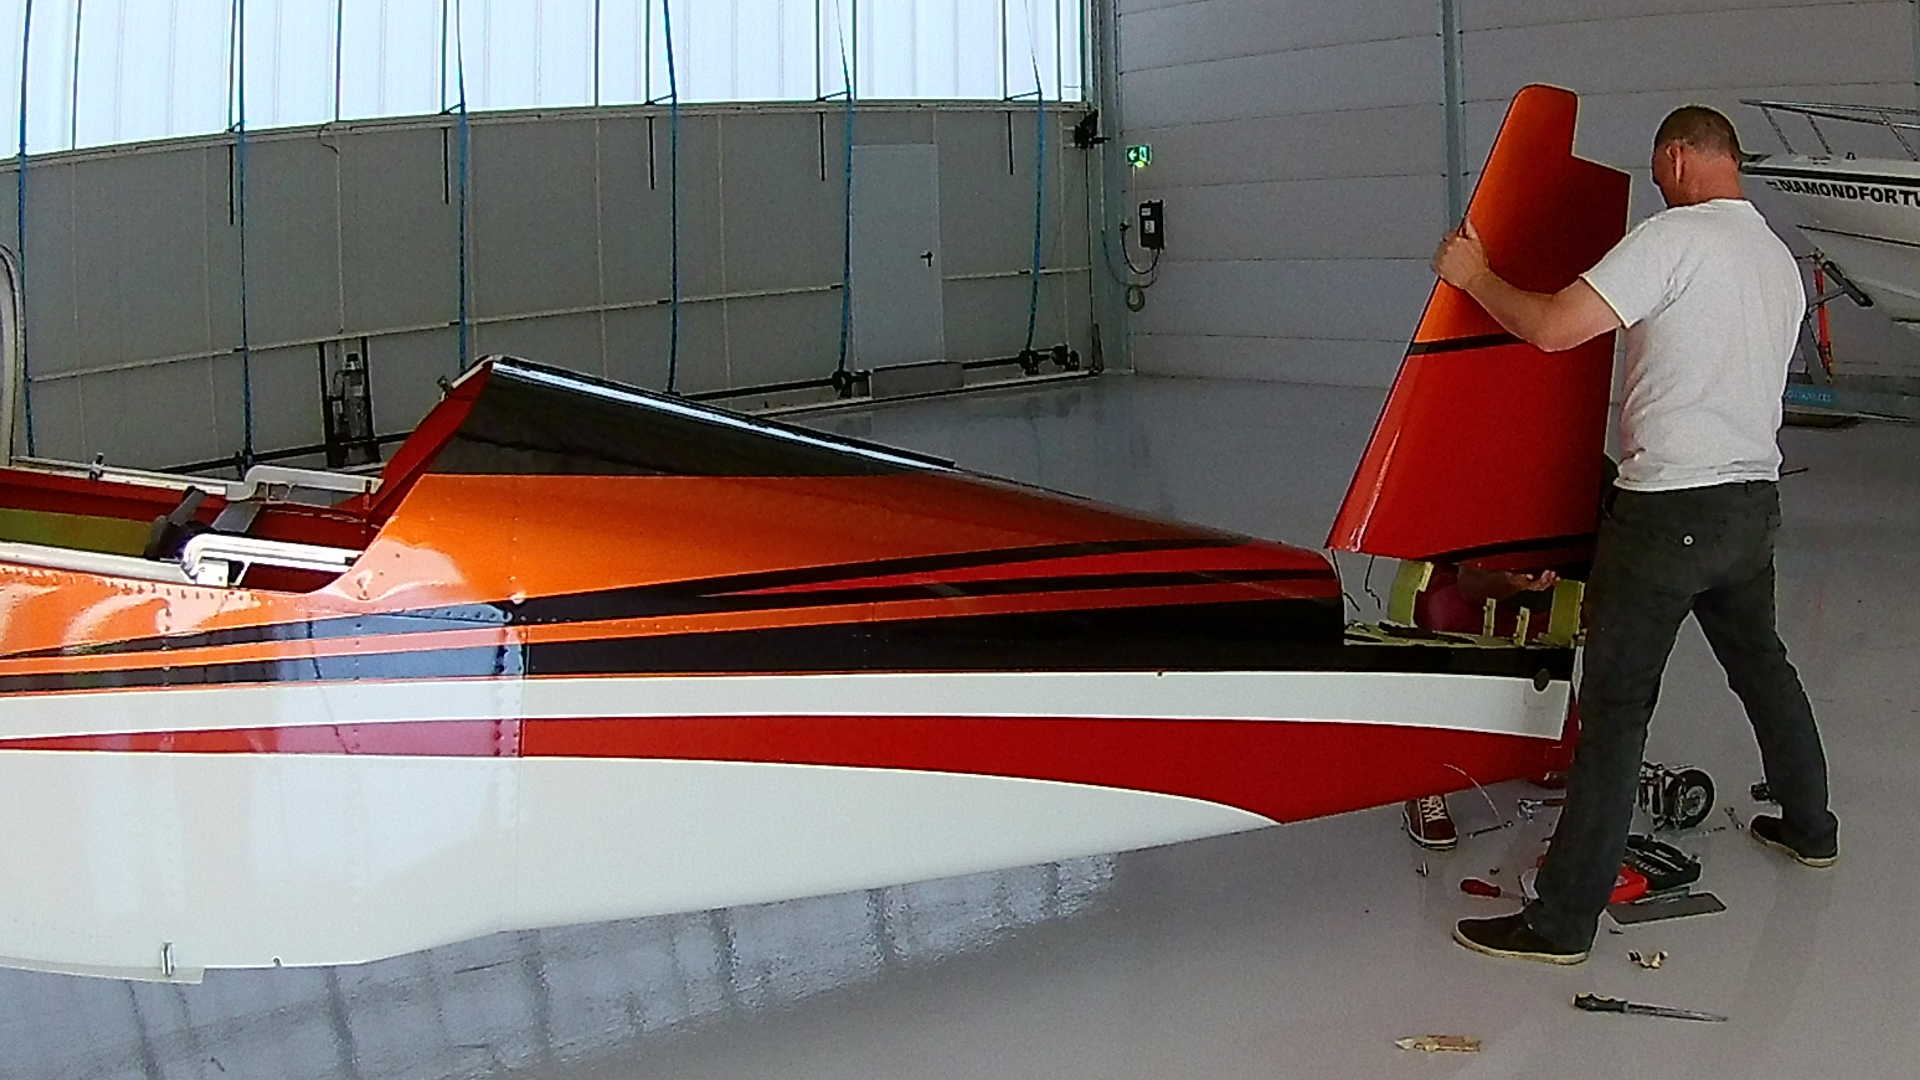
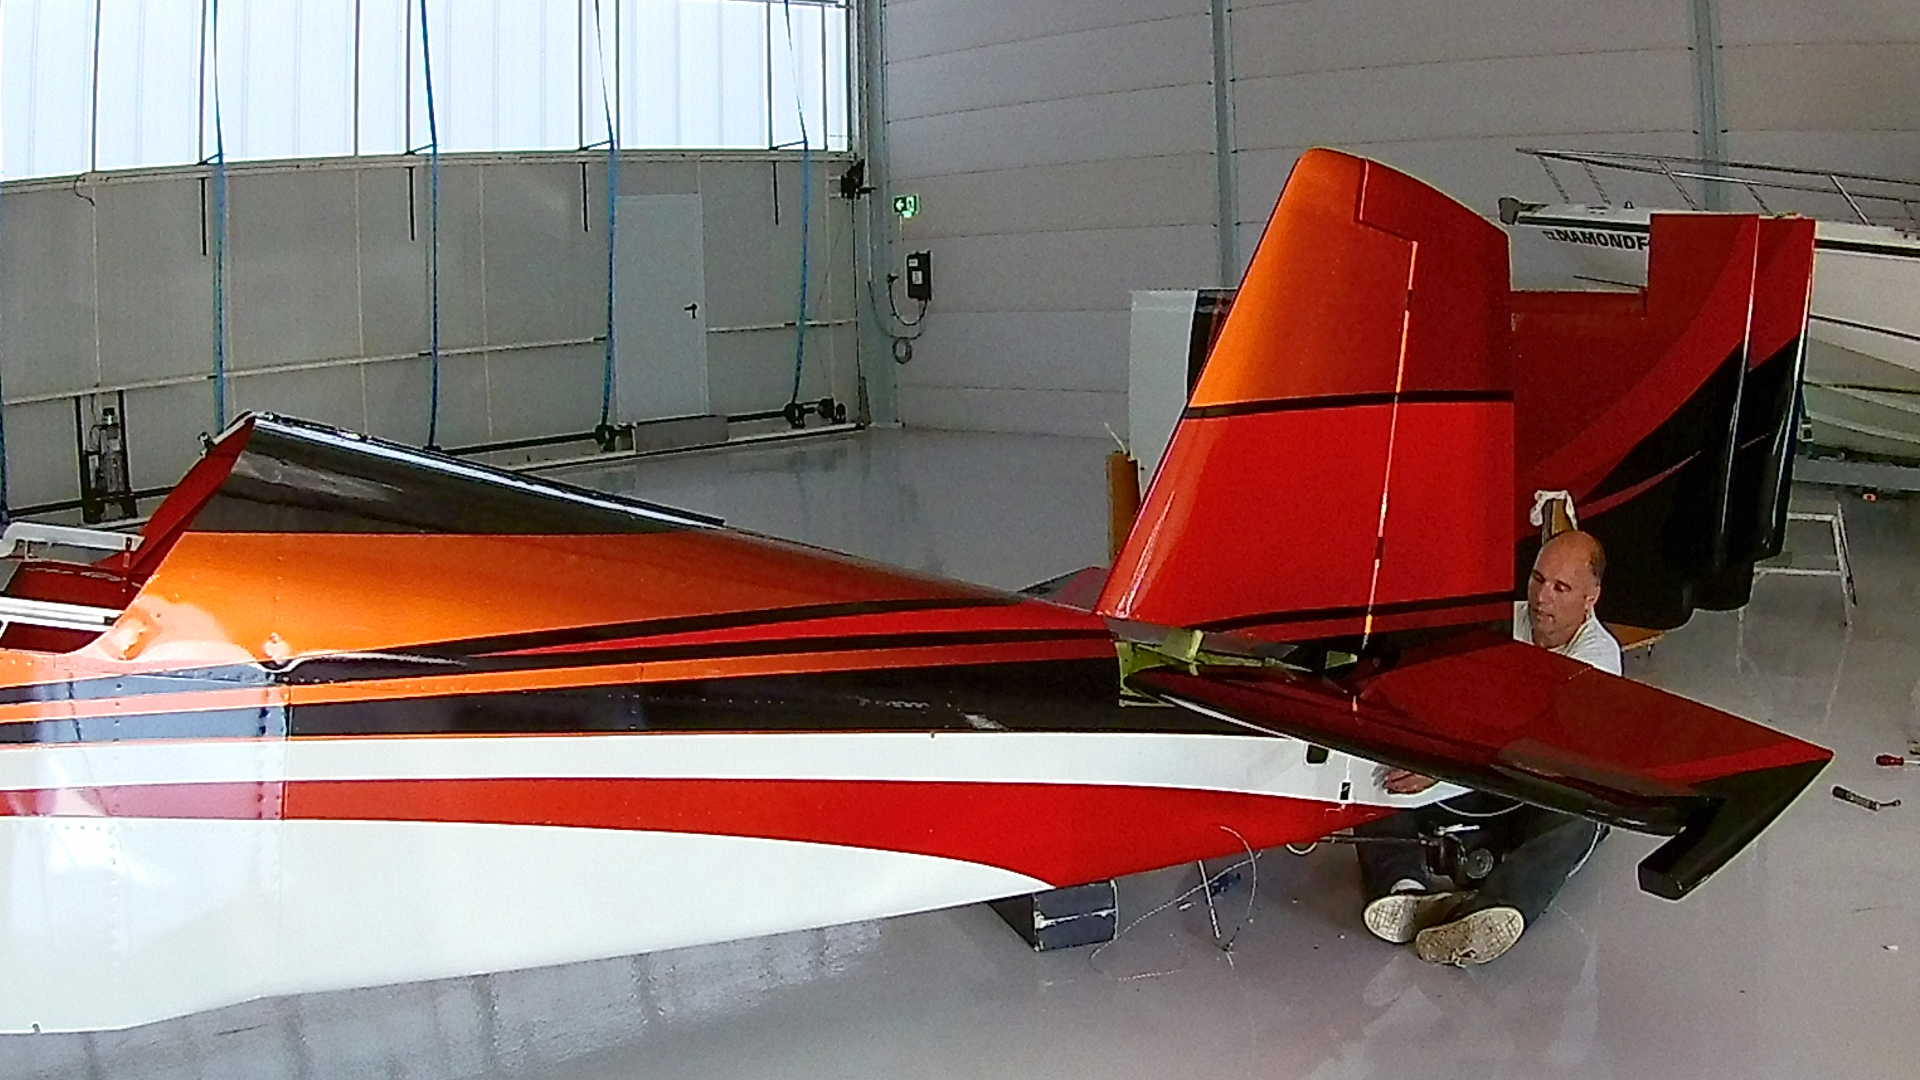
Next is the Vertical Stabilizer needs to be removed. The Vertical Stabilizer is currently only attached to the end of the Fuselage.
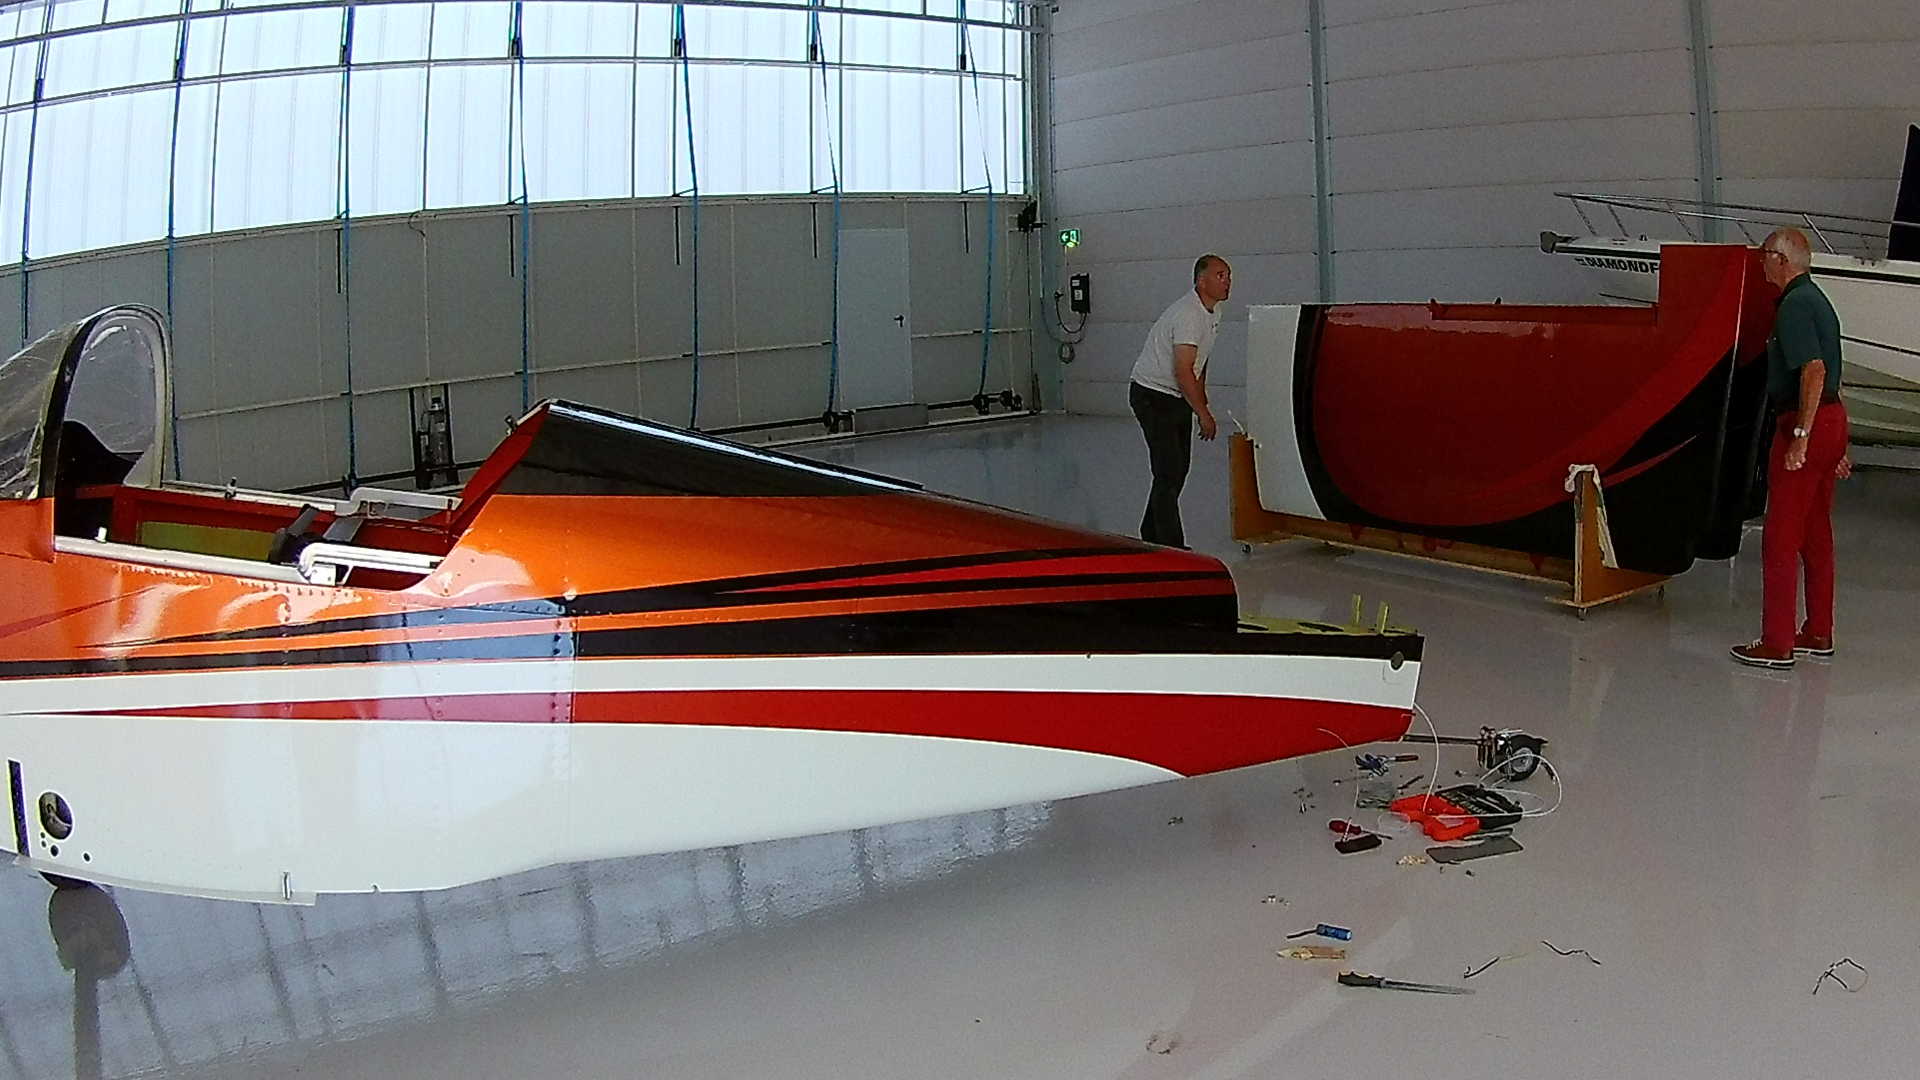
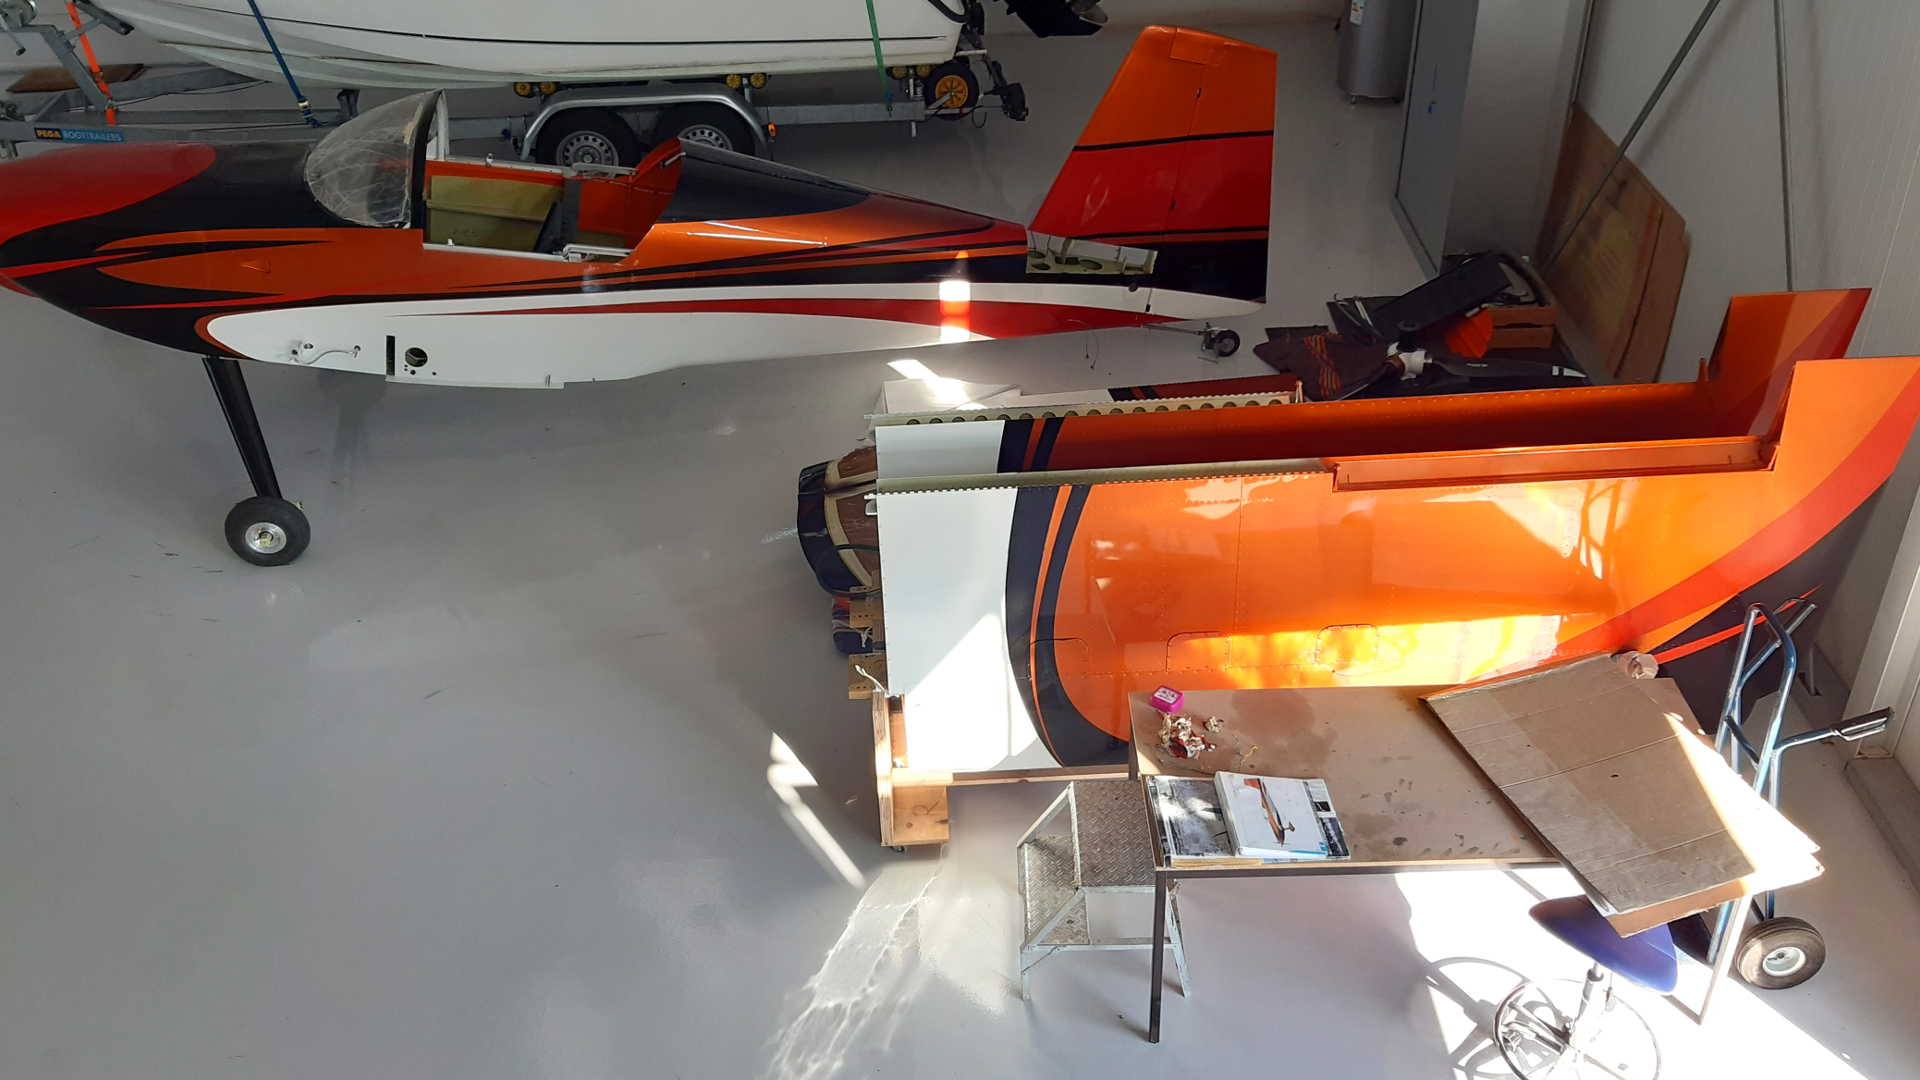
With all the Empennage parts removed, you have to be careful, because the Engine is installed and that makes the airplane nose heavy.
We place the cradle with the wings aside, so we can pick up the Horizontal Stabilizer and Elevator.
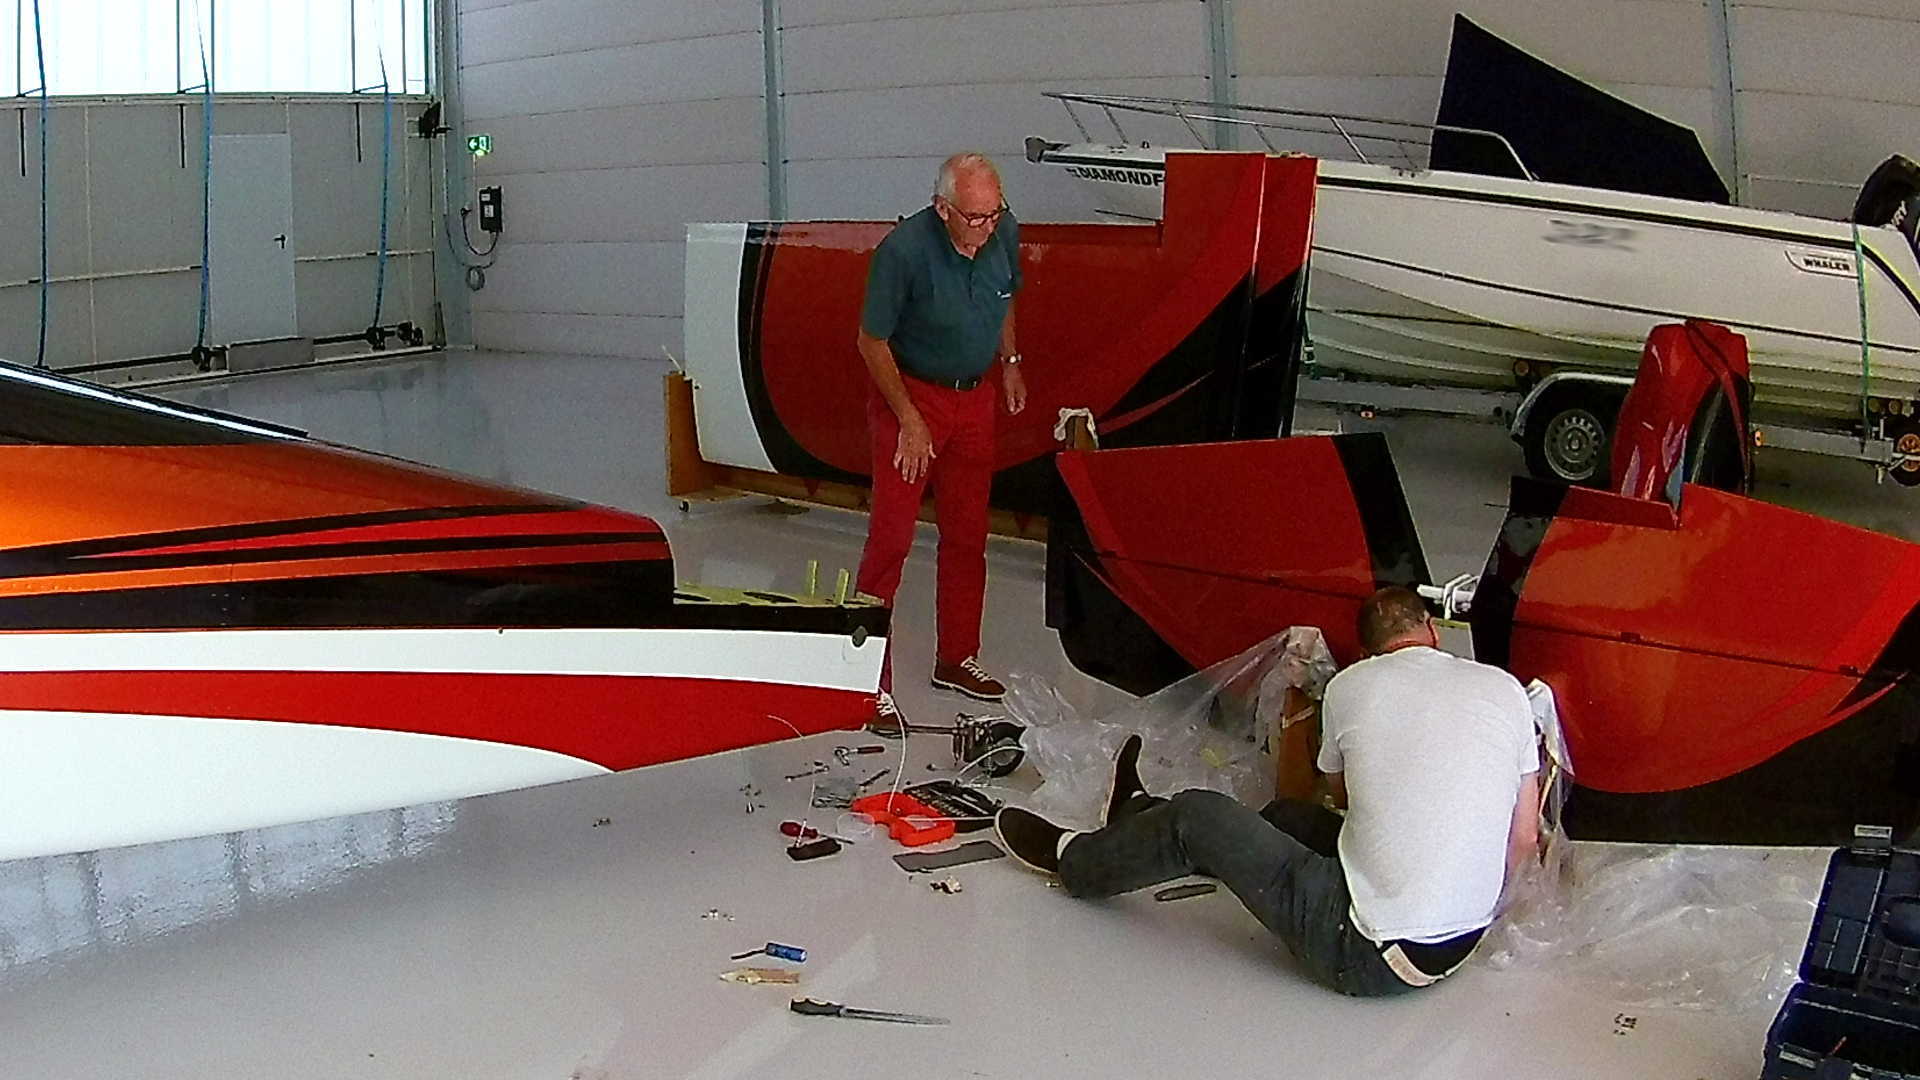
Before installing the Horizontal Stabilizer and Elevator, we need to remove the paper and tape that I used to prevent the internals of the empennage te bo painted.
Now we can install the Horizontal Stabilizer and Elevator onto the Fuselage and bolt it to the attach points.
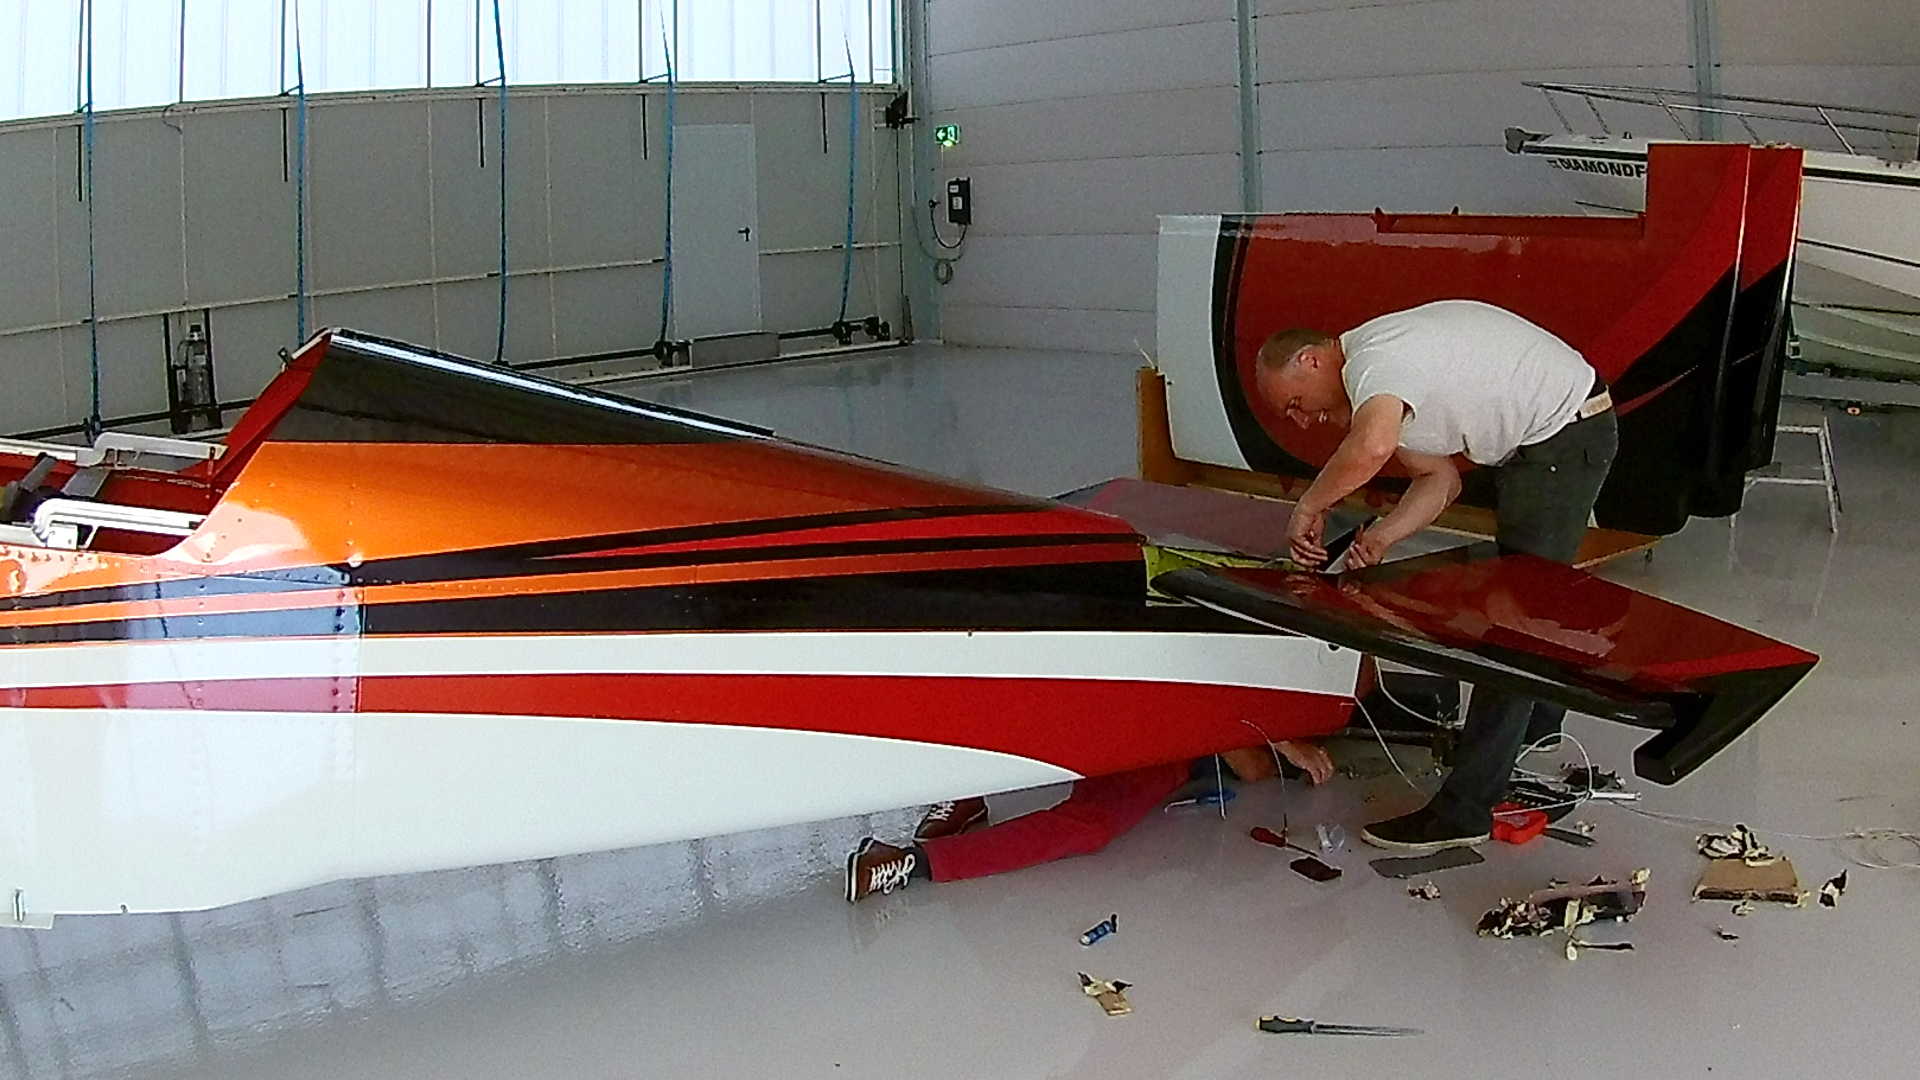
The Elevator is operated with a long push rod running from the baggage compartment all the way to the tail. There is not much room to insert the bolt and washers.
Now we can torque all the nuts and mark them with torque seal.
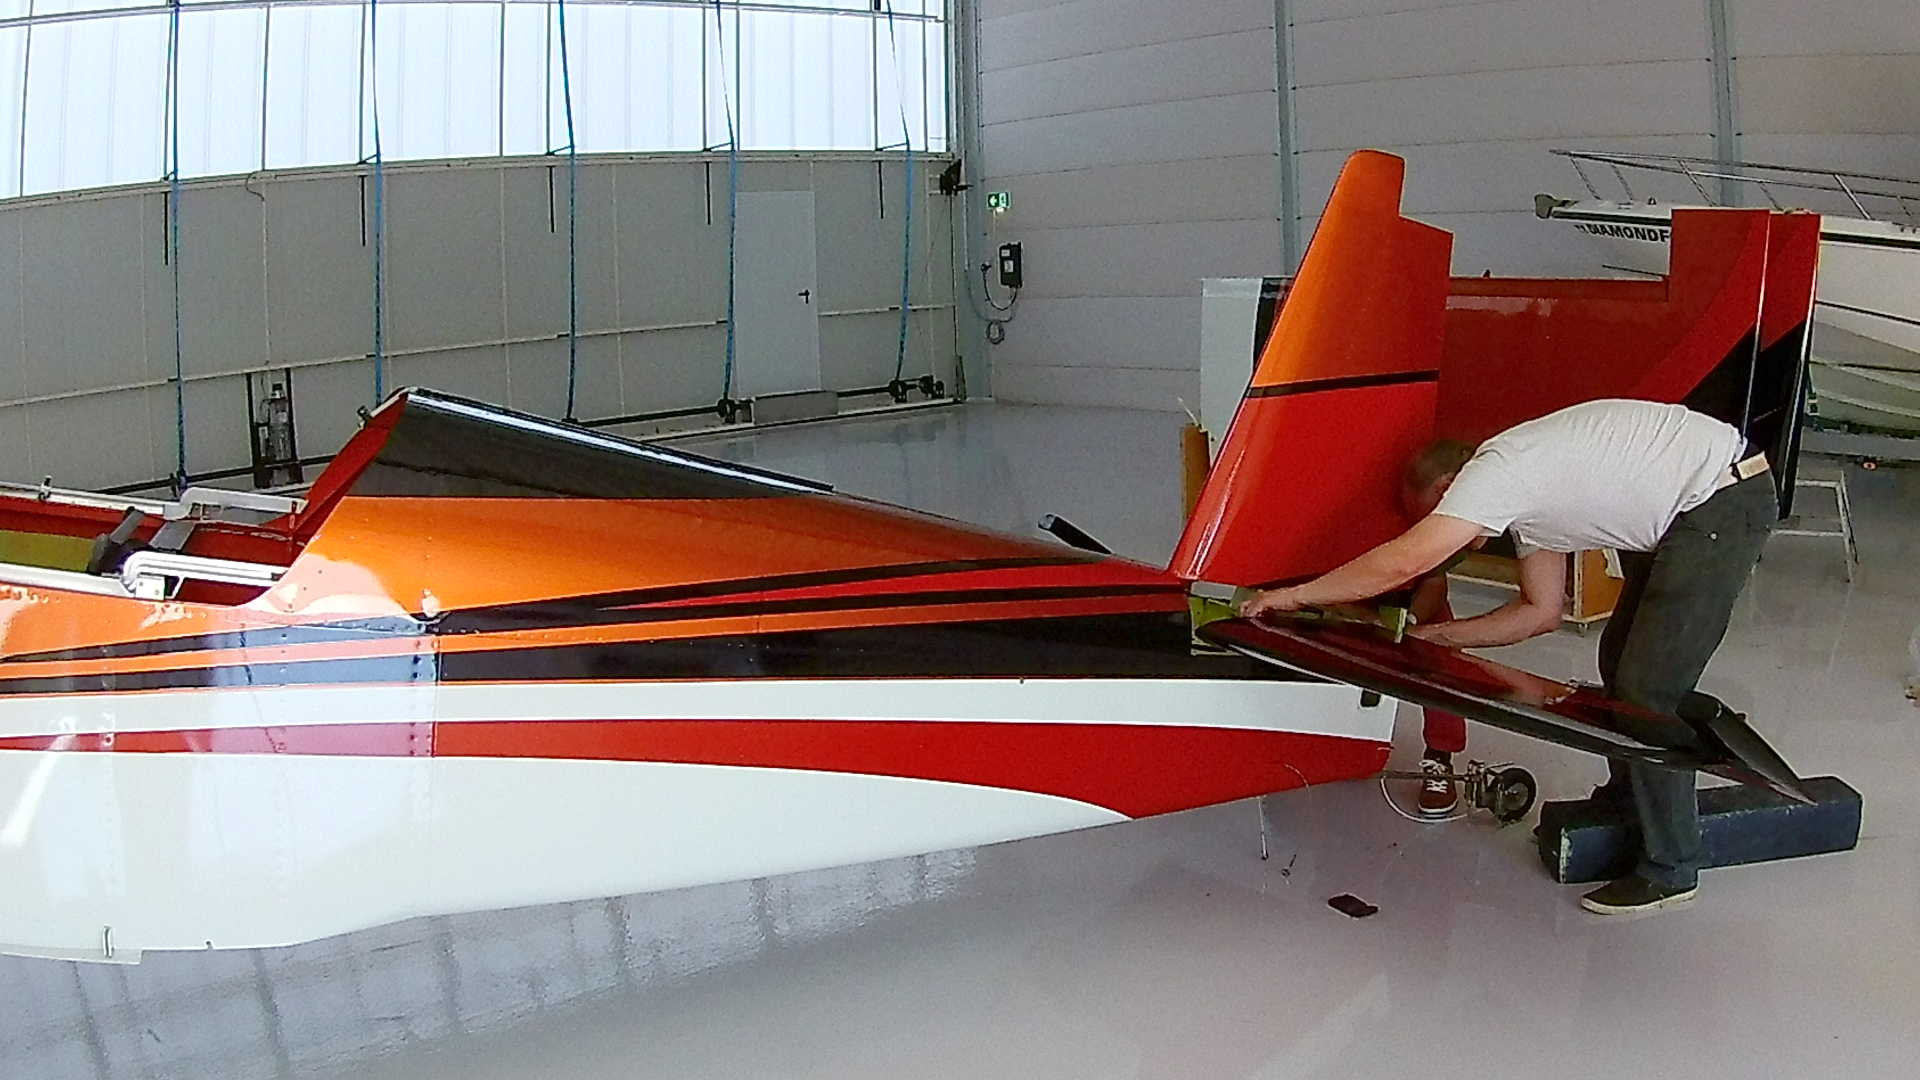
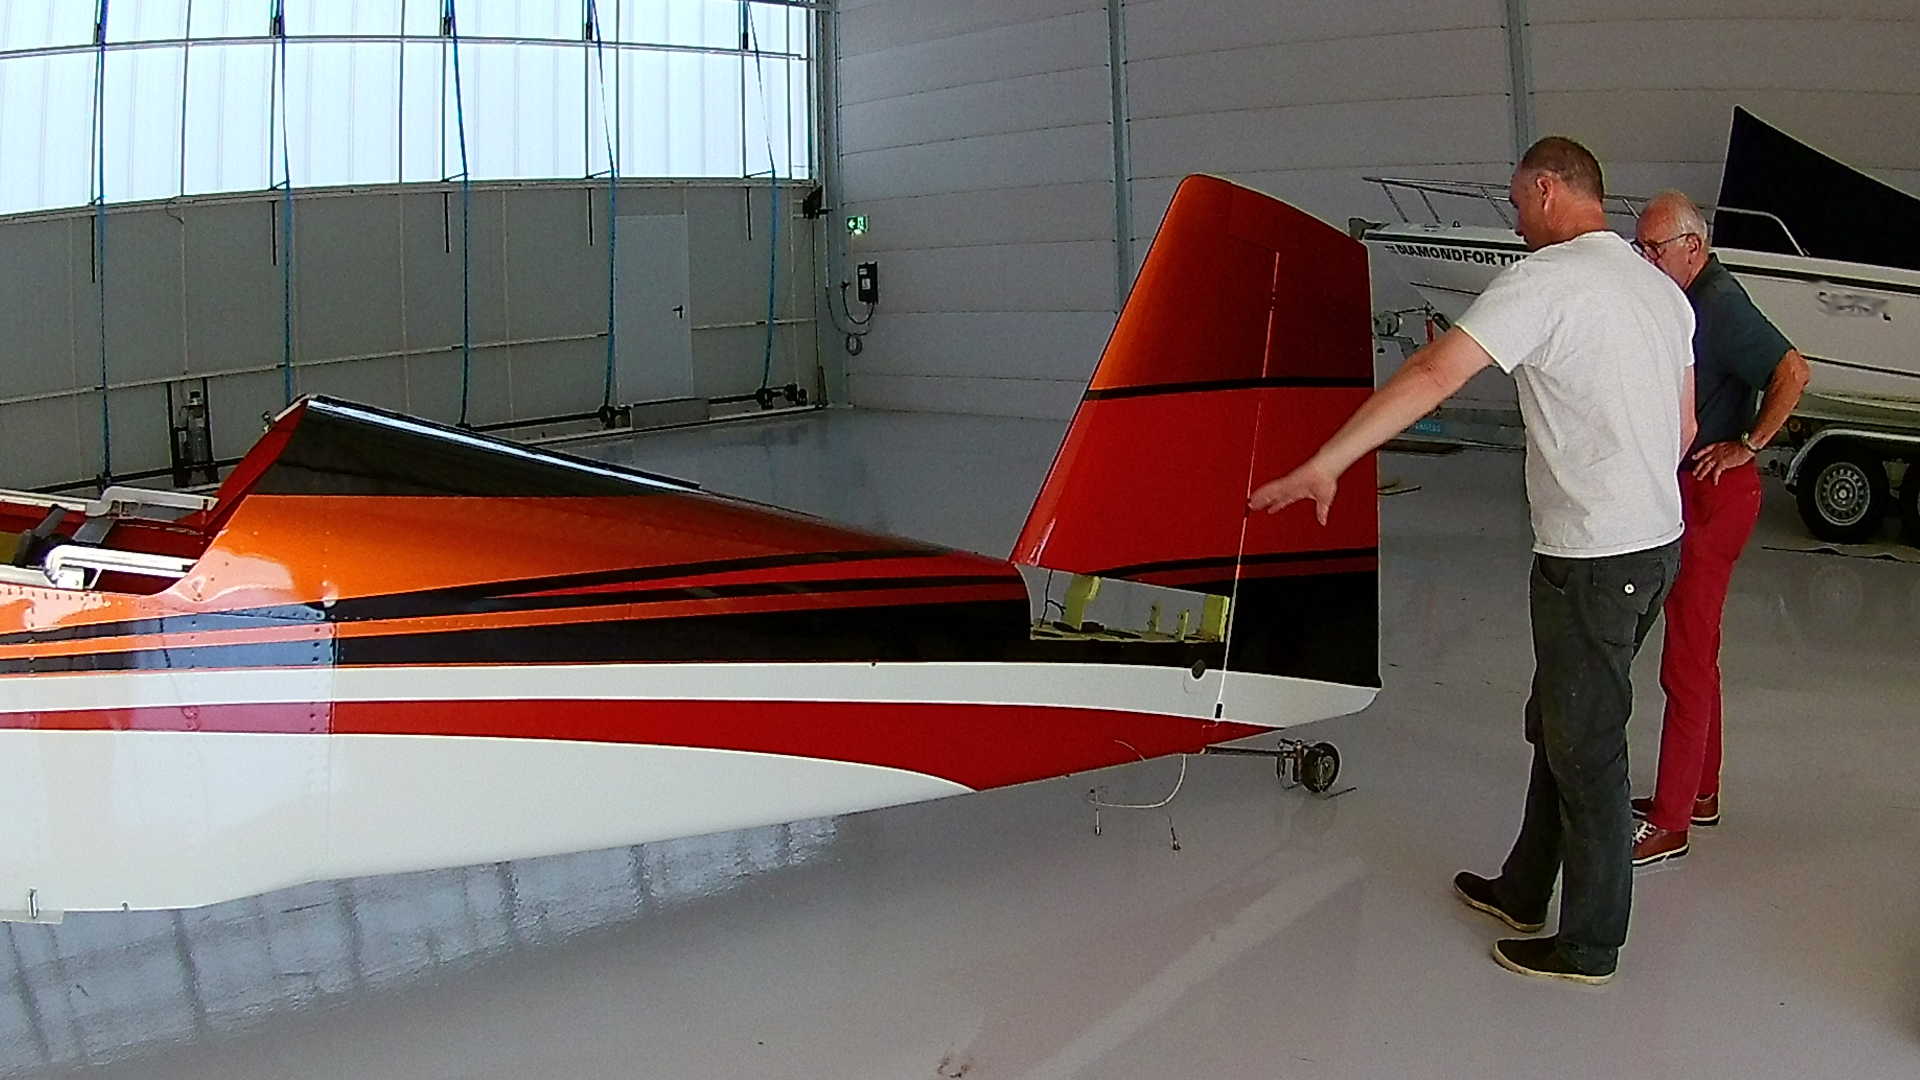
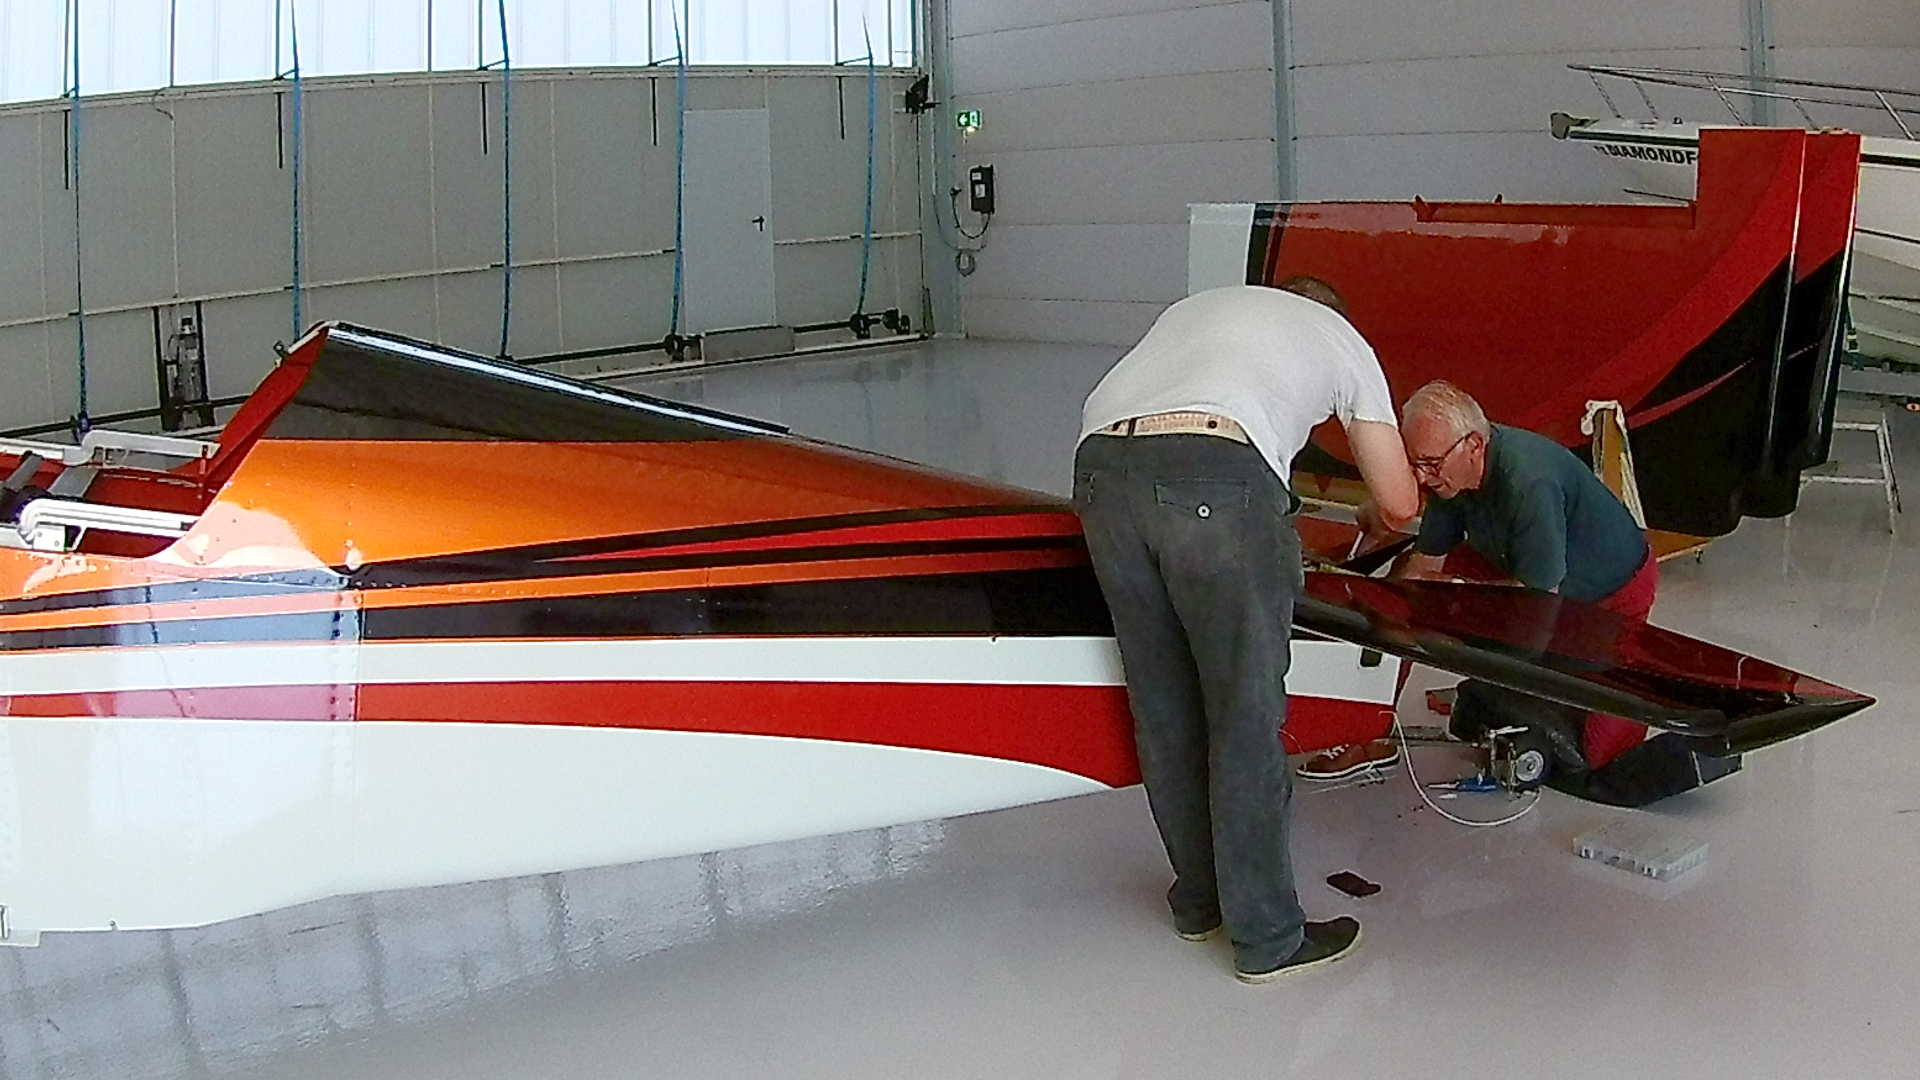
Once the Horizontal Stabilizer is attached, we can start installing the Vertical Stabilizer, which is partly attached to the Horizontal Stabilizer. It feels great to torque the nuts for the last time, knowing this is the last time they need to be torqued (besides maintenance).
Next is reinstalling the Rudder. The wiring for the tail light requires a service loop, which is a big loop in the wire to prevent it from wearing out when the Rudder is operated.
Finally we need to attach the Rudder cables to the Rudder and clamp the chains and springs from the Rudder to the Tail Wheel.
Time: 7 Hours, Rivets: 4/0 (2021-09-08)
Video