
Before we are going to attach the Wings, I want to finish all the tasks that will be significantly harder once the Wings are attached.
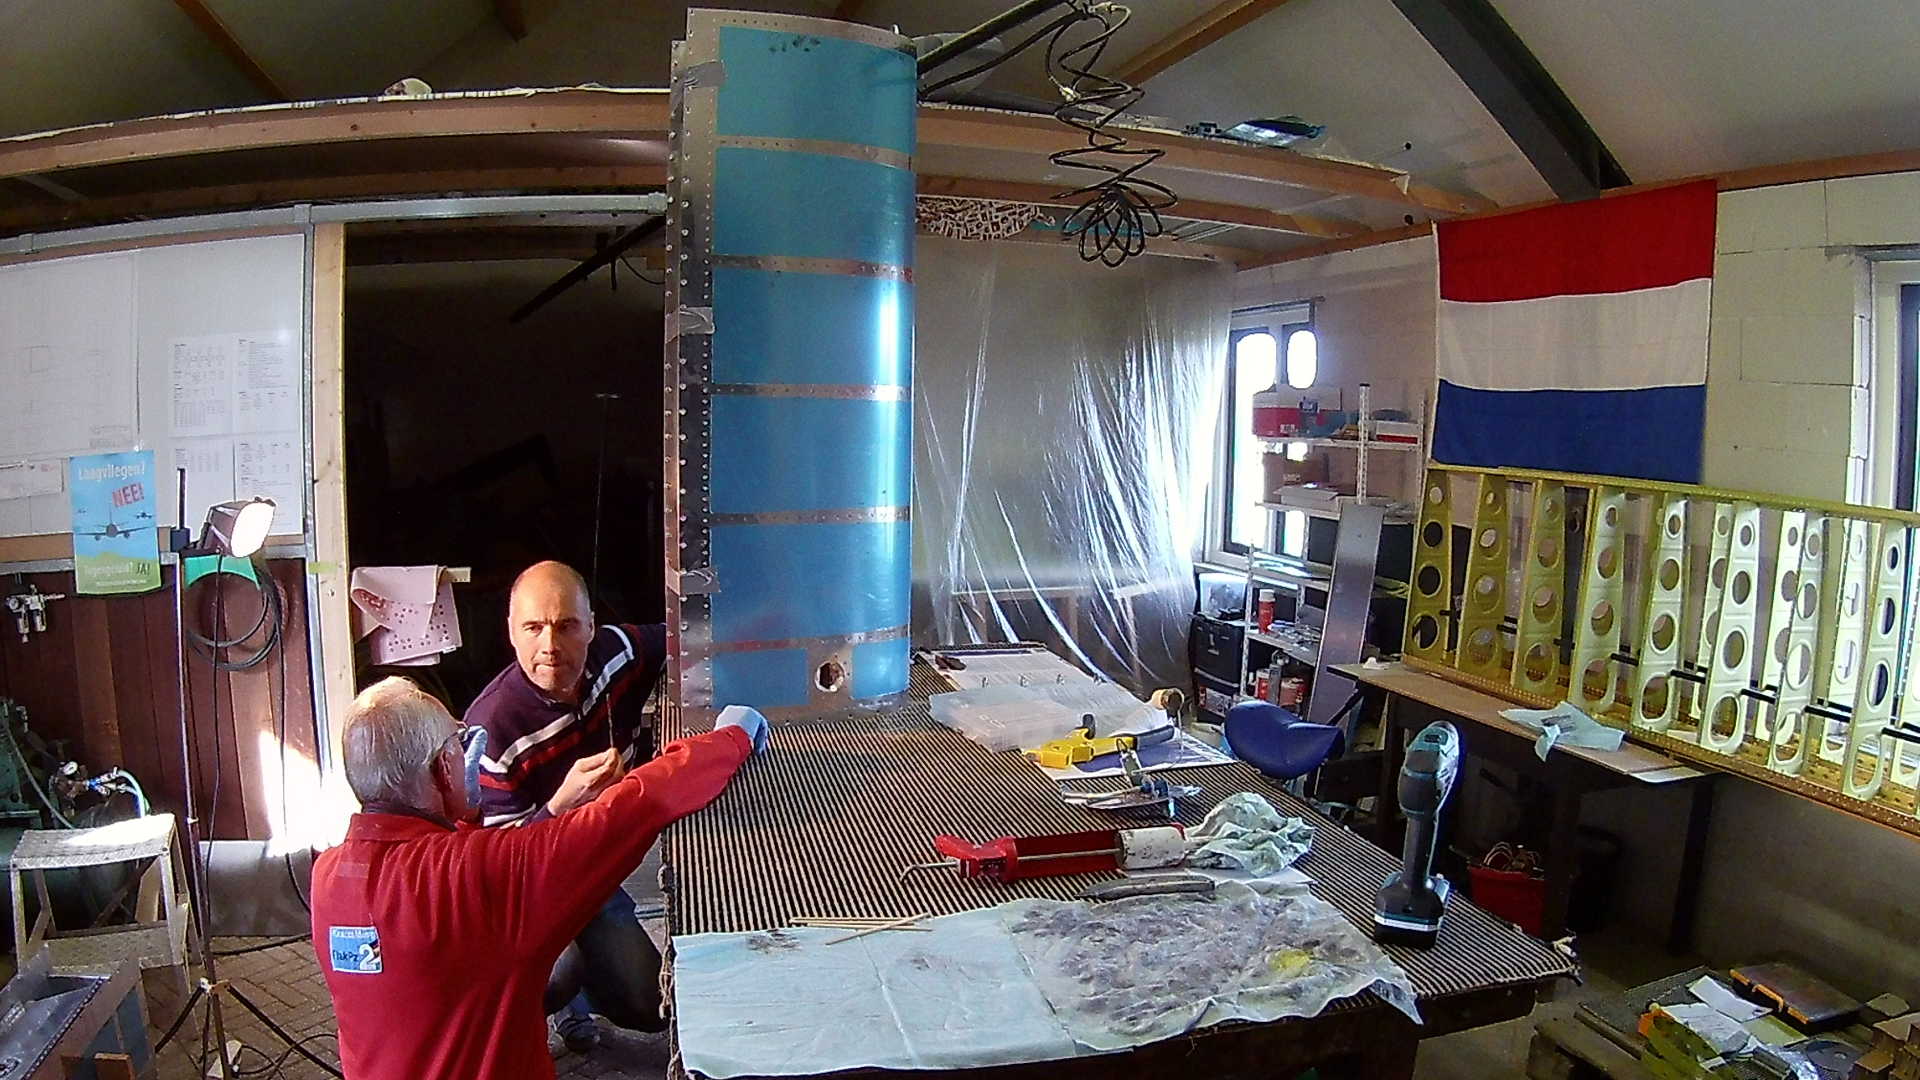
I’m working on the Radio Antenna and the Transponder Antenna, while my dad is finishing the Empennage. With the Antenna’s installed we can start working on the Canopy.
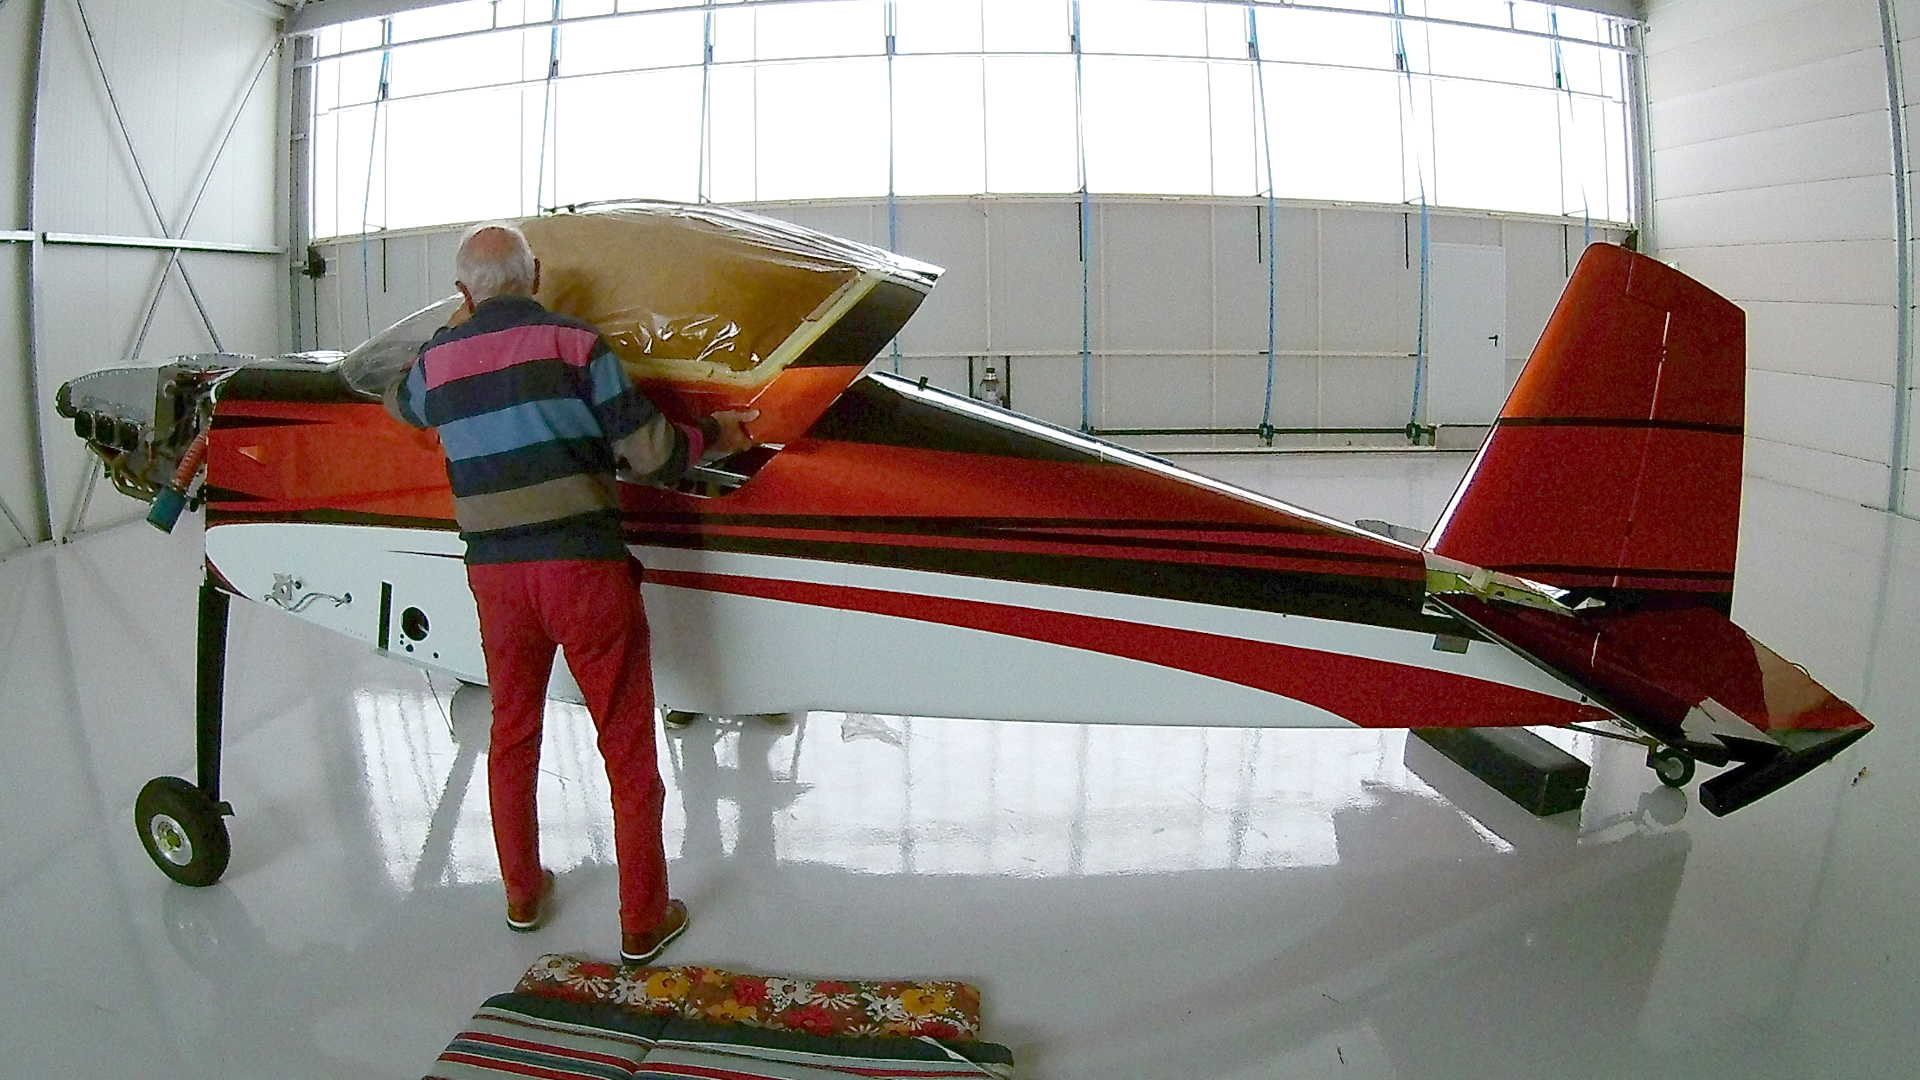
The installation is simple, just insert the two Canopy rollers on the front and attach the rear to the slider block. The hard part is the seal block that slides after the slider block.
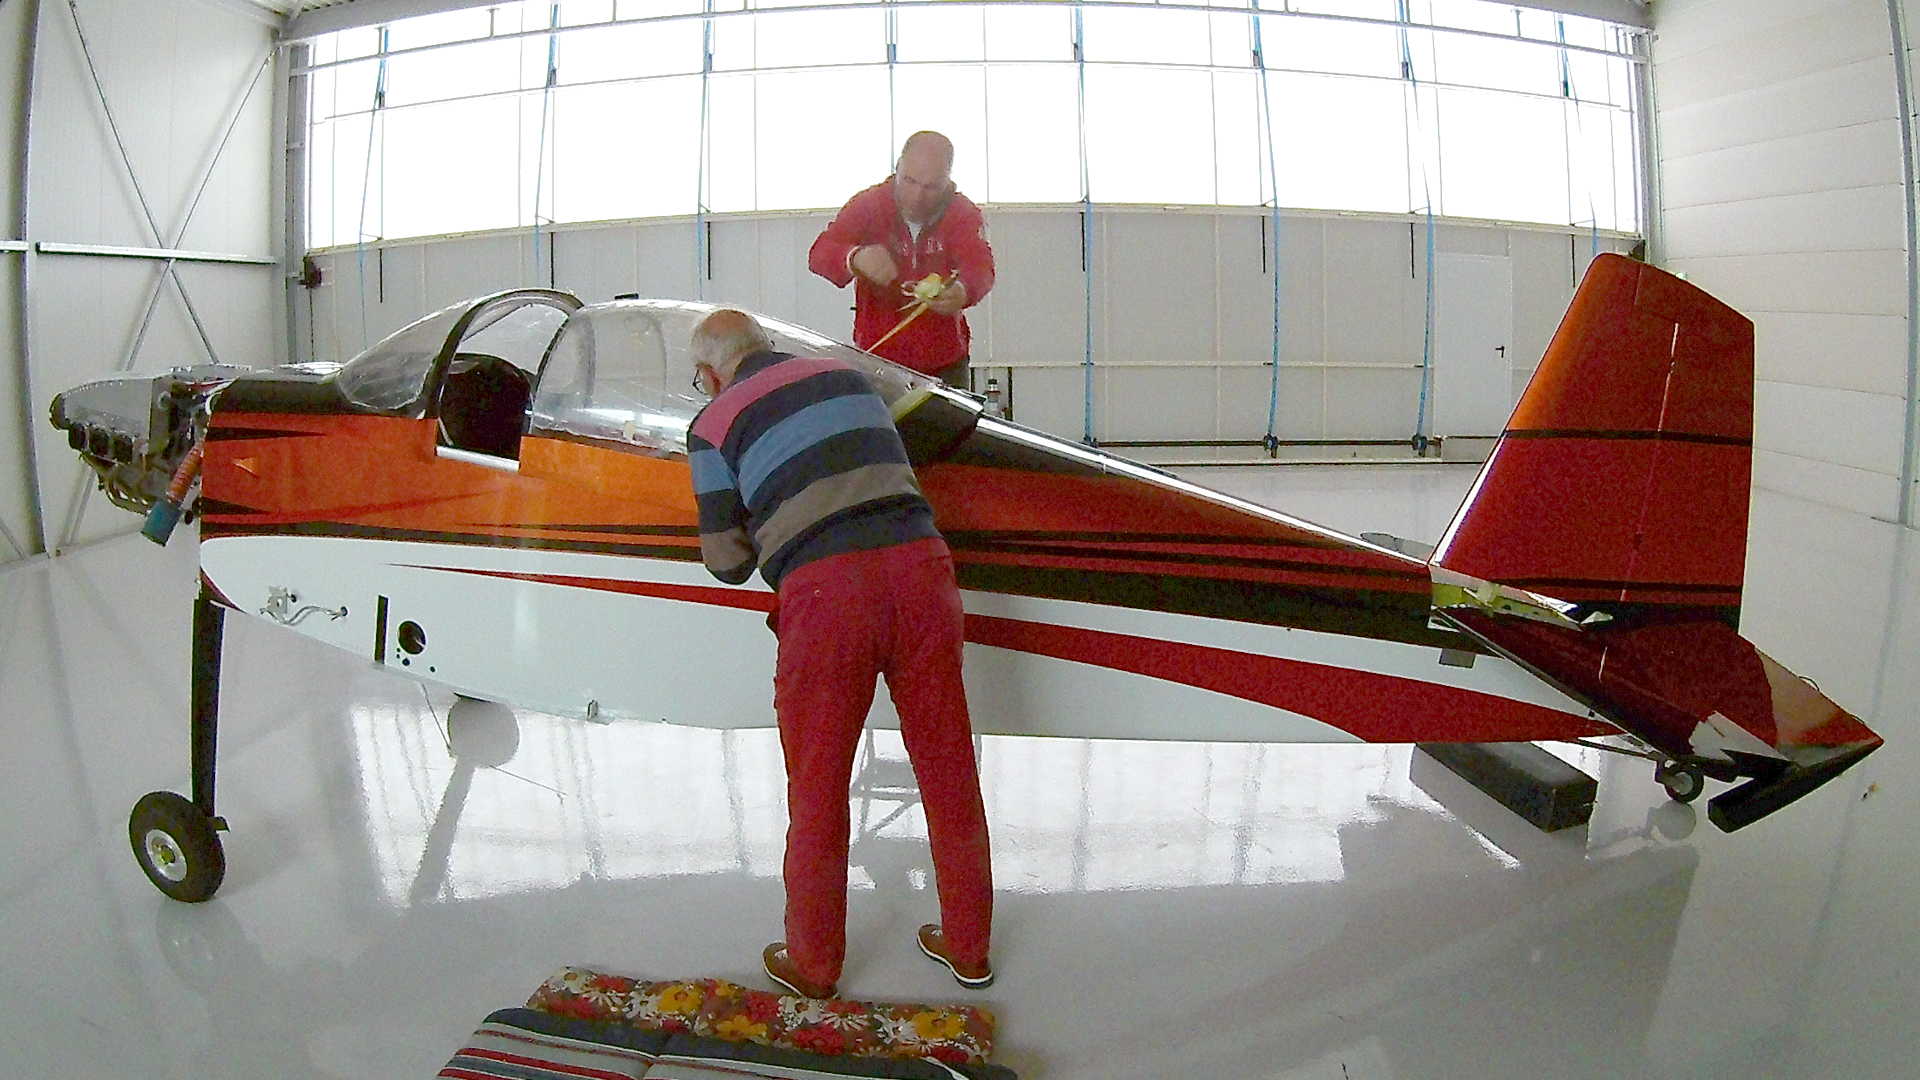
Removel af the paint paper needs to be done with care, since it could rip the paint.
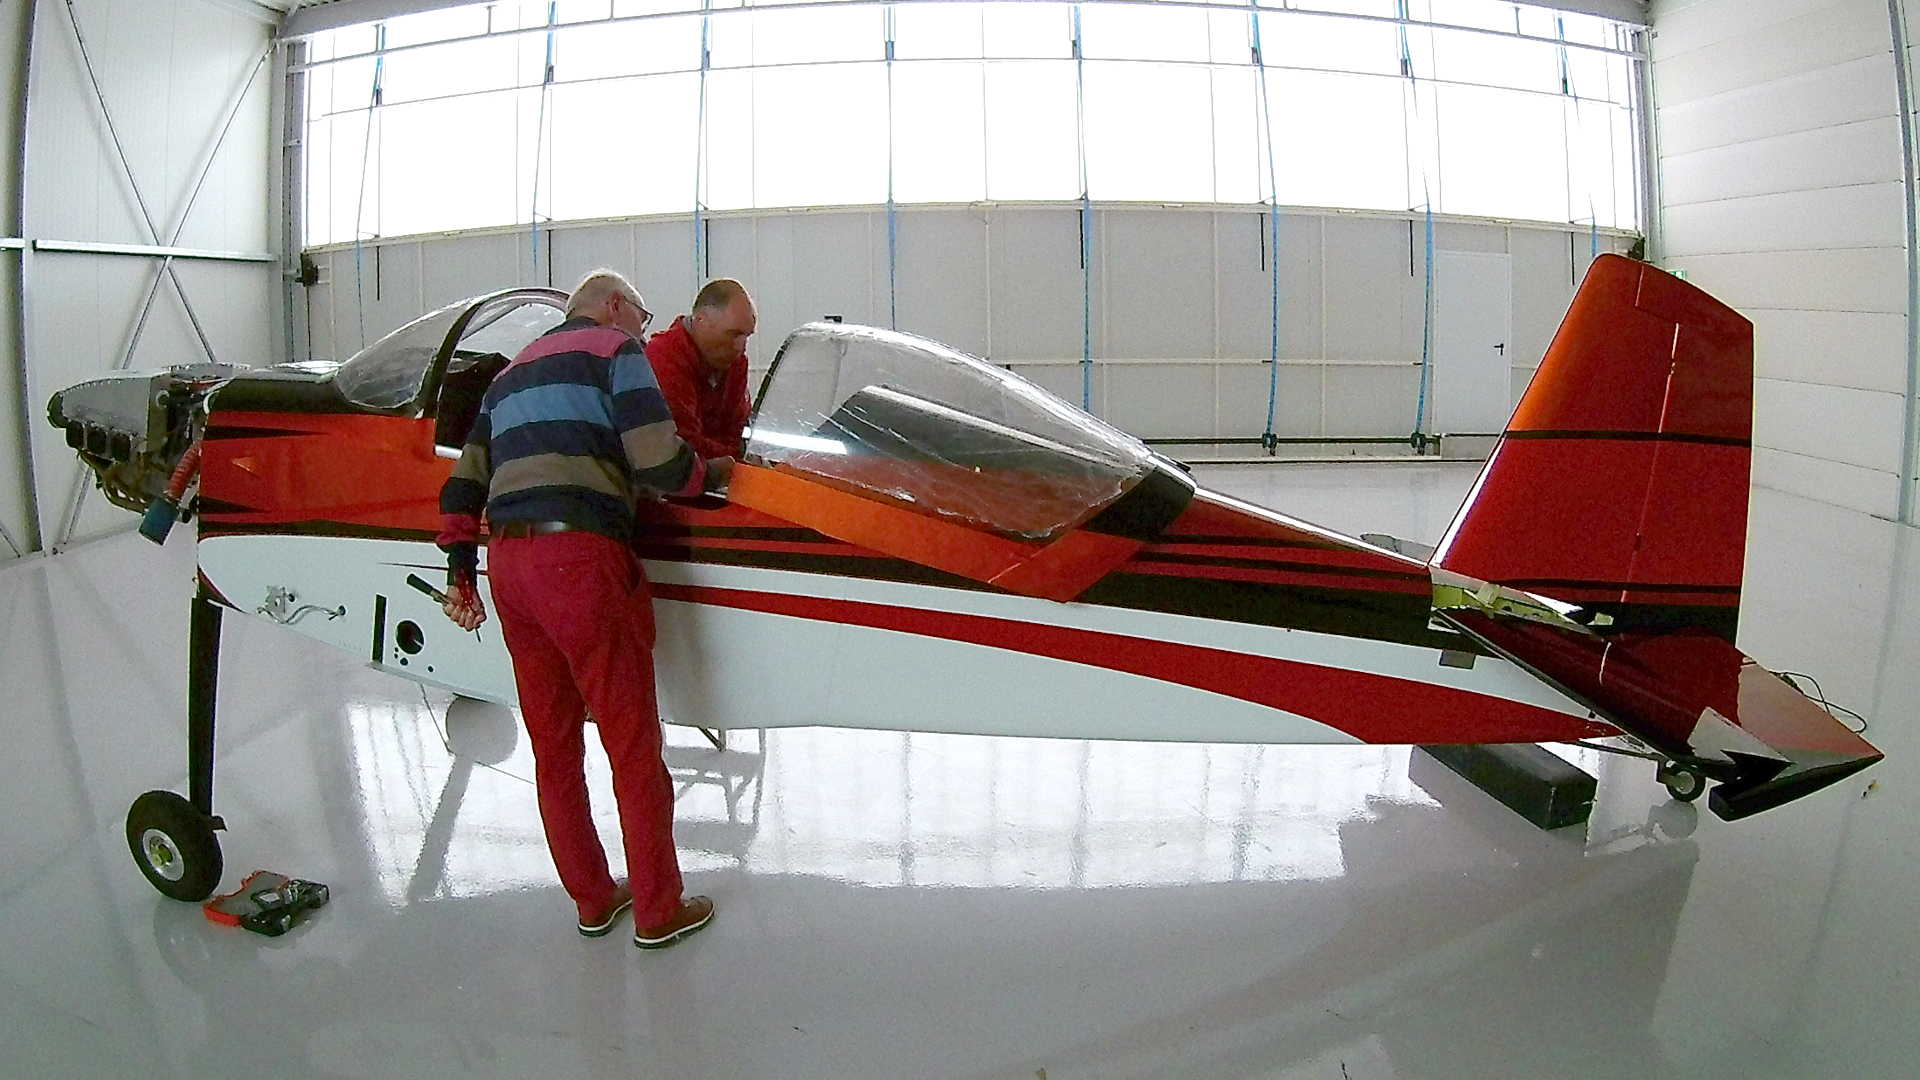
The painters-tape is everywhere, to prevent the inside of the cockpit being painted. But now we have to remove all the painters-tape.
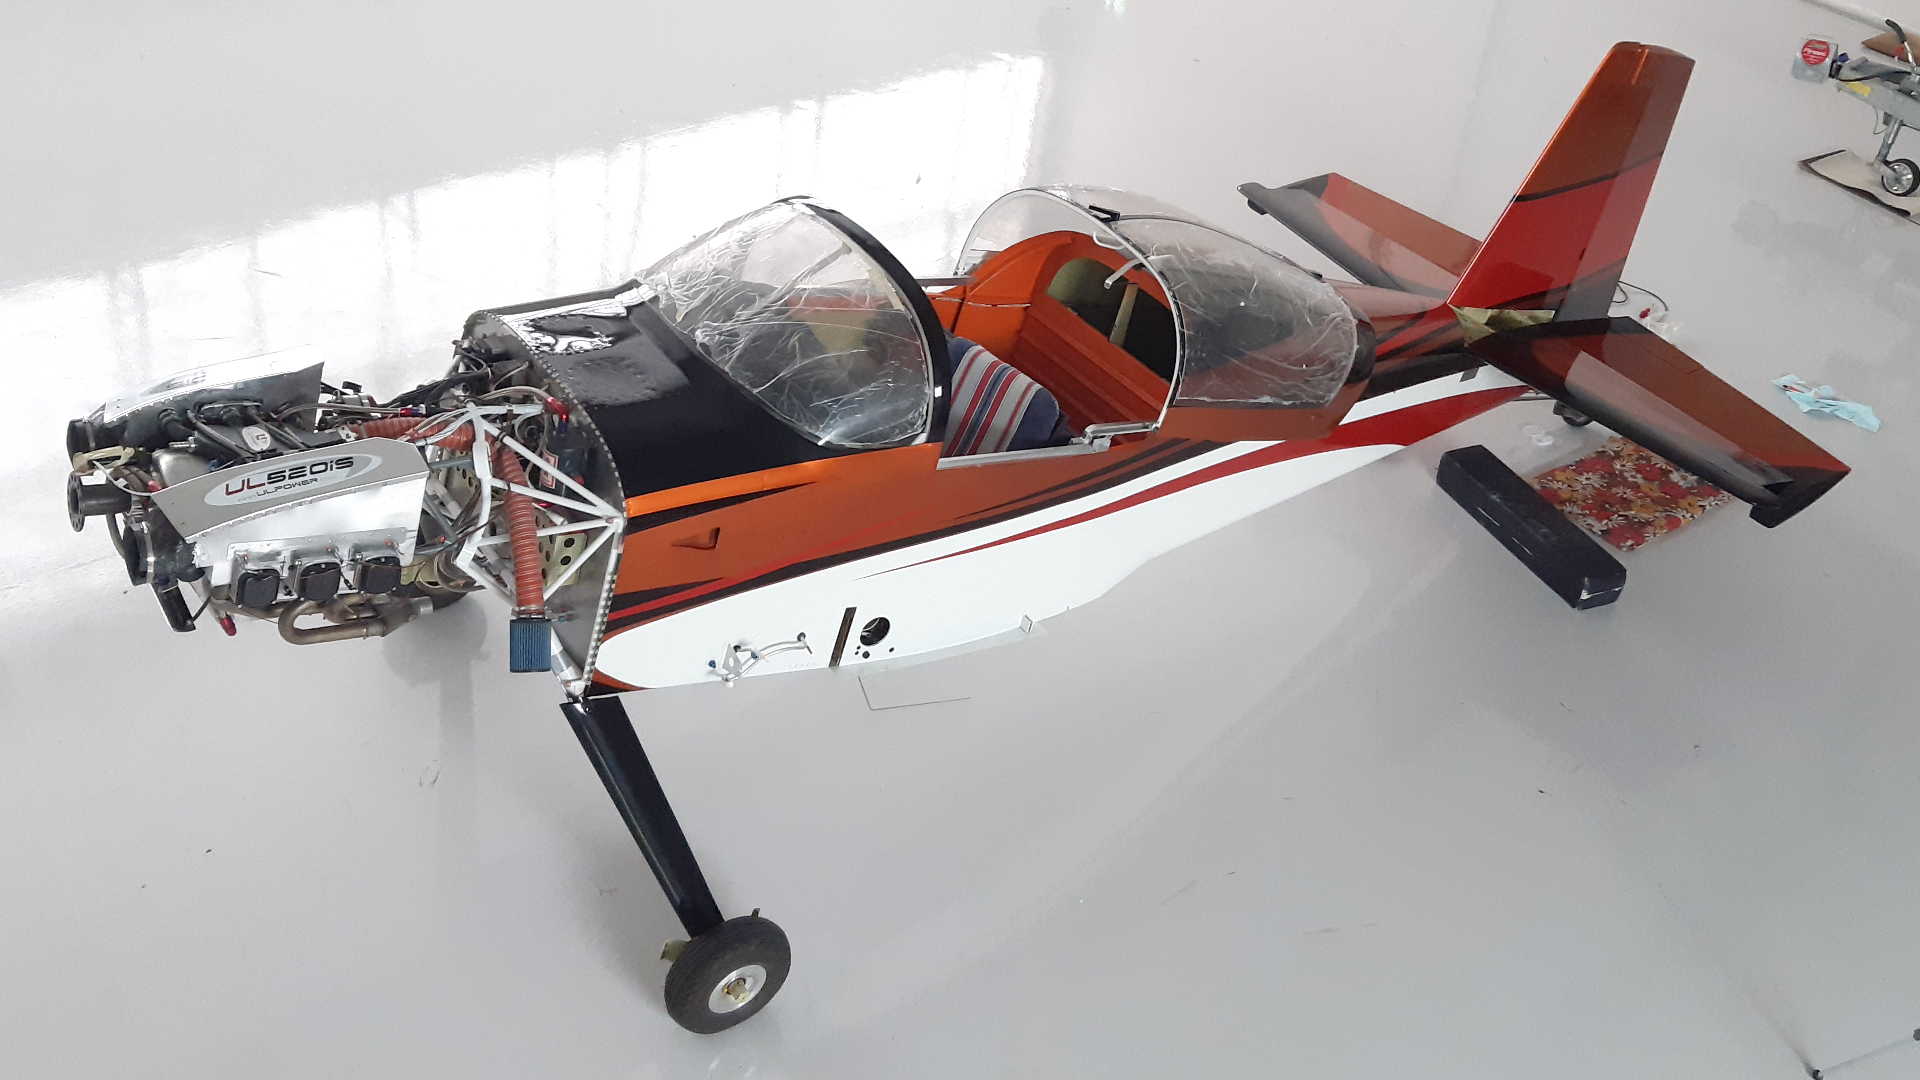
Done, the Canopy is installed. Here’s a nice top view. Next up is the Airmaster Propeller.
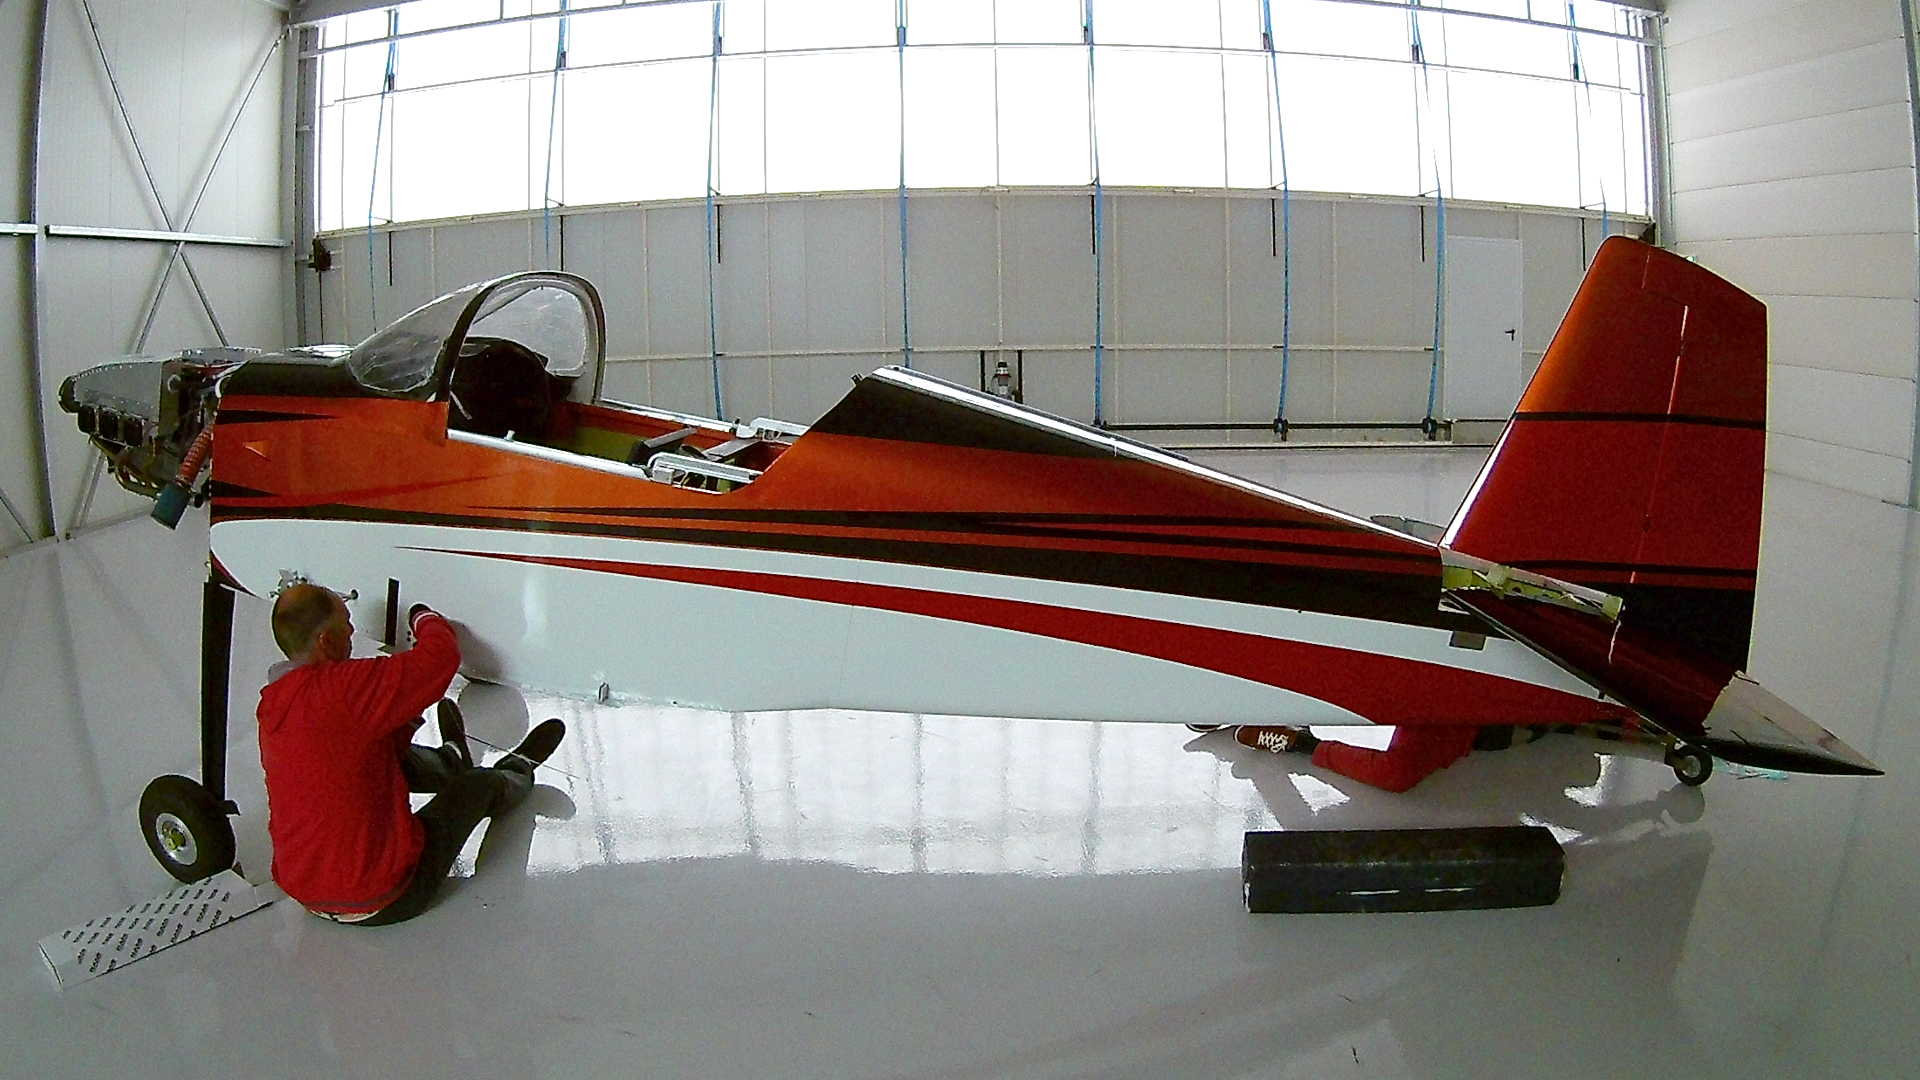
Ok, this one could have been done after the Wings, but the bottom side of the left Wing requires a registration number and that is easier to install while in the cradle.
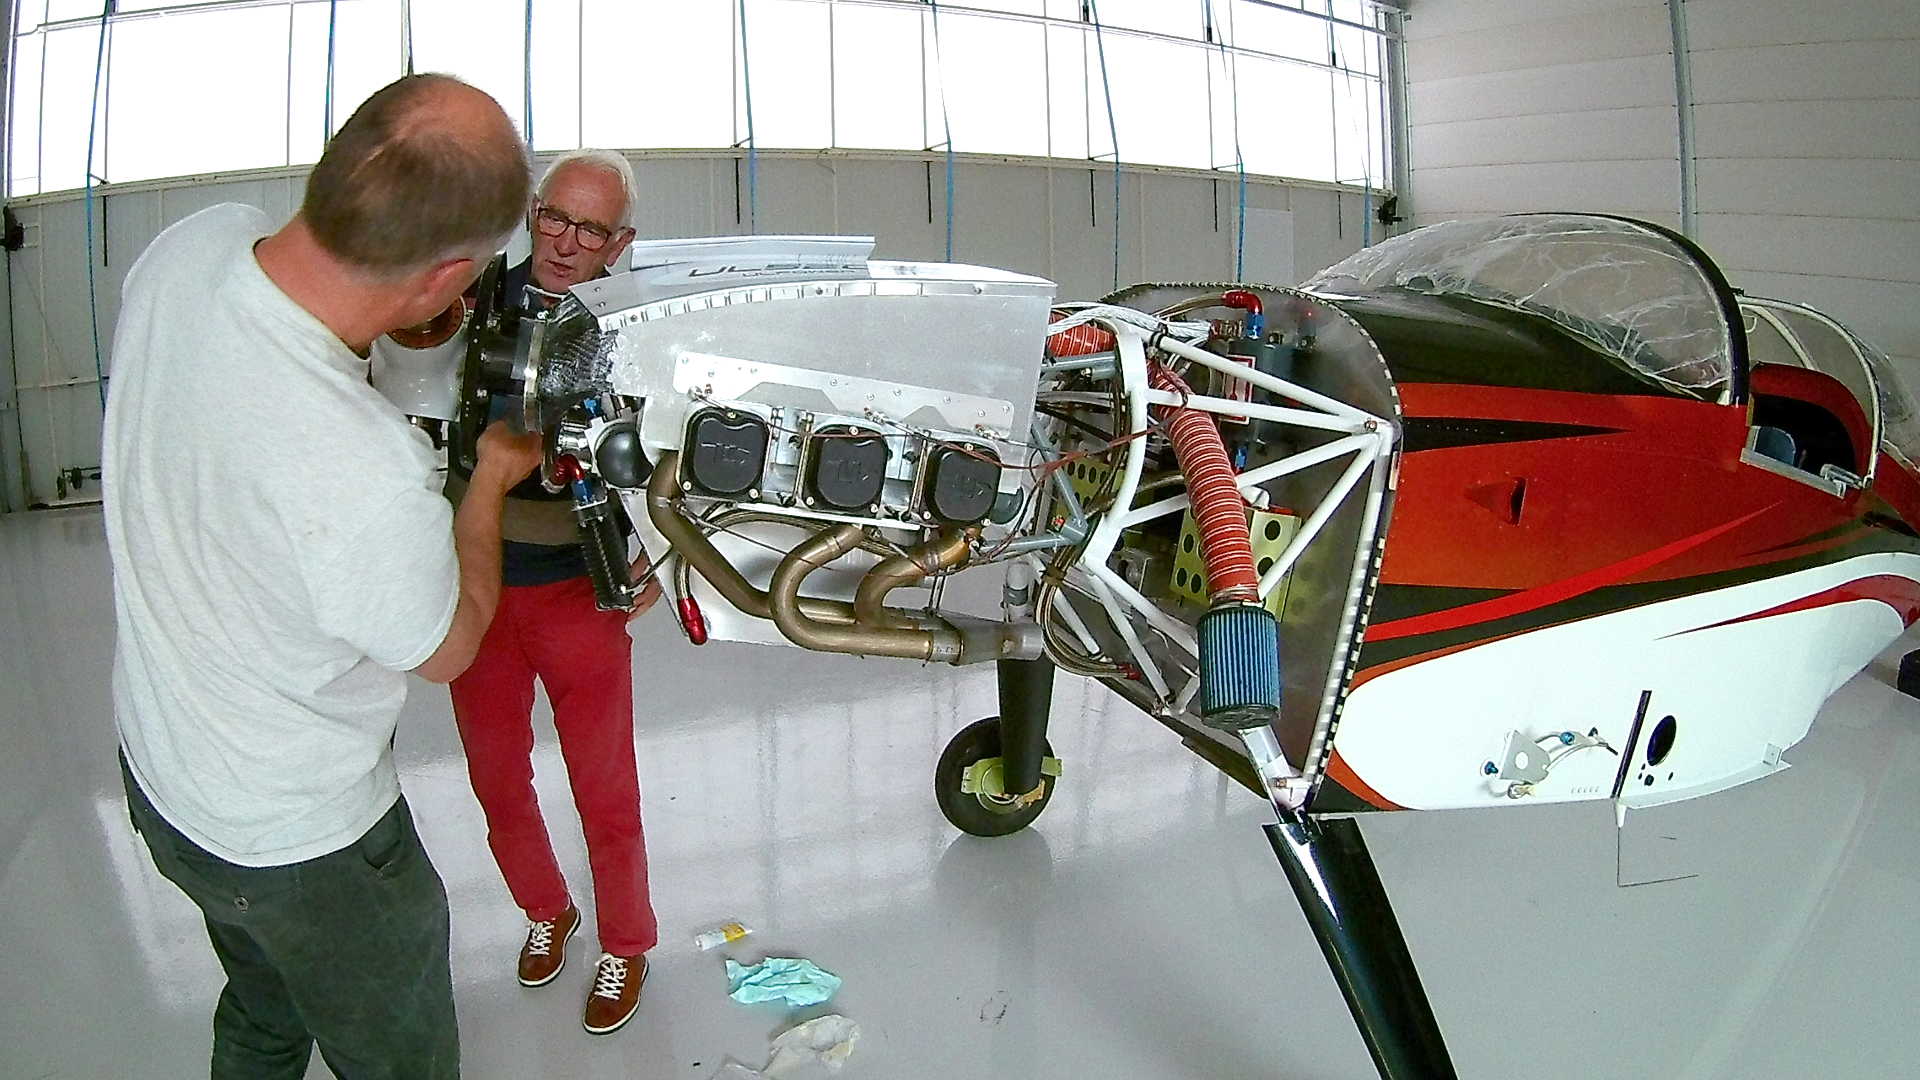
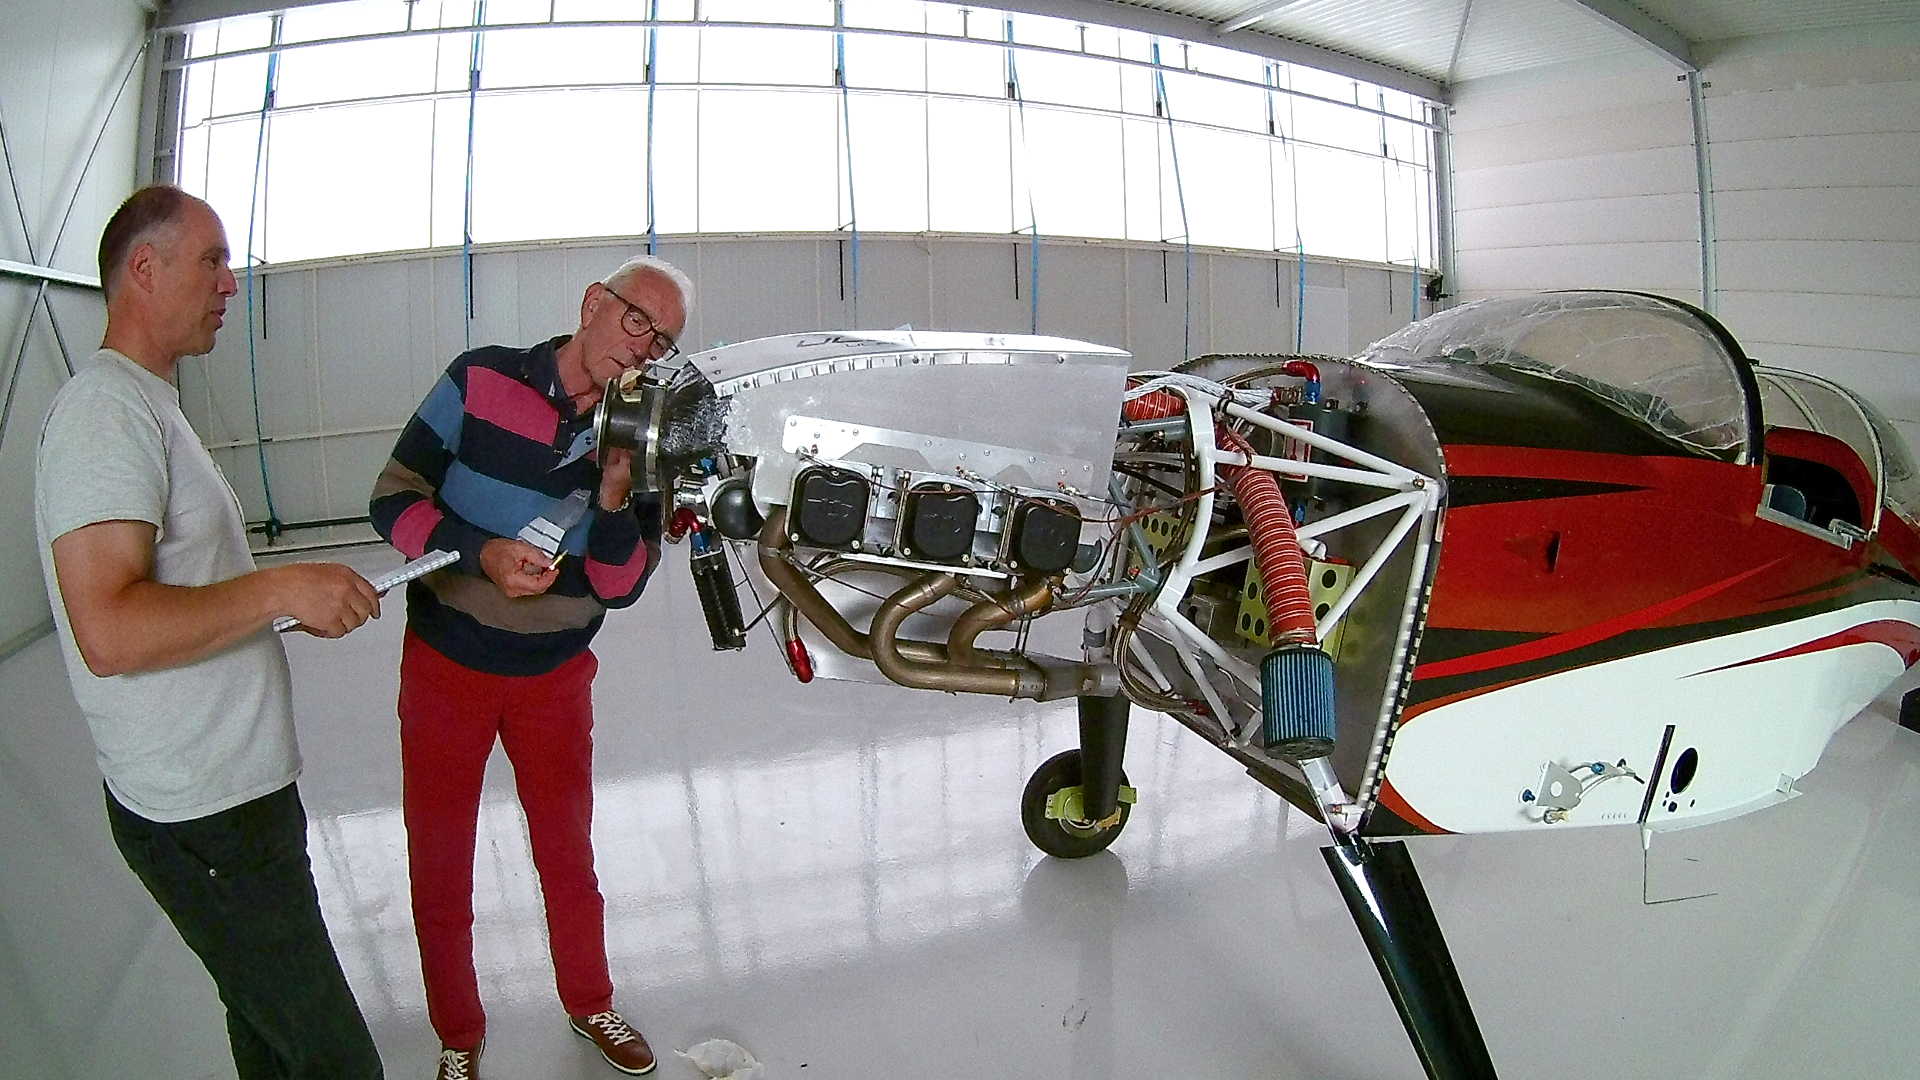
There are 6 bolts with Drive Lugs that connect the Propeller to the Flange. Airmaster does NOT use Bolts that require safety wiring, but NordLock Washers instead. You have to be careful, it turns out NordLock washers can only be used twice, before you have to buy new ones.
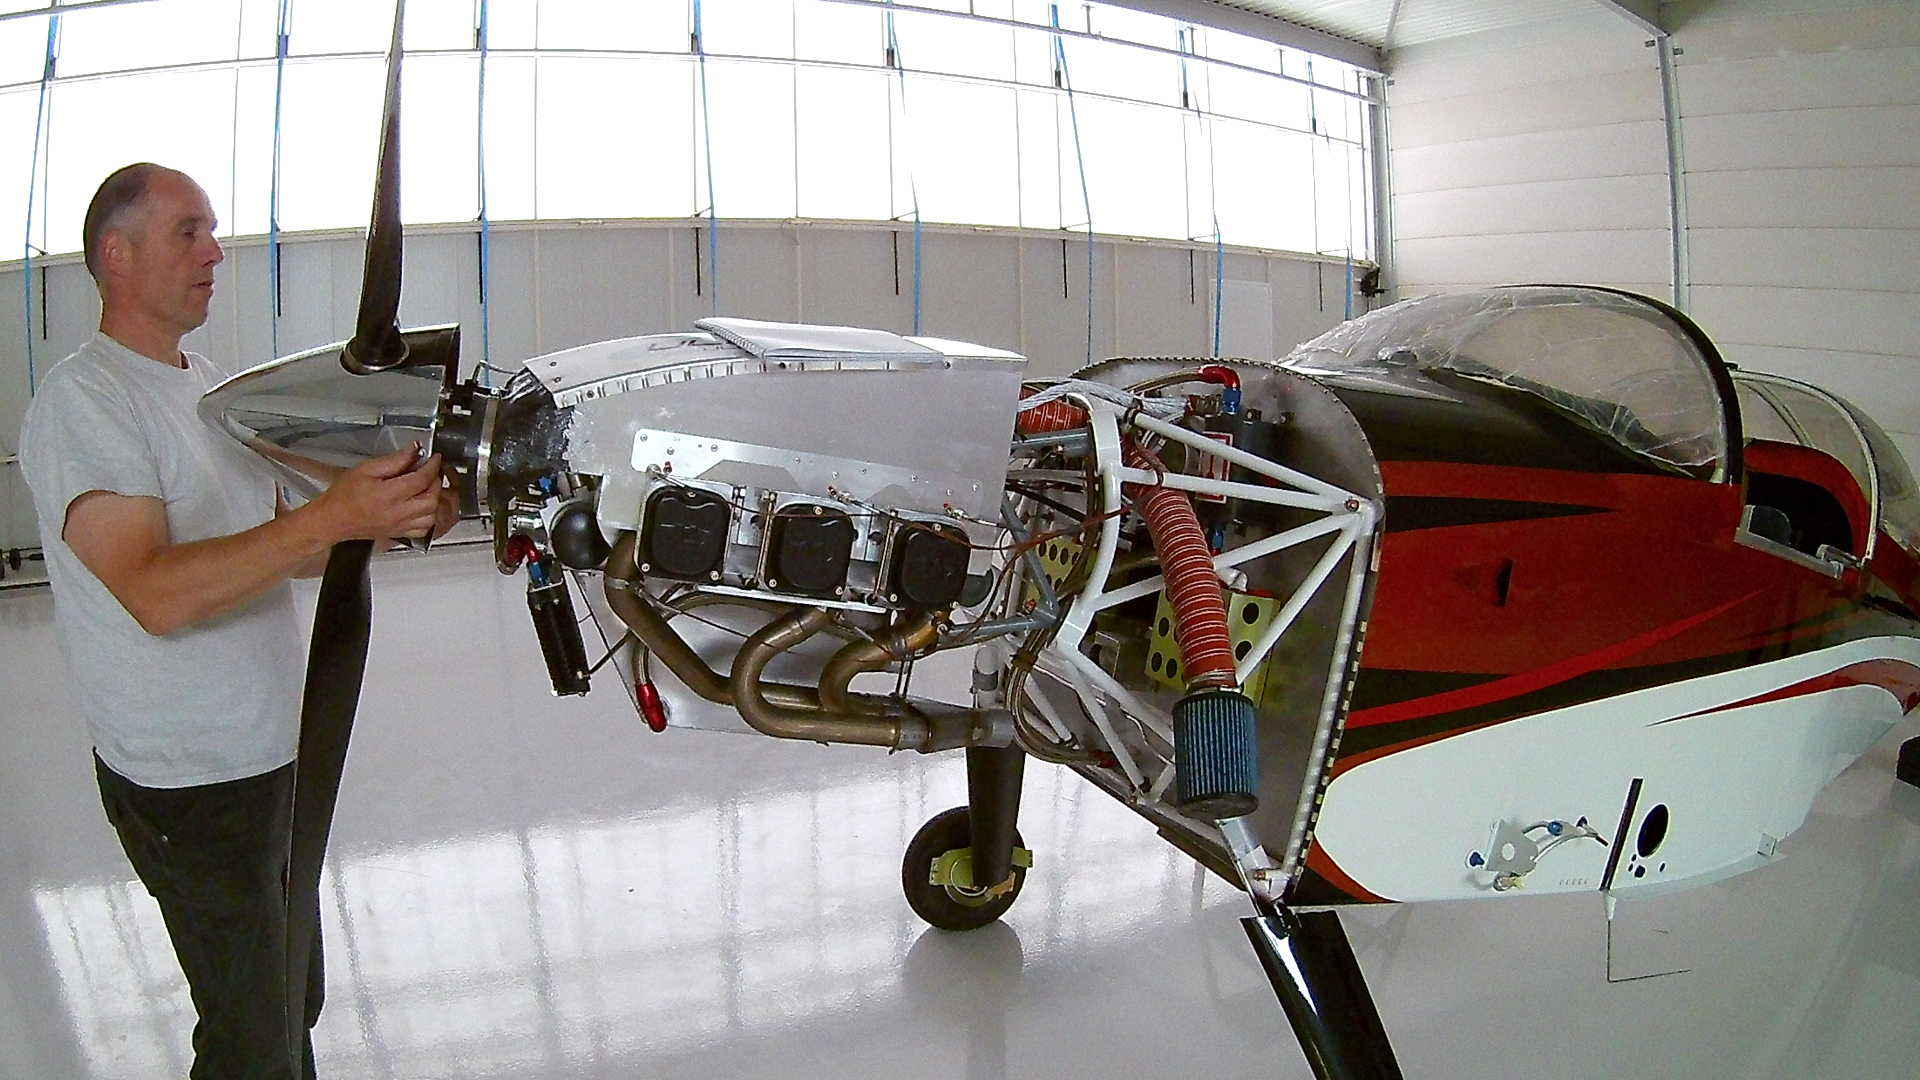
When everything is installed, I can install the Spinner.
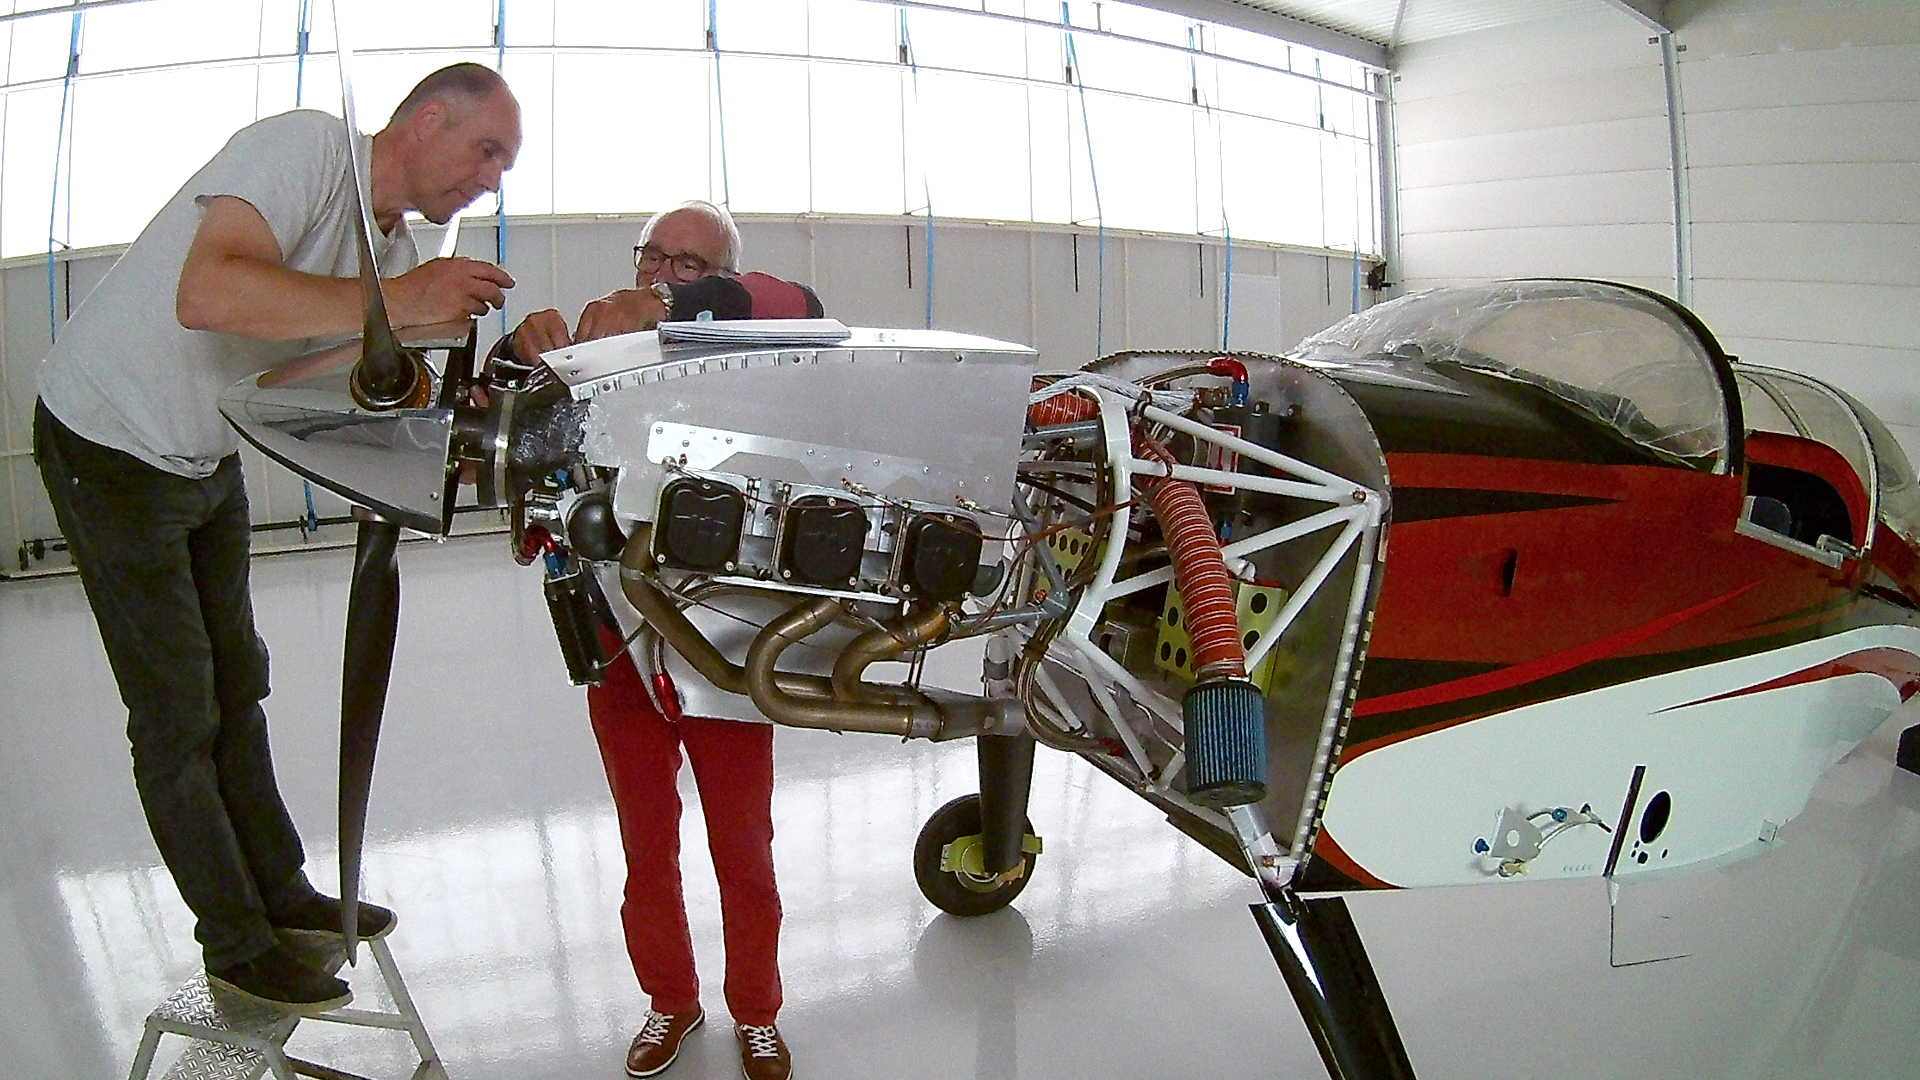
The Propeller Pitch Control brushes needs to be close to the Slipring on the Prop.

Now we can prepare the Wings. First thing is installing the Aileron Pushrods. Once the Aileron Pushrods are installed, we can install the connecting Pushrod to the Aileron.
The default setting of the Pushrods can be set with the Aileron template in the Van’s kit. This piece of Aluminum is easily overlooked as useful, because it is not a piece of the Aircraft, but a measuring template.
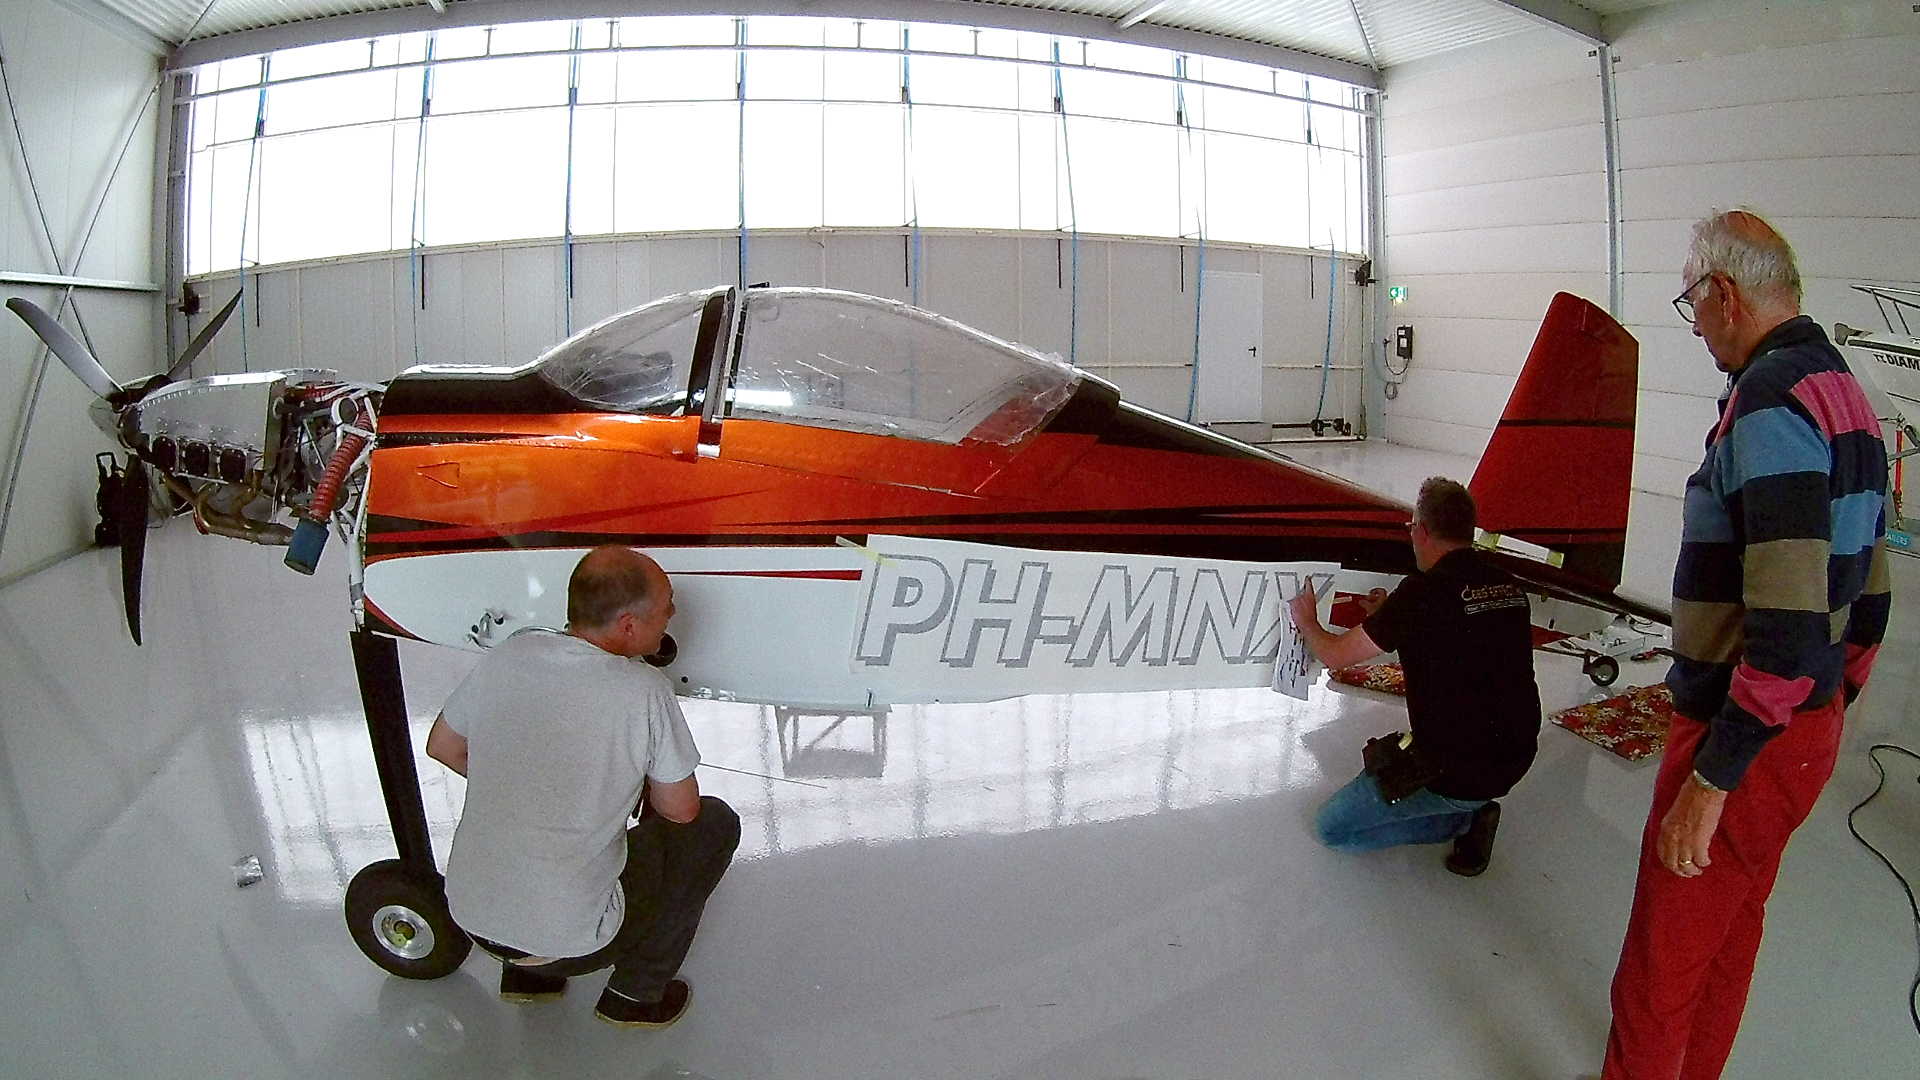
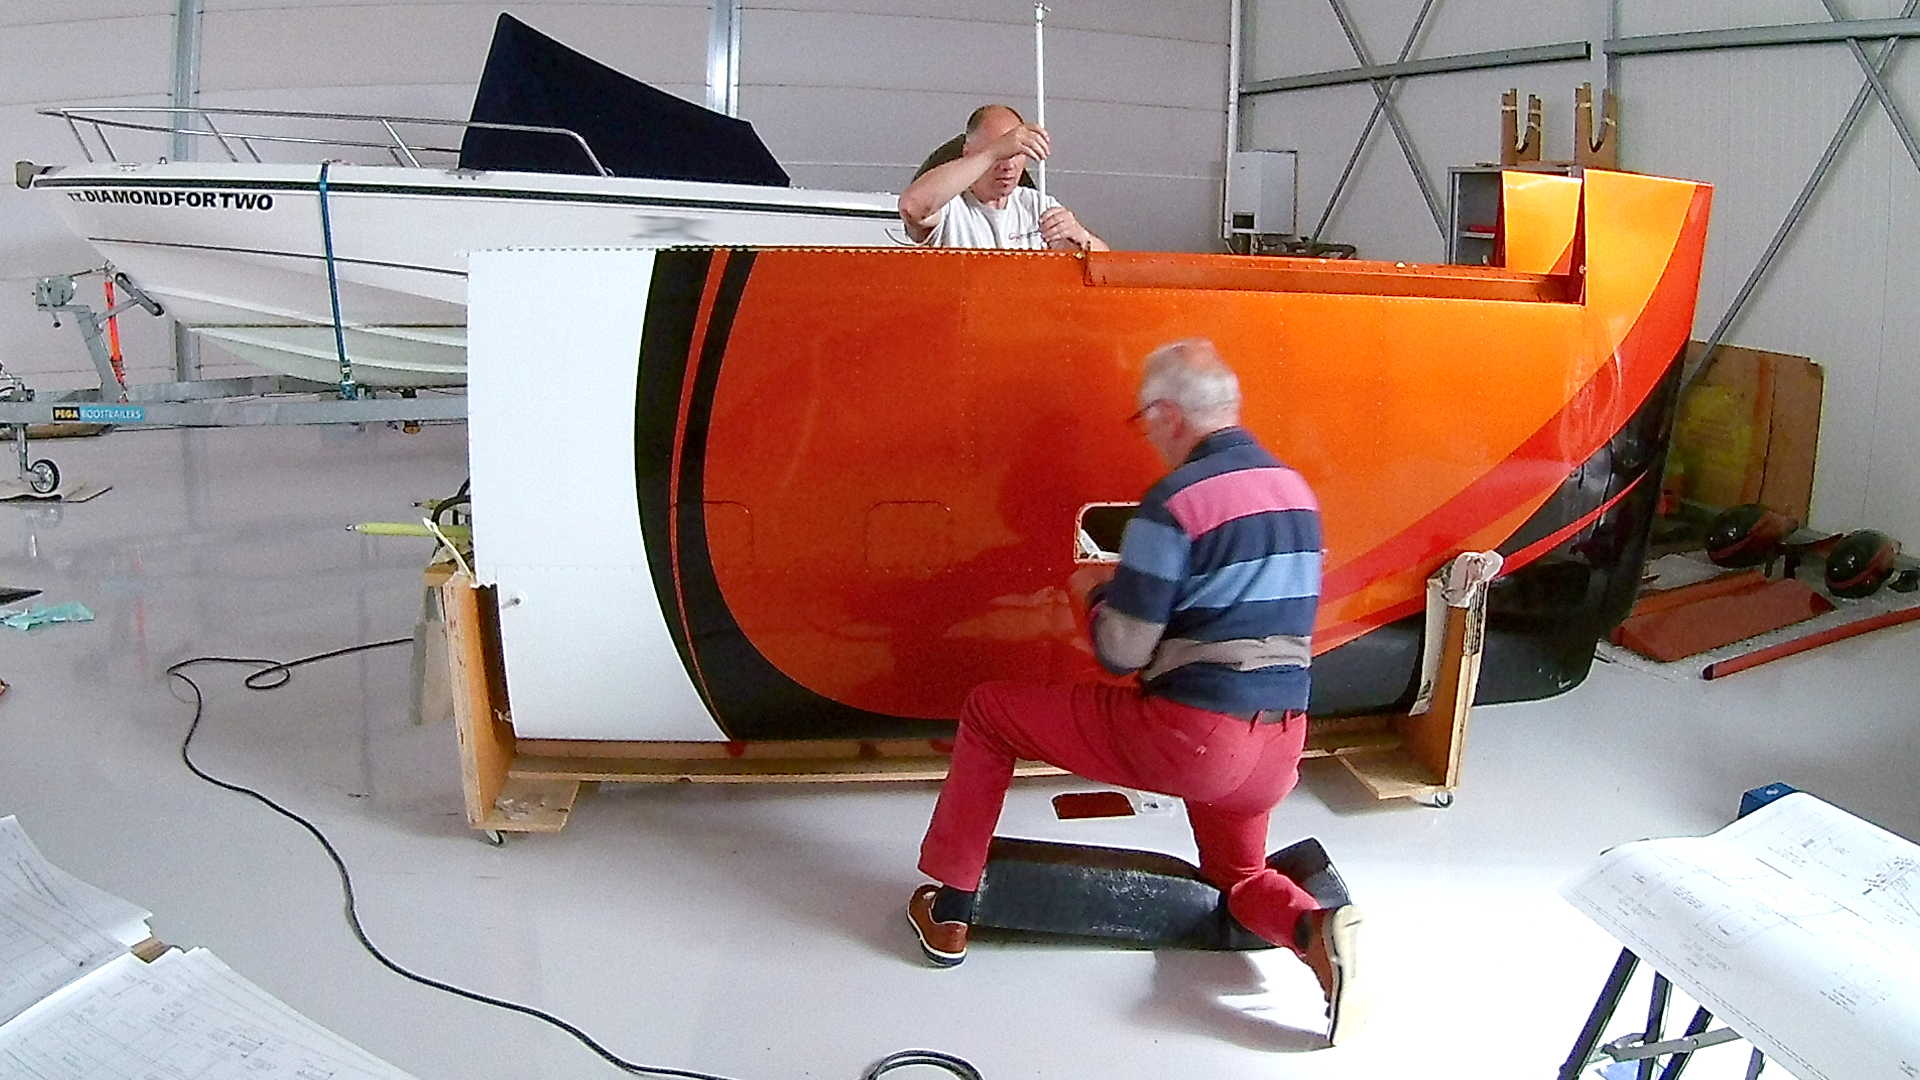
Yes, here is Cees, who did the paint job on the Plane. He also created the decals for all plackards and registration signs.
I still think the registration is too big and useless considering the Transponder, but it’s regulation so ….
Damn, I’m really proud and it feels we are getting there.
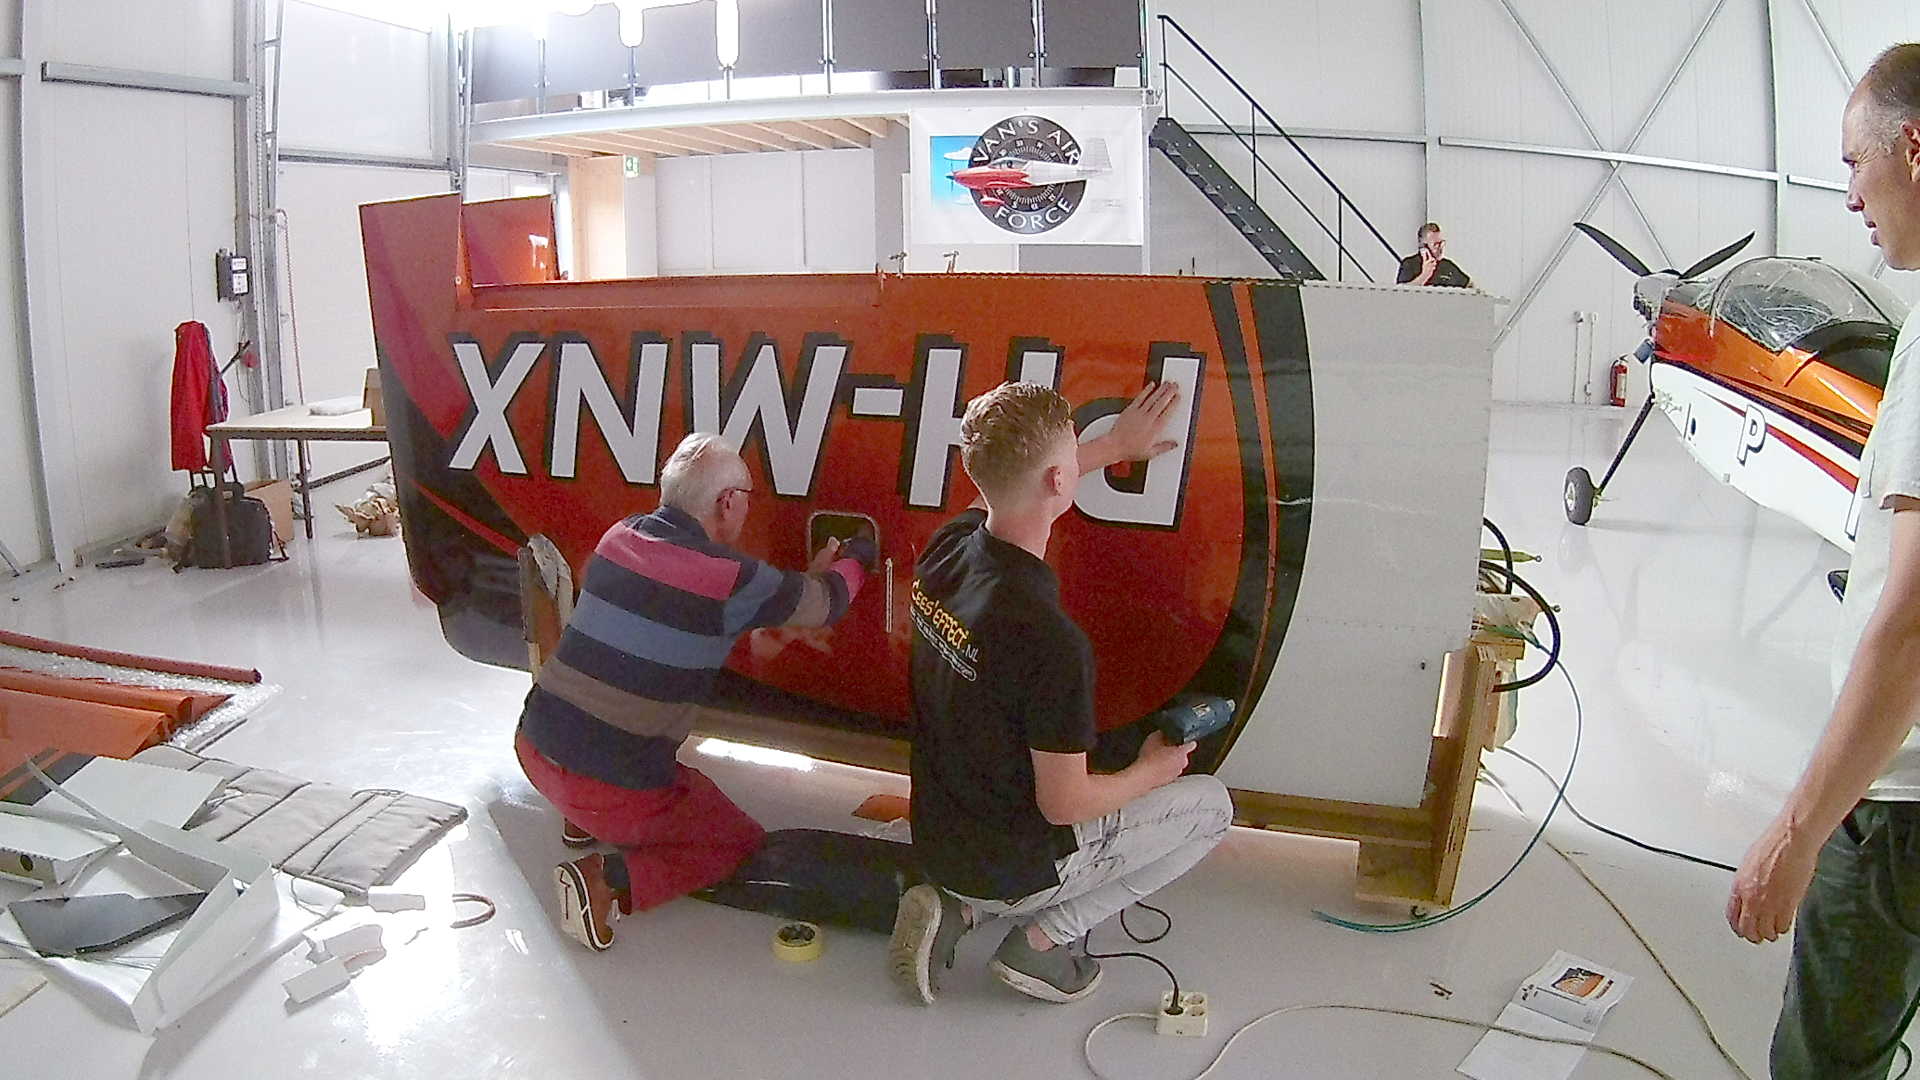
This is why we didn’t install the Wings yet. This is the bottom of the left Wing and it’s much easier to stick the registration decals on it while standing up than laying on the ground.
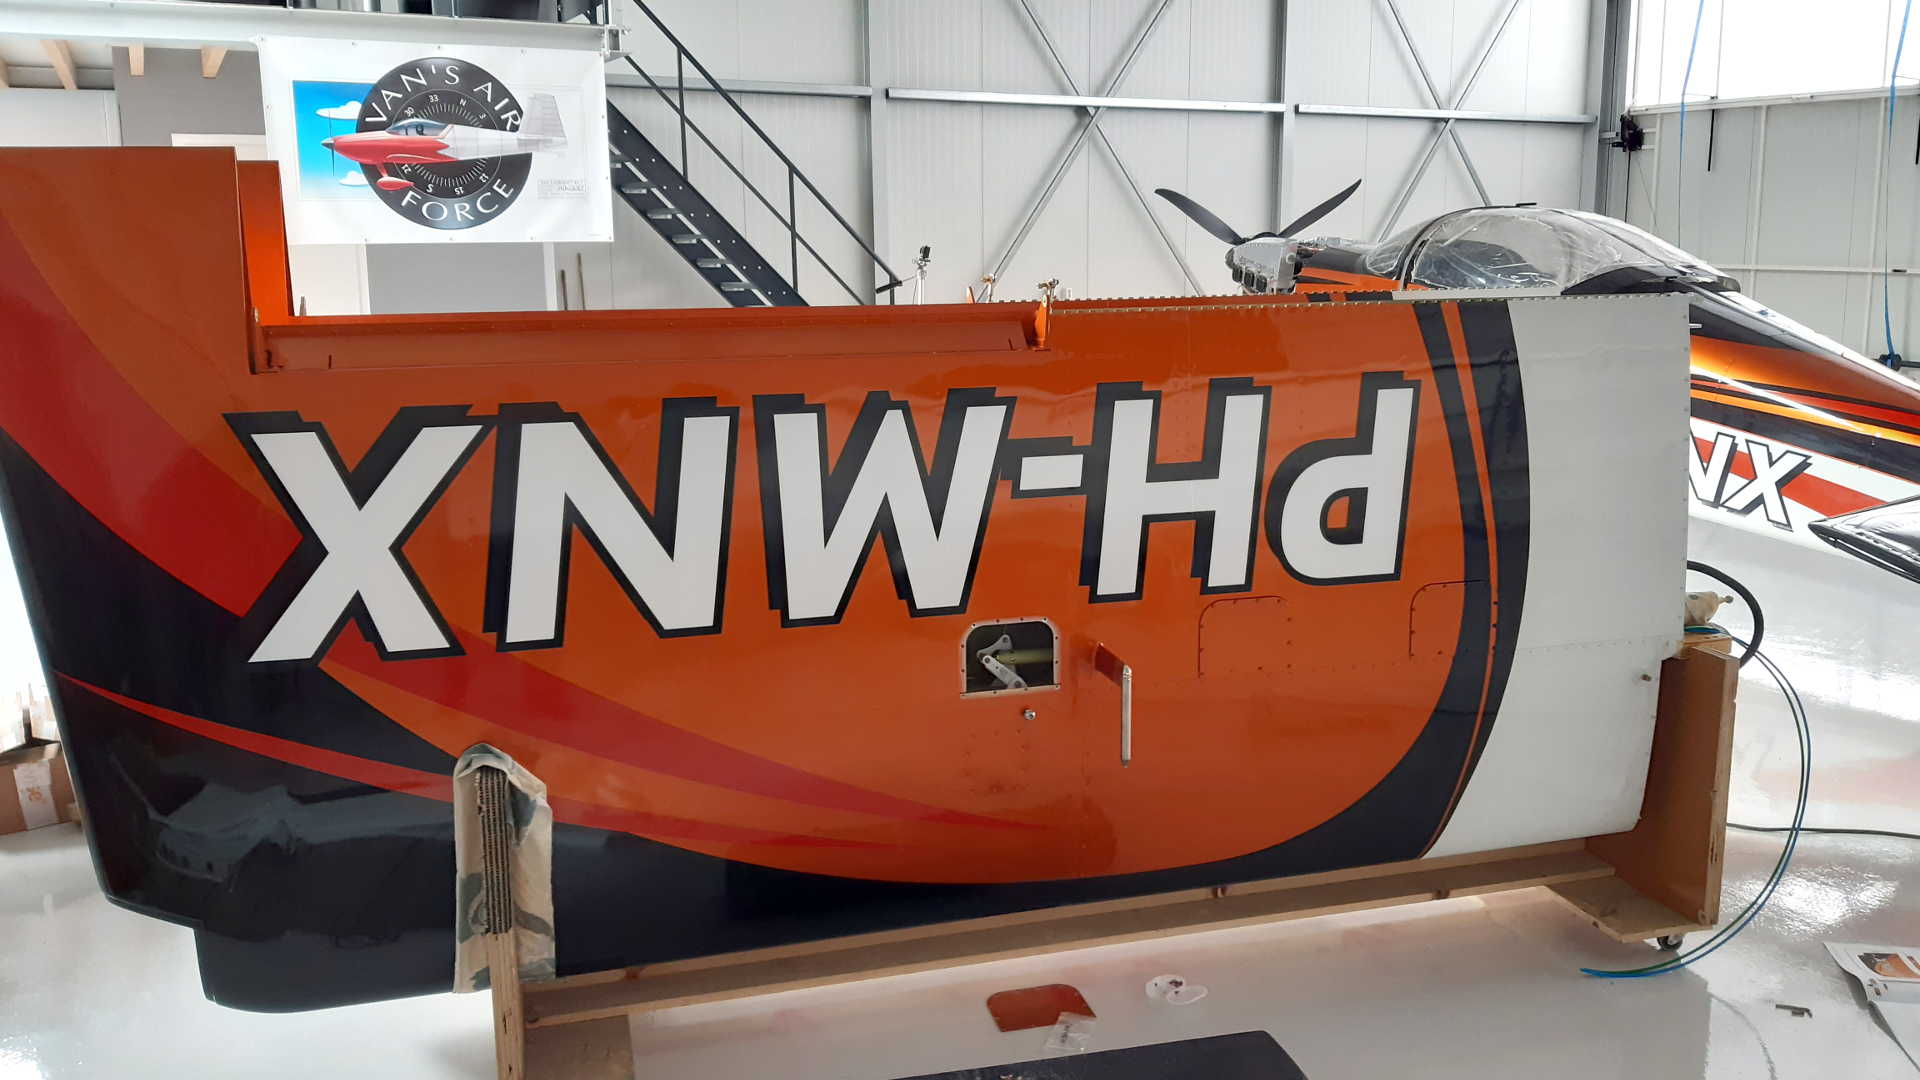
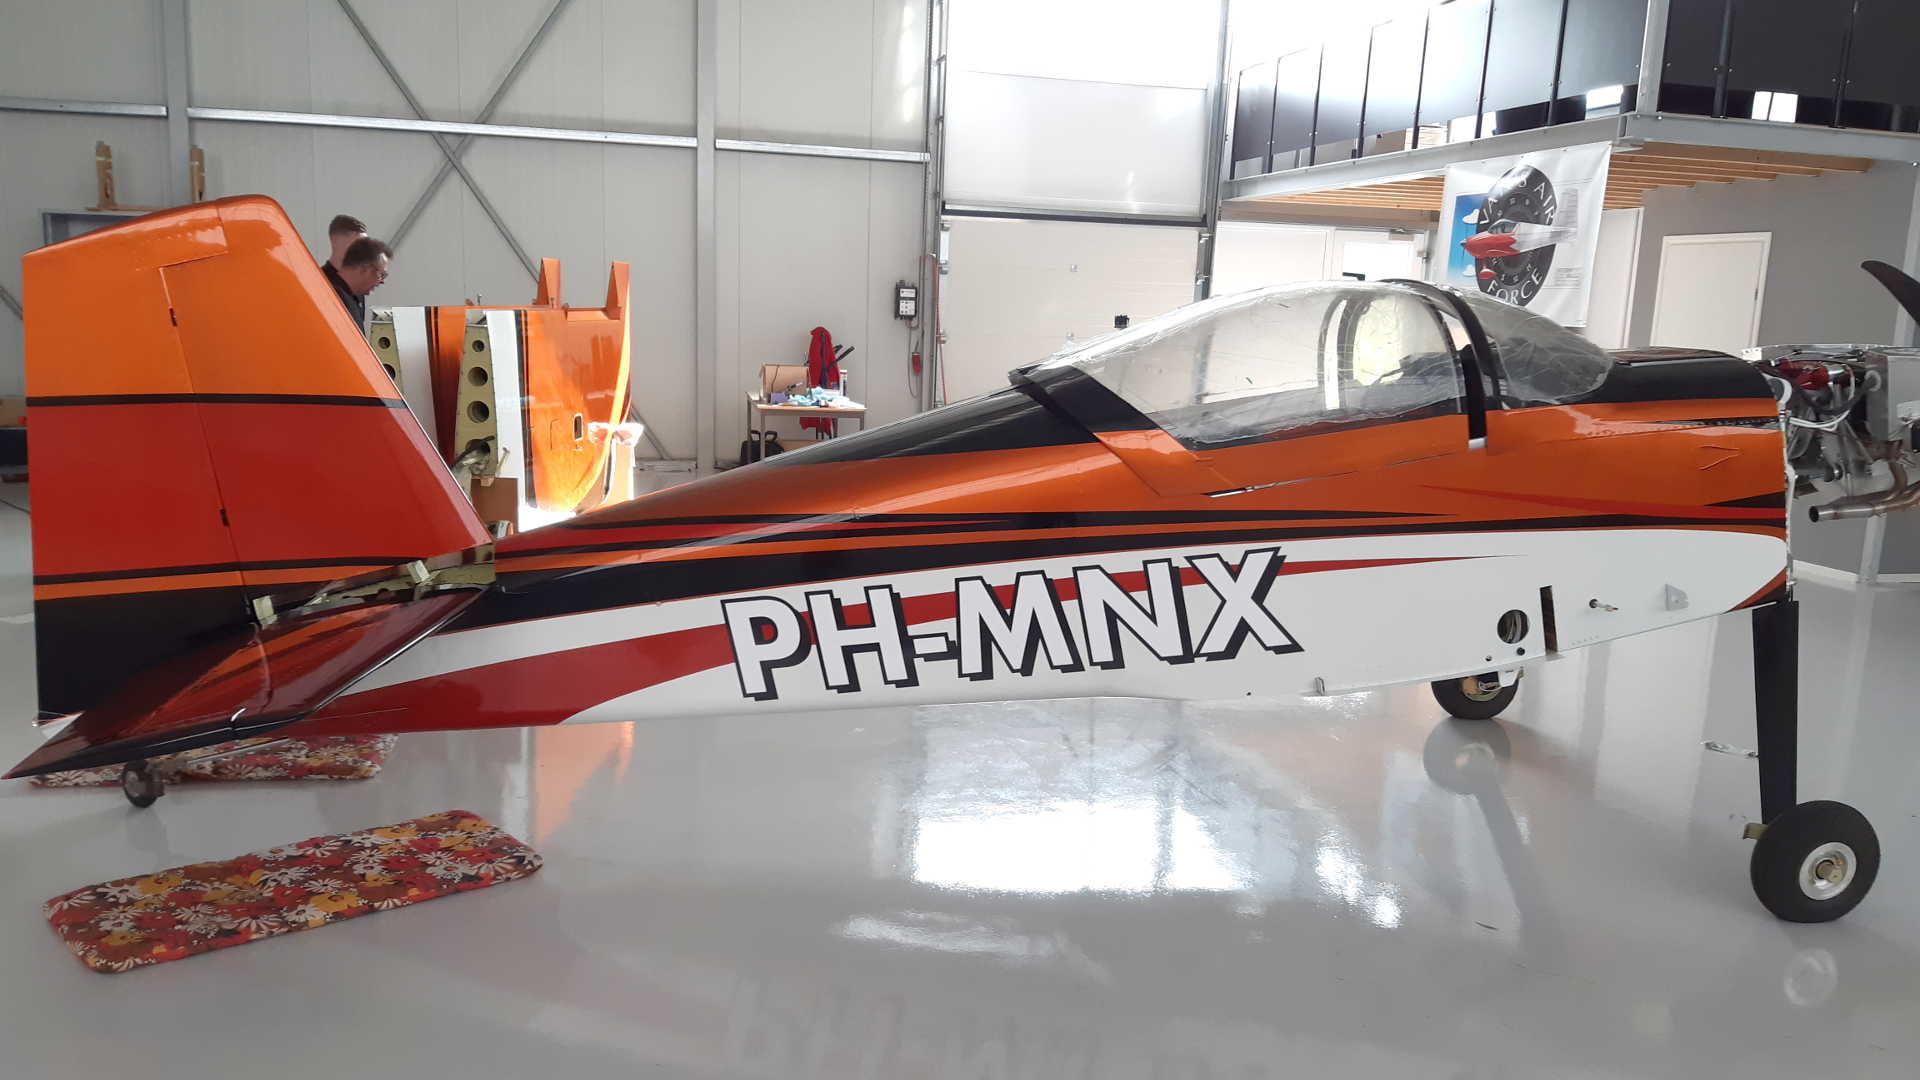
Check it out, PH-MNX, it looks great.
Time: 7 Hours, Rivets: 0/0 (2021-09-15)
Video