
Before PH-MNX is considered ‘Airworthy’, an inspection is required by a technical engineer of the NVAV (the Dutch chapter of EAA).
This engineer will check all the technical aspects as well as the rules described by the Dutch Government in the laws regarding Experimental airplanes.
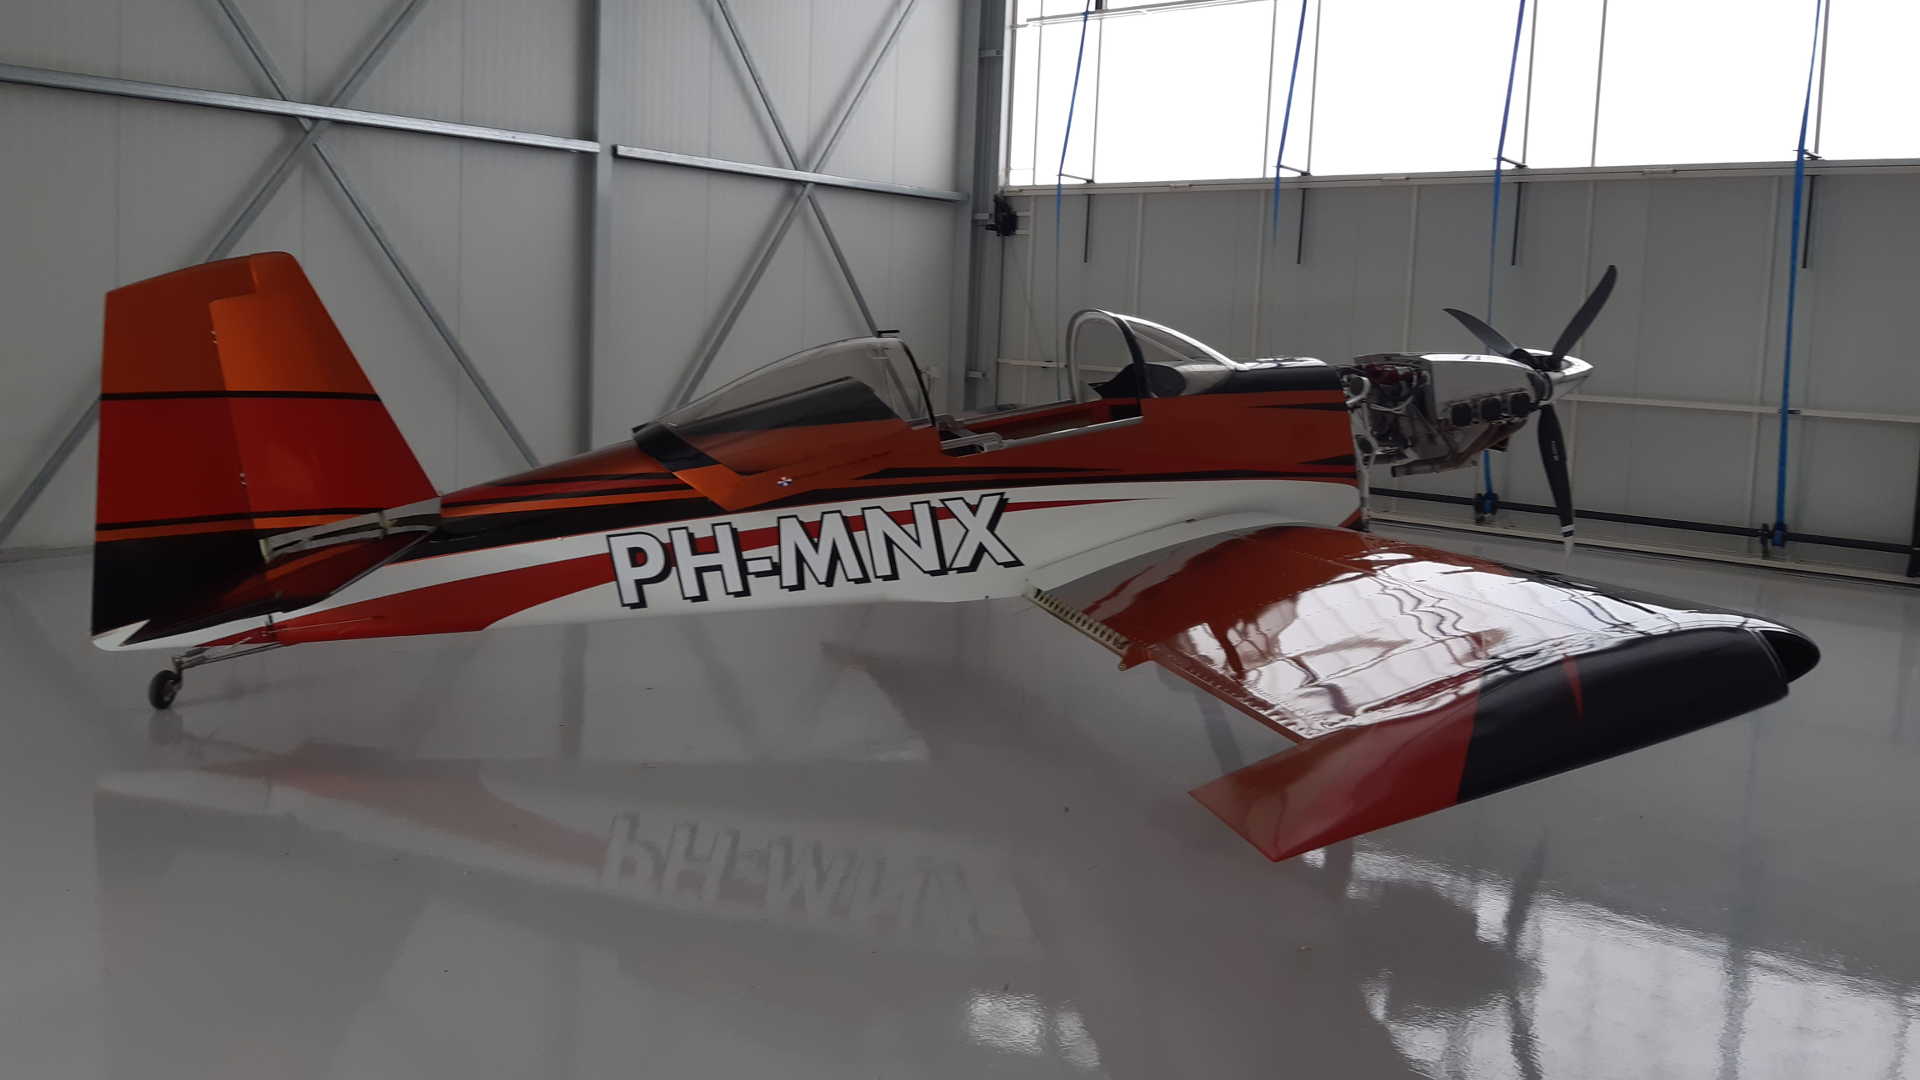
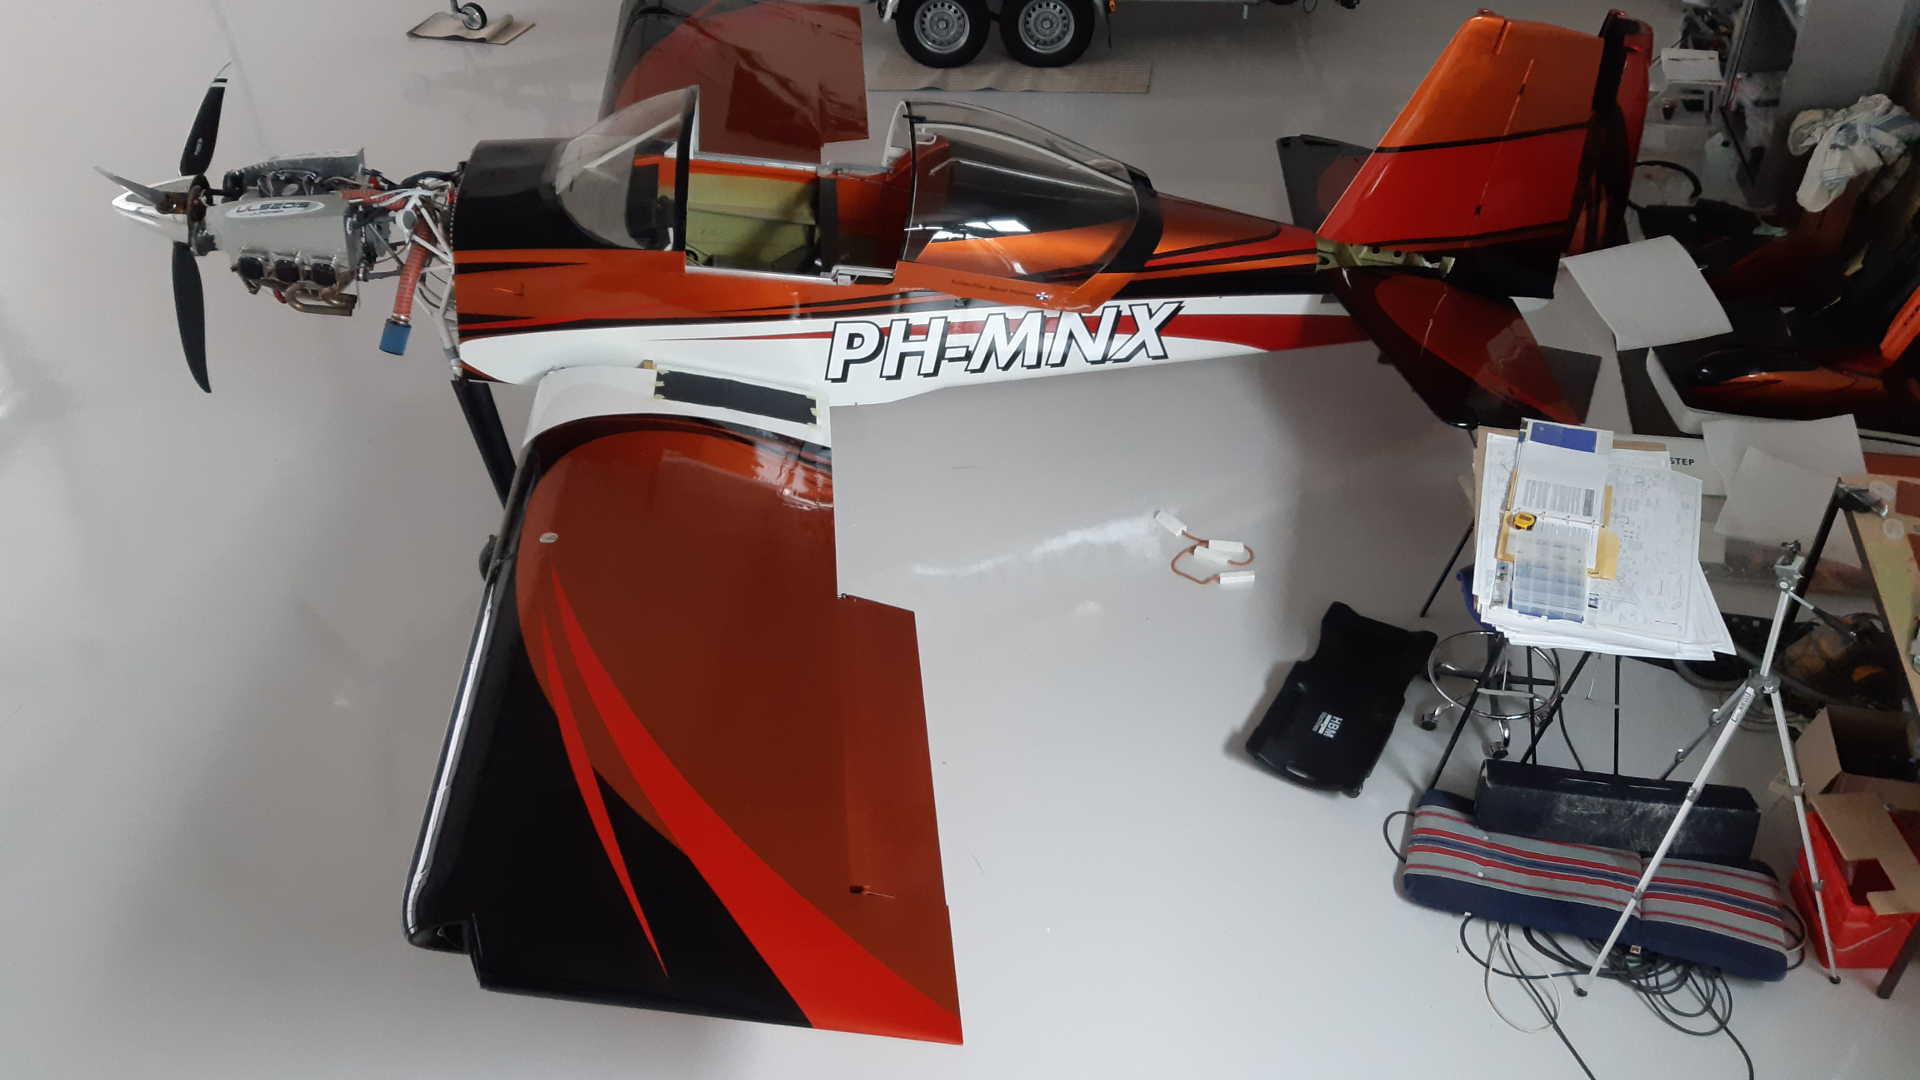
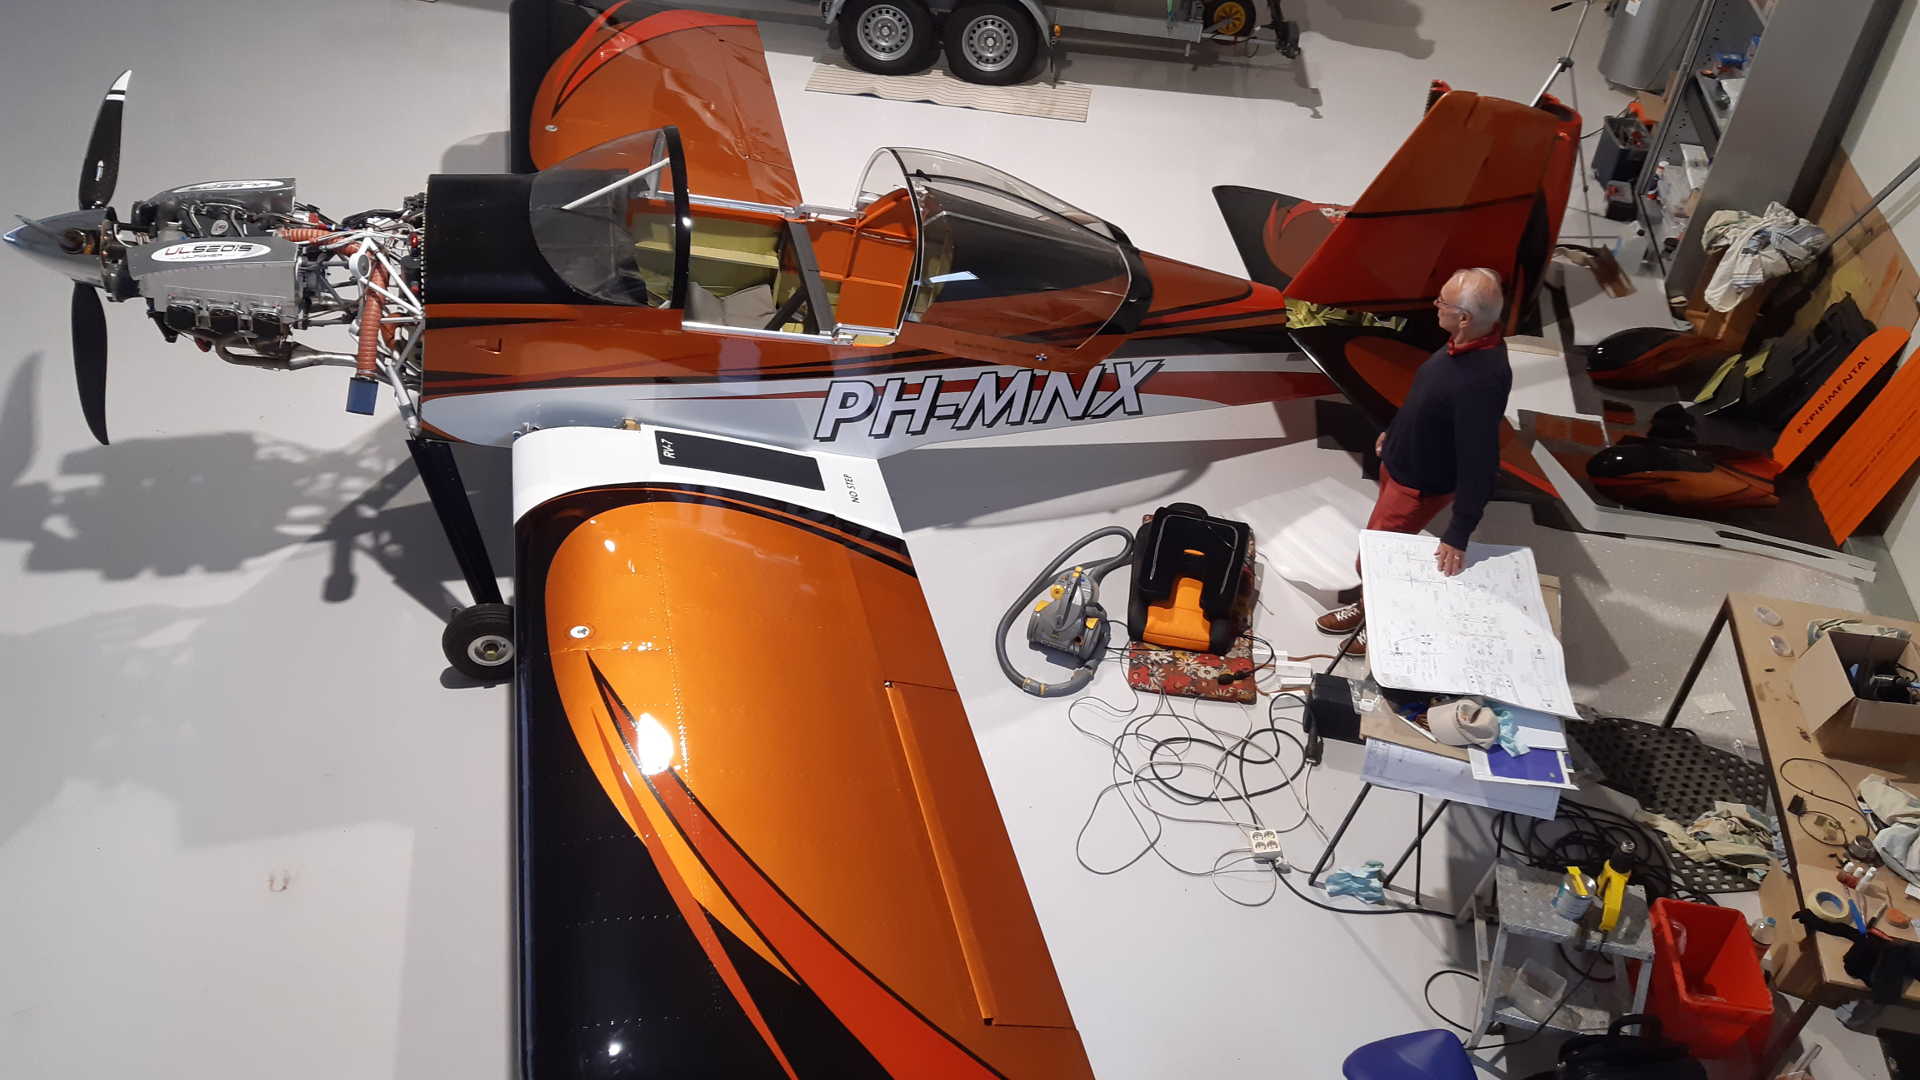
Still a lot of work to do, the flaps and ailerons need to be installed and all inspection area’s need to be open.
I start by installing the ailerons and set the pushrods in such position that the ailerons are level and in line with the wing tips. Later I found I had to fine tune the settings, once the flaps were installed. Further adjustments were necessary when I installed the interior.
It turns out the center console (I created) prevents full aileron deflection to the right, because the stick is pushing against my leg which is between the stick and center console. I set both sticks just very slightly outboard to enable full aileron deflection to both sides.
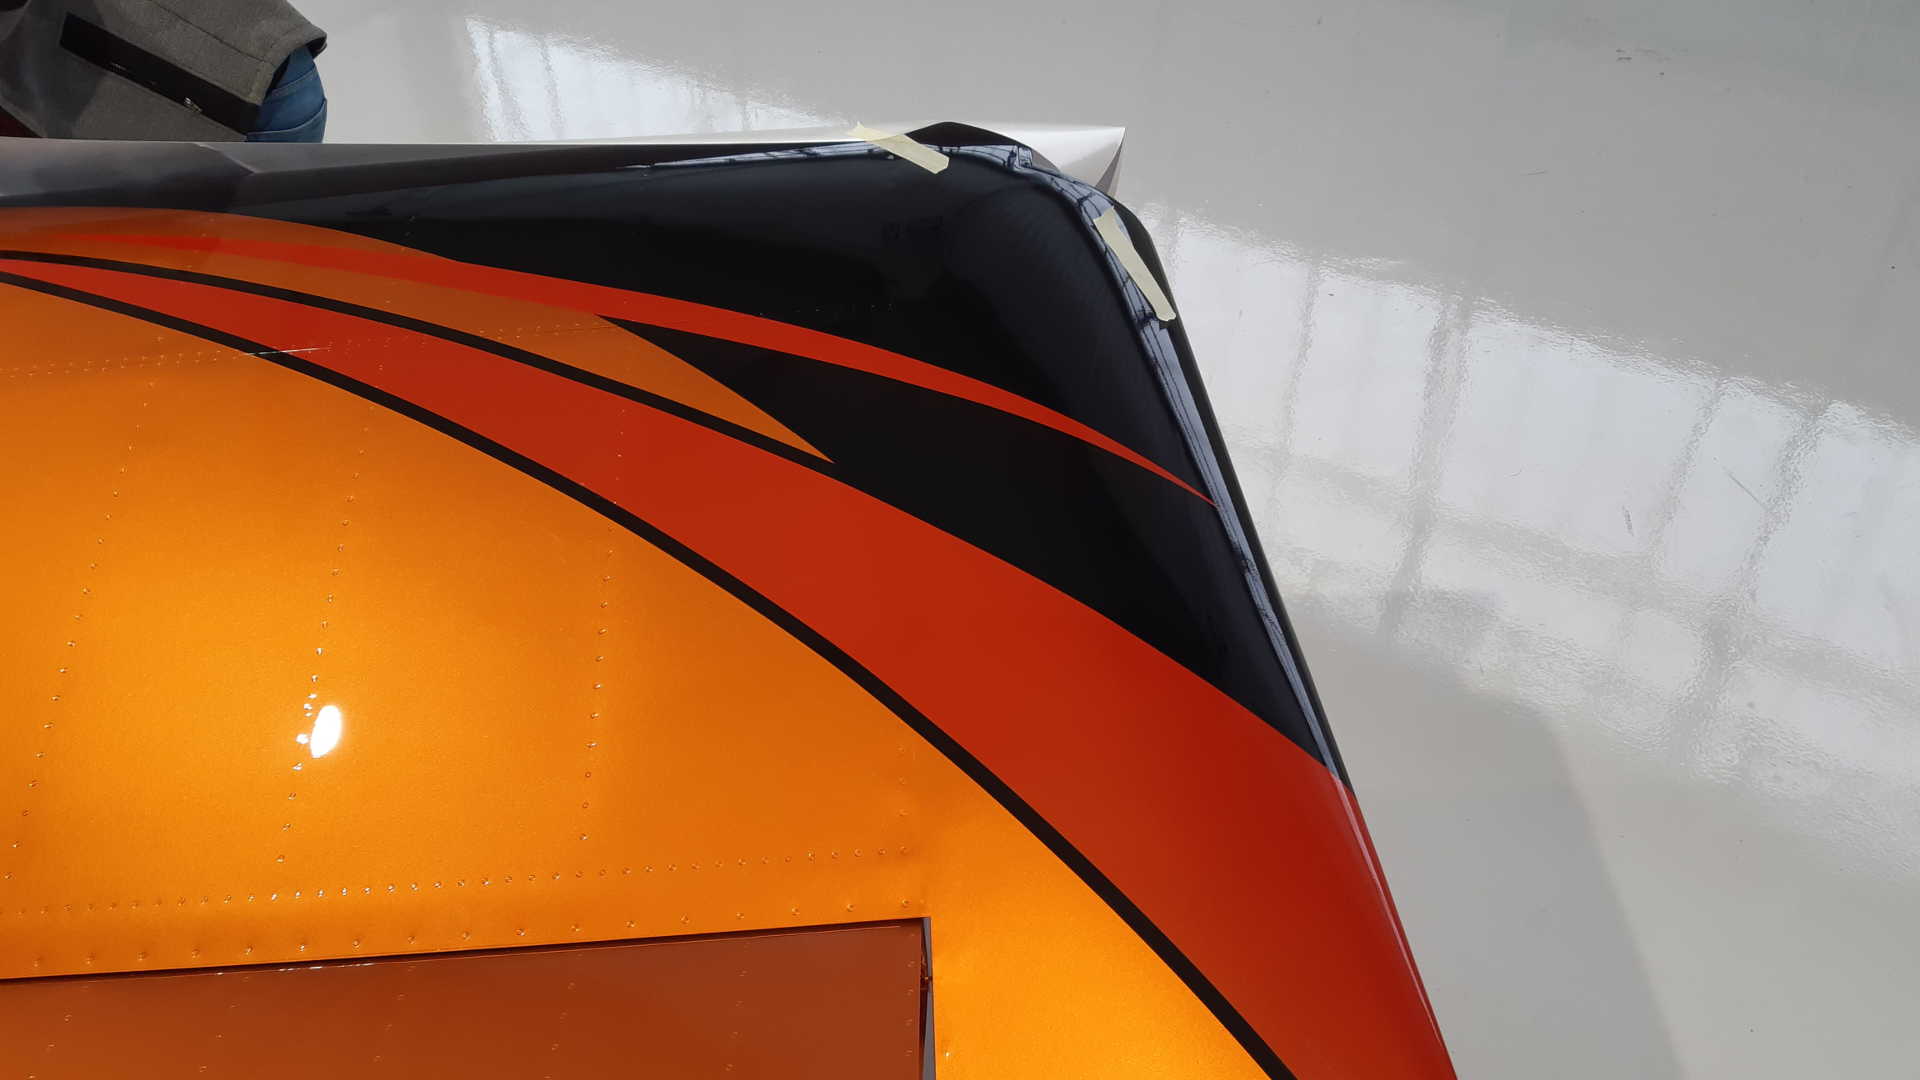
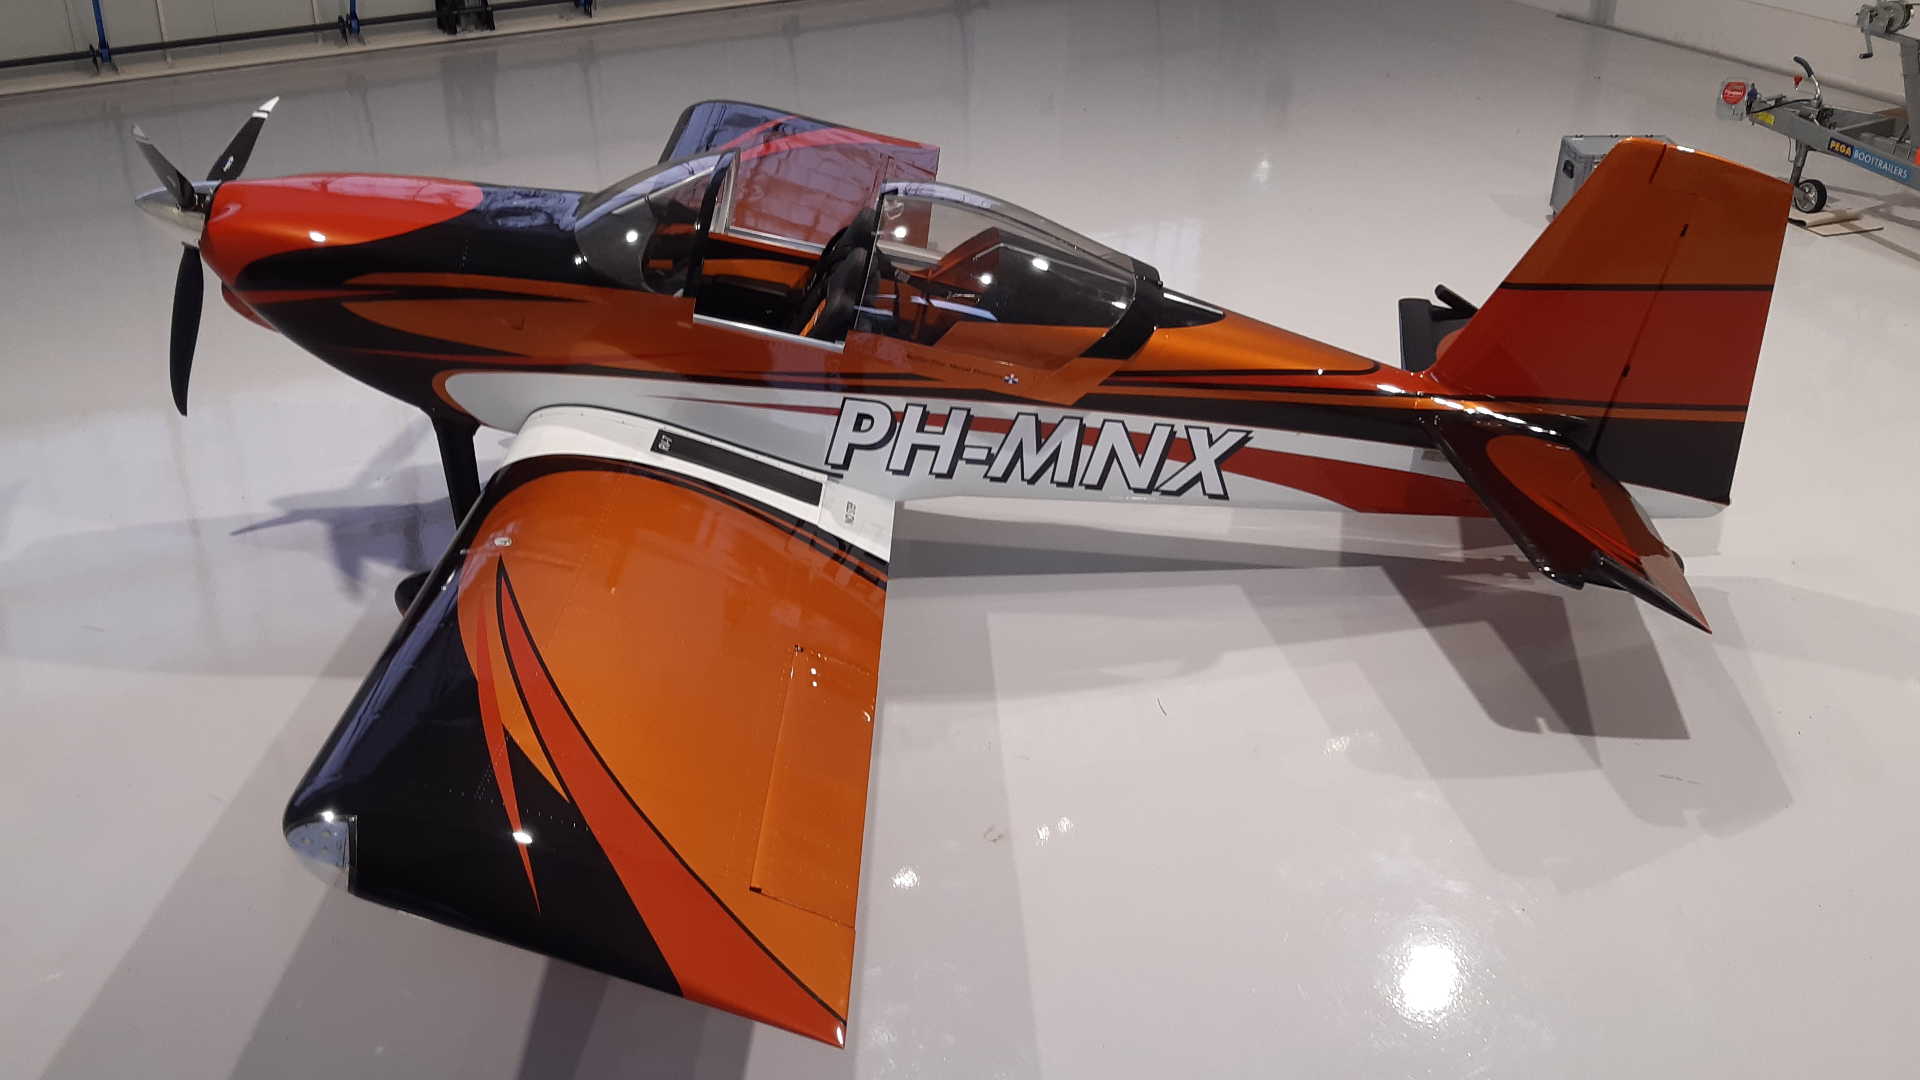
The paint-job had deviated ever so slightly from the paint-scheme fortunately Cees could add the missing black outline with special wrap tape.
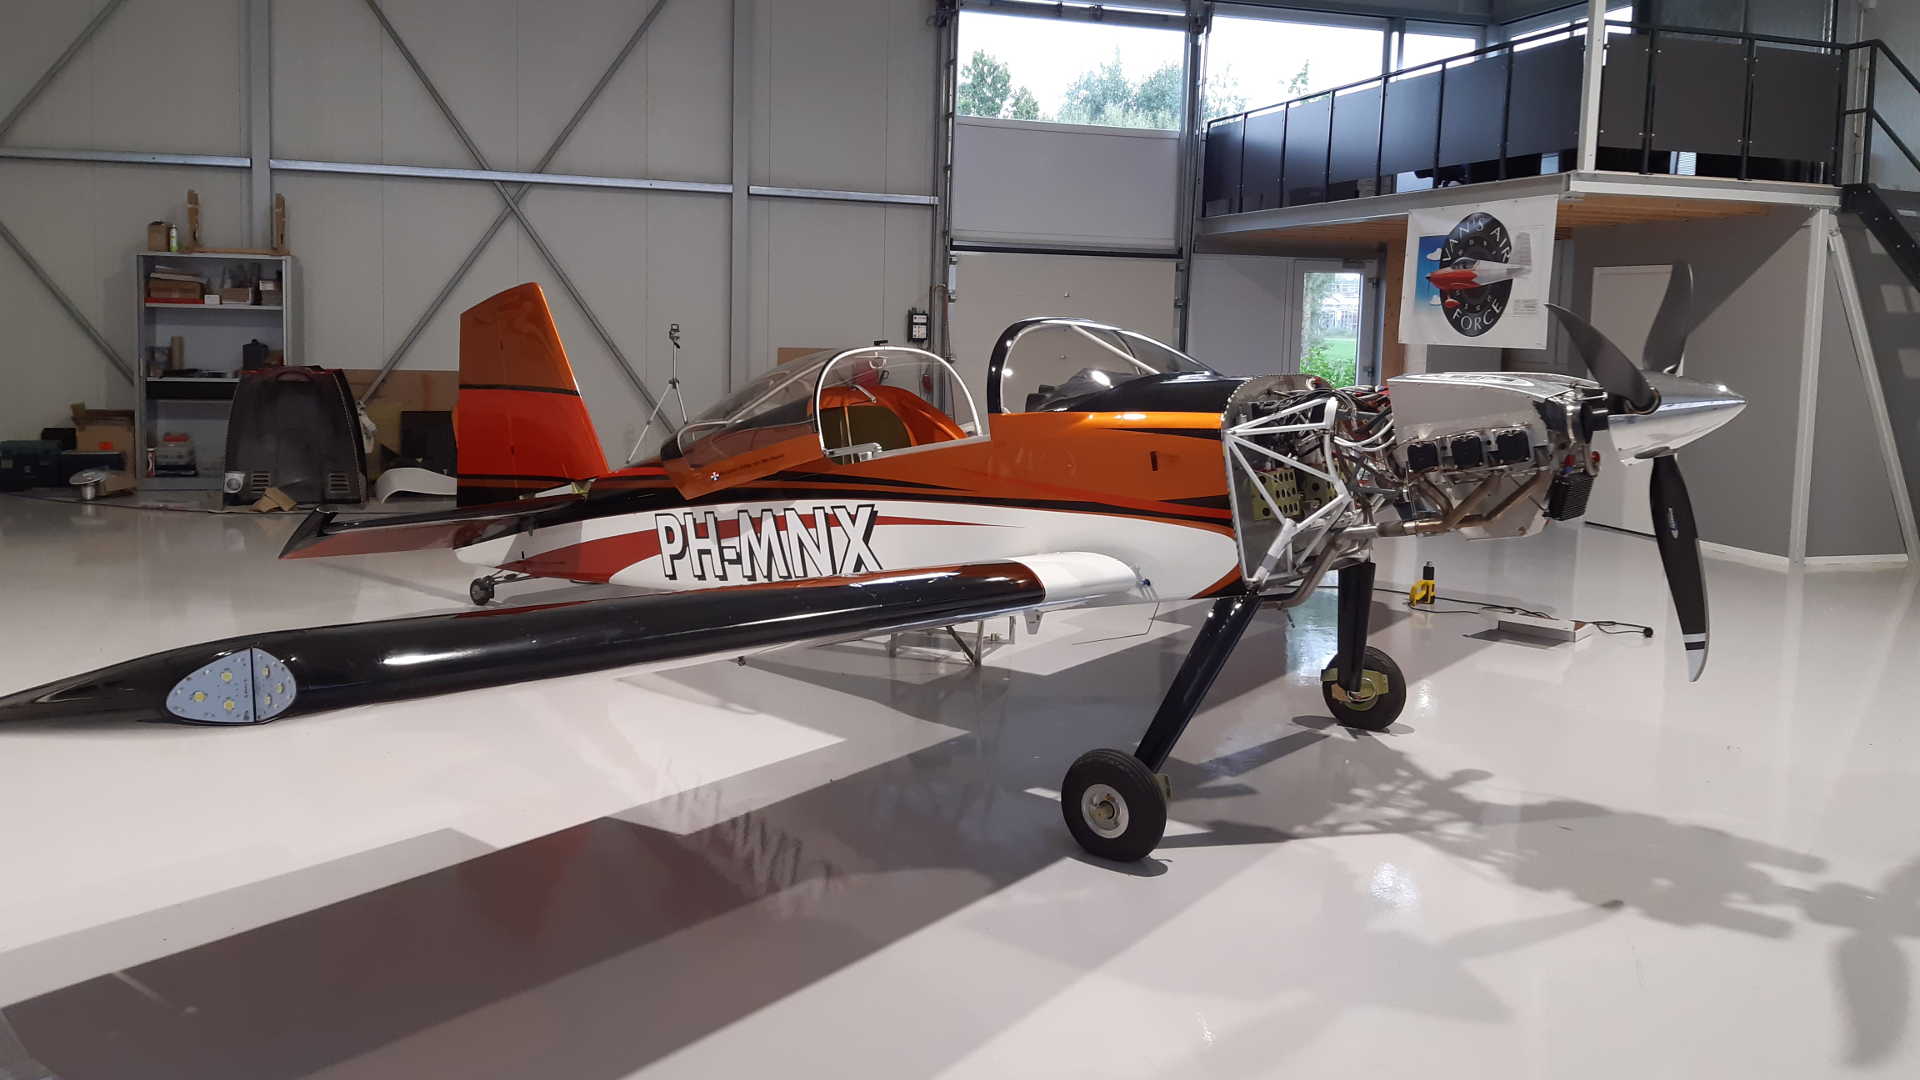
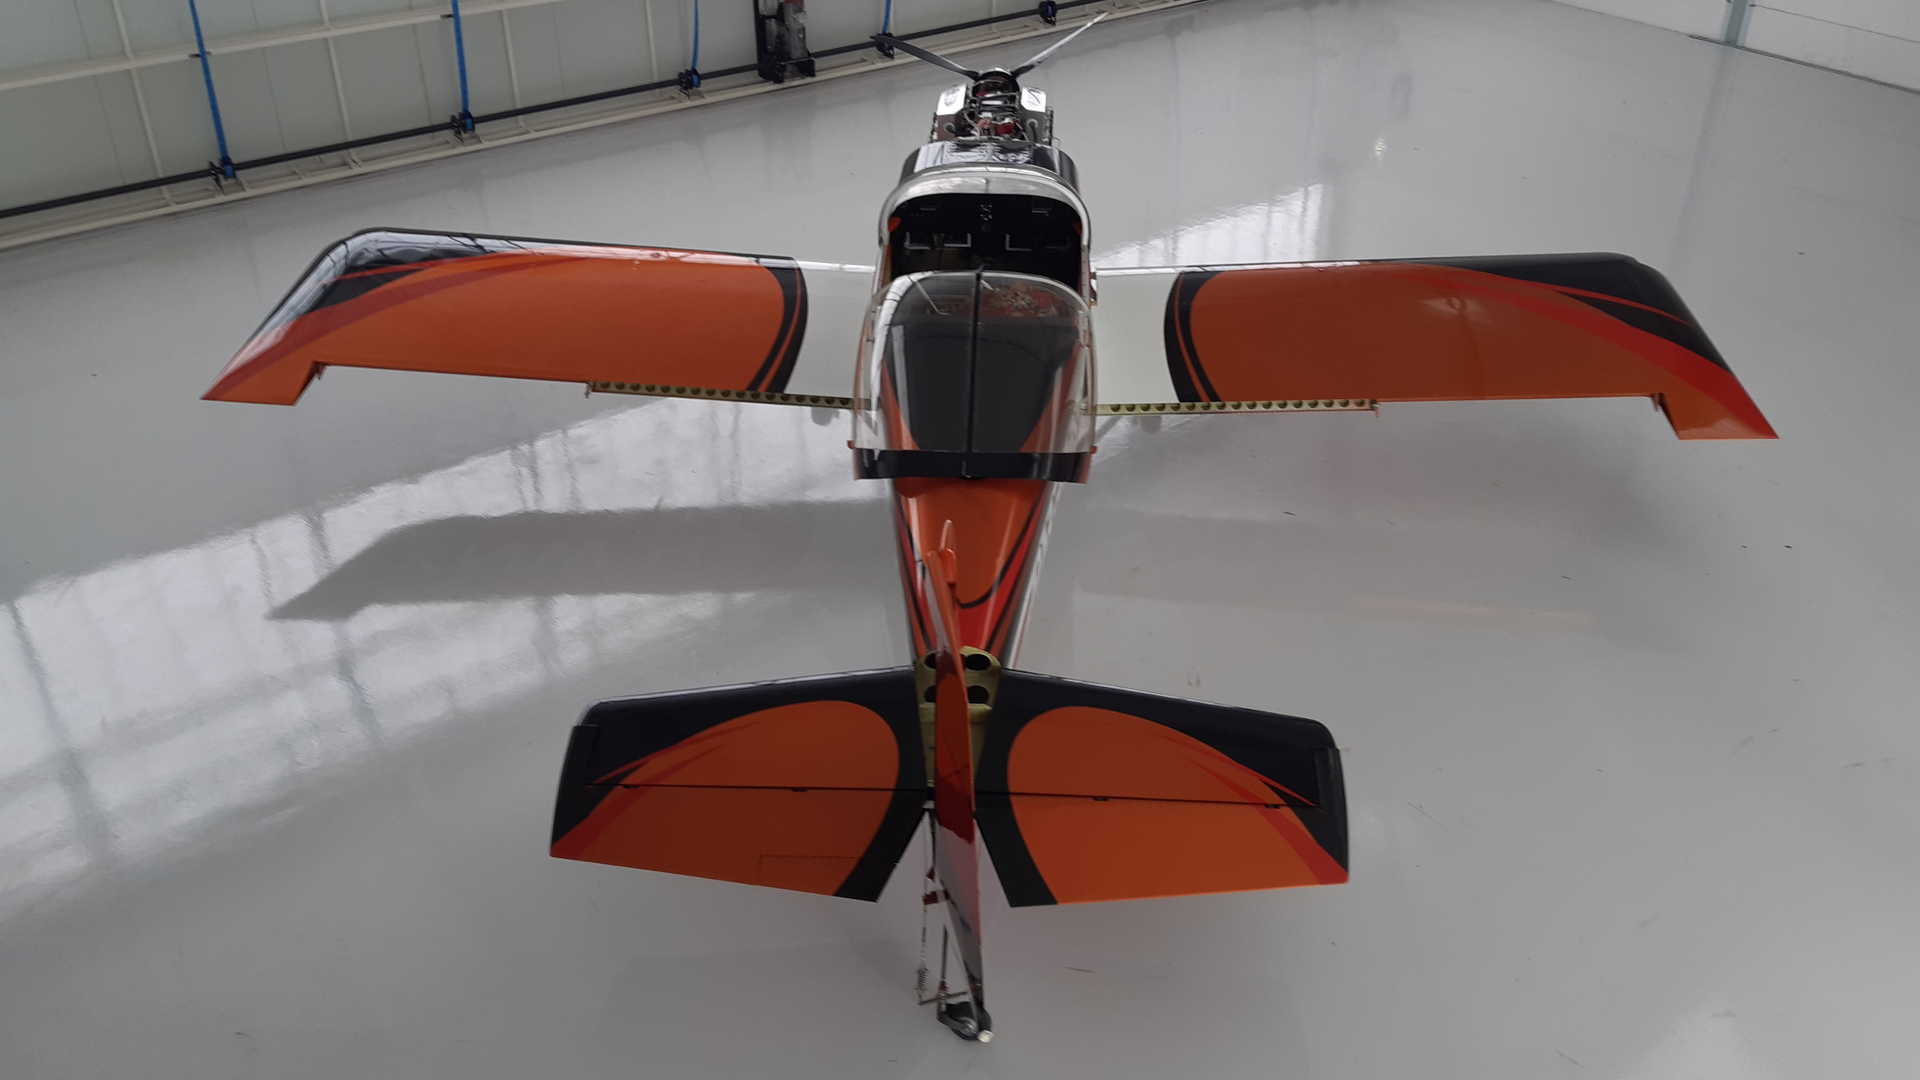
Next is the lights in the wing (tips). I have installed FlyLeds with a prebuild wiring harness.
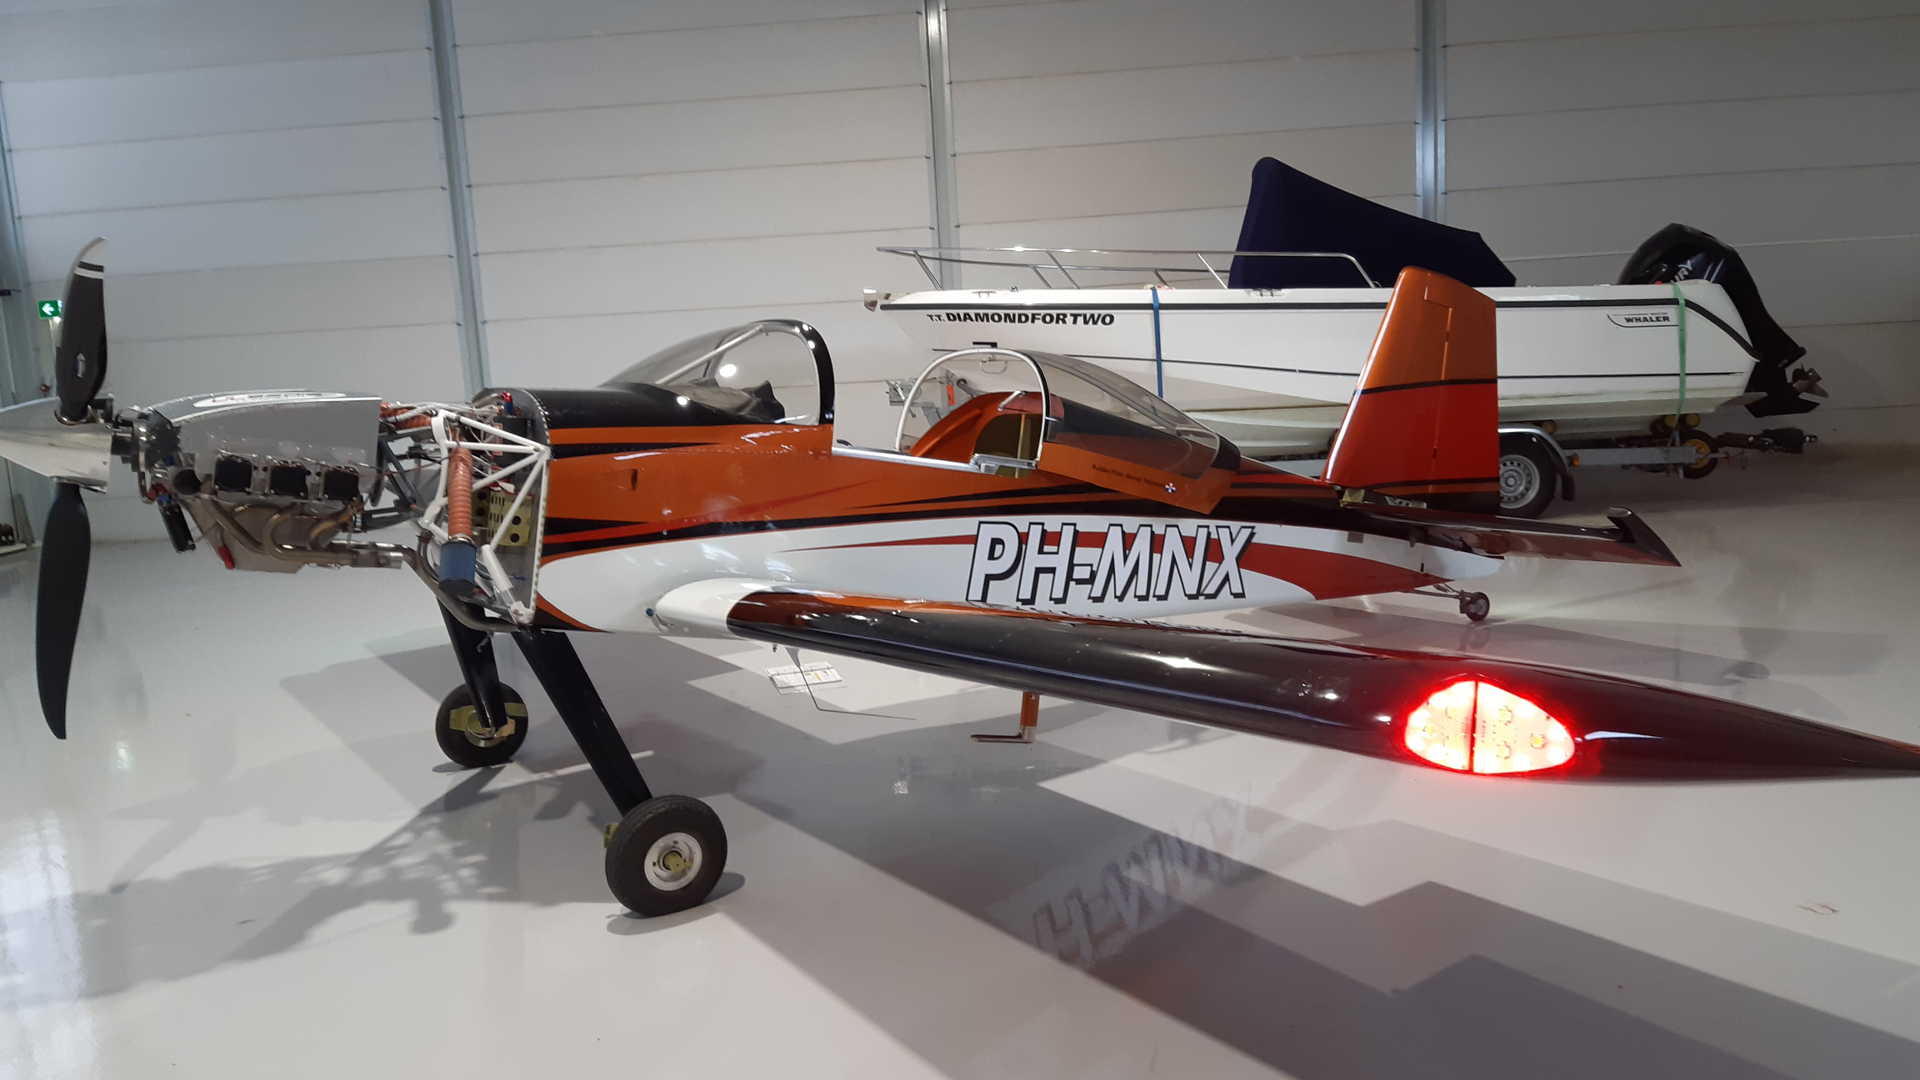
The left (Red) side was ok, the right (Green) side, two leds were not working. Found a loose contact and fixed it.
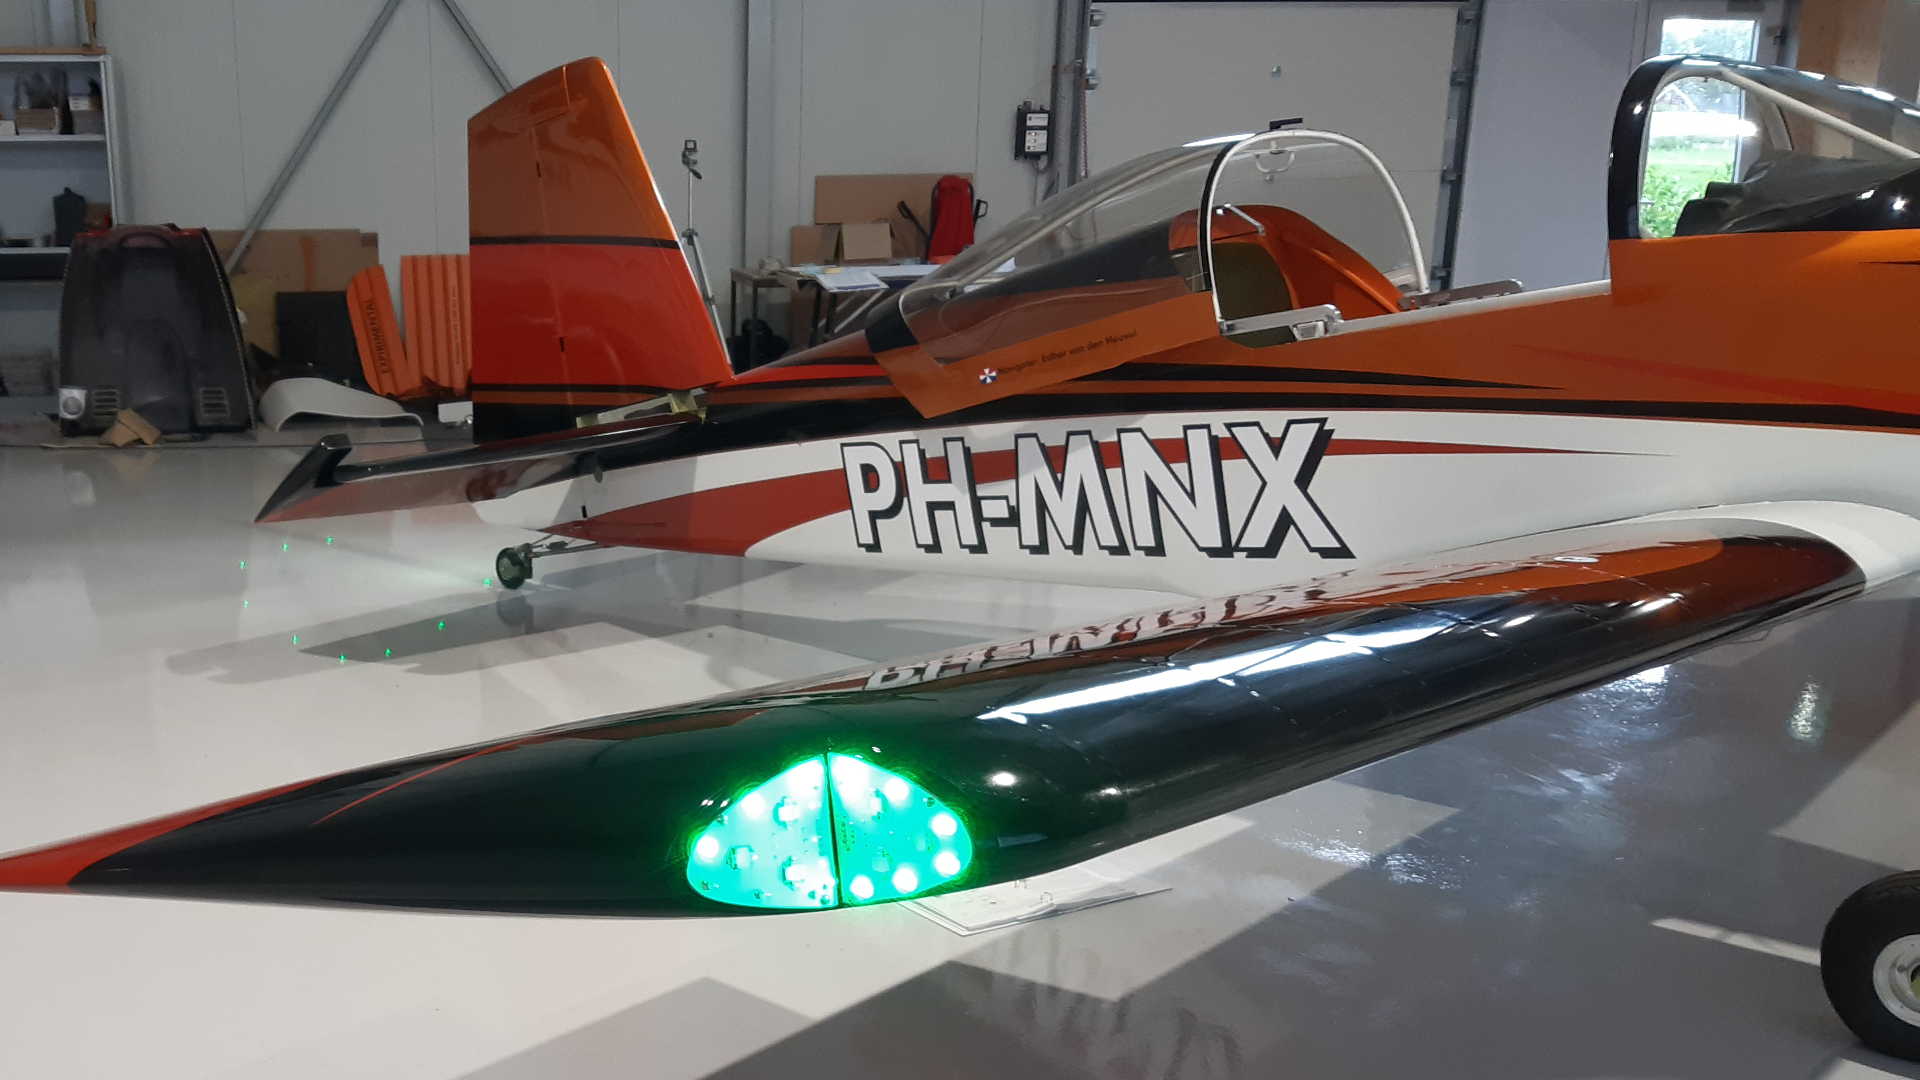
Now both Navigation lights are working correctly. I left the excess of the wiring harness in the wing tip and rudder horn.
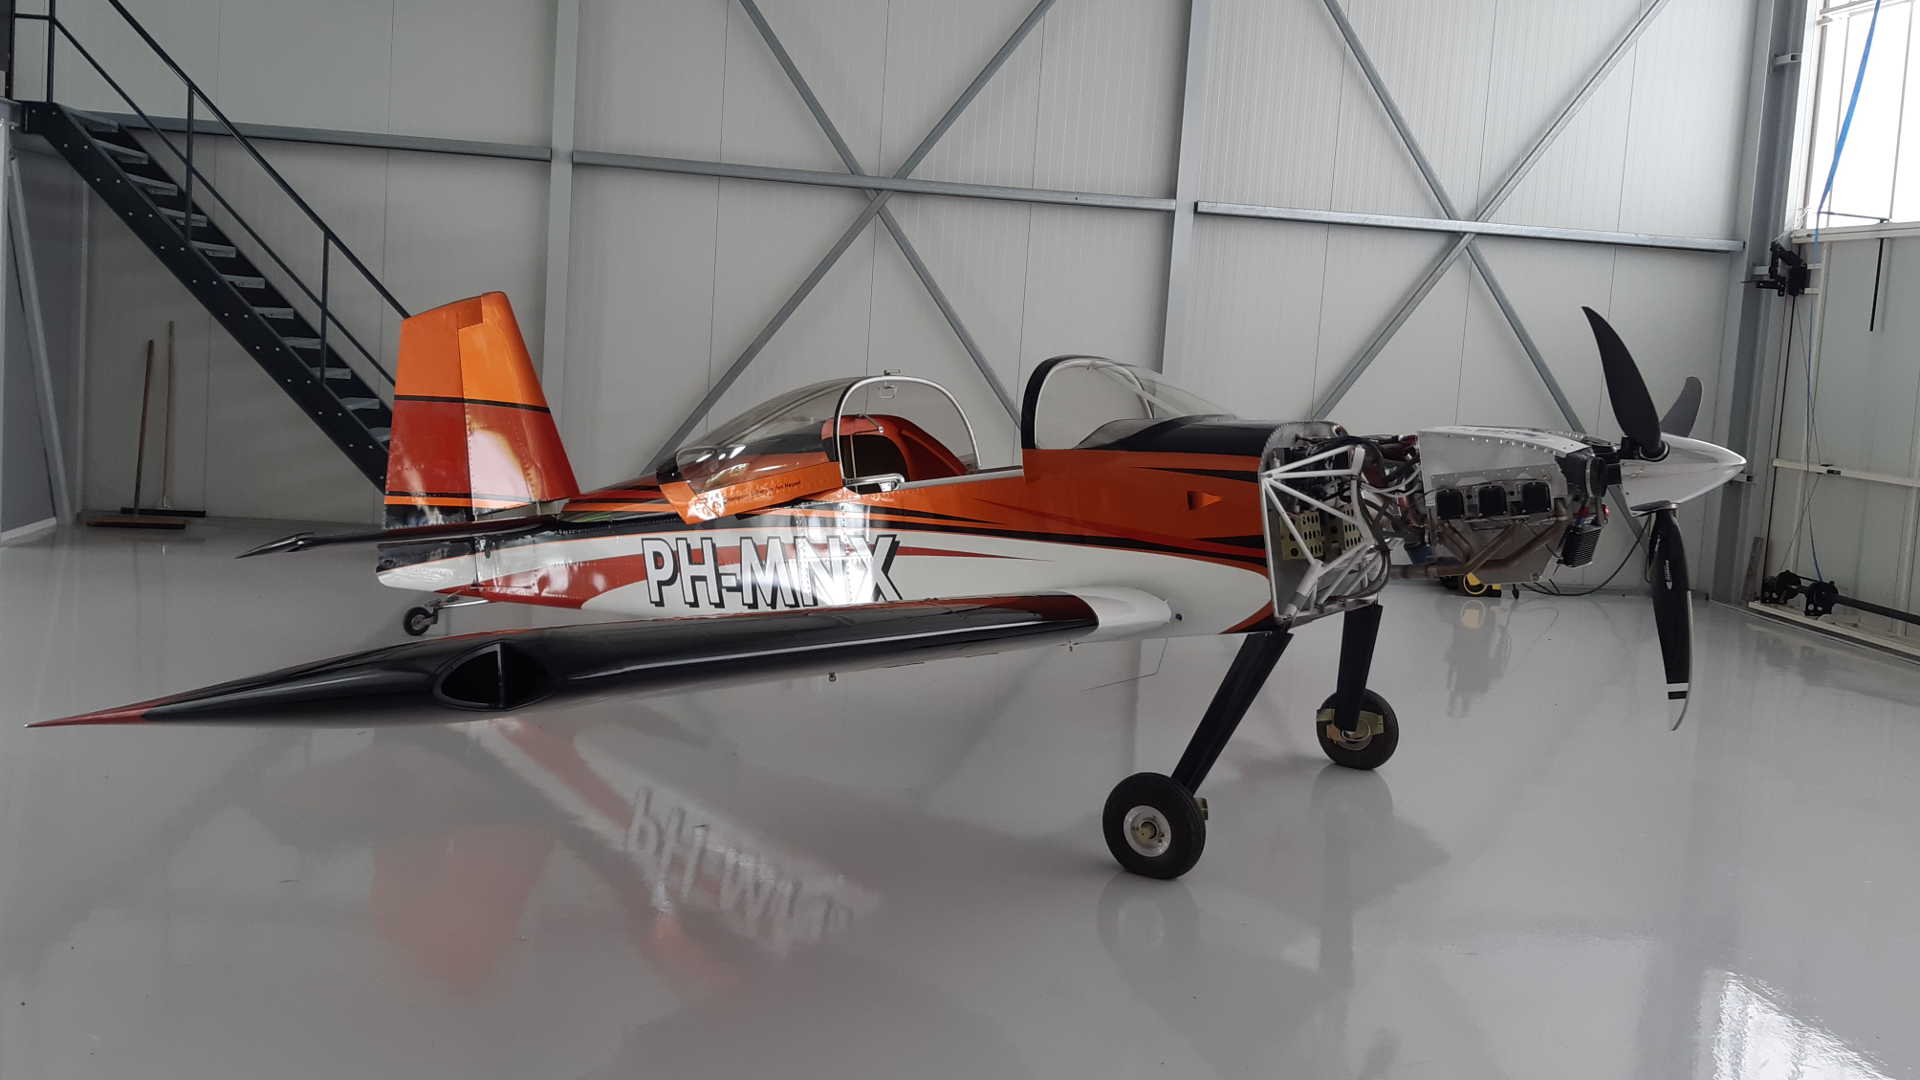
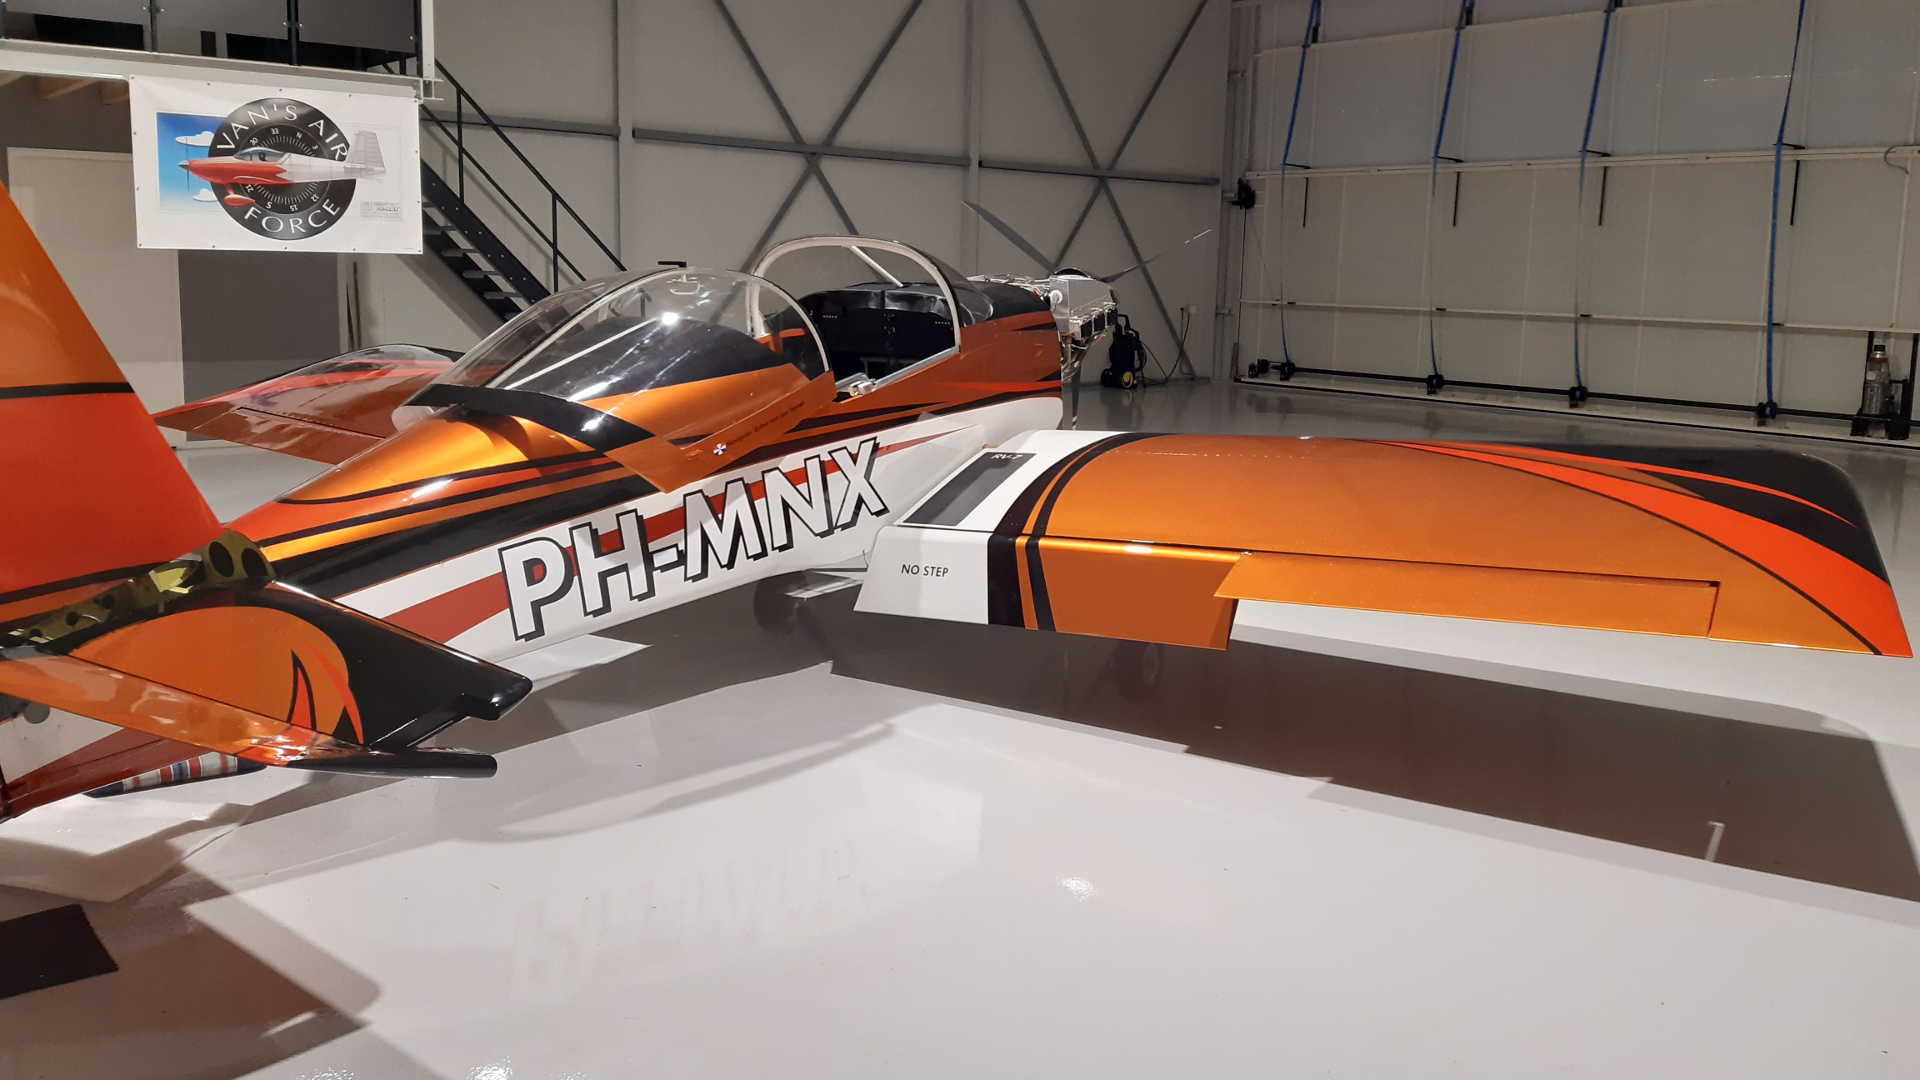
Installing the flaps was harder than it should be. The flaps were installed before and I tested them. This time it looked like the eye-bolt actuating the flap didn’t fit nice in the hole in the fuselage.
I needed to use the Unibit drill to gently reem the hole, in order to make the flaps fully retract. So now I can use the full range of the flaps. This is the night before the inspection.
After a careful inspection the next day, I had a few changes to make before receiving my approval. The inspector didn’t like the fact I had a glass cockpit with non TSO’ed equipment. So to comply I installed two ‘steam gauges’, a standard UMA Altimeter and Airspeed indicator from Van’s webshop. Also I had to change my dual battery setup.
In the end I had the inspection completed and now the last step is to install all the fairings and perform a mass and balance measurement. After that step I can send my 15 document Airworthiness application to ILenT (Dutch FAA).
Time: 6 Hours, Rivets: 0/0 (2021-10-06)
Time: 5 Hours, Rivets: 0/0 (2021-10-10)
Time: 5 Hours, Rivets: 0/0 (2021-10-13)
Time: 5 Hours, Rivets: 0/0 (2021-10-17)