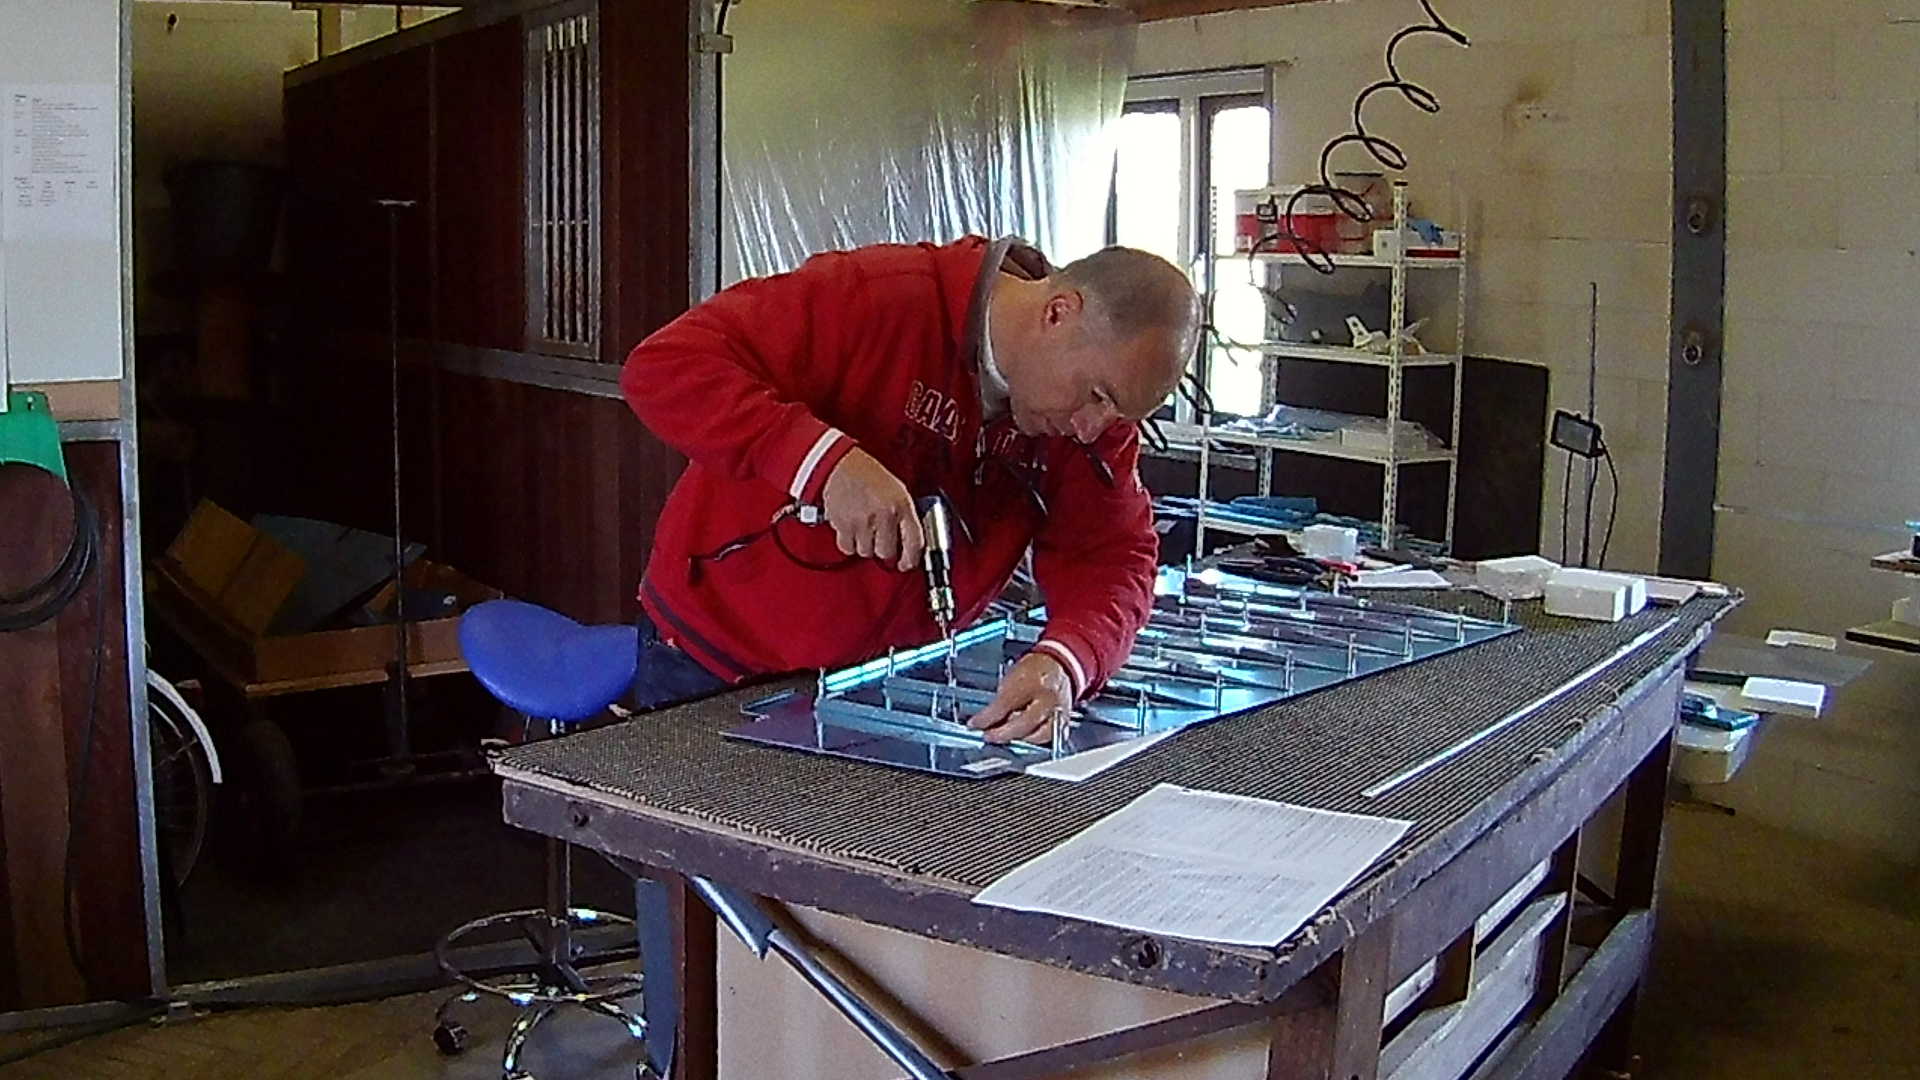
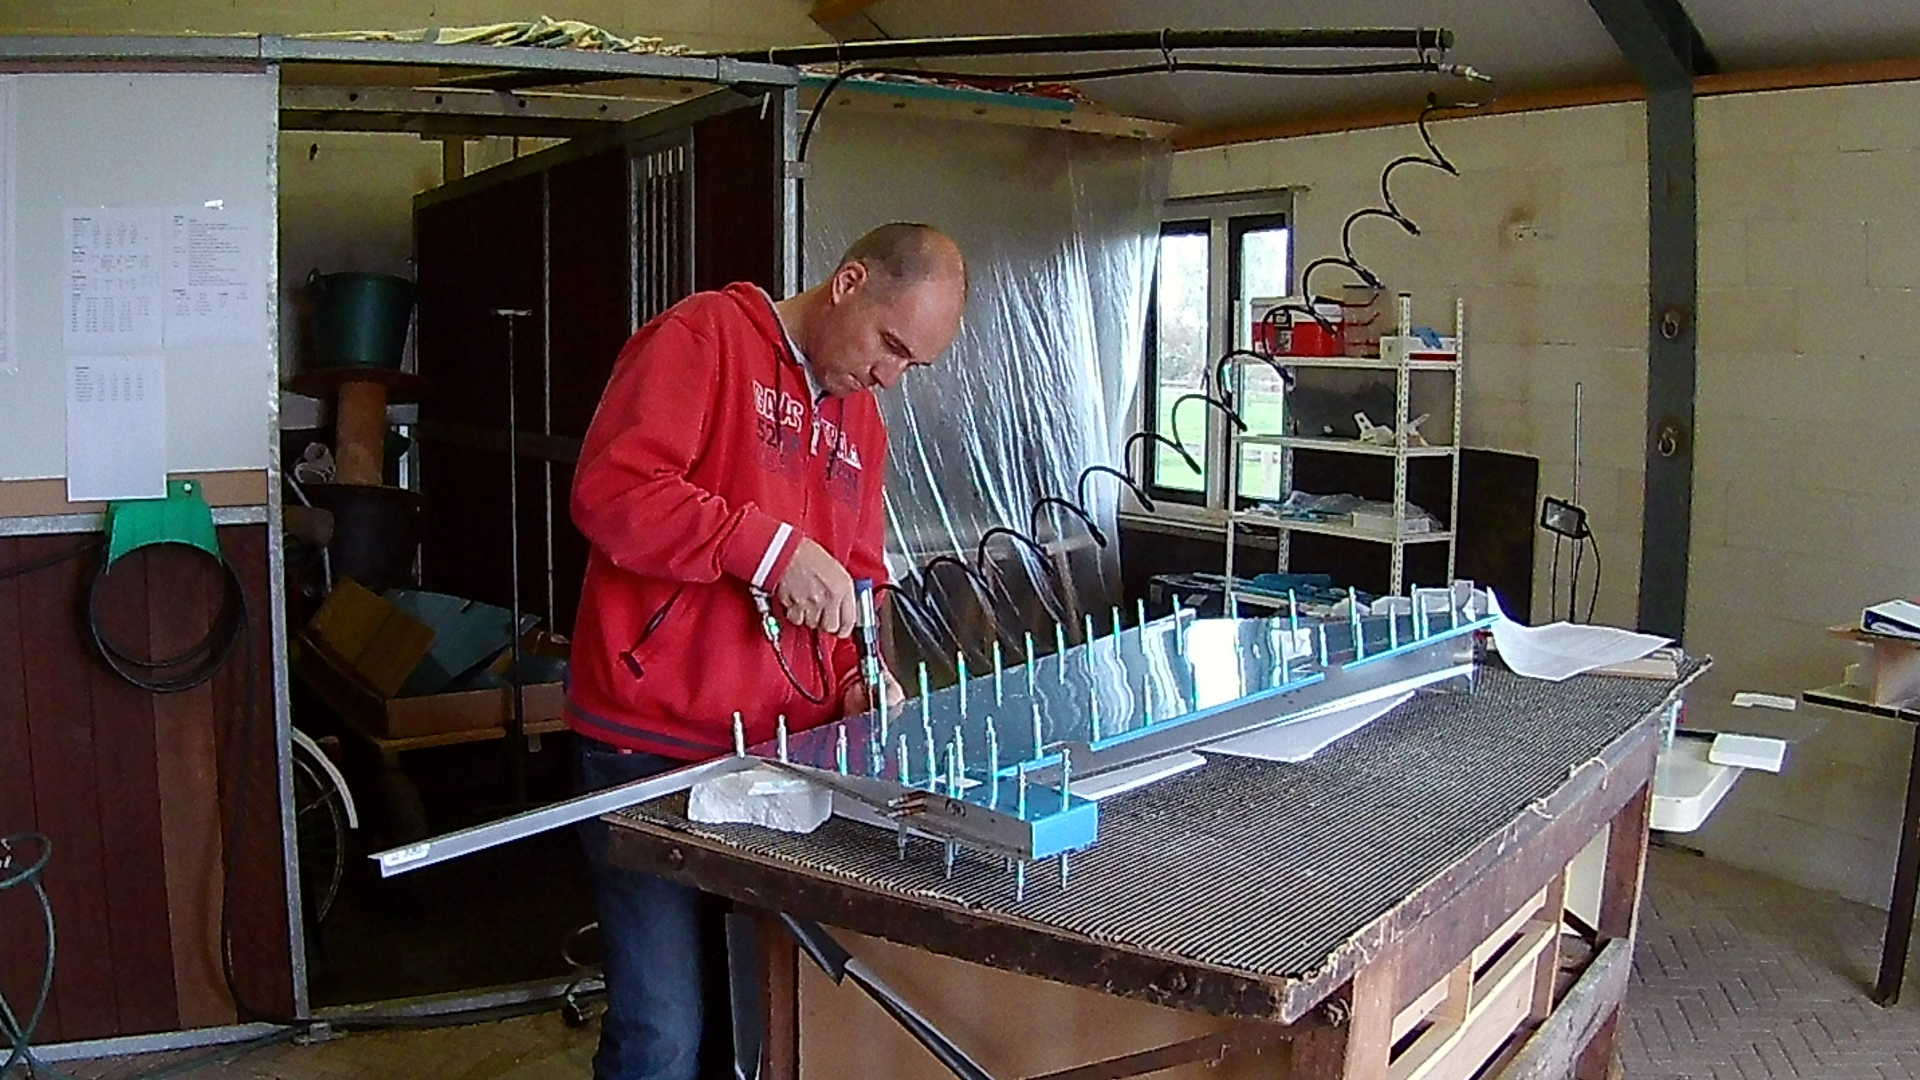
The stiffeners created previously need to be match drilled with the skin. Again great care must be taken with the very thin skin.
After having the stiffeners match drilled the must be detached, deburred and dimpled. According to the building plan they can be primed and back-riveted to the skin. However I want to do all the priming in one session.
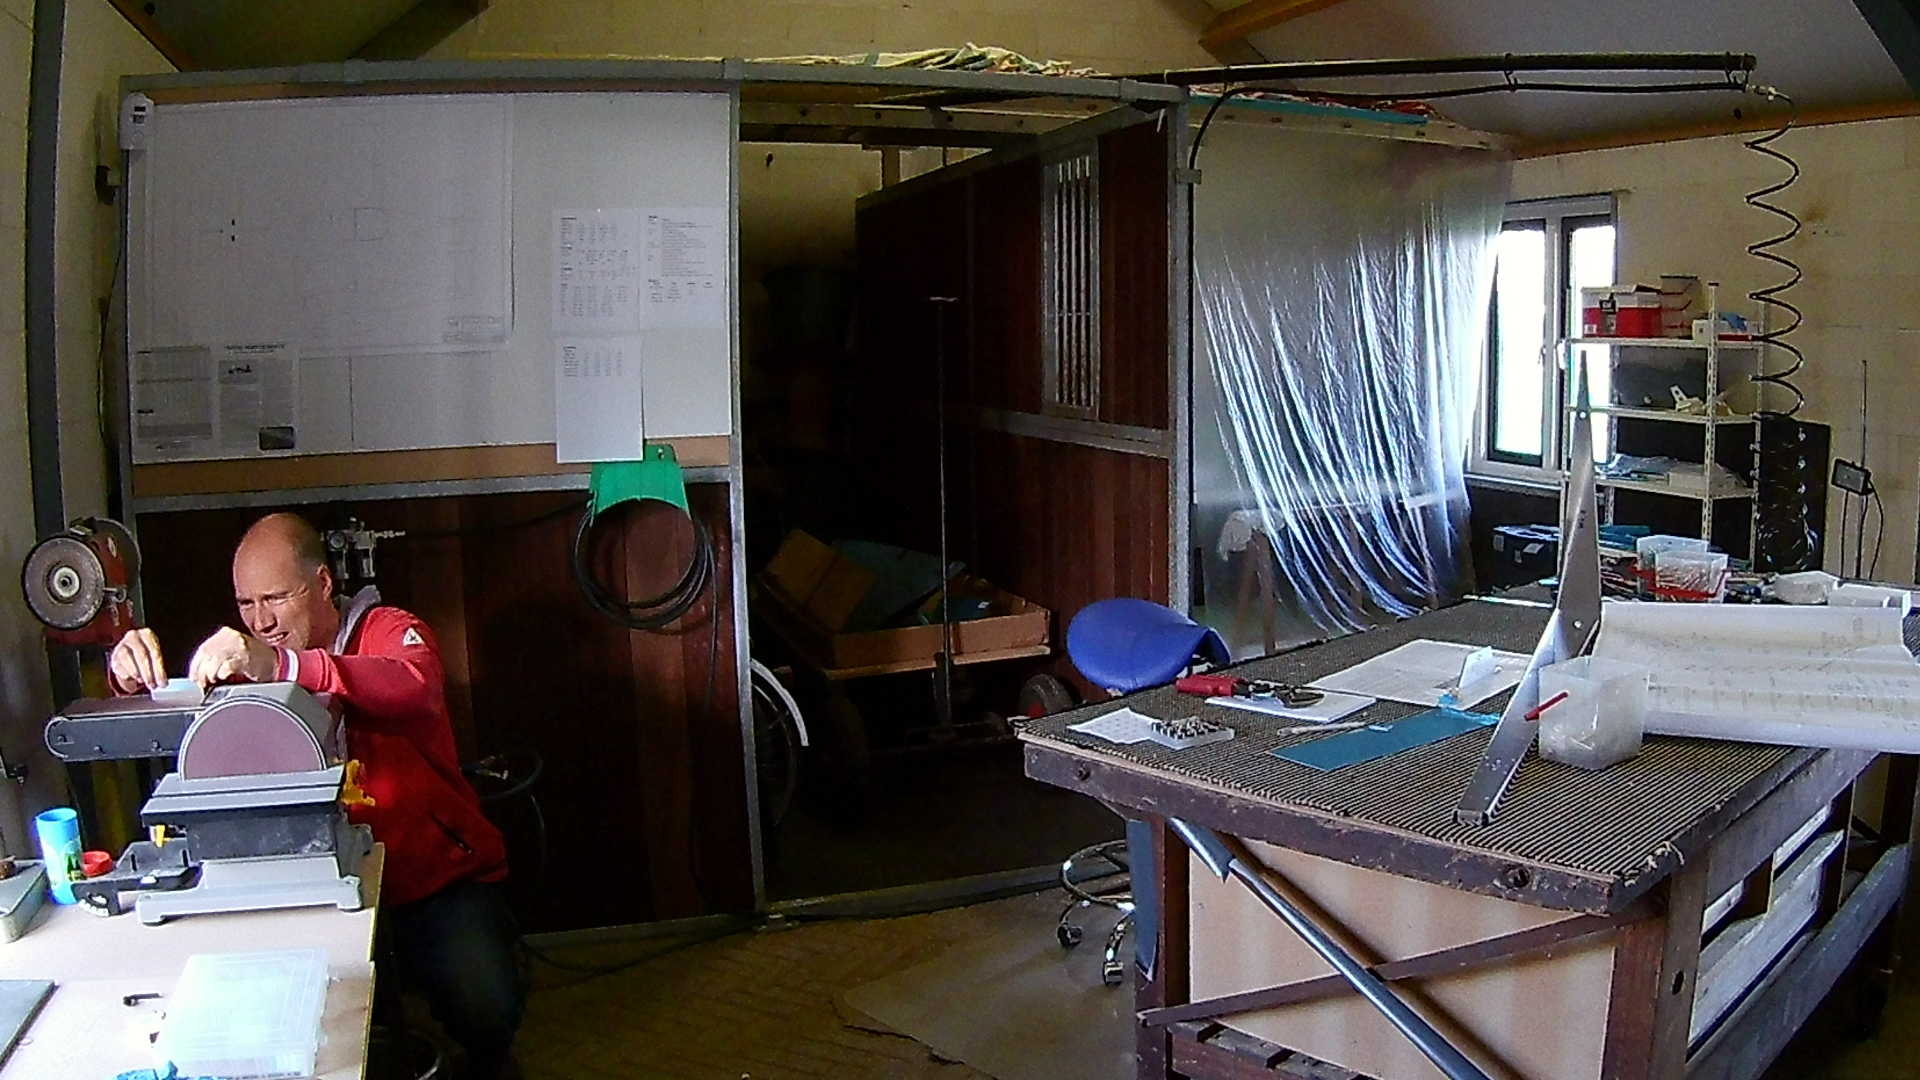
I was missing a 3/8″ drill (is apparently not in the toolkit. I found an old 9,5mm drill which is close enough. For the rudder you have to create a shim and two attachment strips out of a bundle of aluminum (0.032 2024T3 Alclad). This was easier than I thought it would be.
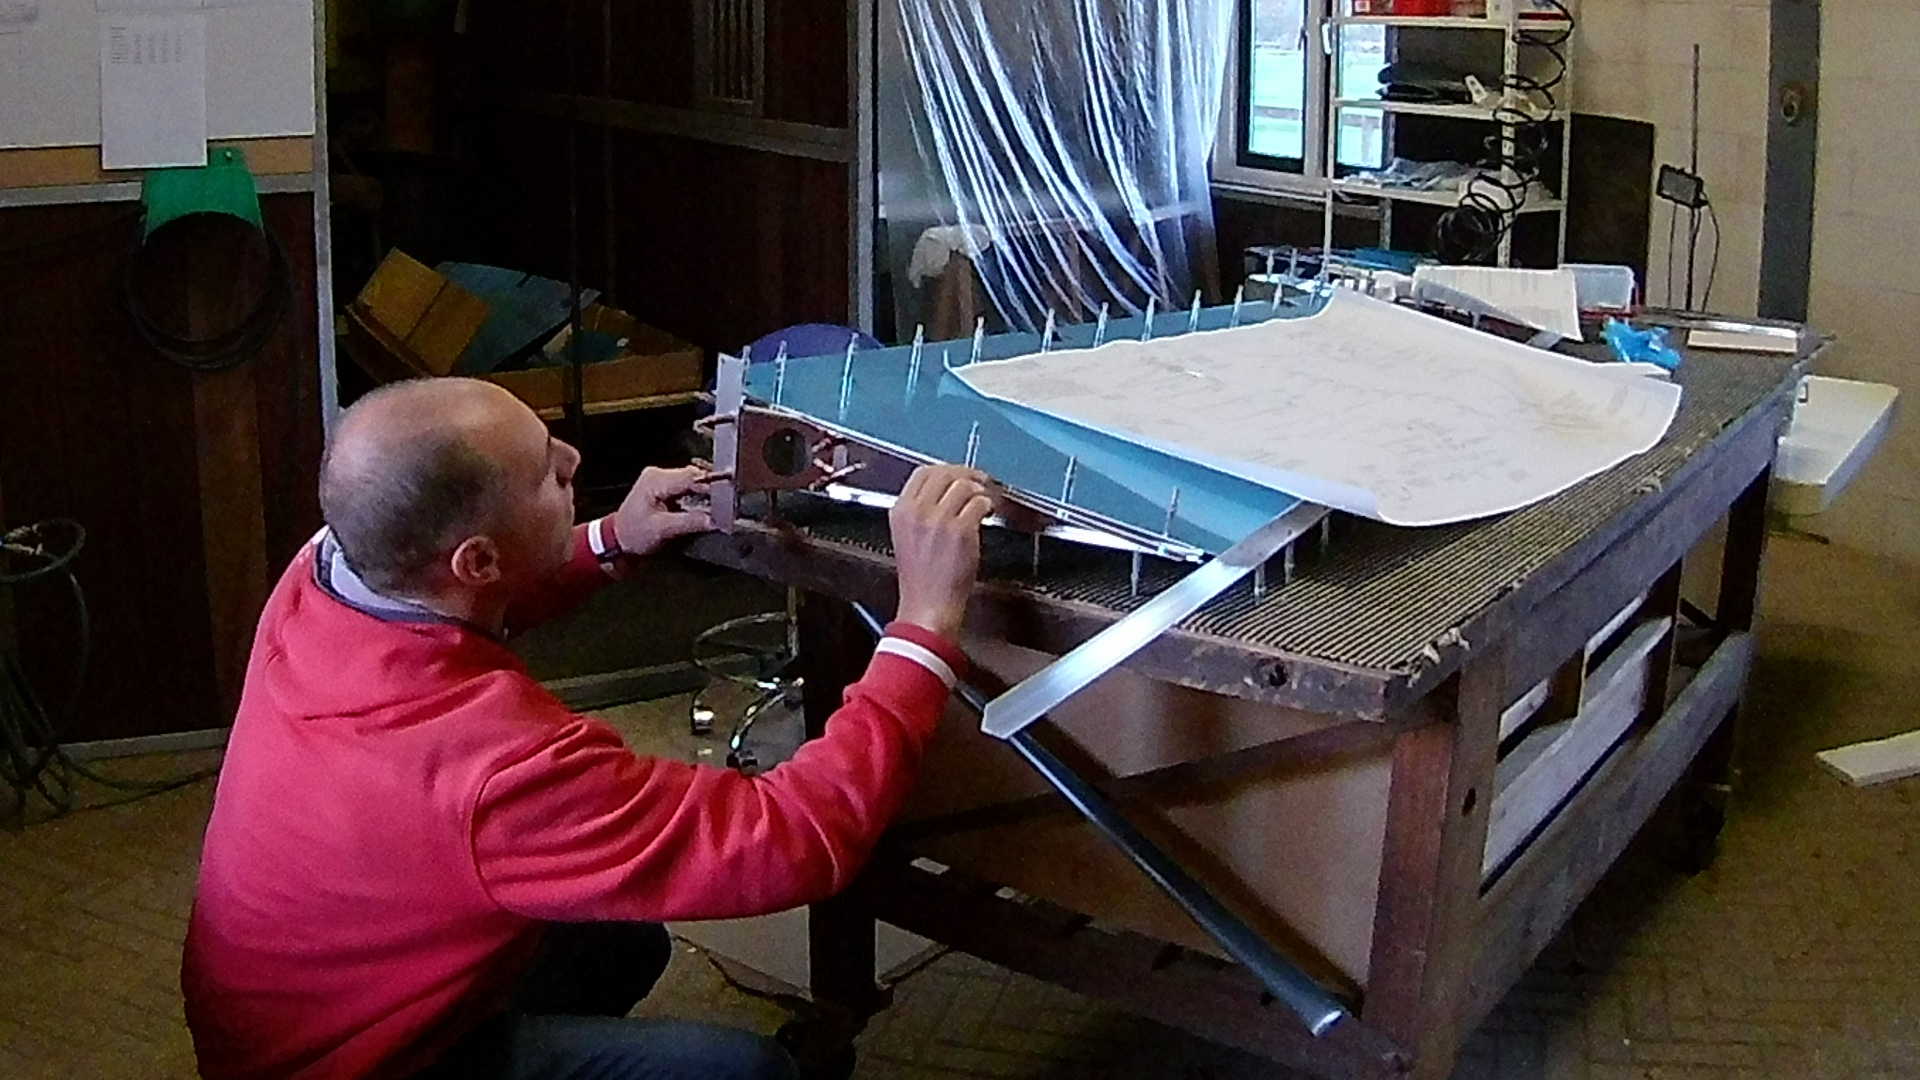
After cleco-ing the reinforcements plates to the spar, the tip rib and the counter balance rib are attached an the corresponding skin is clecoed together.
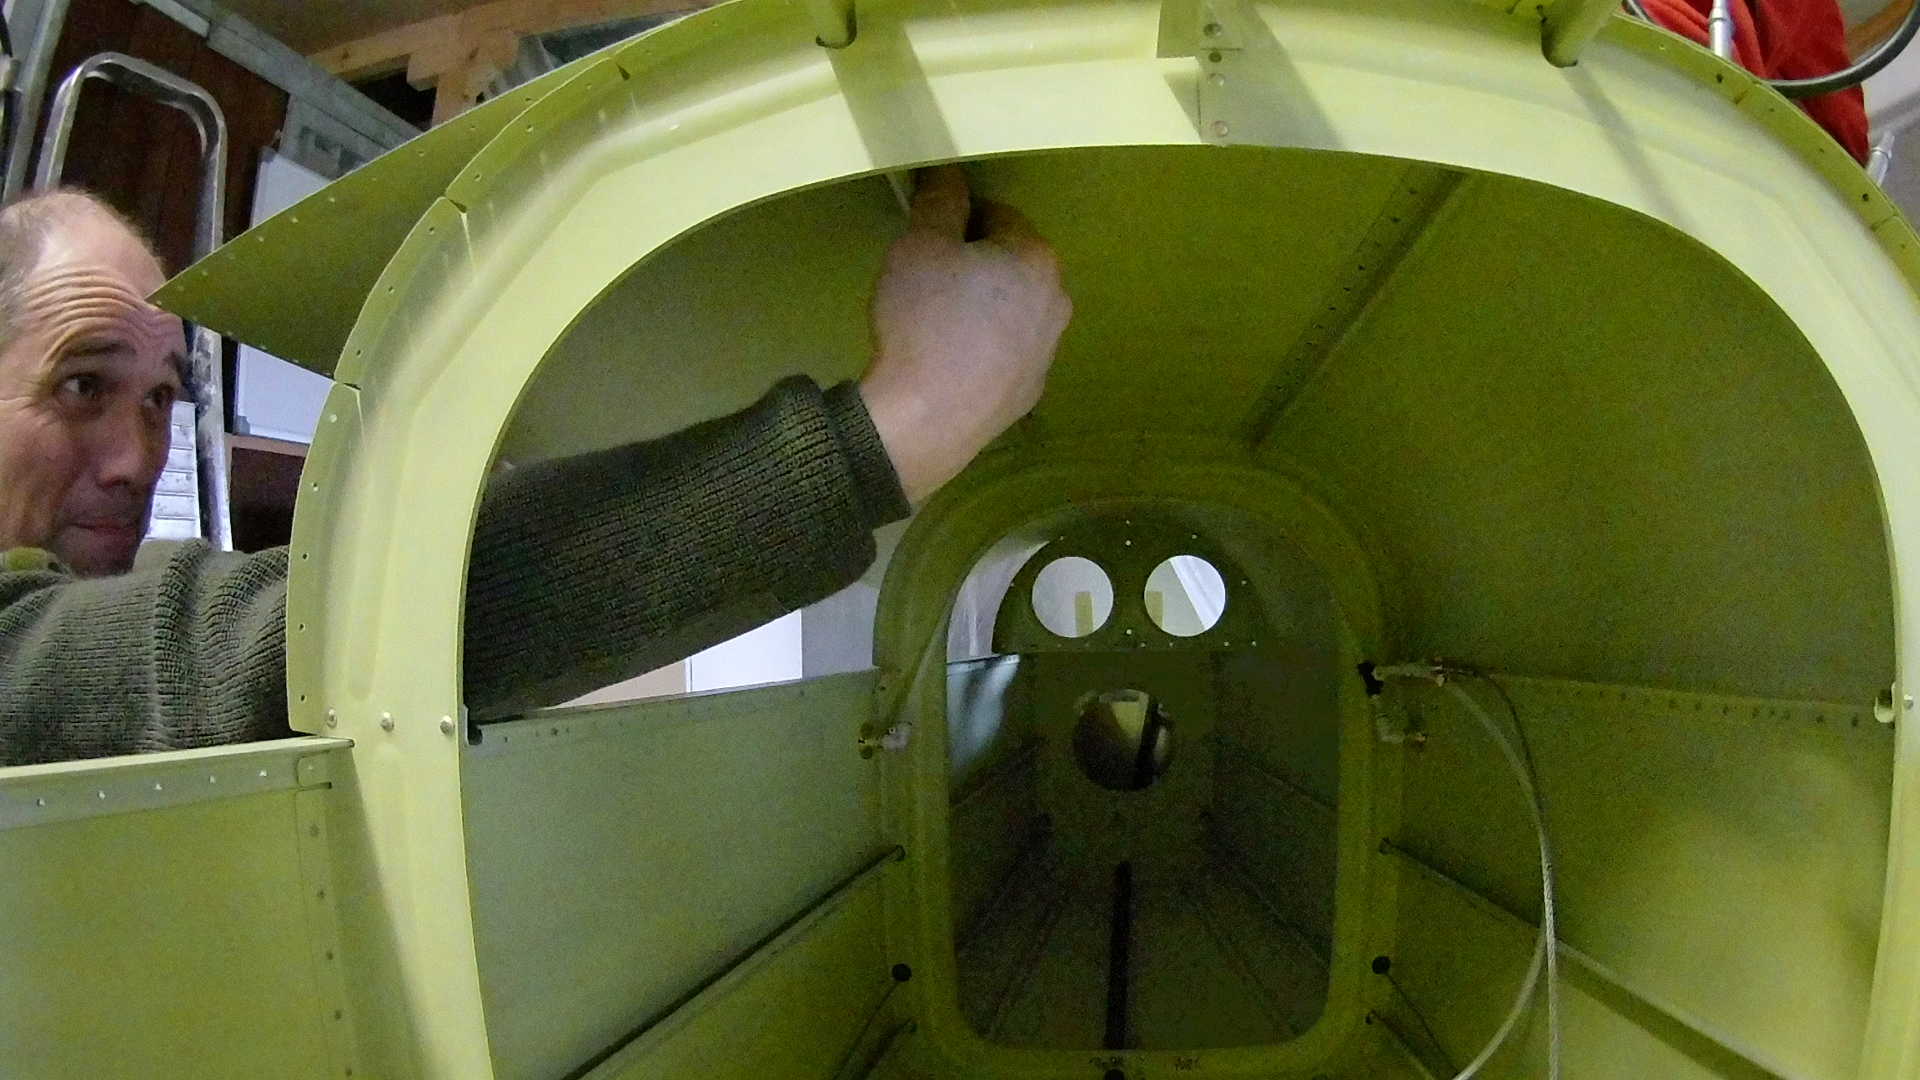
Now the skin can be attached to the Rudder frame. In the video you can see I had the skin on the wrong side and was puzzled how this could ever fit. Than I realized it was the wrong skin (or wrong side of the Rudder).
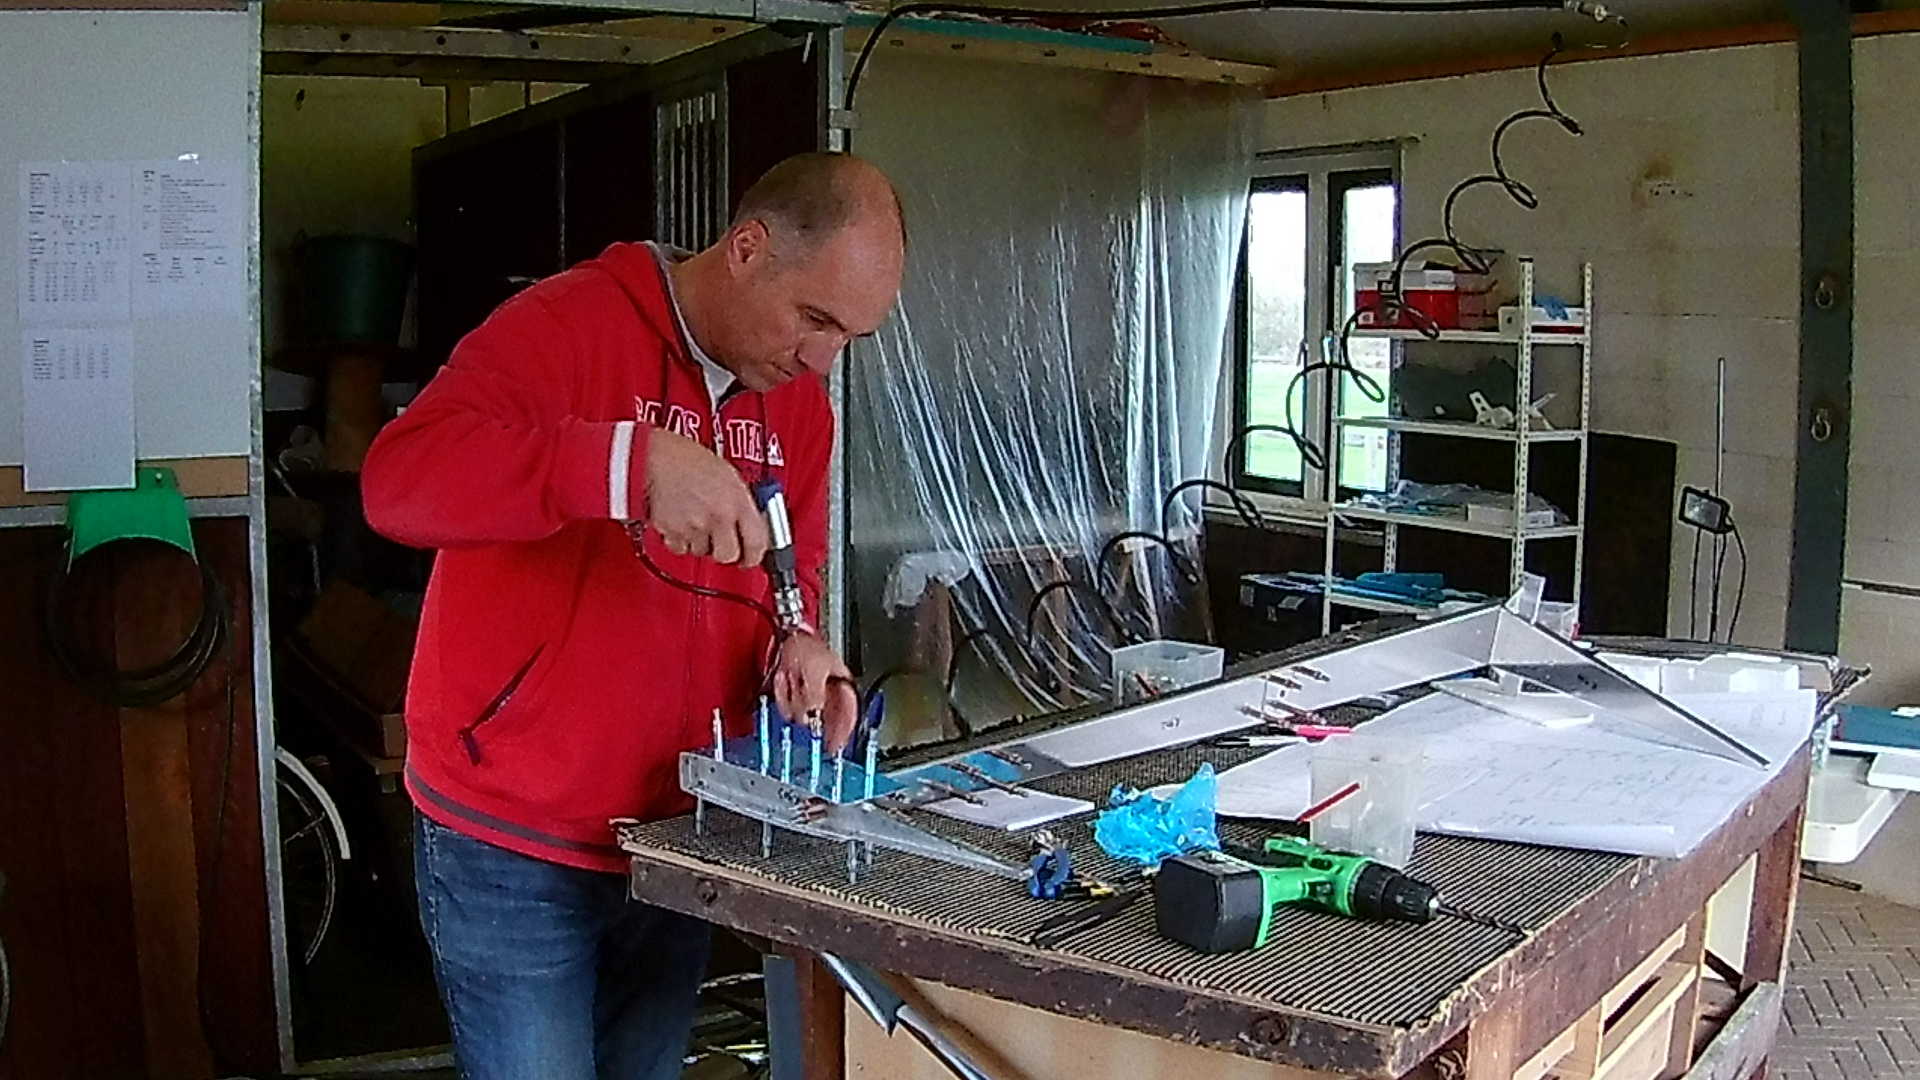
A great tip of the Van’s Airforce Forum, is to use an Aluminum angle bar to keep the trailing edge straight. It’s also very handy during skin attachment for match drilling.
To attach the Plexiglas Rudder bottom to the Rudder, two attachment strips need to be created according to the construction drawing. I’m fitting the strip to see if it needs some additional trimming.
Time: 5 Hours, Rivets: 0/0
