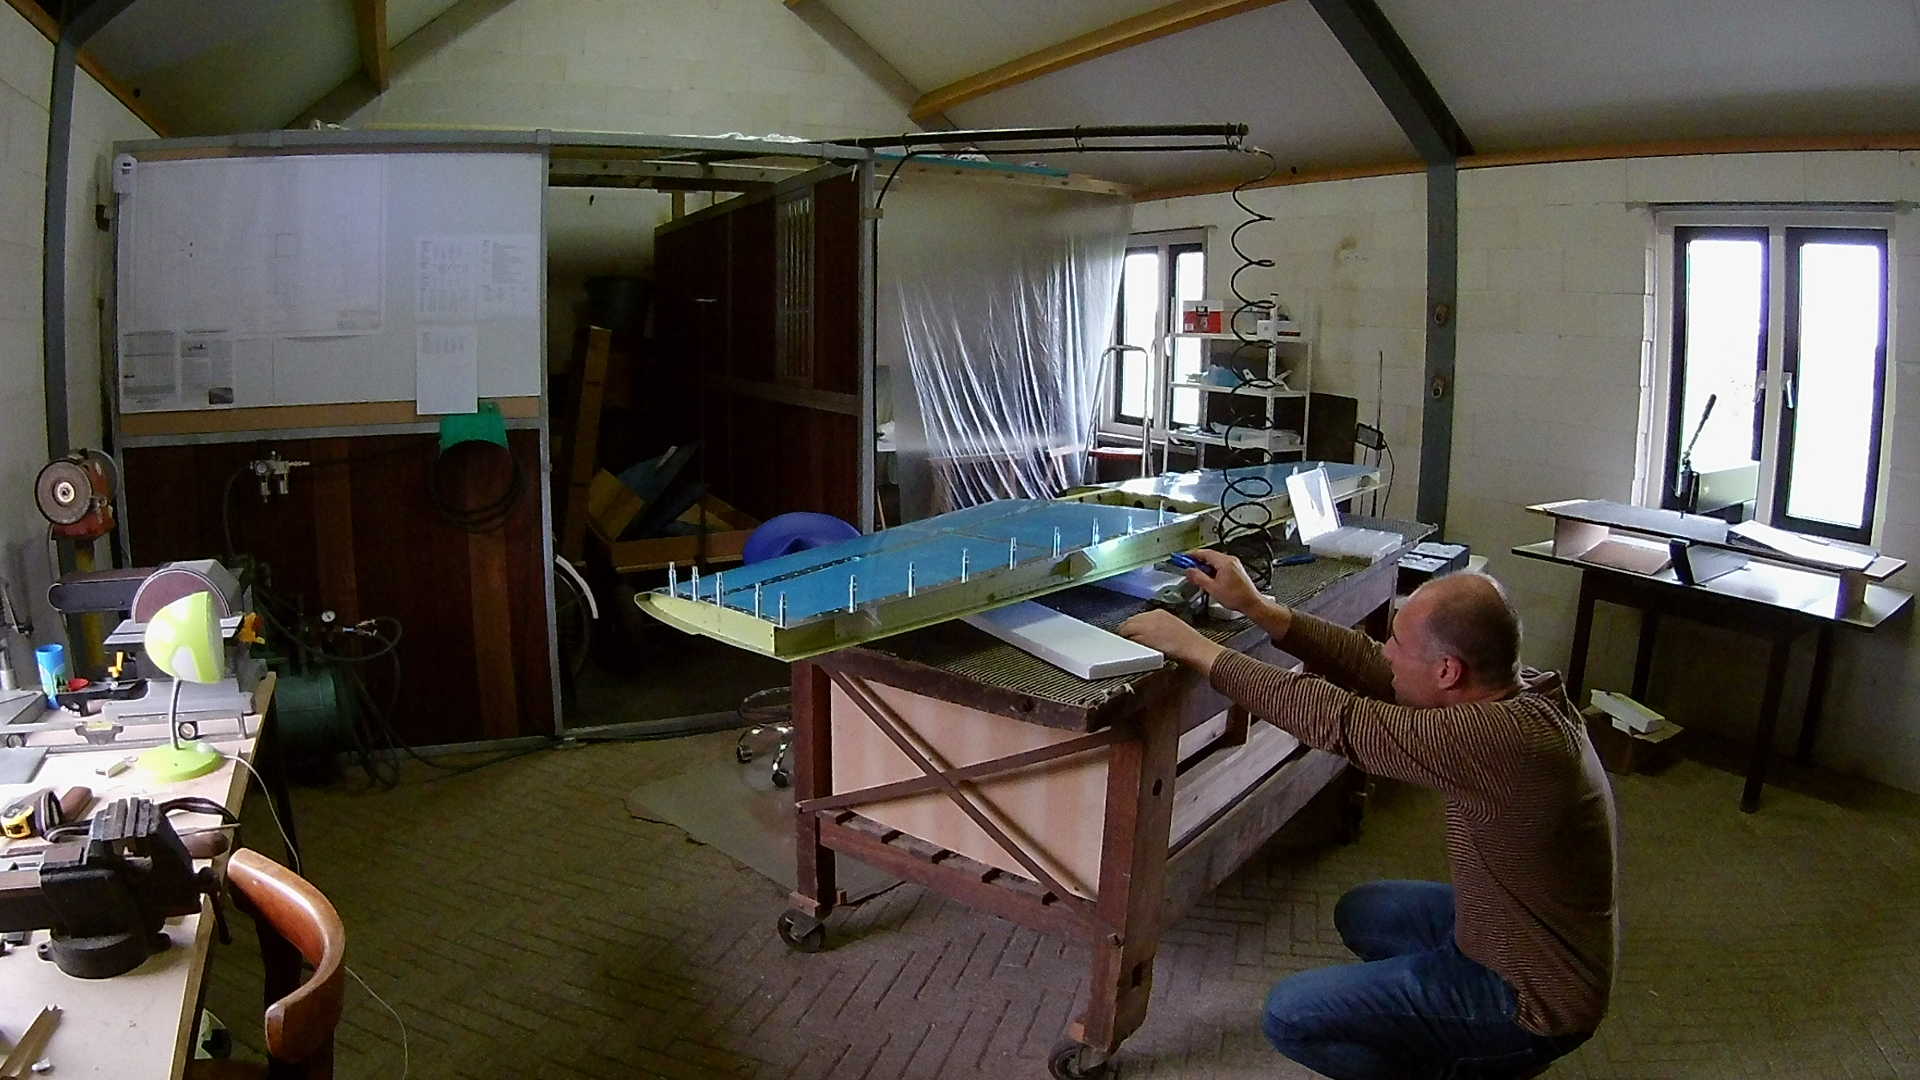
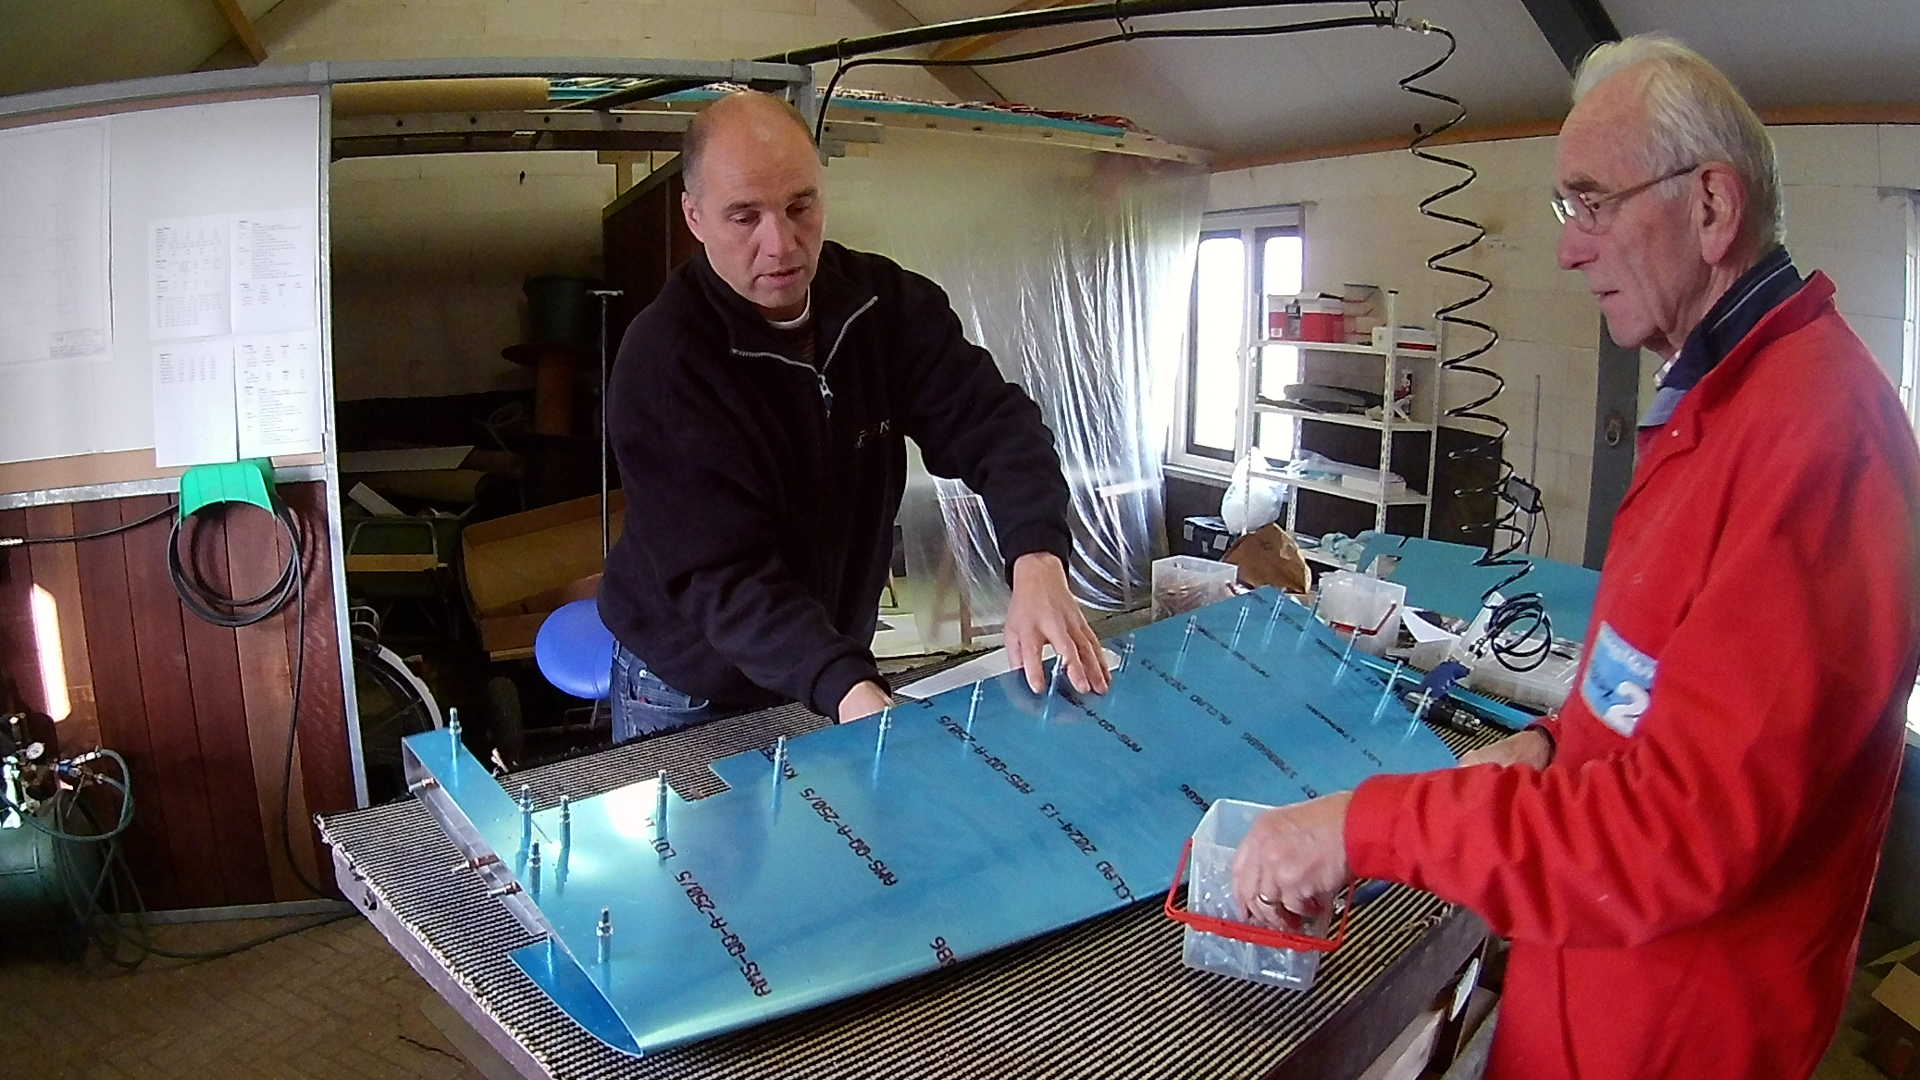
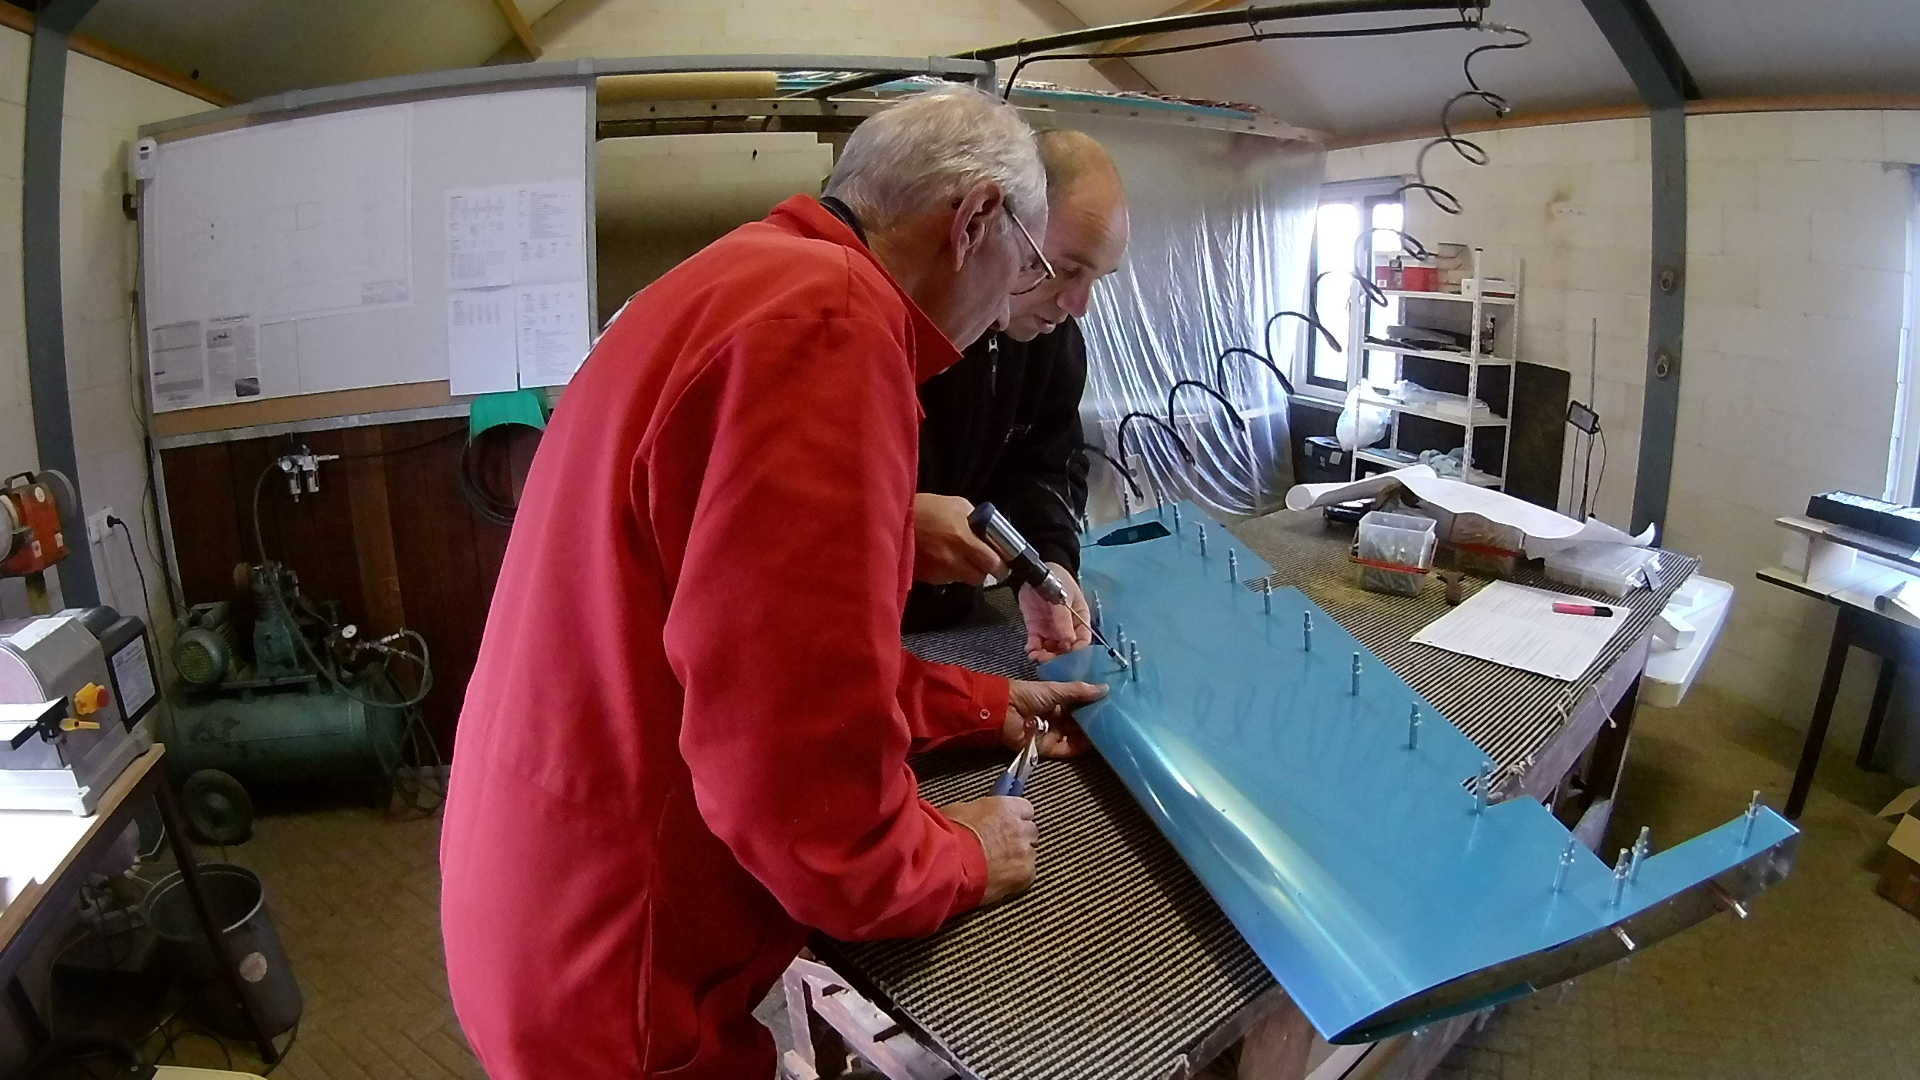
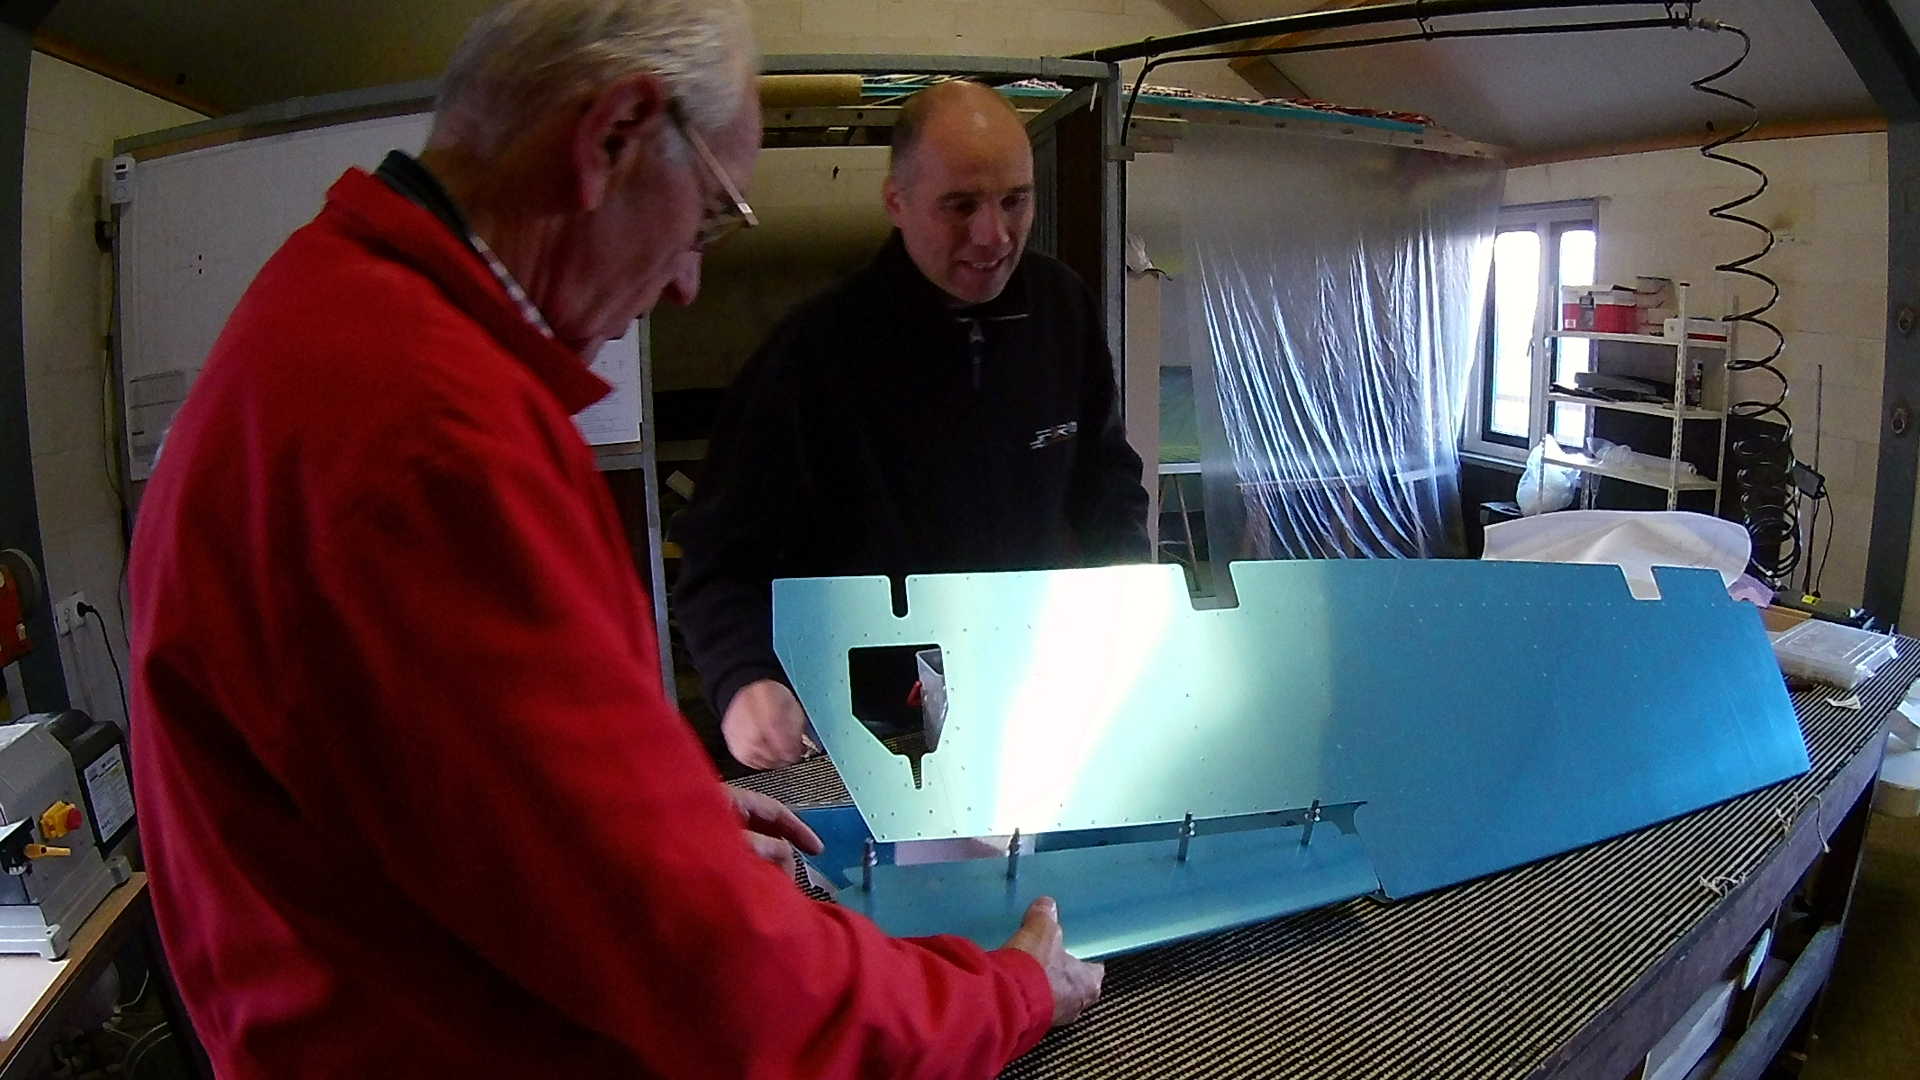
My dad helped me today with the elevators, which works much faster than working alone. Also while discussing things the changes that you make a mistake becomes much lower. We started with clecoing the ribs to the spar of the left and right Elevators.
Here you can see the construction for the right Elevator. When the understructure is completed, we can cleco the skin to it and start match drillig the skin to the understructure. special care must be taken with the control horn, since you can only match drill it while the skin holds the rib an spar together.
Also, because the trailing edge of the Elevators ar not completely bend by Van’s, you have to be careful while match drilling the rib. The reason why the edge is not completely bend is that you need the space to work.
After drilling both the left and right Elevators, we can disassemble them again and start dimpling the parts. I decided not to dimple everything, because I can do that by myself. But since my dad was here today, I valued discussing the Trim Tab construction over dimpling.
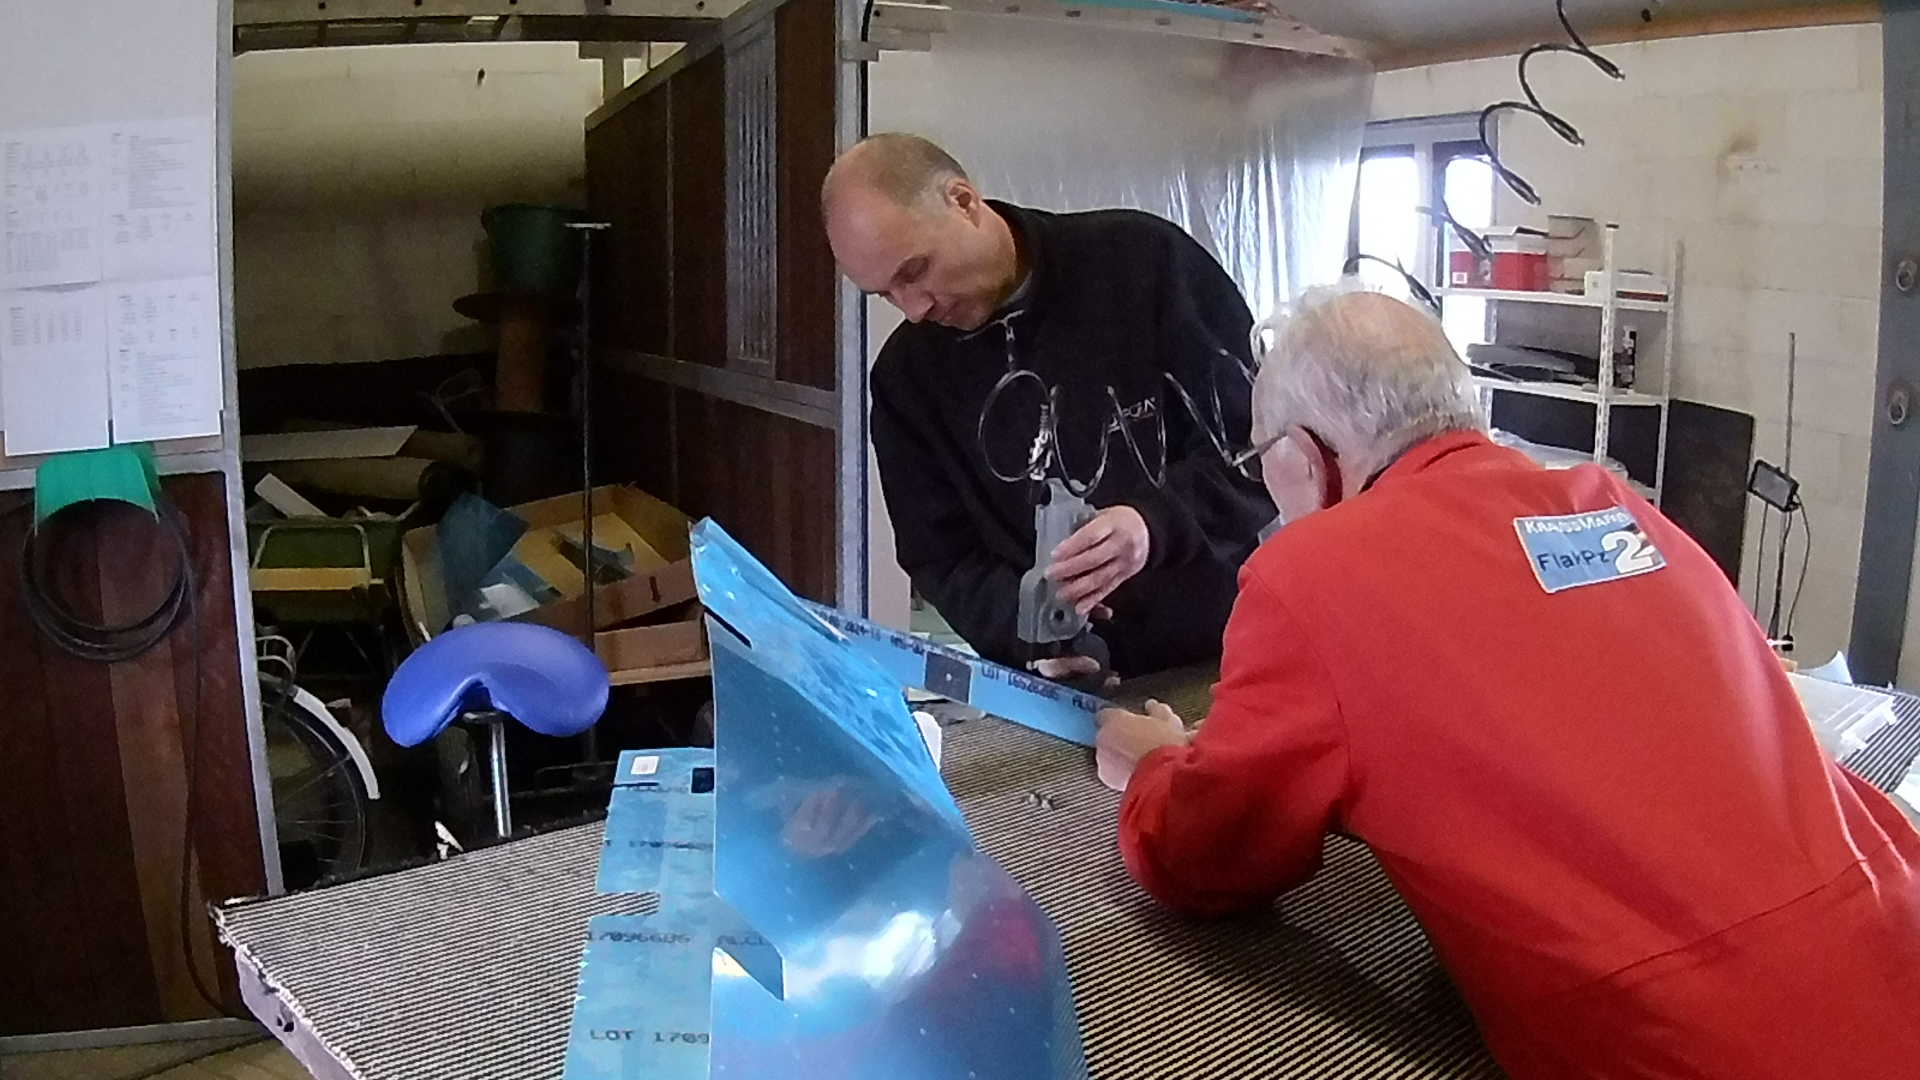
We looked at the placement of the servo motor in the left Elevator and the attachment of the Trim Tab with the piano hinges to that Elevator. An important point is how to prevent the hinge rod from sliding out of the piano hinge in flight. A best practice is bending the (protruding) hinge rod and attach it to a fixed part. However the rod is not long enough to do this. Our solution is going to be, making the rod a few millimeters smaller than the piano hinge and squeeze the ends of the piano hinge so the rod can’t fall out. I’ll probably also dip the end of the piano hinge in epoxy, so it’s sealed.
While determining how the Trim Tab fit the Elevator, I remembered that the sides of the Trim Tab (and one side of the Elevator) need to be bend. That’s why it didn’t fit. Taking these bend lines into account it fitted perfectly.
Time: 4 Hours, Rivets: 0/0
