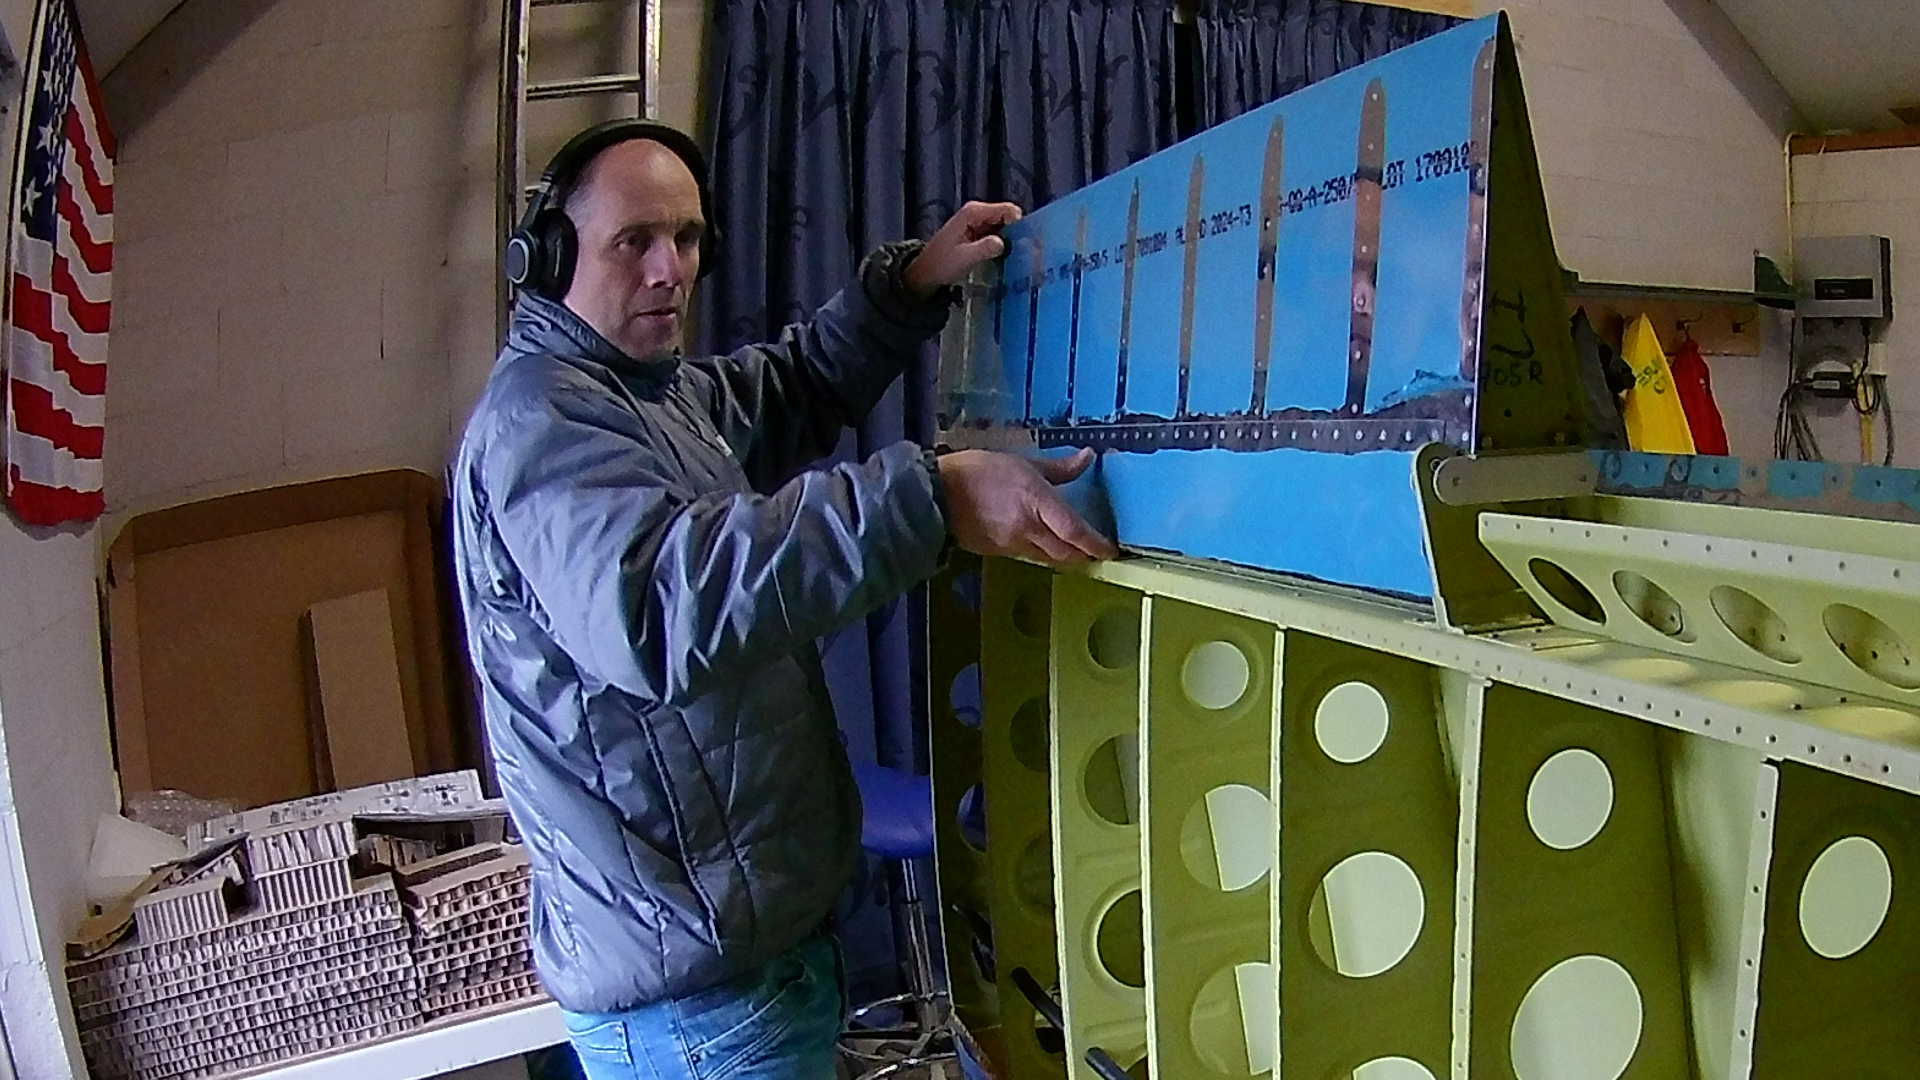
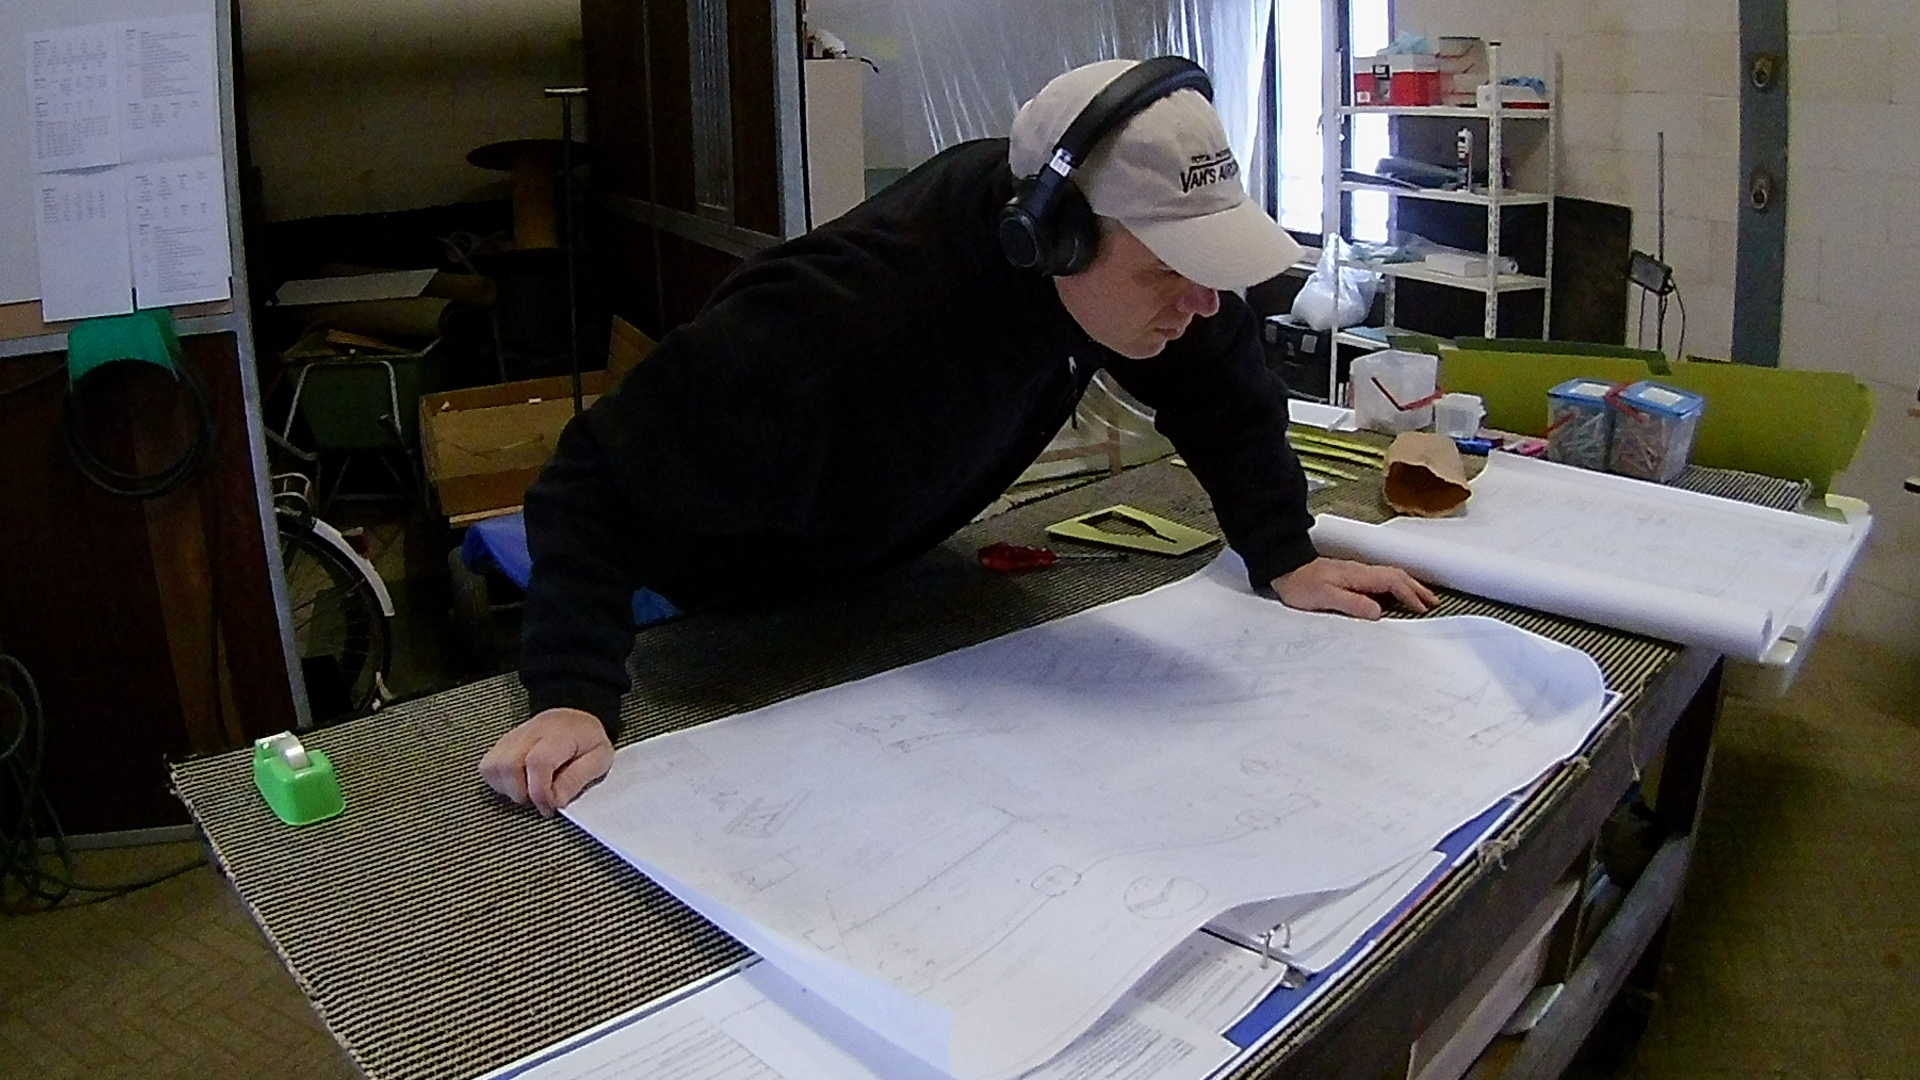
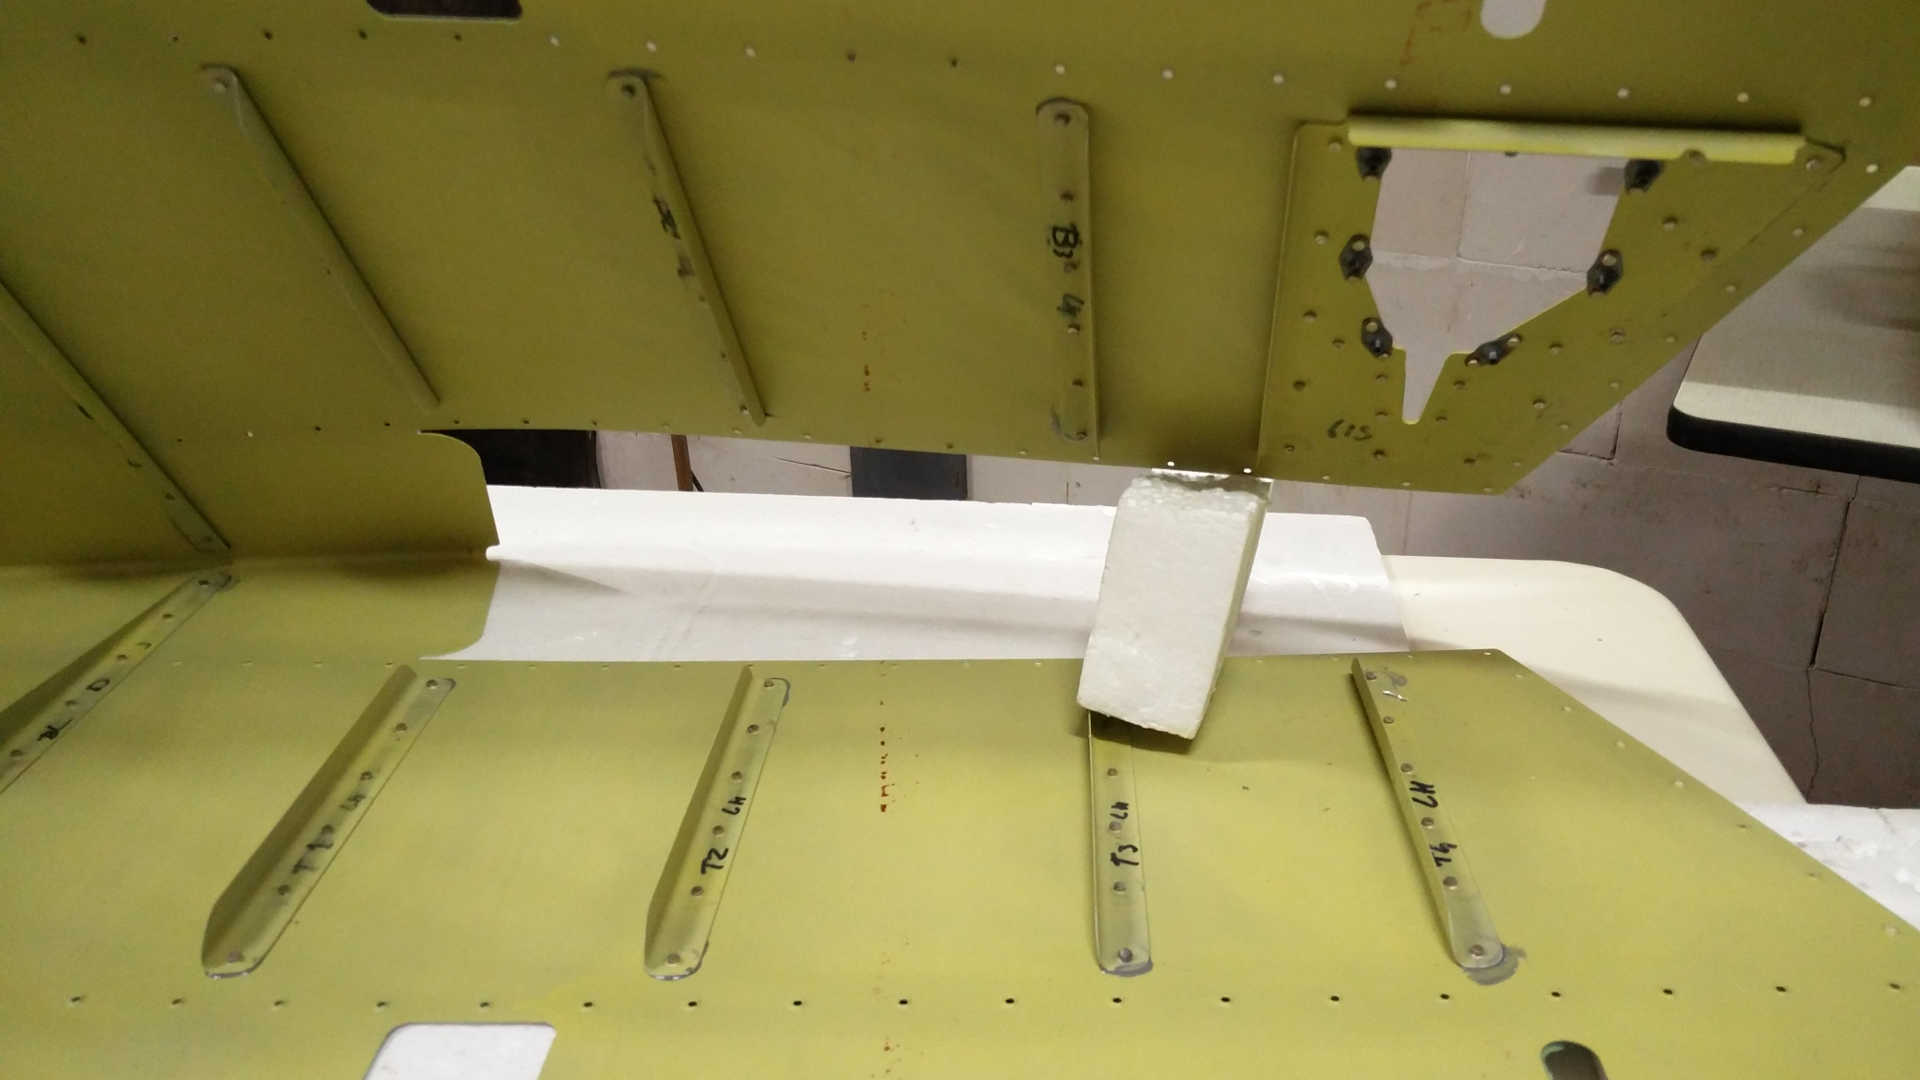
There are two drawings for the Elevators. One for the left and one for the right Elevator. The left Elevator has the Trim Tab with the servo motor, which make it a bit more complex. To be able to use screws for later access to the servo motor, the Trim Tam reinforcement plate (E615-PP) has several Platenuts. A platenut is a bolt in the form of a plate, which you can rivet.
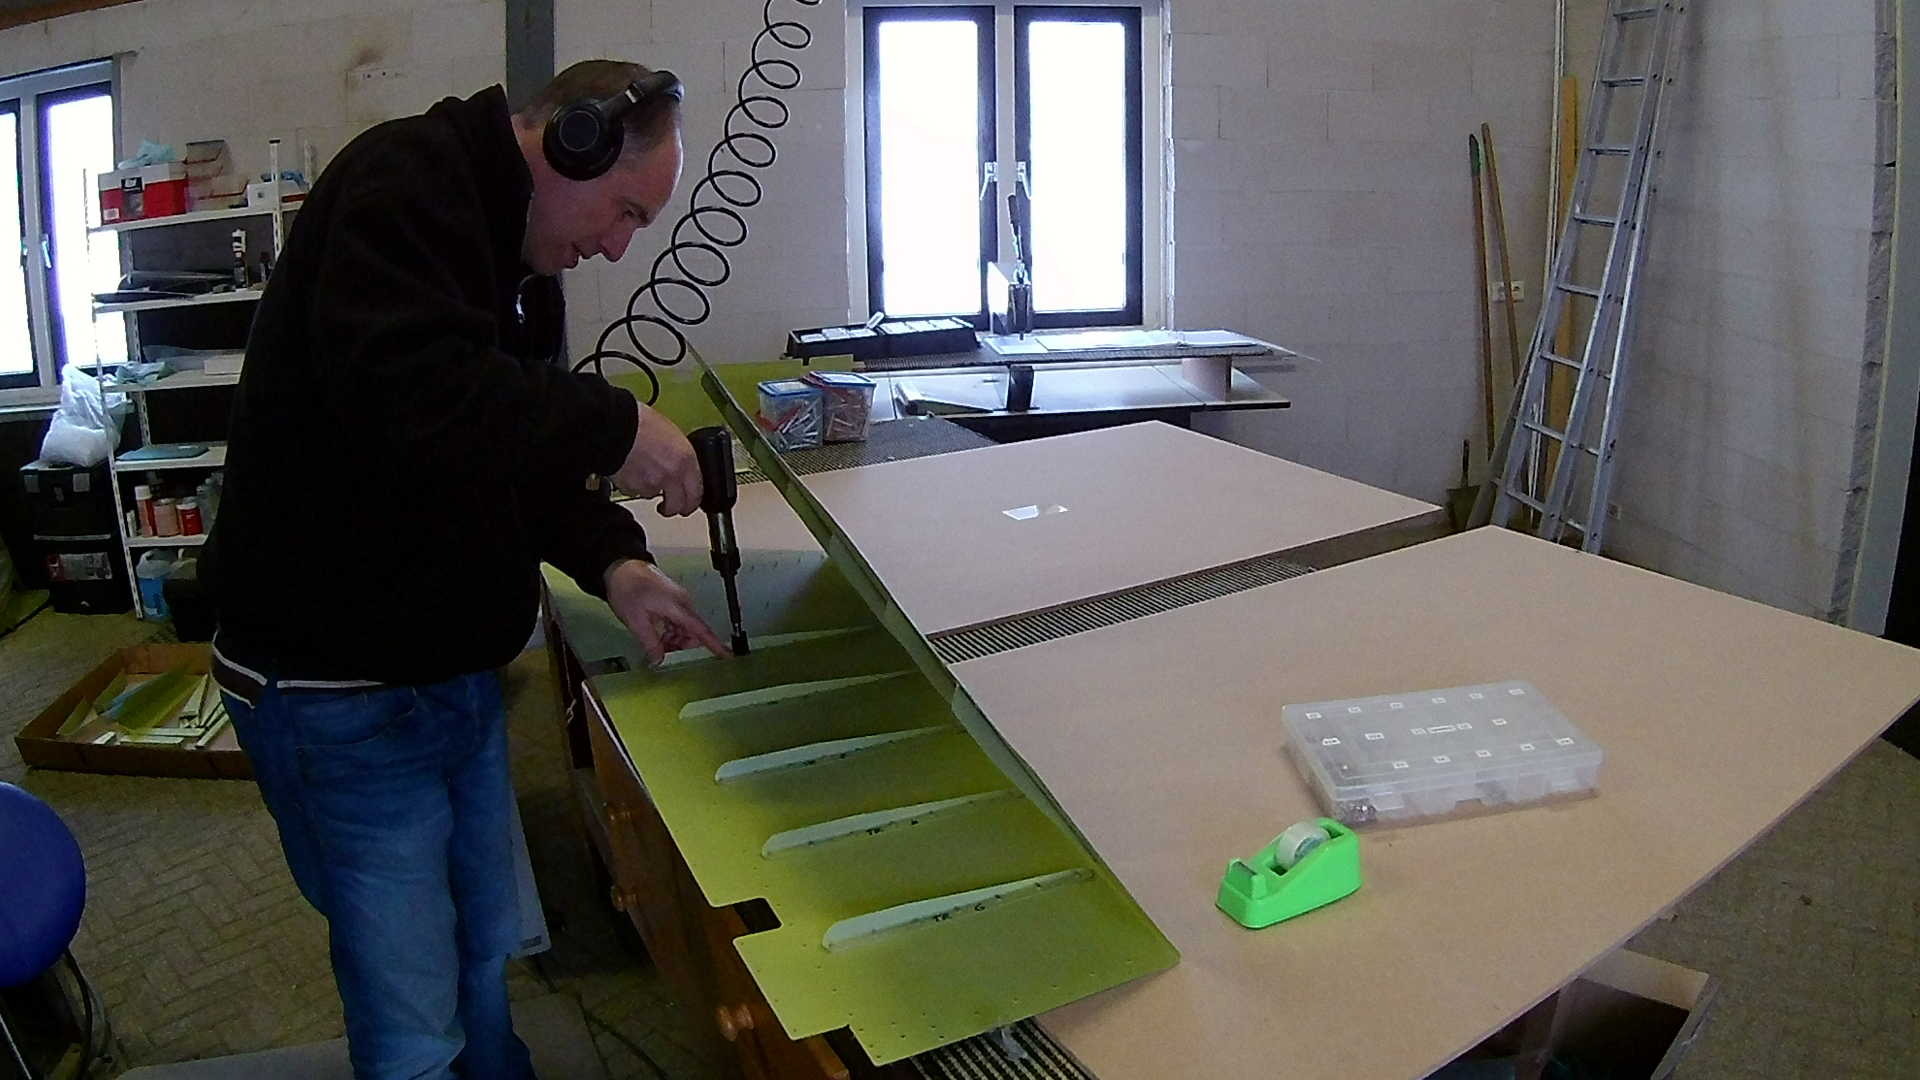
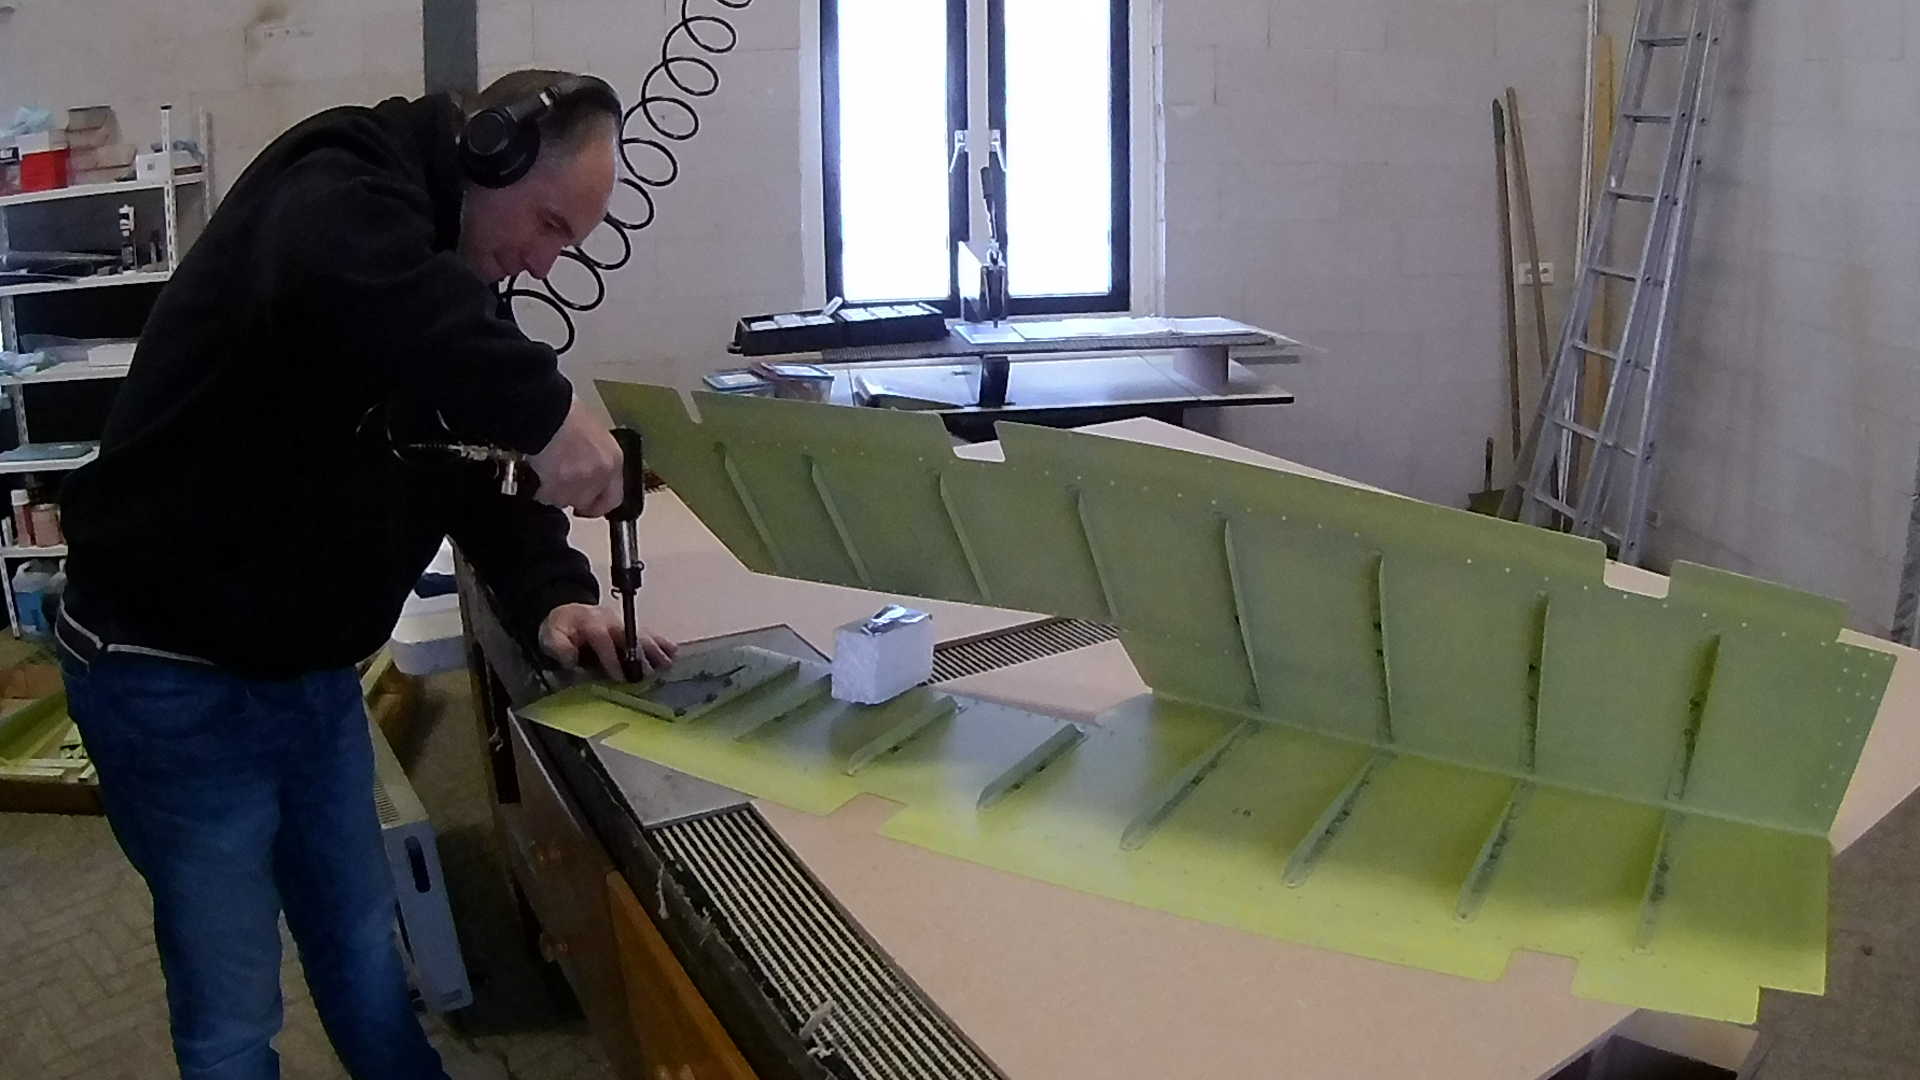
Easy things first, riveting the stiffeners to the right Elevator. Just as with the Rudder, I use a little structural epoxy at the ends of the stiffeners, to reduce vibrations. This time with back riveting I accidentally riveted next to the back rivet plate in the MDF (three times). Fortunately this only ruins the MDF plate and probably the rivet, but I threw it away just to be sure.
In order to rivet the end of the stiffener at the trailing edge of the Elevator, you have to both press the stiffener and bend (open) the pre-bend skin. This feels scary, but it is ok. I applied some duct tape to the top of my rivet gun to prevent scratching the inside prime job.
After back riveting all stiffeners of both the right and left Elevator, I also back riveted the Trim tab reinforcement plate to left Elevator. I’m not sure how it happened, but I managed to screw up two rivets, so I had to drill them out and reset them. I’m getting better and better in drilling out rivets (not sure if that is good or bad).
I also screwed up the first rivet of the first stiffener, because I had issues with bending the skin. So in total three rivet reset.
We had a lot of snow today and I had to shovel my way out of the workshop. However with the extra heater in the workshop, the temperature was very nice, even though I don’t heat it that much.
Time: 5 Hours, Rivets: 254/3
