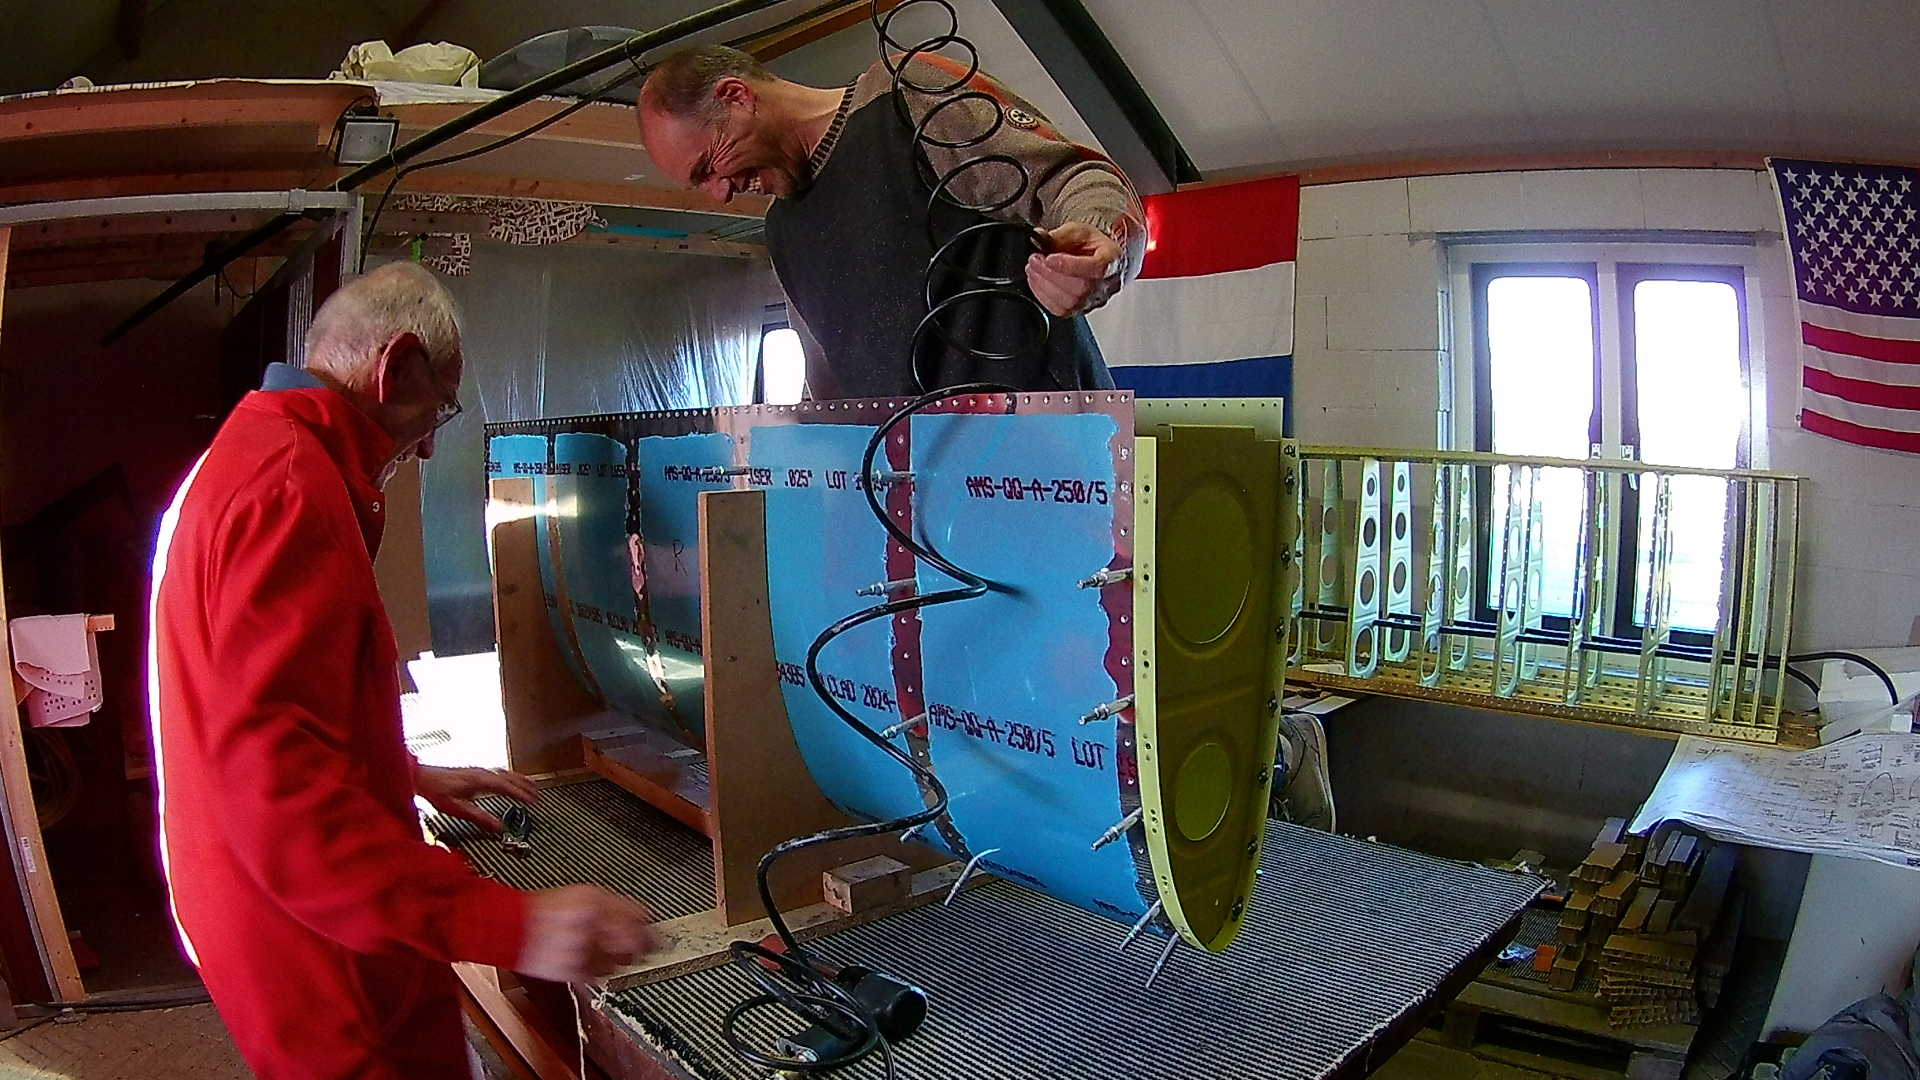
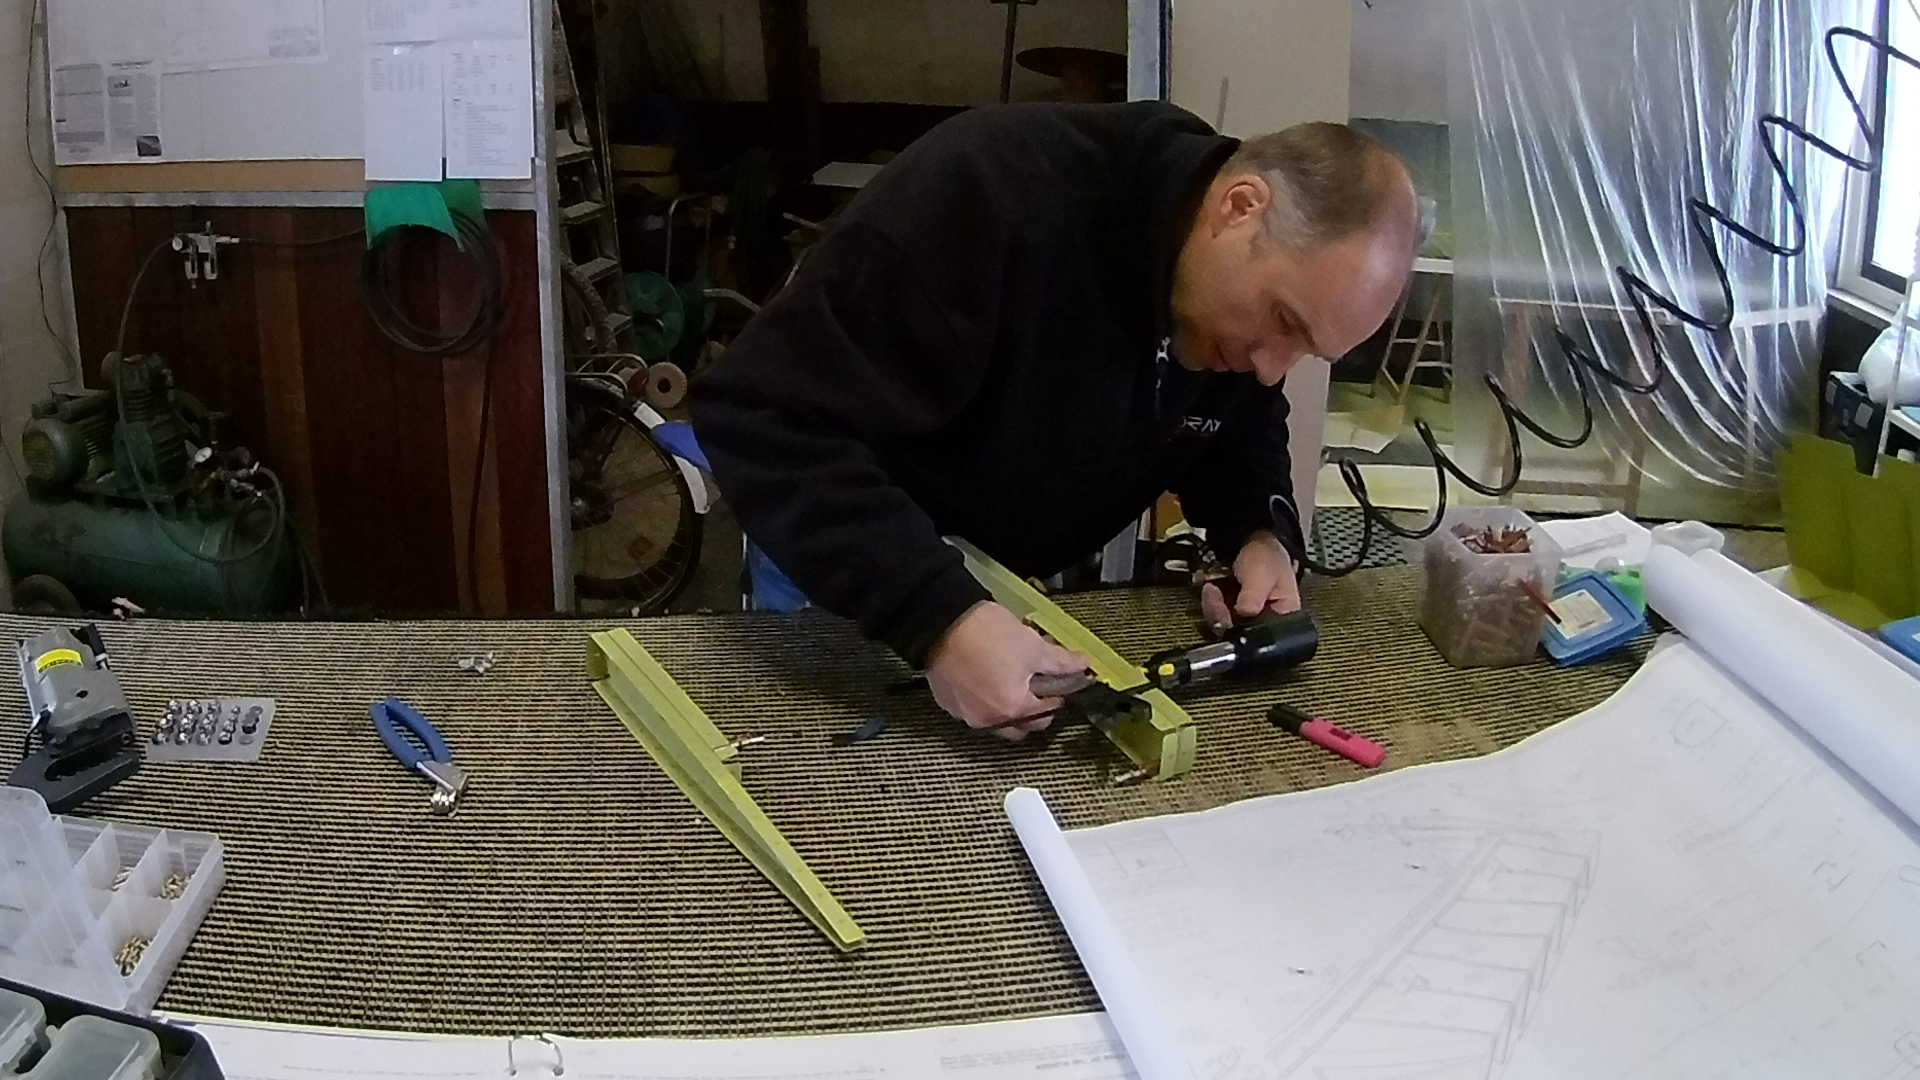
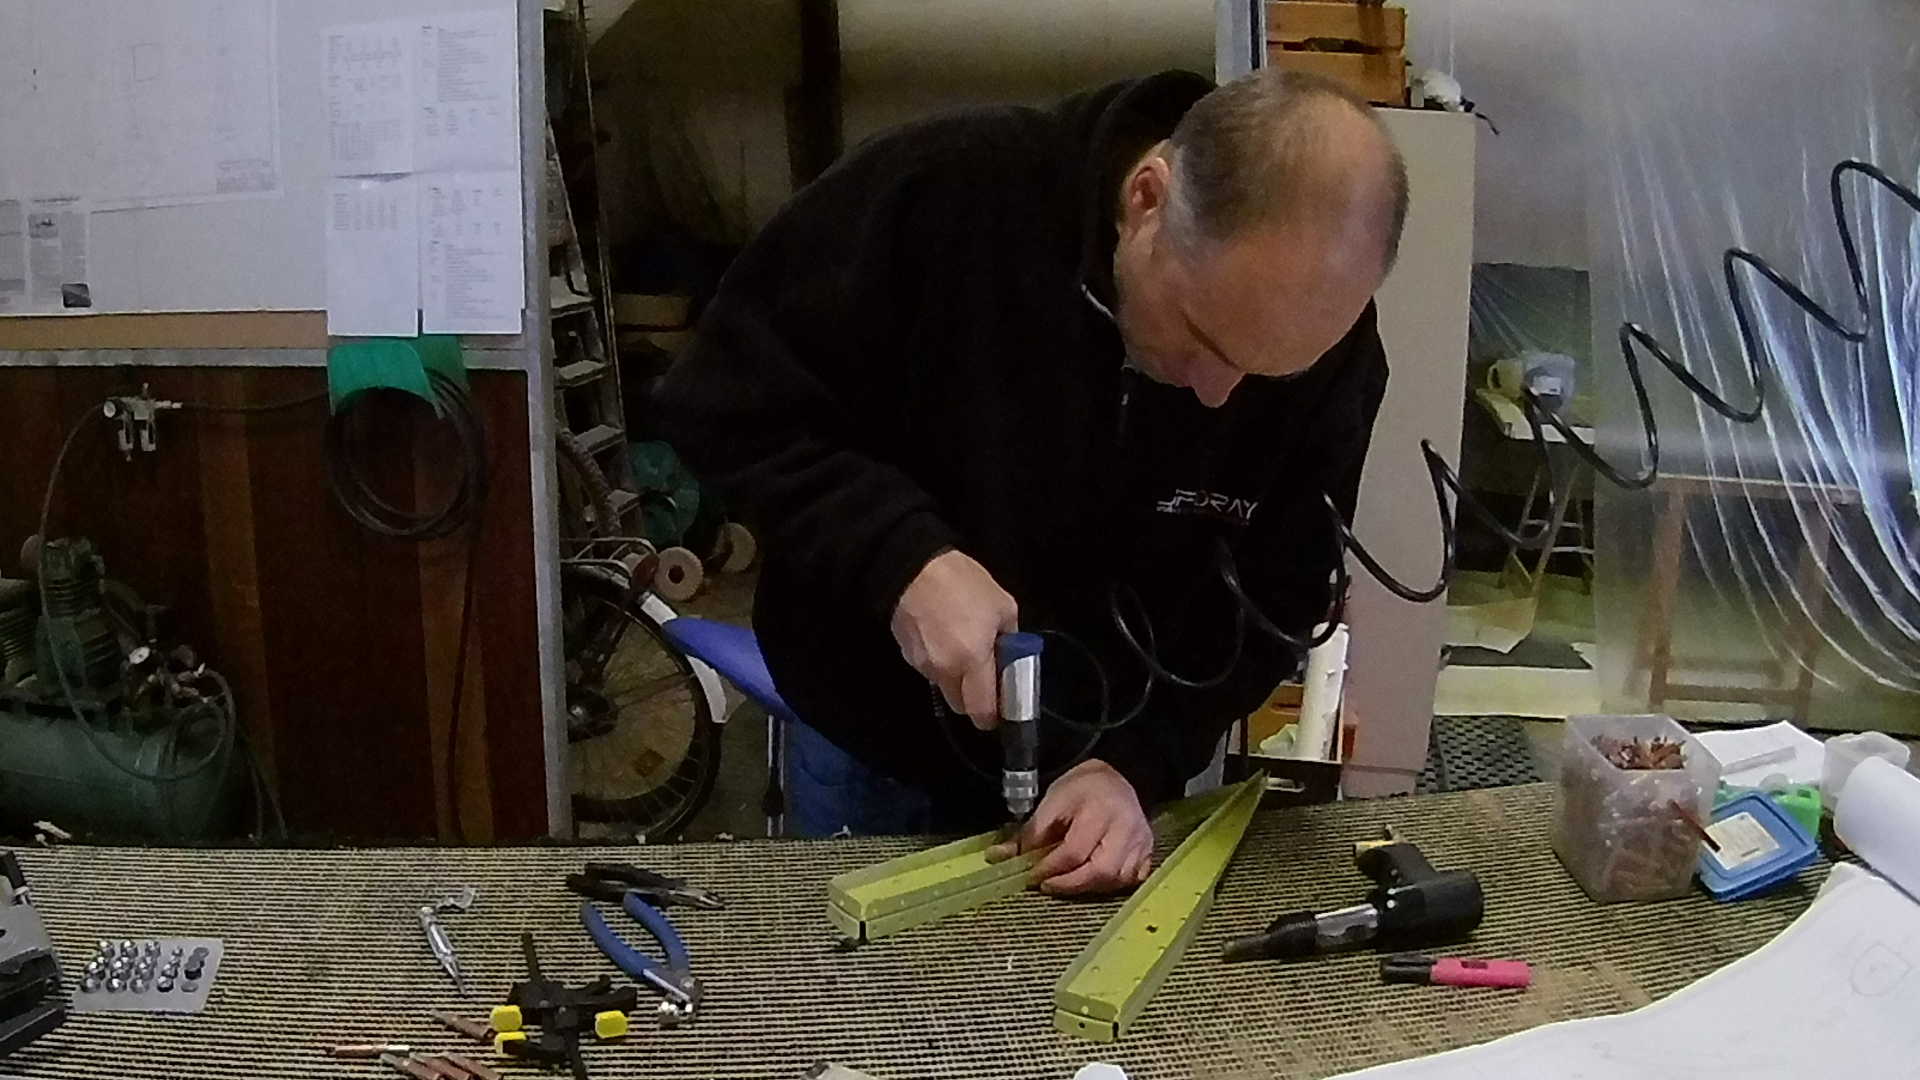
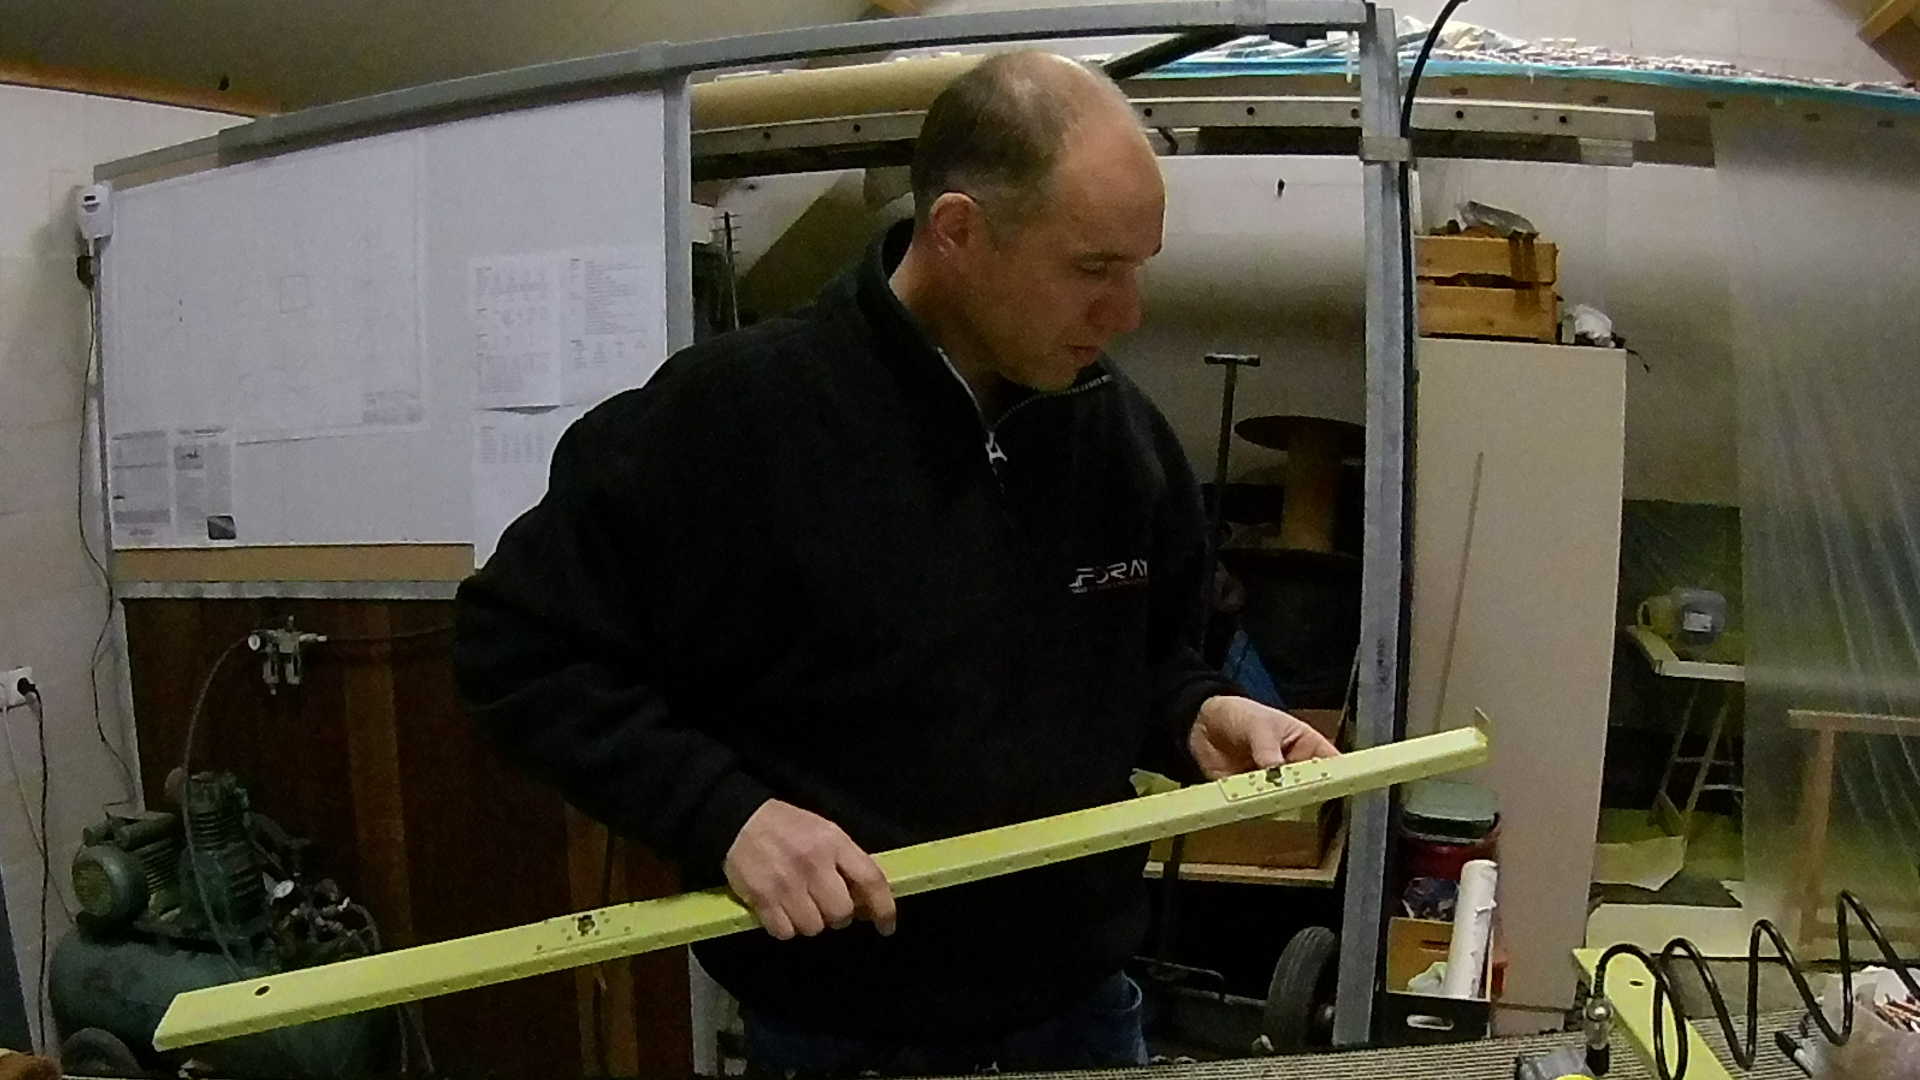
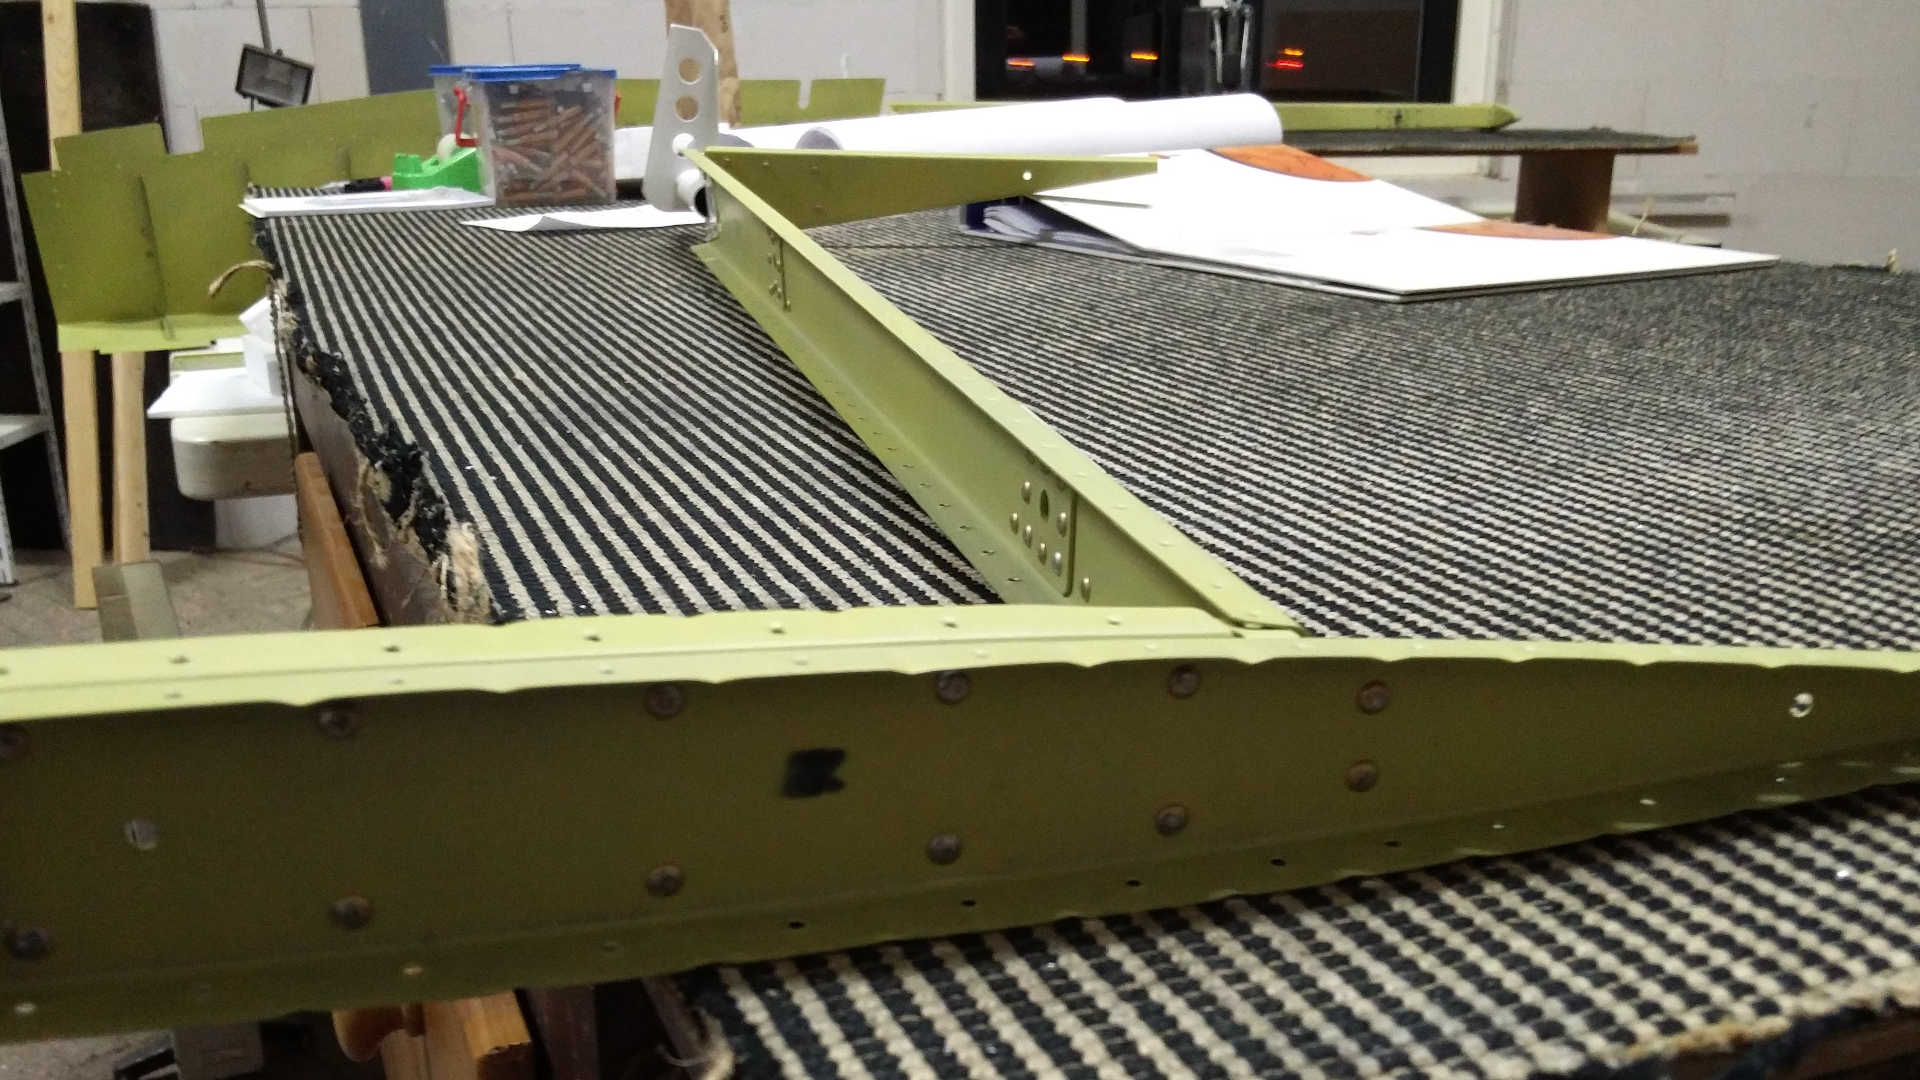
Just as the previous time, it was again cold. I had some trouble inserting the rivets in the holes, because my fingers were cold. I decided to build the right and left Elevator in parallel. The manual first describes the right Elevator and then the left, but I found that if you do them in parallel, you need less configuration actions on the pneumatic squeezer.
Unfortunately I couldn’t use the squeezer for the Tip rib and the Counter weight rib, because it has flanges on both sides.
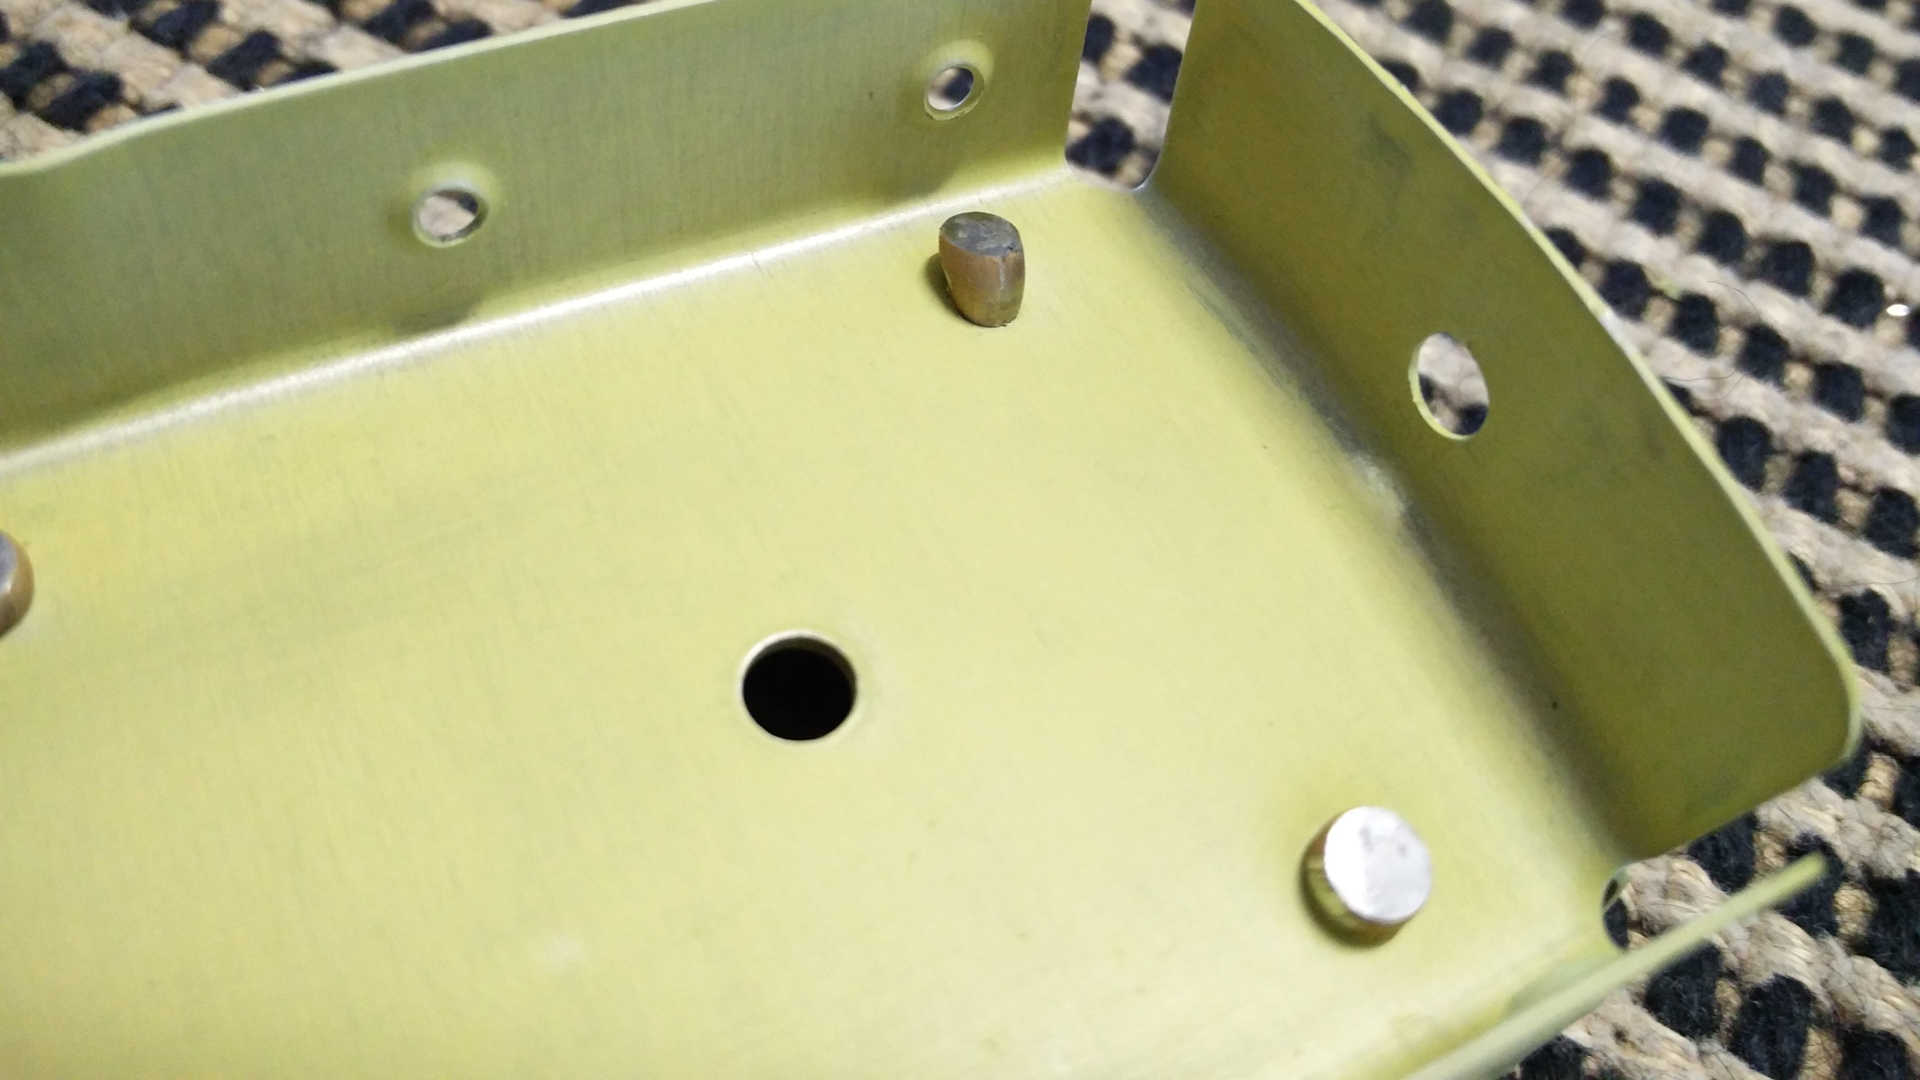
Something clearly is wrong here. I didn’t hold the bucking bar right on this one.
Rivets that are not set correctly need to be drilled out and reset. I keep this “score” in the right side bar. You can see the number of set rivets and reset rivets (after drilling out). Today was a bad day for this particular statistic, because over 10% of my rivets needed resetting (probably my worst score until now).
I could use the squeezer on the spar, but again a lot of rivets didn’t pass my QA. I’m not sure what the reason was, but in the end it got better
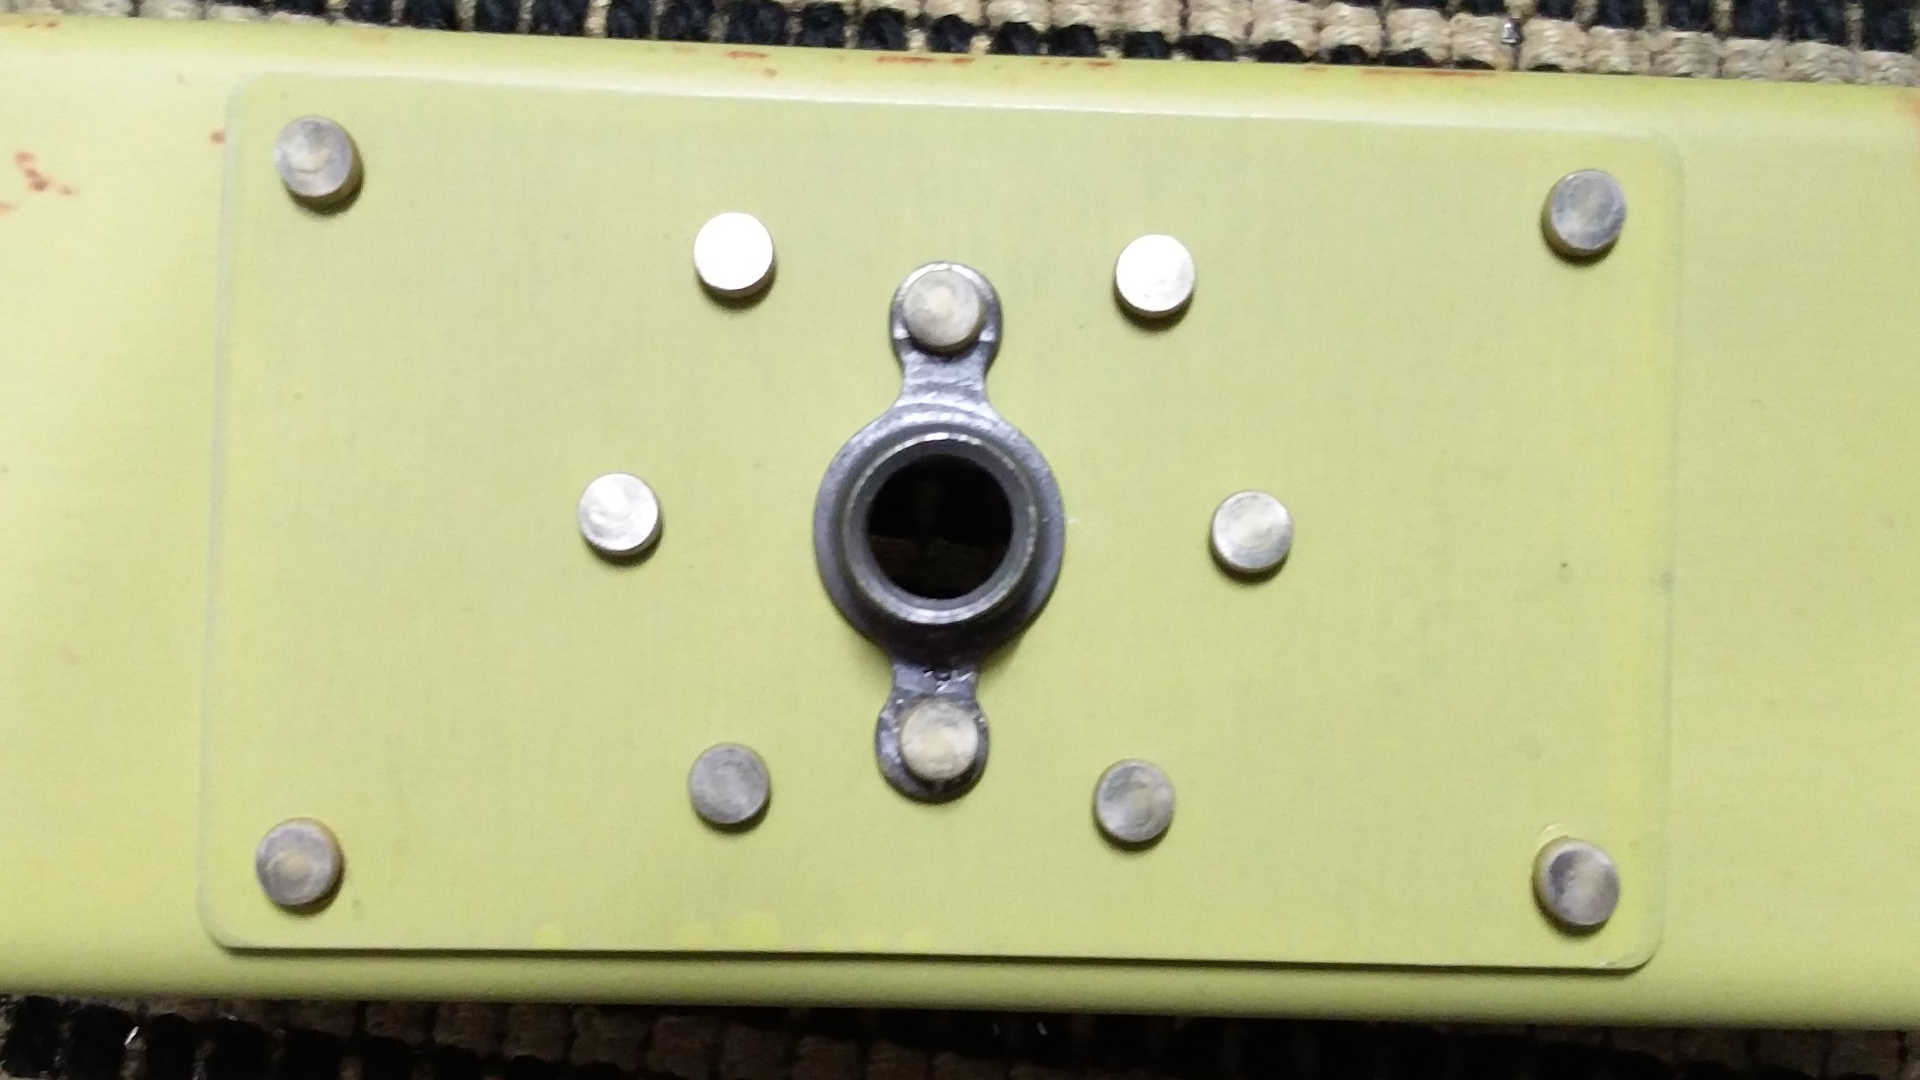
Here is a close-up of the result with the reinforcement plate and the plate nut. This platenut will hold the thread of the hinge attaching the Elevator to the Horizontal Stabilizer.
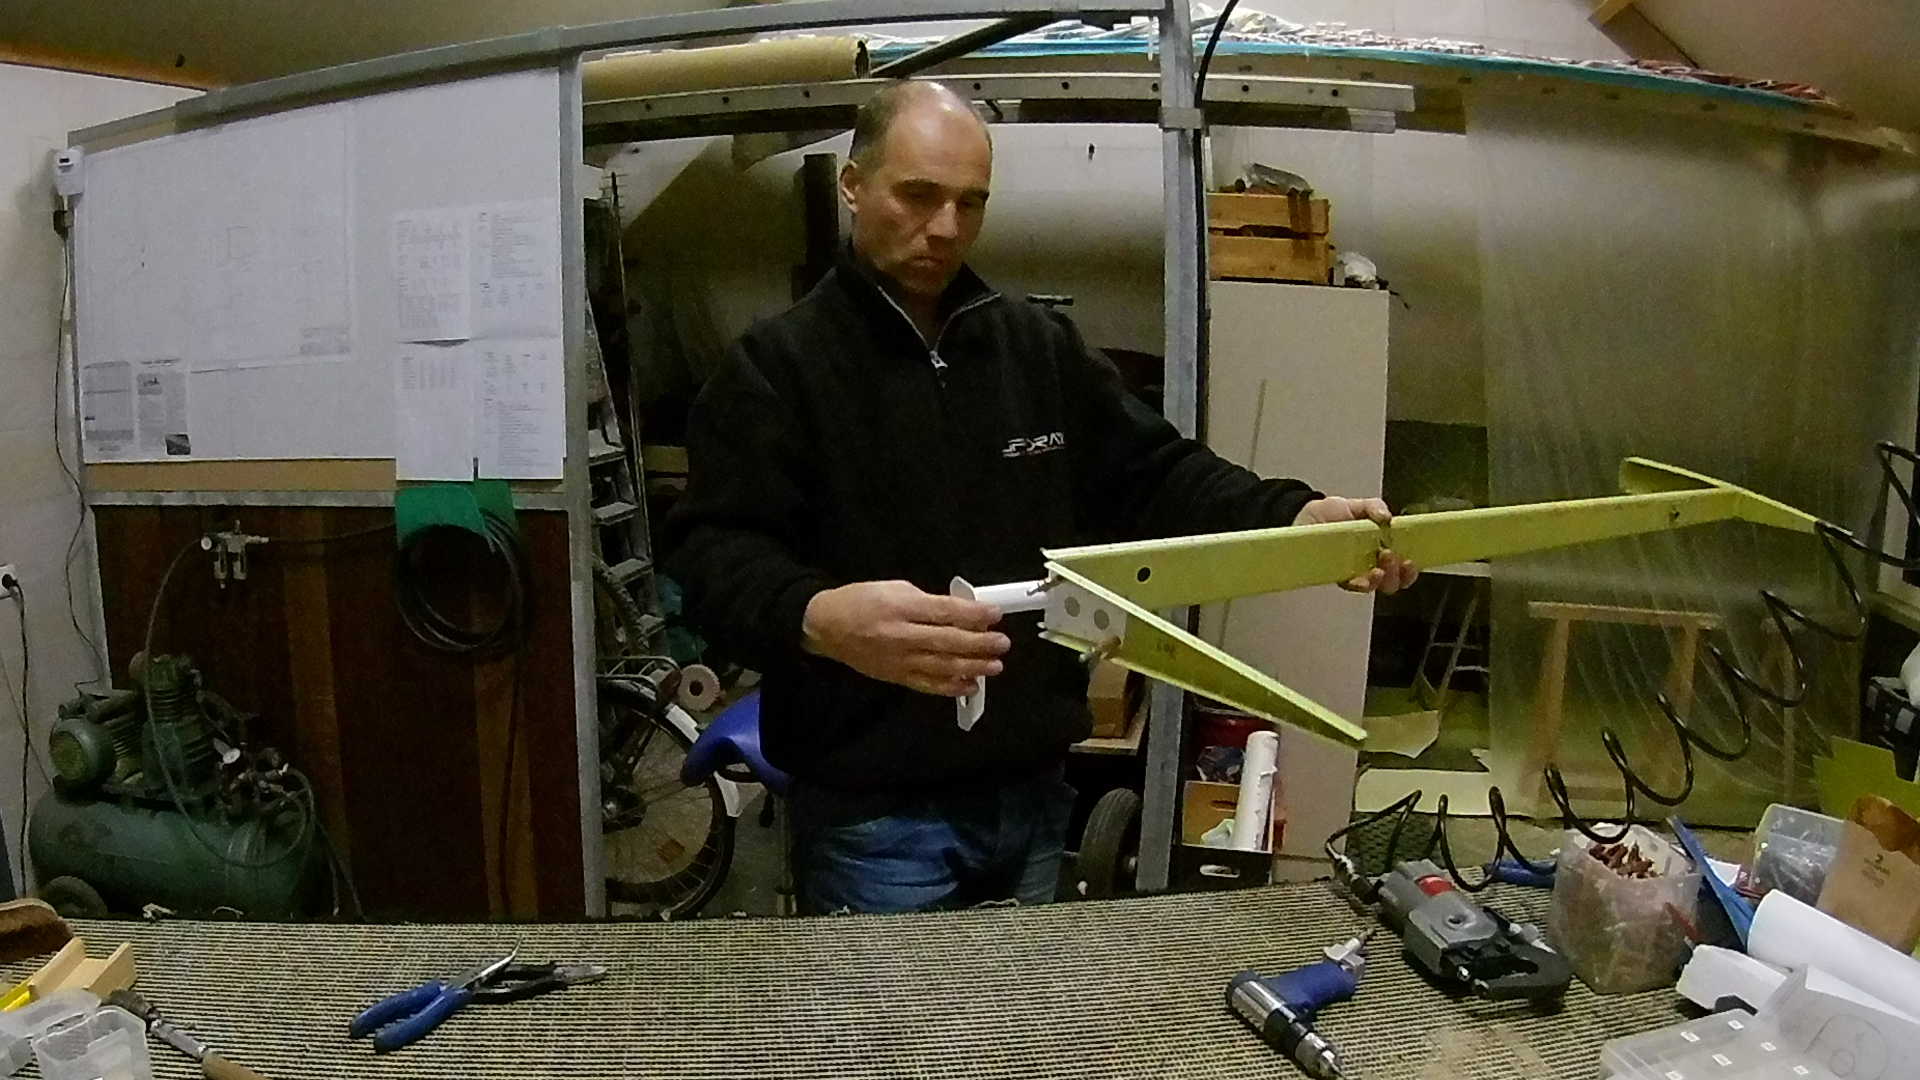
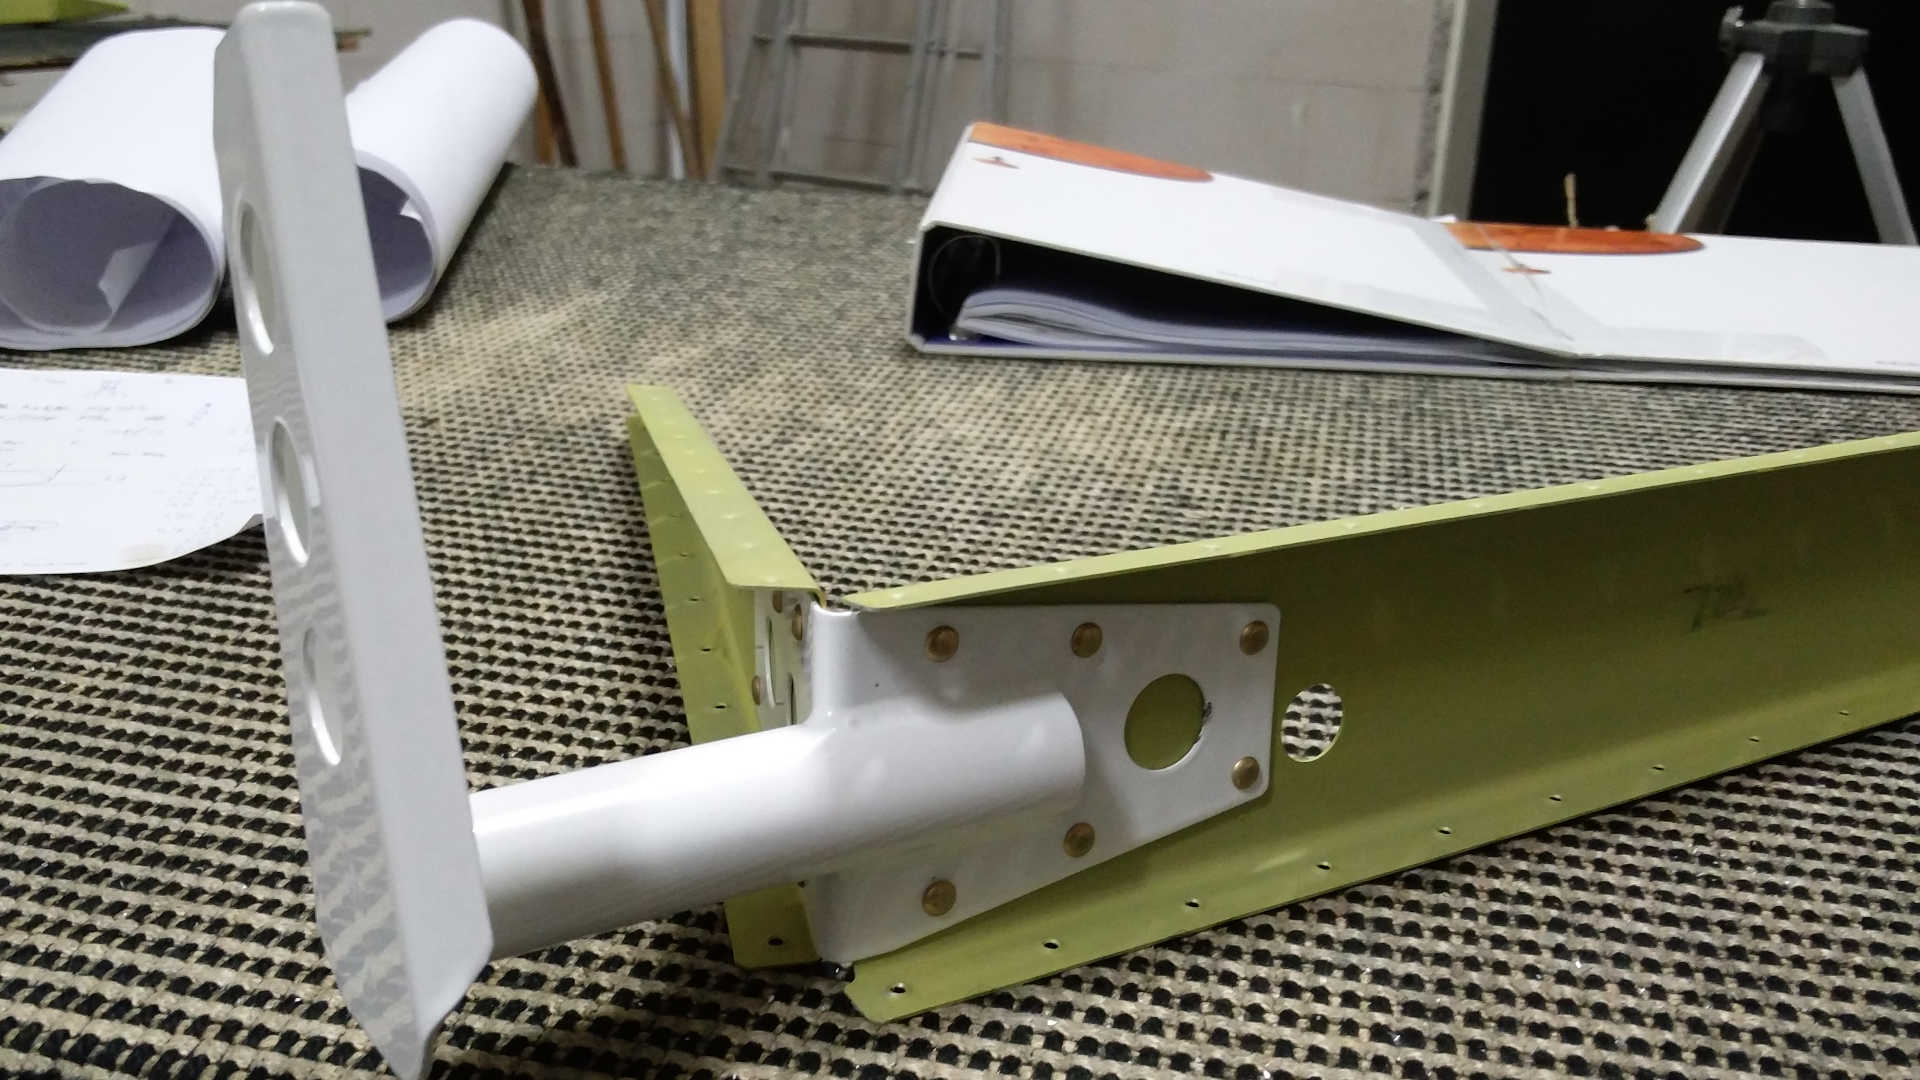
The side rib needs to be riveted with flush rivets, because the control horn goes over these rivets. This horn (the white part in the picture) is attached to the push rod attached to the control stick in the cockpit. This way you can turn the Elevators and let the plane climb or descend.
Here is the right Elevator with the attached control horn.
Next up, bending the trailing edges of the Elevators and, attaching the skin to understructure and finish the trim tab.
Time: 5 Hours, Rivets: 108/13
