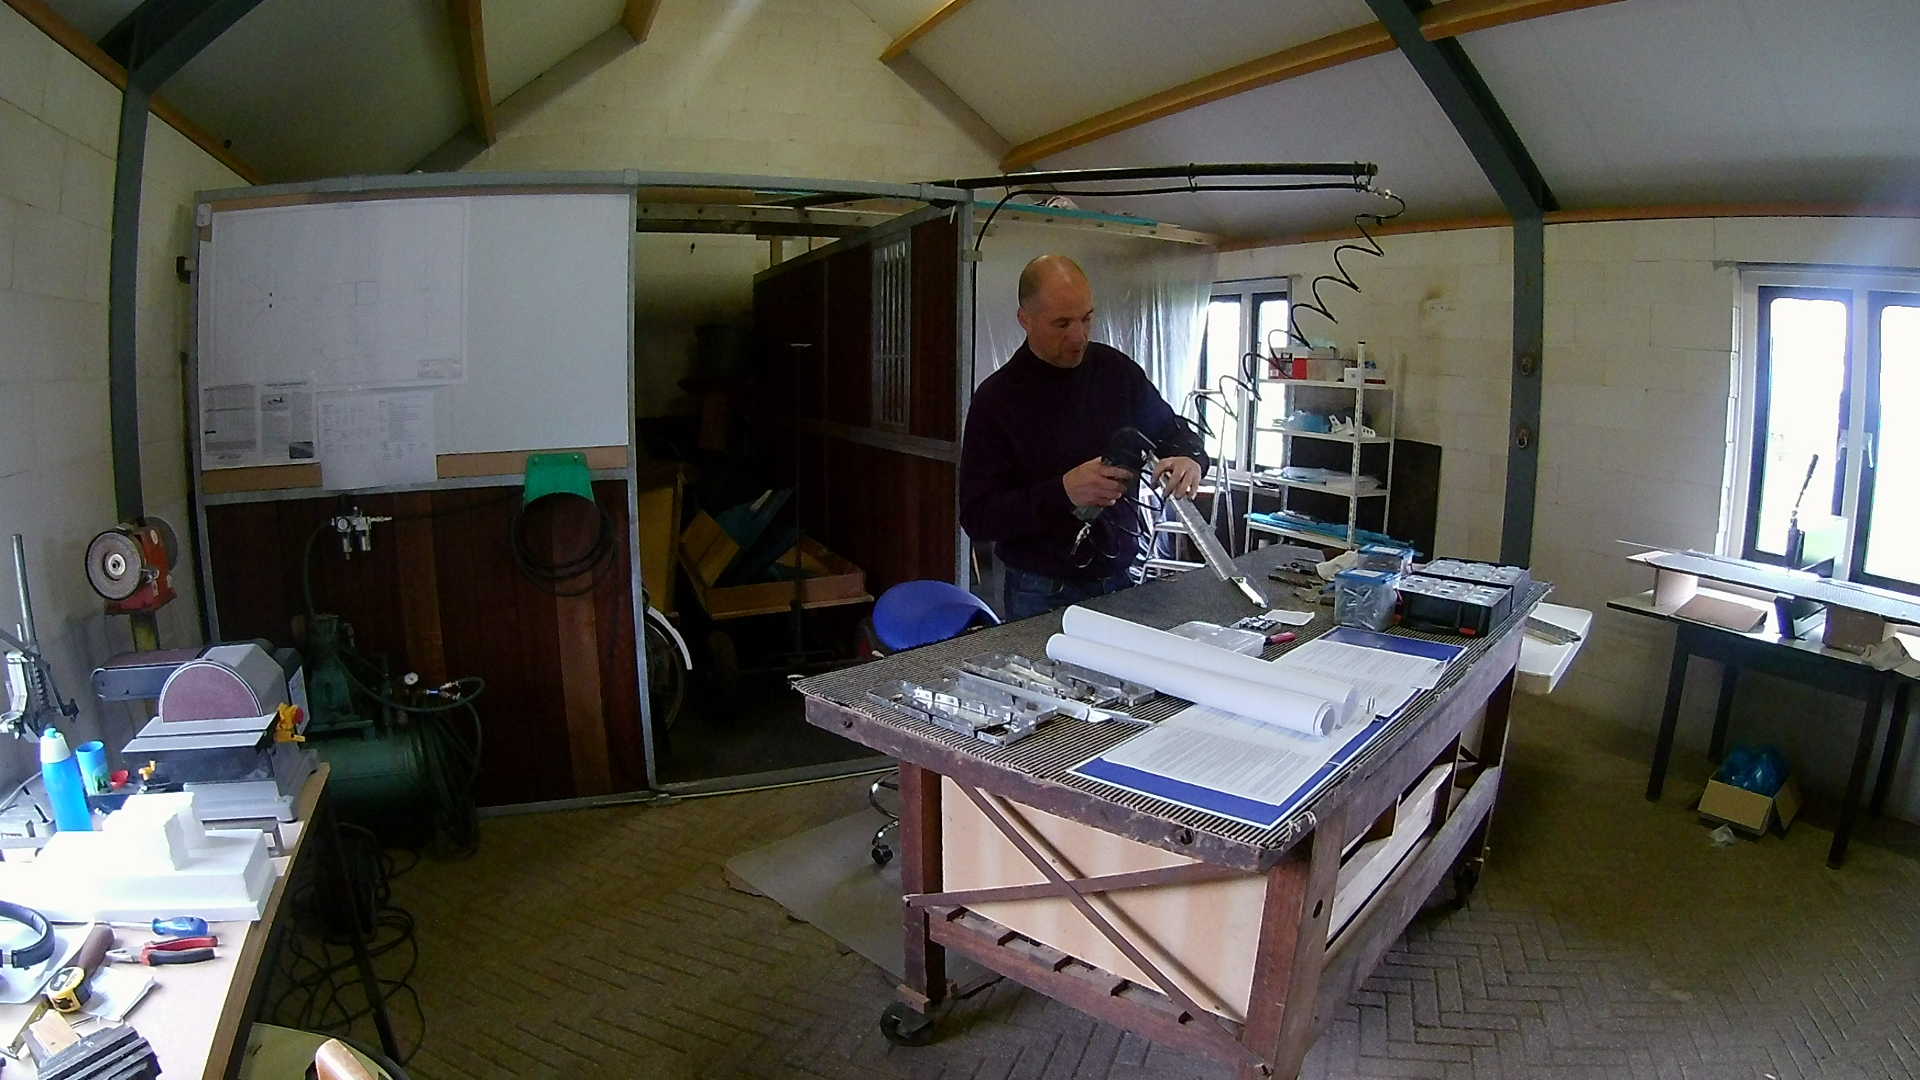
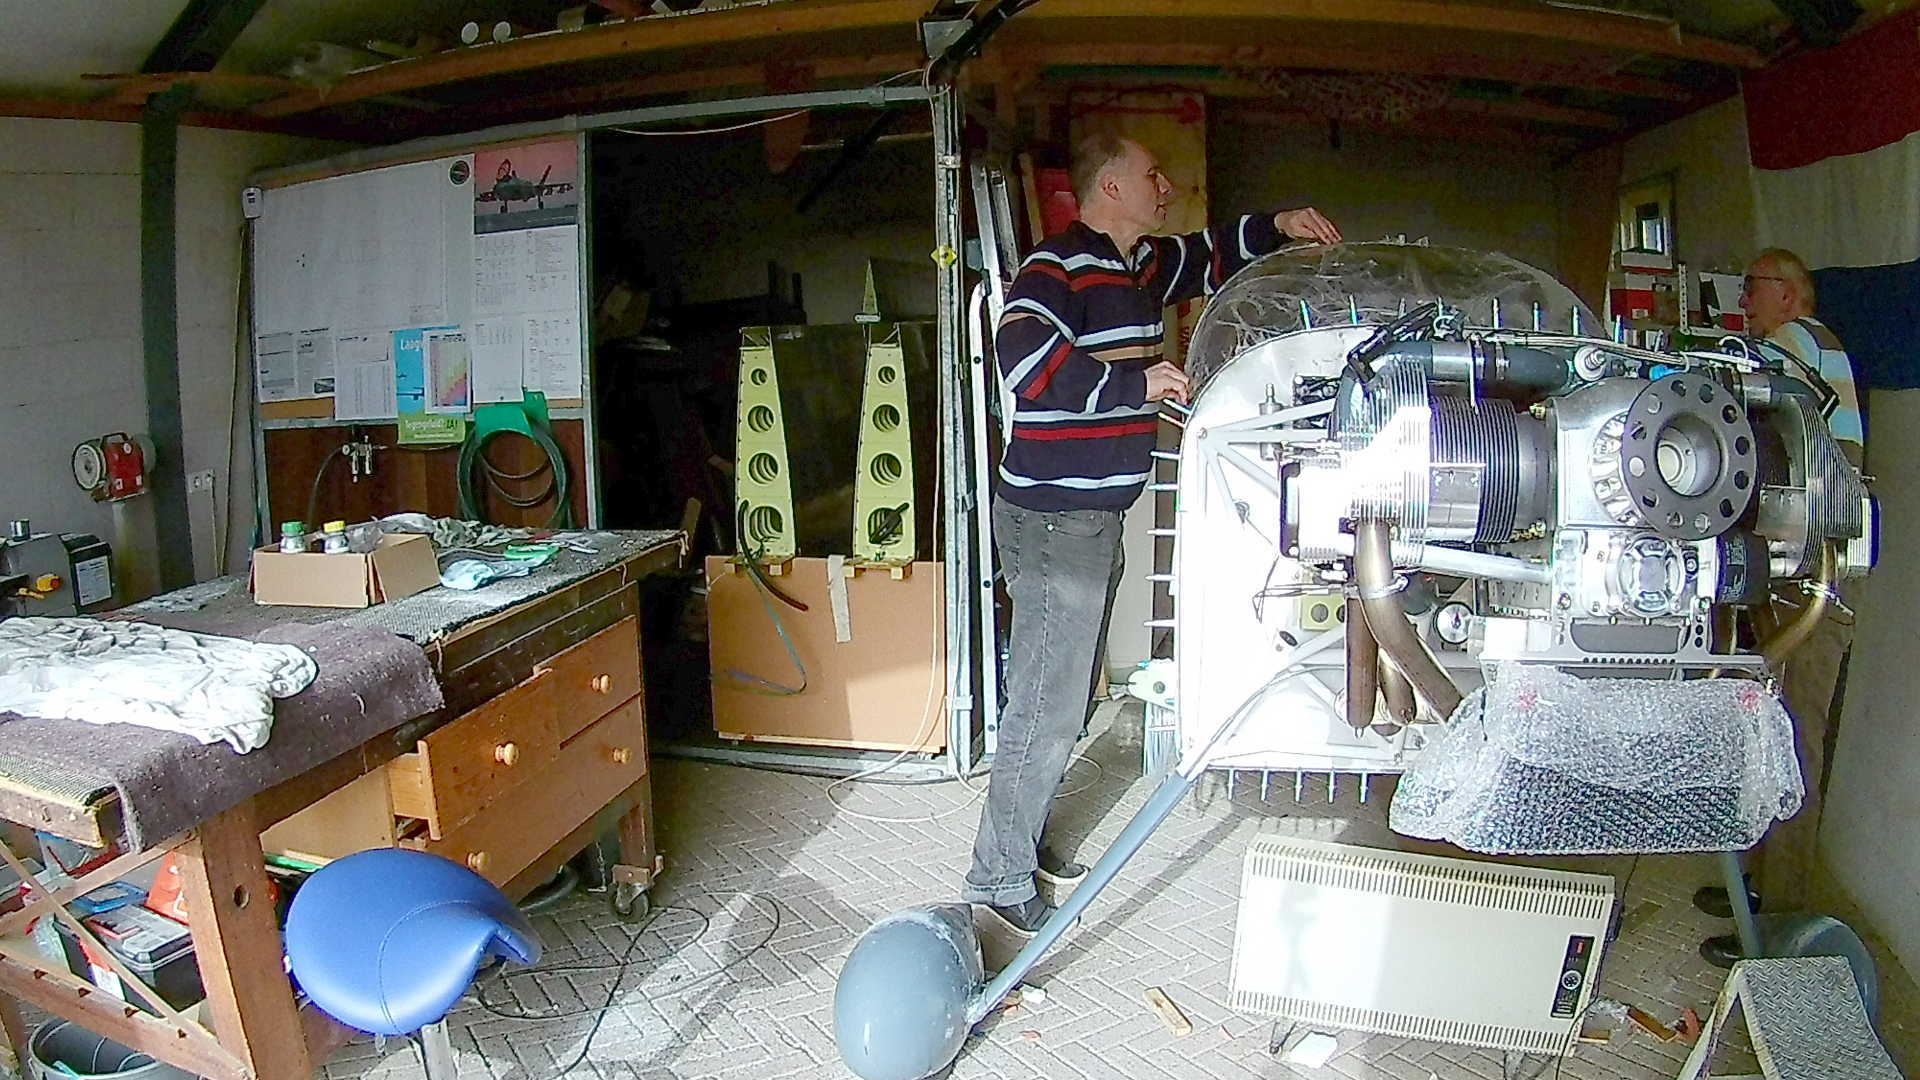
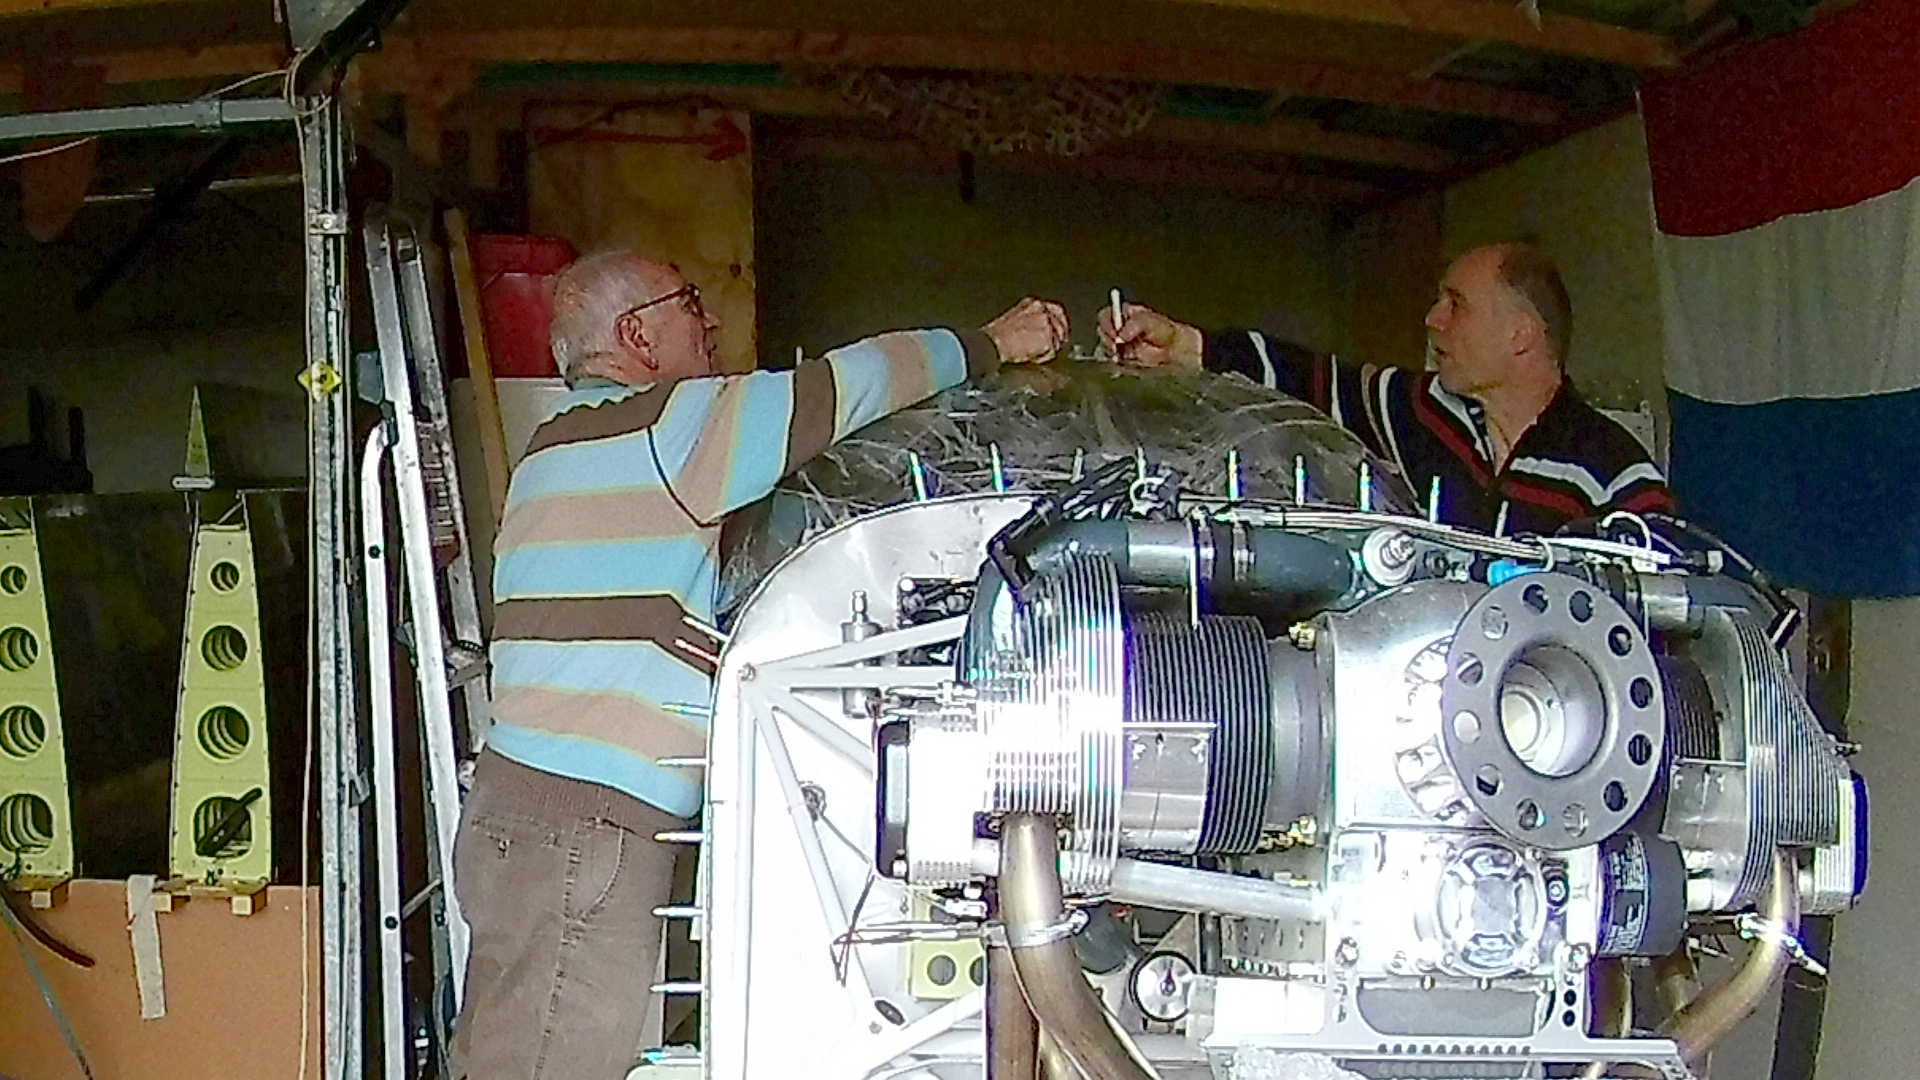
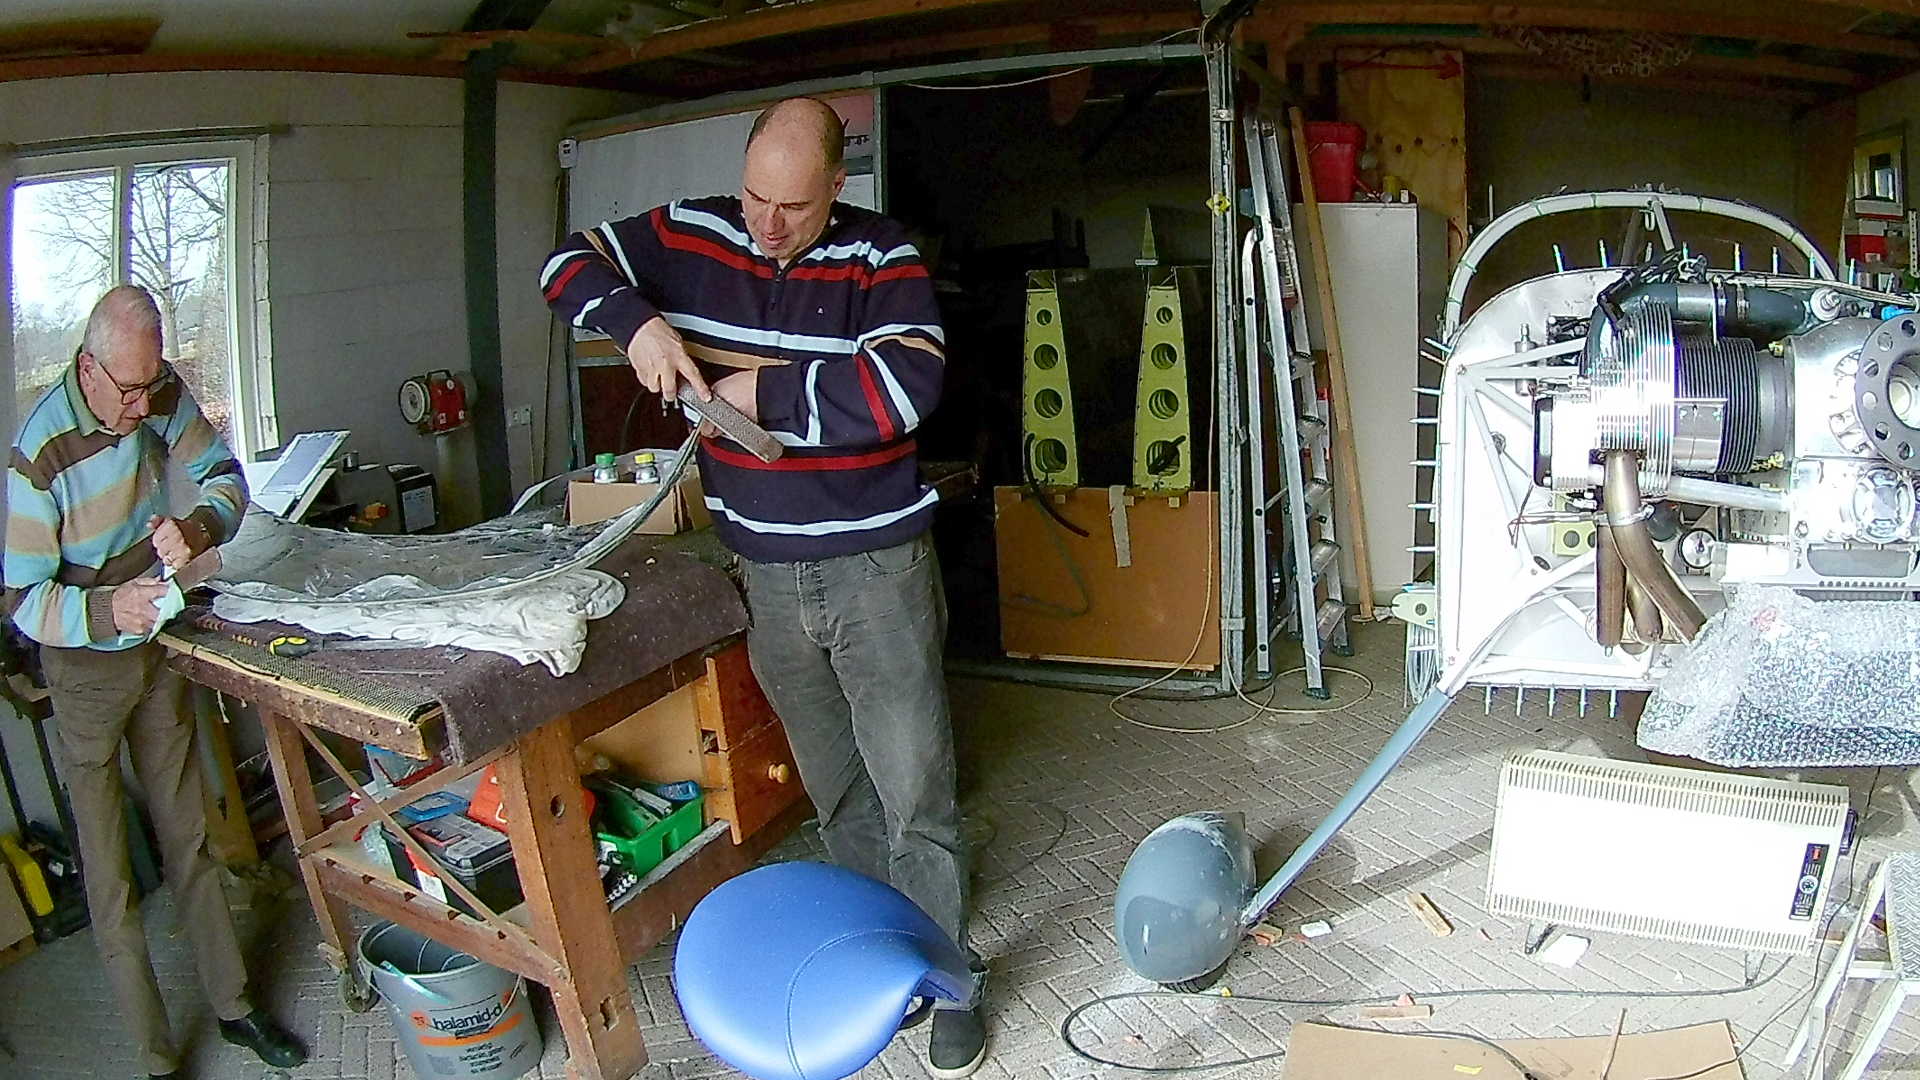
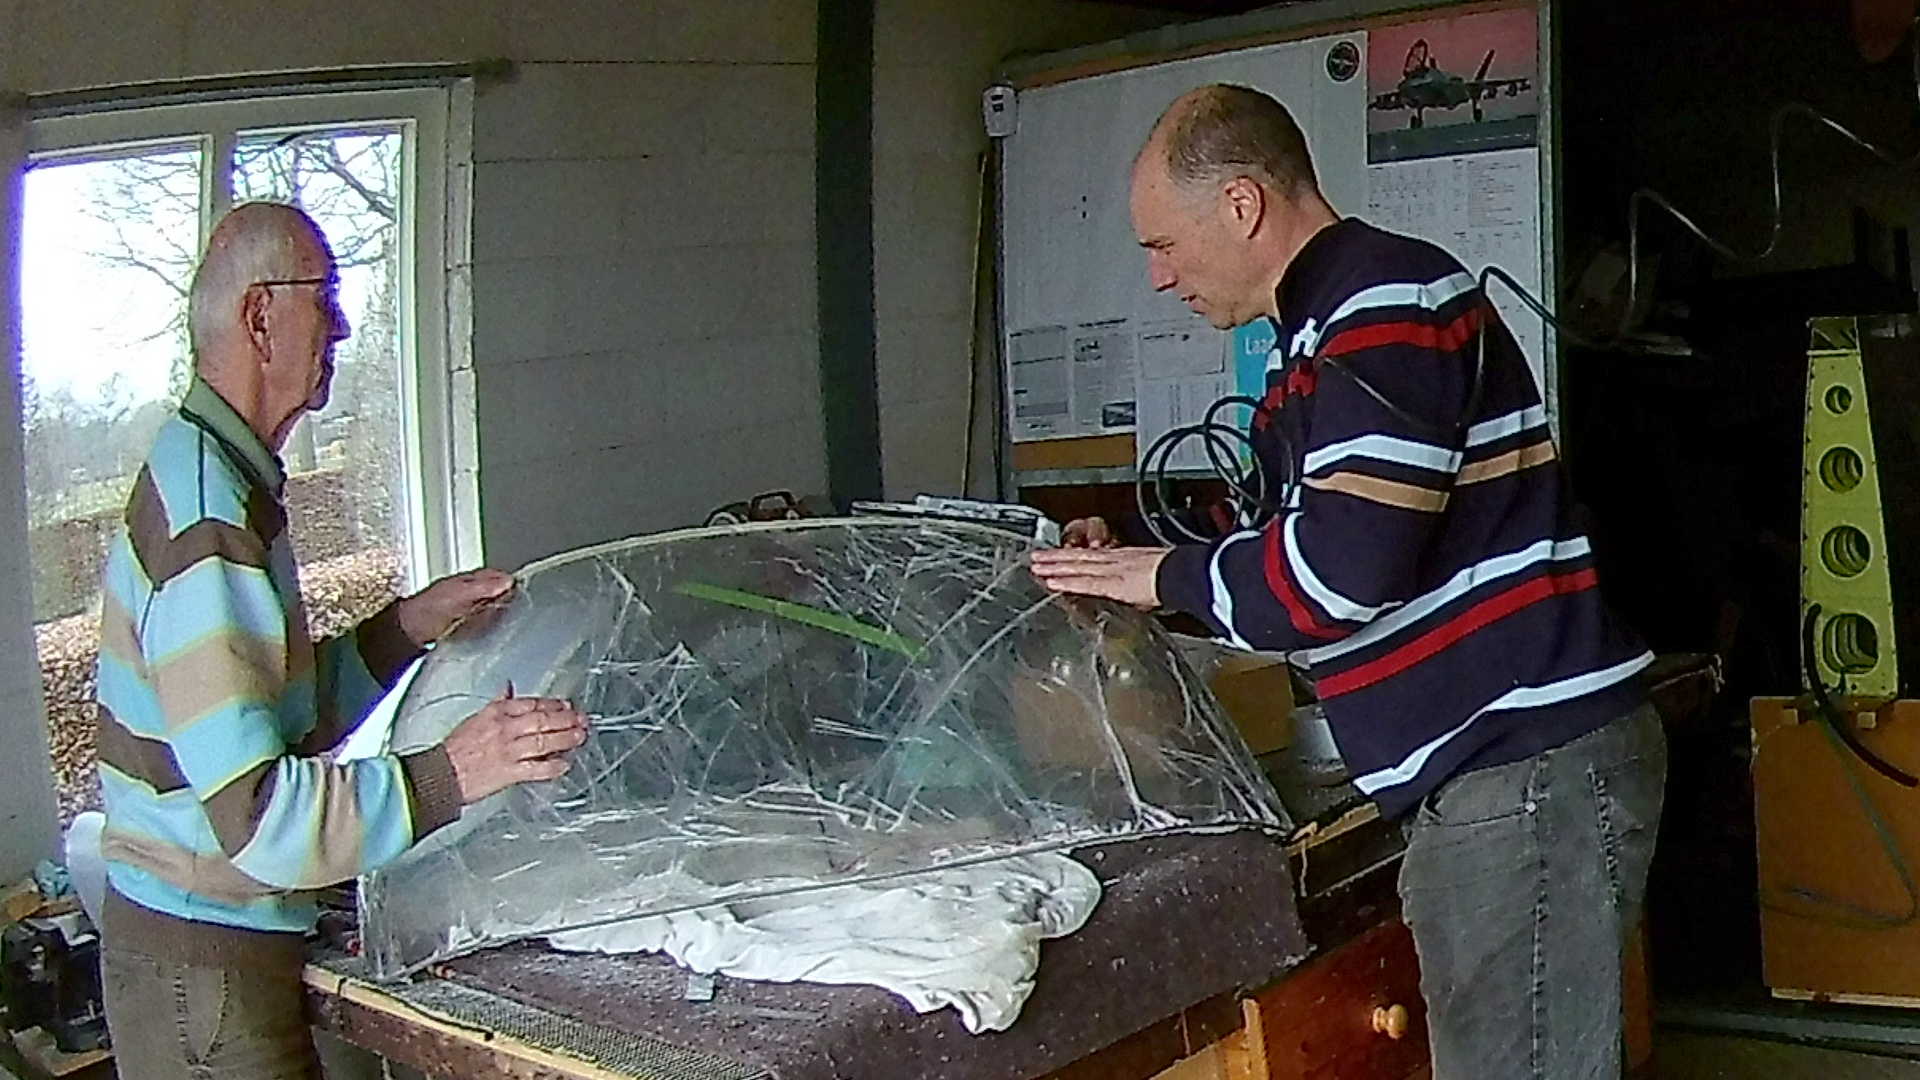
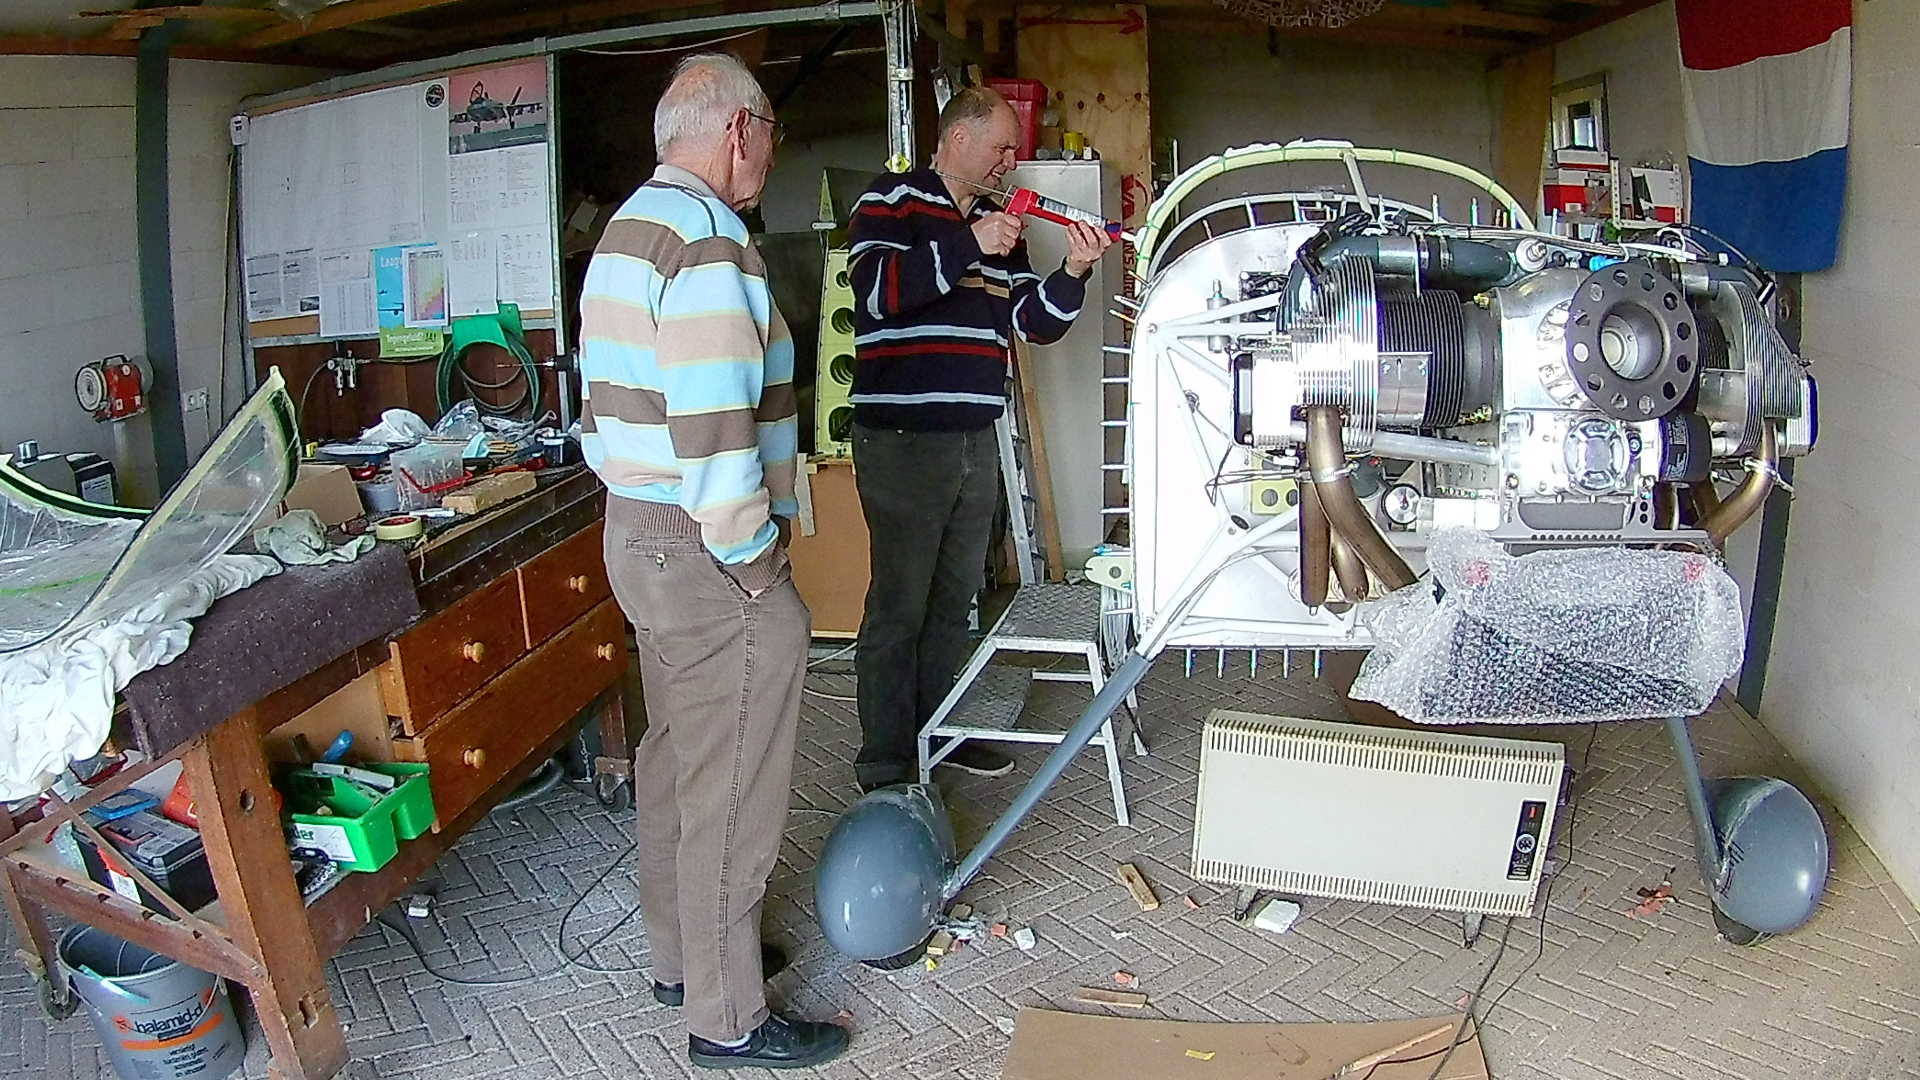
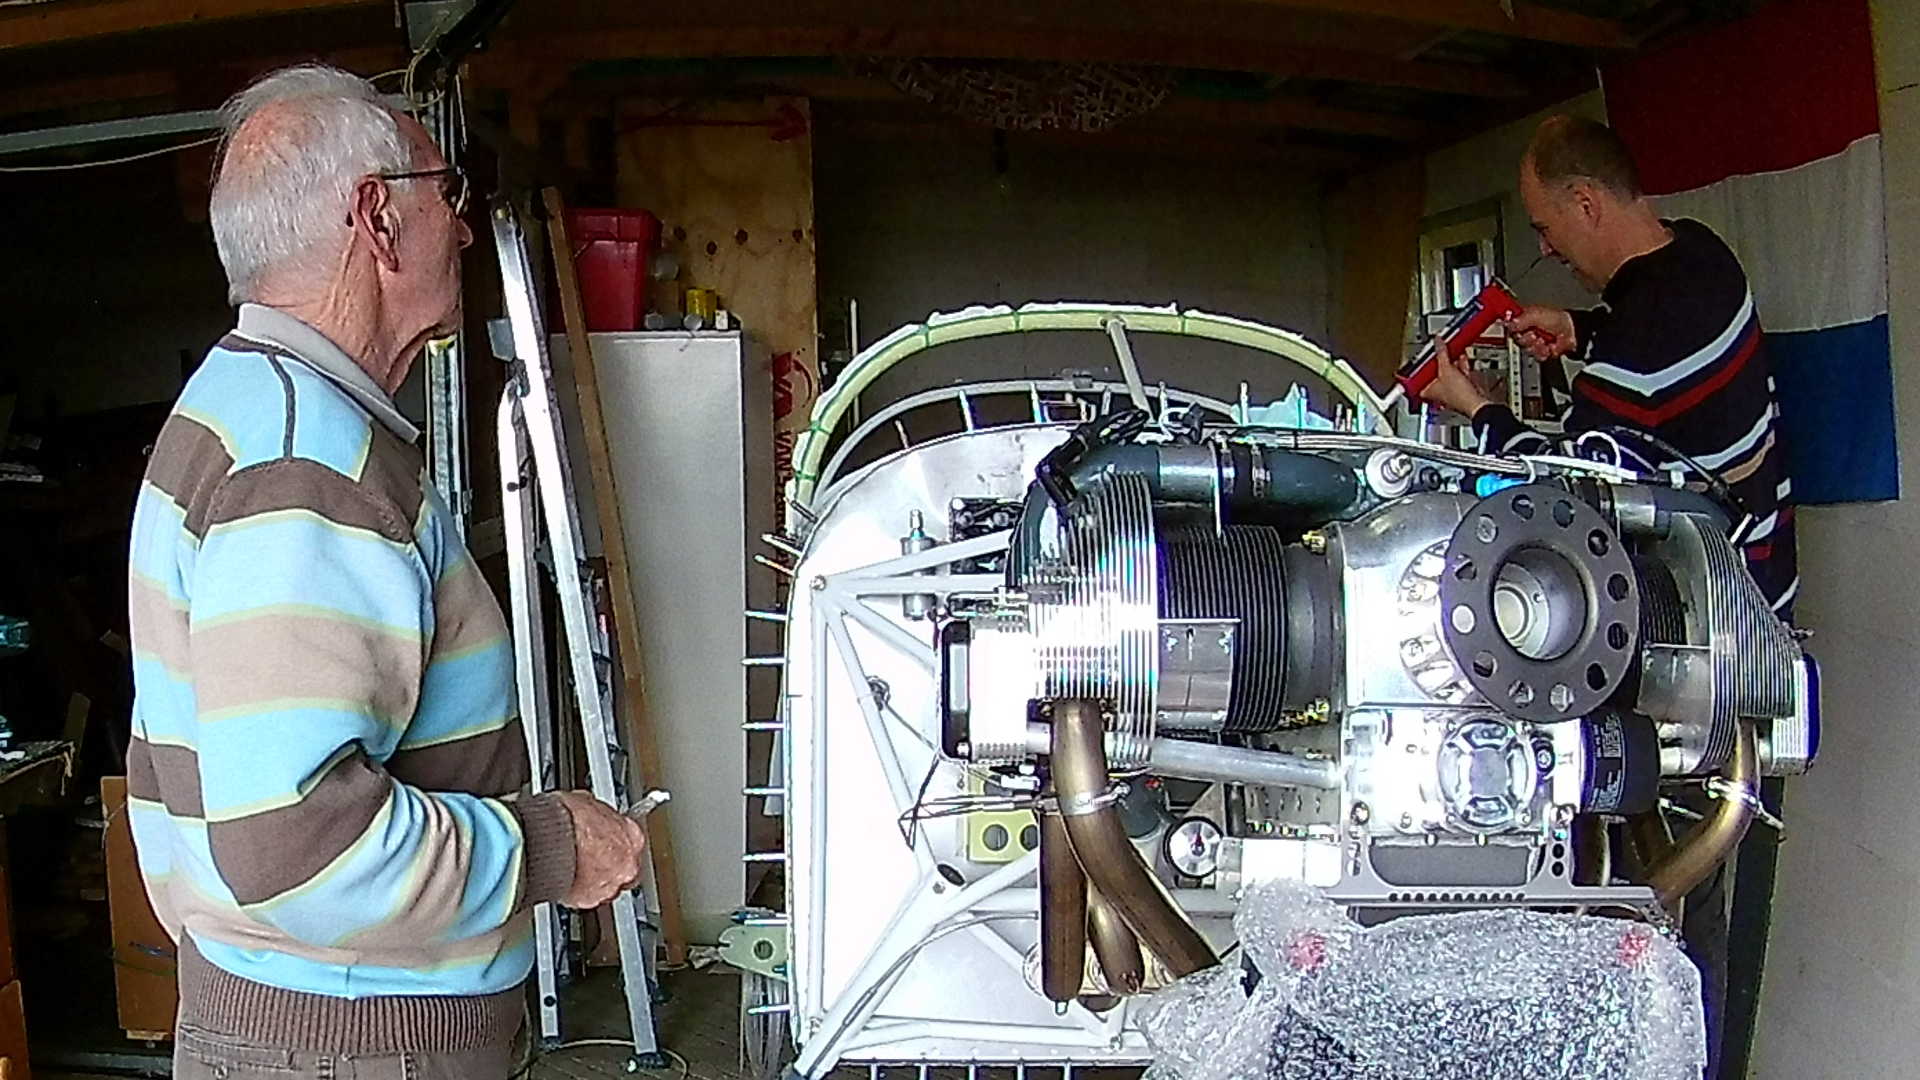
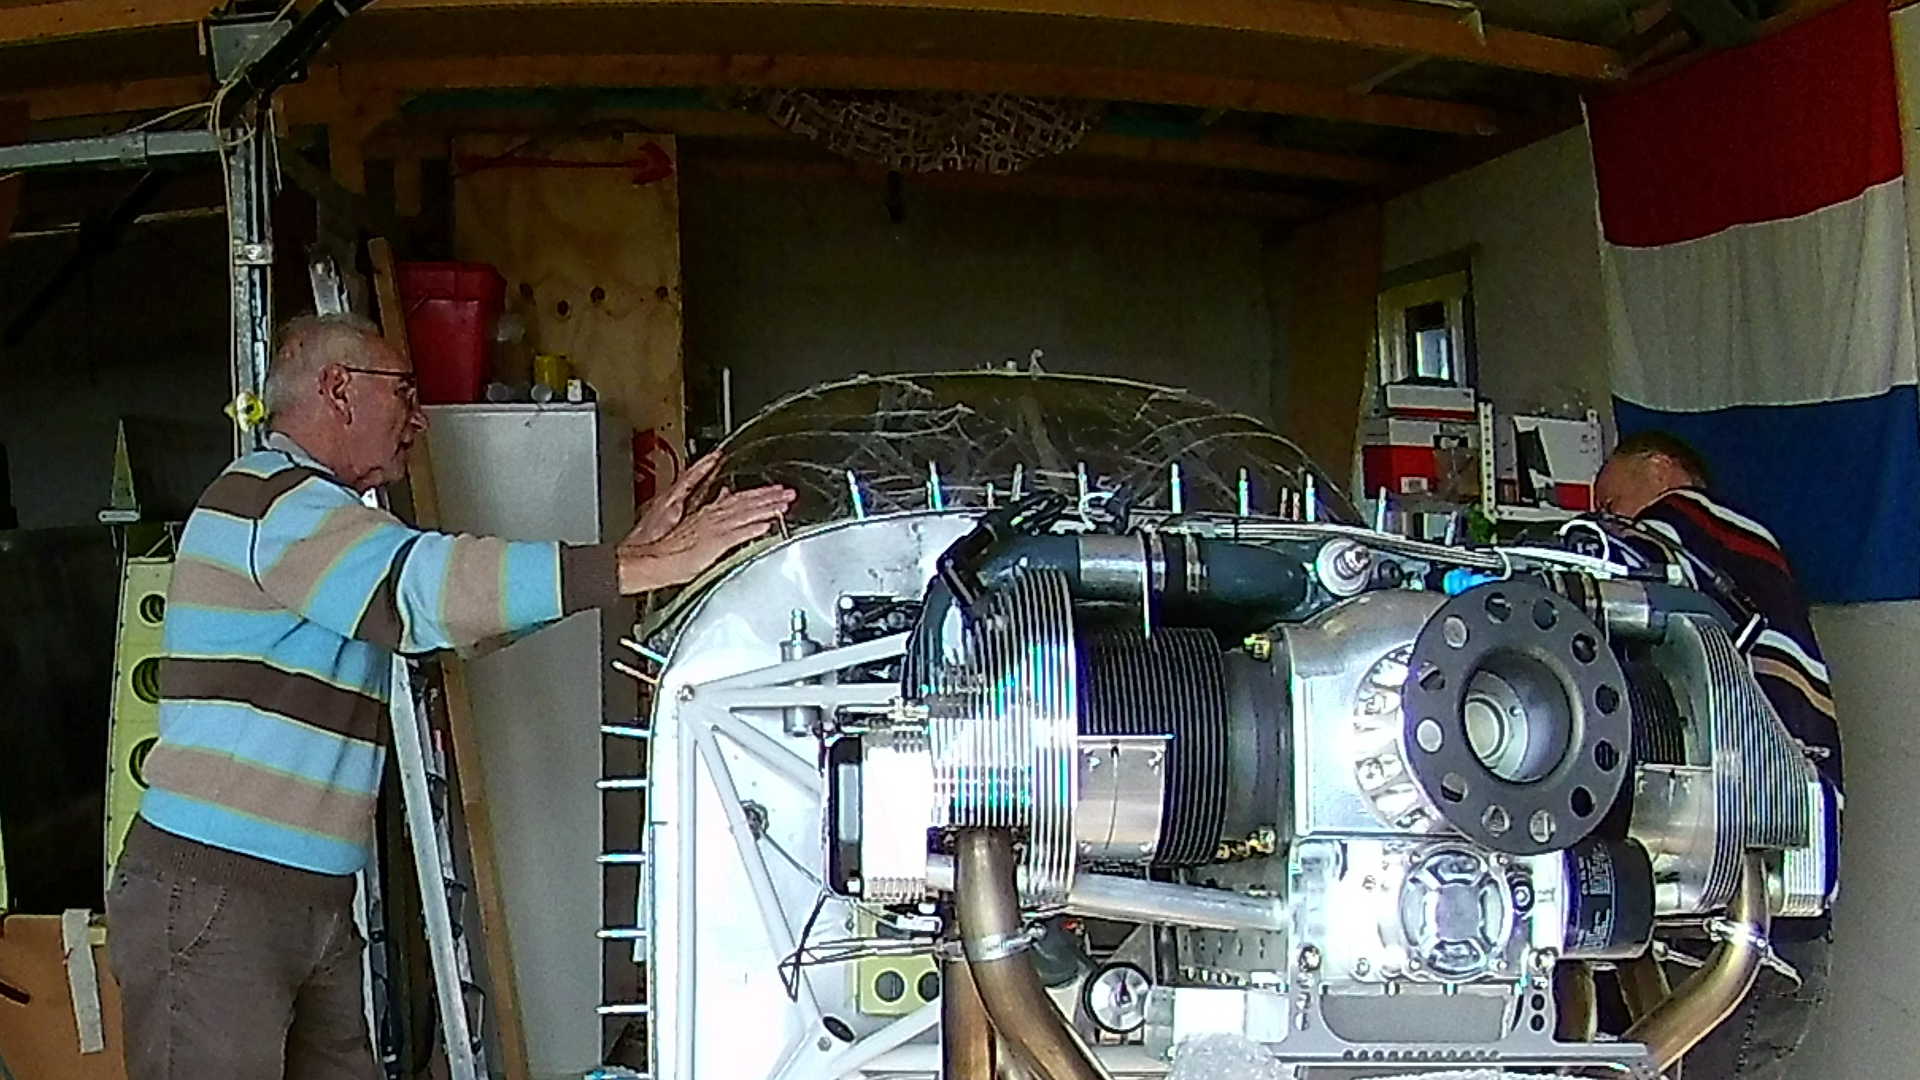
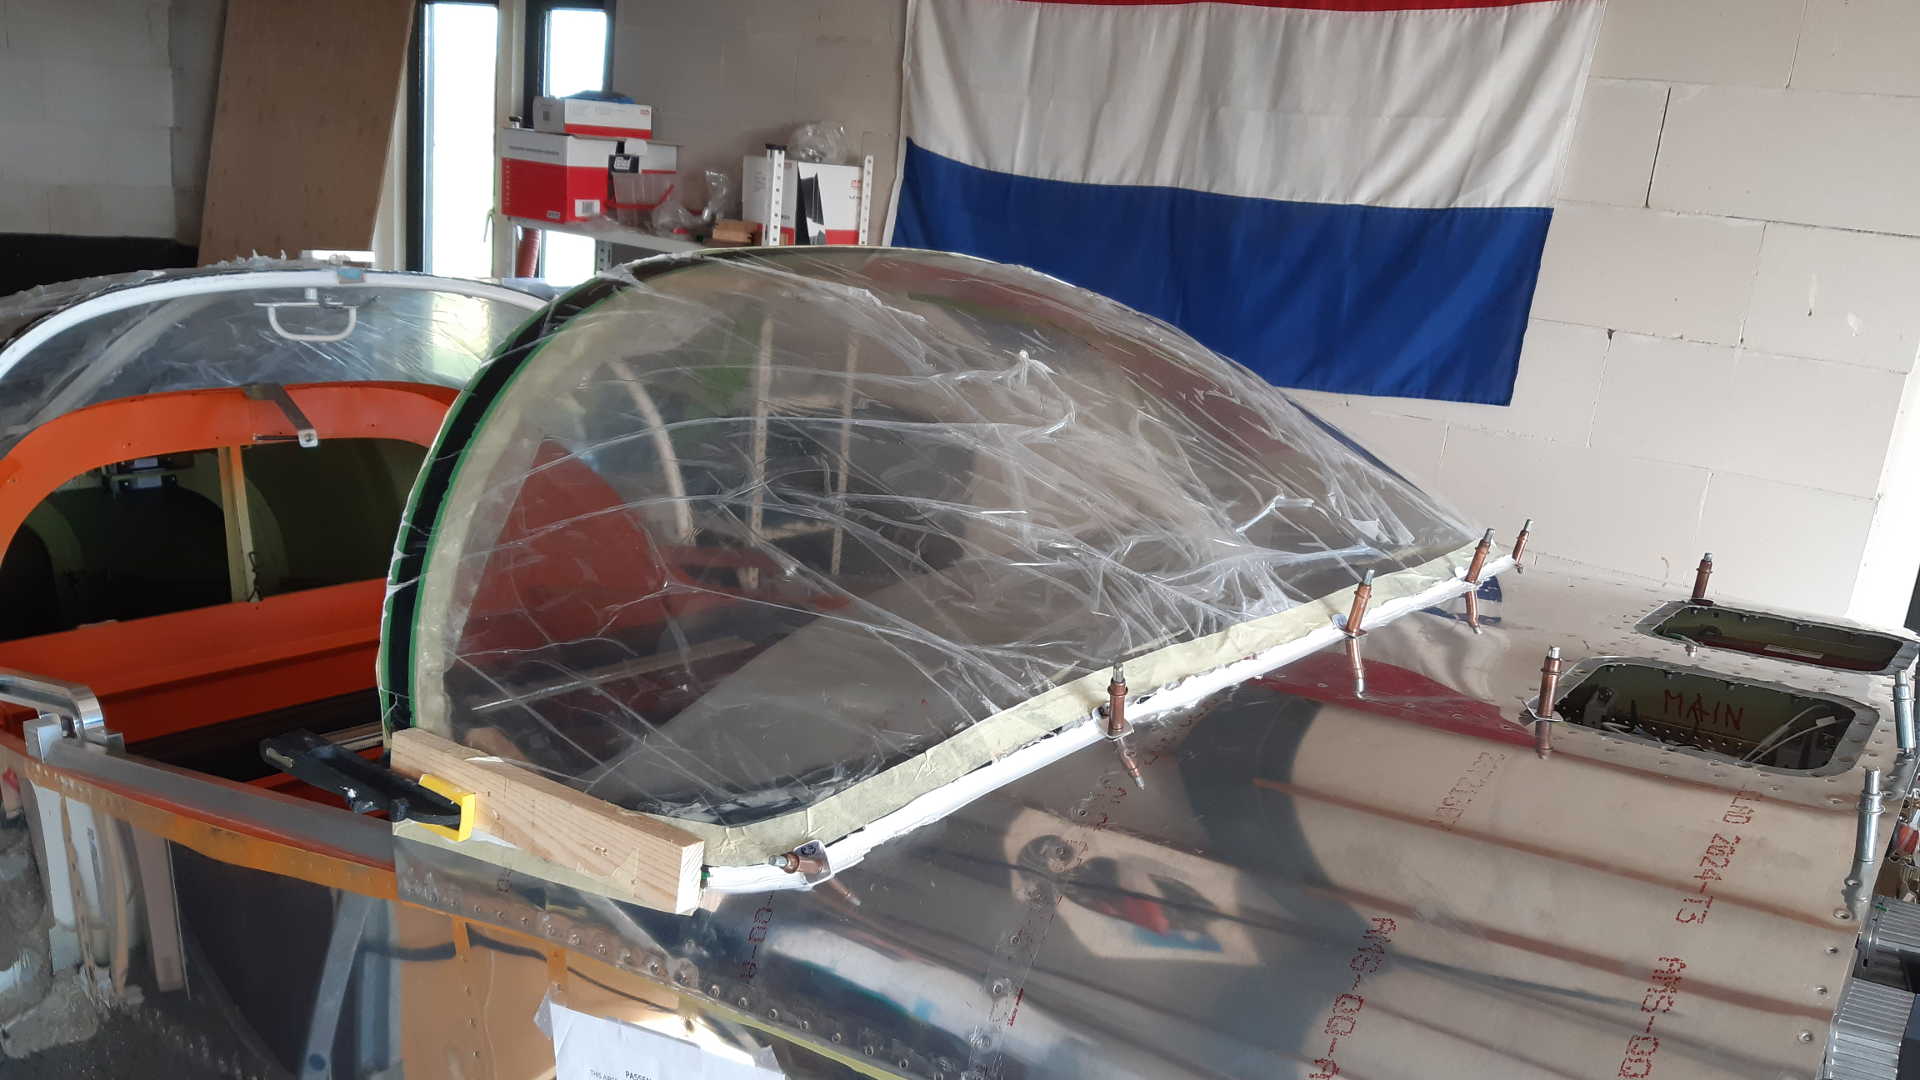
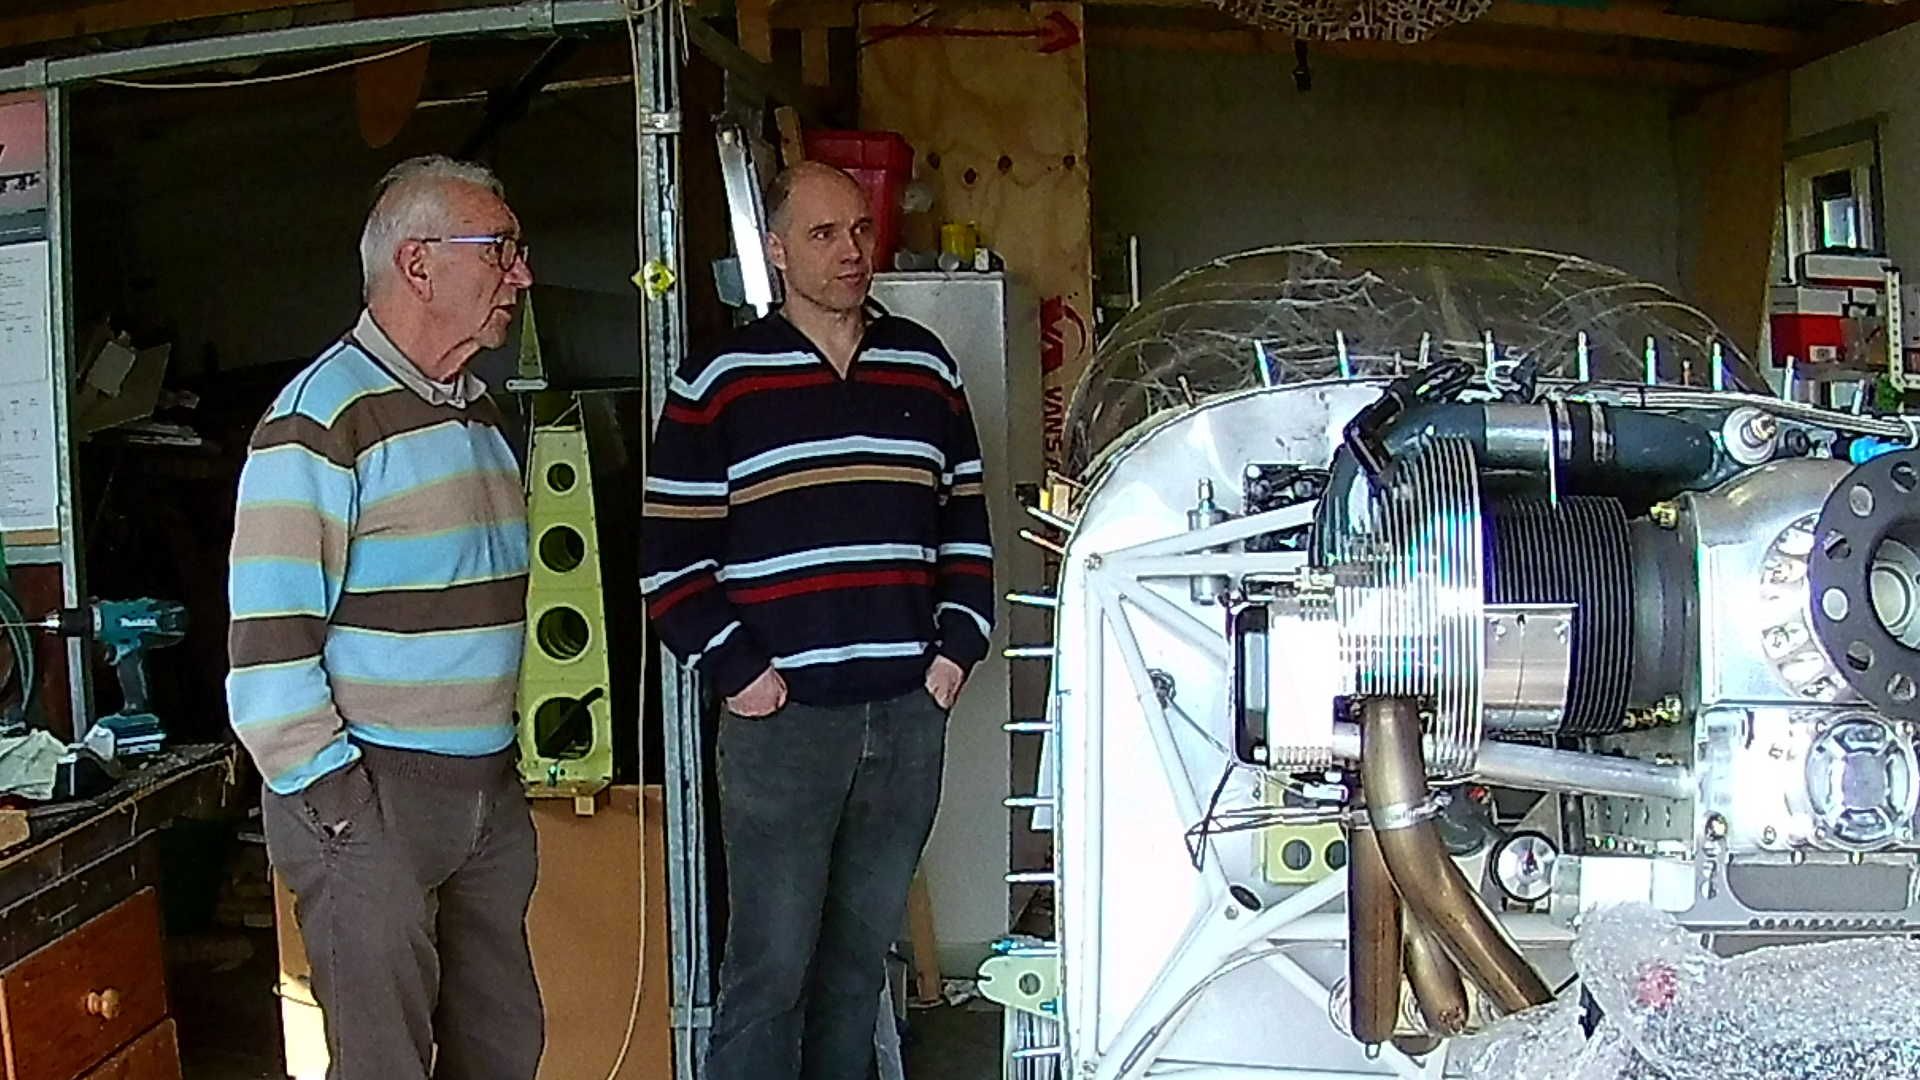
We had to wait a long time to finish all the plexi-glass parts, because we first had to close the forward top part. The Wind Screen is bonded with the top skin and finished to make it seem a single sealed piece.
The Wind Screen is the part that is left after cutting the ‘bubble’ in two parts. The aft part is for the Canopy, while the front part is the basis for the Wind Screen.
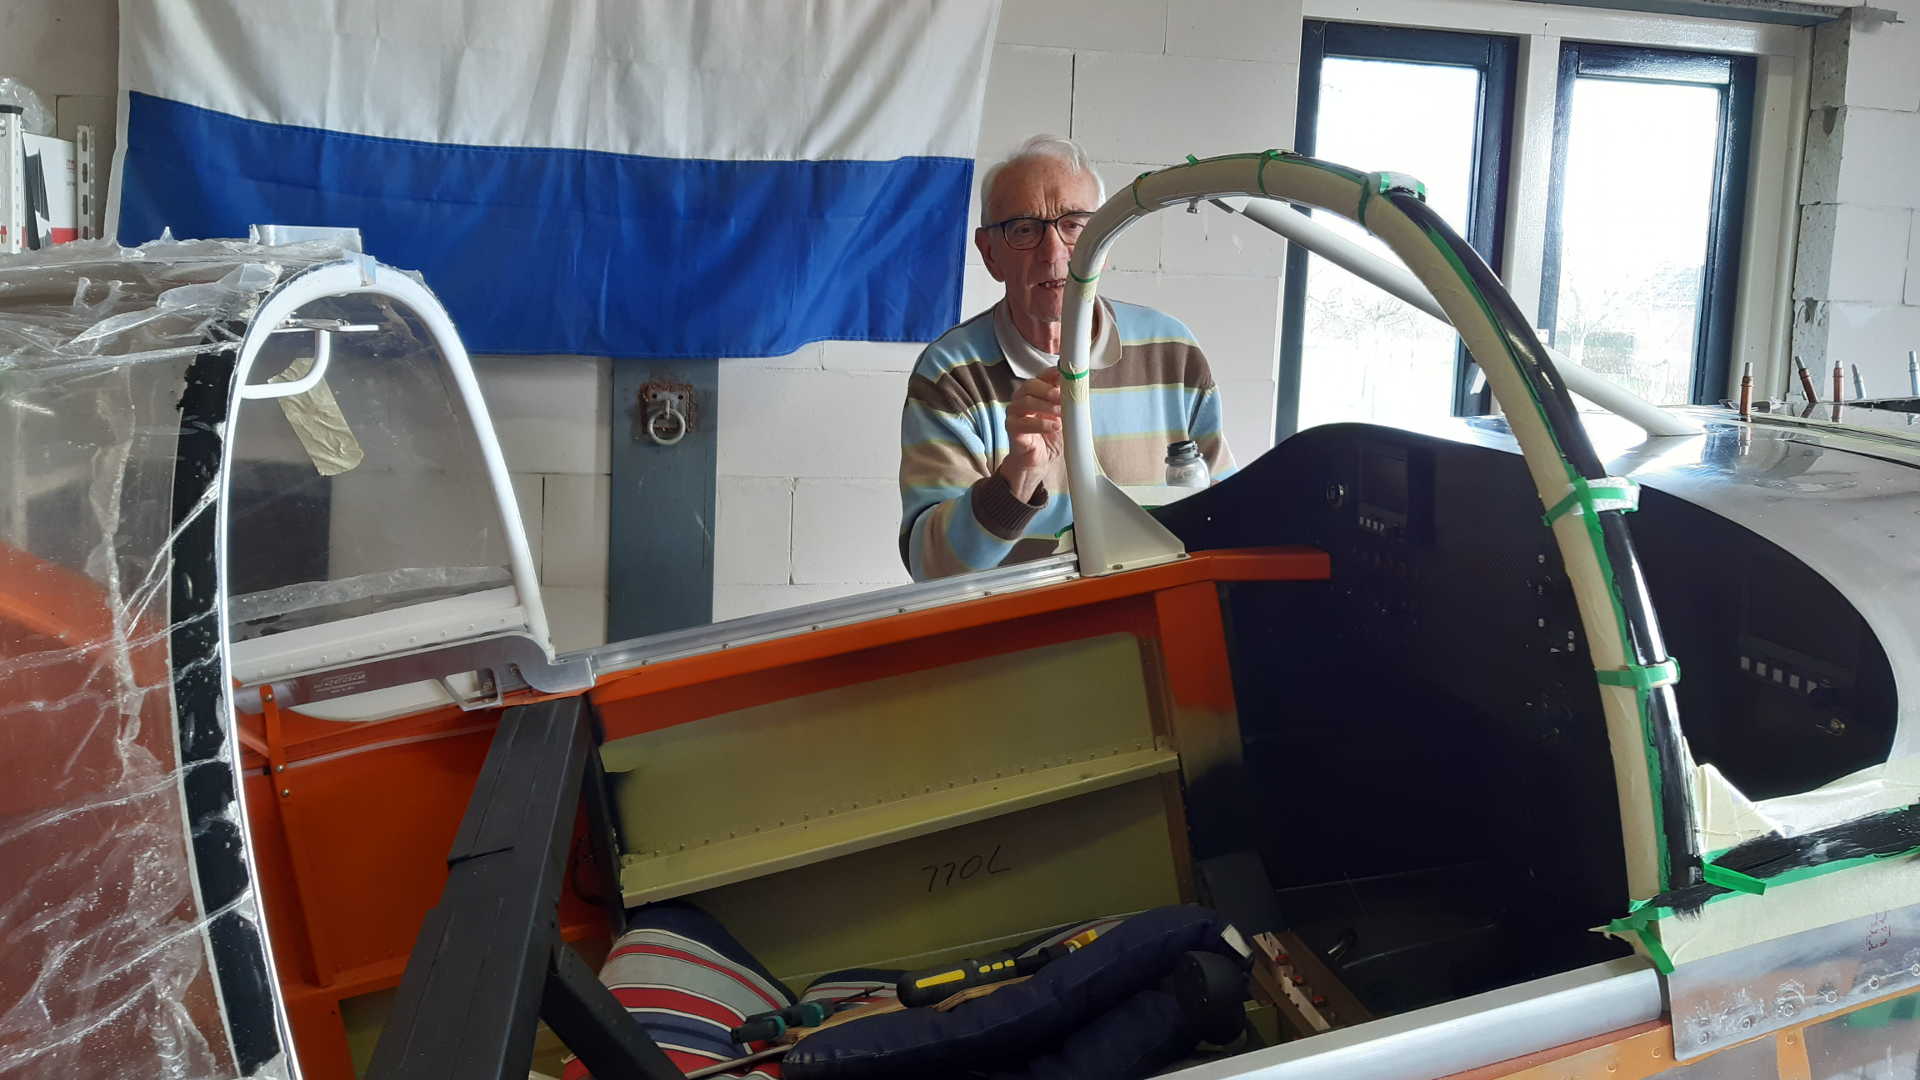
These two parts should almost touch when the Canopy closes. To make this work, some care must be taken to make it fit. I thought cutting it in two parts would make a perfect fit.
Turns out you still need to make small adjustments. This probably is due to the fact that the Canopy and Wind Screen bases are not level. Maybe you can do that with trimming the Wind Screen on the forward bottom side.
But I found this hard and giving an unpredictable result, so I decided to trim the top aft side (the part that connects to the canopy).
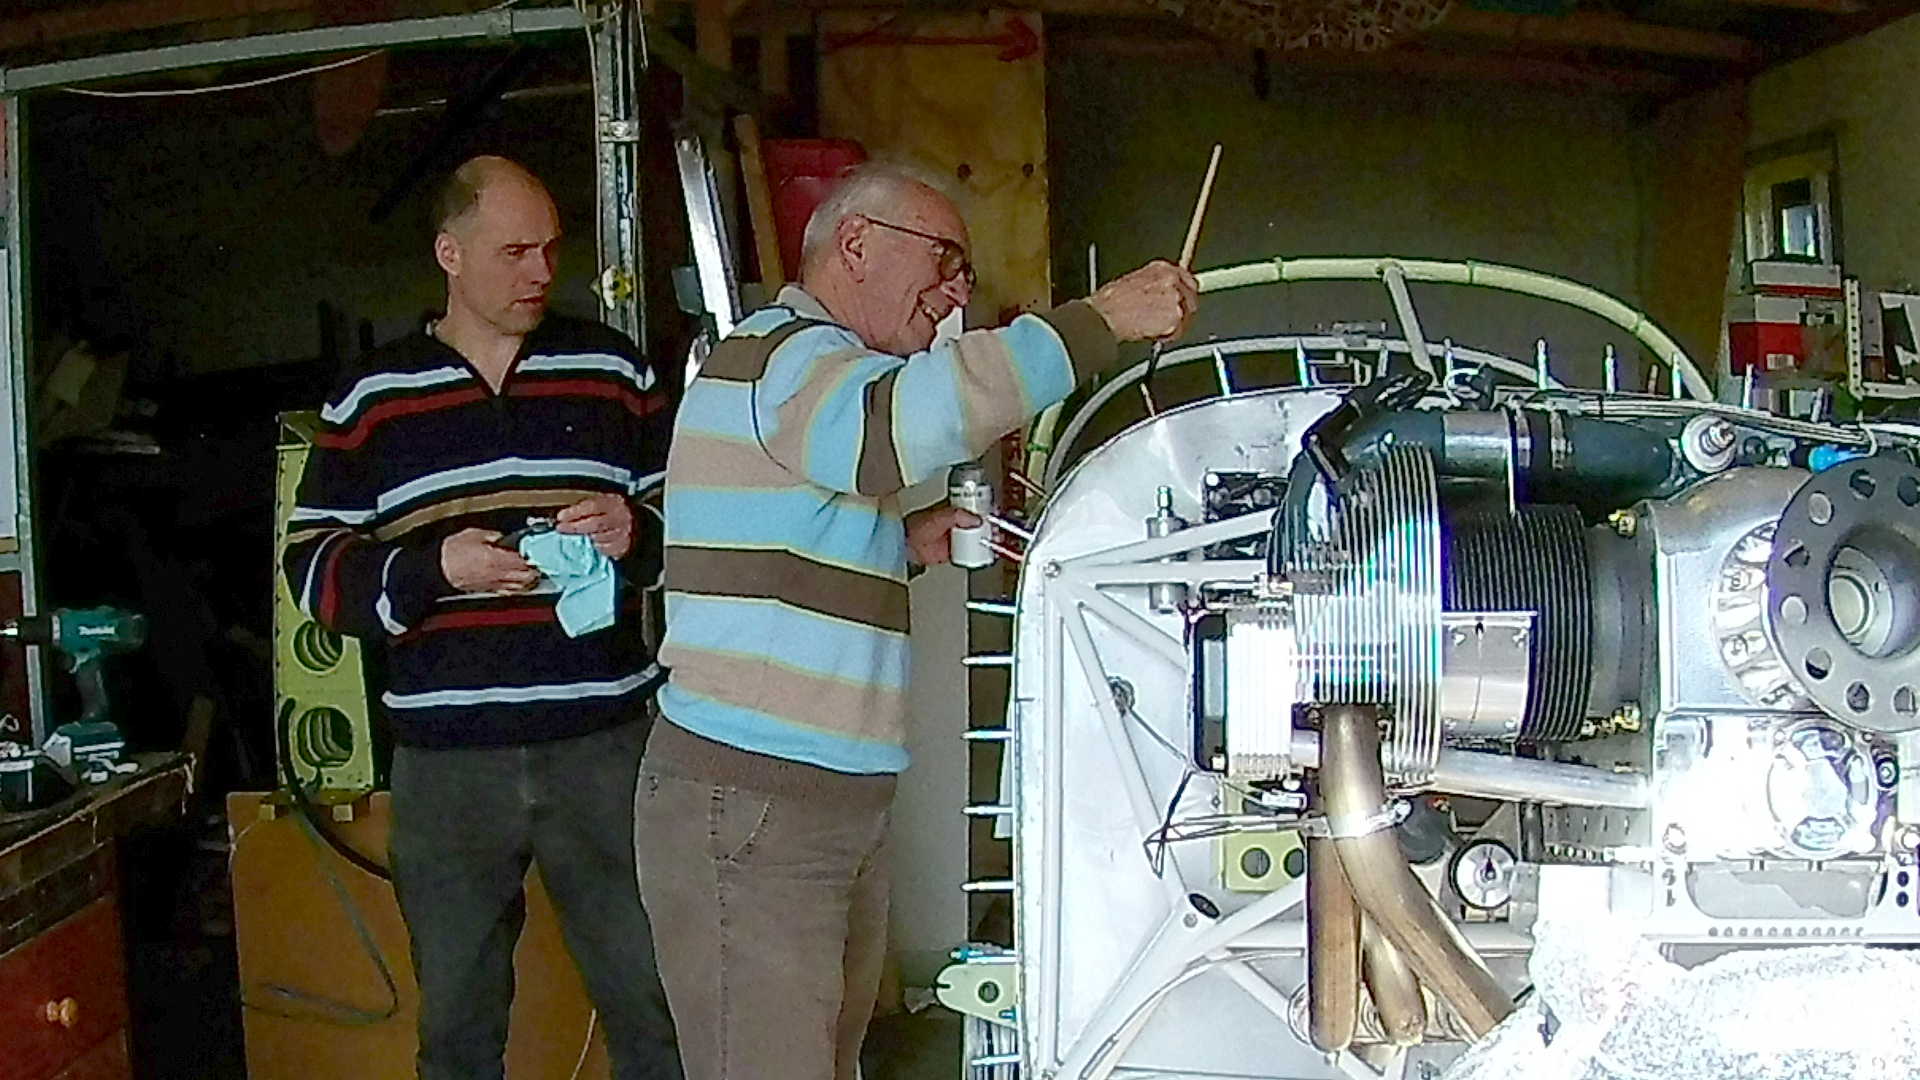
To clean the edges I tried the air grinder and although it works, it usese way too much air (or my compressor tank is too small). Almost all tools that have an air pressure motor are unfit for my compressor. The squeezer and rivet gun are fine, but the grinder, drill and also the paint gun use a lot of air.
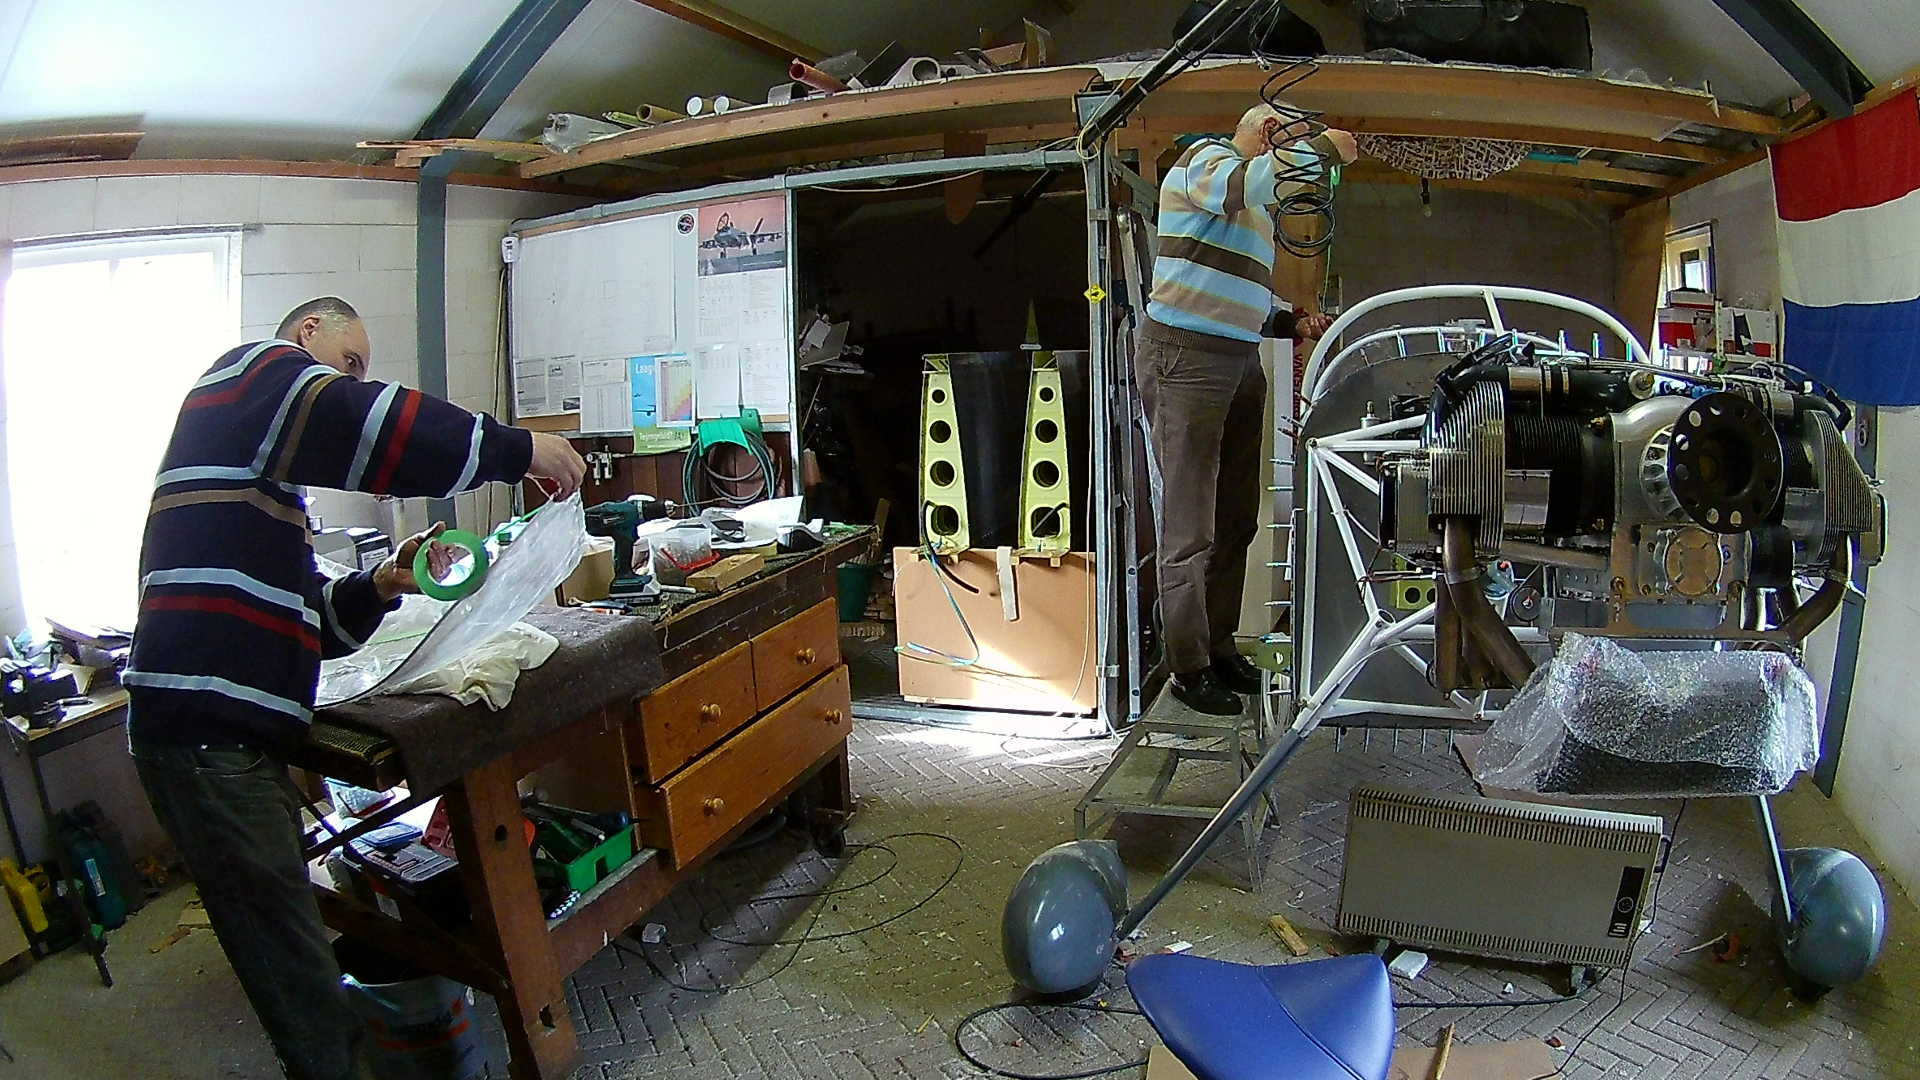
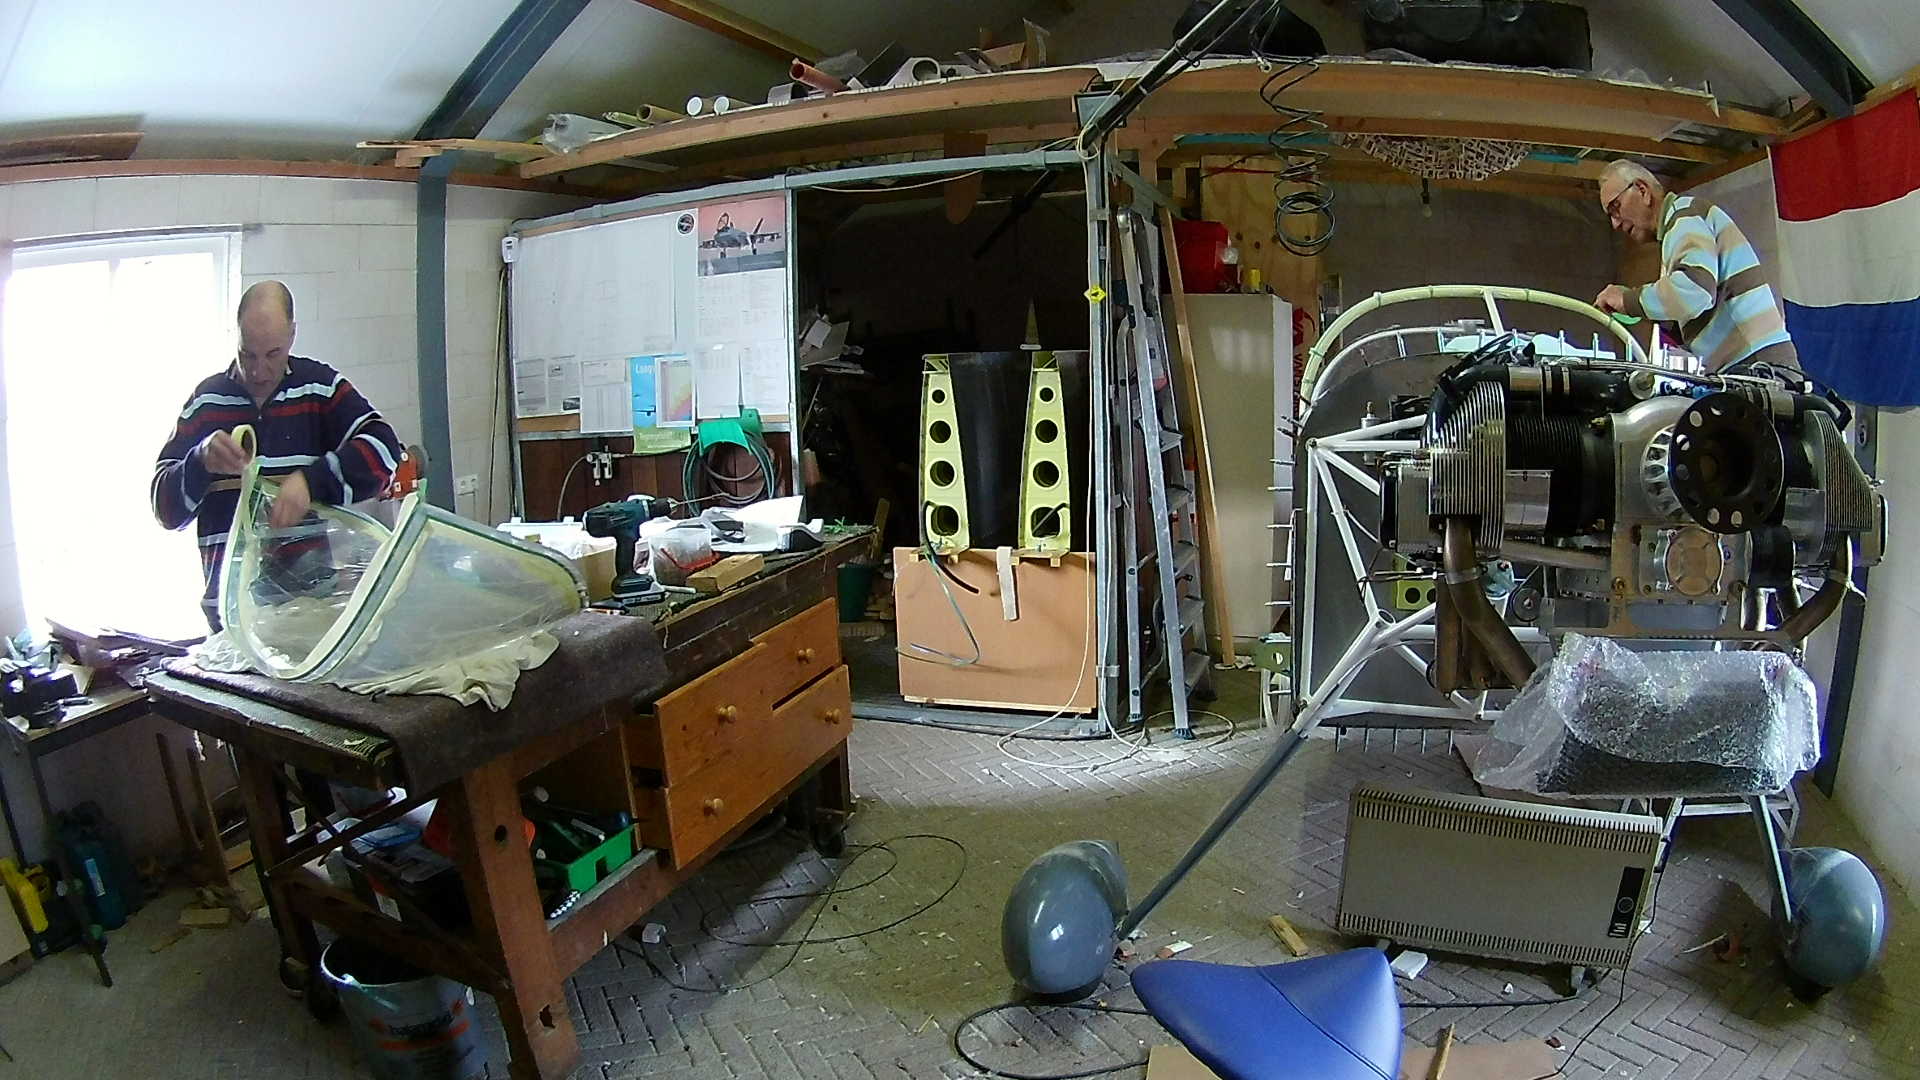
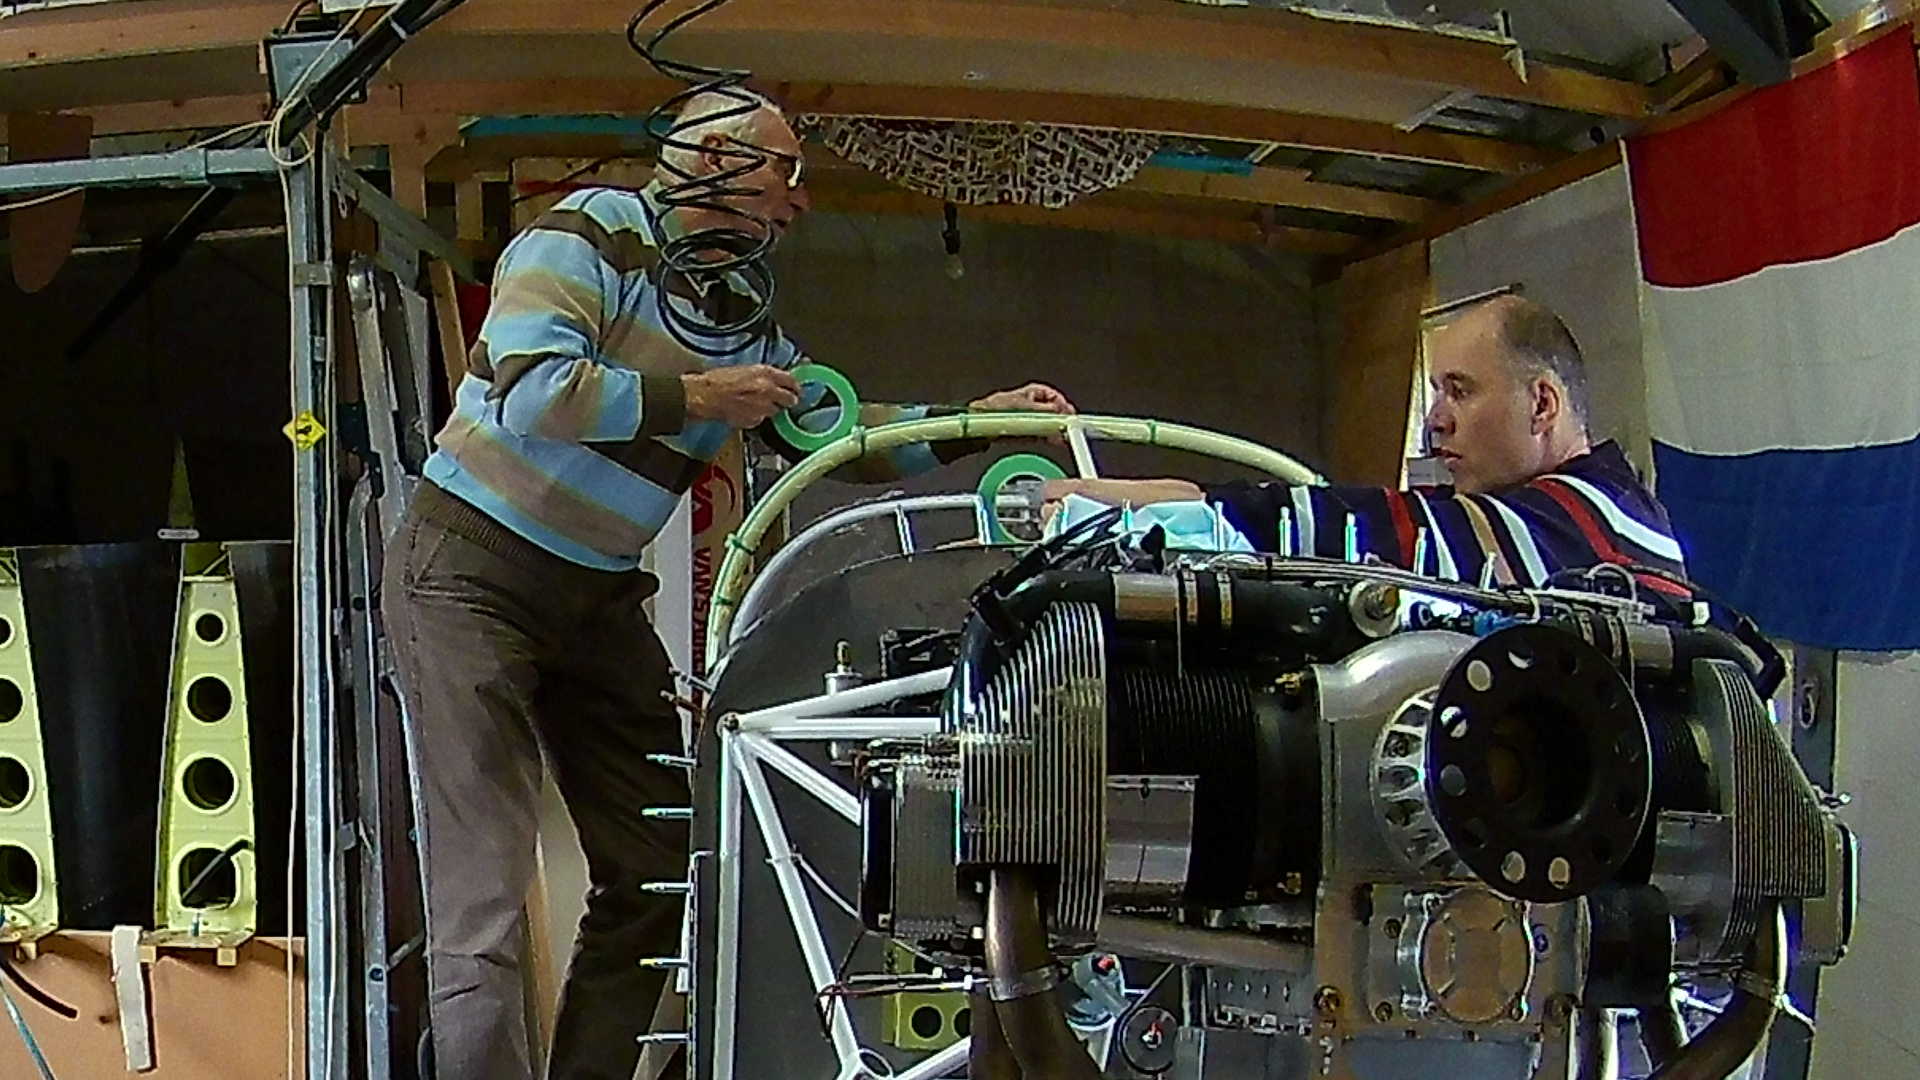
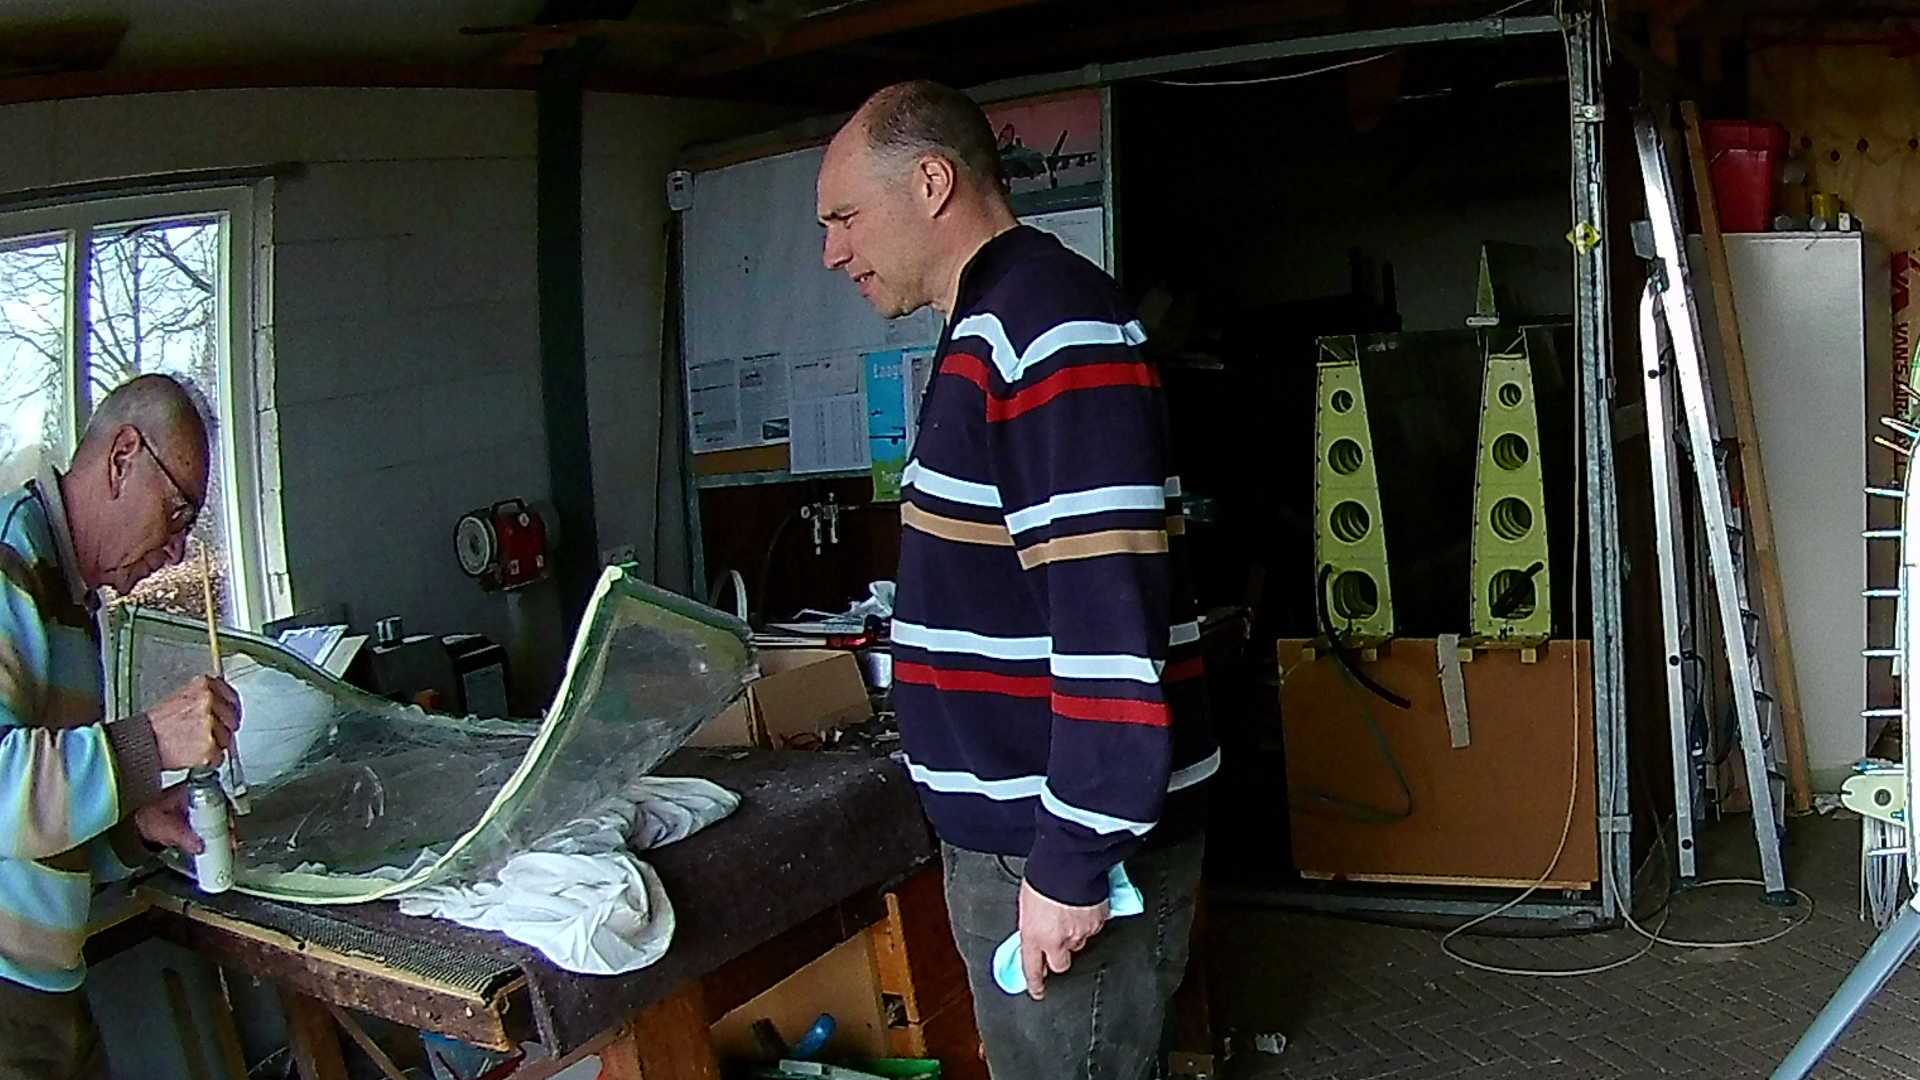
Just as with the Canopy, I’m going to use SikaFlex to bond the Wind Screen to the Fuselage and Cockpit bar. To prevent the nasty SikaFlex primer to touch anything else than the parts that should bond, we tape the metal and the Plexi-Glass.
First we apply one layer of fine tape to make the edges sharp. Than we use painters tape to protect the rest of the part. We use a second layer of fine tape, that will be removed after applying the primer.
The function is that if you slightly touch the tape with primer it will stick to the SikaFlex kit and makes it hard to remove later.
With all the parts prepared we can now start with the three SikaFlex components. The first part is the Aktivator 205, which is Isopropanol and it really ‘bites’ into the plexi-glass. So We have to be careful not to touch any unprotected Wind Screen surface.
After a few minutes we can start applying the Primer 207, which is very fluid, but dries really fast and it ‘eats’ your brushes.
You have 20 – 30 minutes after applying the primer before using the final SikaFlex 295 UV, kit.
As soon as the primer is a little dry, we remove the second layer of tape, This reveals the first layer of tape that is no clean and won’t stick to the kit.
I apply the kit in a (reverse) V shape. On several points on the bar we have spacers to compensate for different expansion behaviors of the bar and wind screen.
We decided to apply the kit on the bar and top skin instead of the wind screen. You can probably also do it the other way around, but we thought this to be easier.
So now we can place the wind screen on the SikaFlex. We have marked the wind screen and top skin, to enable lining it up correctly.
If all the preparations are done correctly it will fit. During preparations we had to bent the corners of the Wind Screen a little to make it fit better. This is done by heating them up with a heat gun (BE CAREFUL).
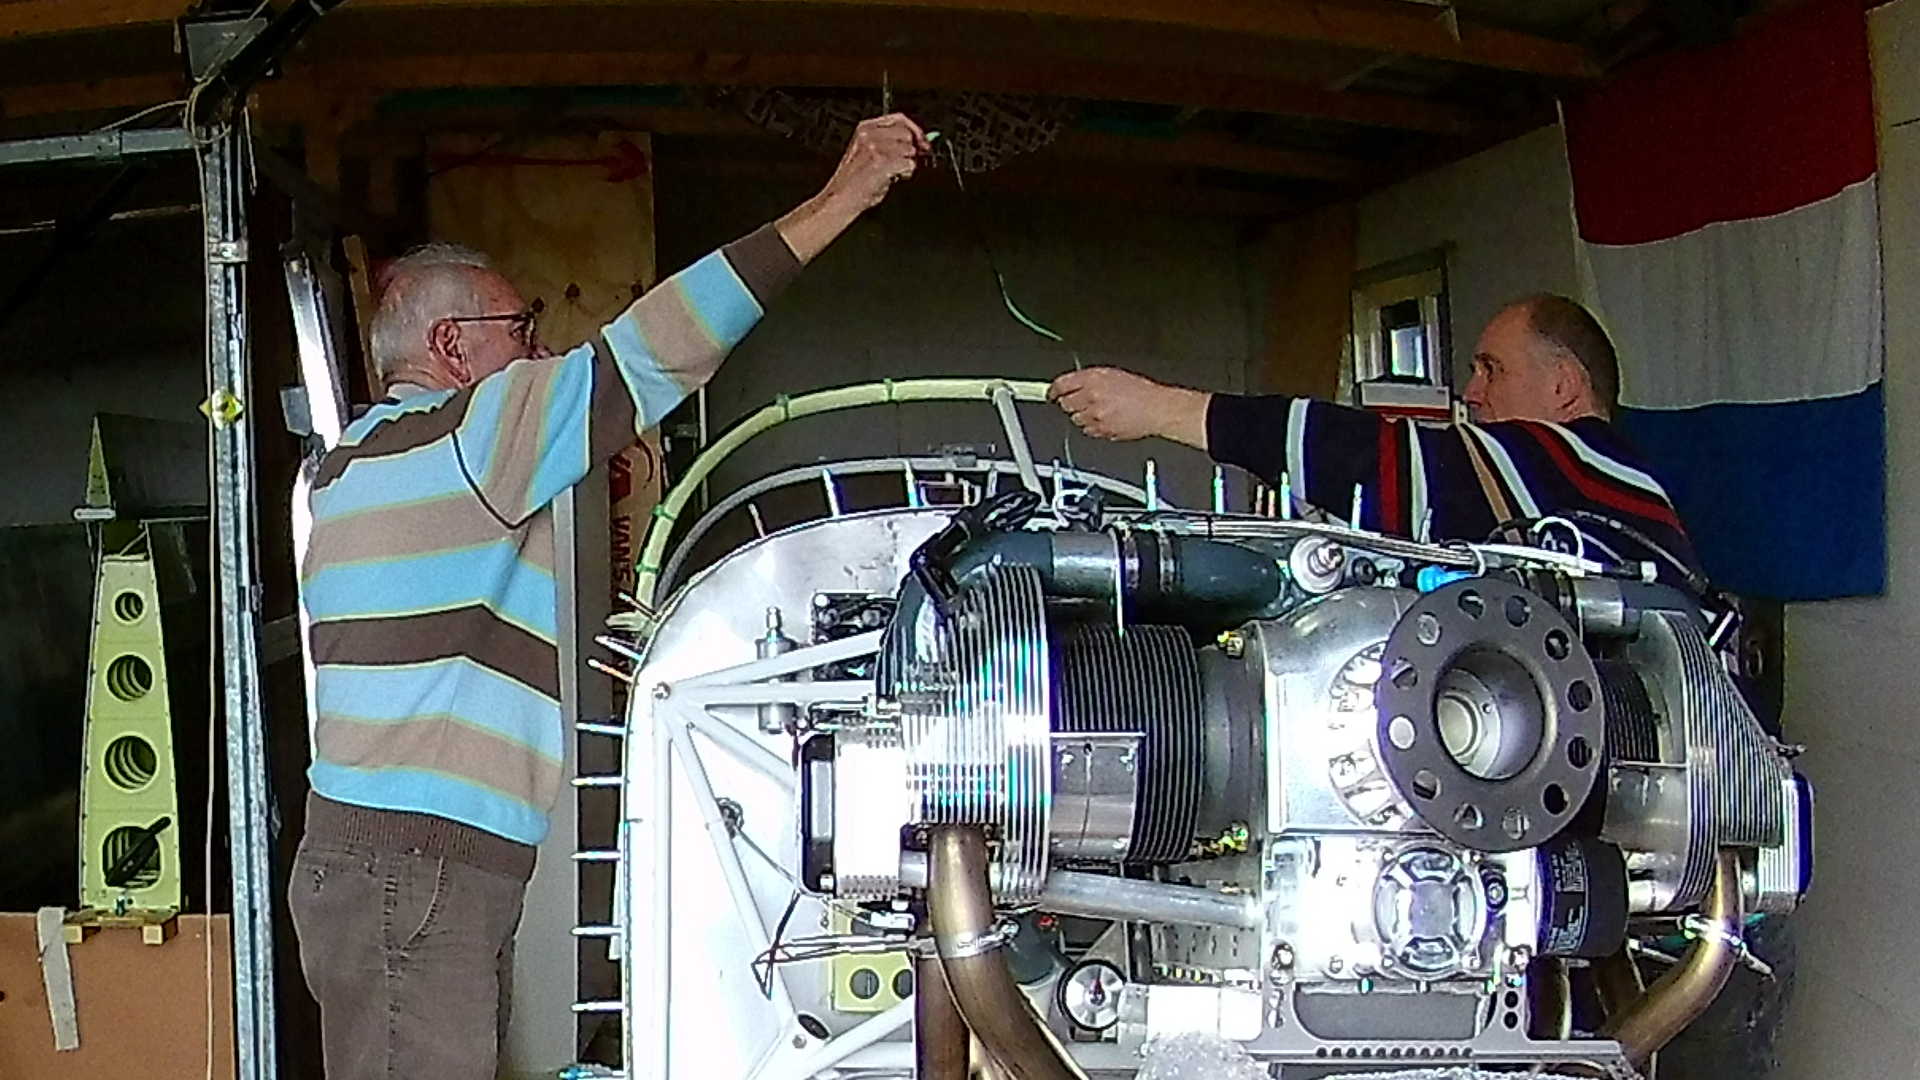
Use some clamps to make the corners stick in place. According to the plans of Van’s, we have created several small brackets to ‘clamp’ the Wind Screen to the skin.
Nice and now we have to wait a few days until the SikaFlex has fully cured.
Time: 6 Hours, Rivets: 0/0 (2021-02-24)
Time: 7 Hours, Rivets: 40/0 (2021-02-28)
Time: 6 Hours, Rivets: 0/0 (2021-03-03)
