
Before I started with cleaning and priming, I had to celebrate a small victory. Setting the first Rivet of the RV-7. In this case it was the hinge bracket of the horizontal stabilizer.
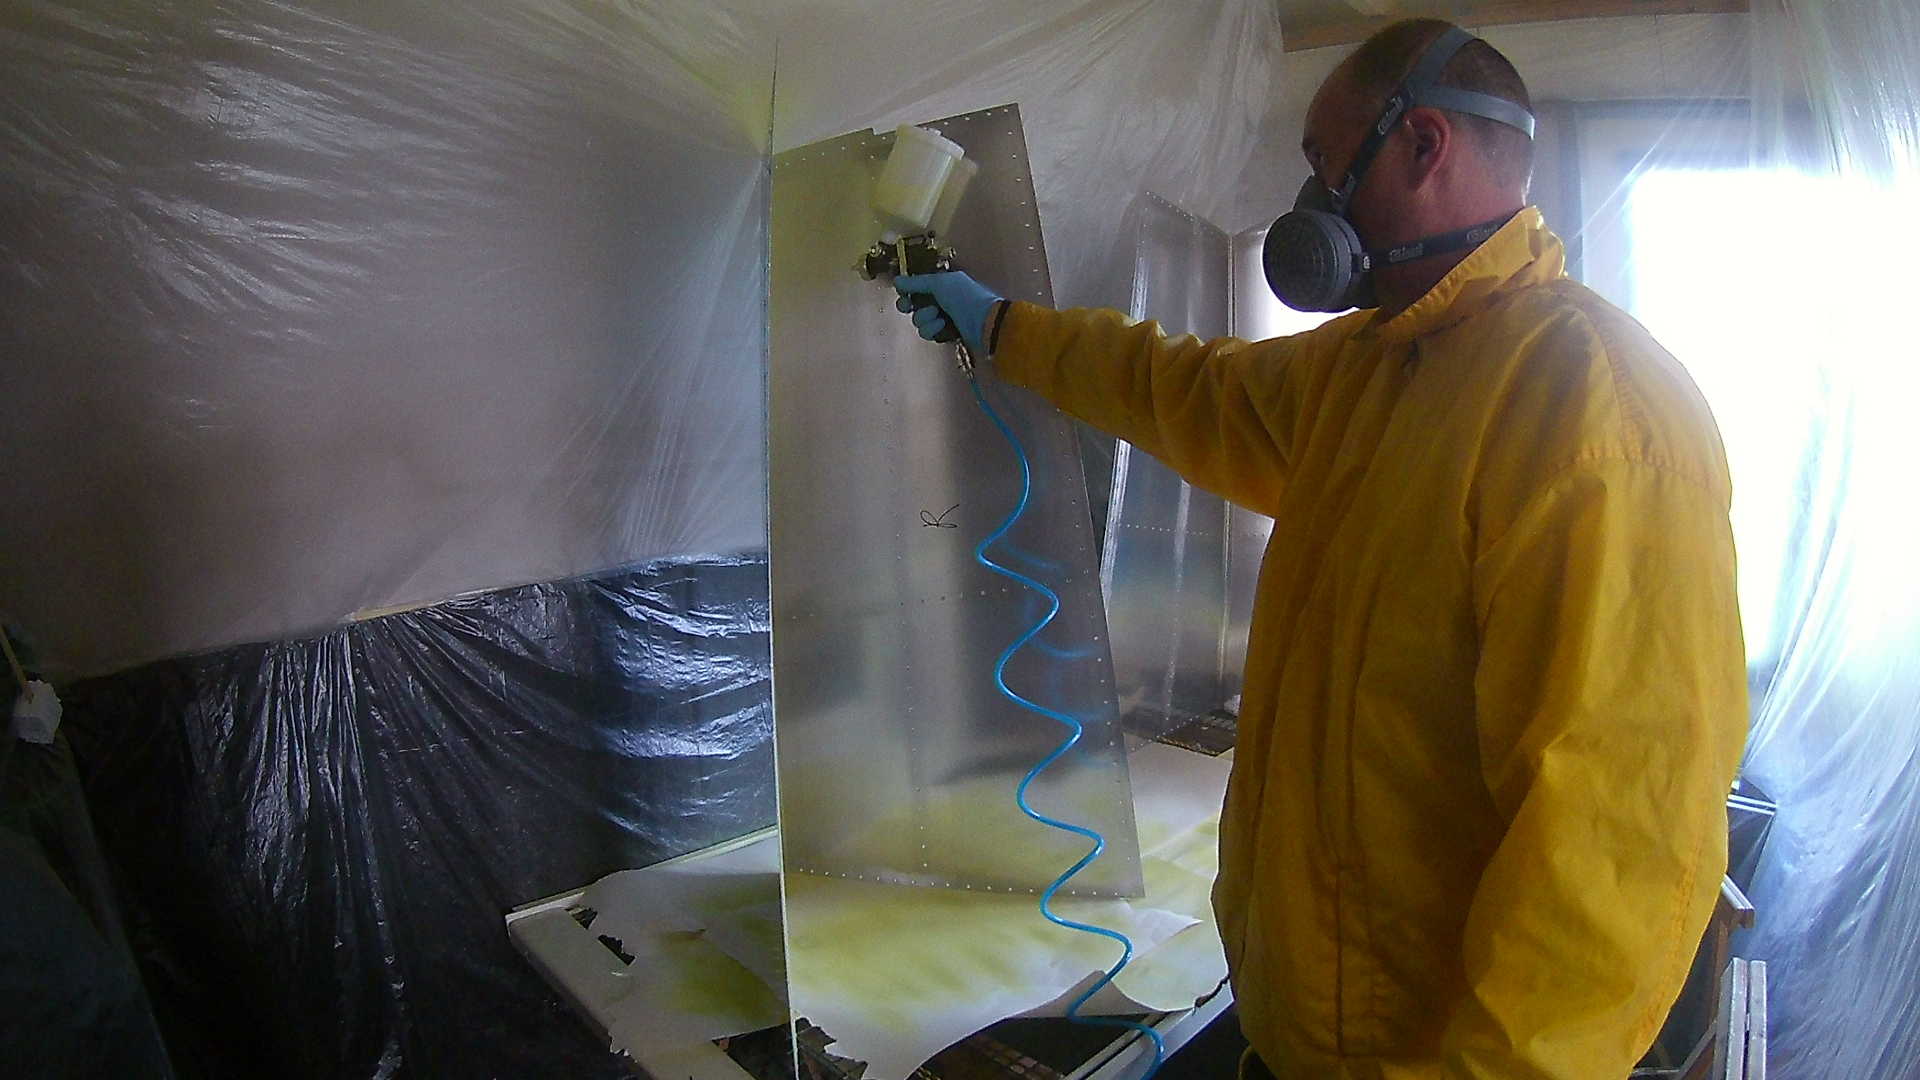
Not very sharp photo, but at the top you can clearly distinguish the first shop-head. After setting all six rivets (and drilling 1 out and reset) I could start with cleaning (degreasing) all the parts of the horizontal stabilizer. I tried making a video of the priming process, but the results were disappointing. Also my (old) spray paint gun broke down, so I had to buy a new one (disappointment again). However the new gun works perfect.
The results are ok, but I can improve on priming, It’s hard to cover large area’s (skins) equally.
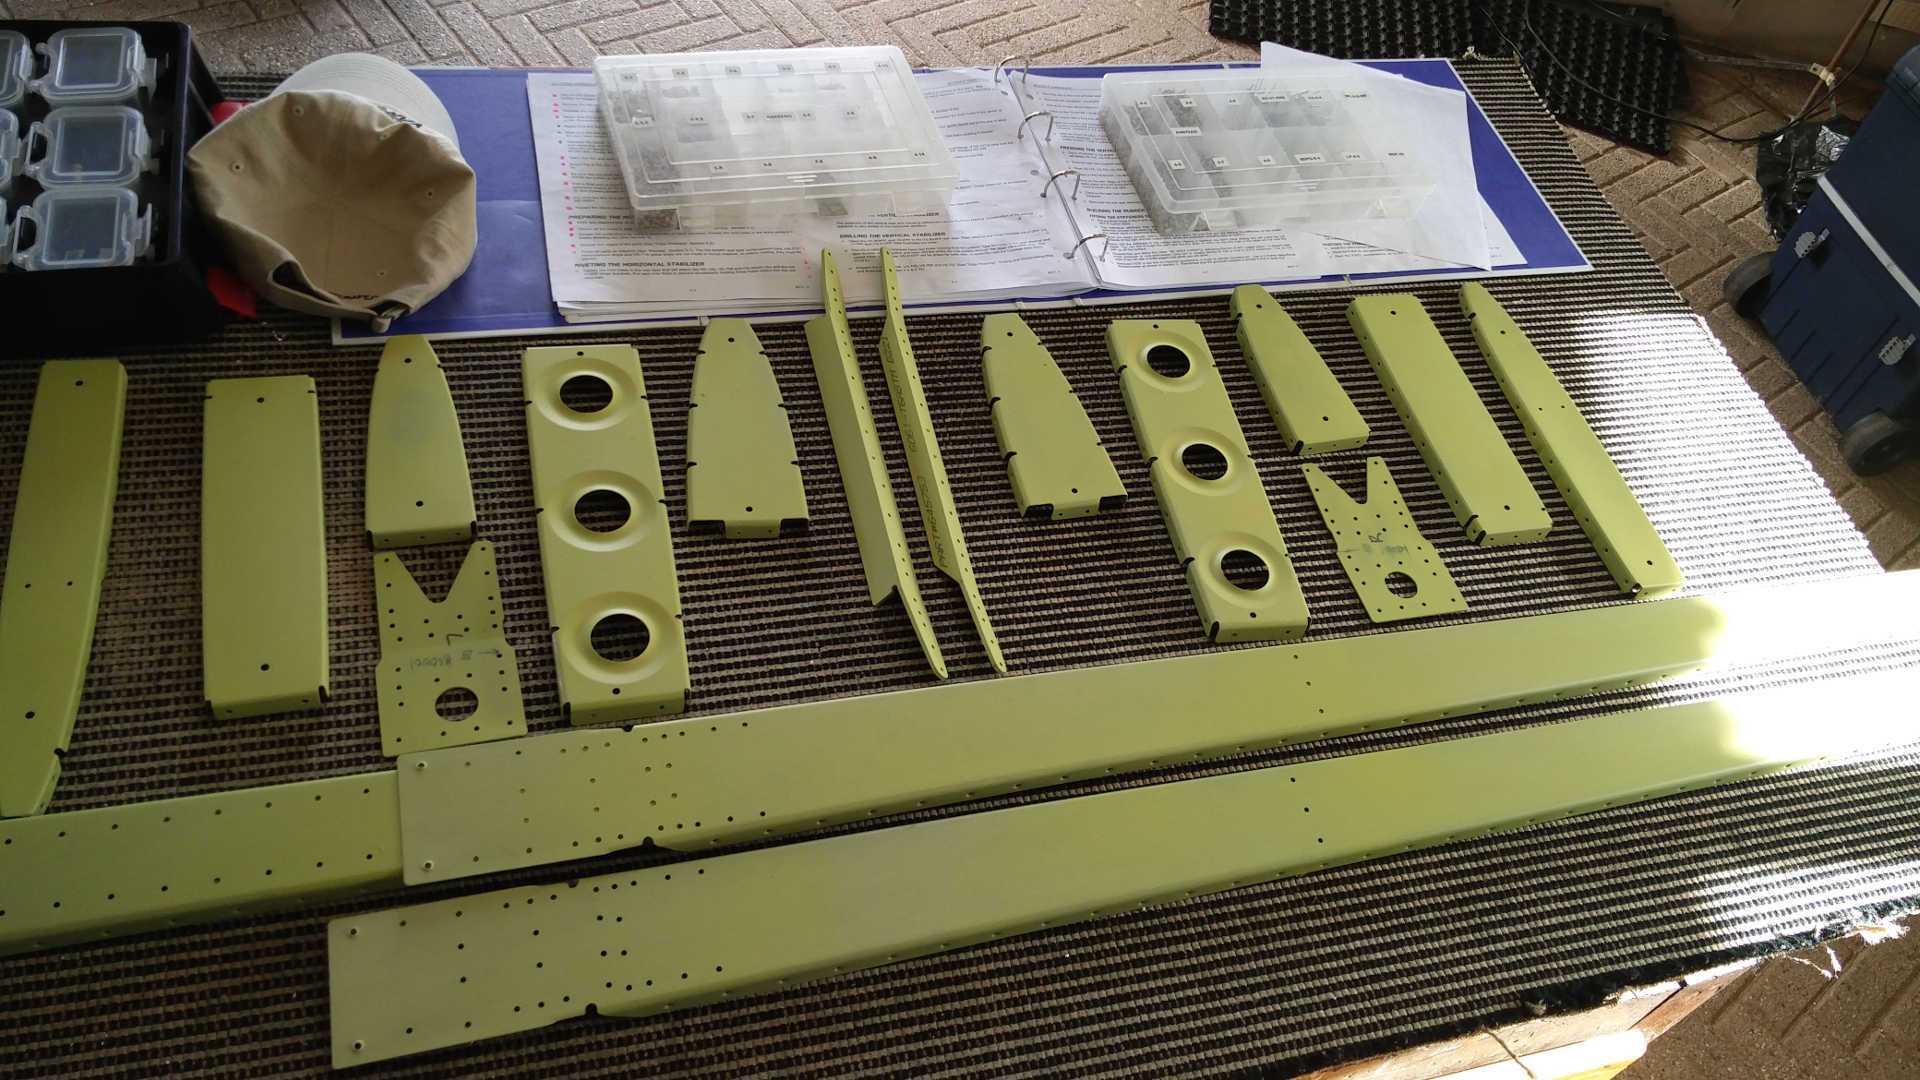
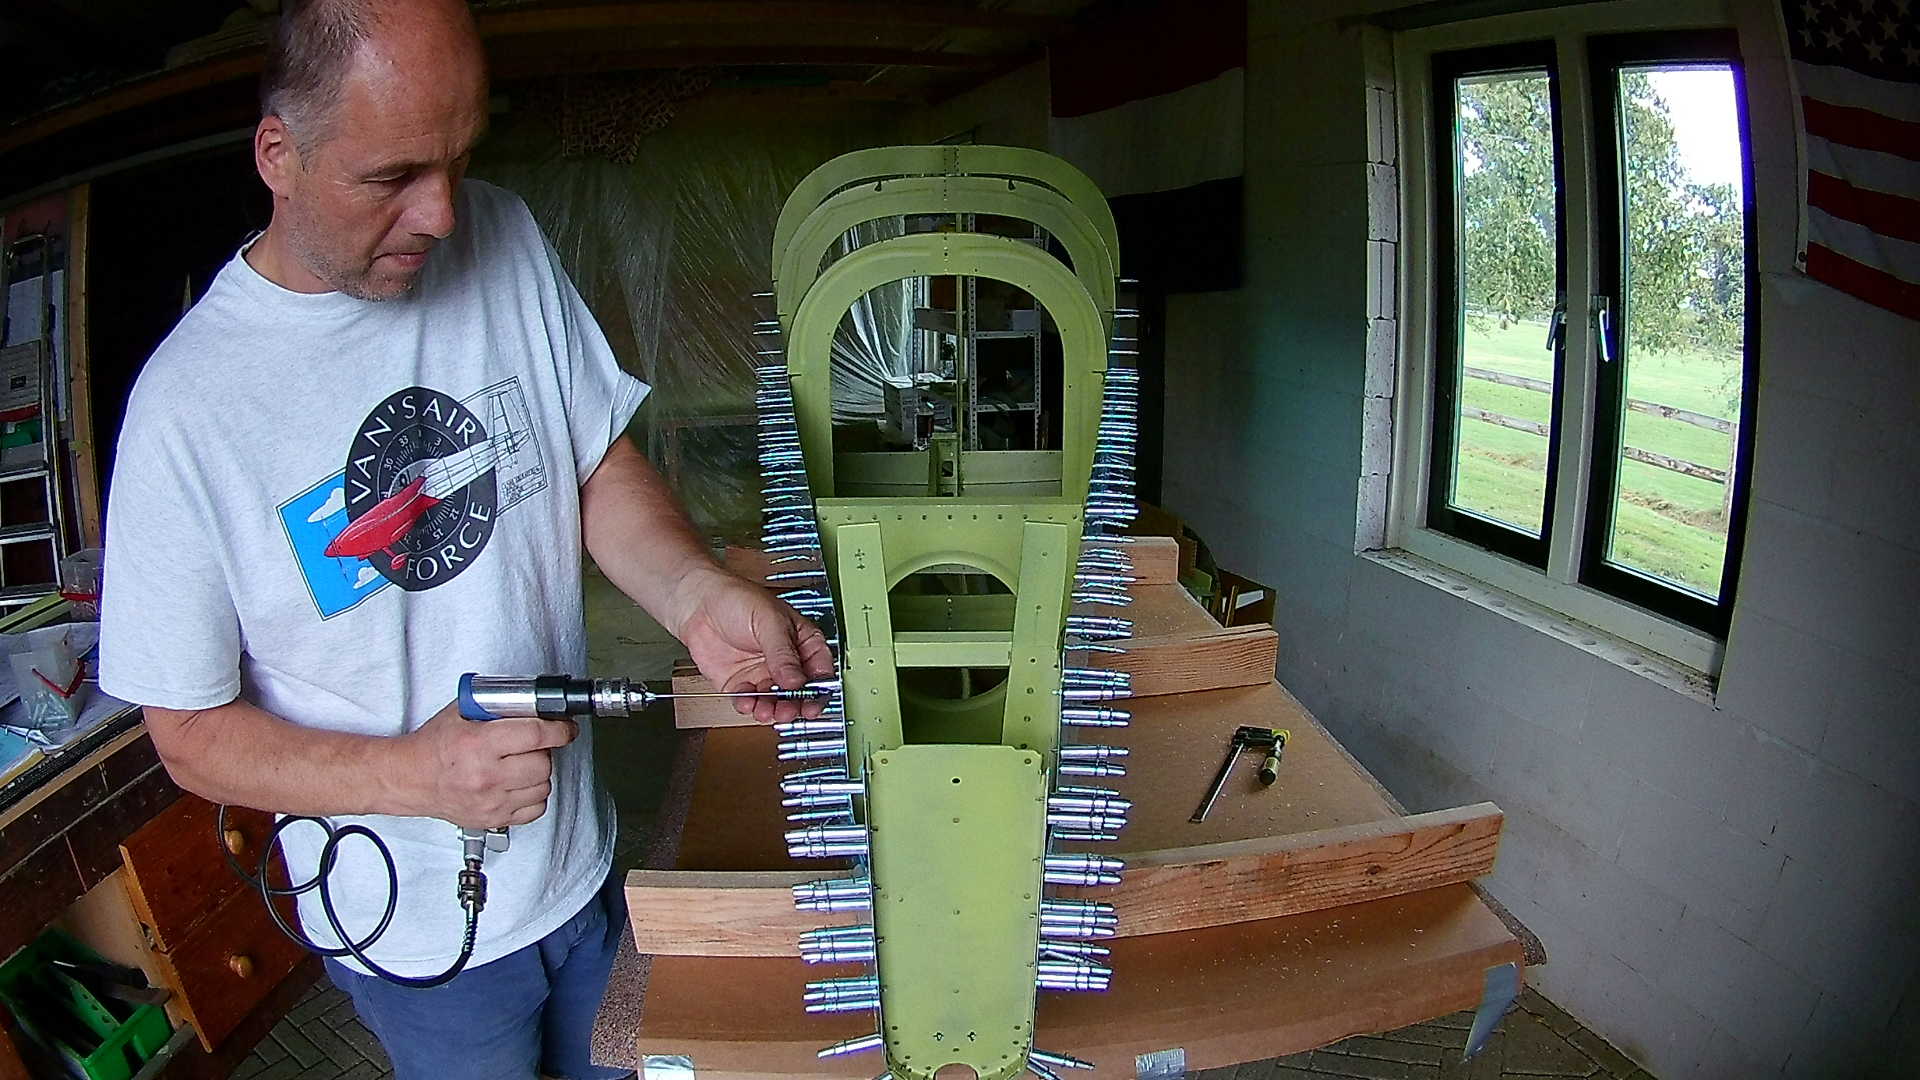
Now with all the parts primed I can start with the actual assembly and riveting. According to the plans we start with the rear spar. I learned reading multiple bullets before starting. If I wouldn’t have done that I would certainly have forgotten the other brackets.
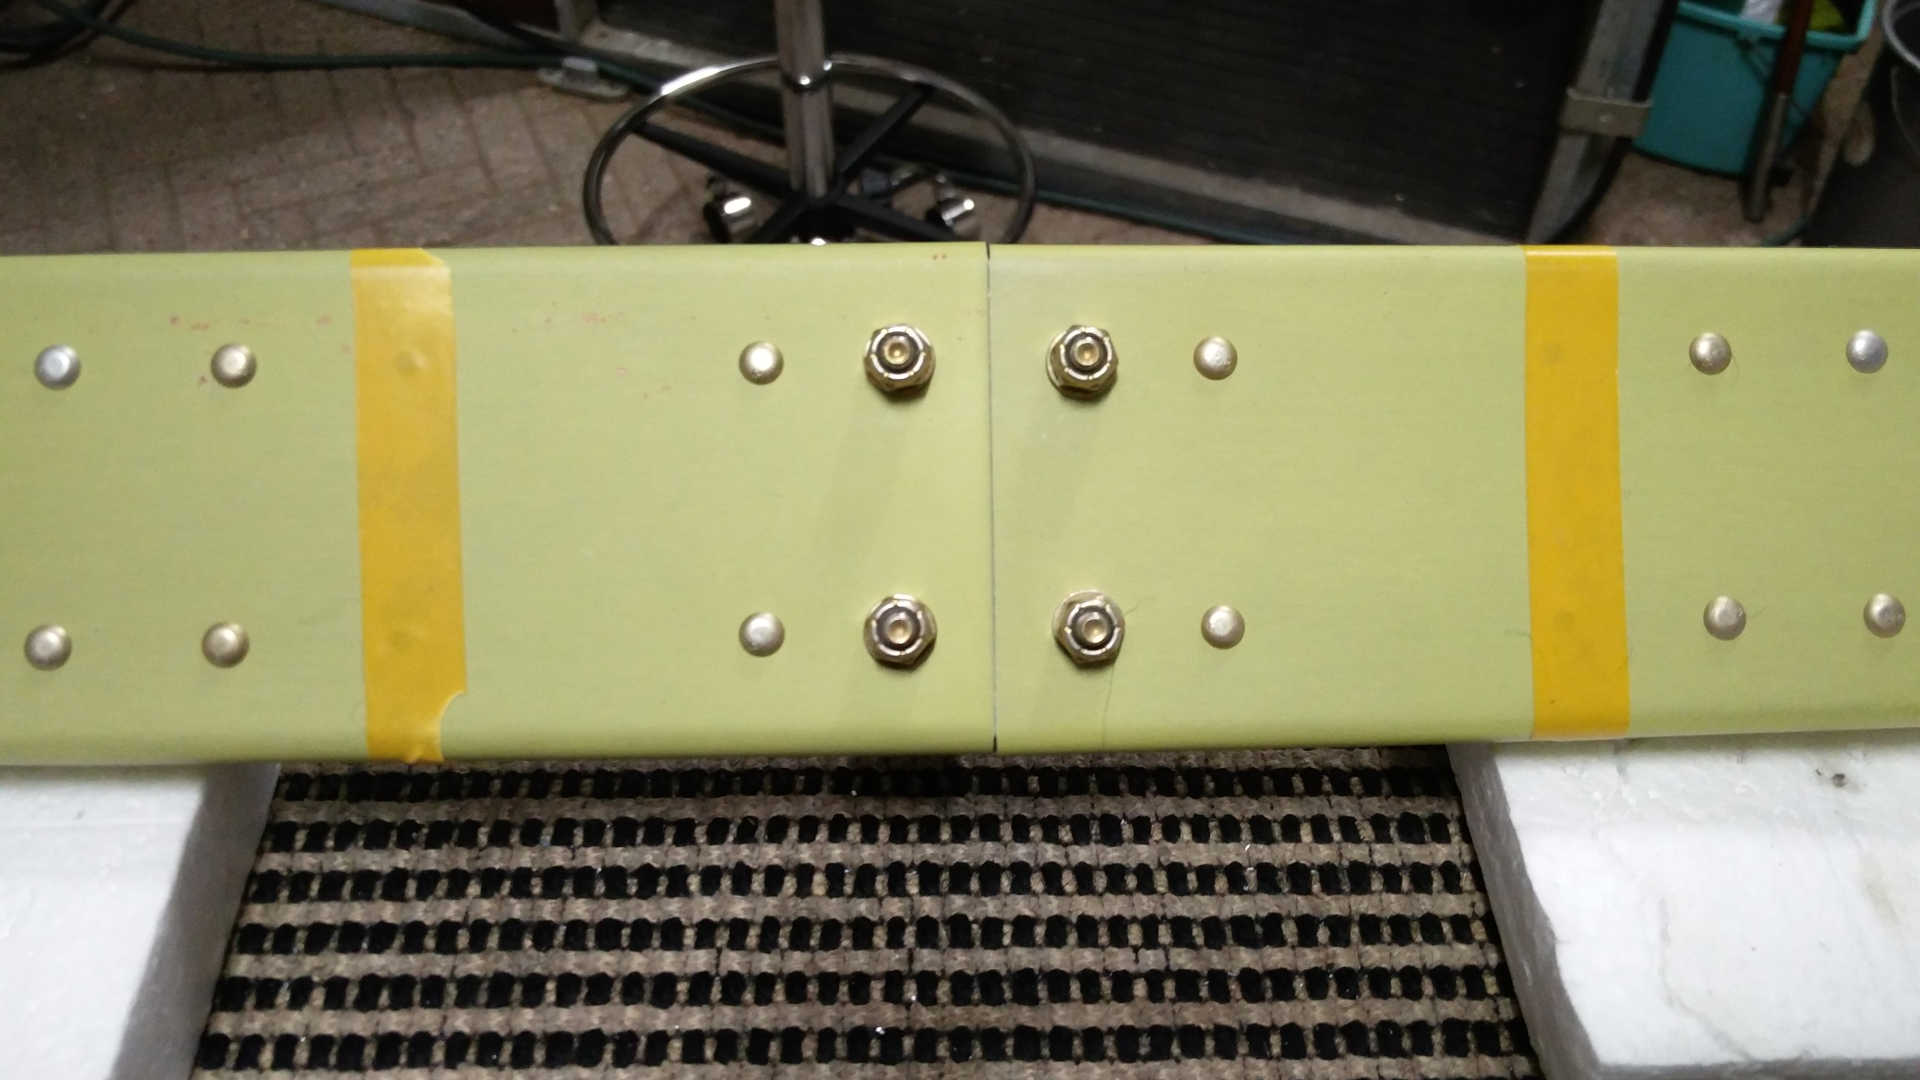
Last part today was attaching the hinge bracket in the middle of the rear spar. The tape is there to prevent accidental riveting, because thes are meant for the ribs.
Time: 7 Hours, rivets: 128/2
Video