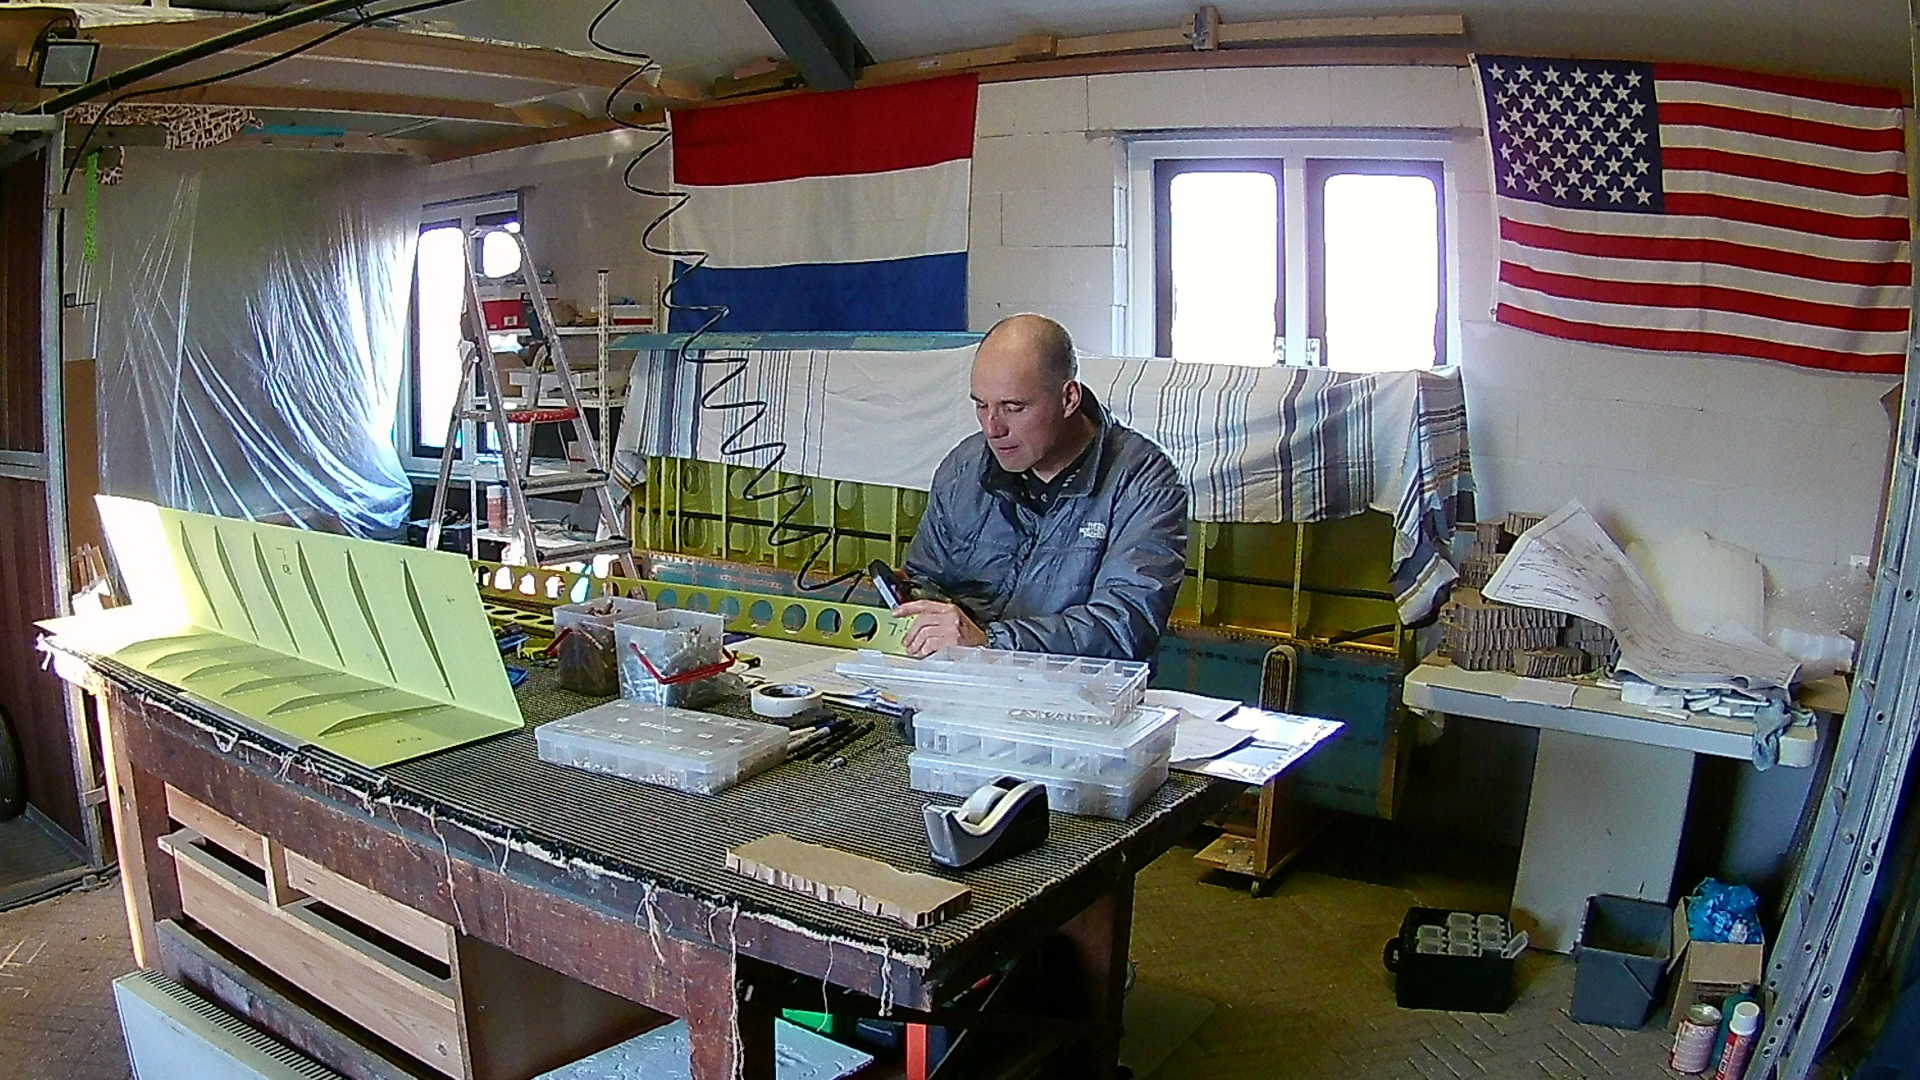
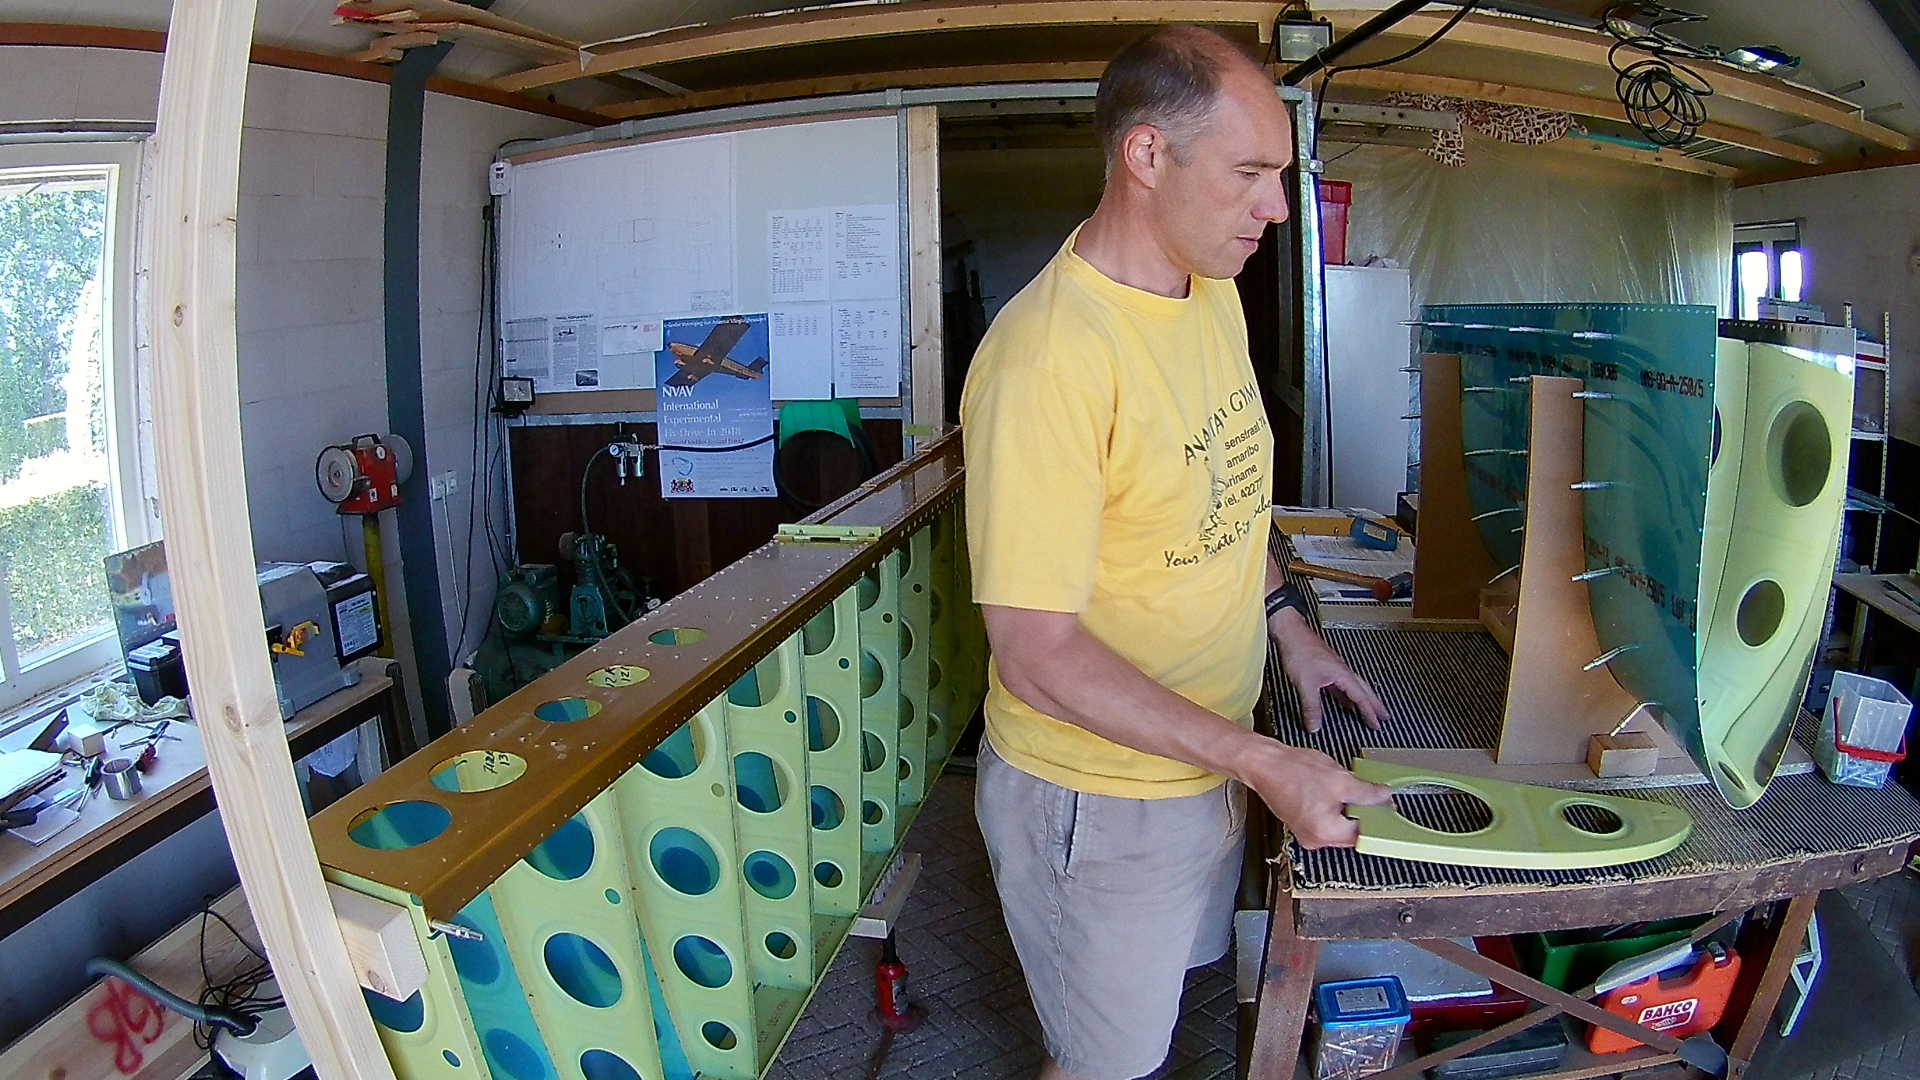
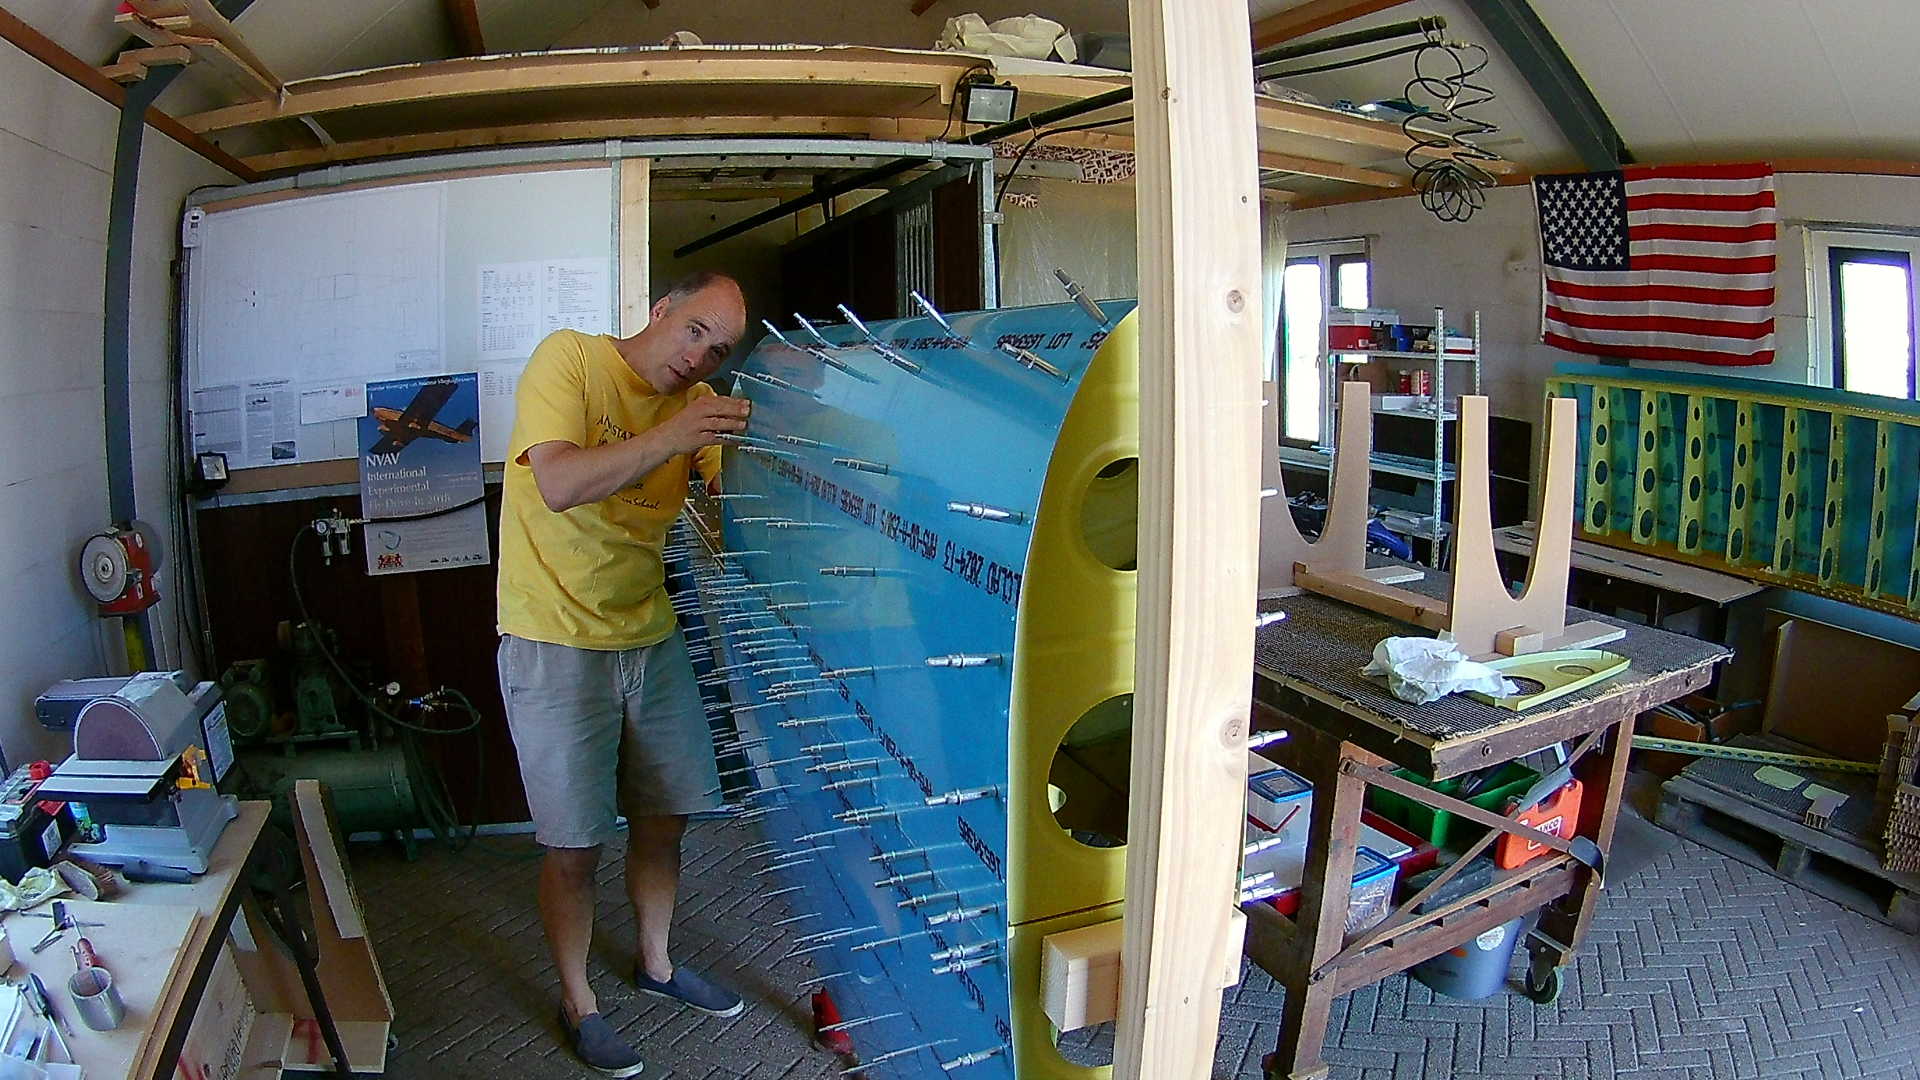
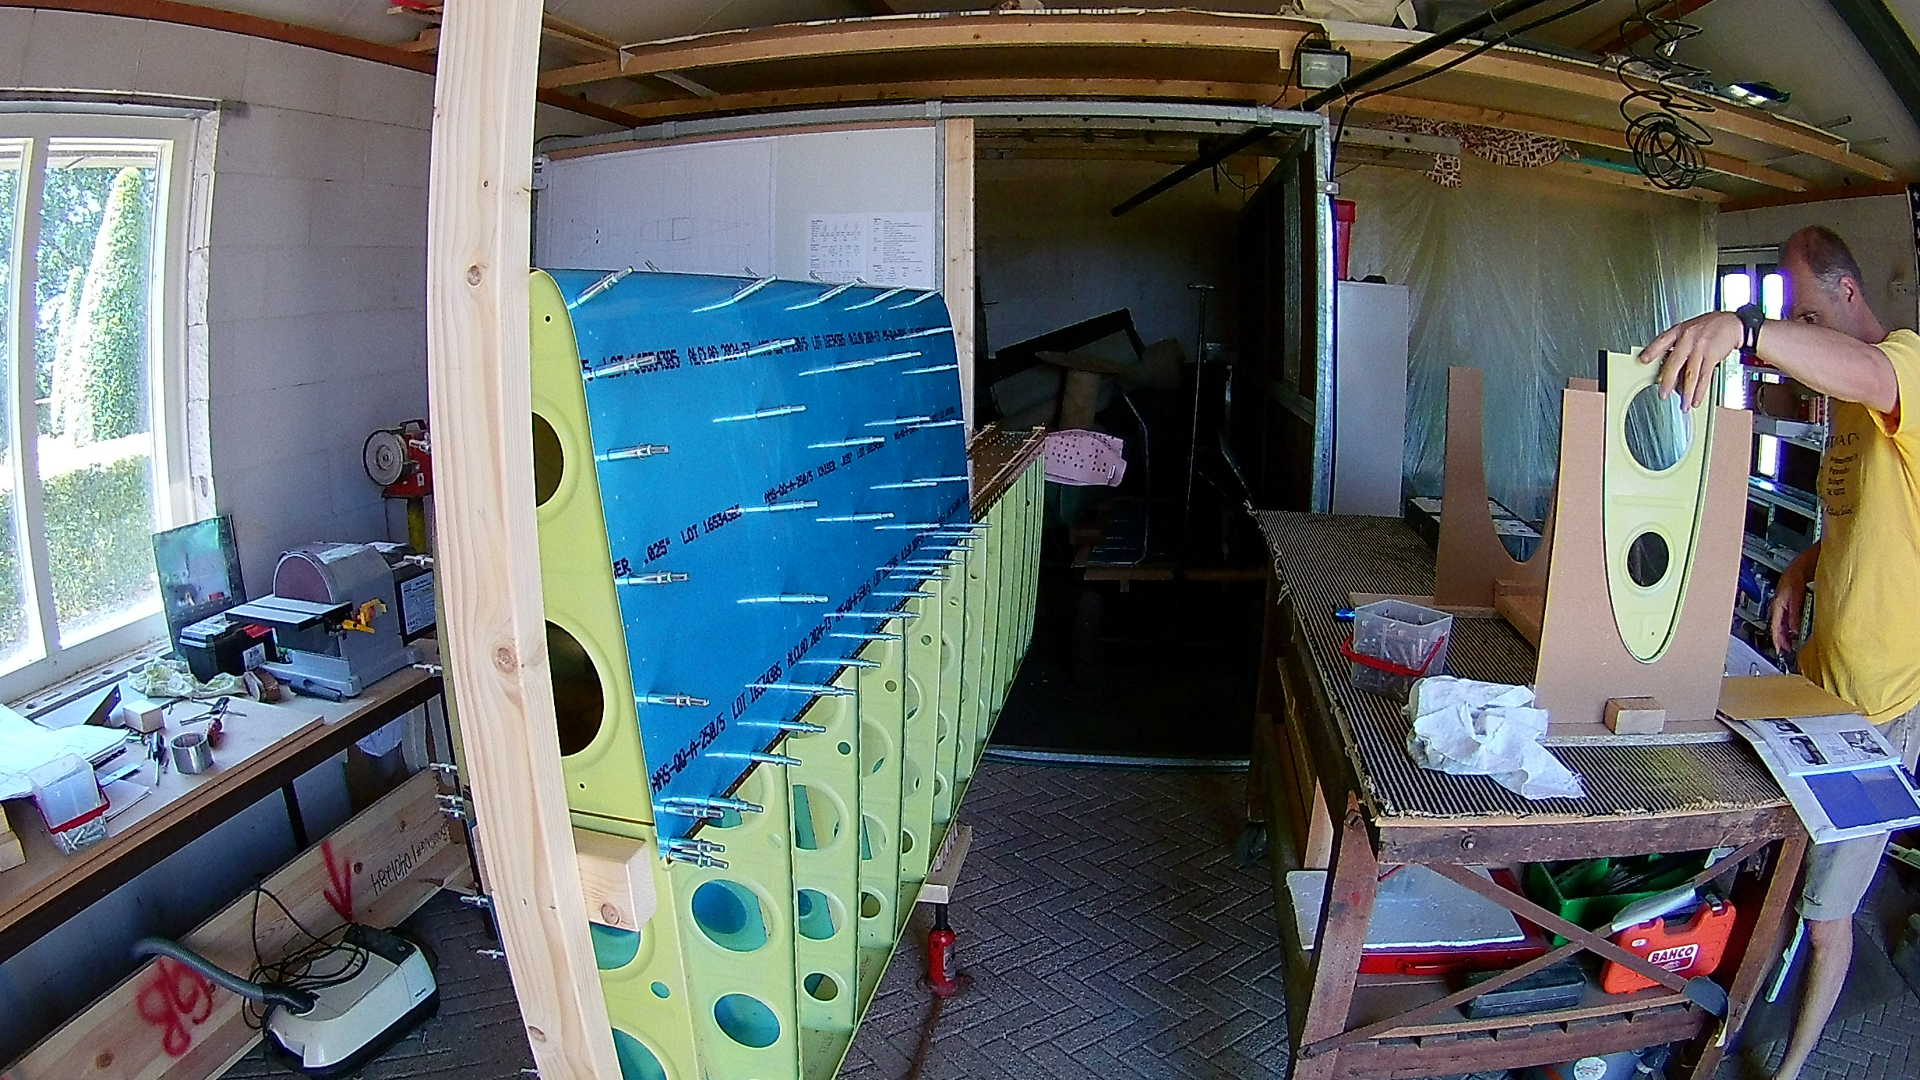
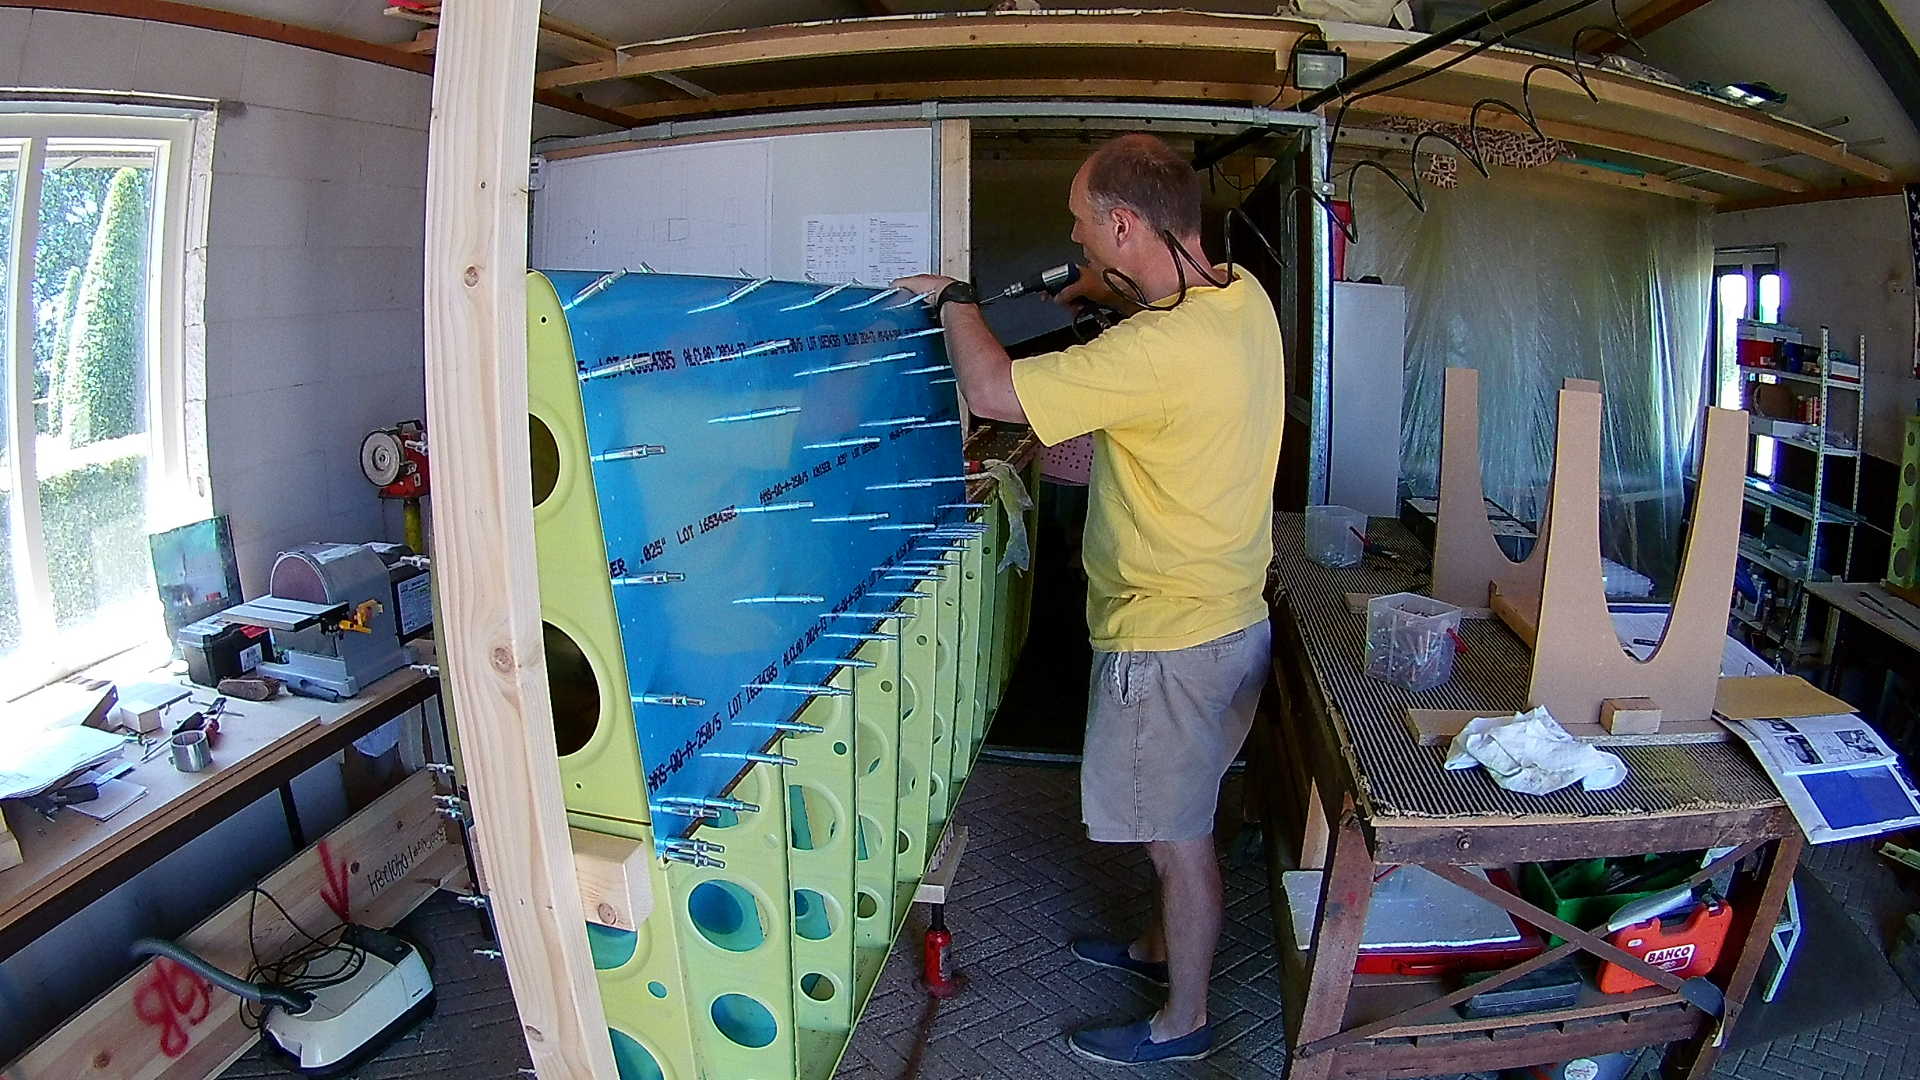
Up to this point I’ve worked on my workbench with the parts in a horizontal manner. I consider this still the best way as long as you can reach every place. Adding the Leading Edge part to the Main Spar looked hard, because you can’t place parts standing on the Cleco’s. Hence I decided to use the Wing Stand I created earlier.
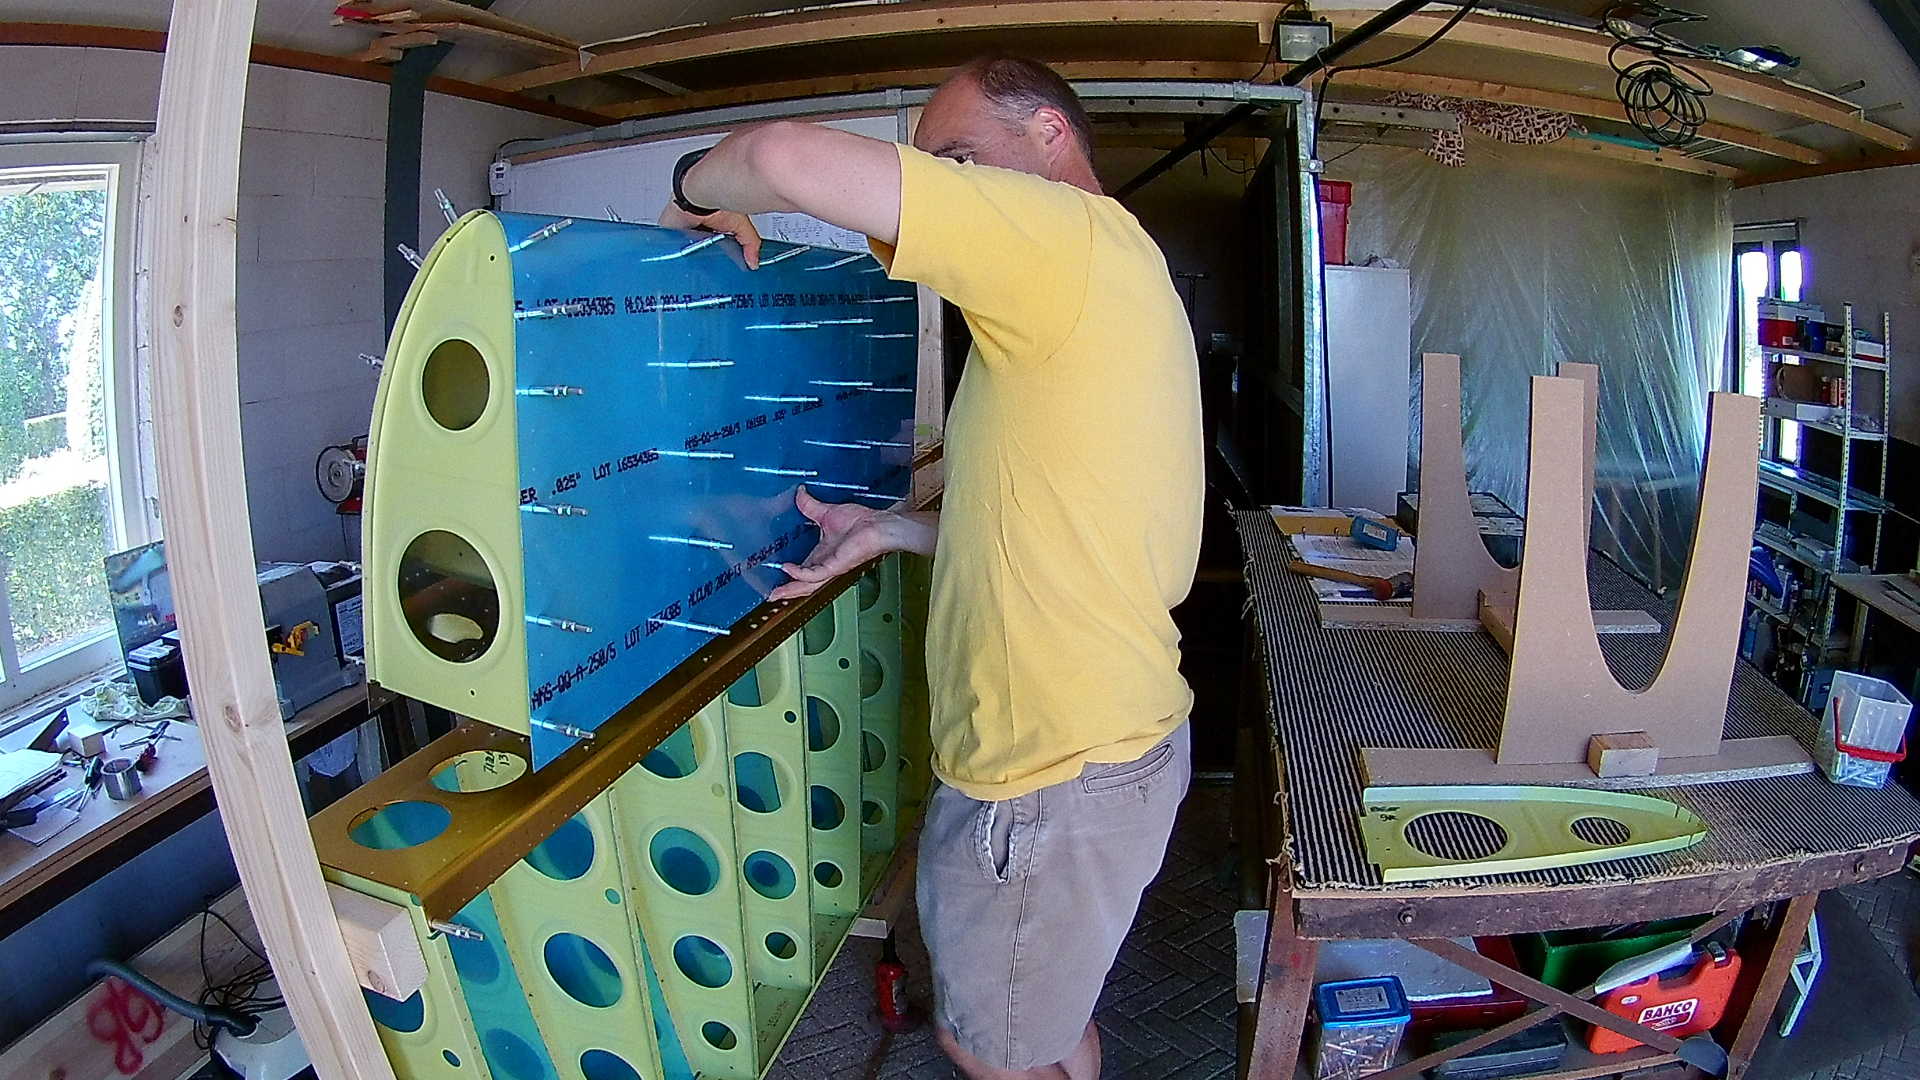
With the Leading Edge Skin in the Tank Cradle, the skin is bend just right to insert the ribs and Cleco them. Although sometime it’s hard to get the most forward (on the bottom) Cleco in there.
Fitting the Leading Edge on top of the main spar was a good match, however there is a small “gap” between the top skin and the leading edge skin. Probably half a milimeter. Not sure if it is better to use epoxy resin to fill this gap (I’ll think about that later).
The most inboard rib is not pre-drilled and needs to be fitted “manually”.
Also an additional strip of Aluminum needs to be constructed, to connect the Leading Edge skin with the Tank skin. The instruction that this part needs to be constructed is on detail F on the drawing, but not in the manual. I really think Van’s could improve the manual by adding these hints in the text. It’ll probably take a complete page on the whole plane, so no worries there.
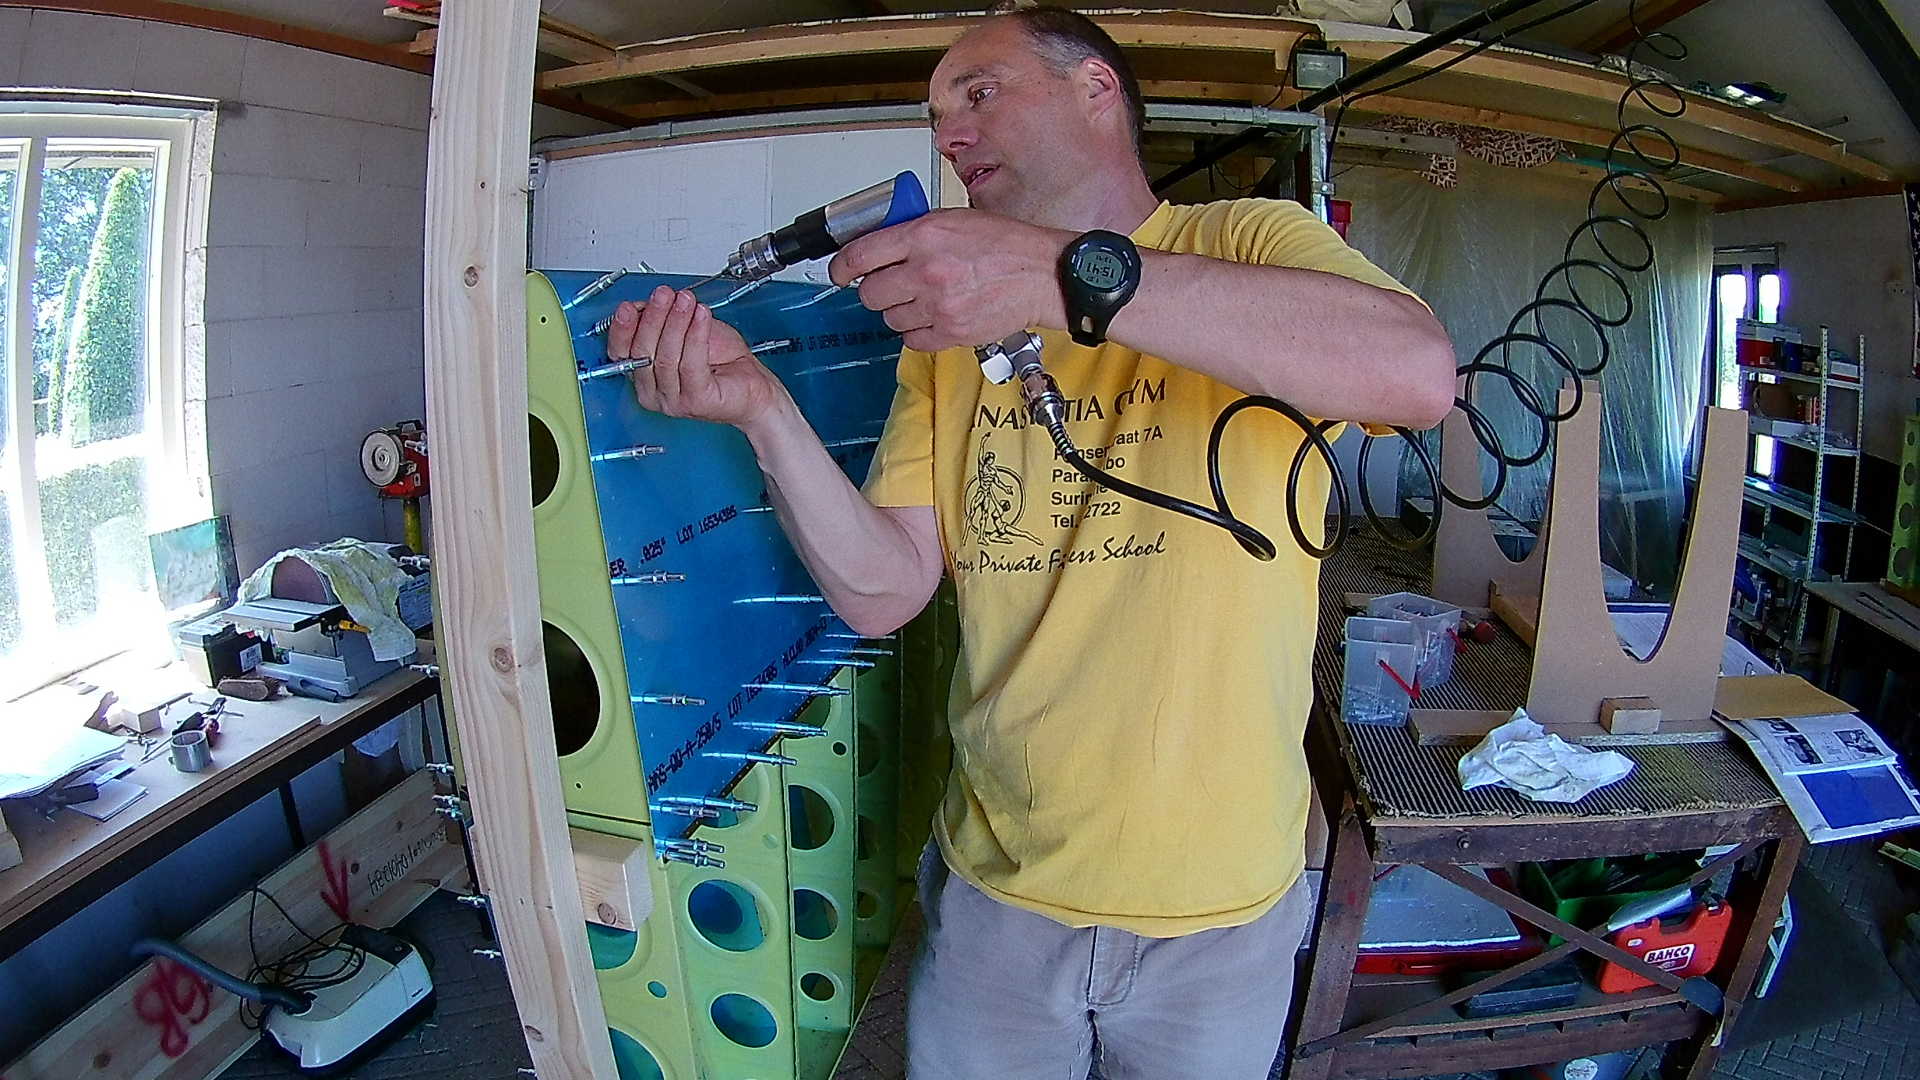
Drilling time, starting from the constructed plate down and outward.
Easy task, next time the Left Leading Edge and then prepare for the Tanks. I’ve read (sealant) horror stories on this, so I’m really eager to see if those are true.
Time: 5 Hours, Rivets: 0/0
