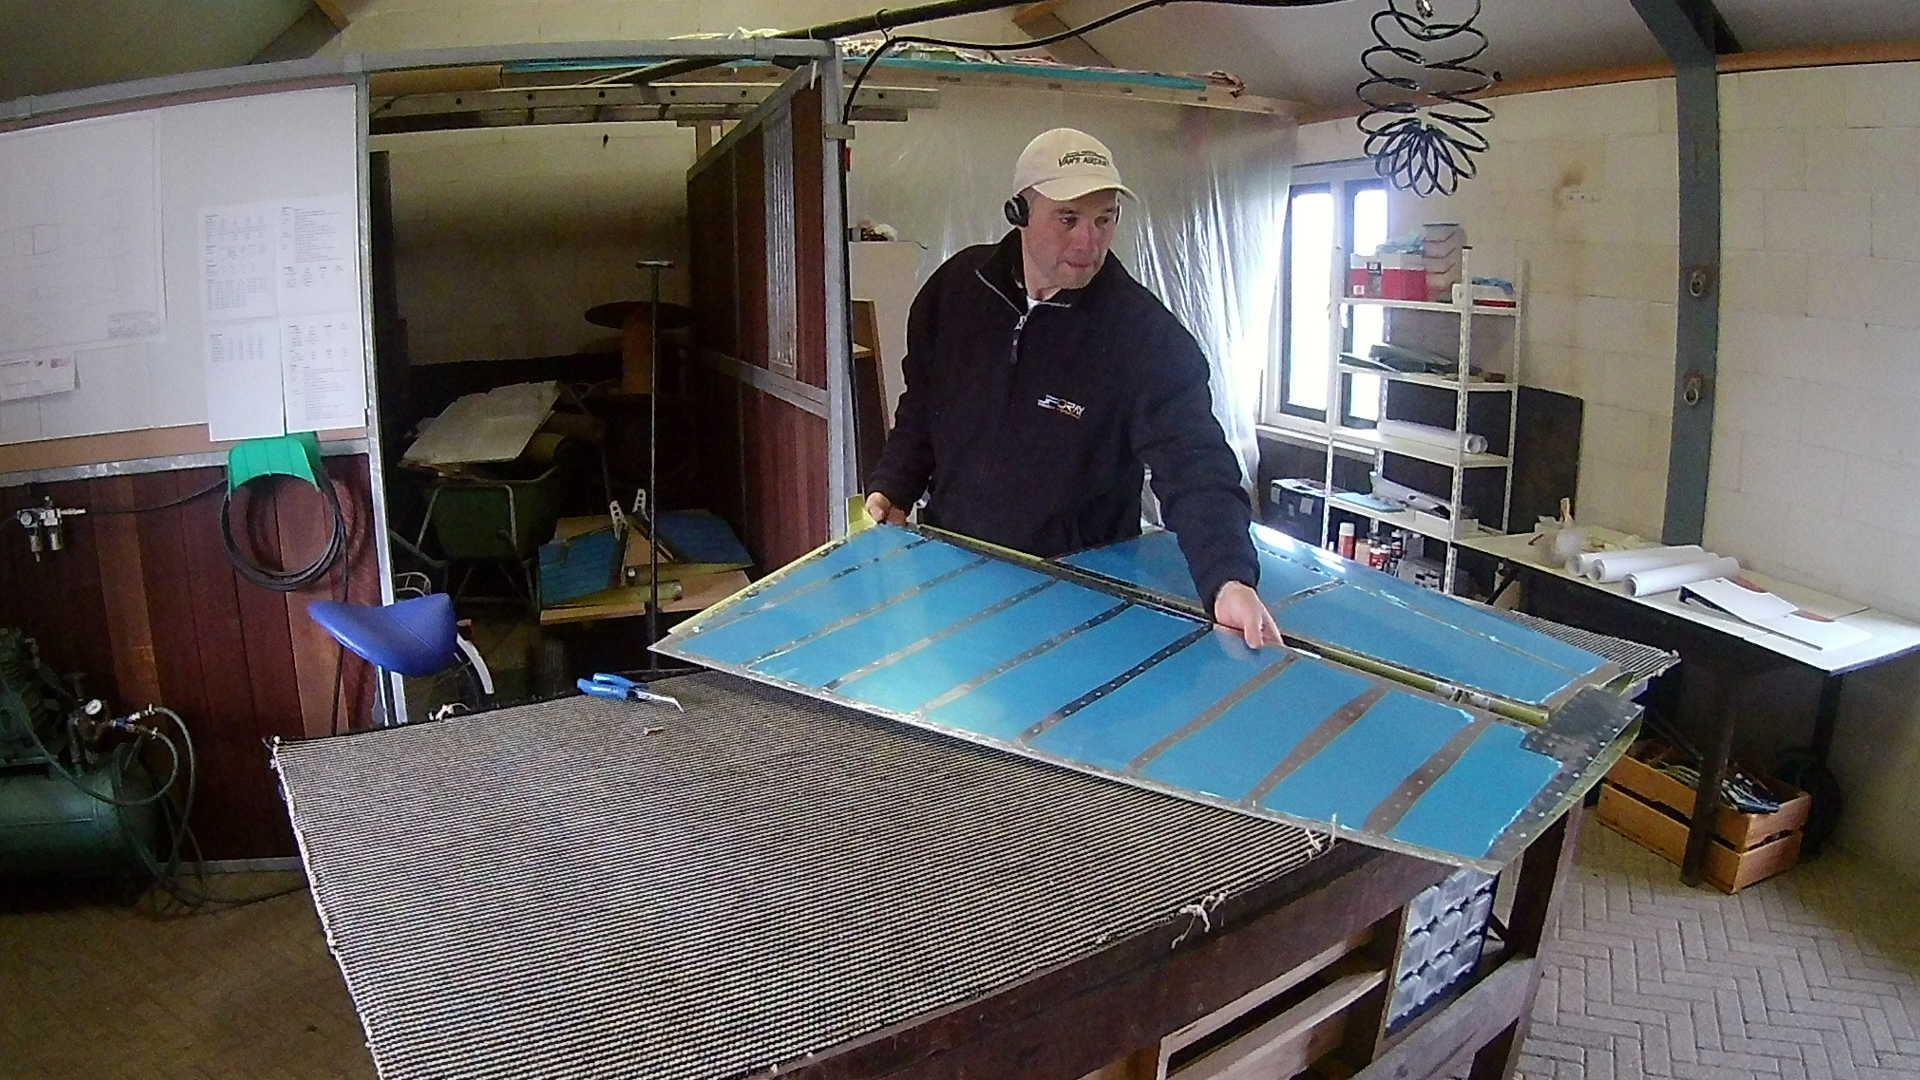

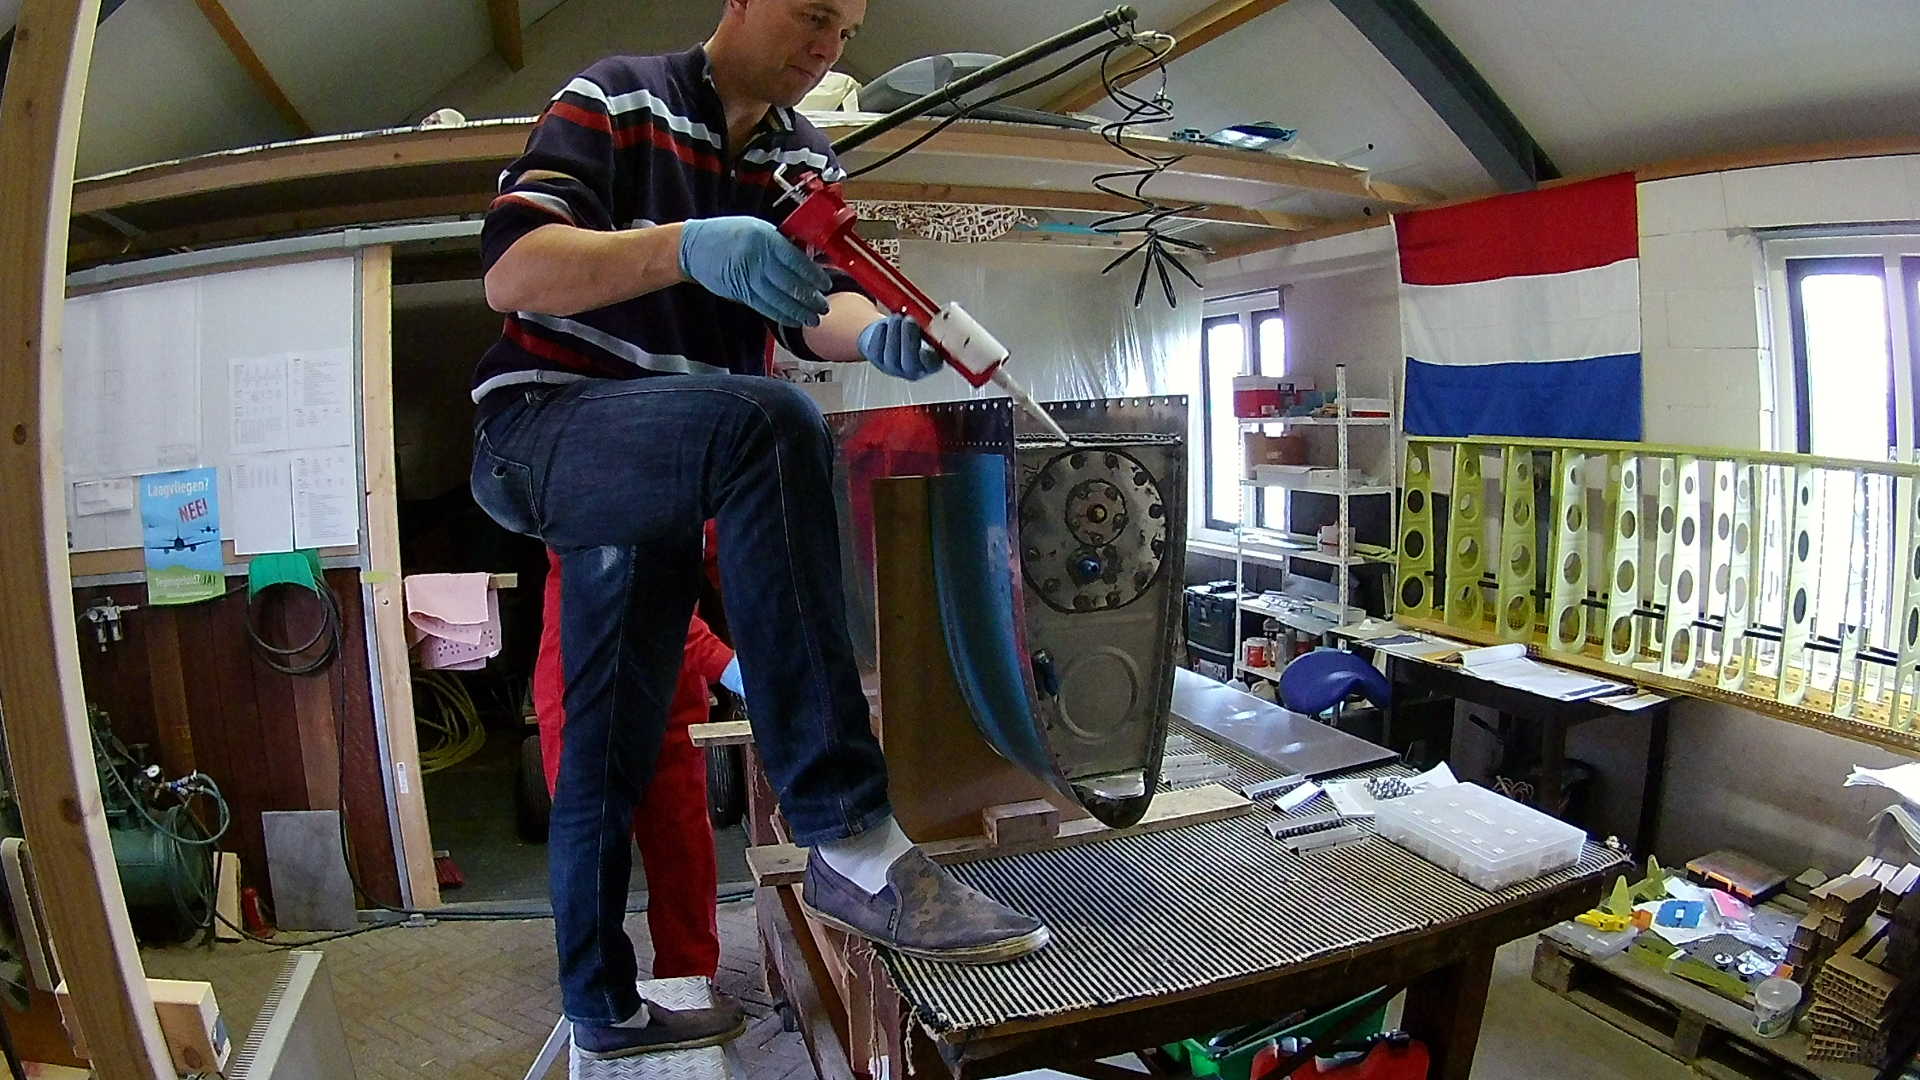
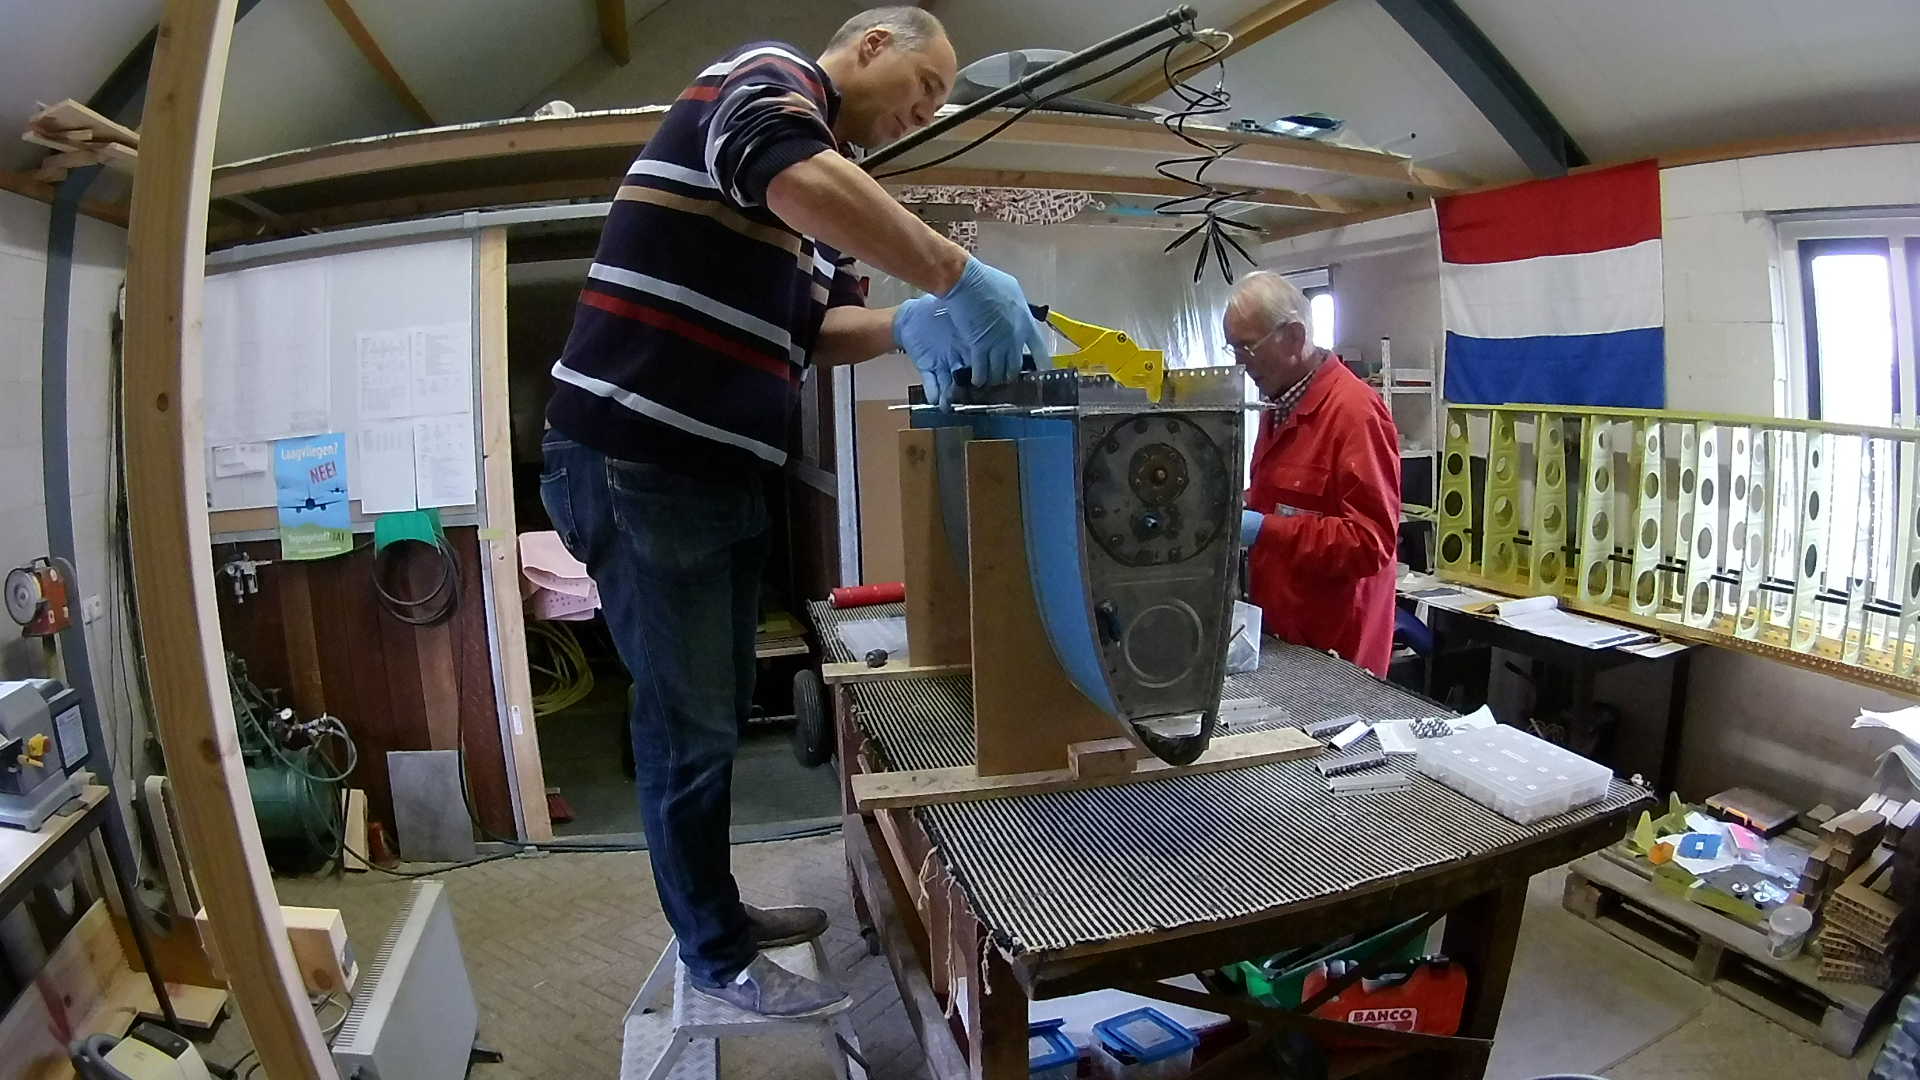
The Left tank is leak free, so now we are going to finish the right wing tank. First de-greasing the baffle and the tank, prepare the sealant and apply it to the tank edges. Again with the kit dispenser, which is really handy and although you loose some sealant in the nozzle, it is still economical, since I finished both tanks with at least a 30% of the quart still is the canister.
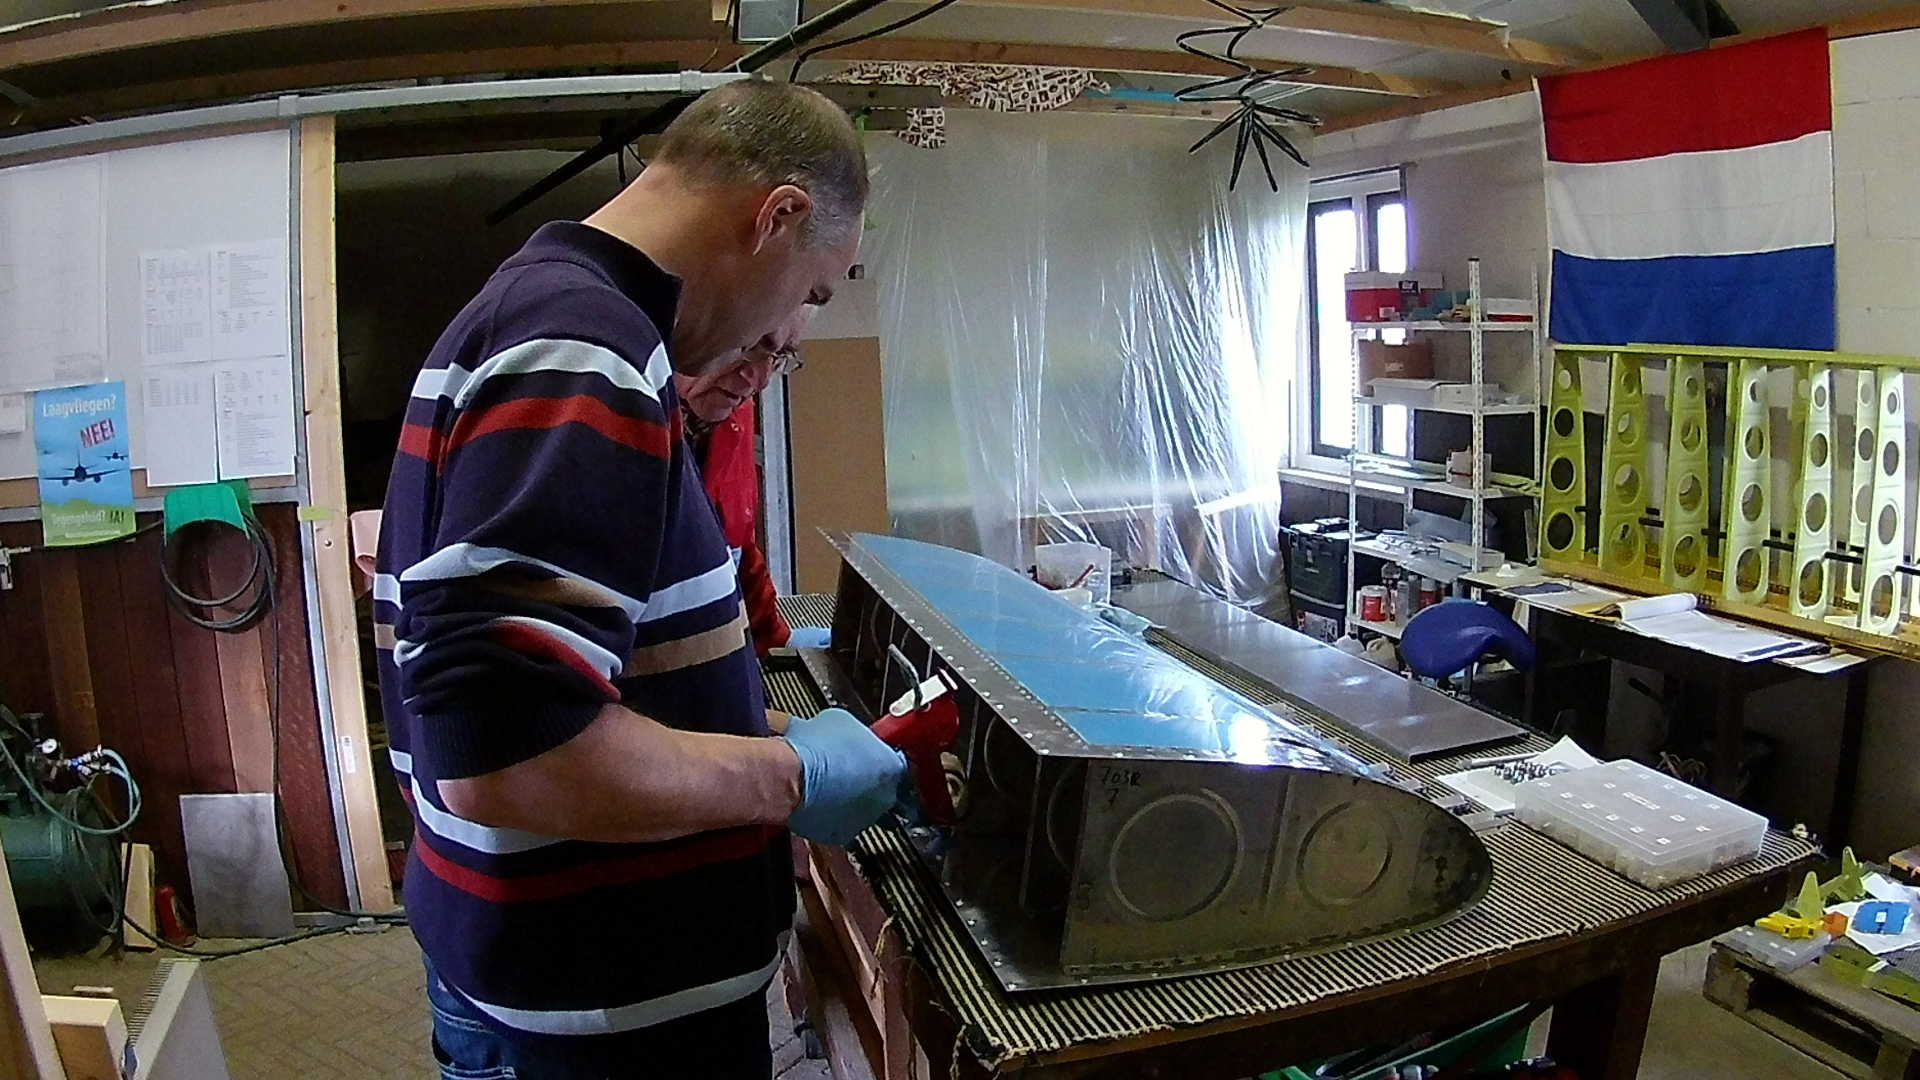
The sides of the skin need to be really tight, so I apply a thick line of sealant. On the ribs I only apply sealant around the rivet holes, except for the most inner and outer rib. Those again need enough to get it leak free.
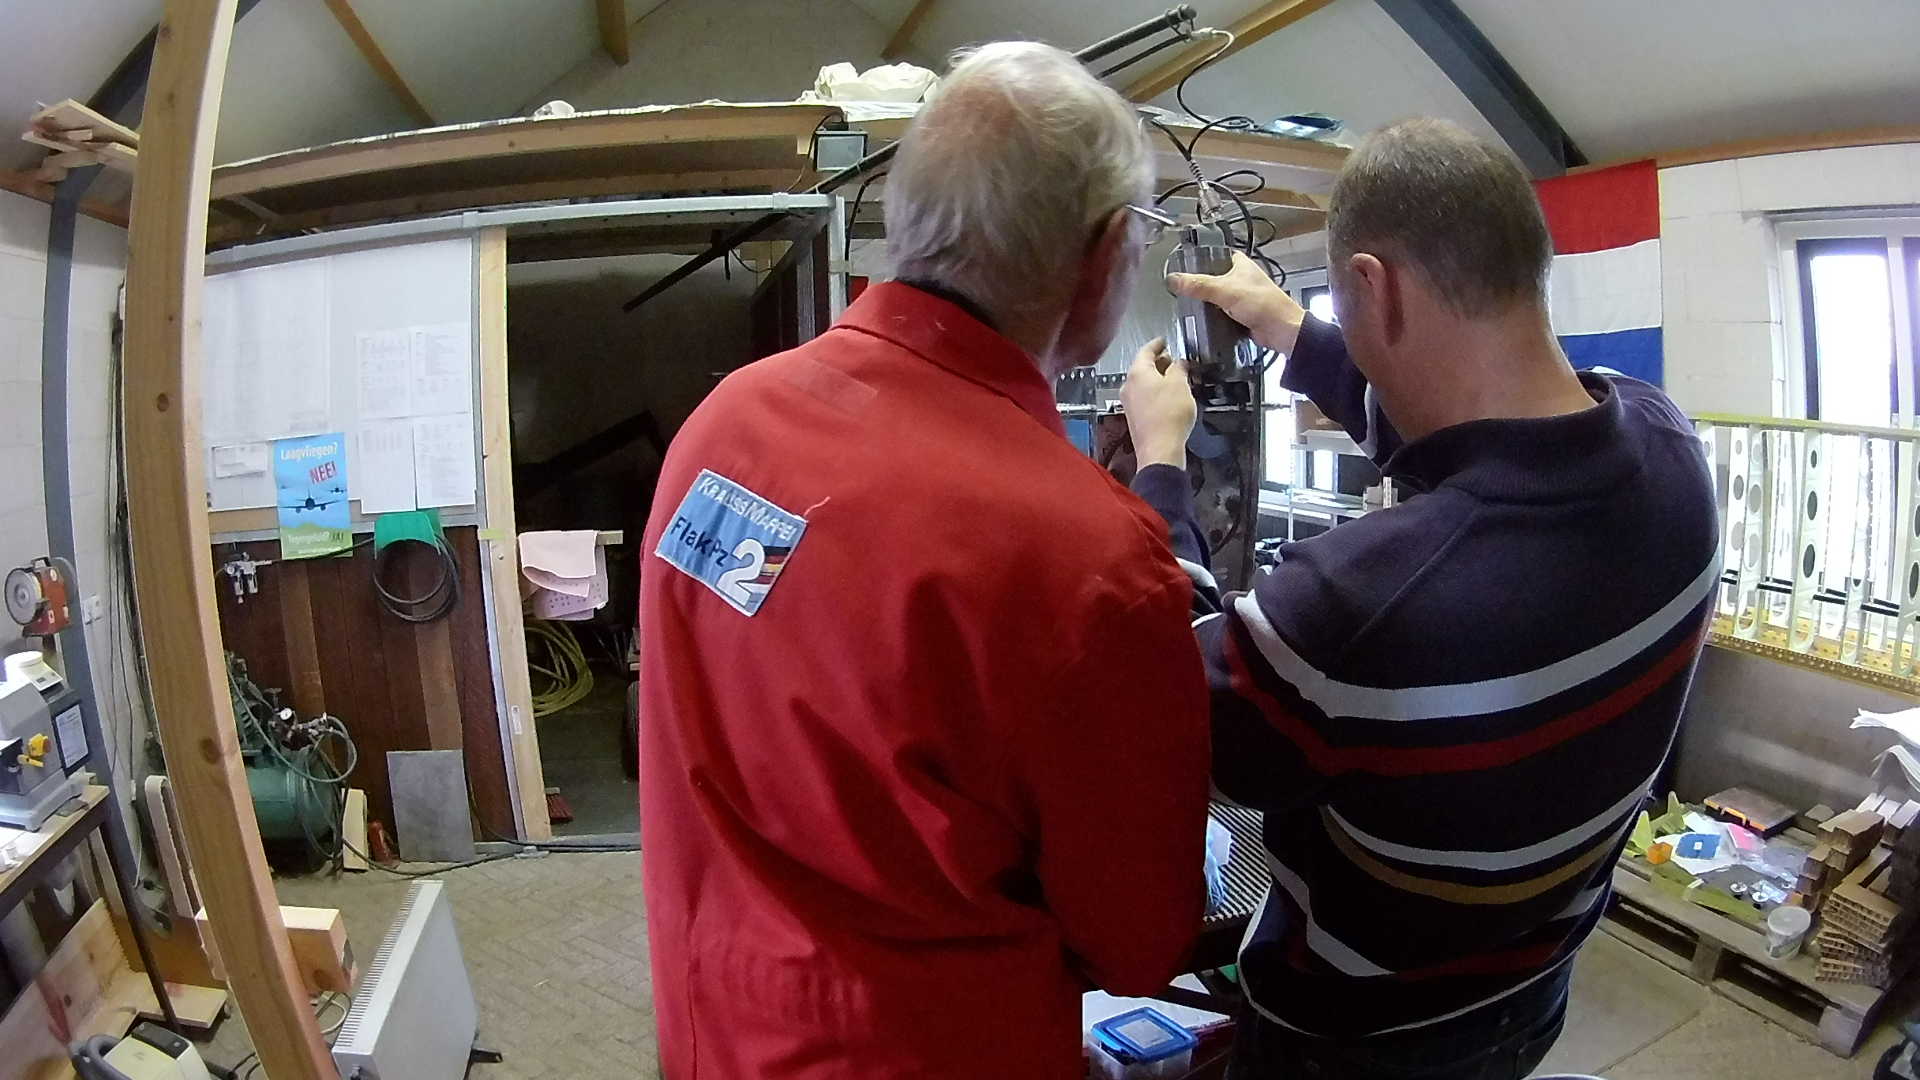
The top and bottom rivet hole of the five ribs are pop-riveted first. the other five holes of those ribs are riveted with the tank attach angles.
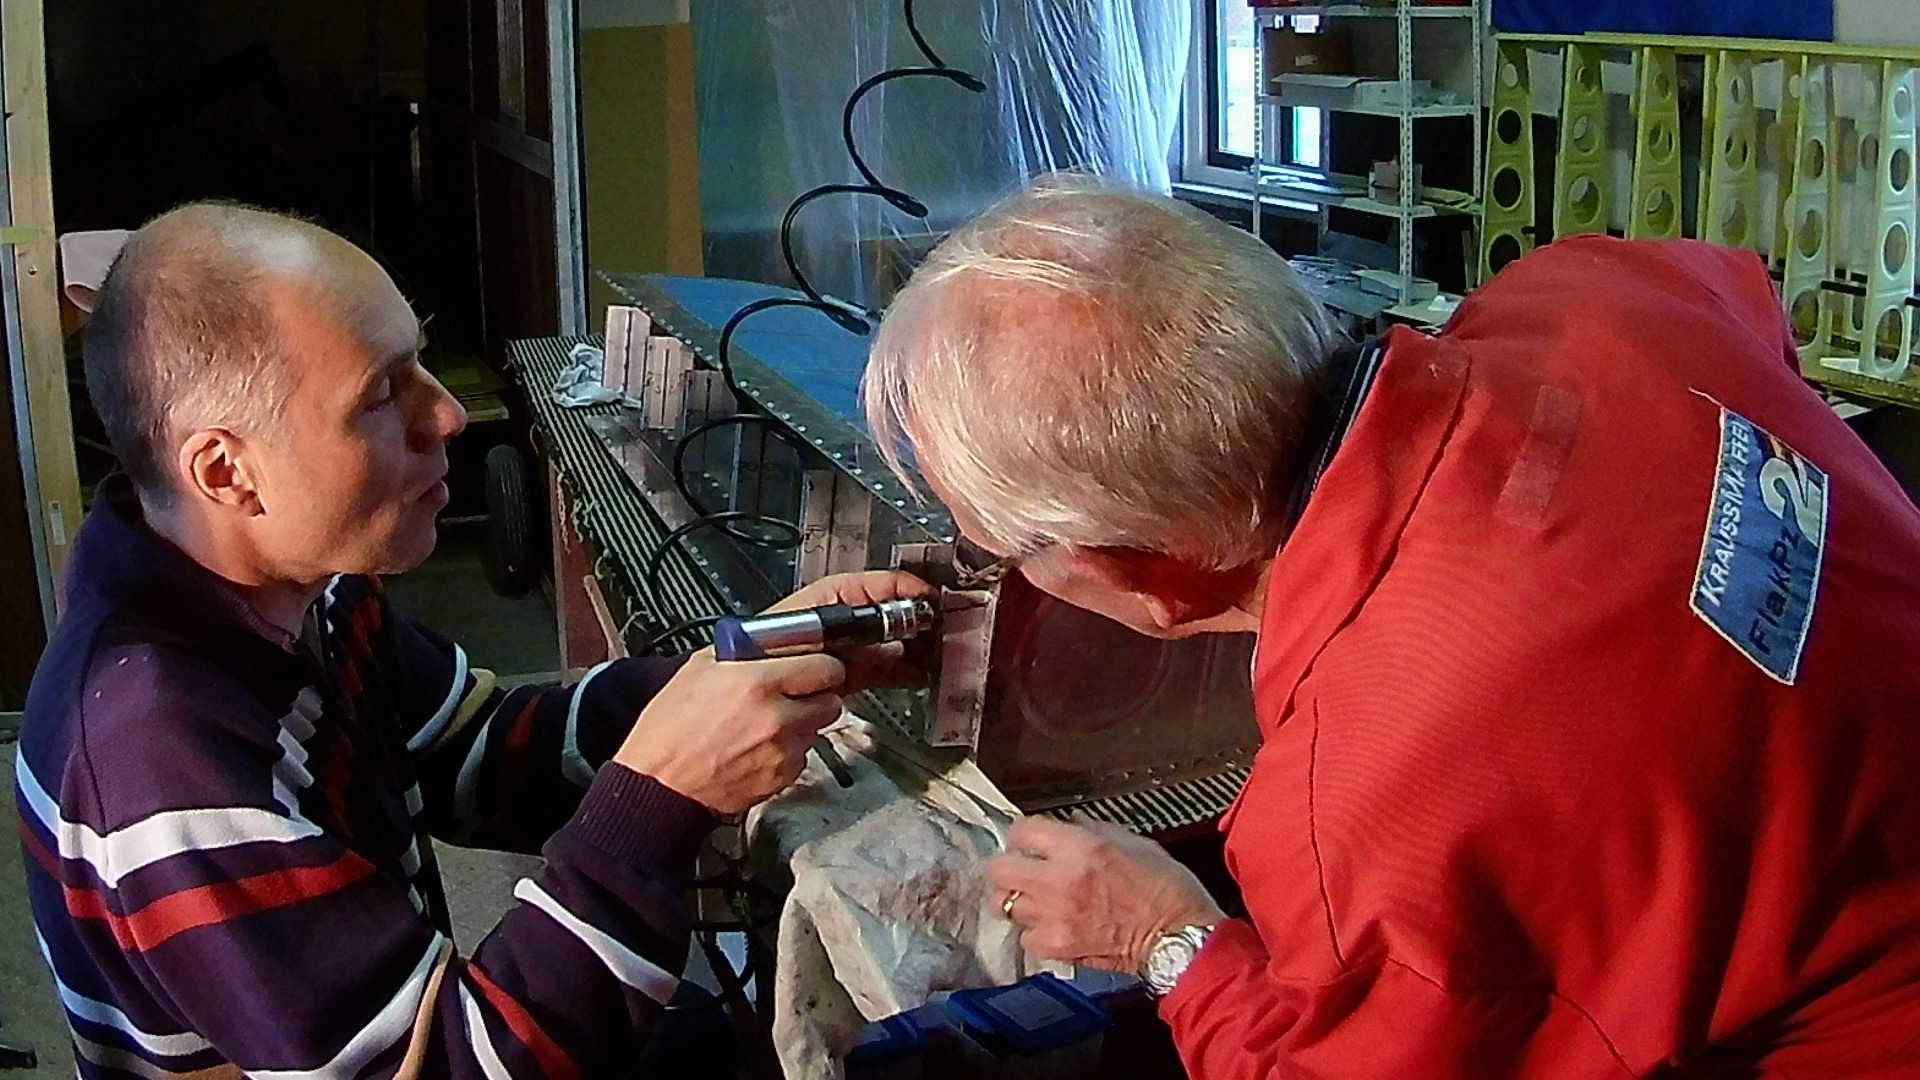
The inner and outer rib can be riveted with “normal” 470 rivets and the squeezer. Except for the tank attach angle, because there is not enough room for the squeezer. We use the rivet gun and bucking bar instead.
I screwed up by using rivets that were too long and even with the squeezer, you will still mess them up. They just bend every which way. So I drilled them out and reset those rivets with the correct size.
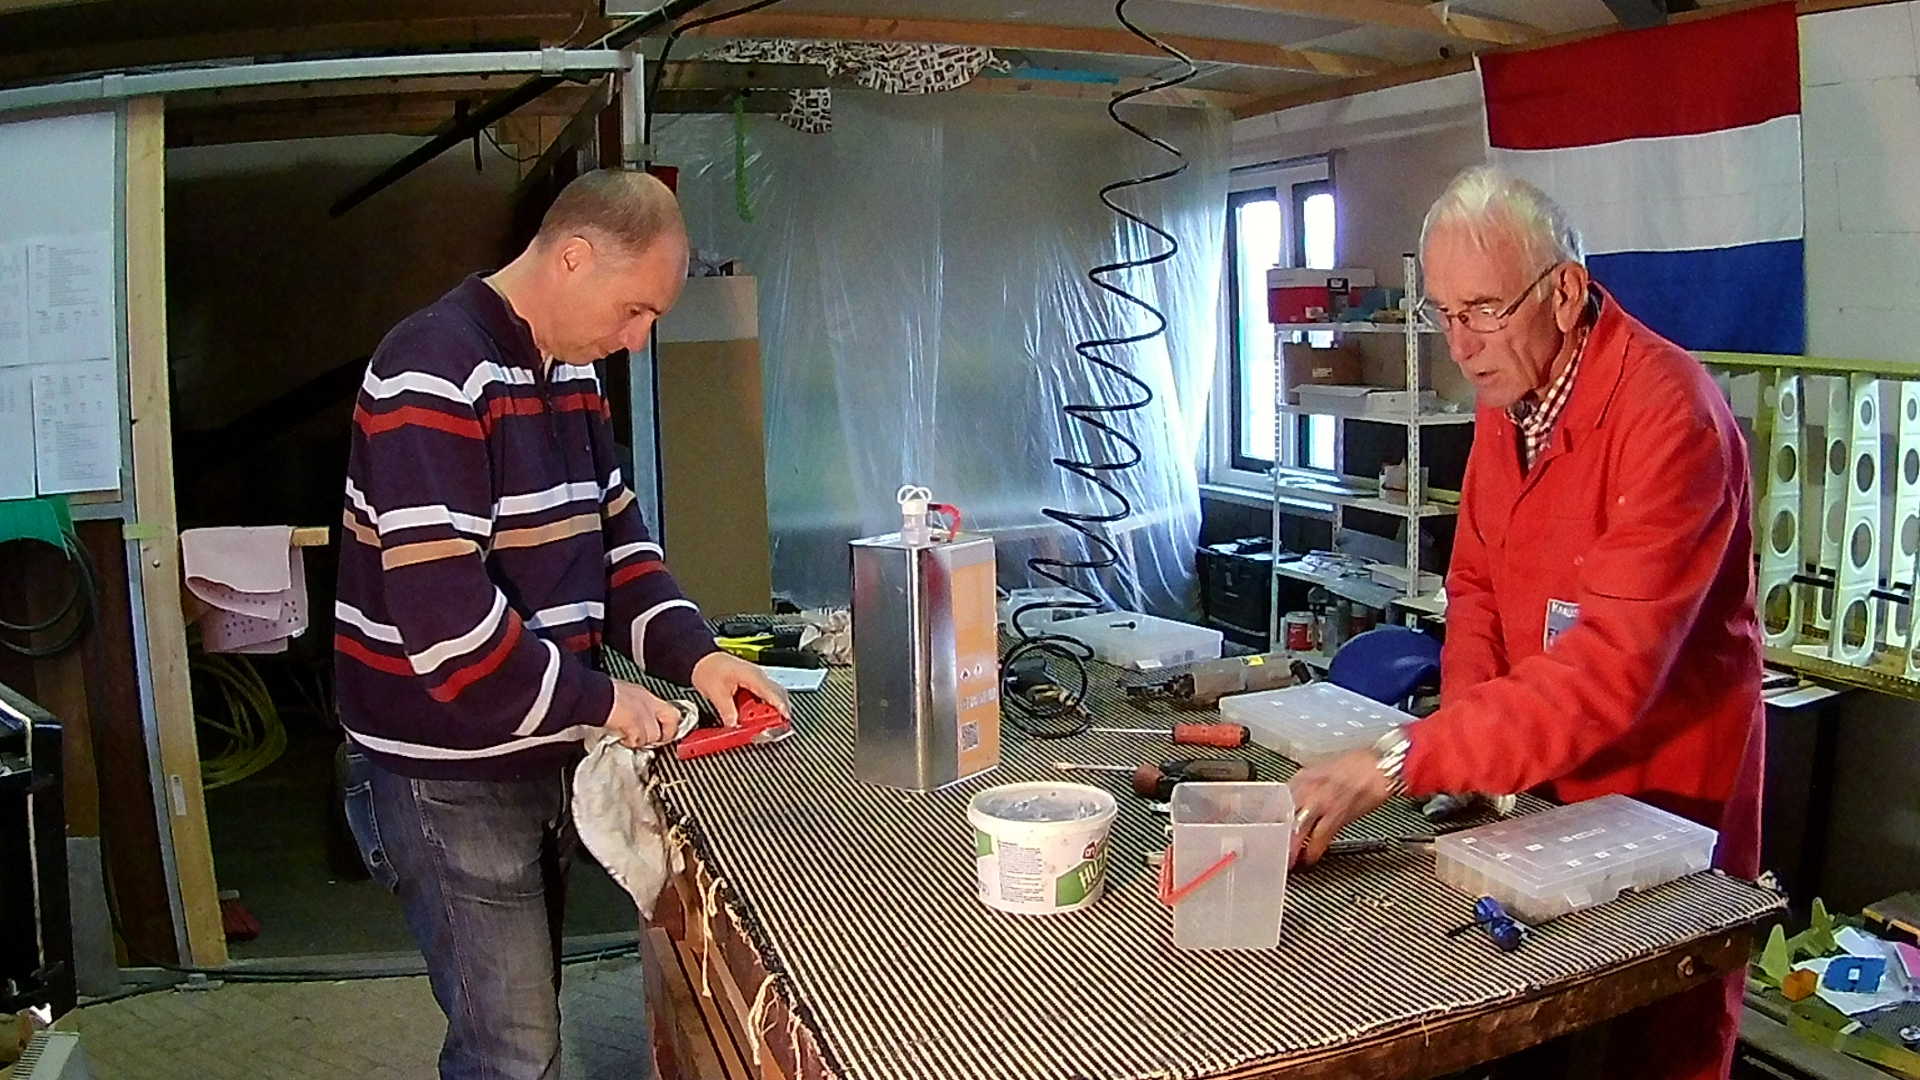
I hope the tank doesn’t leak, because working with sealant creates a mess on the tools. A good cleanup with acetone is required.
As a preparation for the next time I discussed the position of the pitot-tube. The original (Van’s) pitot-tube is just an Aluminum tube through the wing skin behind the aileron bell-crank of the left wing. My assumption (see where I went wrong) was that the Dynon pitot-tube with angle of attack, was also placed there.

I figured out that that would never fit, so I was looking for alternate positions. Since I’m not going to build the stall warning (with the AoA), I figured I could use that bay just on the other side of the main spar. It would also give more space for the tie down. However you do need to drill two small holes through the main spar, which I don’t like.
While “rubber ducking” these options to my dad, I actually read the installation manual (instead of assuming what they mean) and found out that the manual also used another location. Not on the leading edge, but in the bay beside the one with the bell-crank. This one is still reachable through the lightning-hole in the ribs.
Hmm, note to self, RTFM (again)!
Time: 5 Hours, Rivets: 241/5
Video