Prior starting to the Ailerons, we finished some last details on the wings. My dad checked all bolts one more time and sealed them with Torque Seal. That is NOT Lock Tite ore something similar, but just to “mark” the bolt as being Torqued (and not loosened again).
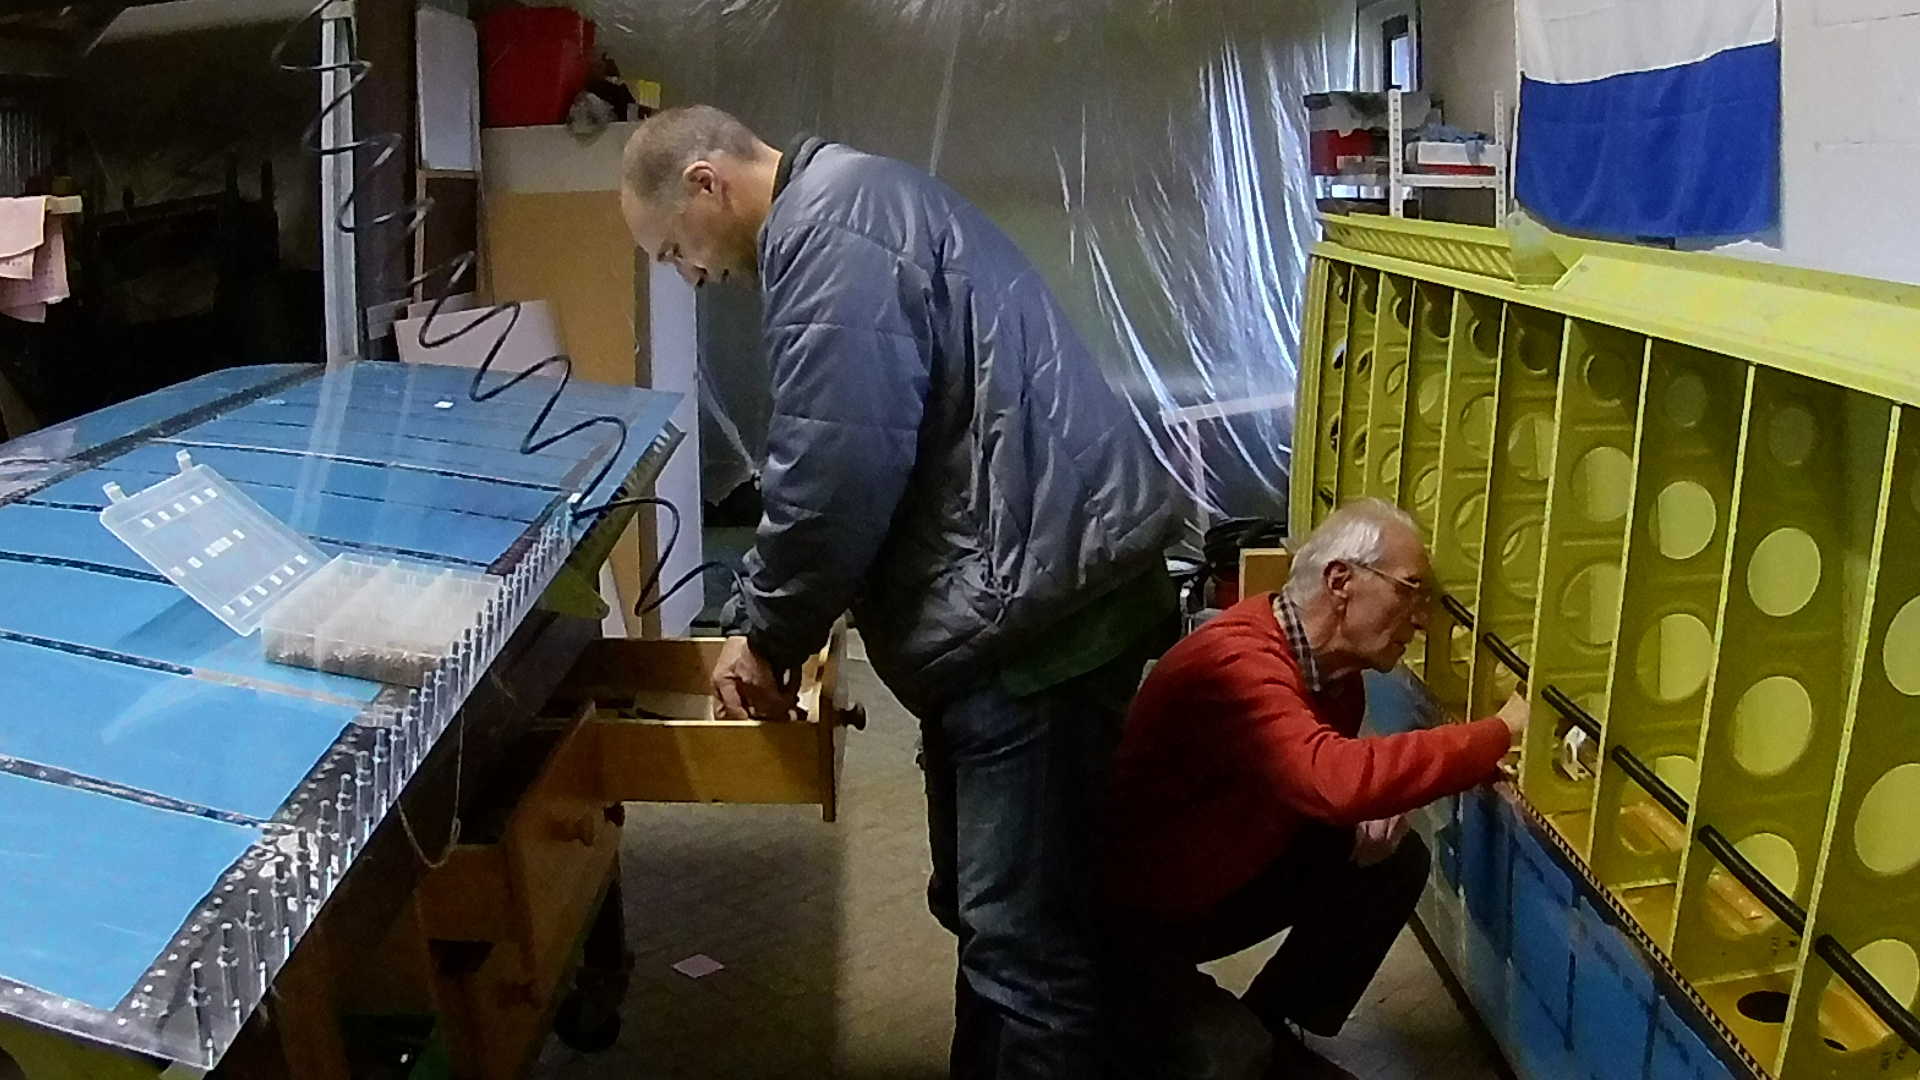
Next task was bigger than I thought, which was finishing the Pitot tube and Angle of Attack sensor. Bending and flaring the Aluminum tubes to the connectors. I thought we could do this in half an hour, but it took almost two.
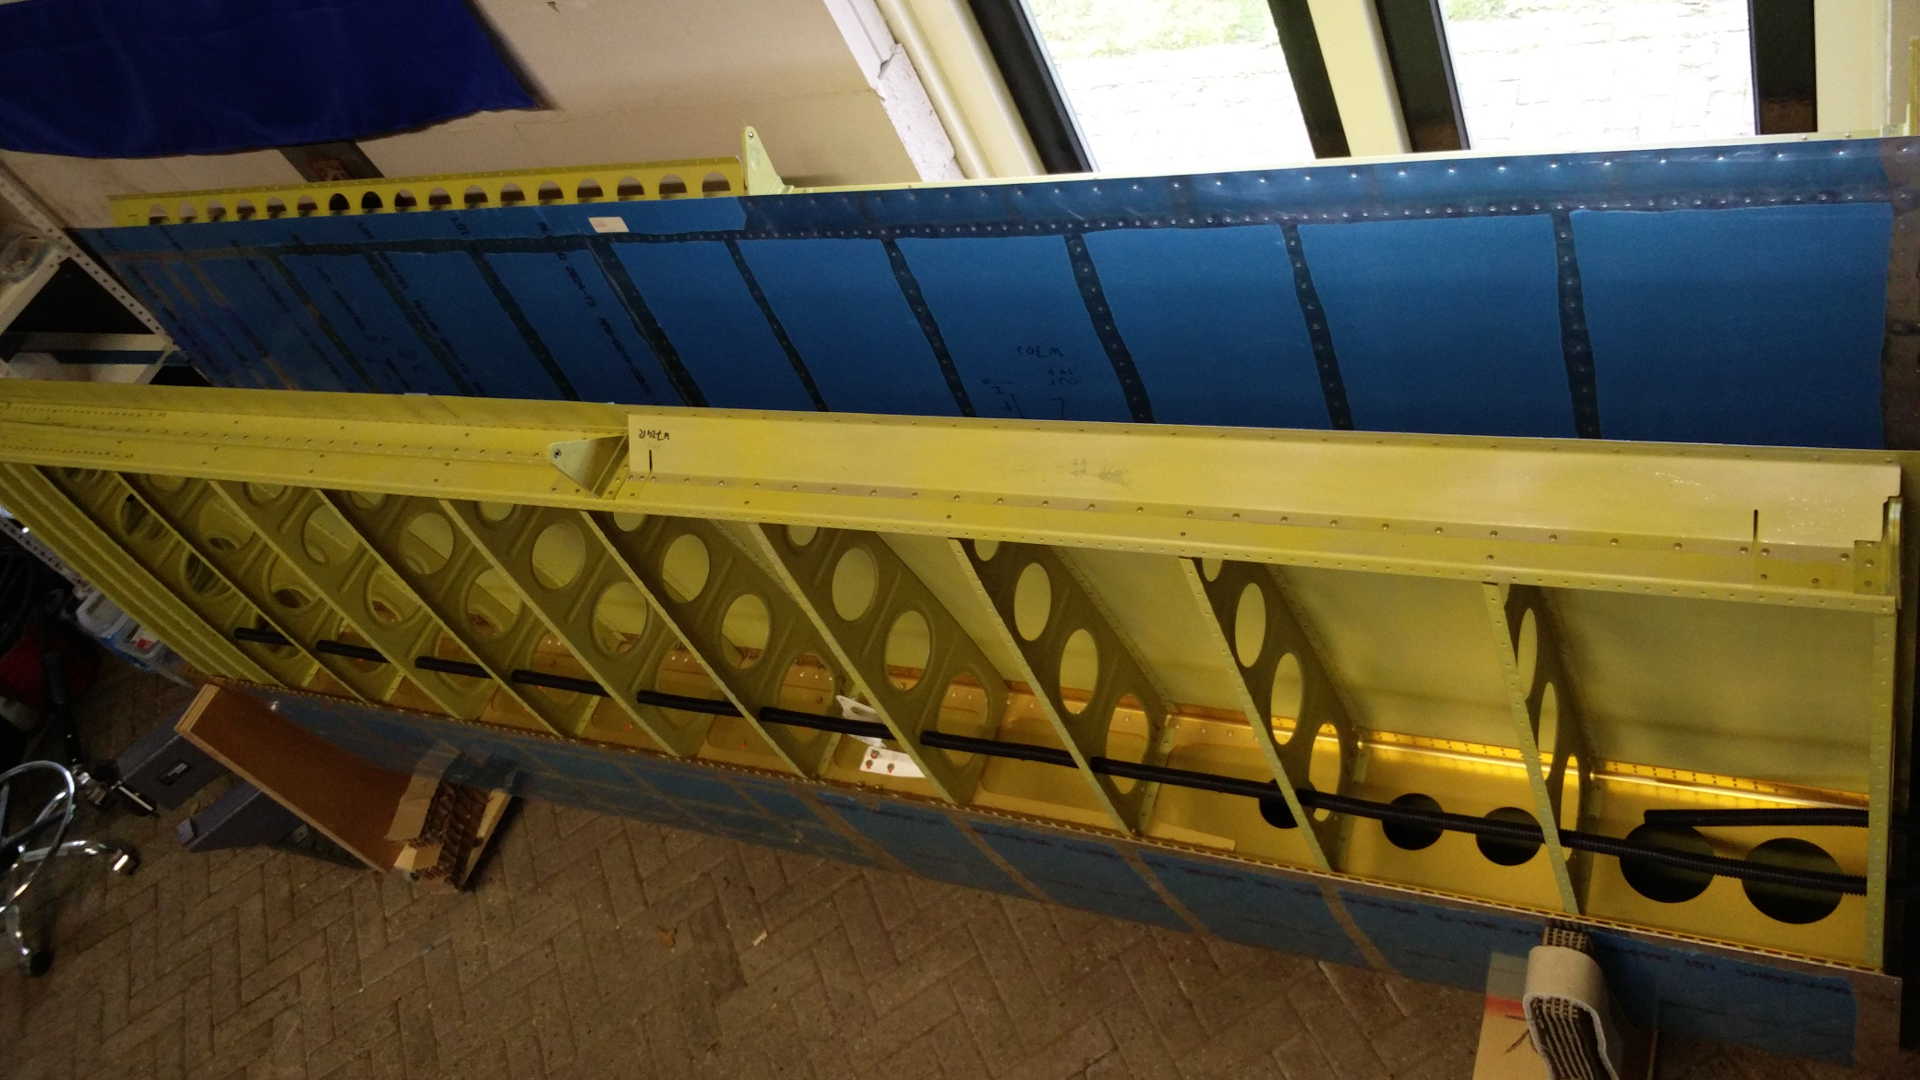
Magnificent sight both the Left and Right Wing in the cradle. After finishing the Aileron and Flaps and riveting the bottom skin they’ll probably be there for two to three years. My initial idea was to store them in the temporary “attic” in the workshop, however I’m afraid I’ll damage them putting them up there or getting them down. So I decided to store them in the cradle.
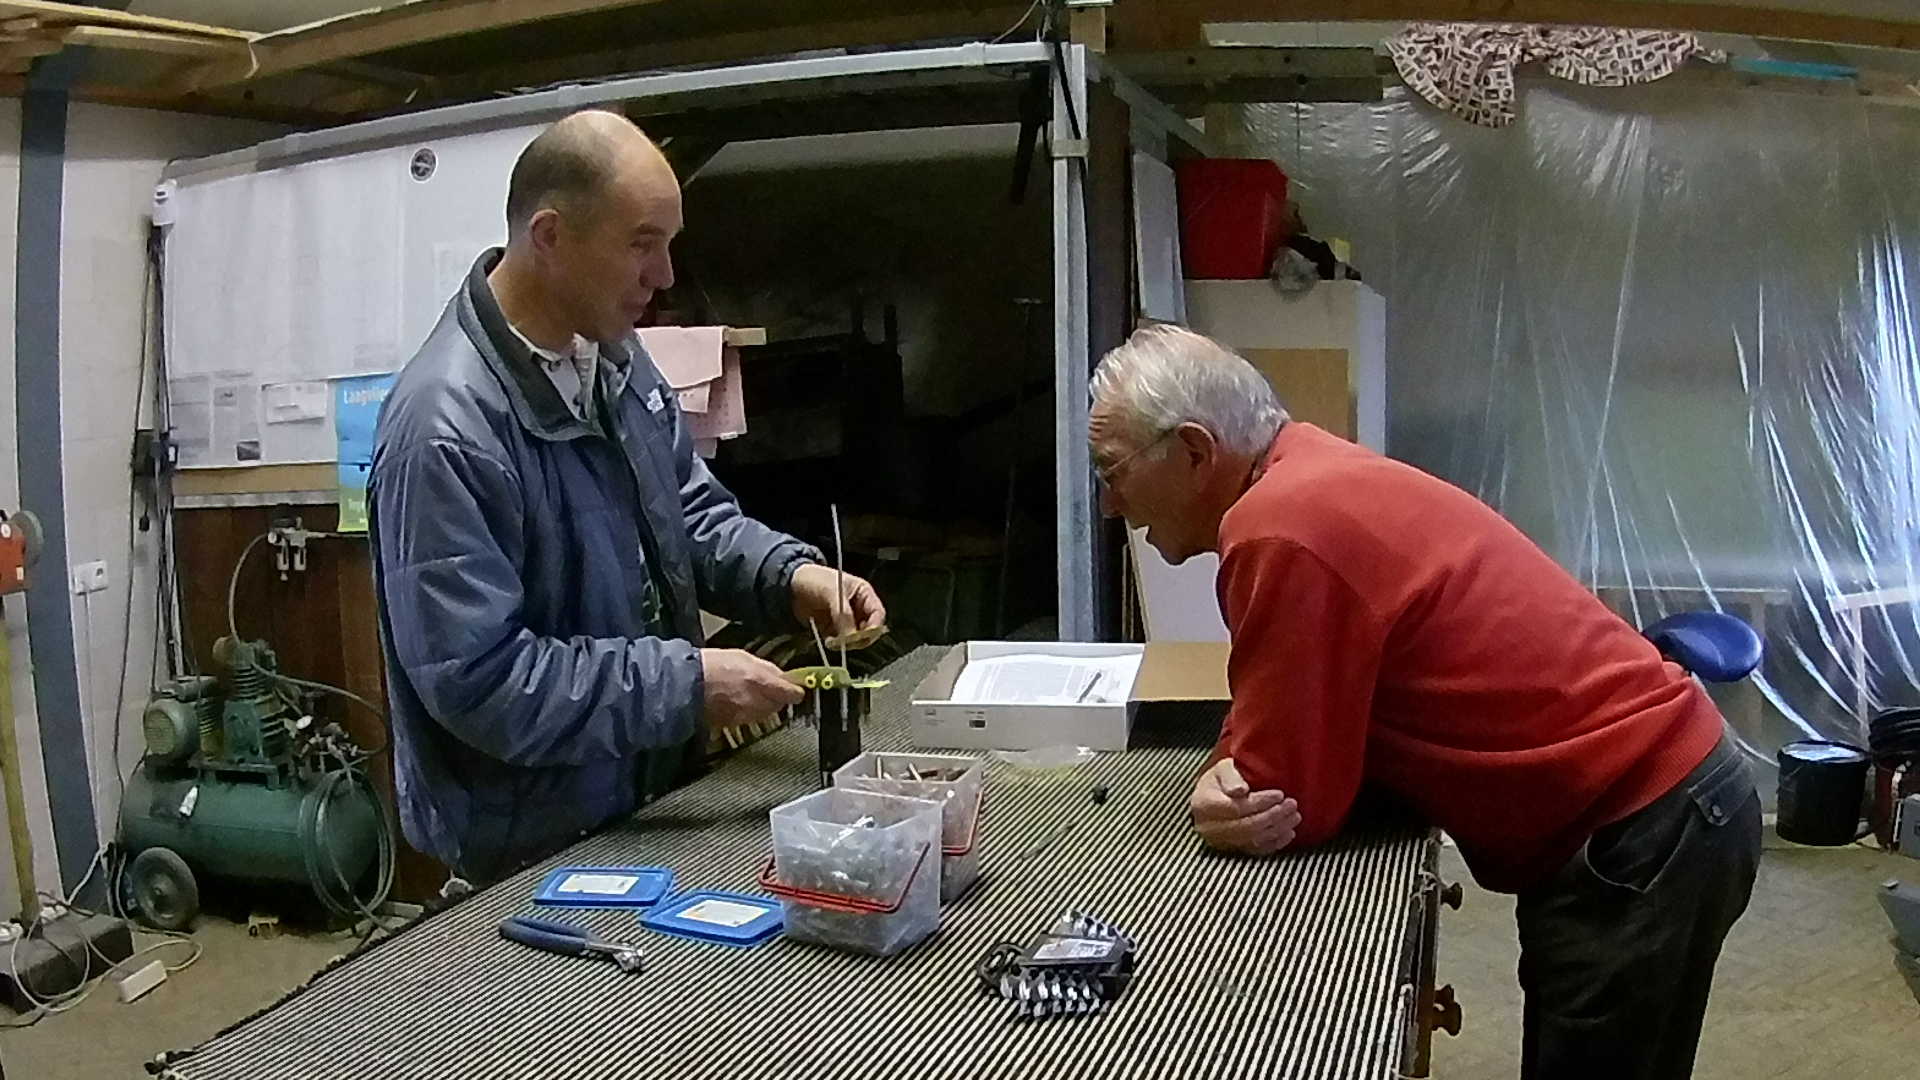
Next up, finding all the parts of the Ailerons. This is were carefully checking the shipment of Van’s and good inventory comes handy. Getting all the Aileron parts just took a few minutes.
However I did stumble on two ribs annotated as W-412, where the “W” indicates neither Flap (FL) or Aileron (A). I was a little startled and checked drawings. Finally I found them on DWG-9. Apparently NOT something I missed, but end ribs in the wing tips.
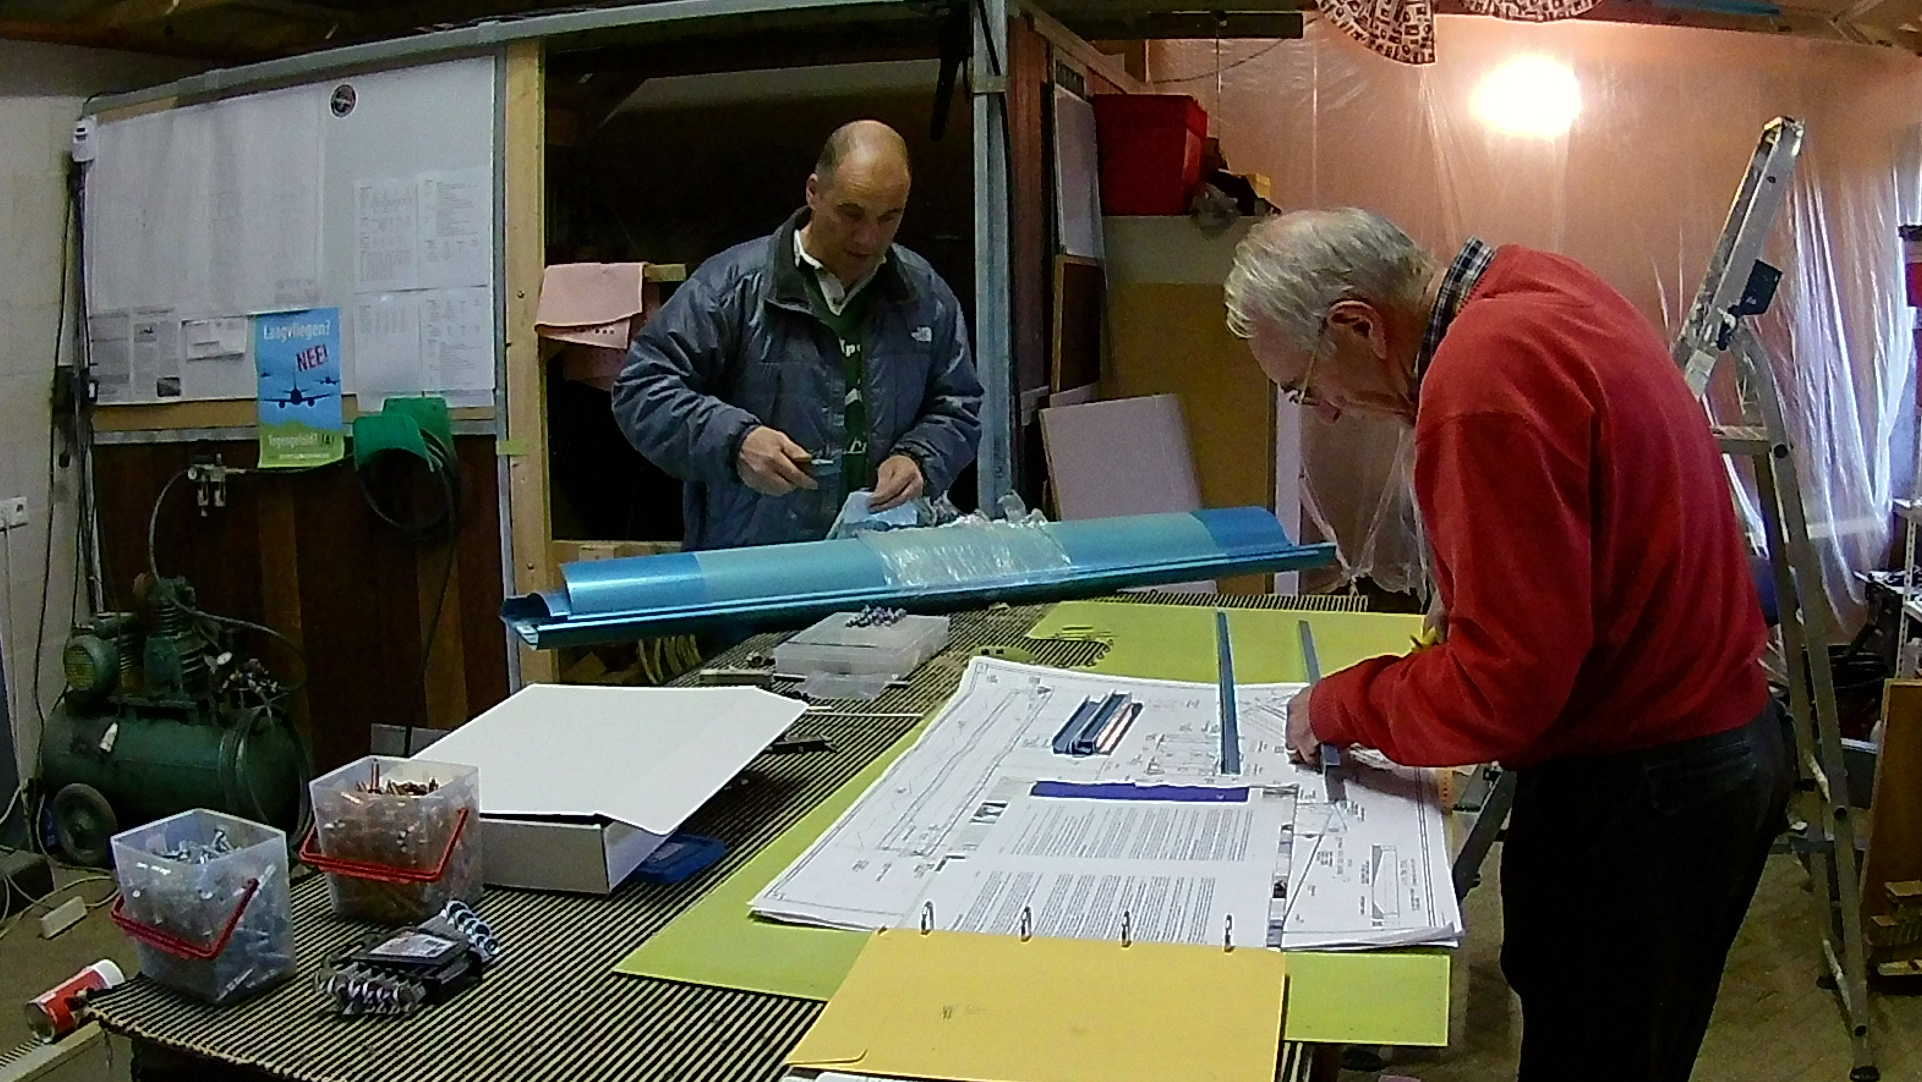
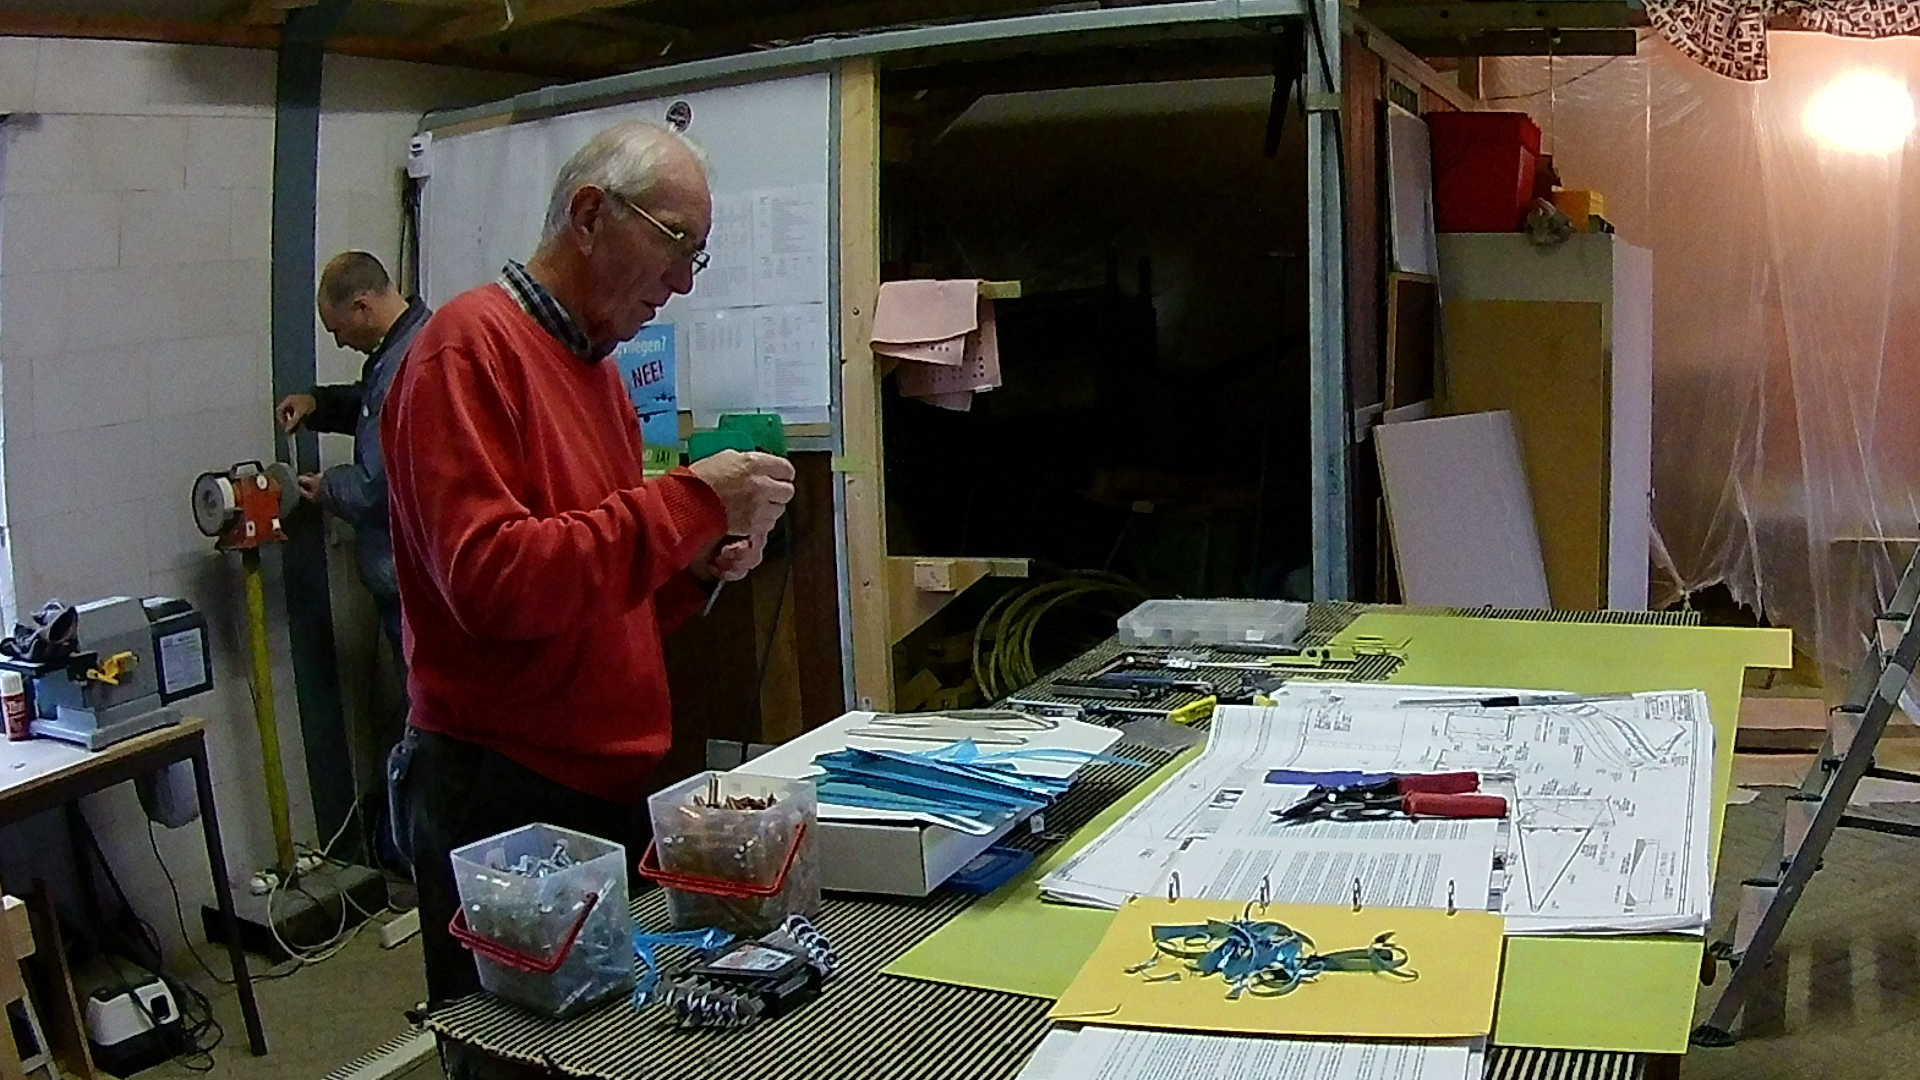
Making stiffeners is a four step process. My dad does the first two while I do the finishing tasks. The steps go from coarse to fine and are: cutting the individual stiffeners from a large (albeit pre-punched) Aluminum angle longeron; trimming the stiffeners with the snips; band-grinding the trimmed stiffeners to final size and lastly using the Scotch Brite wheel to “polish” the stiffener.
Here you can see steps 1 and 3.
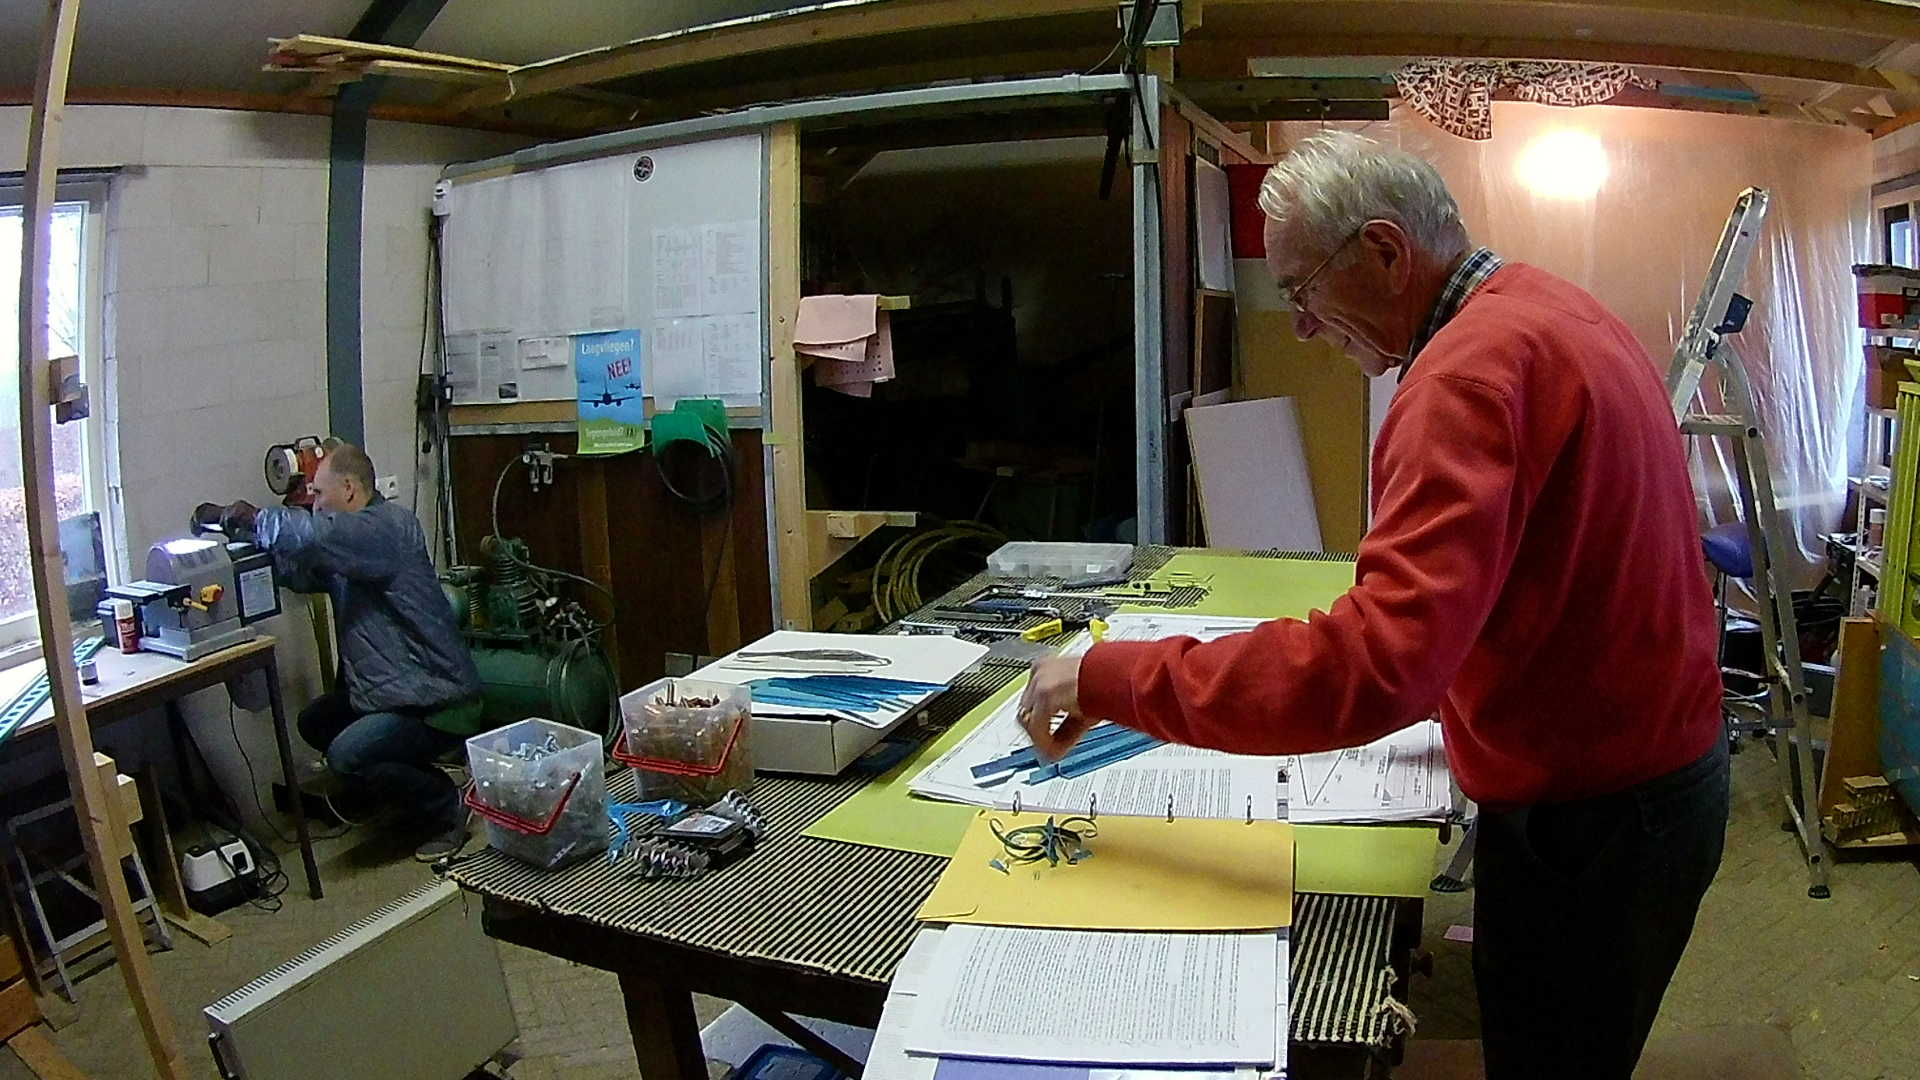
And here are steps 2 and 4. The Ailerons have eight “ribs” made of a top and bottom stiffener, hence 32 stiffeners for both Ailerons. Again I’m trying to build Left and Right parts in parallel, aiming for better symmetry.
No I’m not redecorating, but although the earth is warming up, it’s still freaking cold in my workshop in the winter. So I decided to insulate it with old (unfortunately musty) drapes. This way my small electric heater can actually keep it above freezing level.
Priming actually went pretty well, but I don’t think (even with drapes) I can do any glass/resin work on my wing tips with these temperatures.
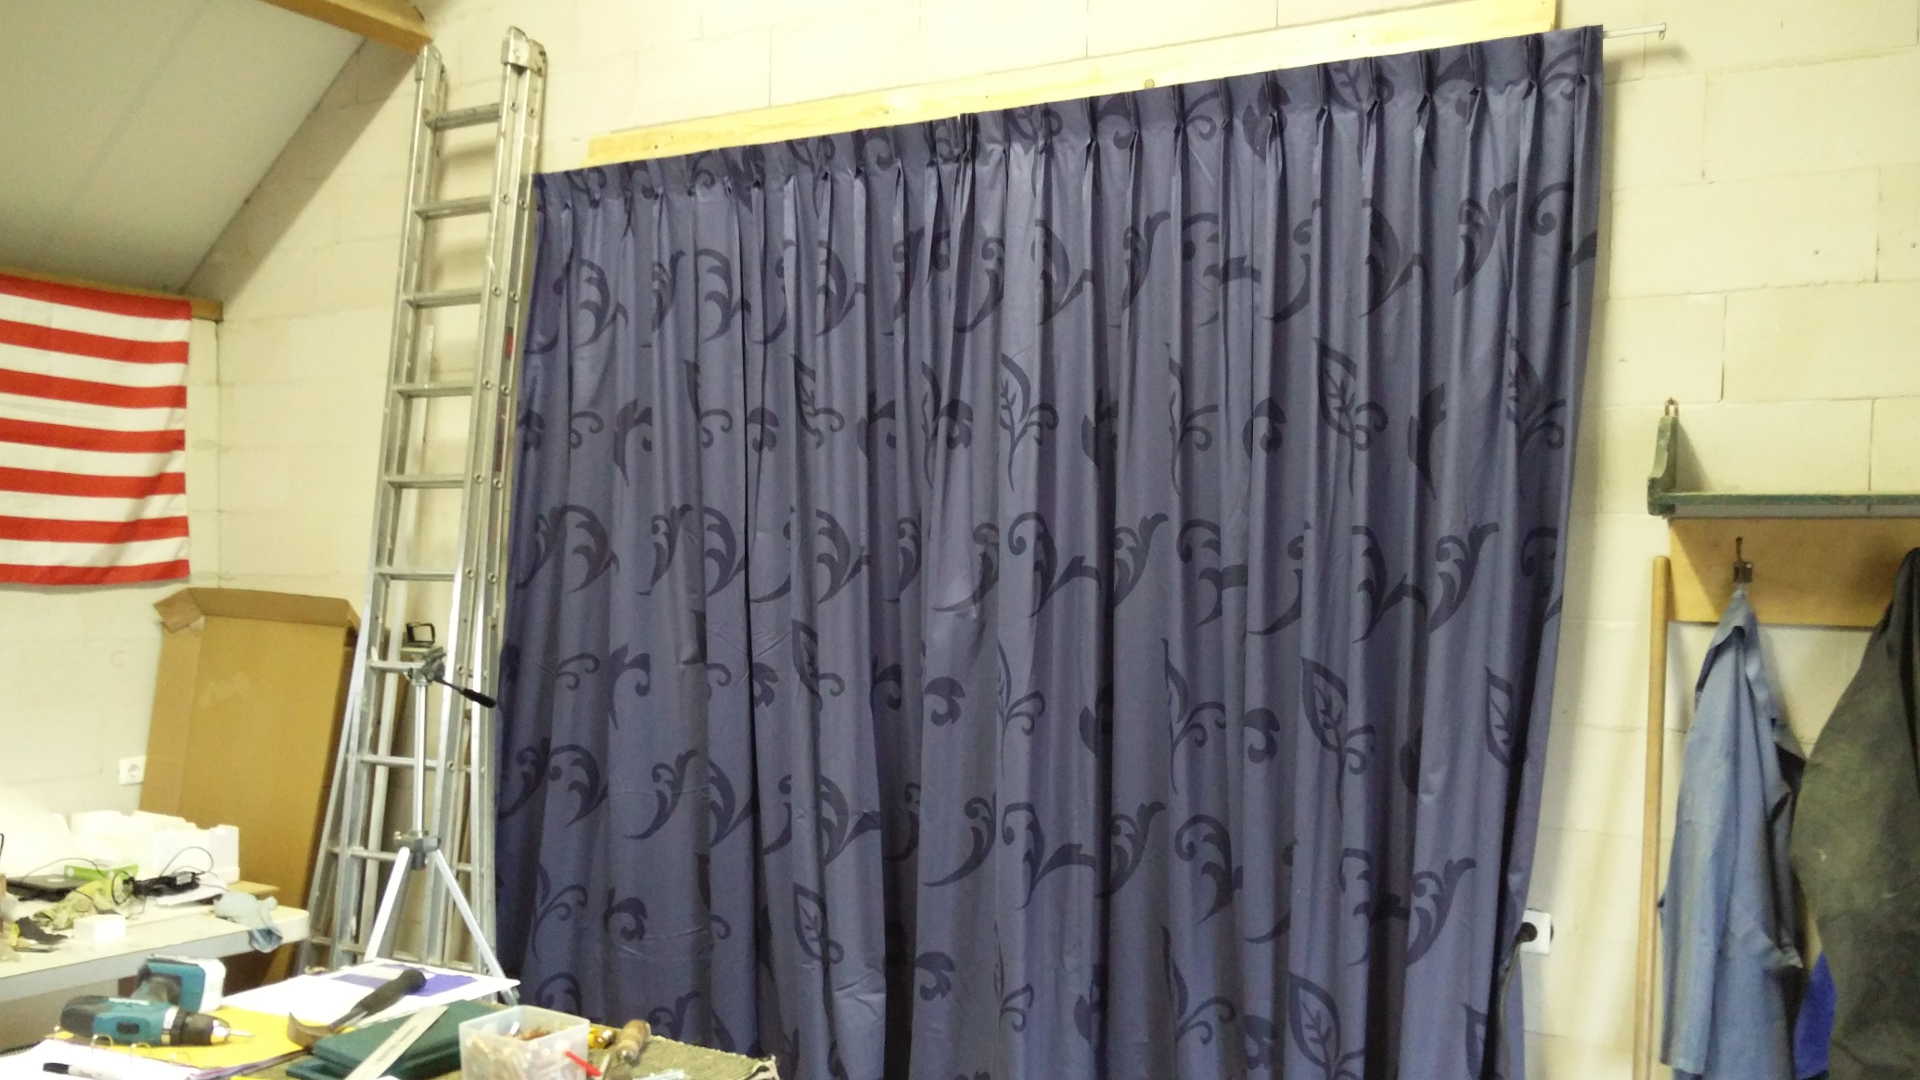
Having finished most of the Empennage and also a big part of the Wings and with the Fuselage in order, it’ll still take several winters before this puppy will fly. So these drapes will come handy in the coming winters (sounds discouraging when talking about winter in plural on my project).
Time: 4 Hours, Rivets: 3/3
Video