
Since the surface area of the tail skin is quite large, it took a considerable amount of time (and paint) to get it primed.
In the evening I took an hour cleco everything together.
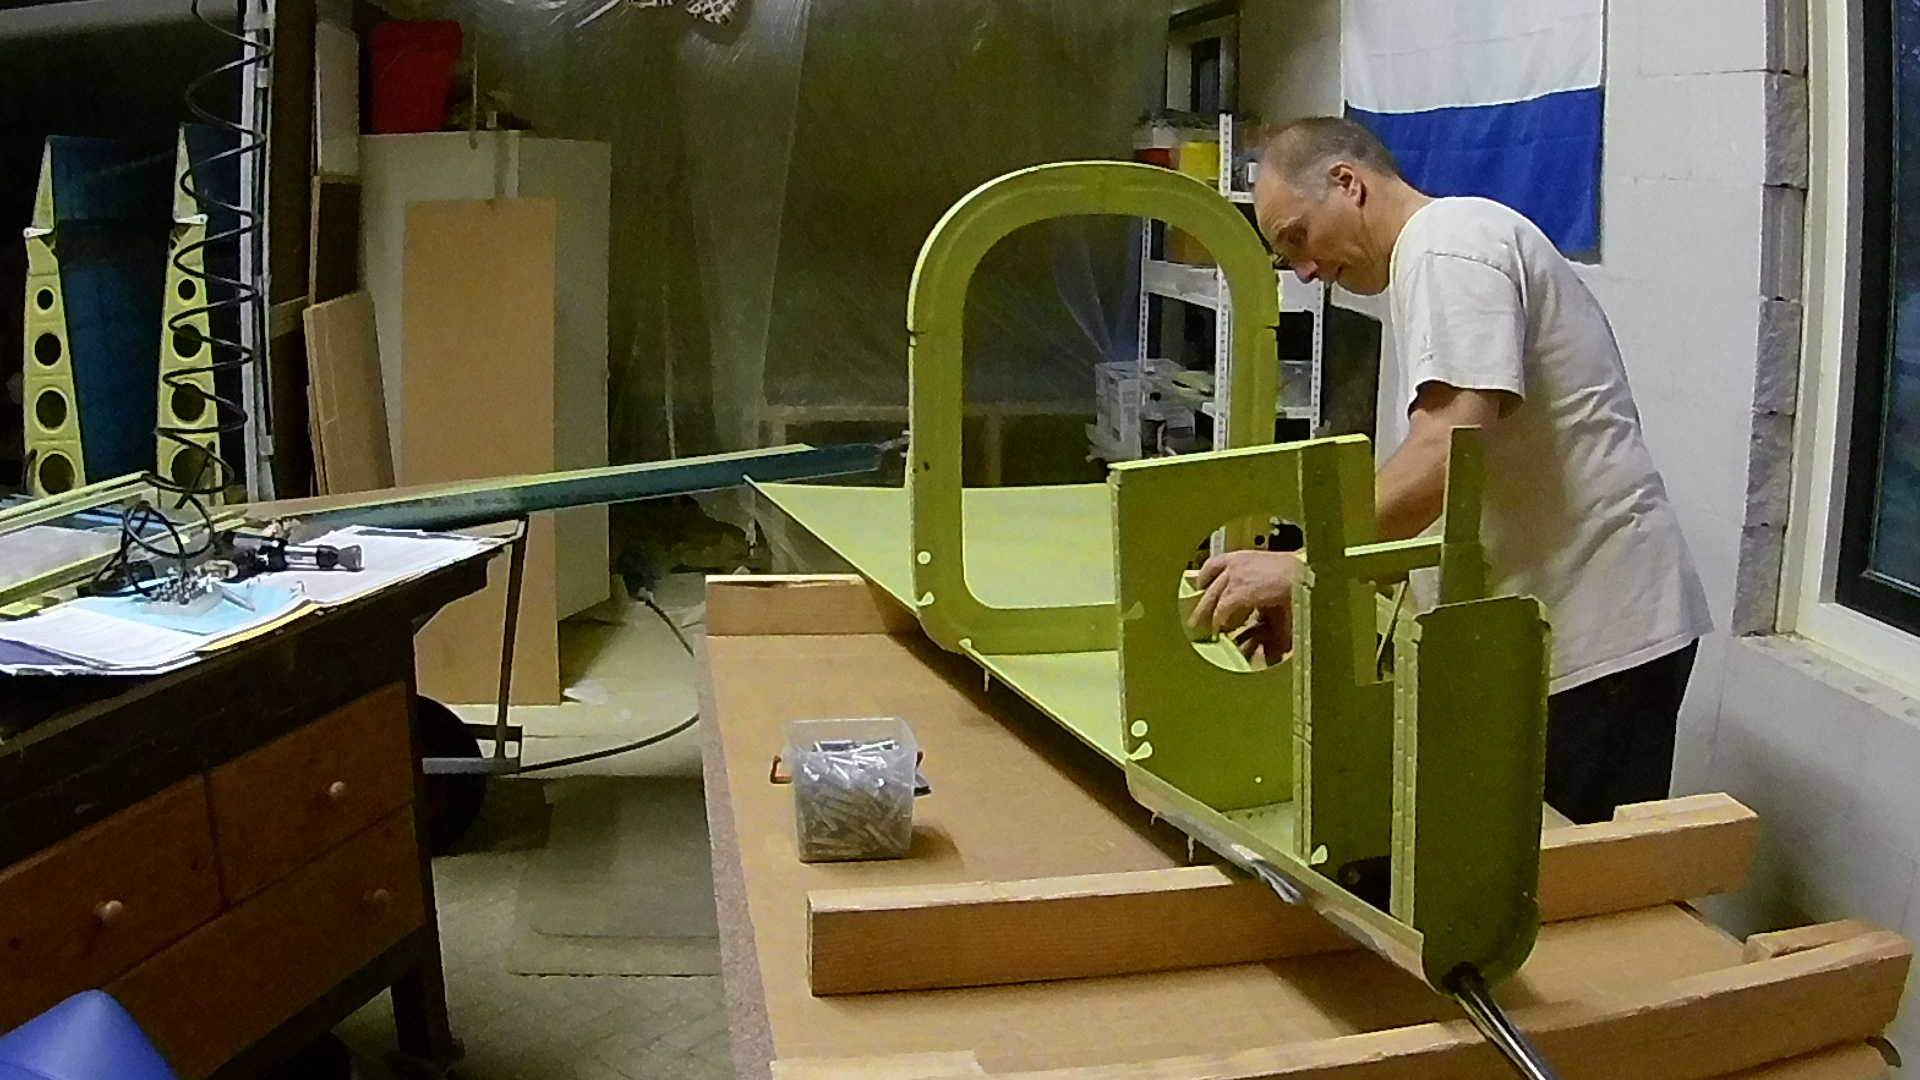
All the parts are dimpled, even the J-channels.
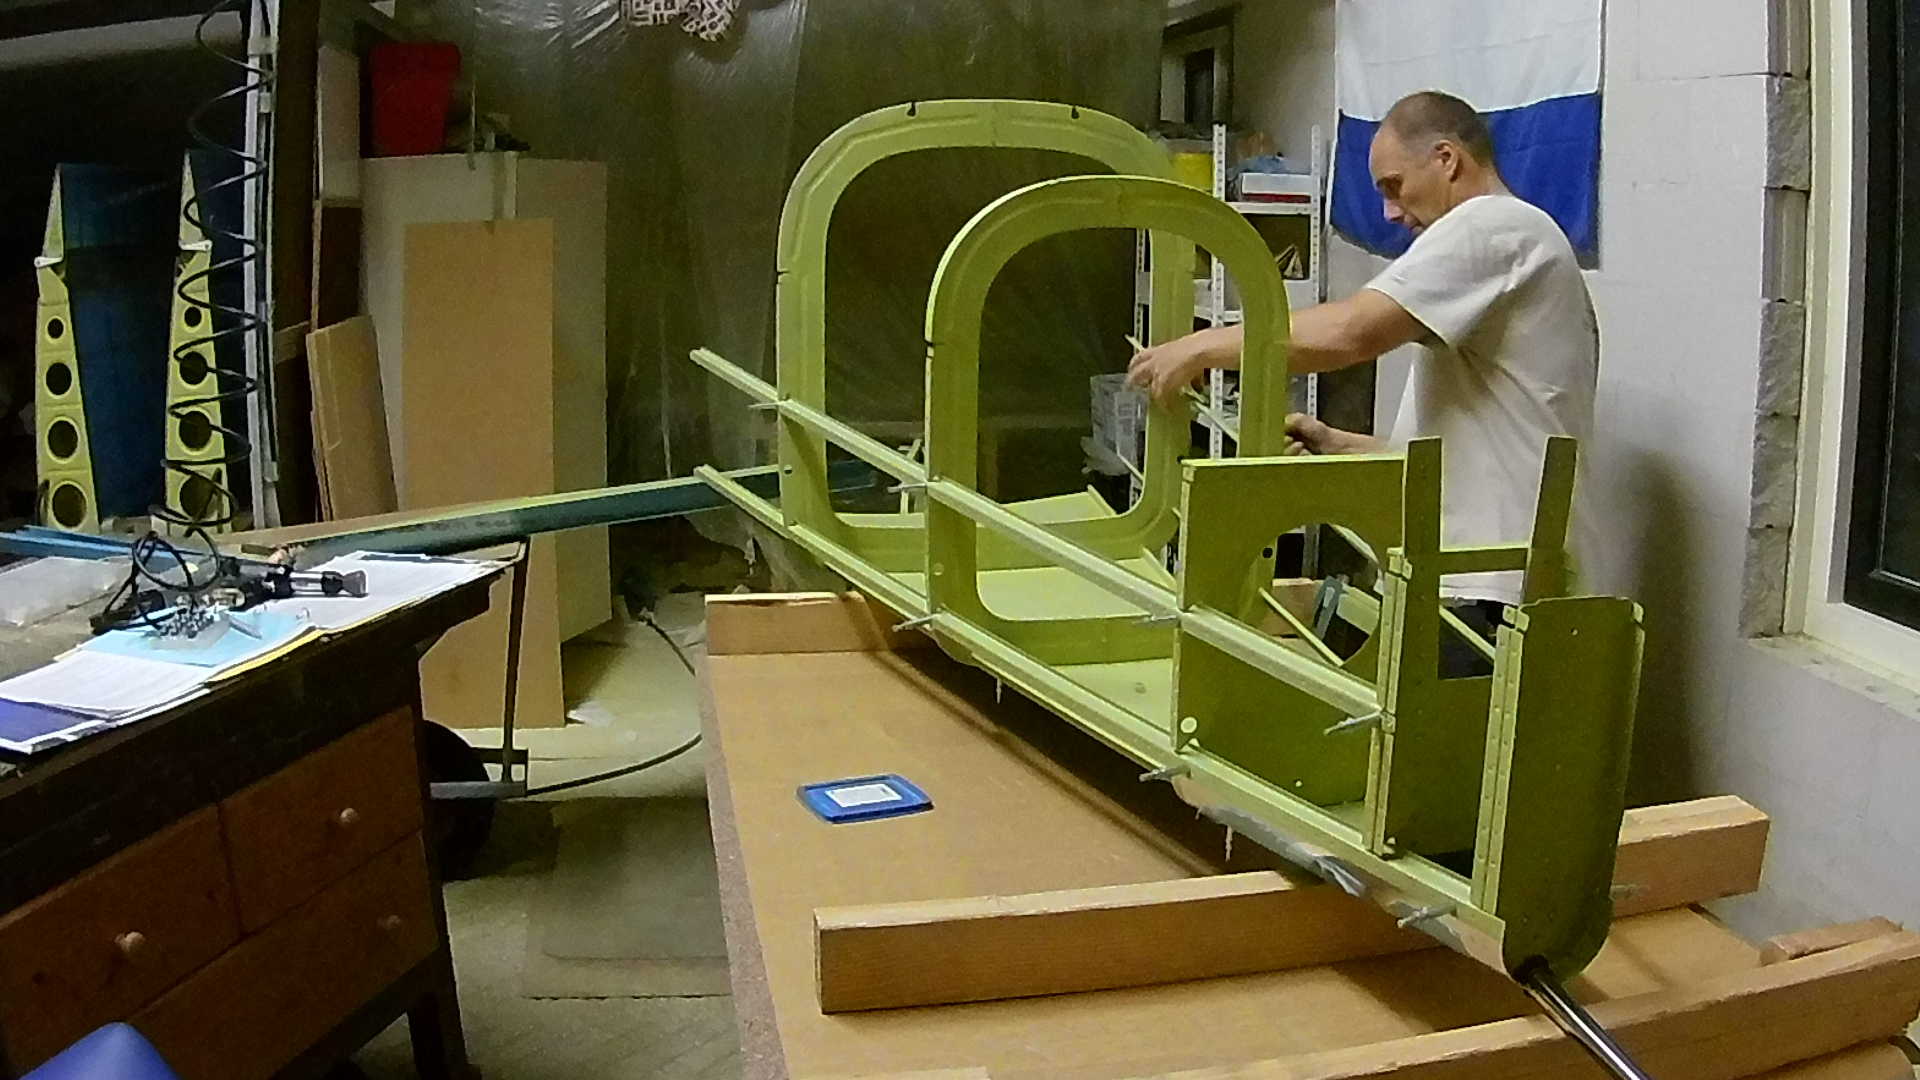
The bottom cleco’s are harder to set.
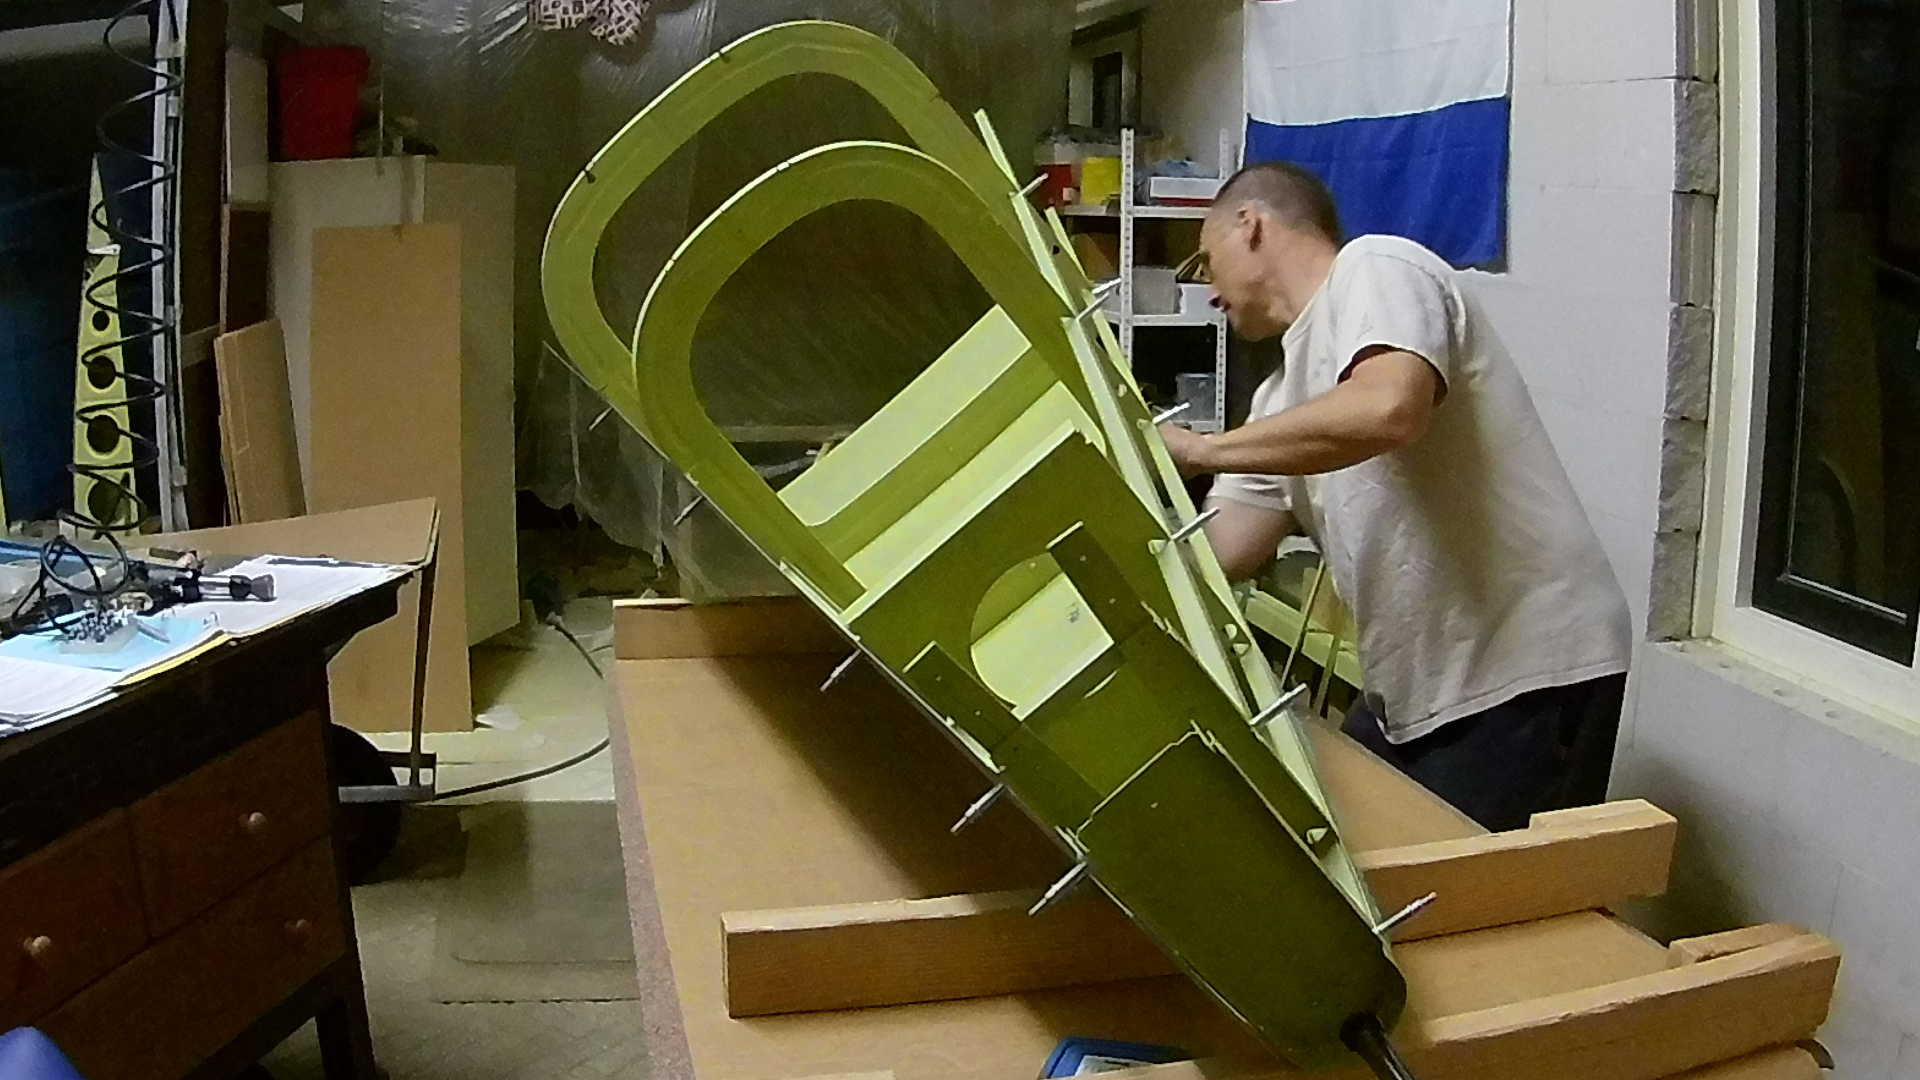
Last part is the side skins of the tail cone.
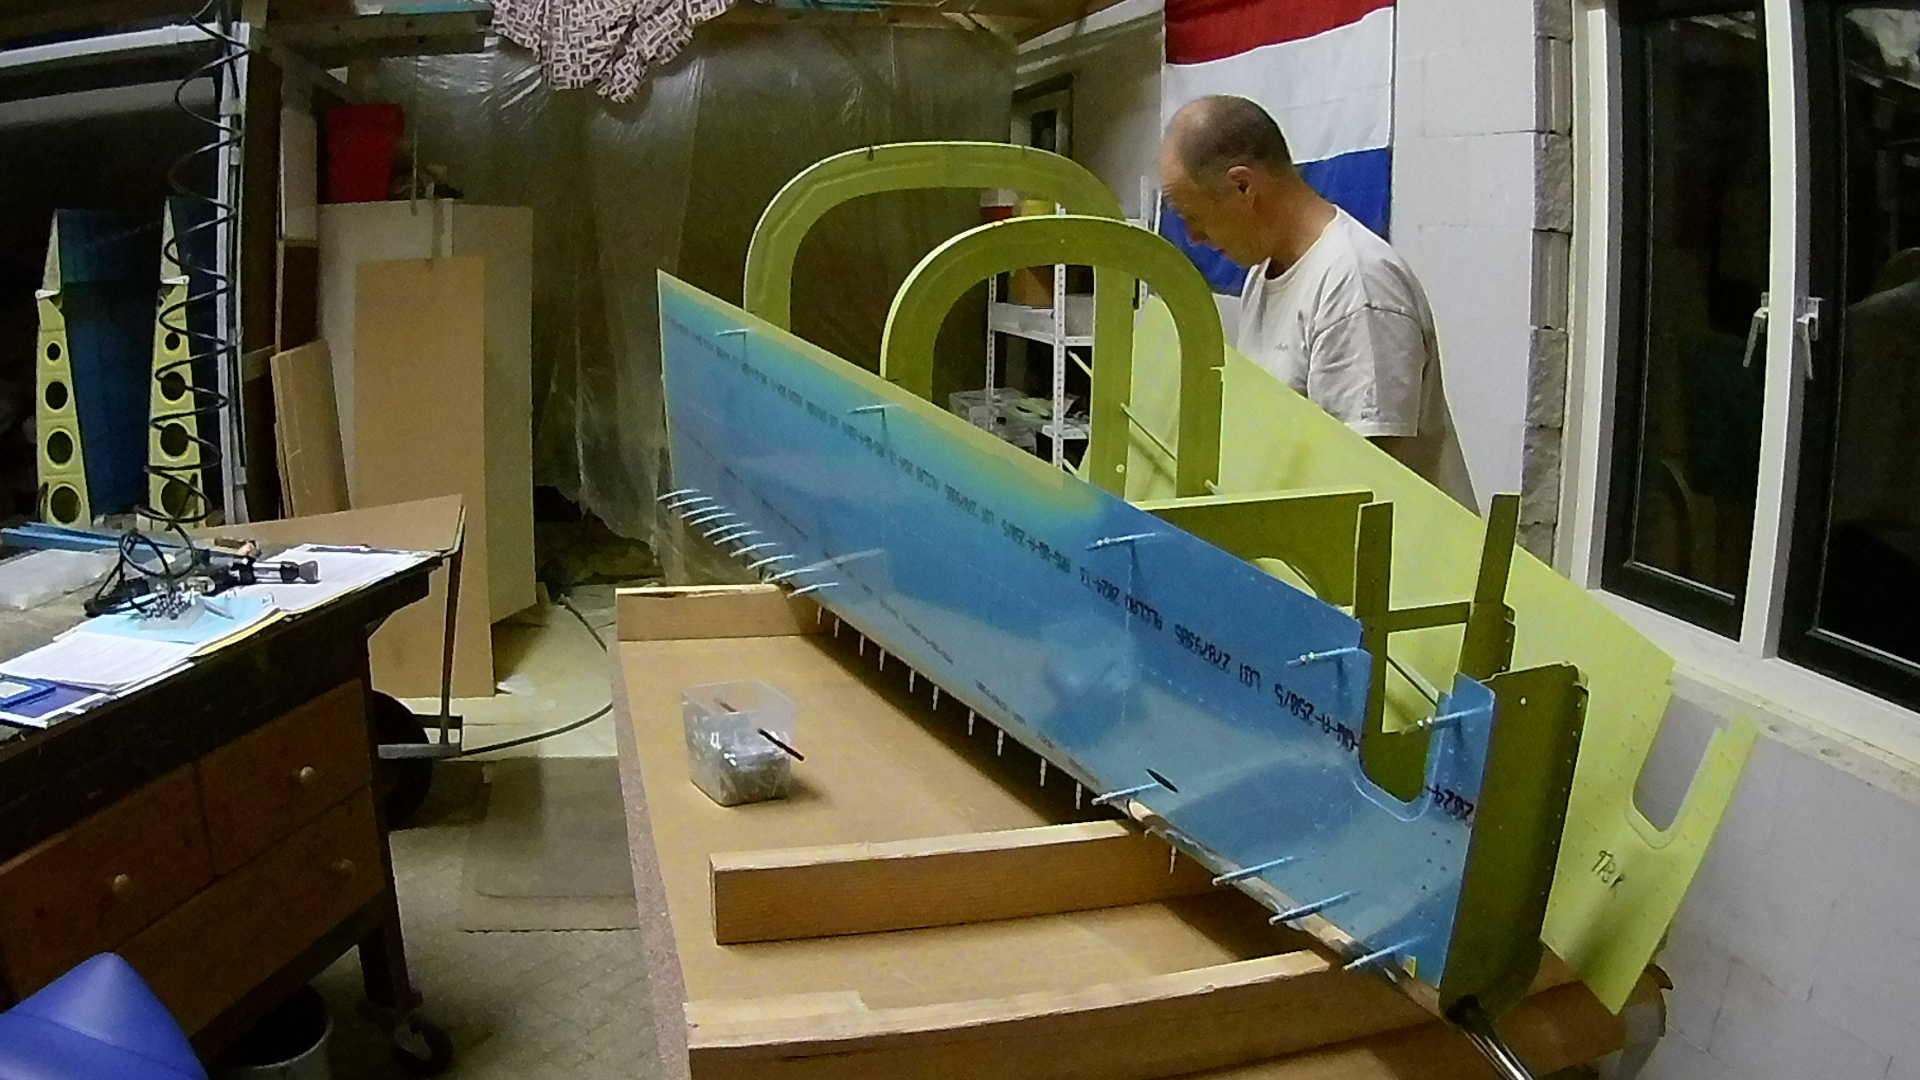
Before we can start riveting the skins, we need to remove the blue (protective) vinyl.
You could remove all the vinyl completely, but most builders will just remove the strokes that hold the rivets.
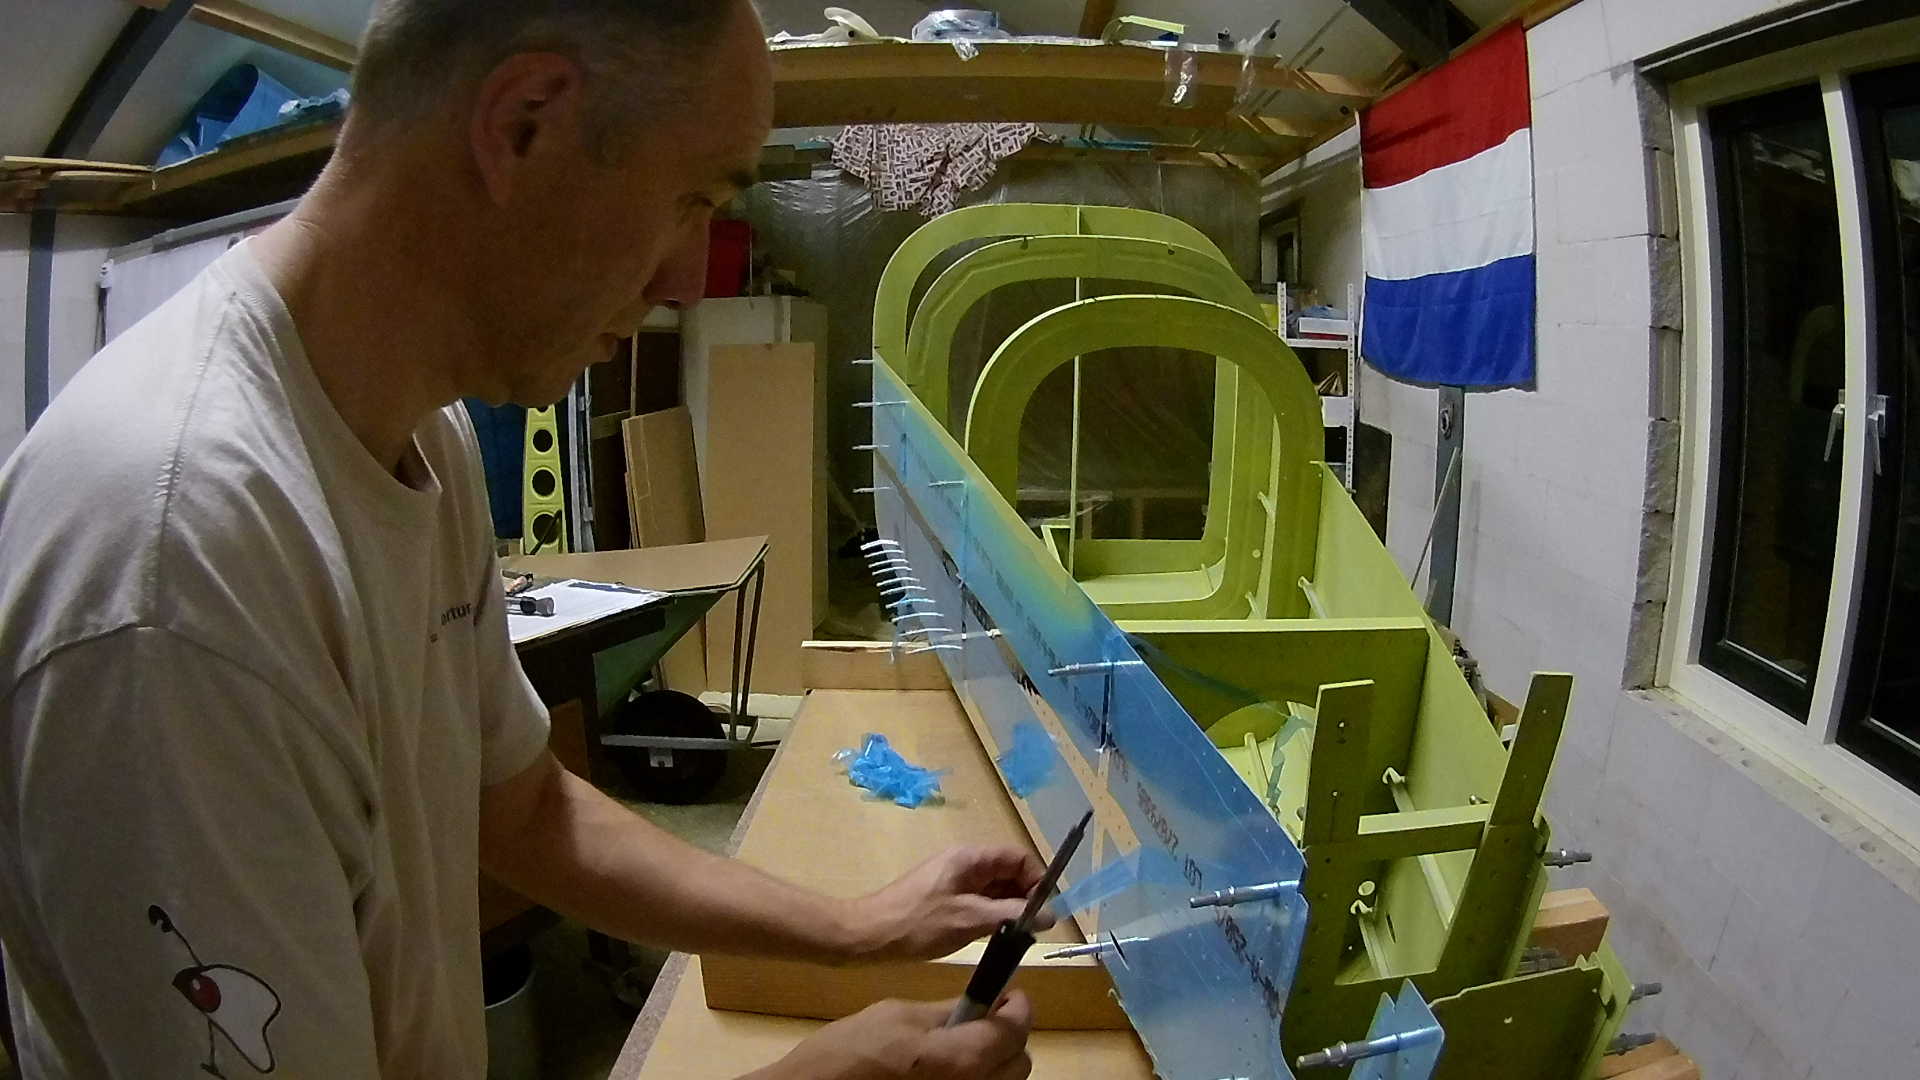
The best way to do this is using an old soldering iron, of which the point is filed smooth. Many builder use a ruler to make straight lines, but I don’t see the benefit of precision on this point.
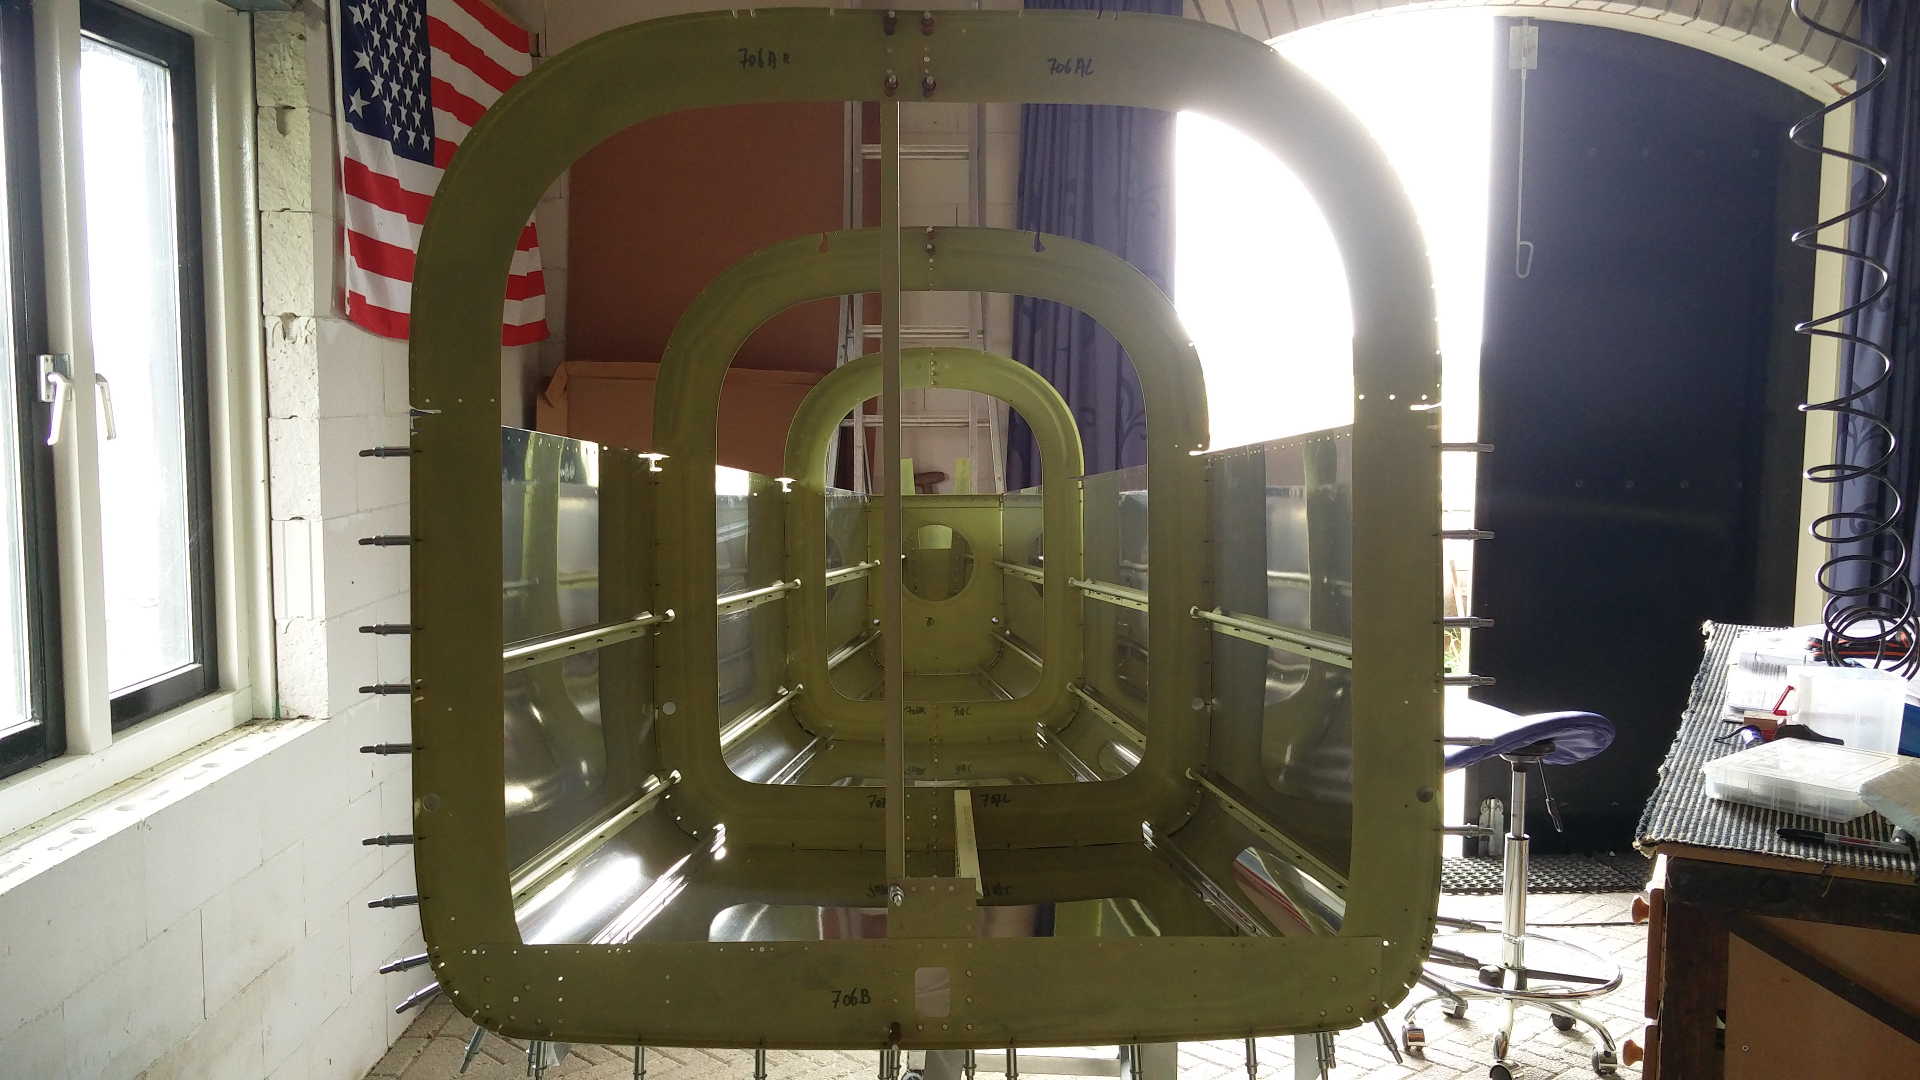
Ready for riveting.
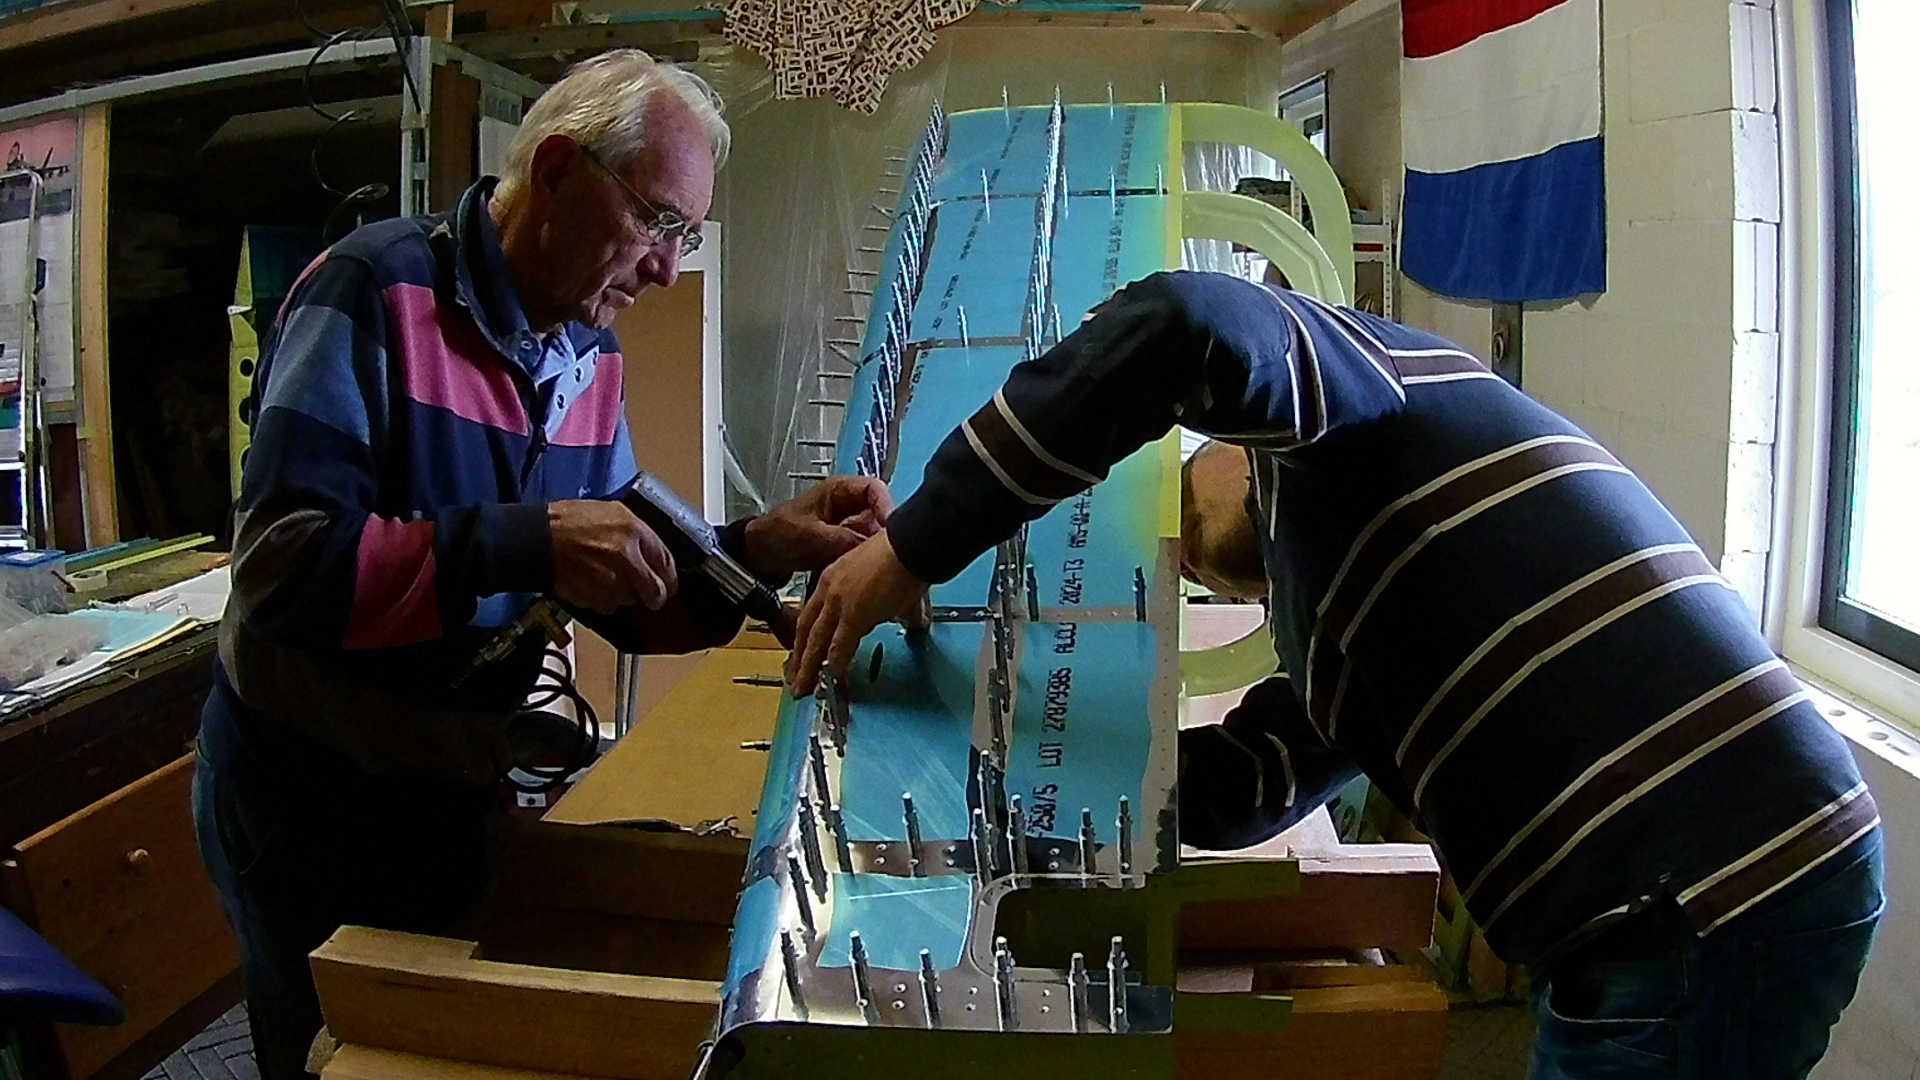
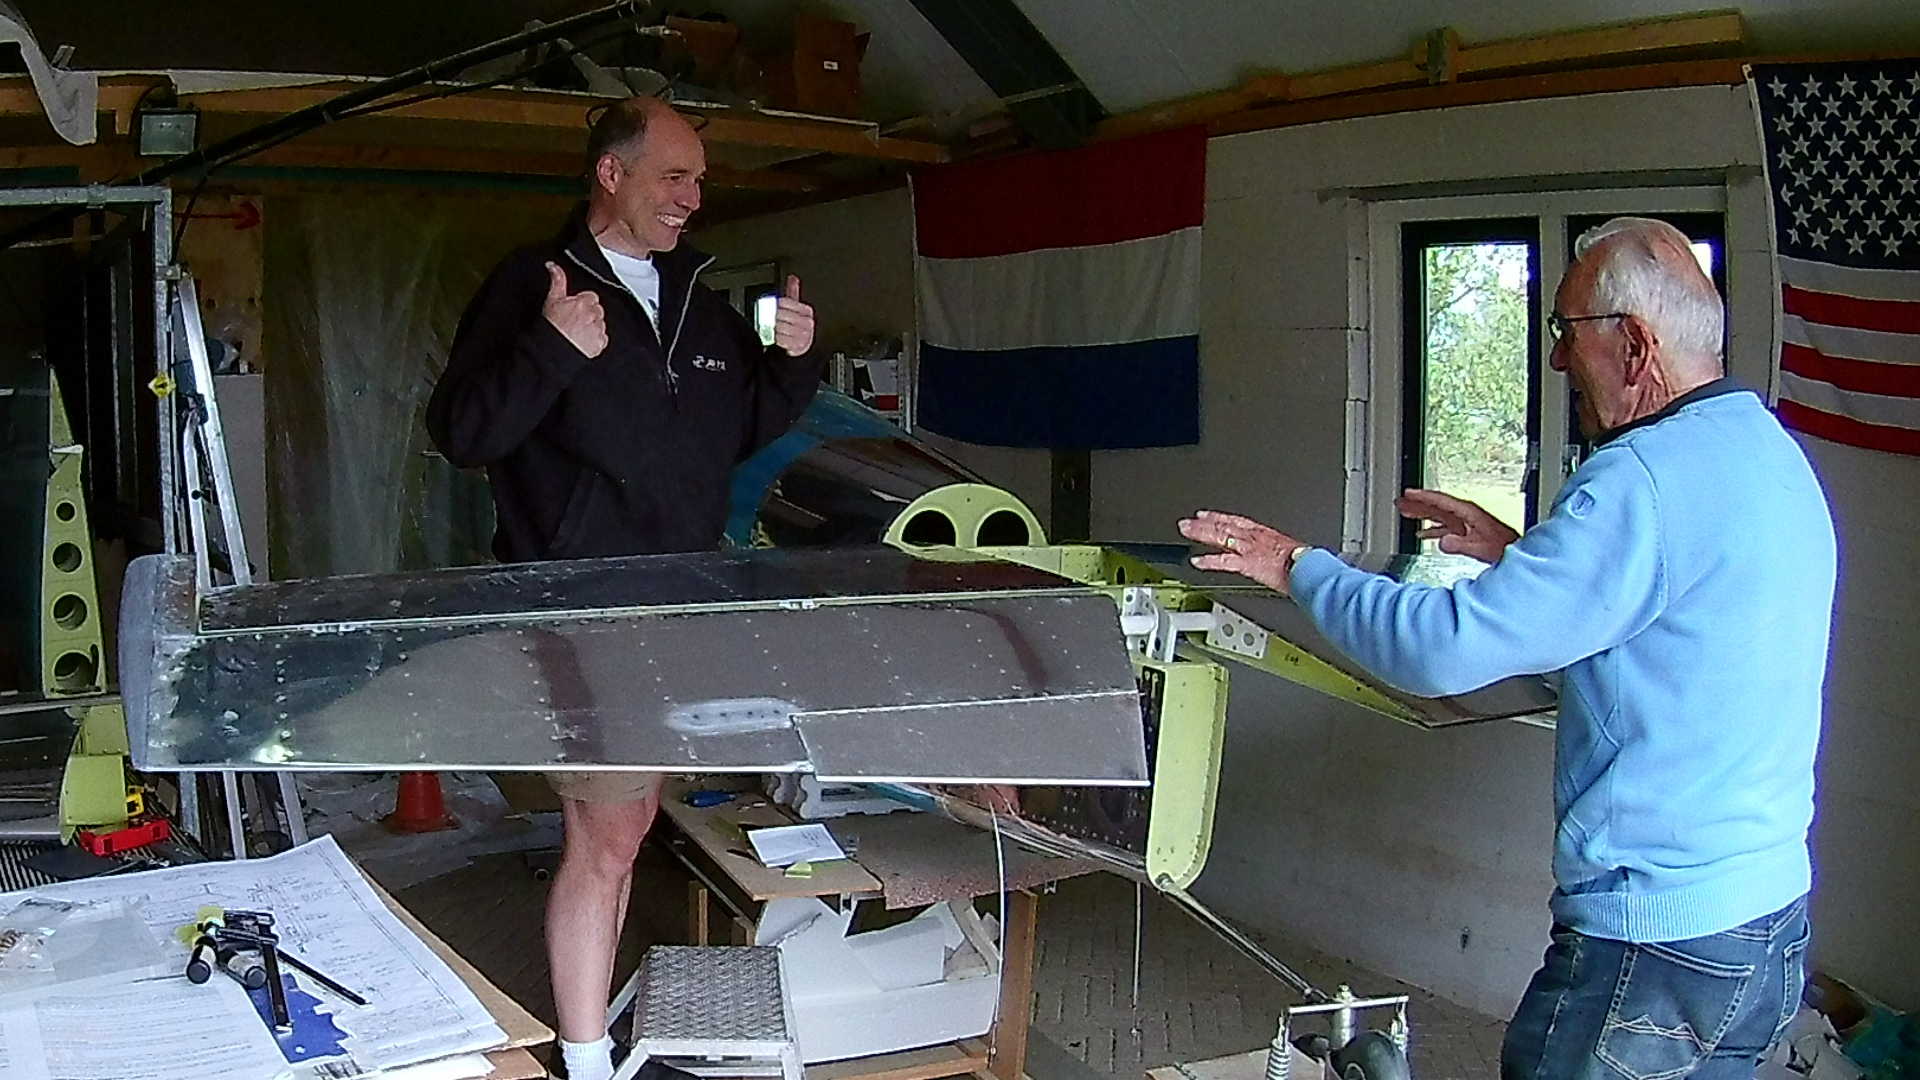
Luckily my dad had time again to help me. It might be possible to do this by yourself, but why try if you have an eager buddy who can help you out.
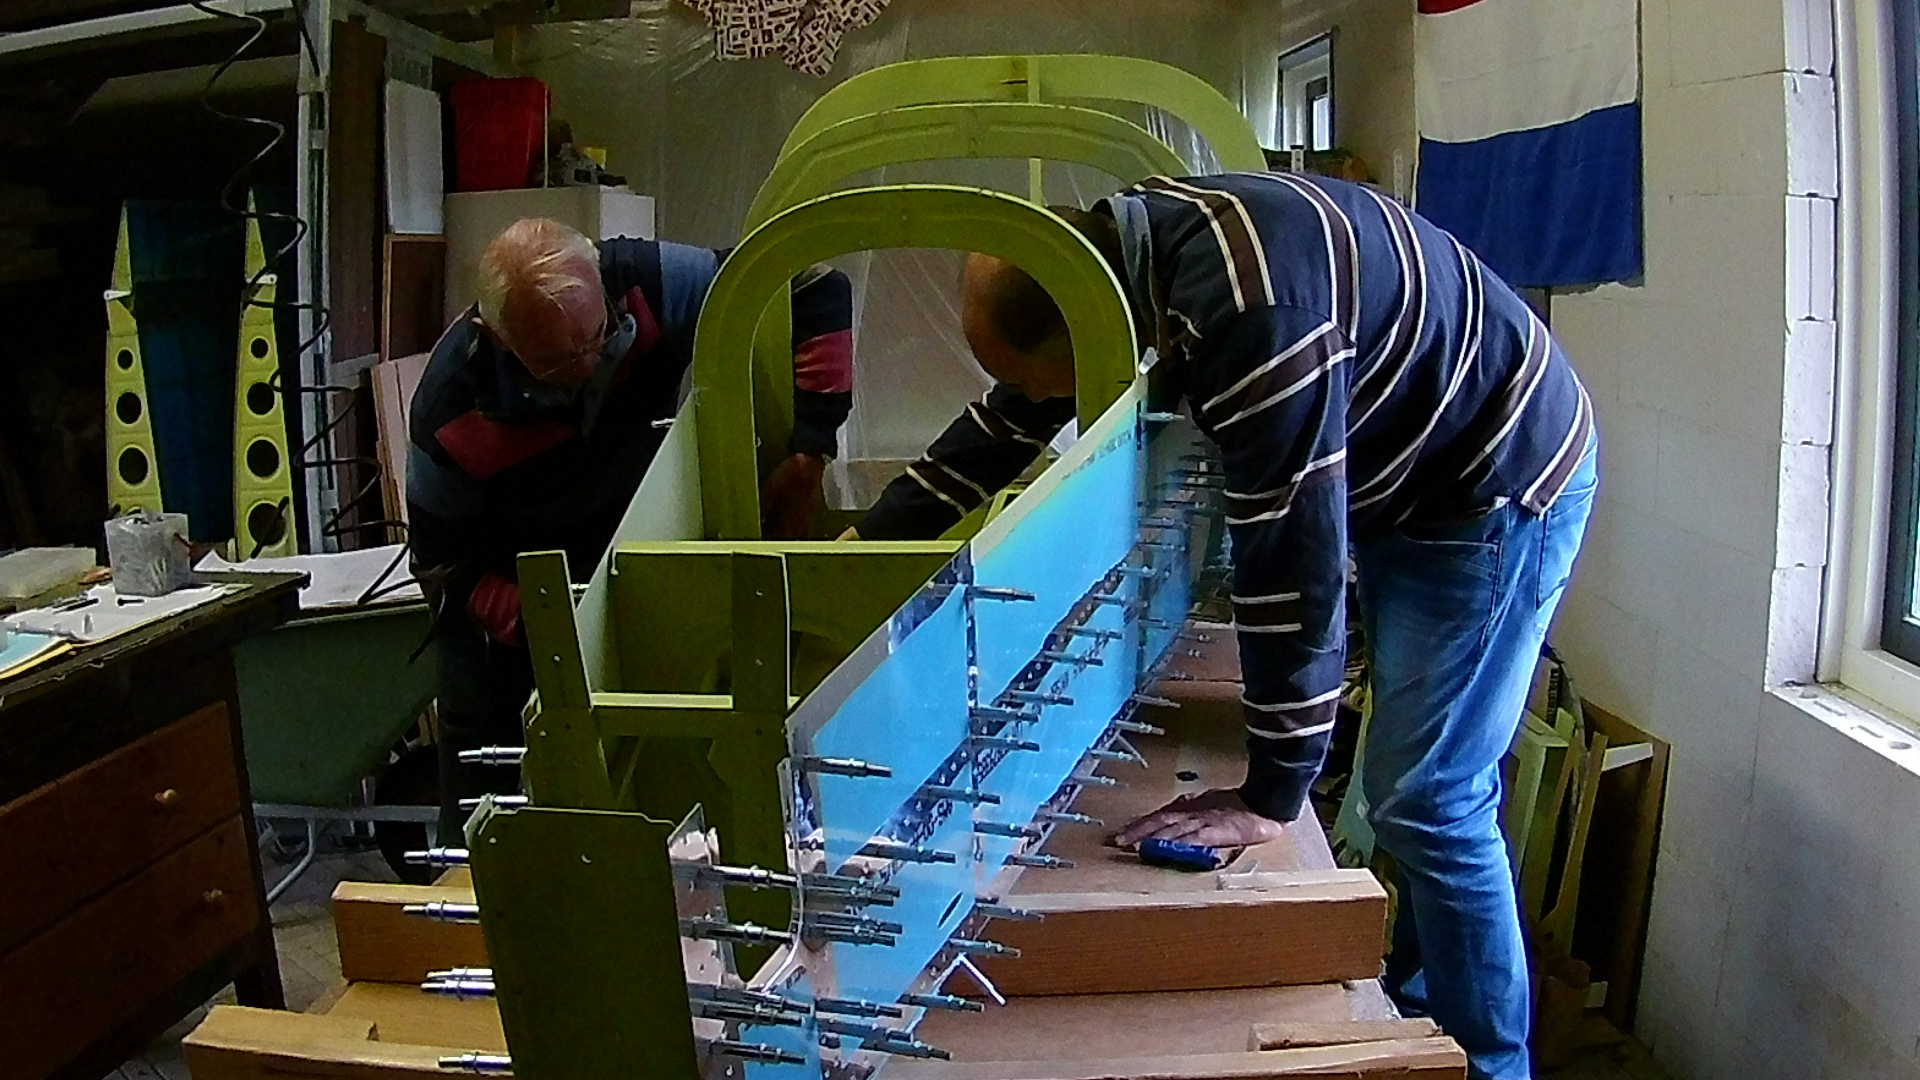
With a wider body going forward it’s getting harder and harder to reach the rivets with the bucking bar.
Time: 3 Hours, Rivets: 0/0 (2019-09-07)
Time: 5 Hours, Rivets: 386/4 (2019-09-11)
Video