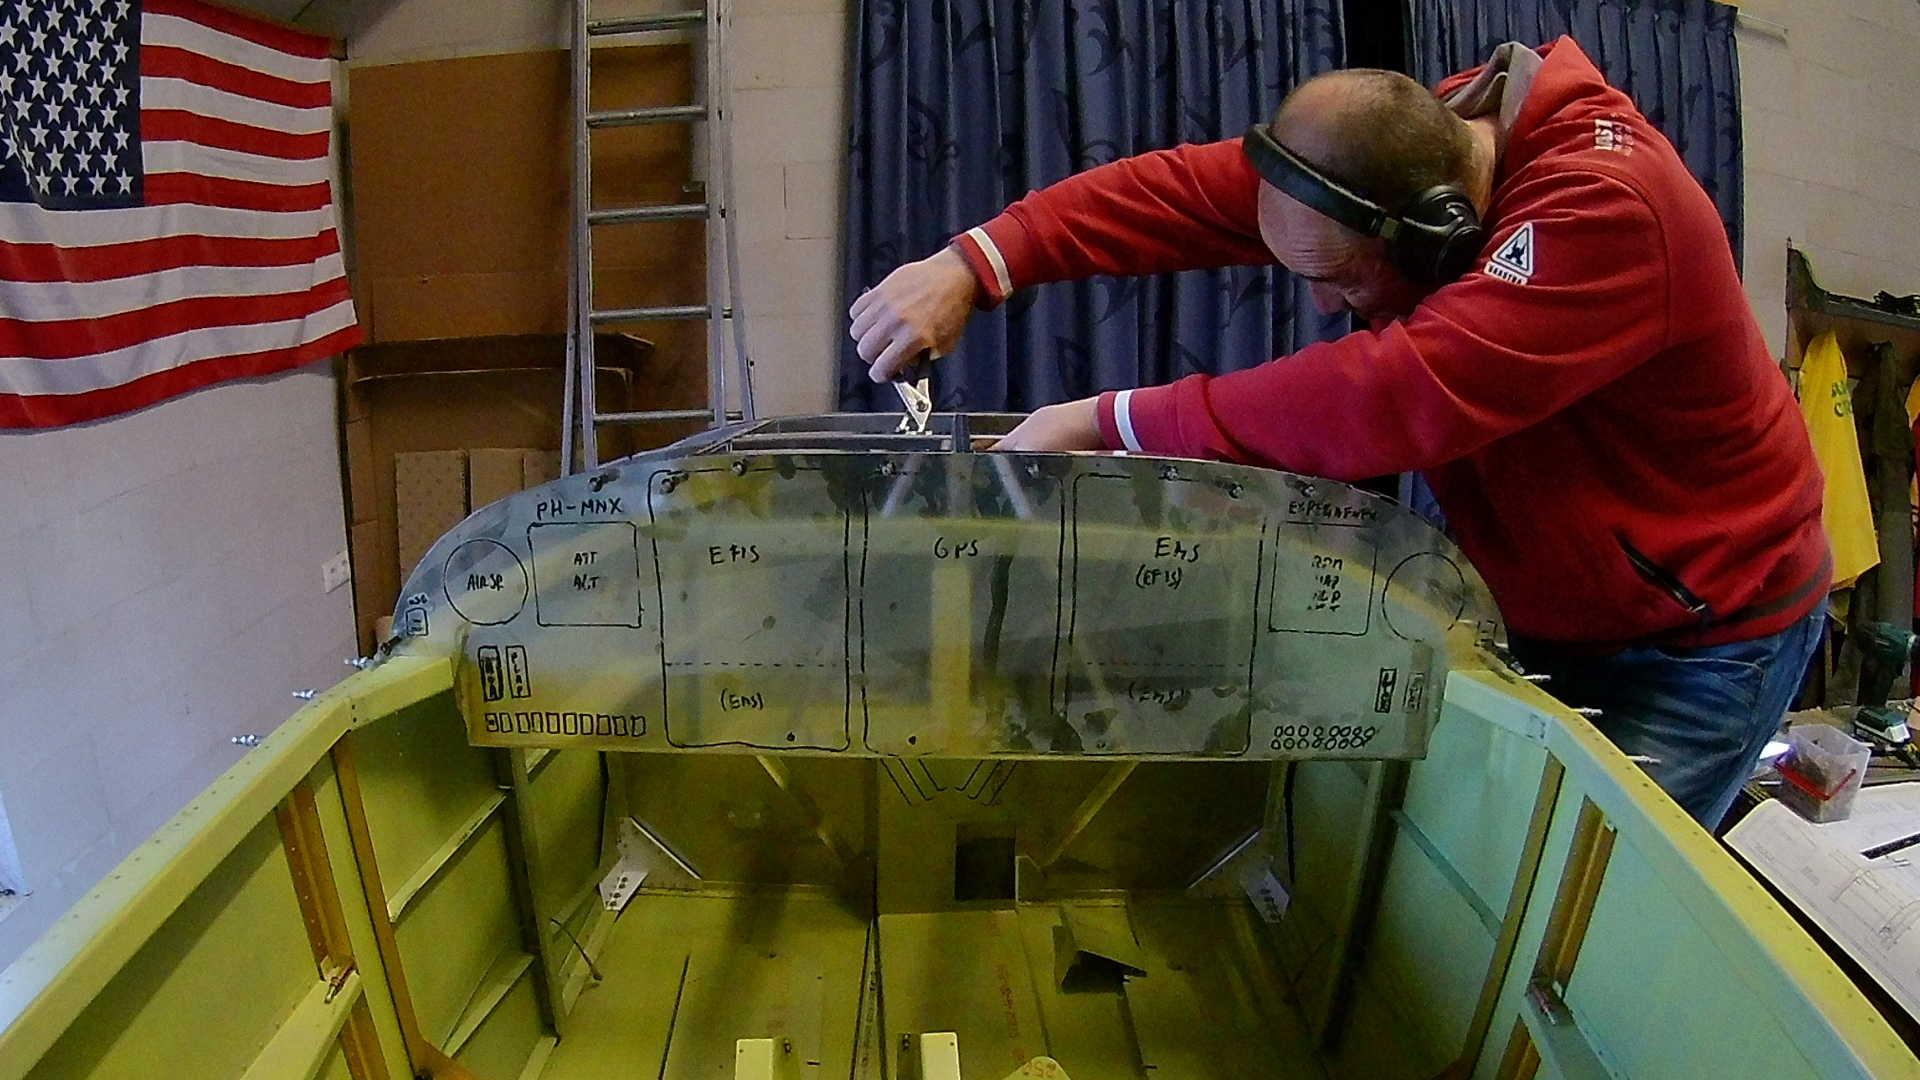
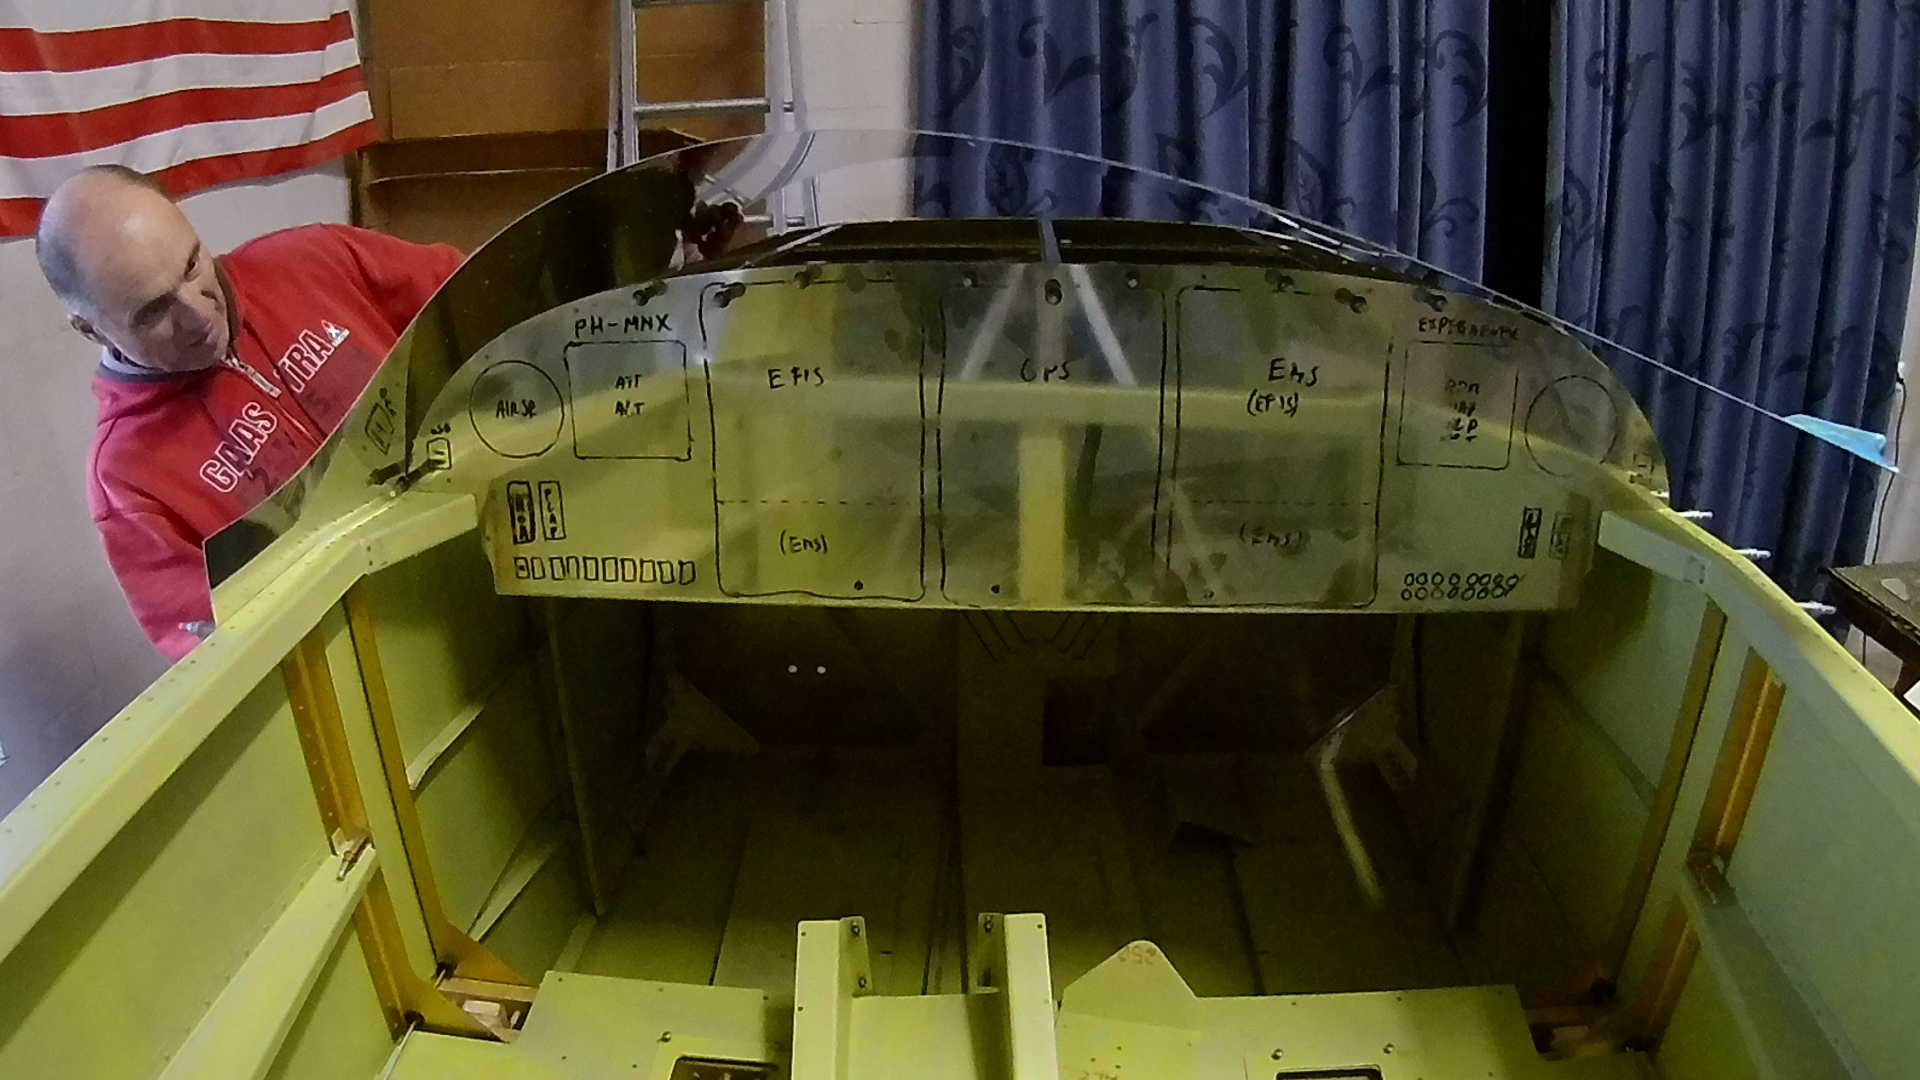
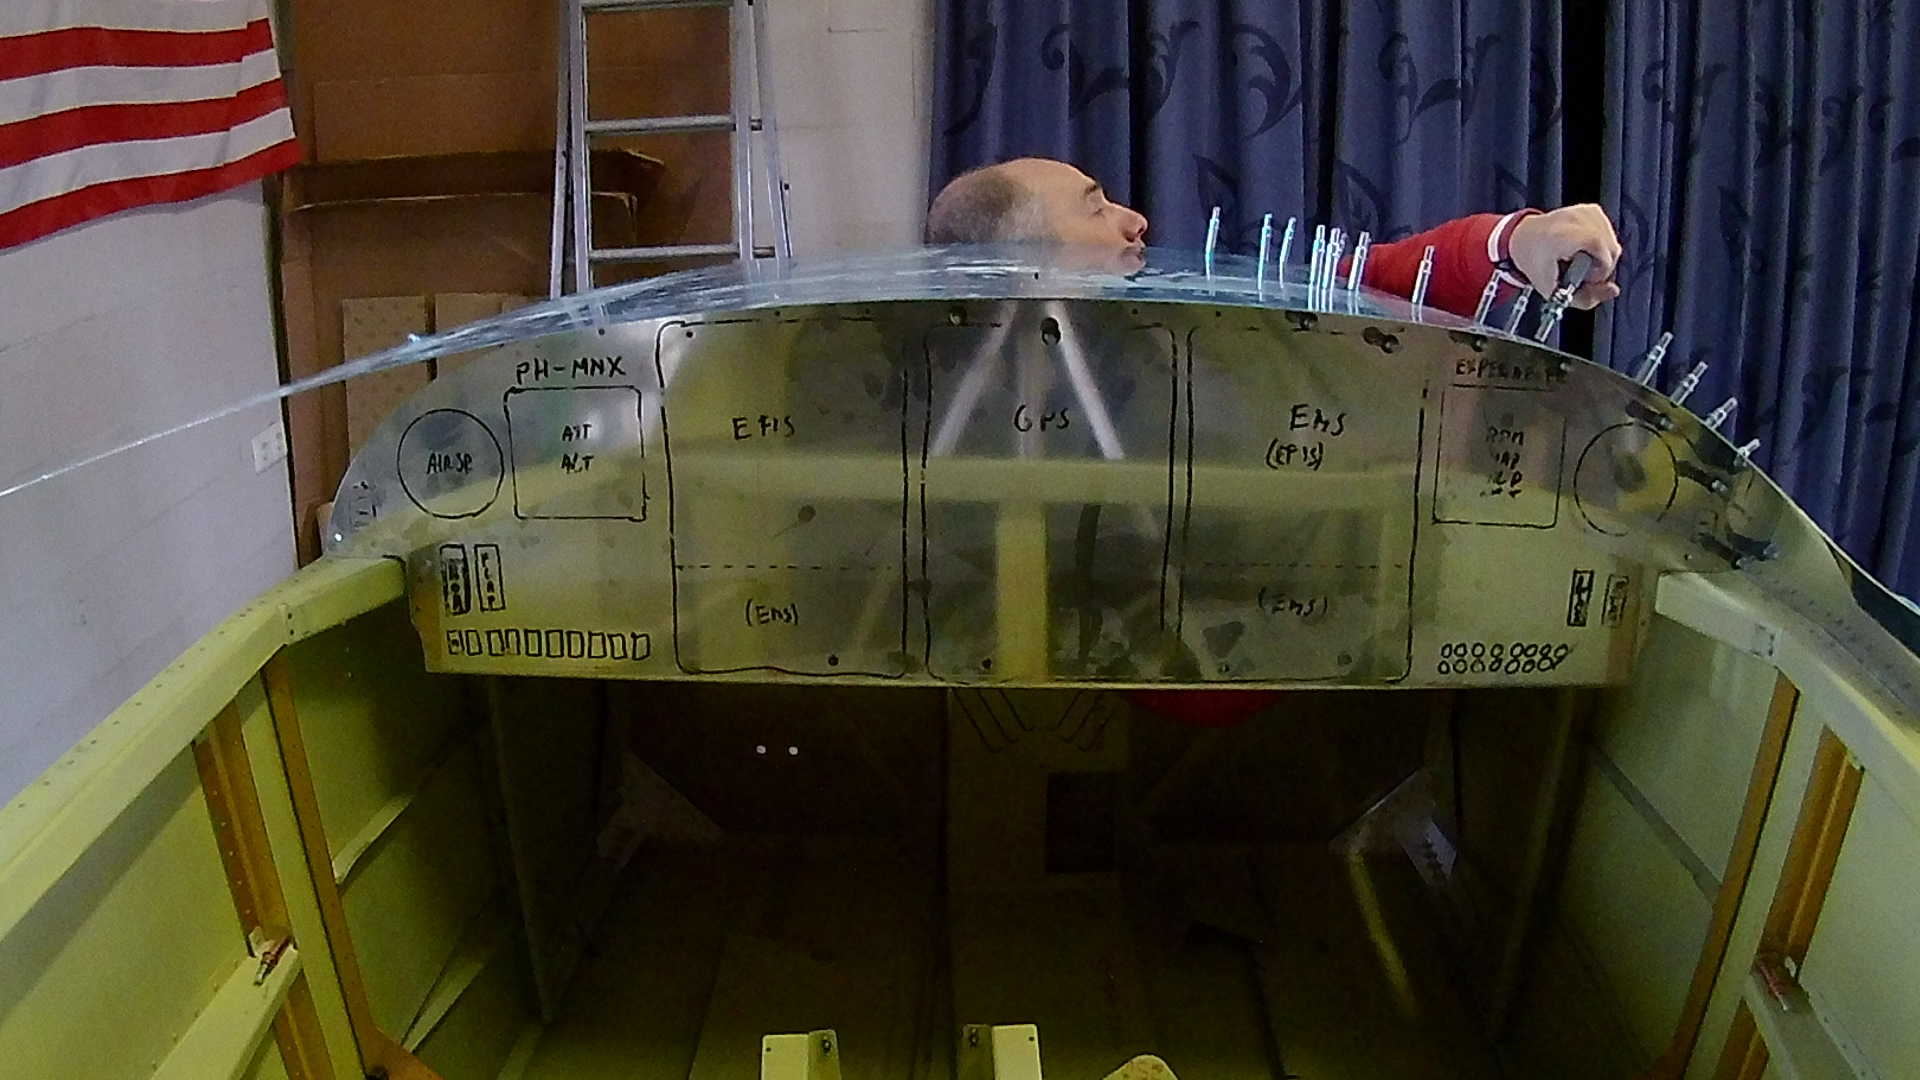
The last weekend of February, I worked on the Forward Cabin part. The flight Deck is where the avionics and the panel are placed. I’m still clueless on how the panel should look like, but I can at least start preparing the construction of the Flight Deck.
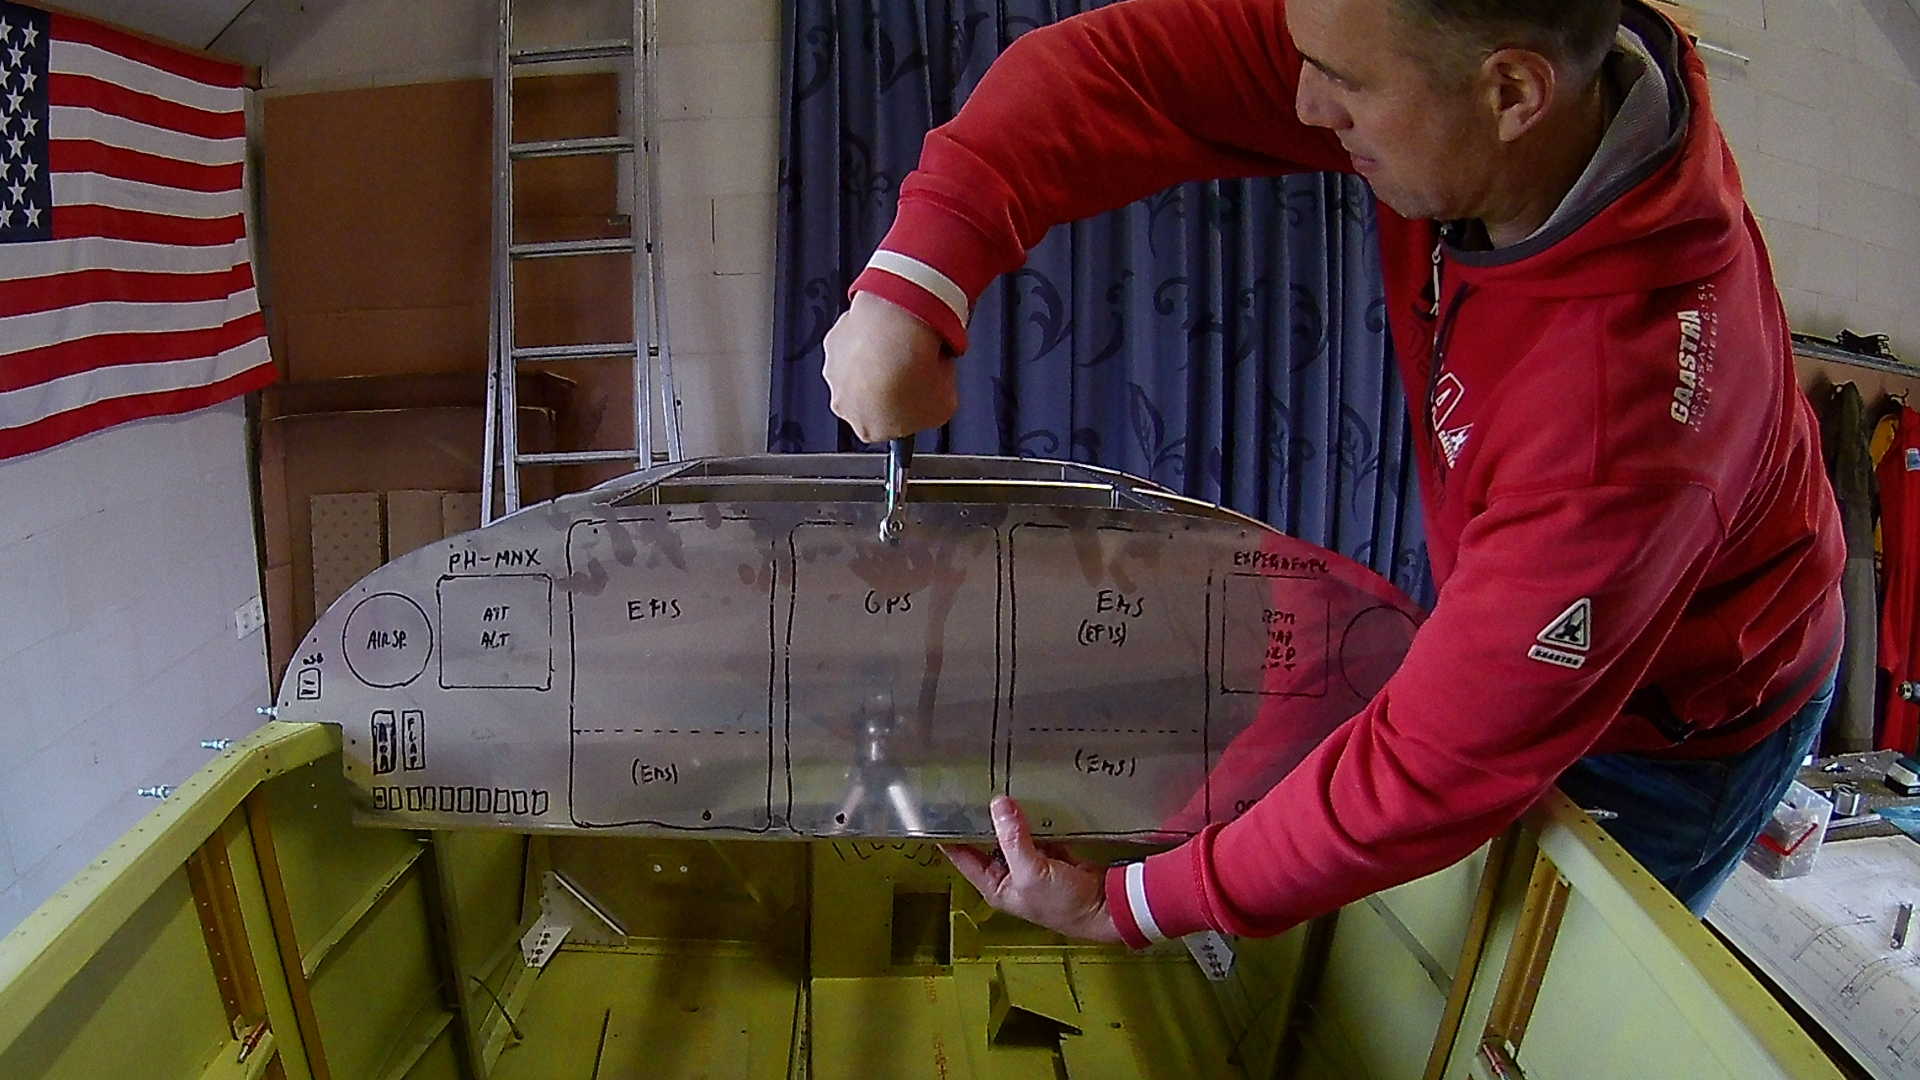
The parts are still not primed and it is just an initial fitting and match drilling all the holes. I just drew some instruments on the panel to see how it could look.
First of it MUST be as symmetric as possible. I’m working on my own avionics, so the middle three ‘screens’ will be Android Tablets, for which I will develop the software myself. To make my avionics development not impede my first flight I will also insert ‘standard’ avionics, that later can be used as backup. This setup assumes there is a center console with a bridge going up to the panel.
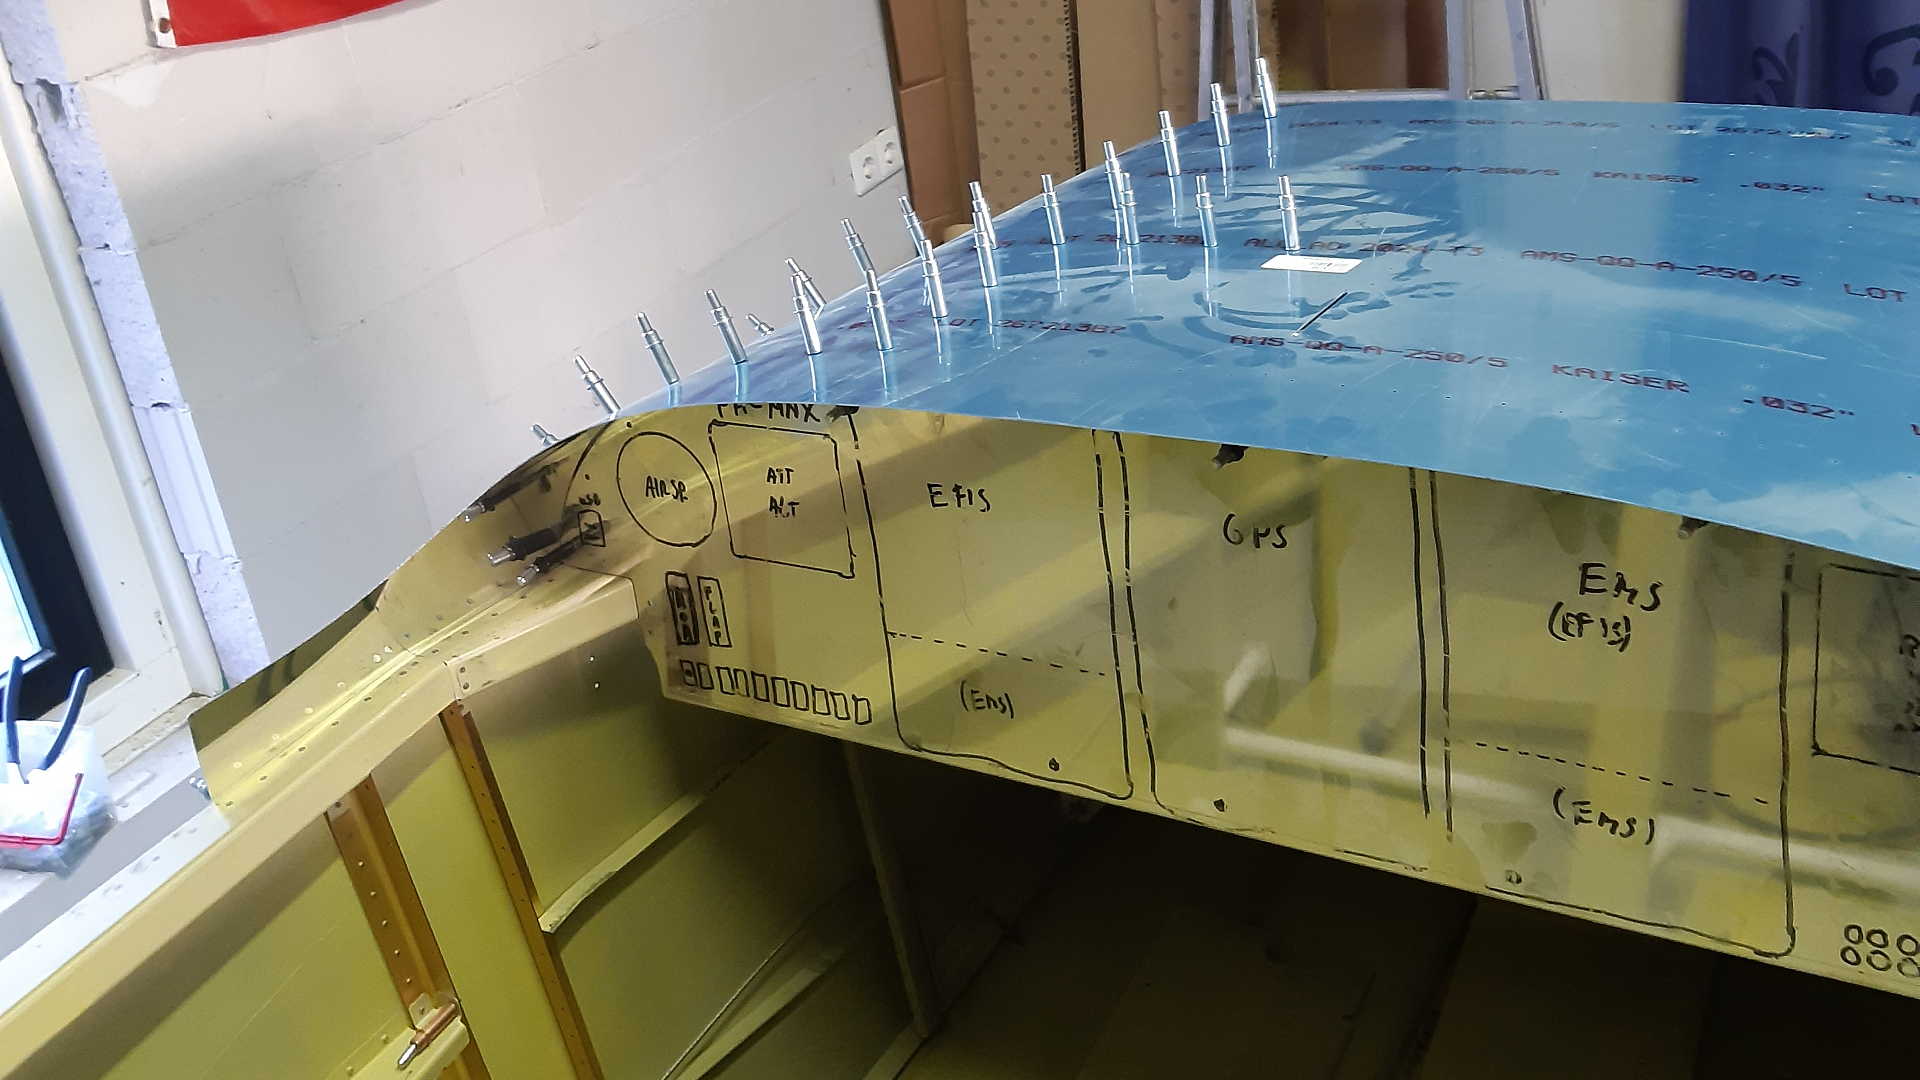
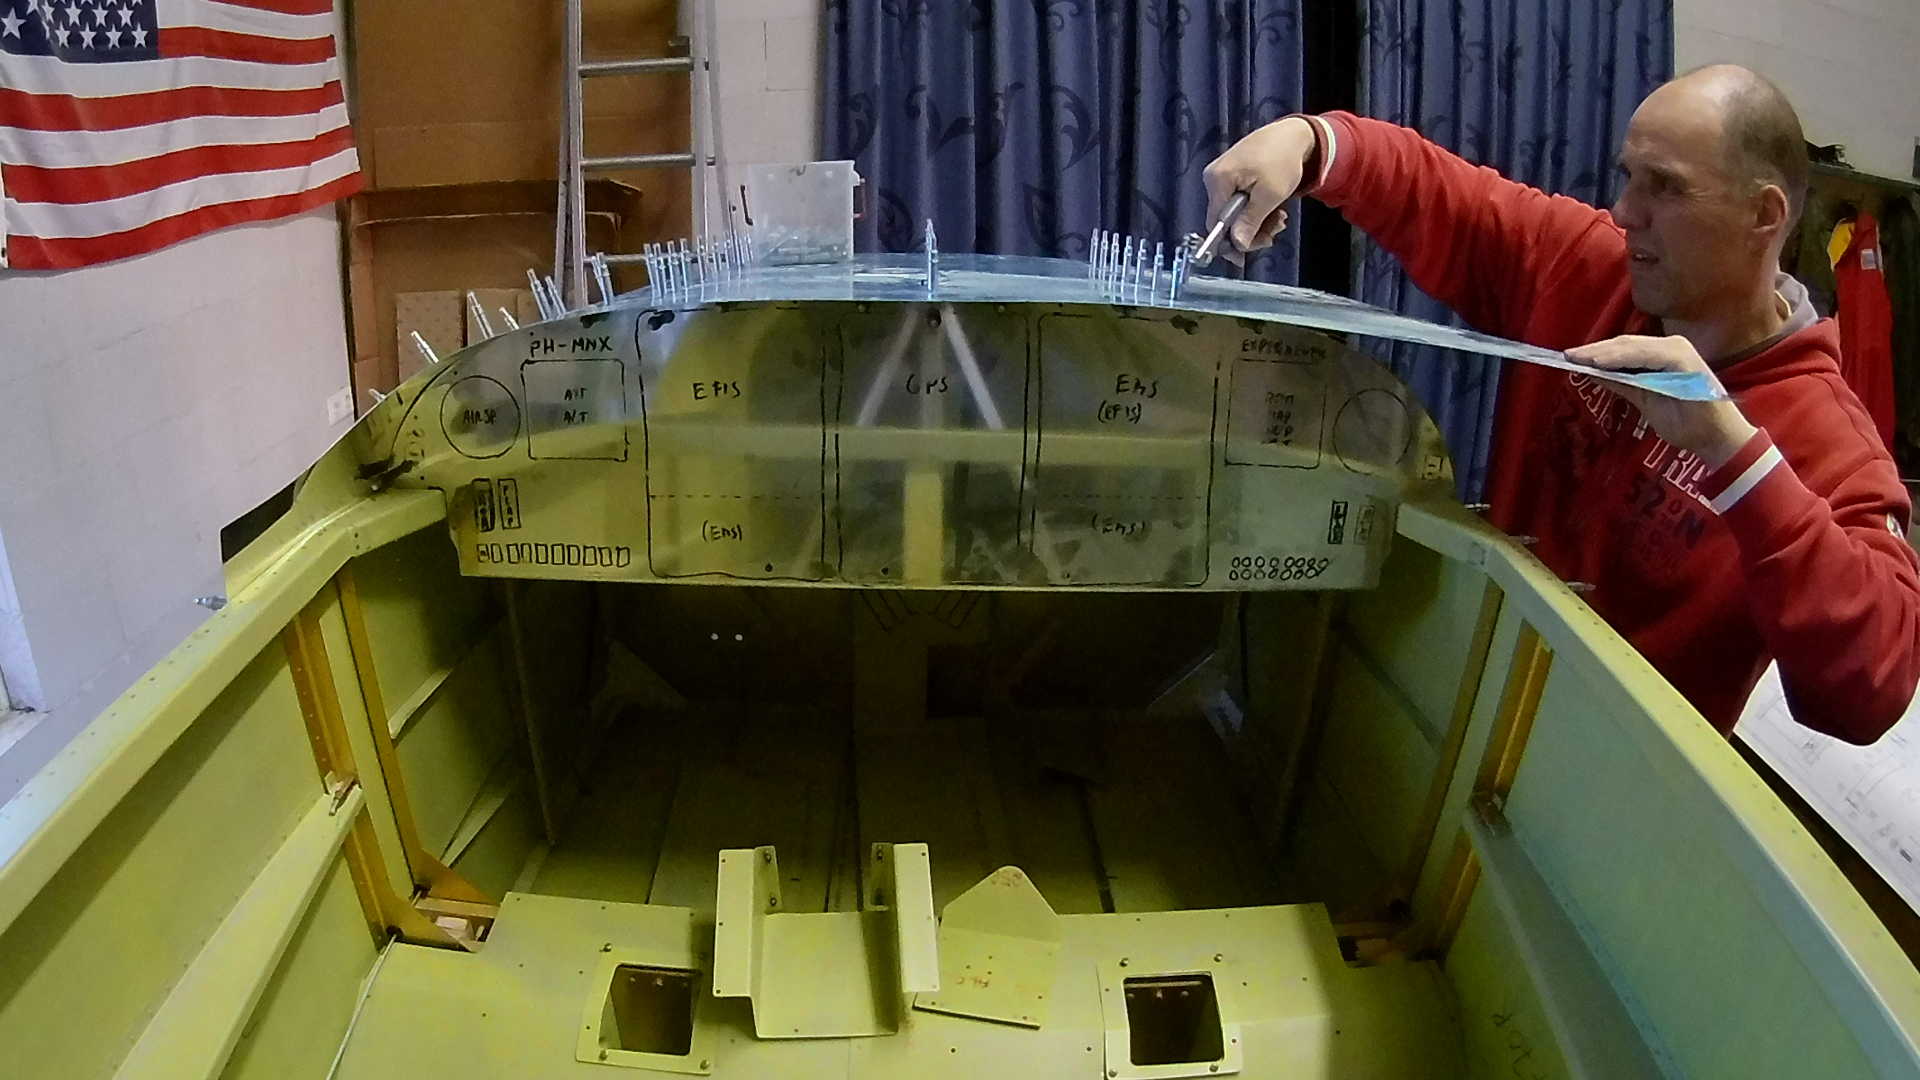
The Top Skin fits nicely around the Panel. It is not bend yet and after priming I decided it would be easier to bend it so there is less tension in the aluminum.
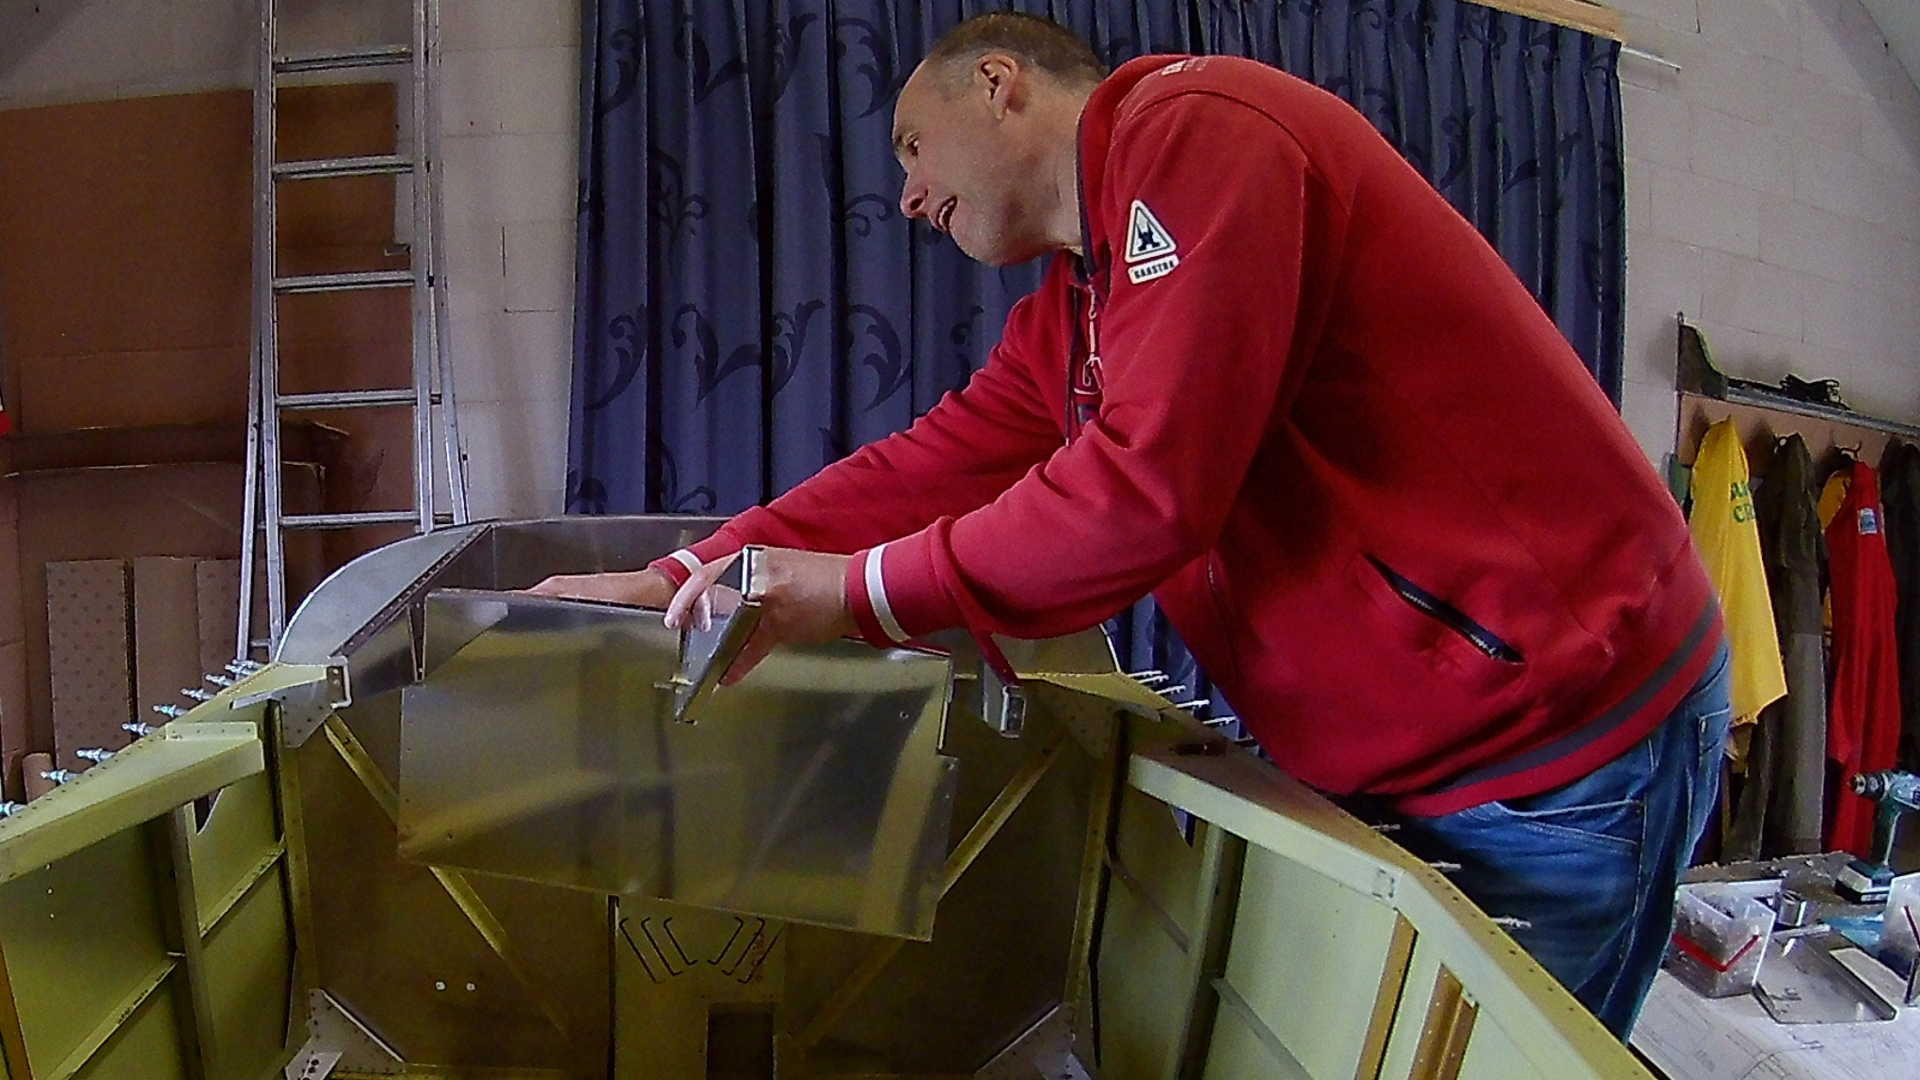
The middle rib has an extra angle to stiffen it and it connects to the brace bar of the Canopy roll bar later.
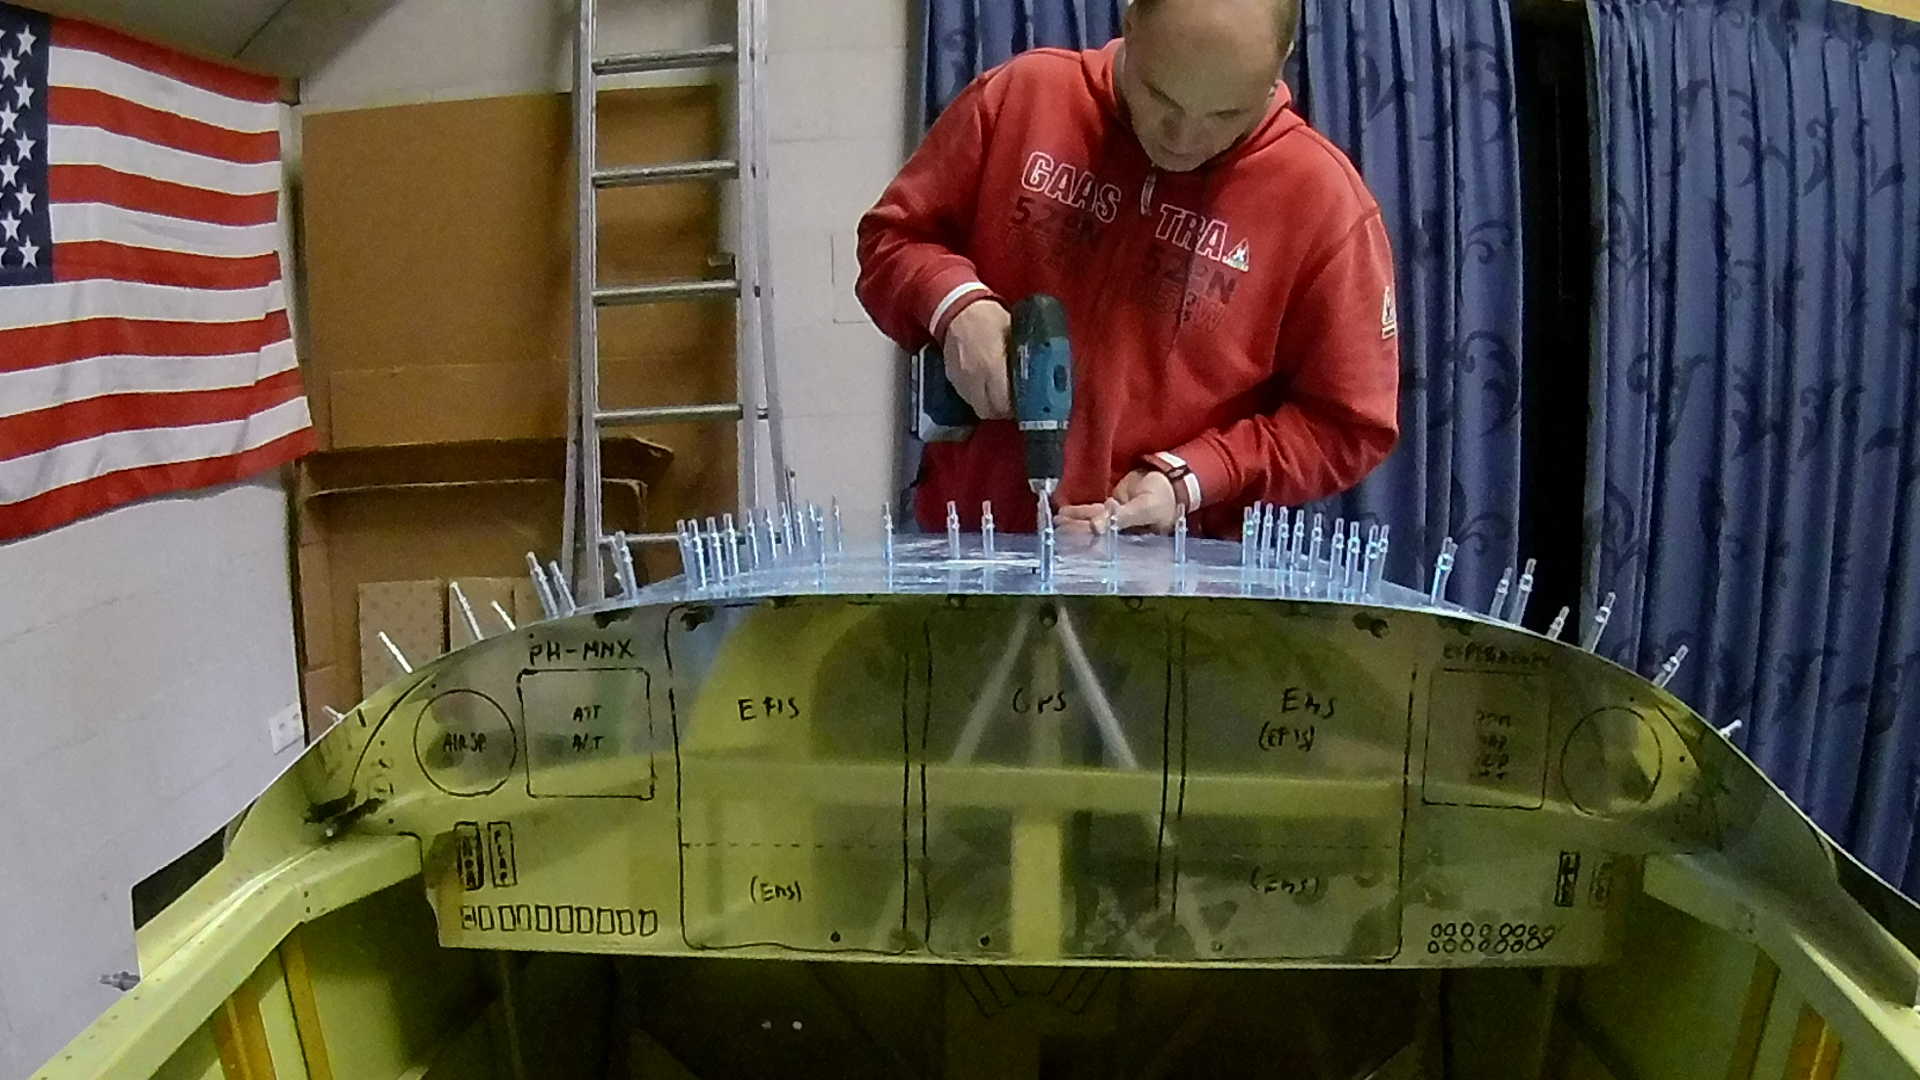
Ok let’s fit the skin. Just as with the Aft Top Skins, I start on one side and work my way over the top to the other side.
The ribs need some extra cleco’s to adjust to the correct placement. Later I can drill the holes without the cleco’s and then move the cleco’s and repeat the process.
The skin on the right side didn’t really fit nicely. Or maybe I should say the skins are very tight. Anyway, I will probably rivet the skin first to the longerons and then insert the ribs.
This is dangerous, because it could mean I’m not able to insert the ribs. But I’ll figure that out later.
Time: 4 Hours, Rivets: 12/0 (2020-02-29)
Time: 5 Hours, Rivets: 0/0 (2020-03-01)
Time: 4 Hours, Rivets: 0/0 (2020-03-04)
