
With the Fuel lines and Vent lines installed, it’s now time to finish the Rudder Pedals, by installing the Brake Lines.
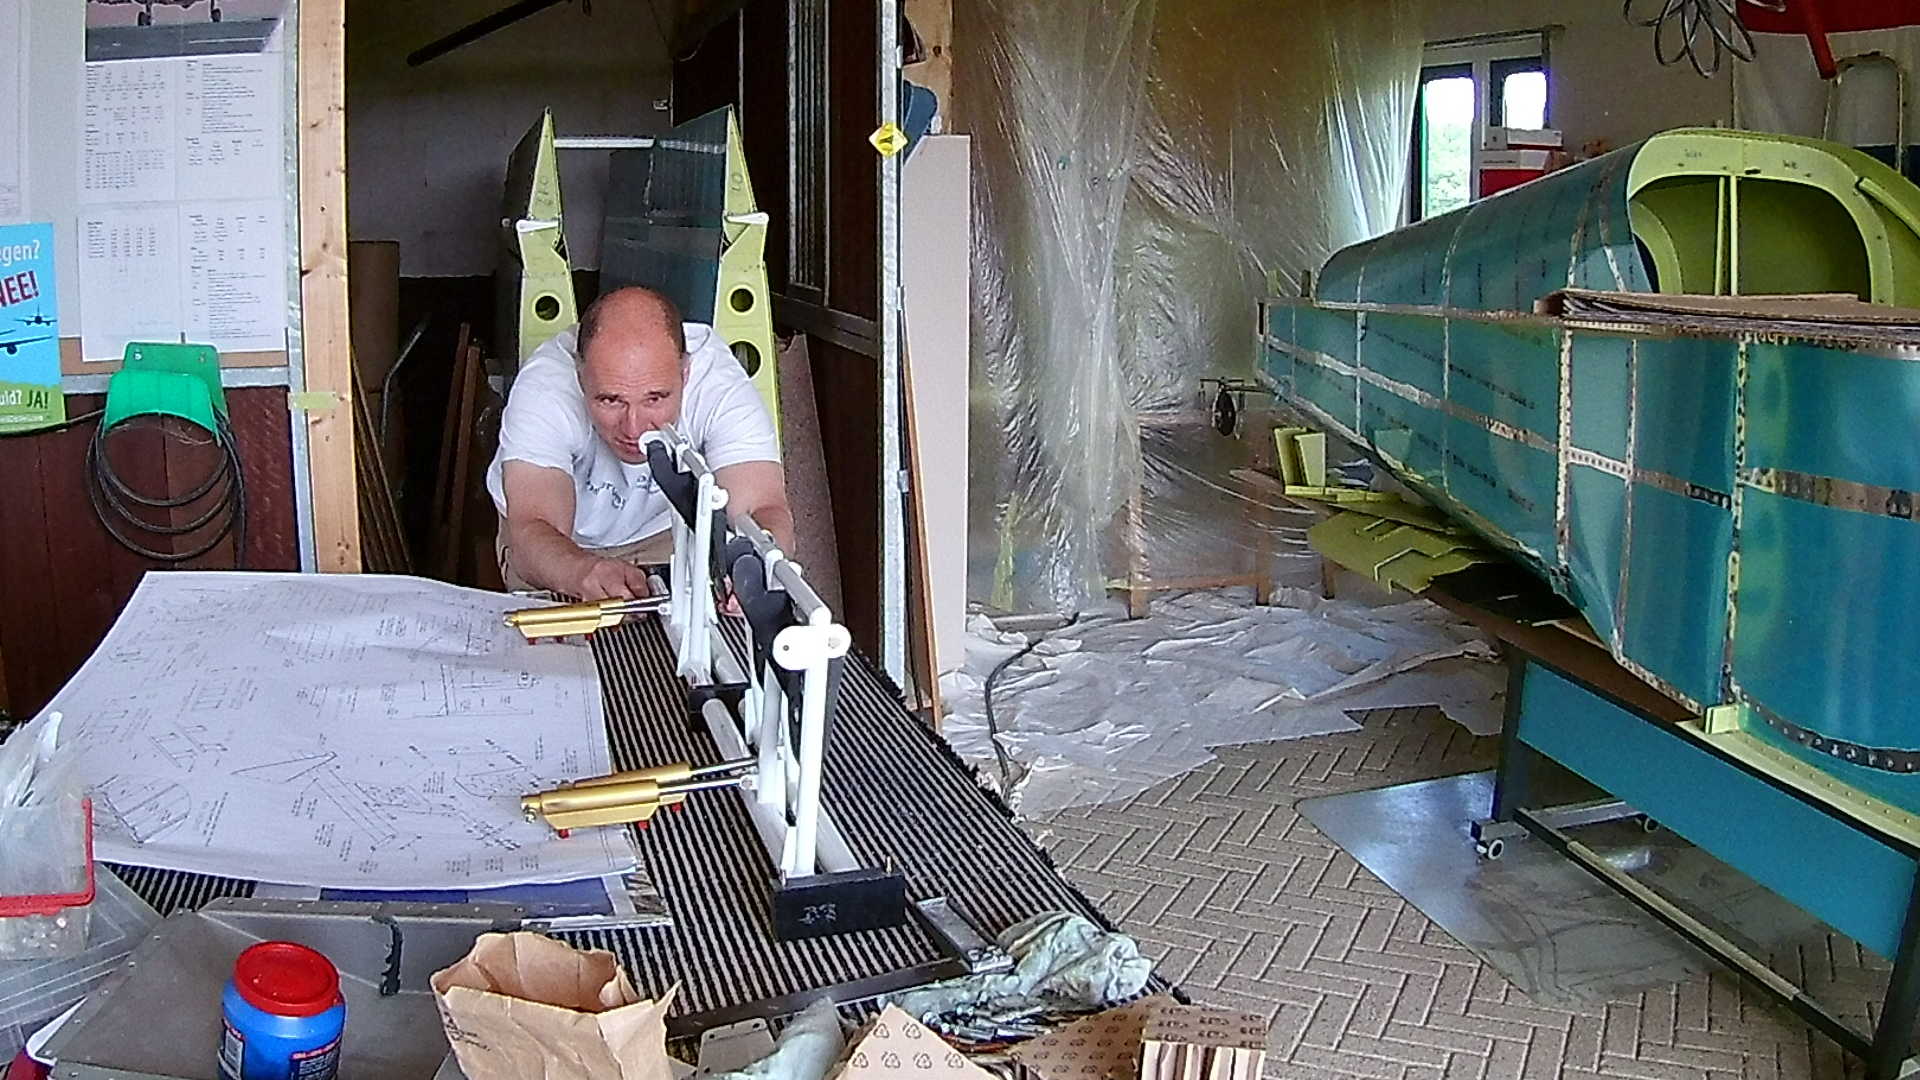
Because the left and right pedal are on different axis, they can’t be parallel. I decided to align the in the middle of the axis (not sure if that’s a smart idea.
Also as you can see I installed a dual Brake system, so you can also control the Rudder and apply Brakes from the right seat.
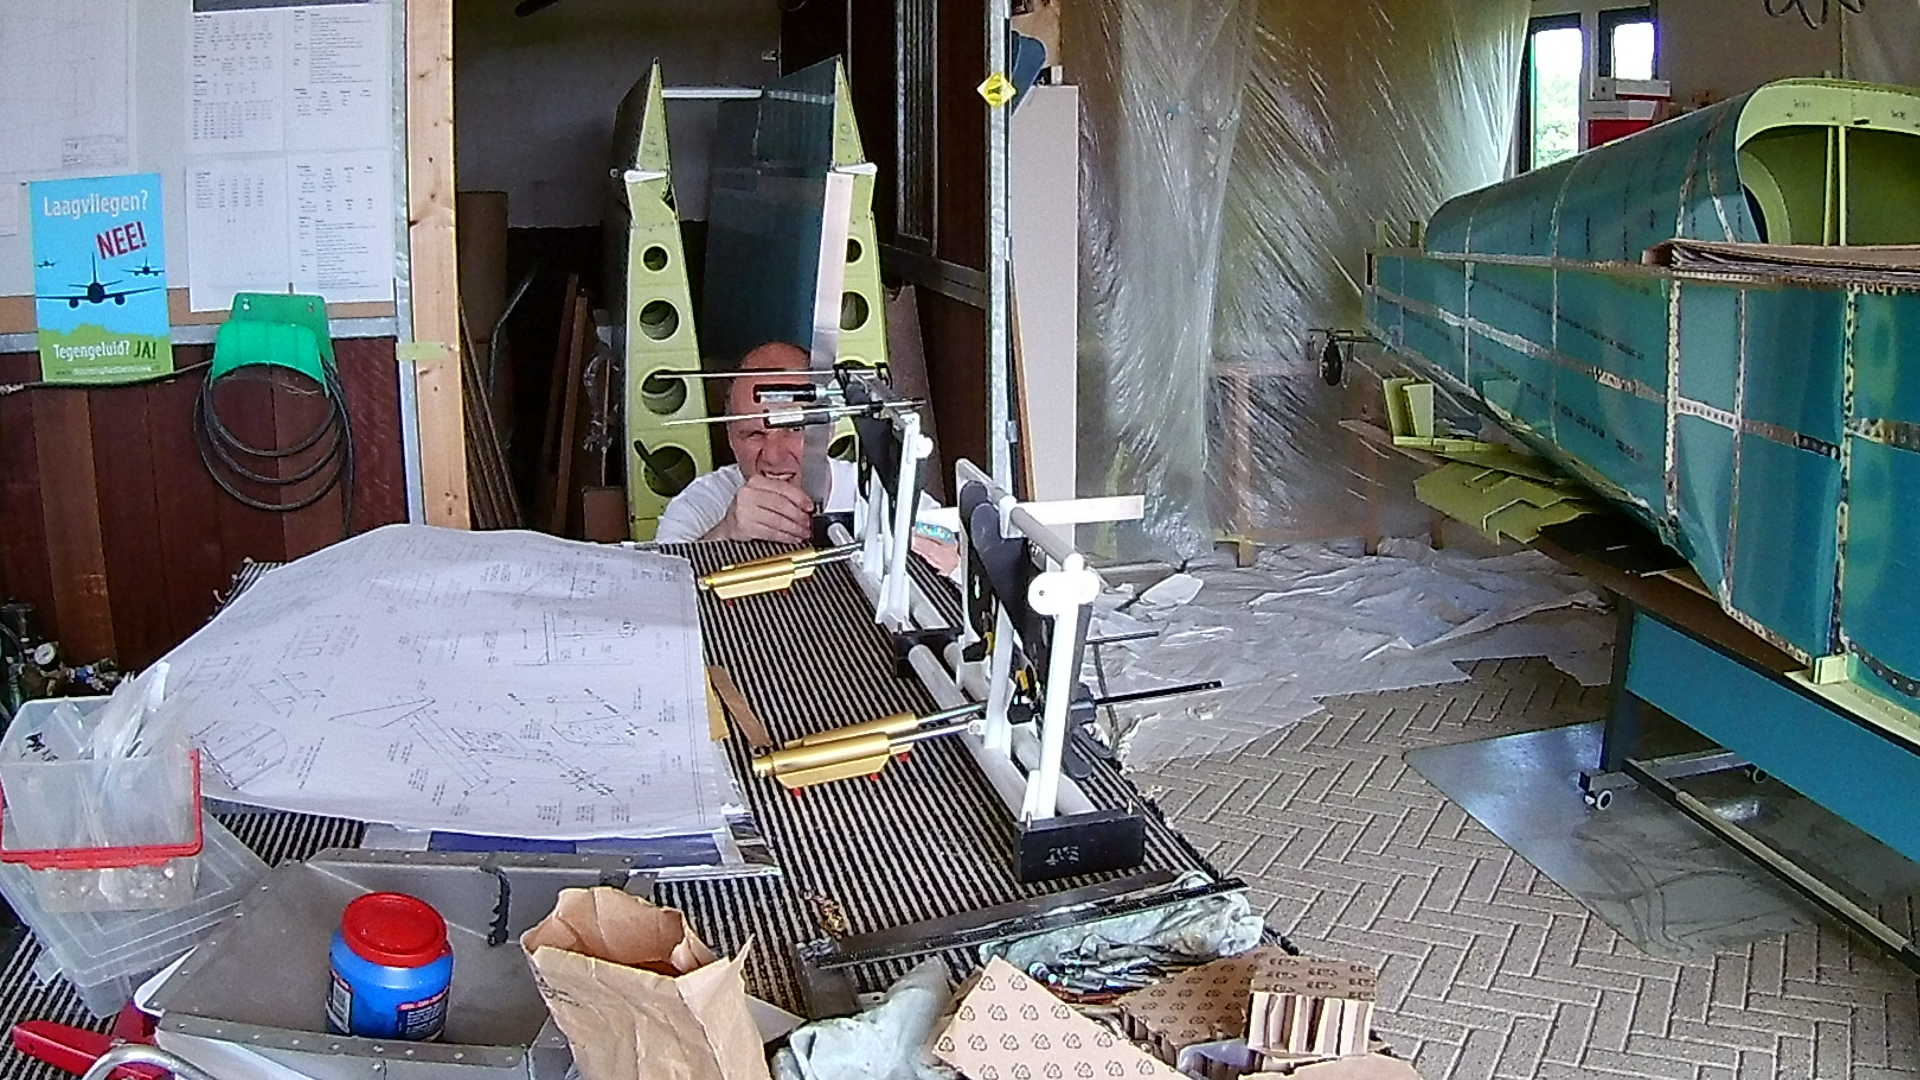
I figured out that I could align the pedals much better, by clamping an angle against them, instead of trusting the (untrained) eye.
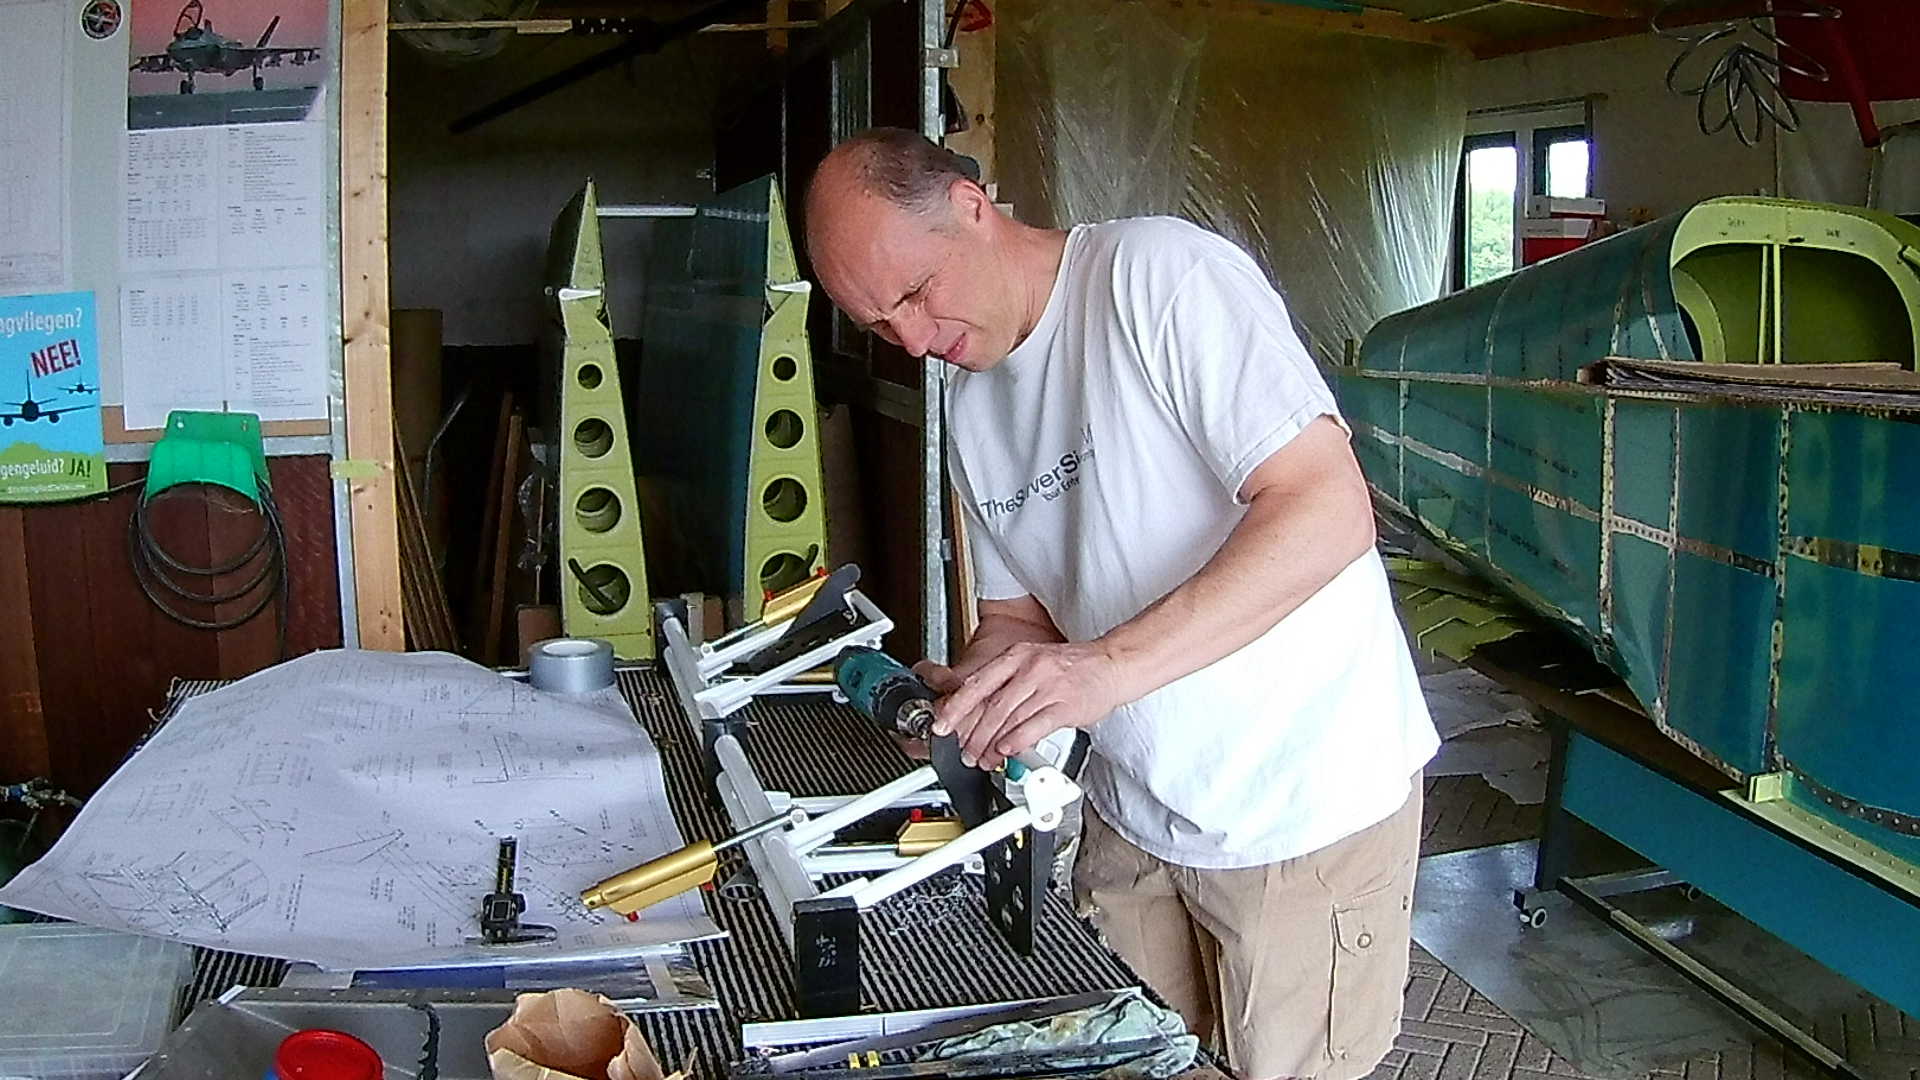
With the Pedals aligned, I used the Brake Cylinders as a guide to mark the place where to drill. So now I can drill the holes where the Brake Cylinder is bolted to the pedal.
There is quite a distance between the pedal and the Rudder pedal frame. According to the drawings, this space is filled with washers. But the distance is too wide to my taste for washers. So I decided to create a nice spacer from Aluminum tubing.
Takes a little more time instead of just washers, but the result is much better.
Now I can screw the bulkheads into the Brake Cylinders to attach the Brake lines.
There are two types of Brake Lines. The Pilot Brake Lines to the Firewall have a metal casing. The others are just plastic.
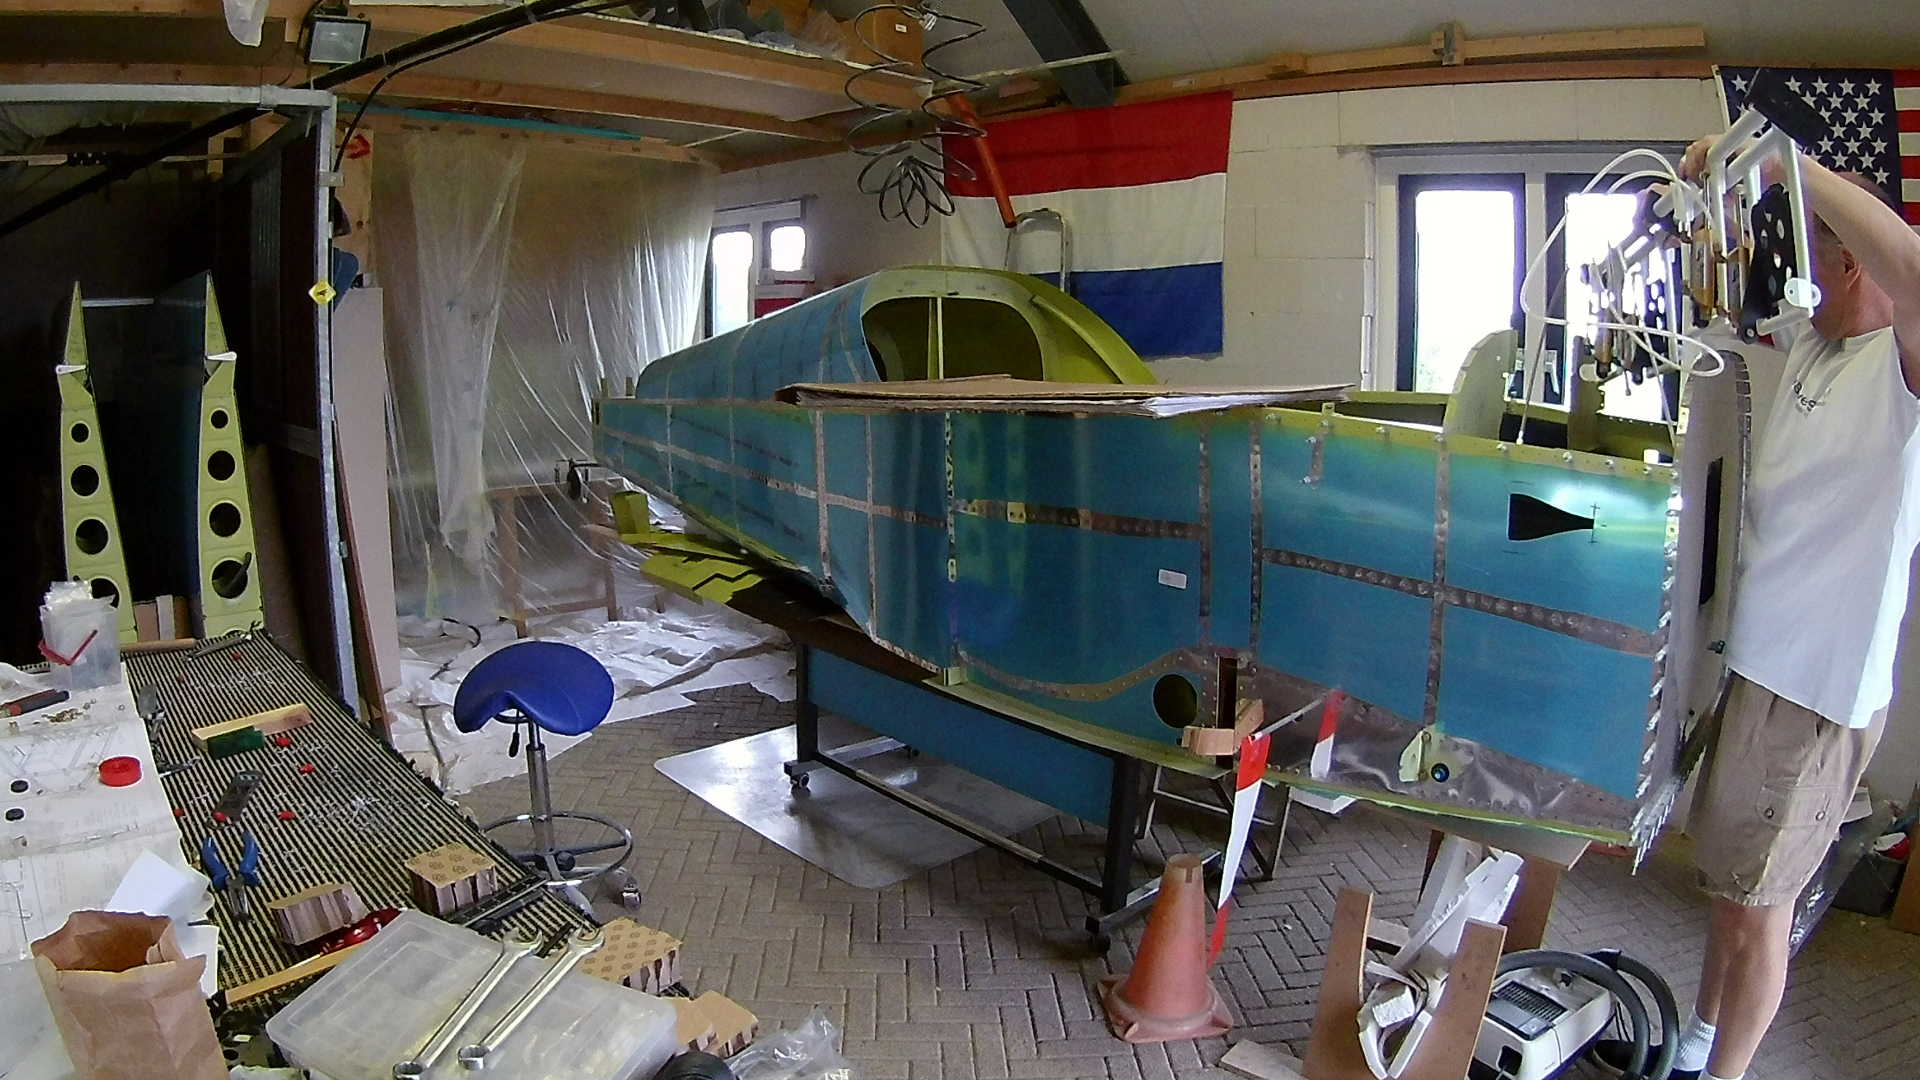
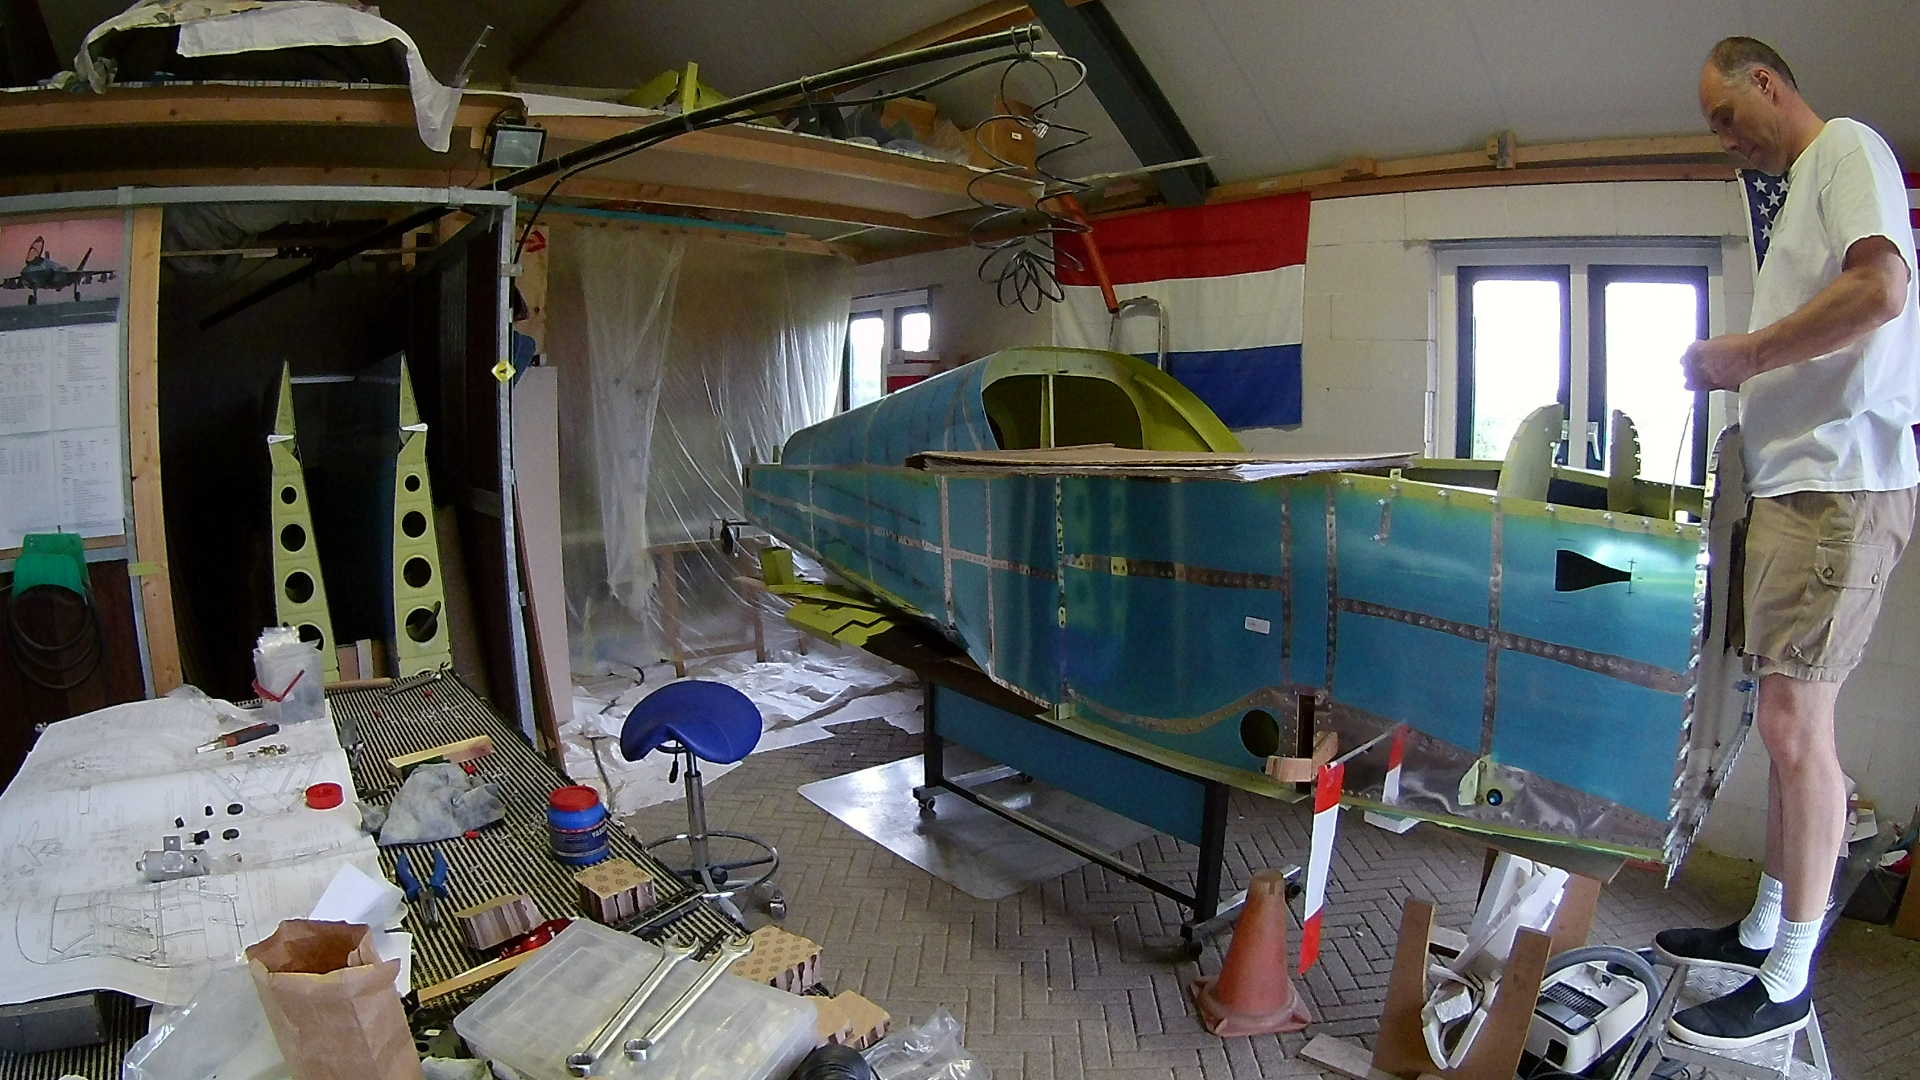
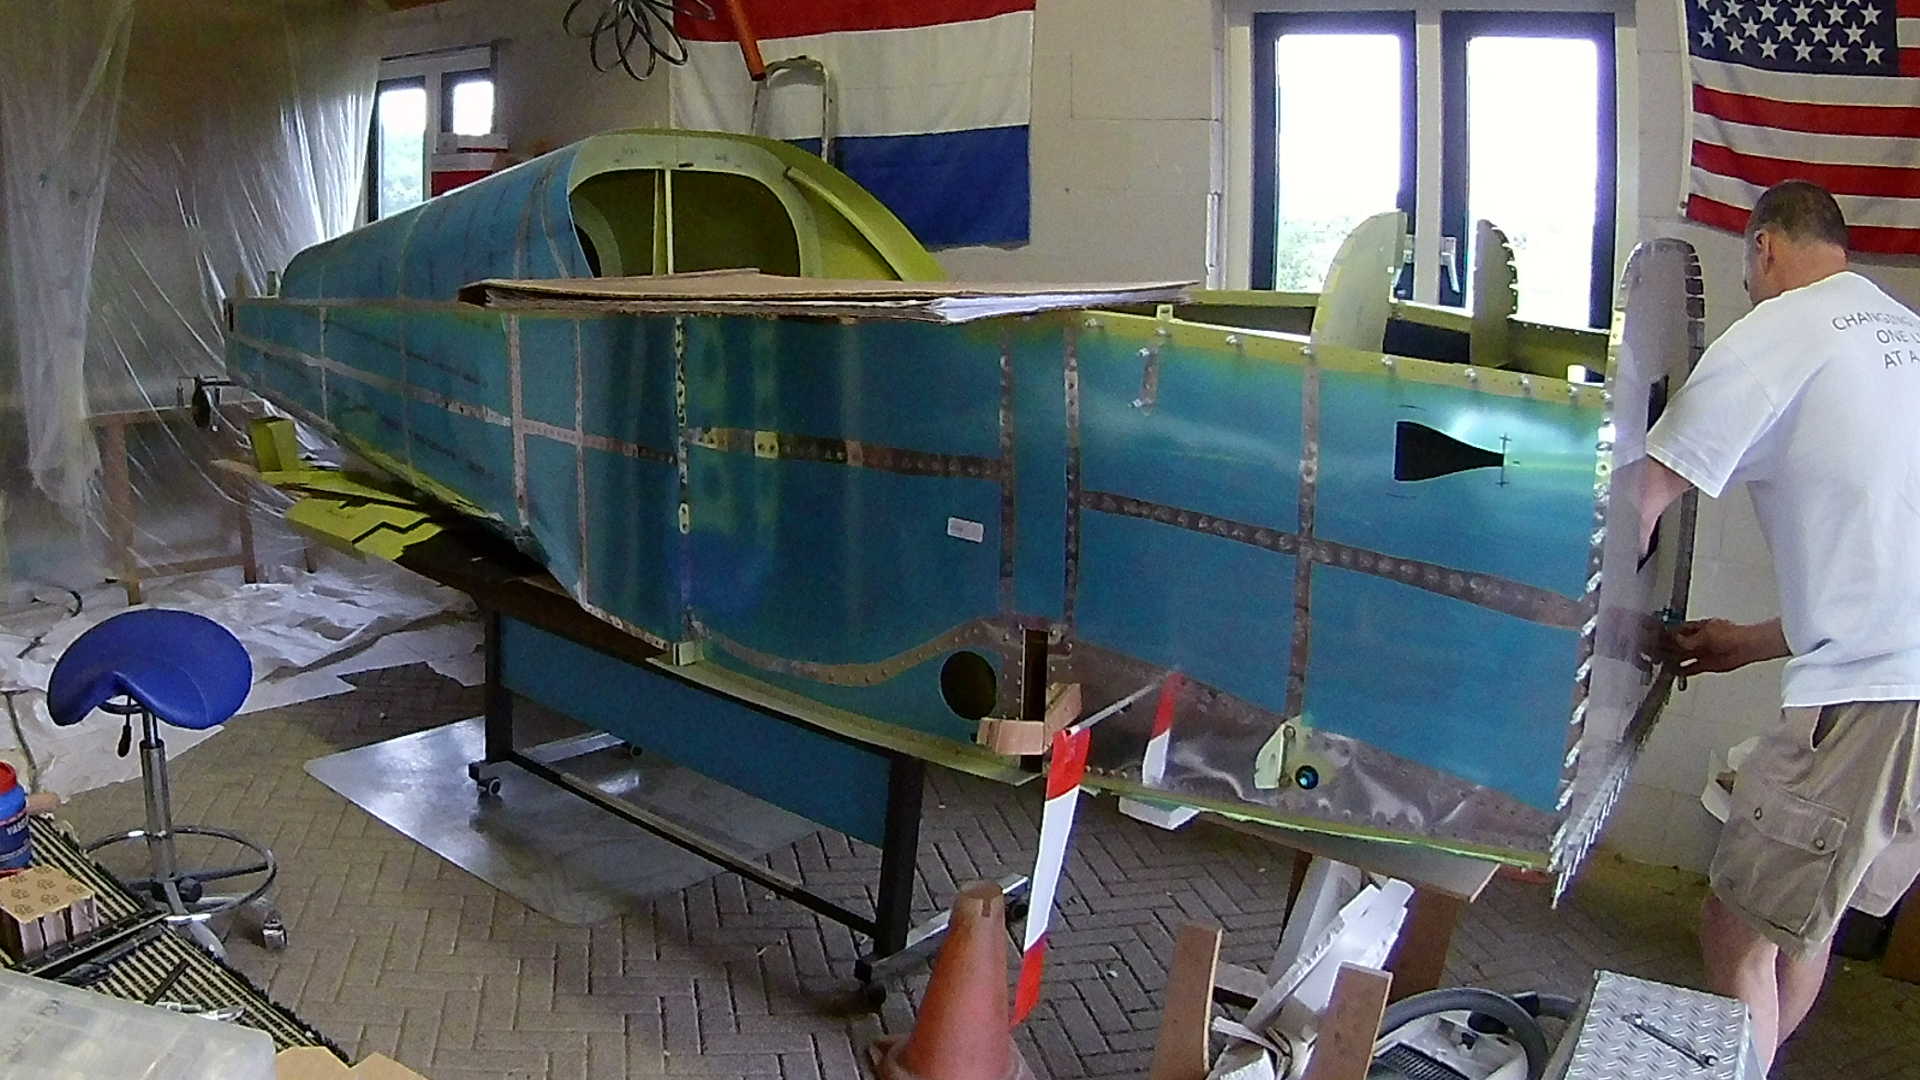
Now I can insert the whole contraption into the forward Fuselage. Good thing I didn’t rivet the top skin yet. Would be really hard if not impossible to get it in there.
The last part is the Brake Line to the Brake Fluid reservoir. The reservoir itself is not installed yet, but it should be on the engine side of the Firewall.
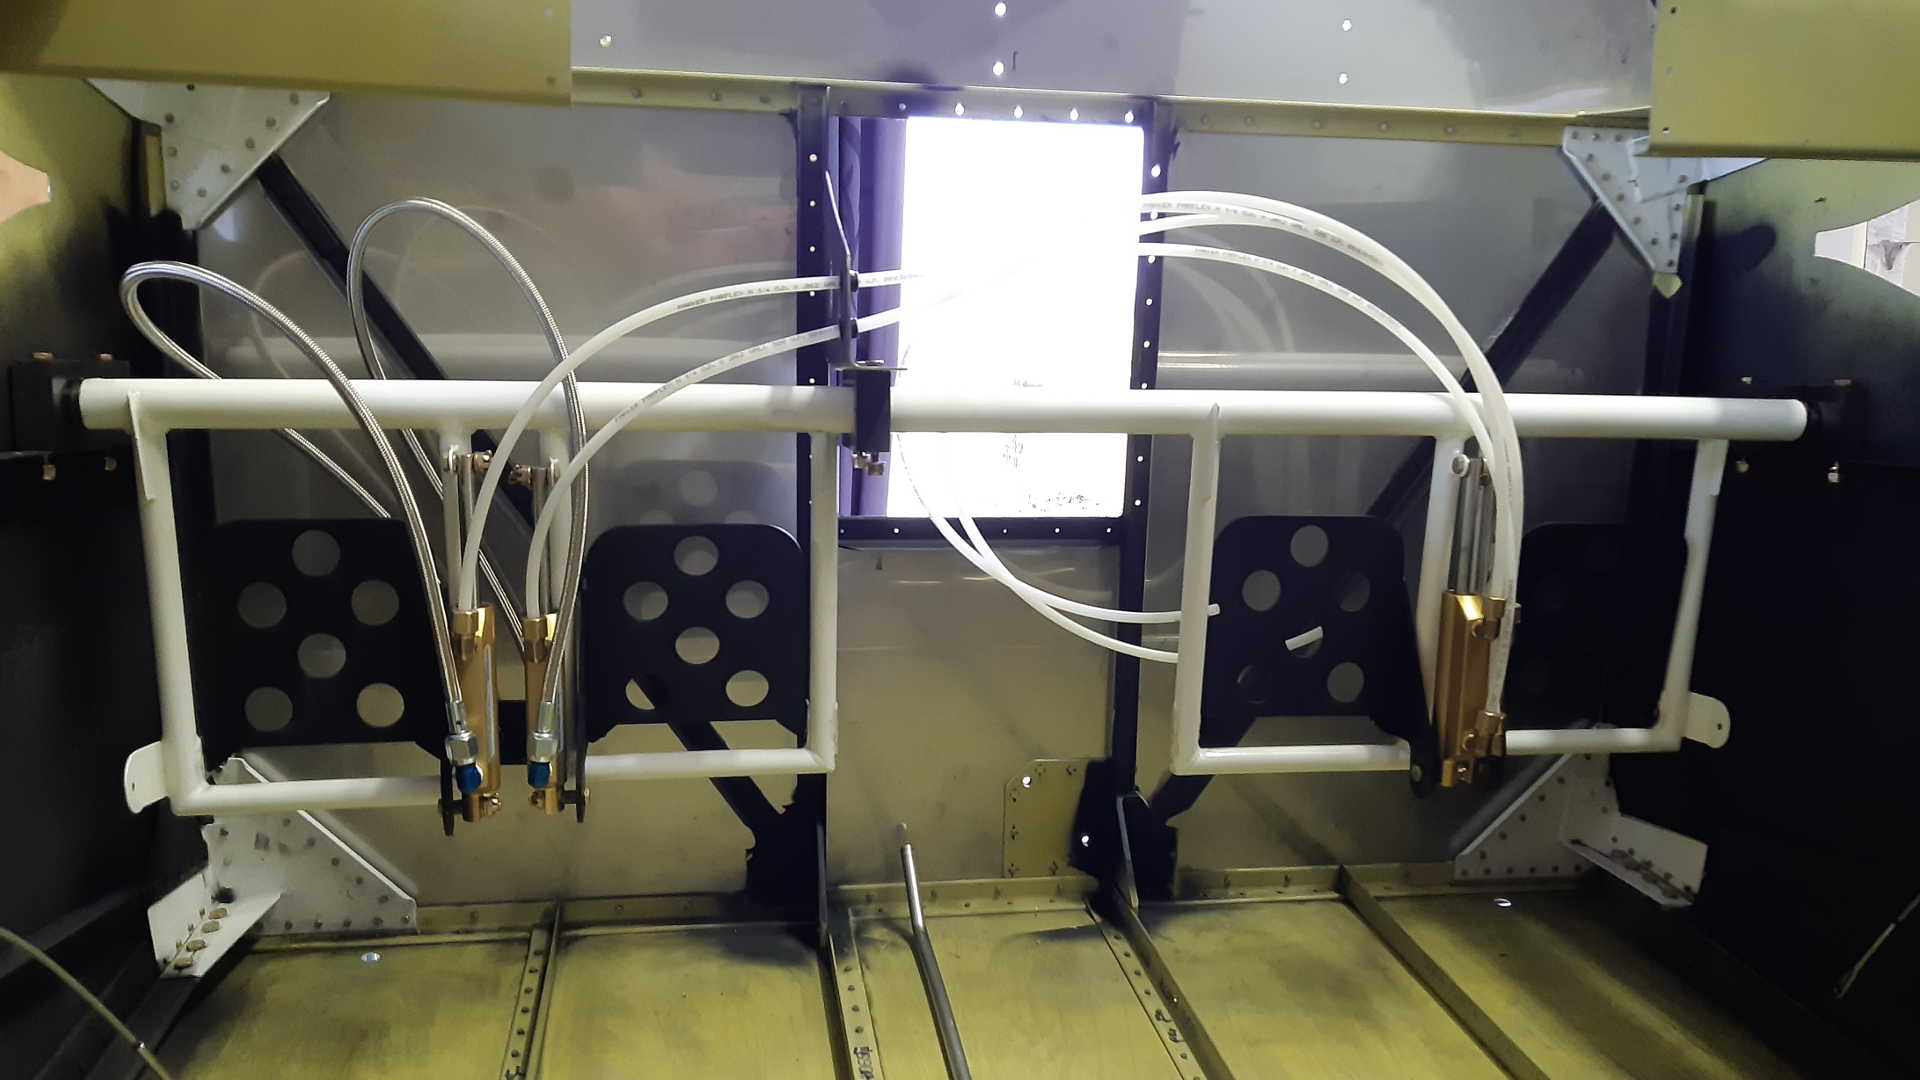
This is how it looks from the inside. The lines are not yet clamped to the axis with tie-wraps. I decided to cut a grommet and use that to route the Brake Lines and put a Grommet part over it for the tie-wrap. This way the wrap doesn’t cut into the Brake Line.
Good thing I didn’t insert the Firewall Recess yet. Now it is easy to attach the Brake Lines to the bulkheads in the Firewall.
Time: 3 Hours, Rivets: 0/0 (2020-05-09)
Time: 3 Hours, Rivets: 0/0 (2020-05-10)
Time: 2 Hours, Rivets: 0/0 (2020-05-11)
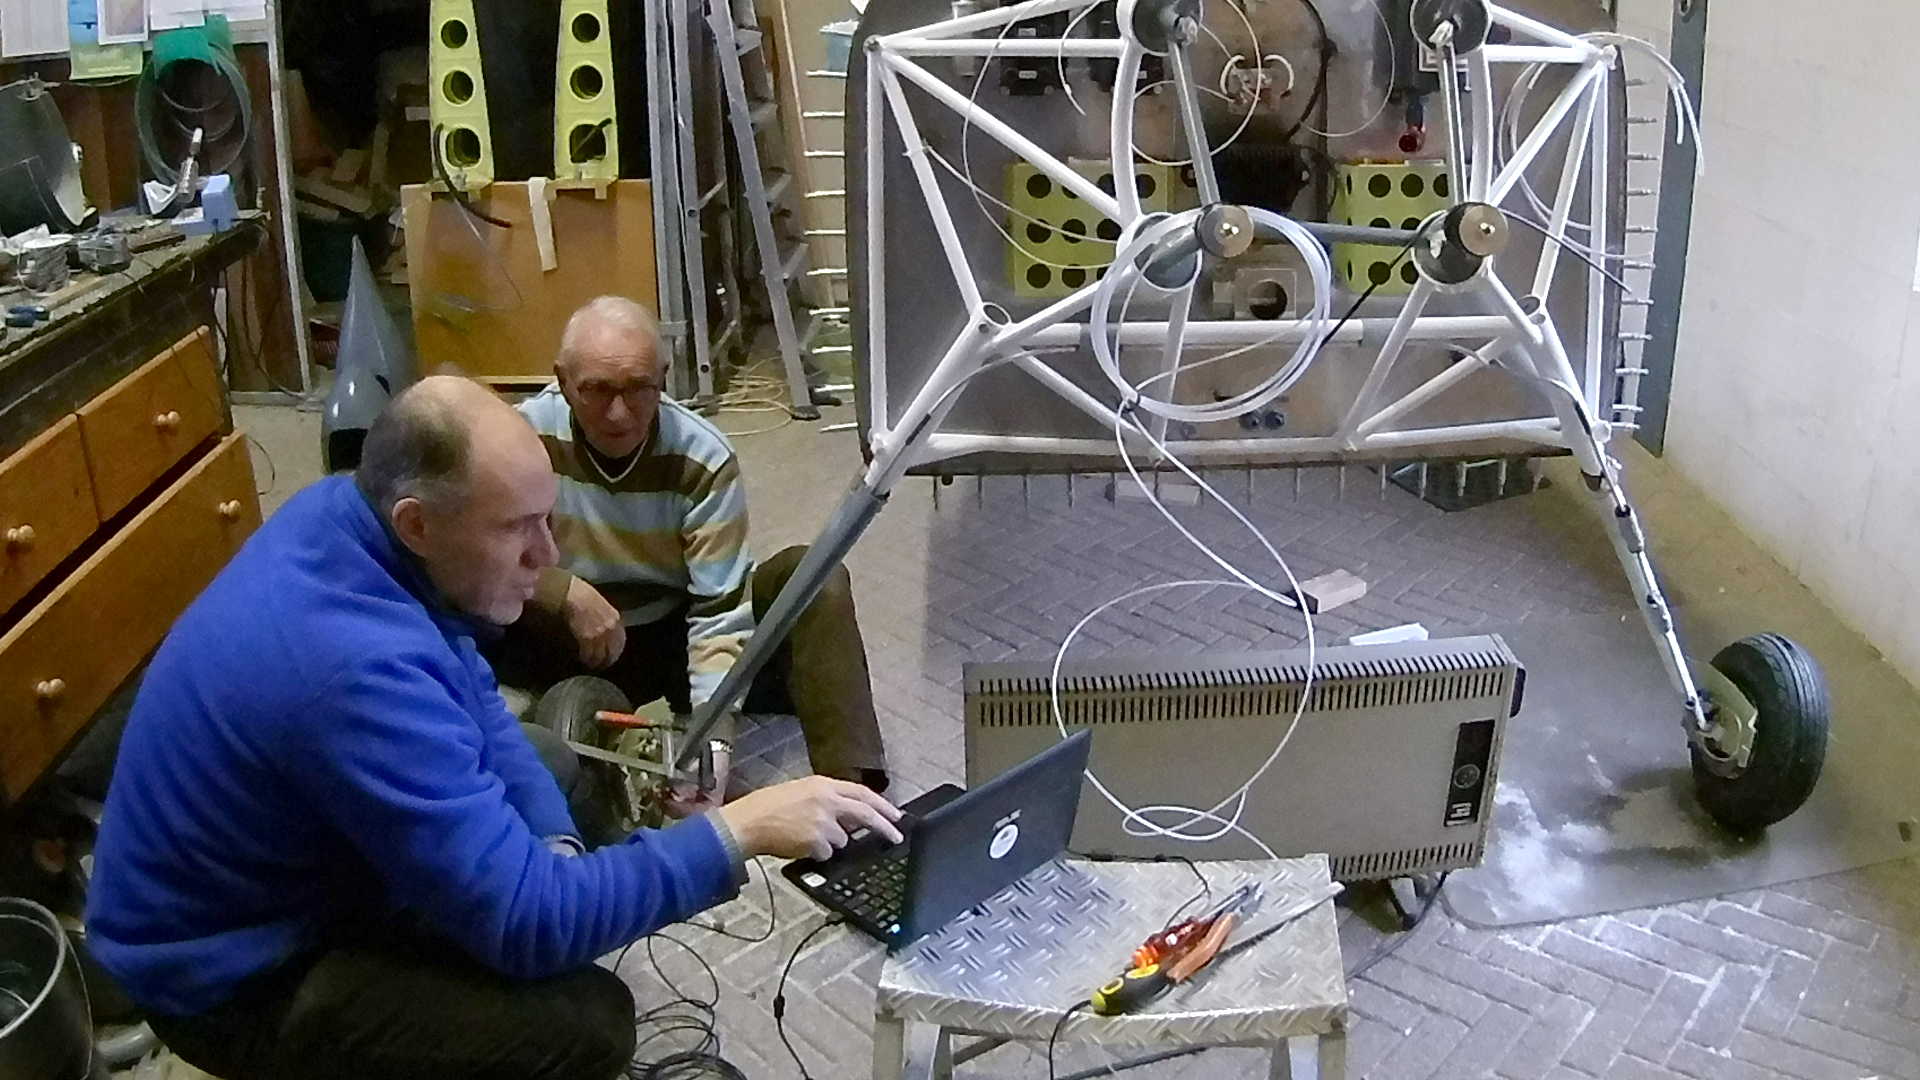
Video
Hello! What camera are you using mainly for recording in the shop? Are you recording at regular speed, then later changing to time lapse to make the video shorter? I’m trying to figure out how best to record my build process. Thanks!
Hi Mike,
I use a simple (and cheap) actioncam Eken H9. It distorts at the edge, but correcting it with software afterwards is not making it better.
I tried normal speed and changing it, but it takes a lot of time and huge SD cards. My strategy is calculating how much frames I need and recording at time lapse.
Turns out that 2 seconds is perfect form my “working days” of 3 to 6 hours. This results in 5000 to 10.000 frames.
I copy them to my PC (I run Linux) and use several scripts (using ffmpeg) to convert the JPG’s to an MP4.
If you are interested I can share the scripts.
This results in very limited time spent in making video’s. I also like the real time vlog types better than the time lapse, but my goal is to record the build and not provide a video manual.
Sometimes I use real time, but every time it takes a lot of time to post produce.
Cheers,
Marcel