
Here’s a face of a man who hasn’t got any idea how to start this task.
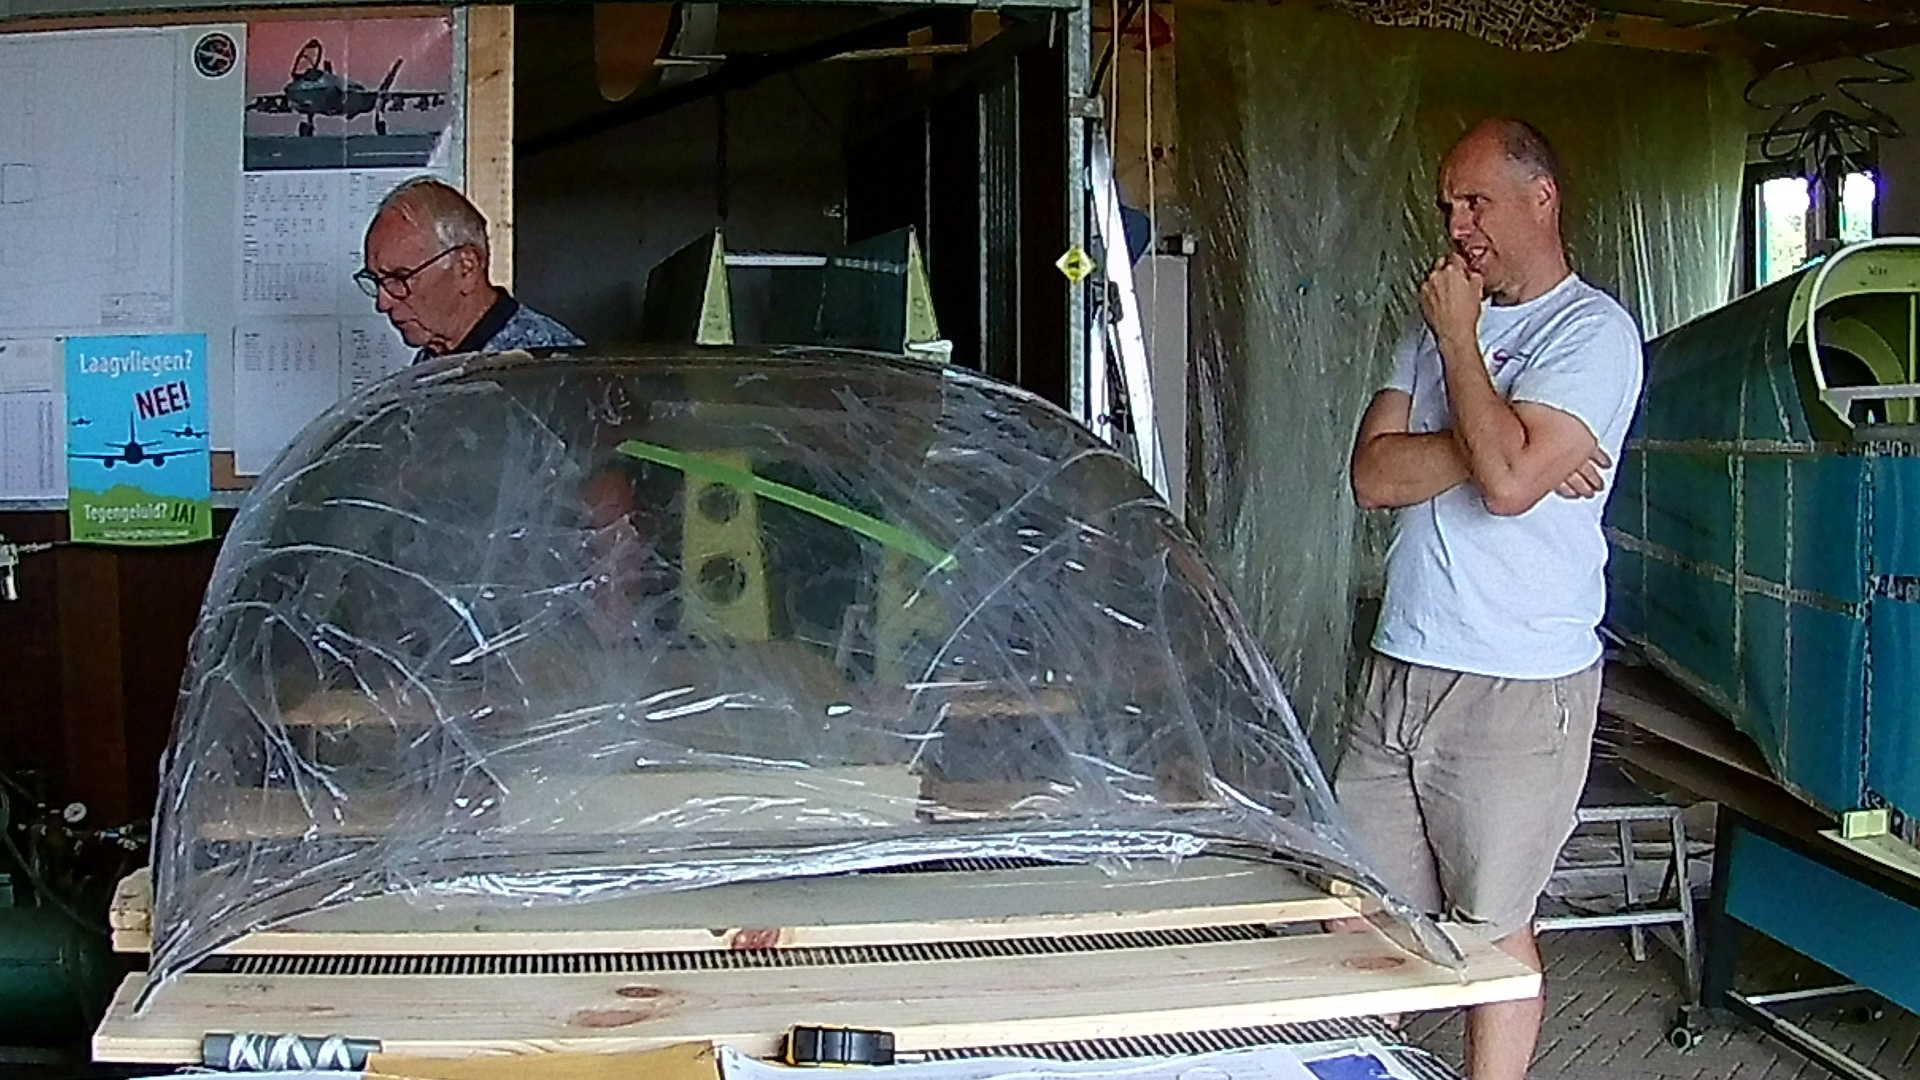
The task is trimming down the Plexiglass bubble and determining where to cut the part in two. There are no redo’s here!
Measuring everything a dozen times doesn’t help either, because you end up at different locations.
Because we need to start drilling AND because the manual says Plexiglass likes high temperatures (30 degrees Centigrade), we pulled a blanket over the bubble and shoved a electric heater under it.
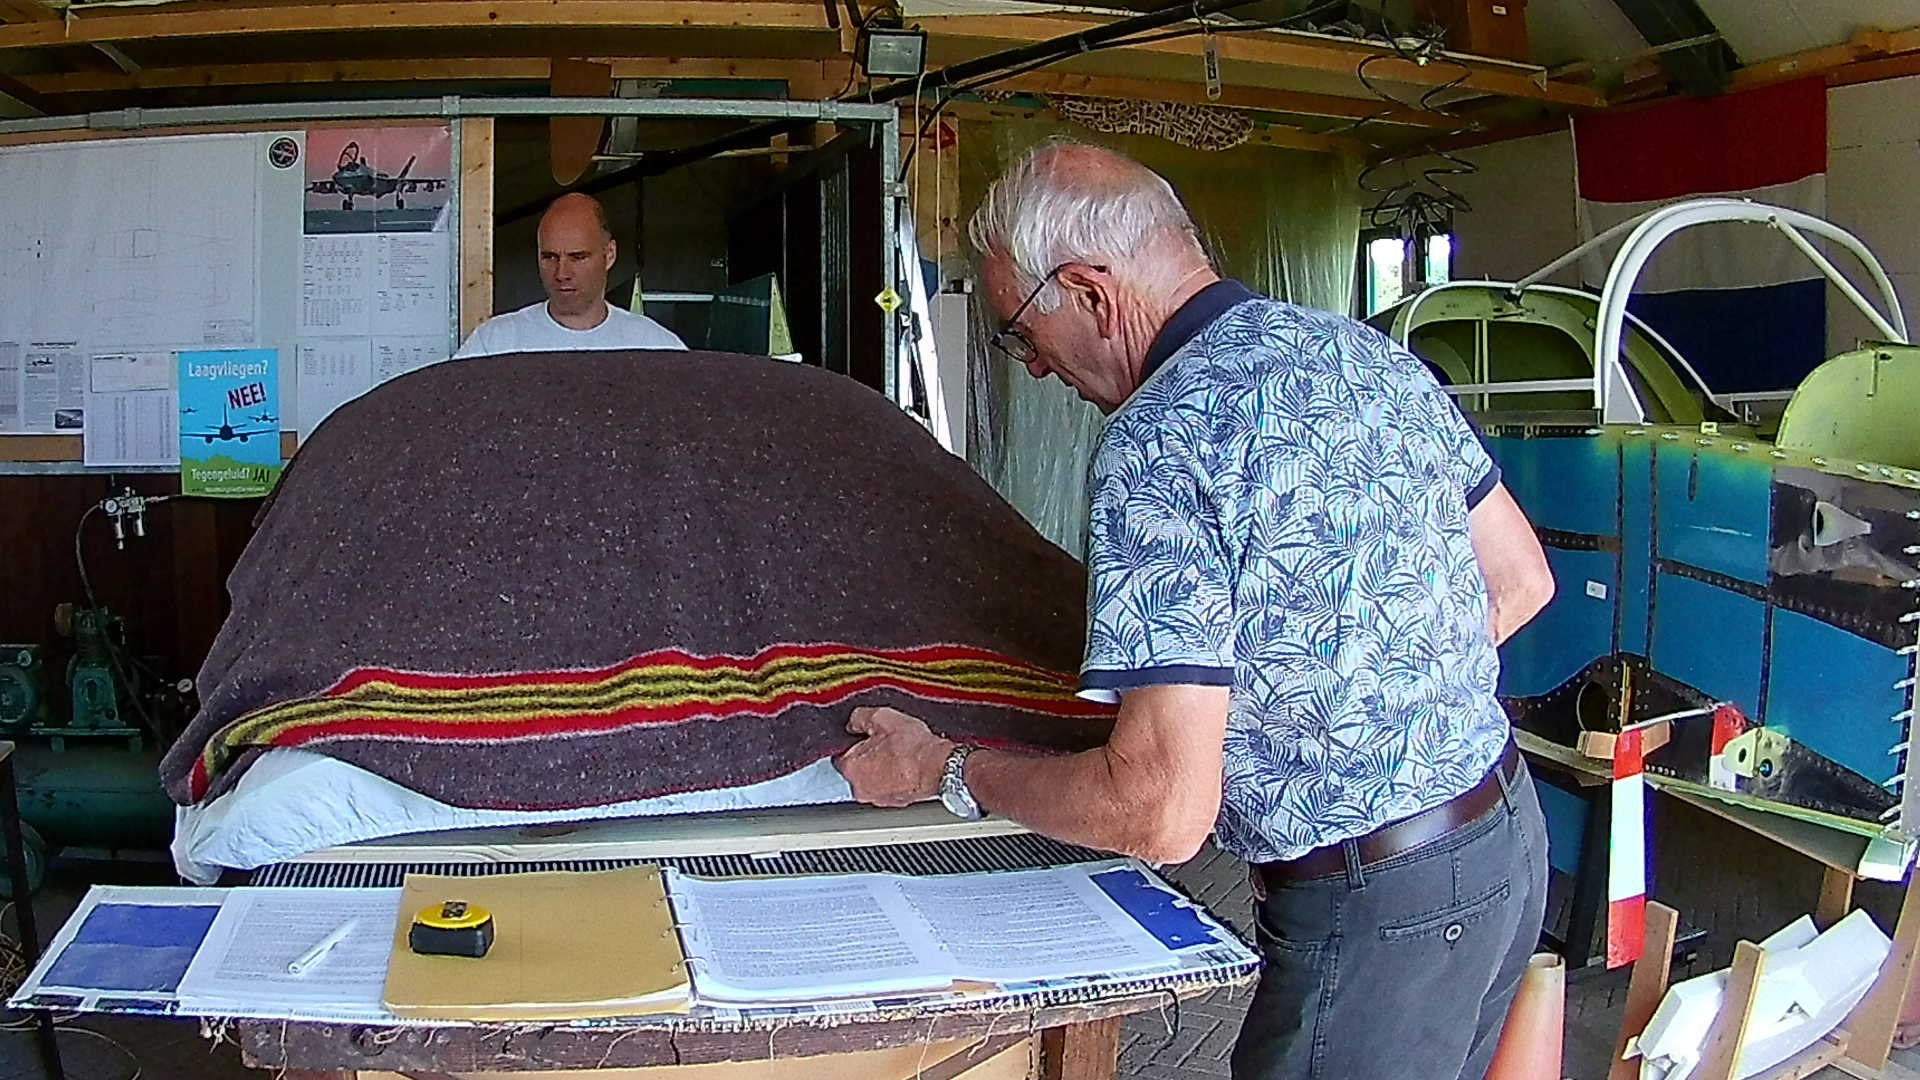
Turns out that even Dutch summers are good enough for Canopy trimming.
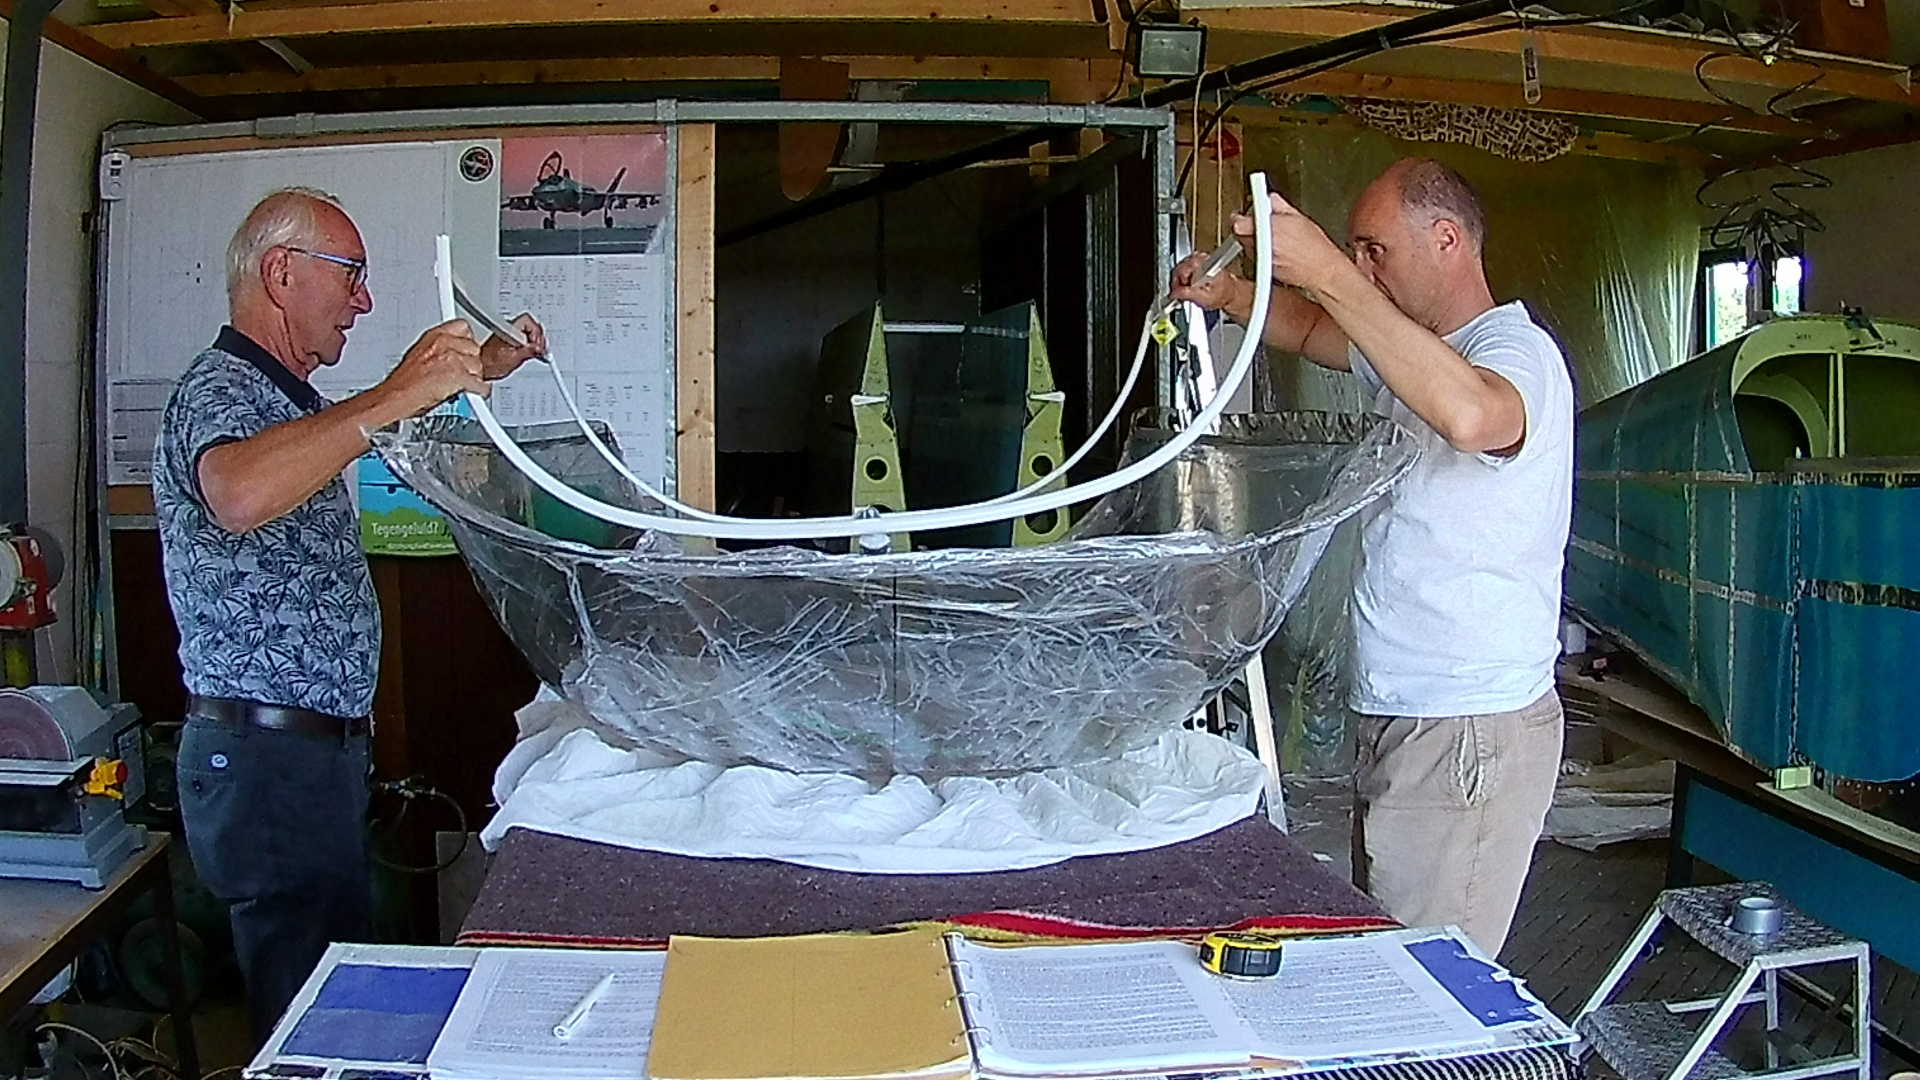
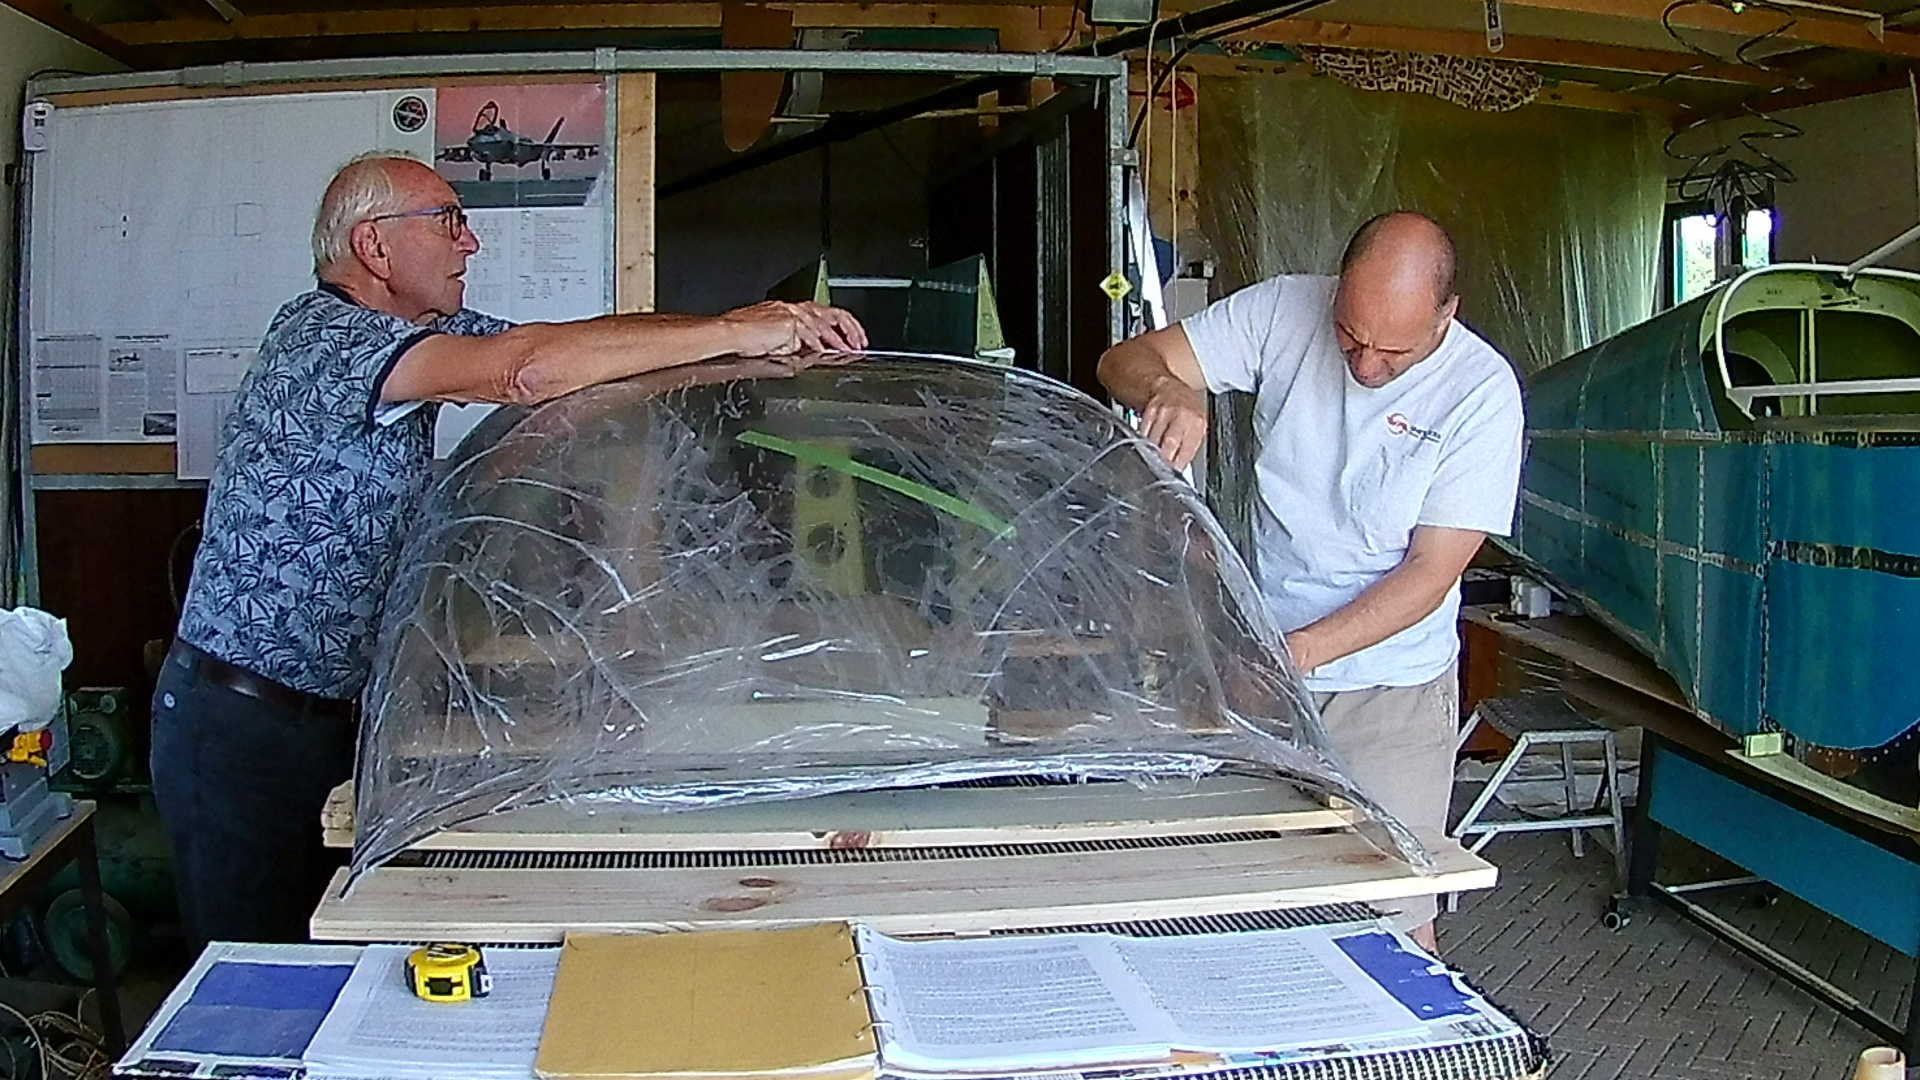
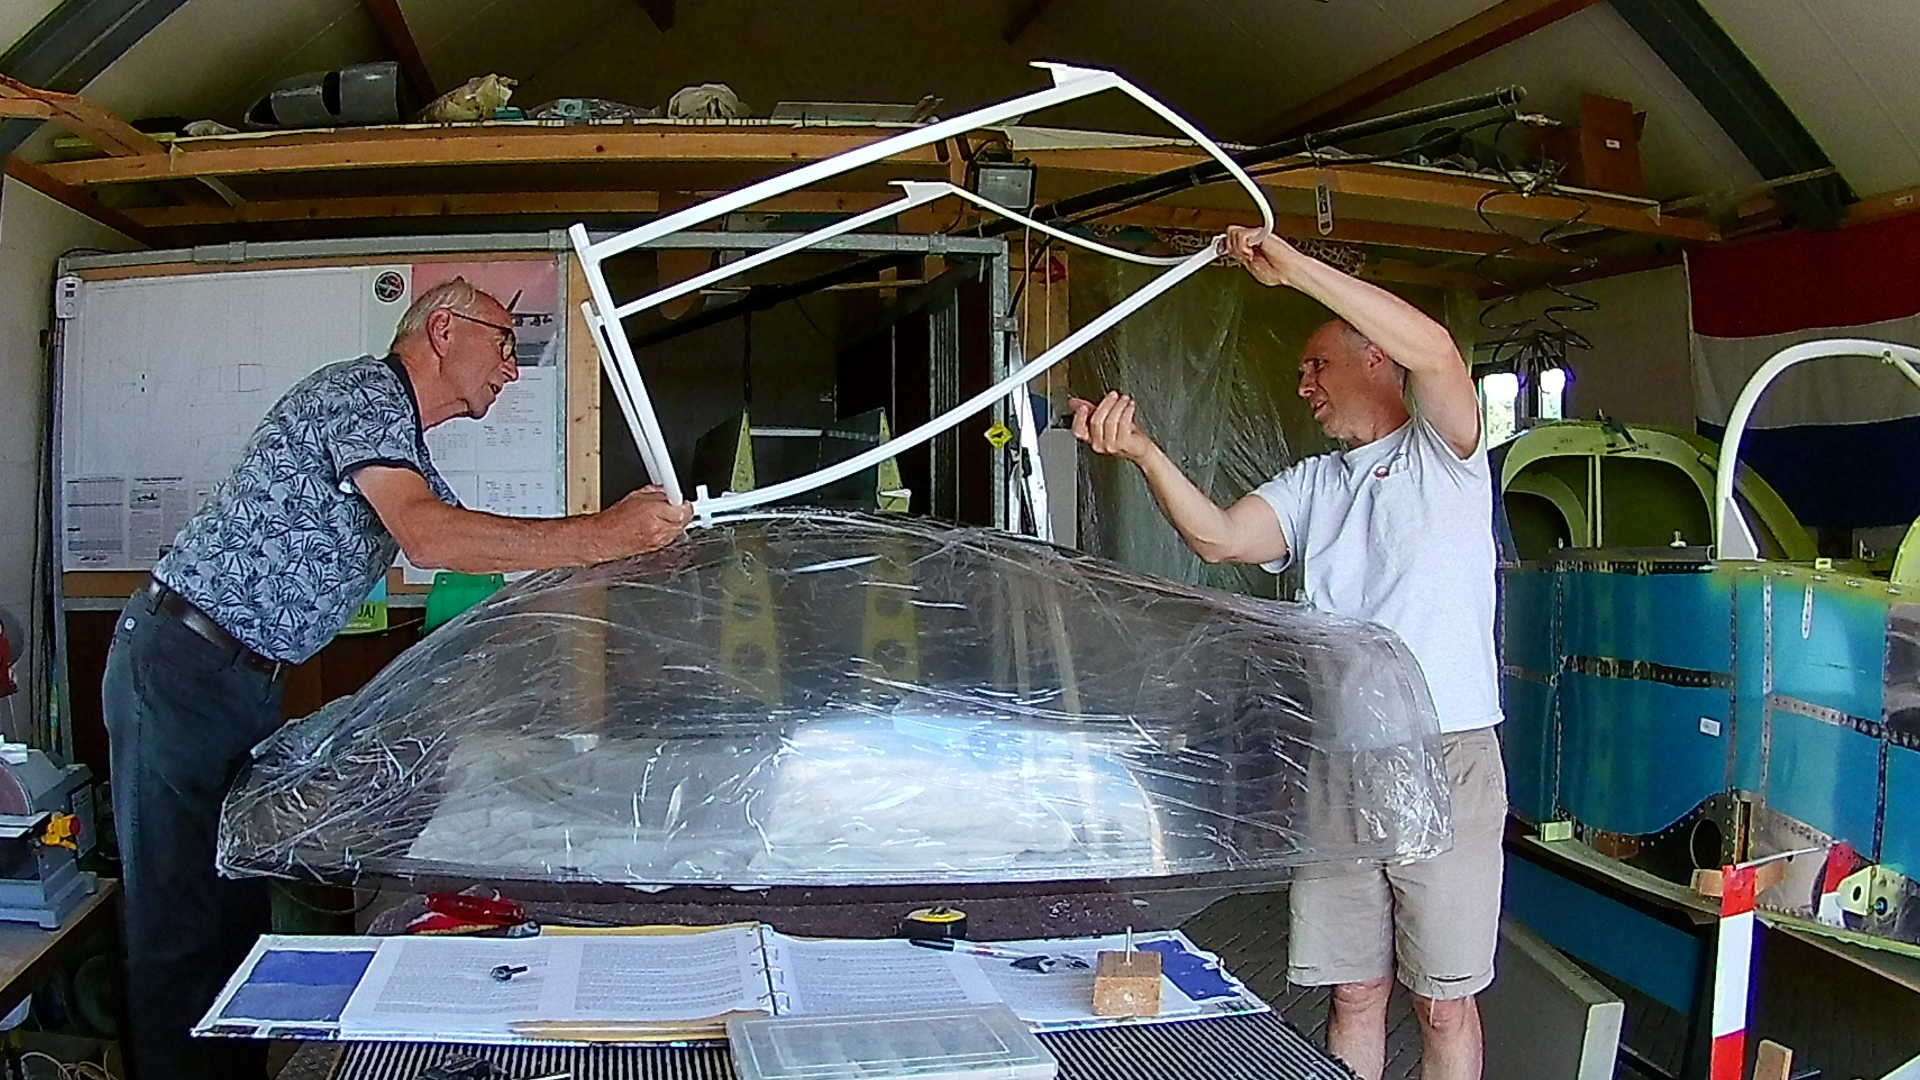
With the center lines drawn, we can start checking the Canopy frame. I’m clueless on how much forward or aft it should be and in the end you need to check the curvature of the Frame and match it with the Bubble (not a very exact science).
Once determined, we can drill the first hole, which holds the handle for the latch.
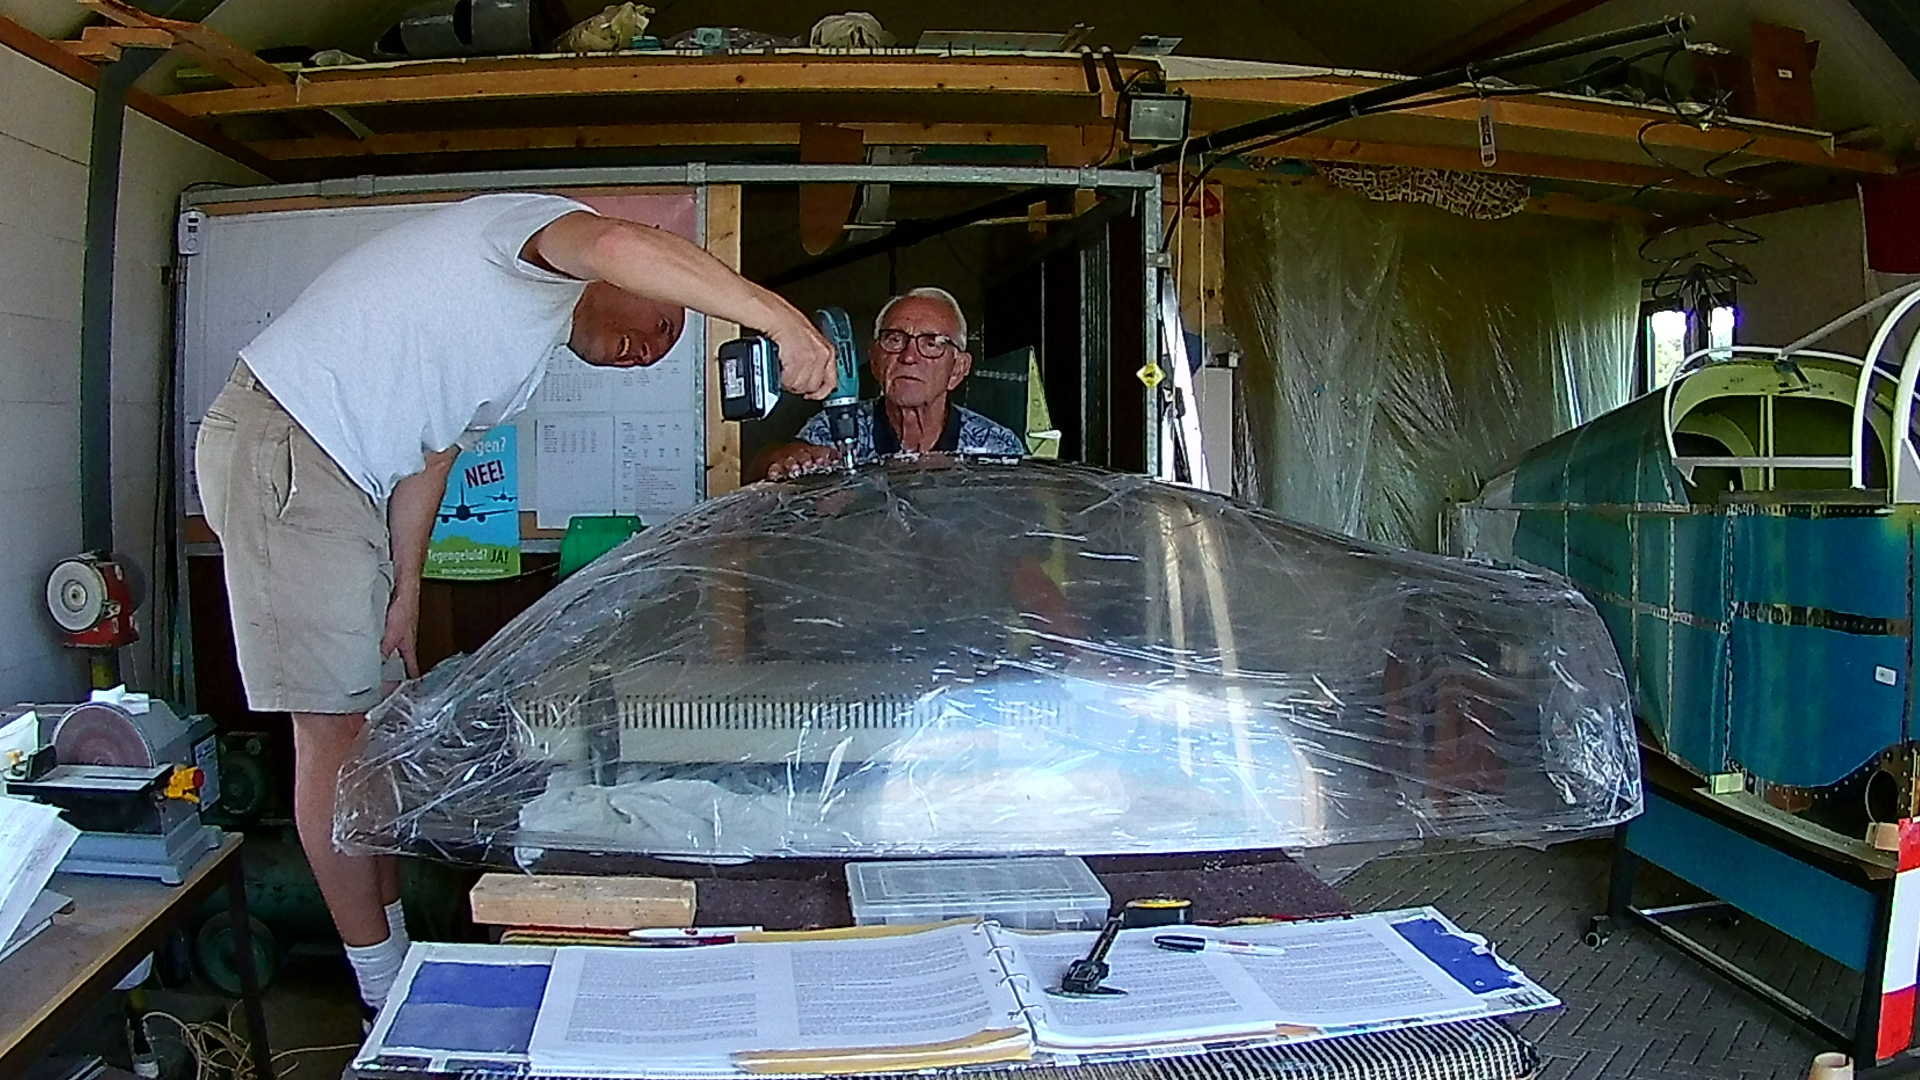
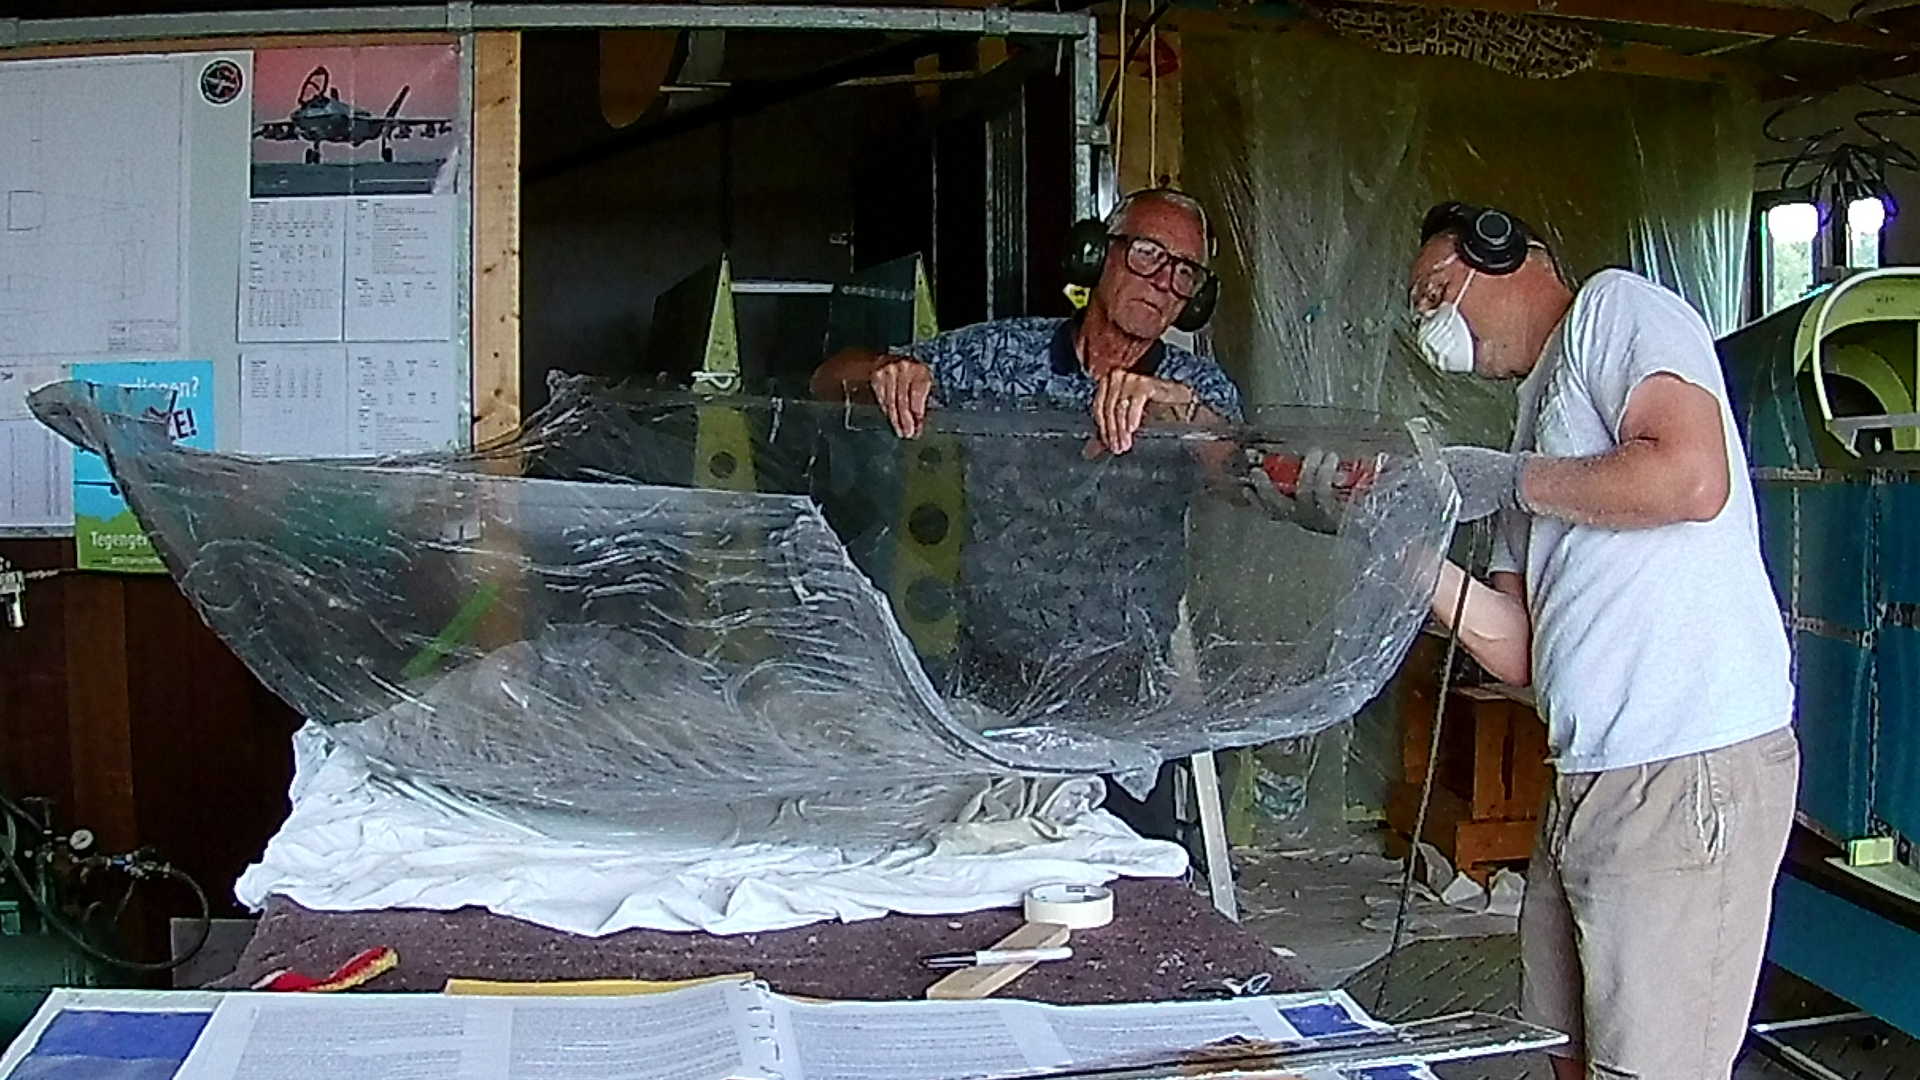
I used the unibit, which works really well on the Plexiglass. You can see the electric heater under the Canopy Bubble on the table. I guess it’s useless, but at least I tried.
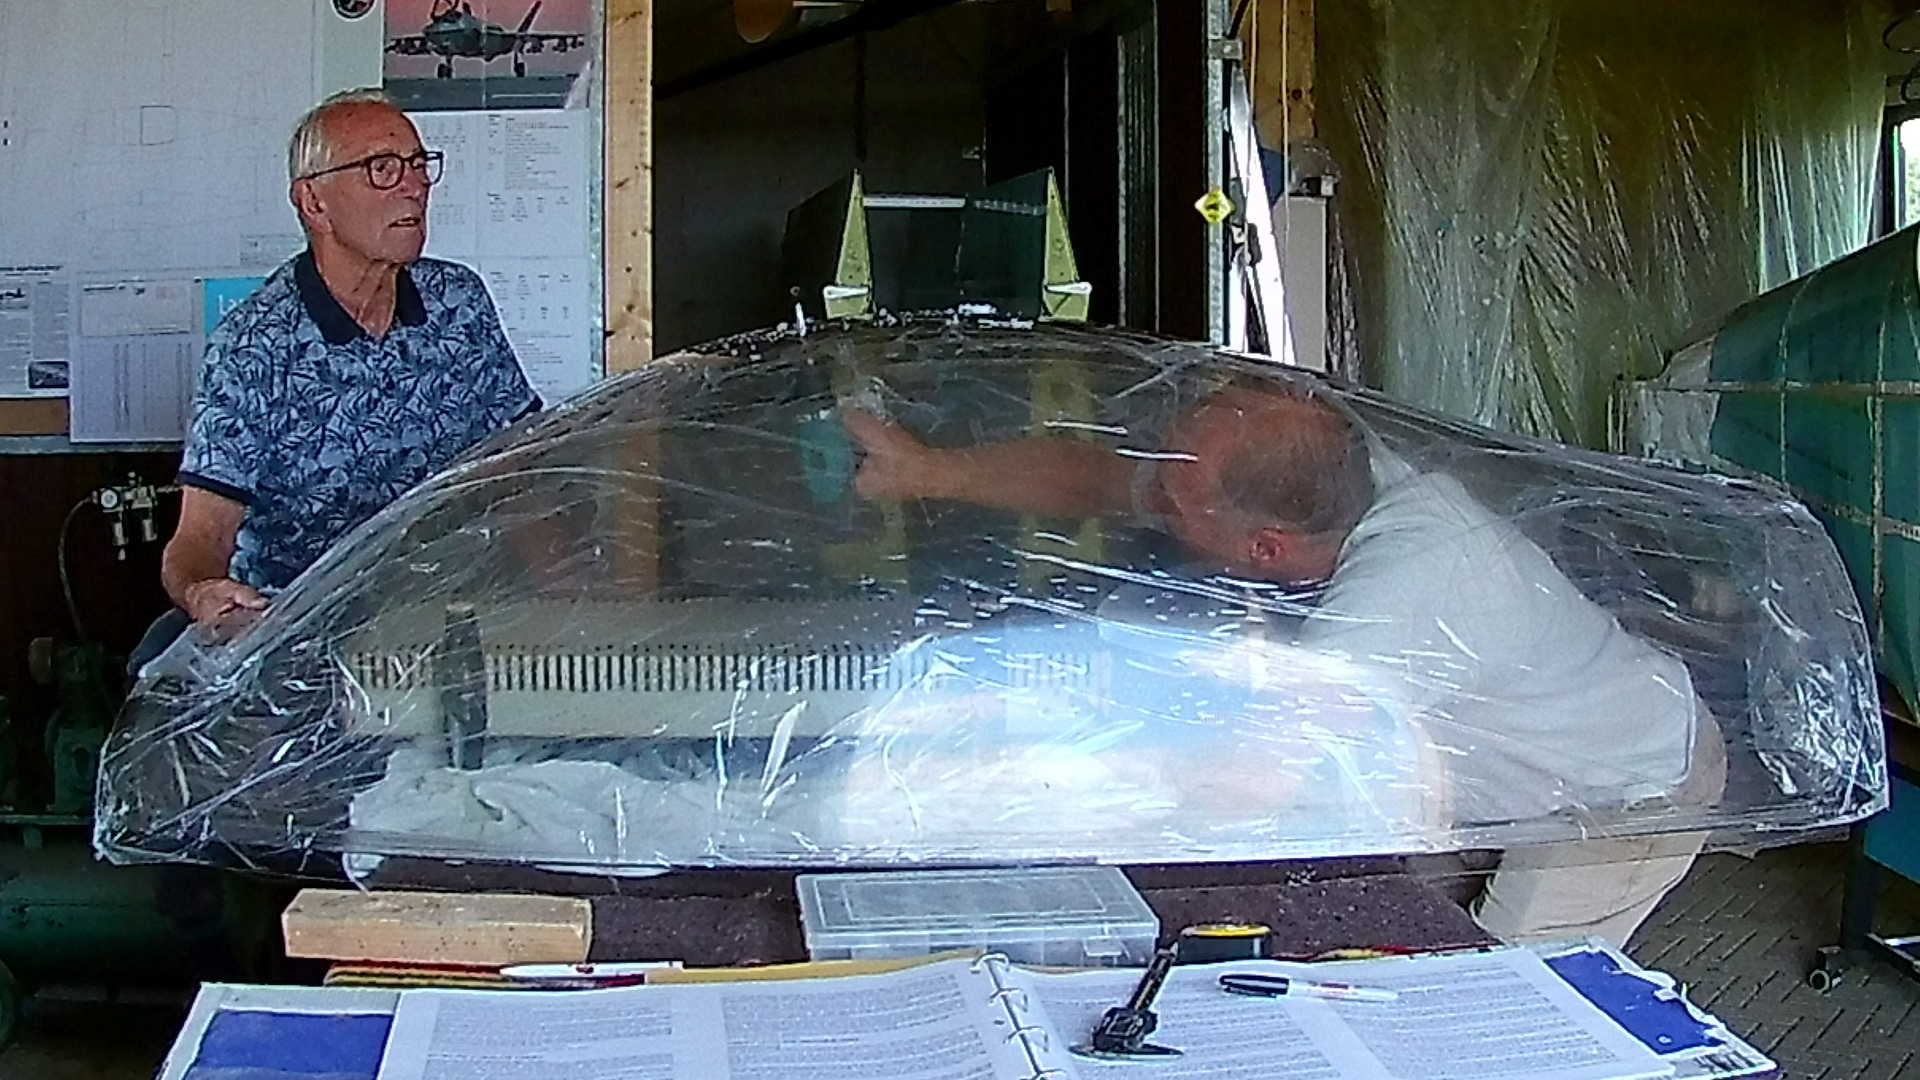
No we need to gradually increase the hole, so the bushing of the Frame fits (as precise as possible).
With the exact location of the Frame set by the hole, we marked the parts that we could trim, to prepare for “The Big Cut”.
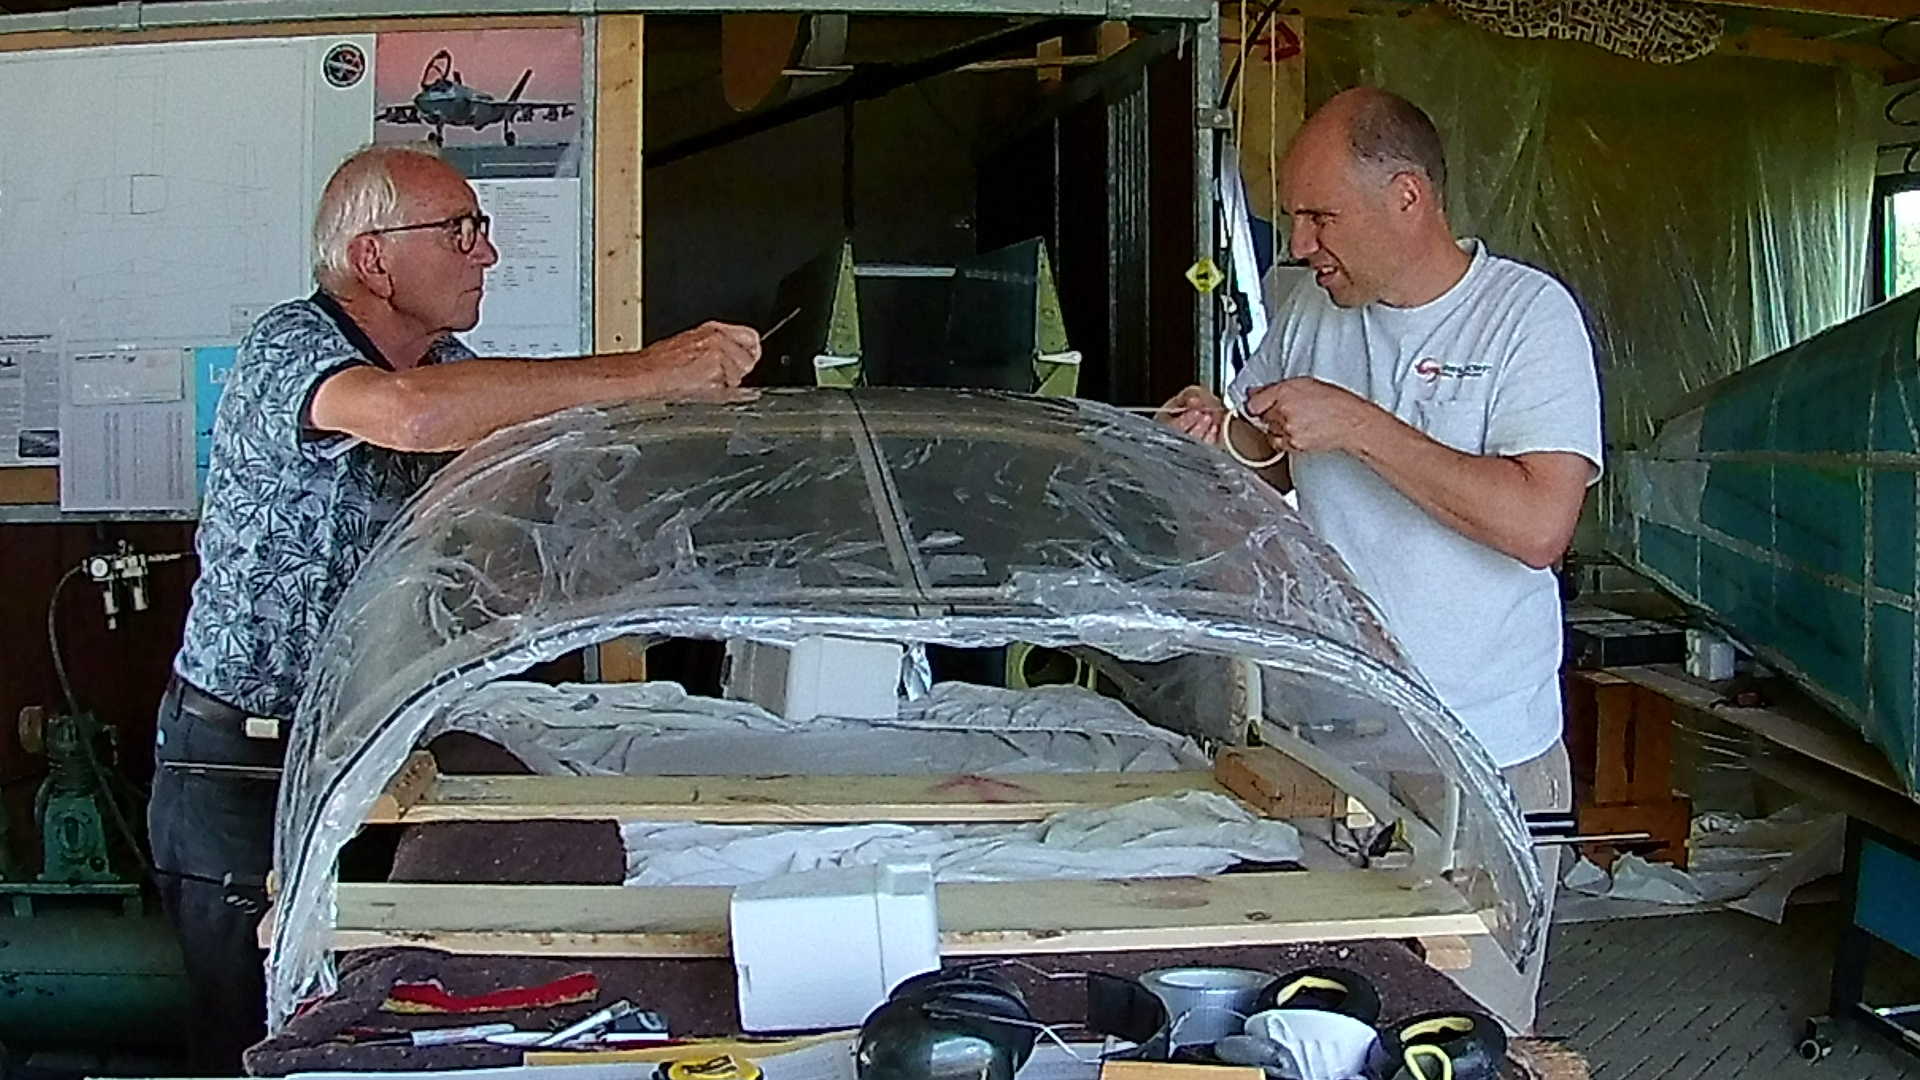
Last job is marking where this “cut” should be.
Time: 8 Hours, Rivets: 0/0 (2020-07-15)
Video