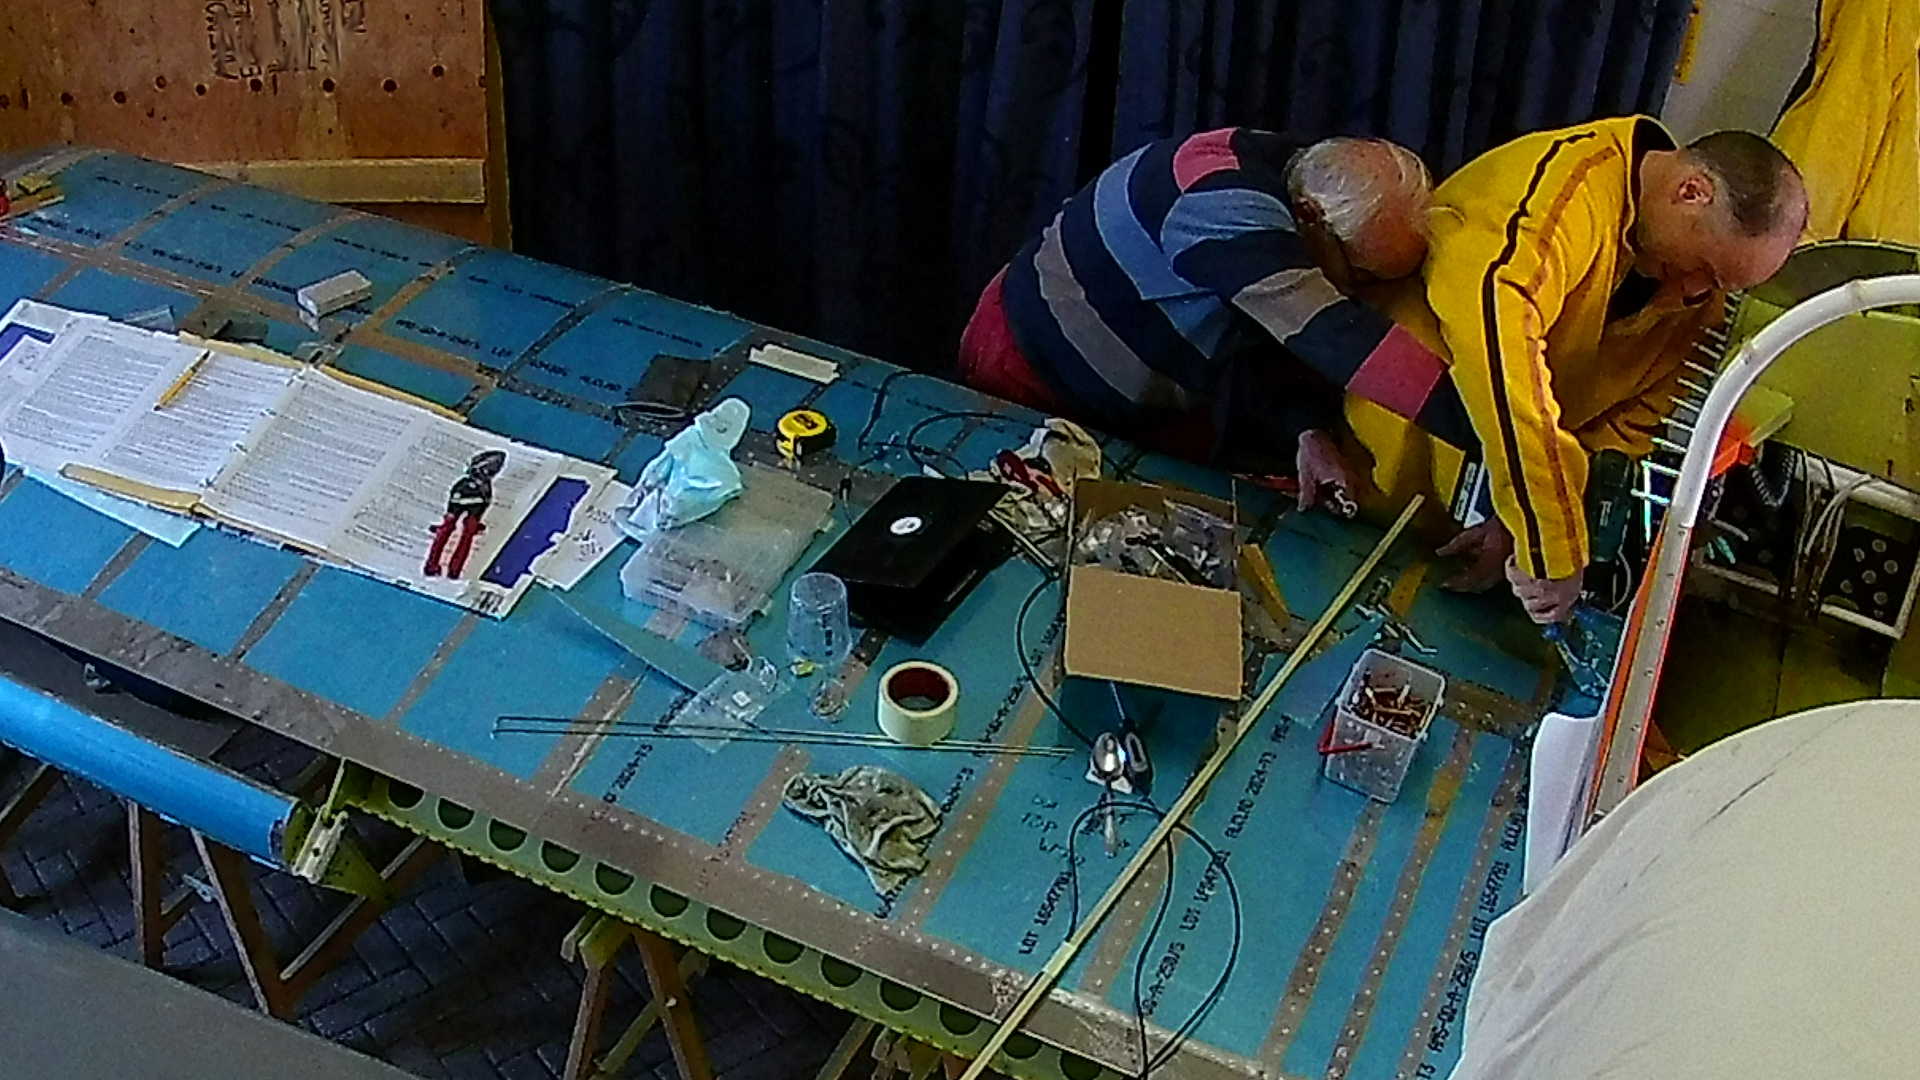
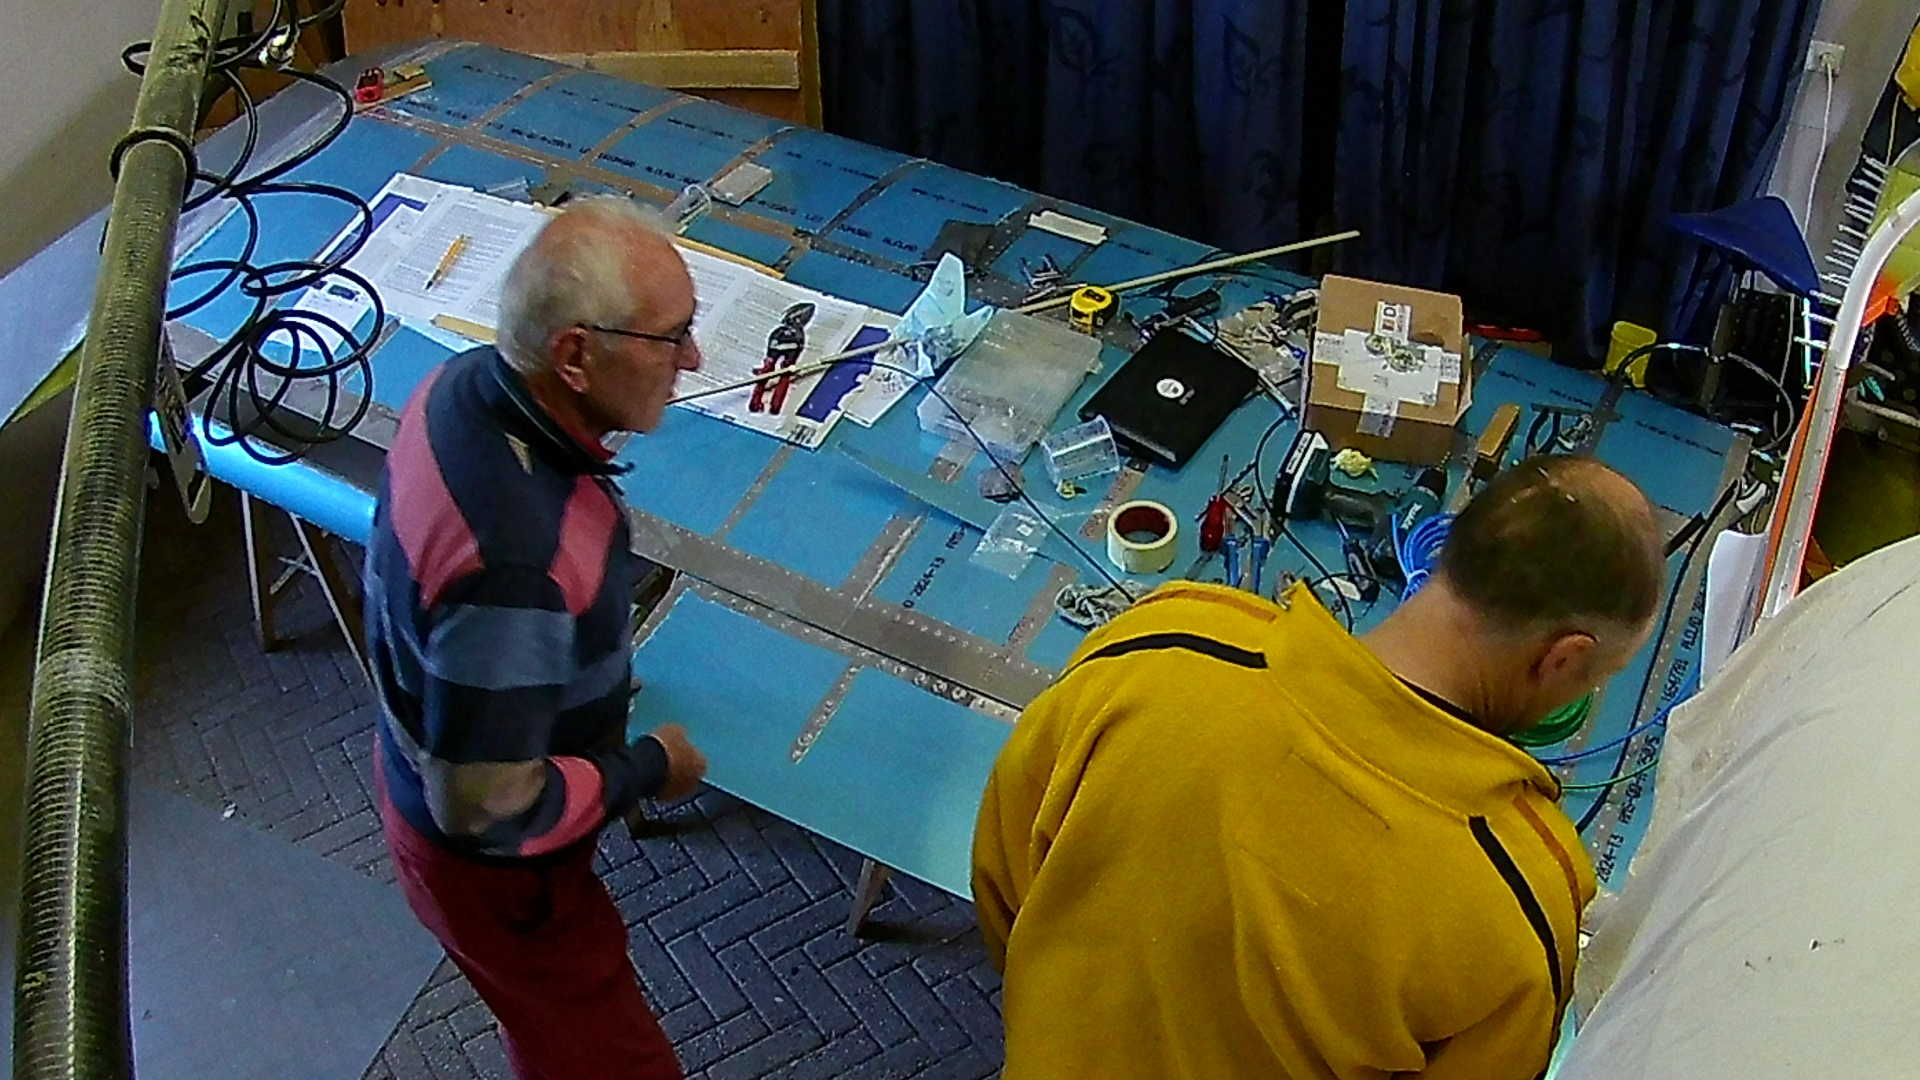
Last post we worked on the angle of incidence of the right wing. This time We are doing the same task, but now on the left wing. The workshop is not wide enough to insert both wings, so unfortunately I have to this wig by wing.
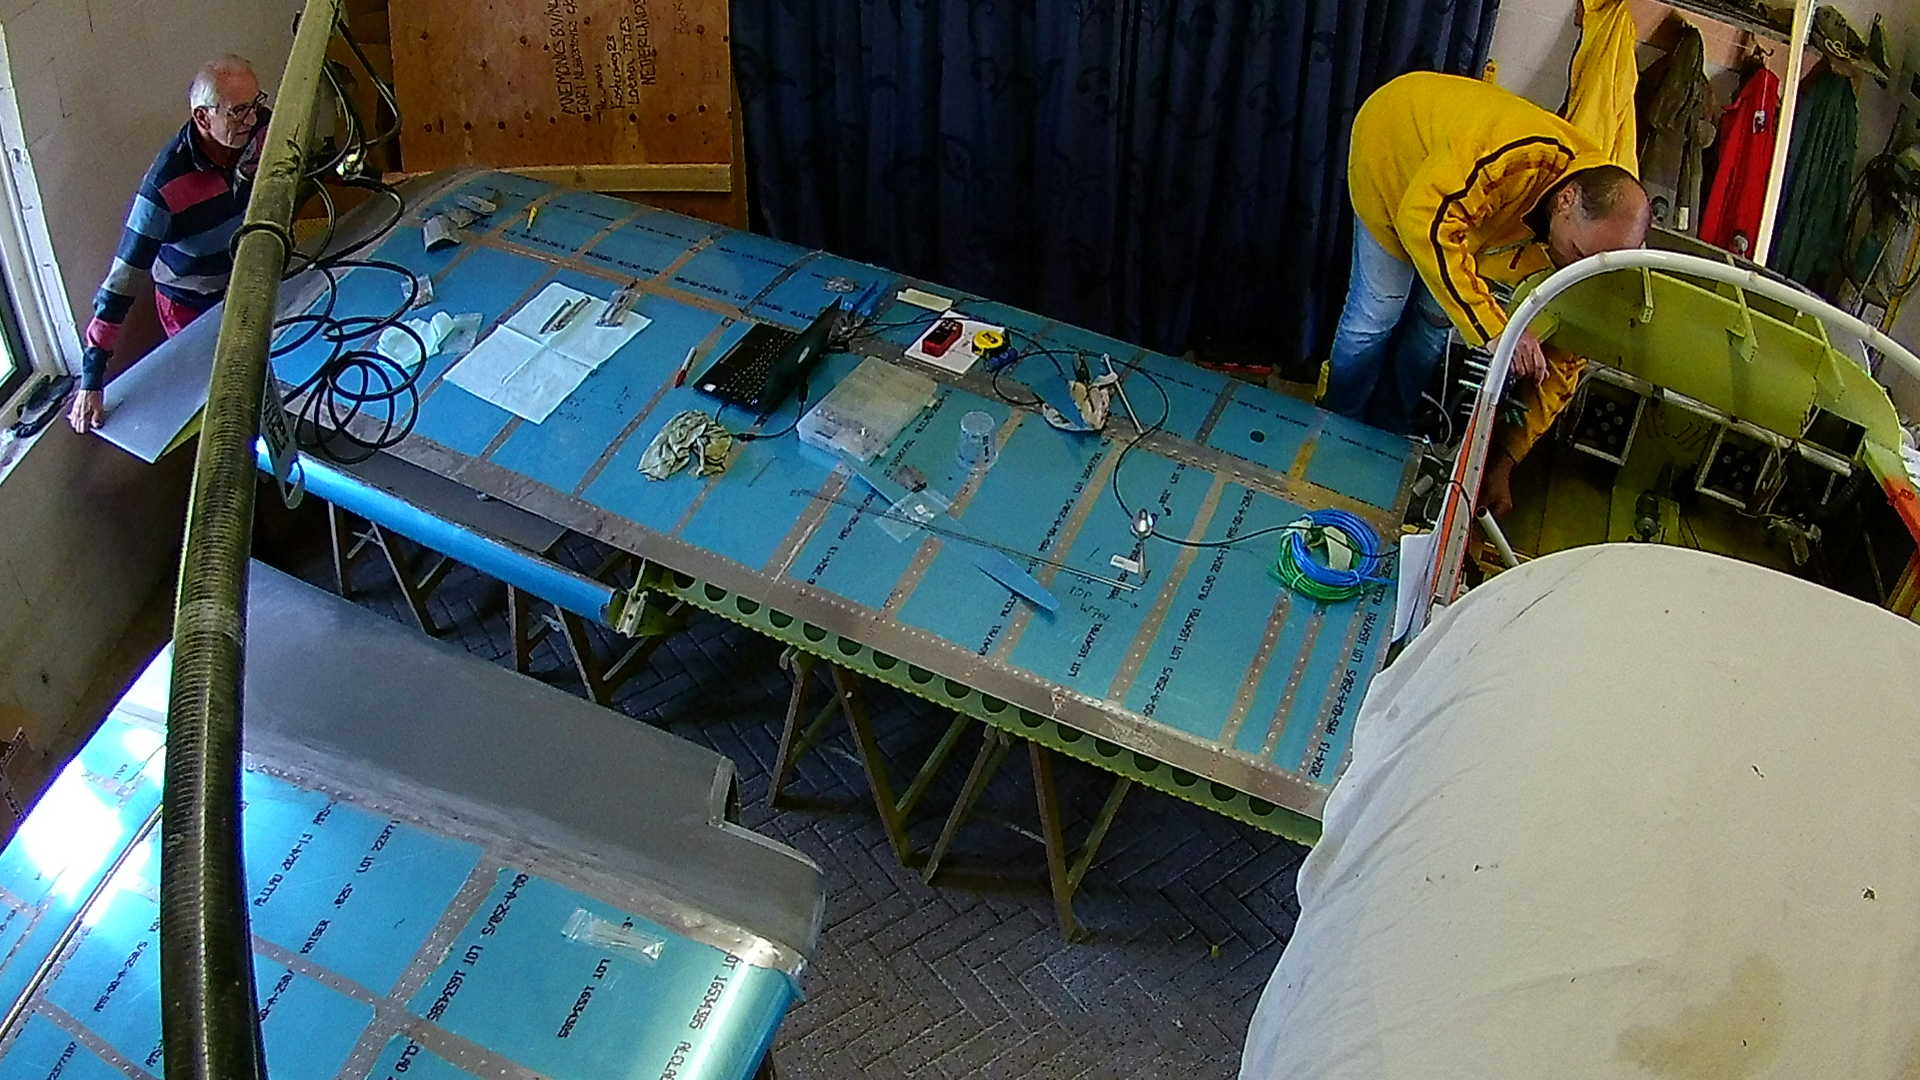
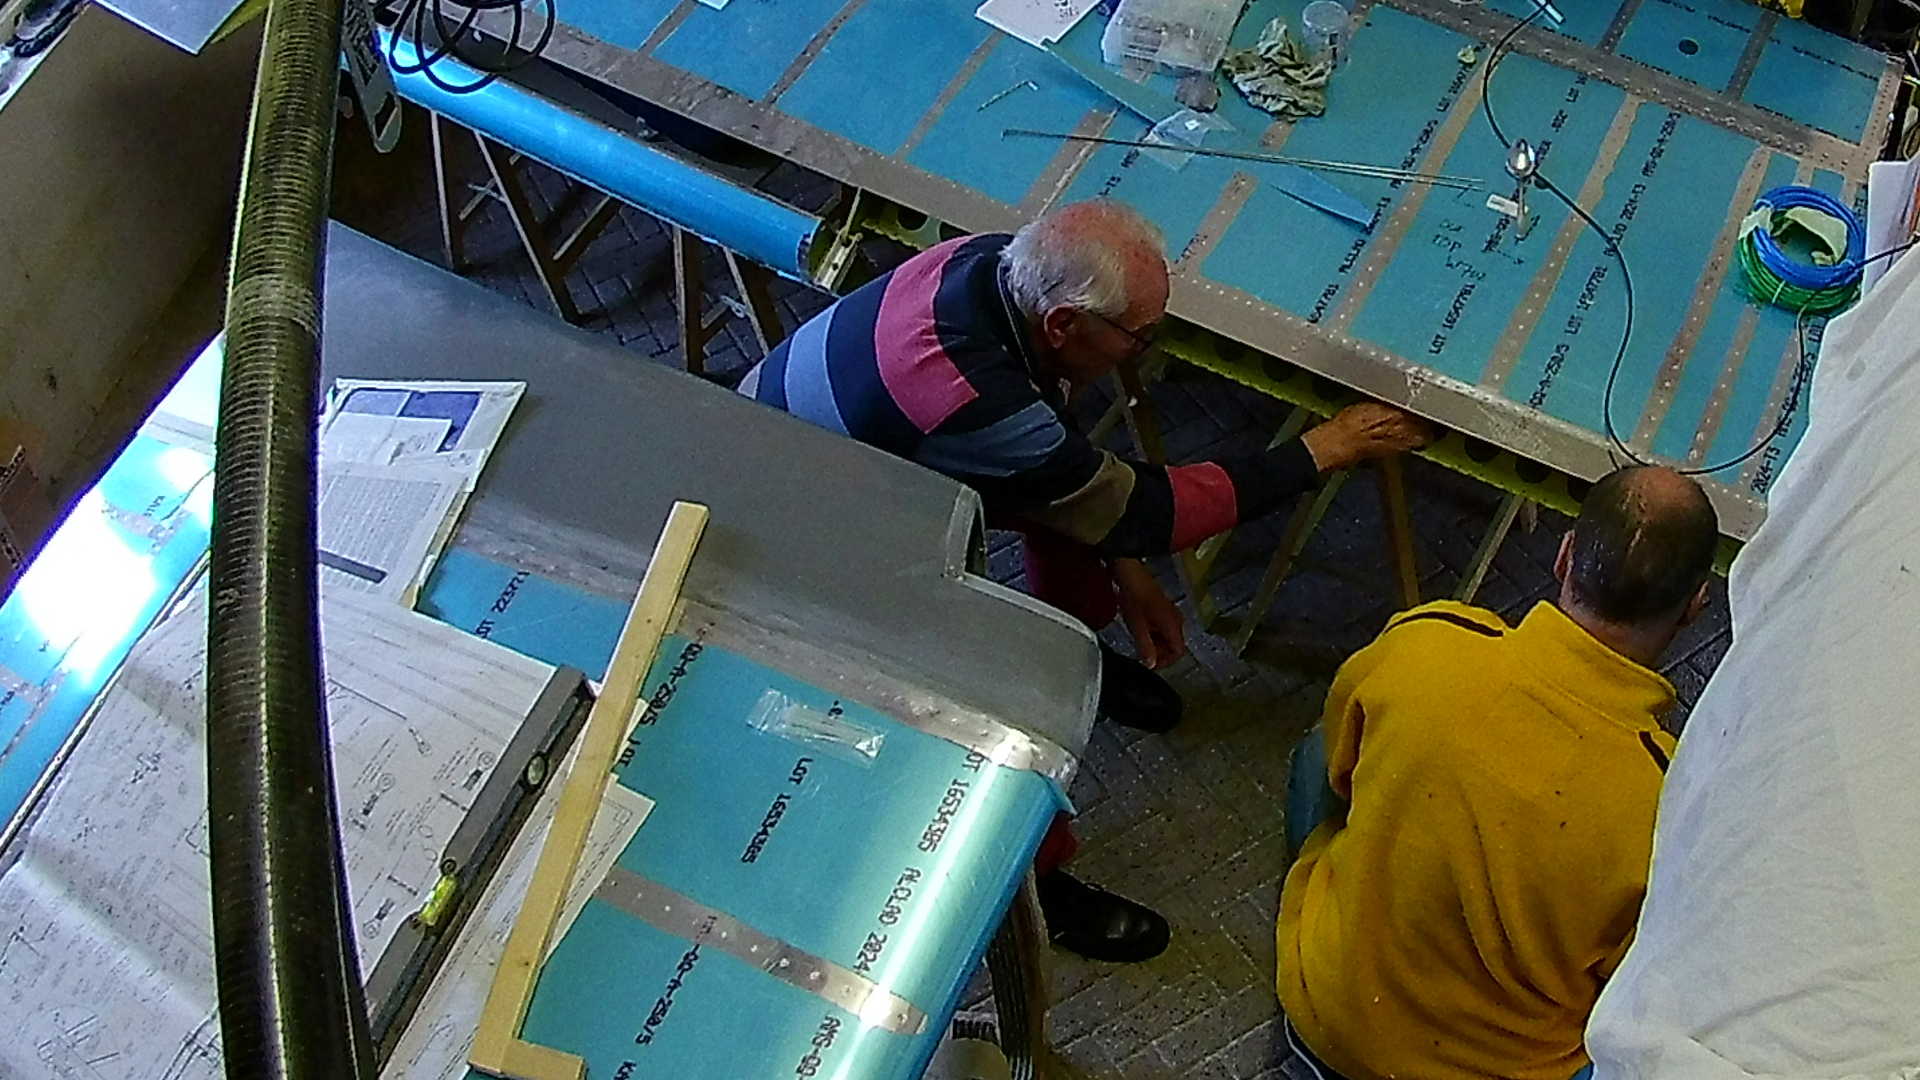
While the right wing snapped in real easy in place, we had less luck with the left wing. Every time we run into issues, the endoscope is a real help. This time it allows us to see the alignment of the holes.
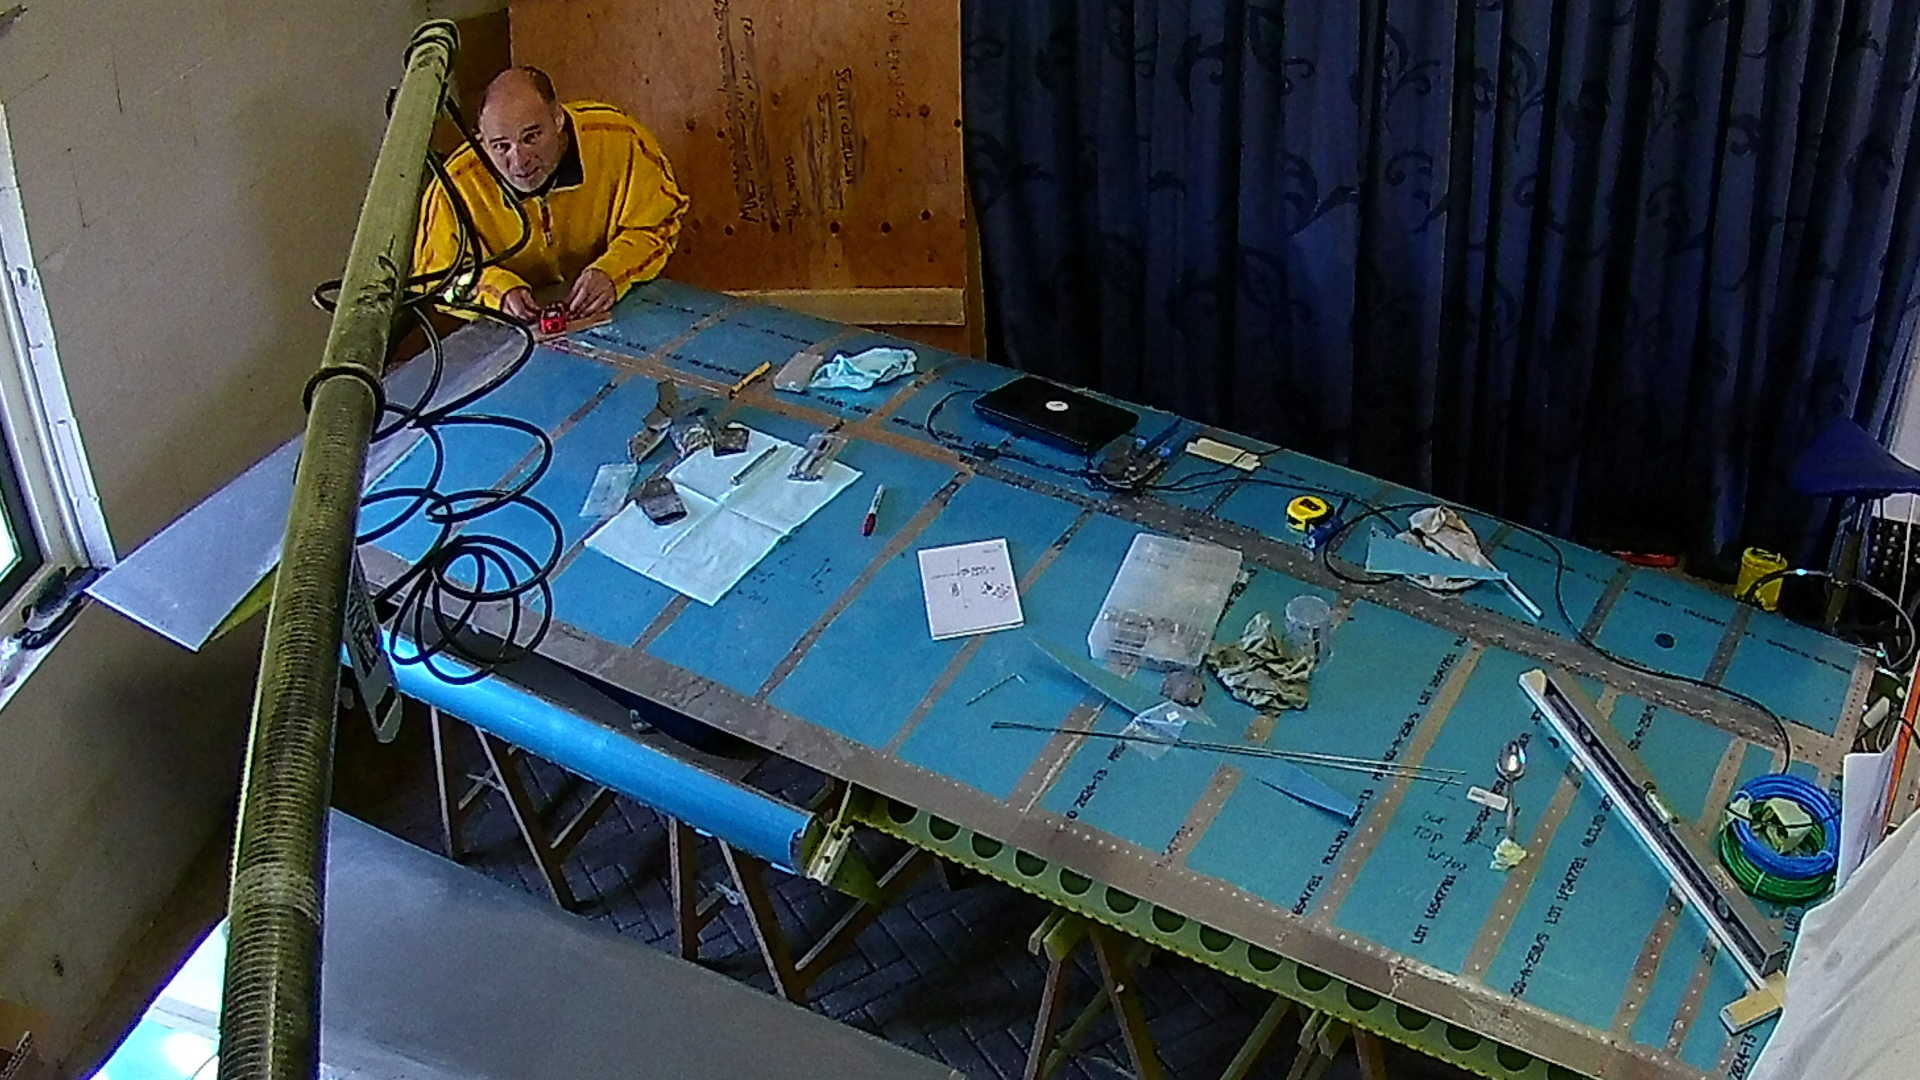
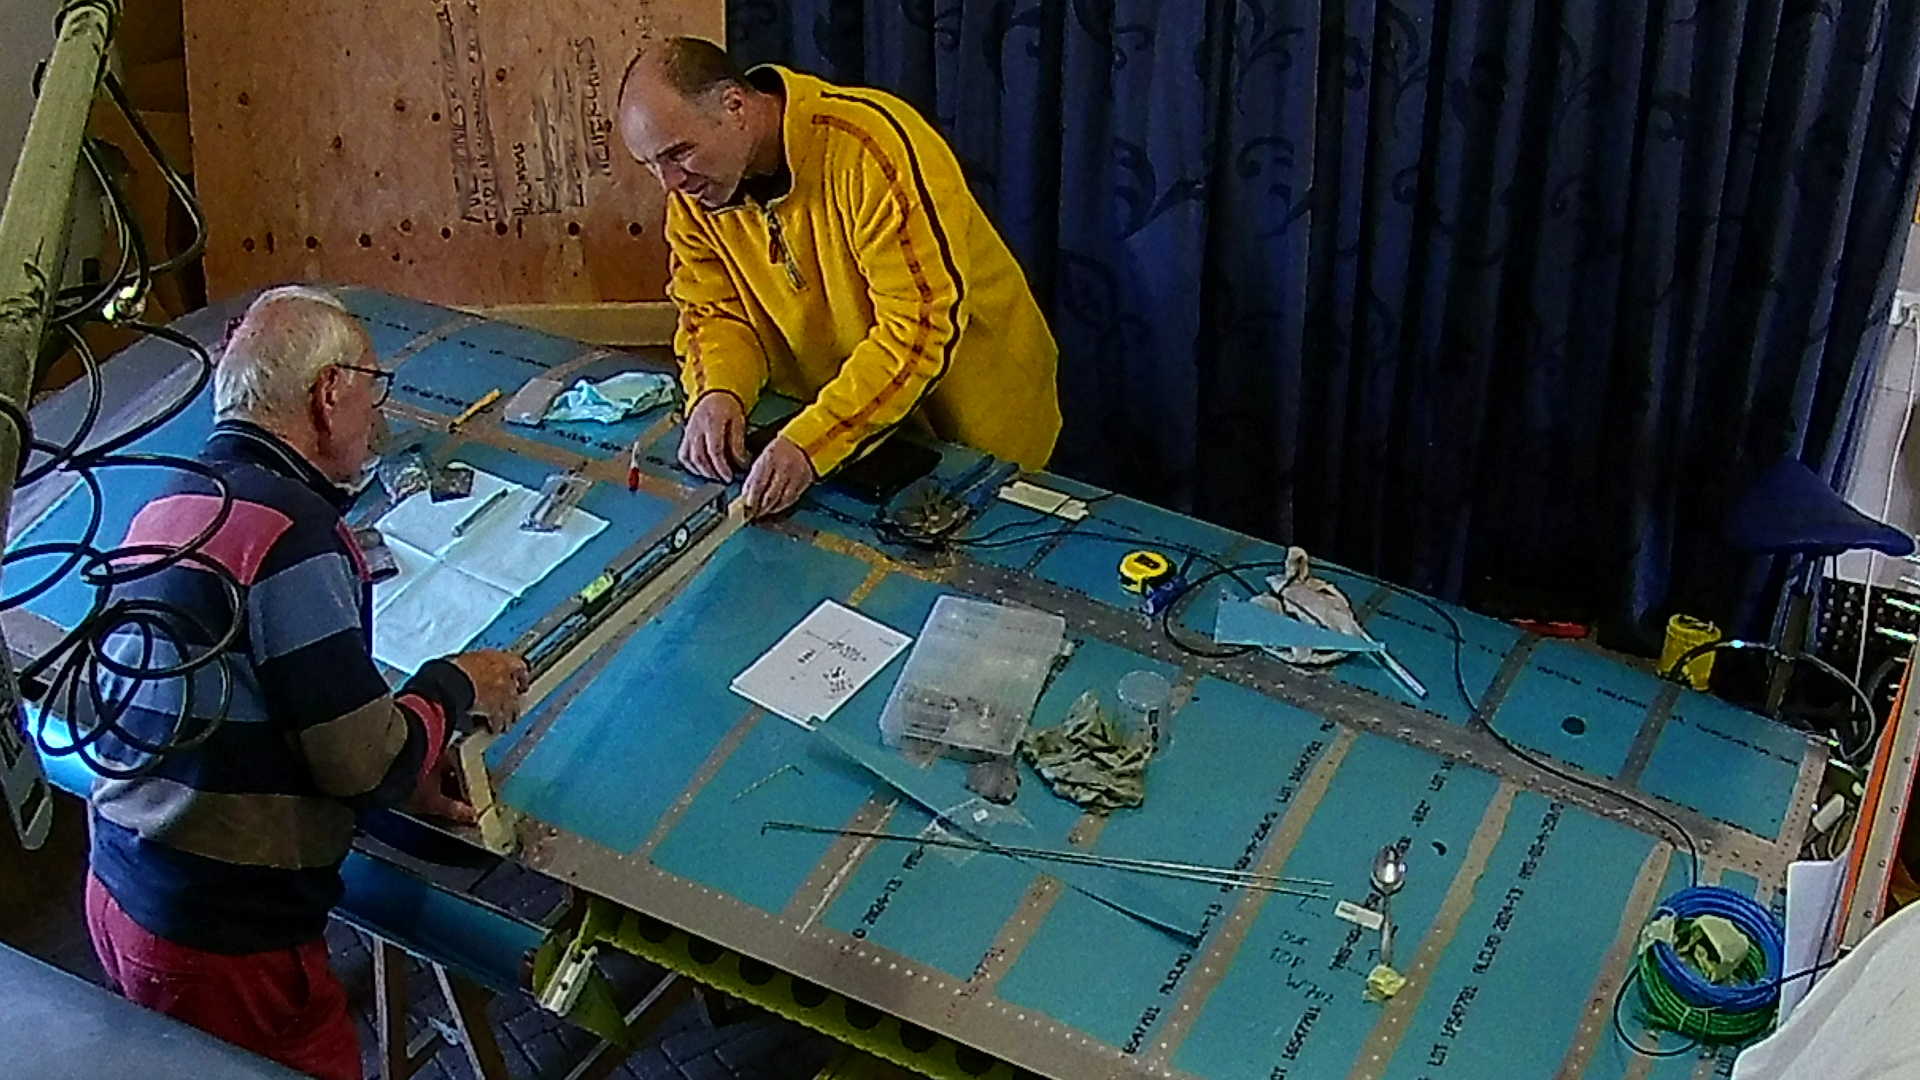
To set the wing exactly perpendicular to the fuselage, I use a laser measure, to check the distance from a specific point on the wing tip to the attachment point of the horizontal stabilizer.
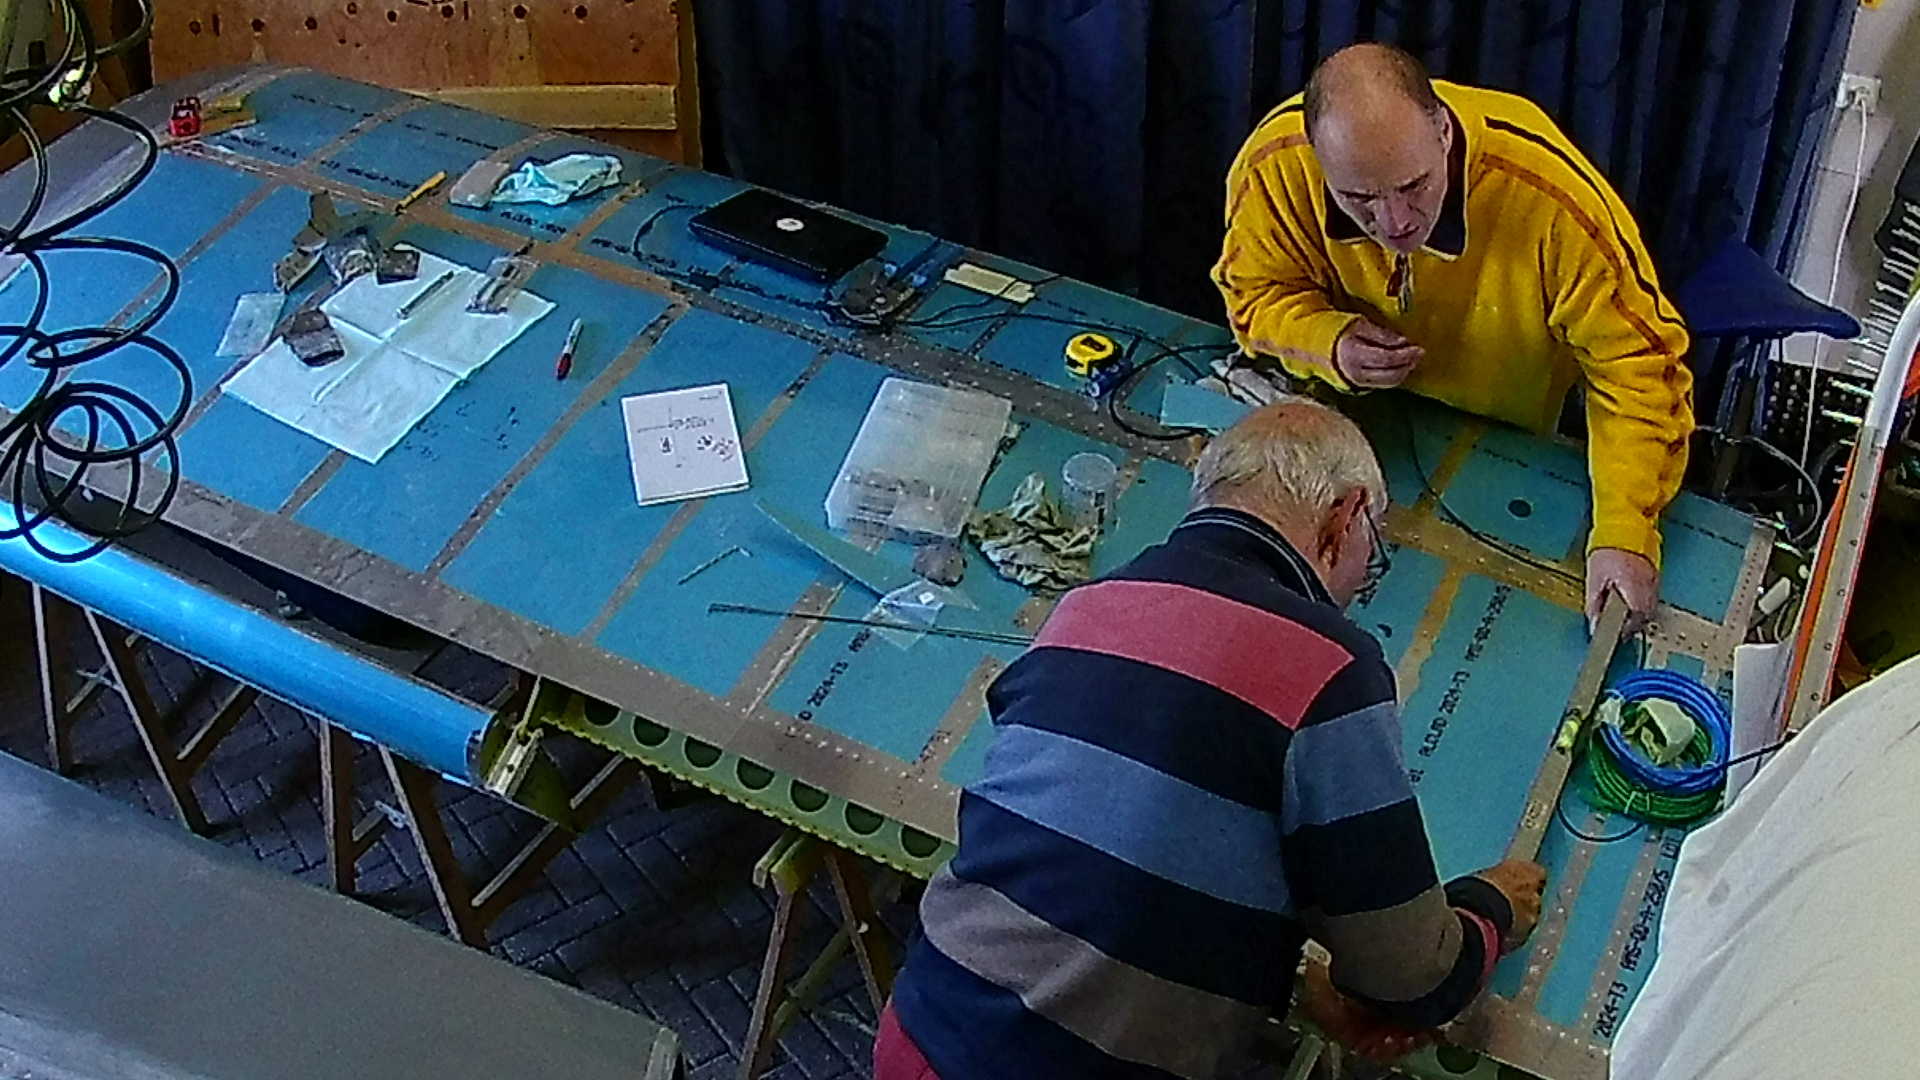
With the plane level to the ground, we use a level and a template to set the correct angle of incidence. We do this on multiple points on the wing, which should all result in the same angle of incidence.
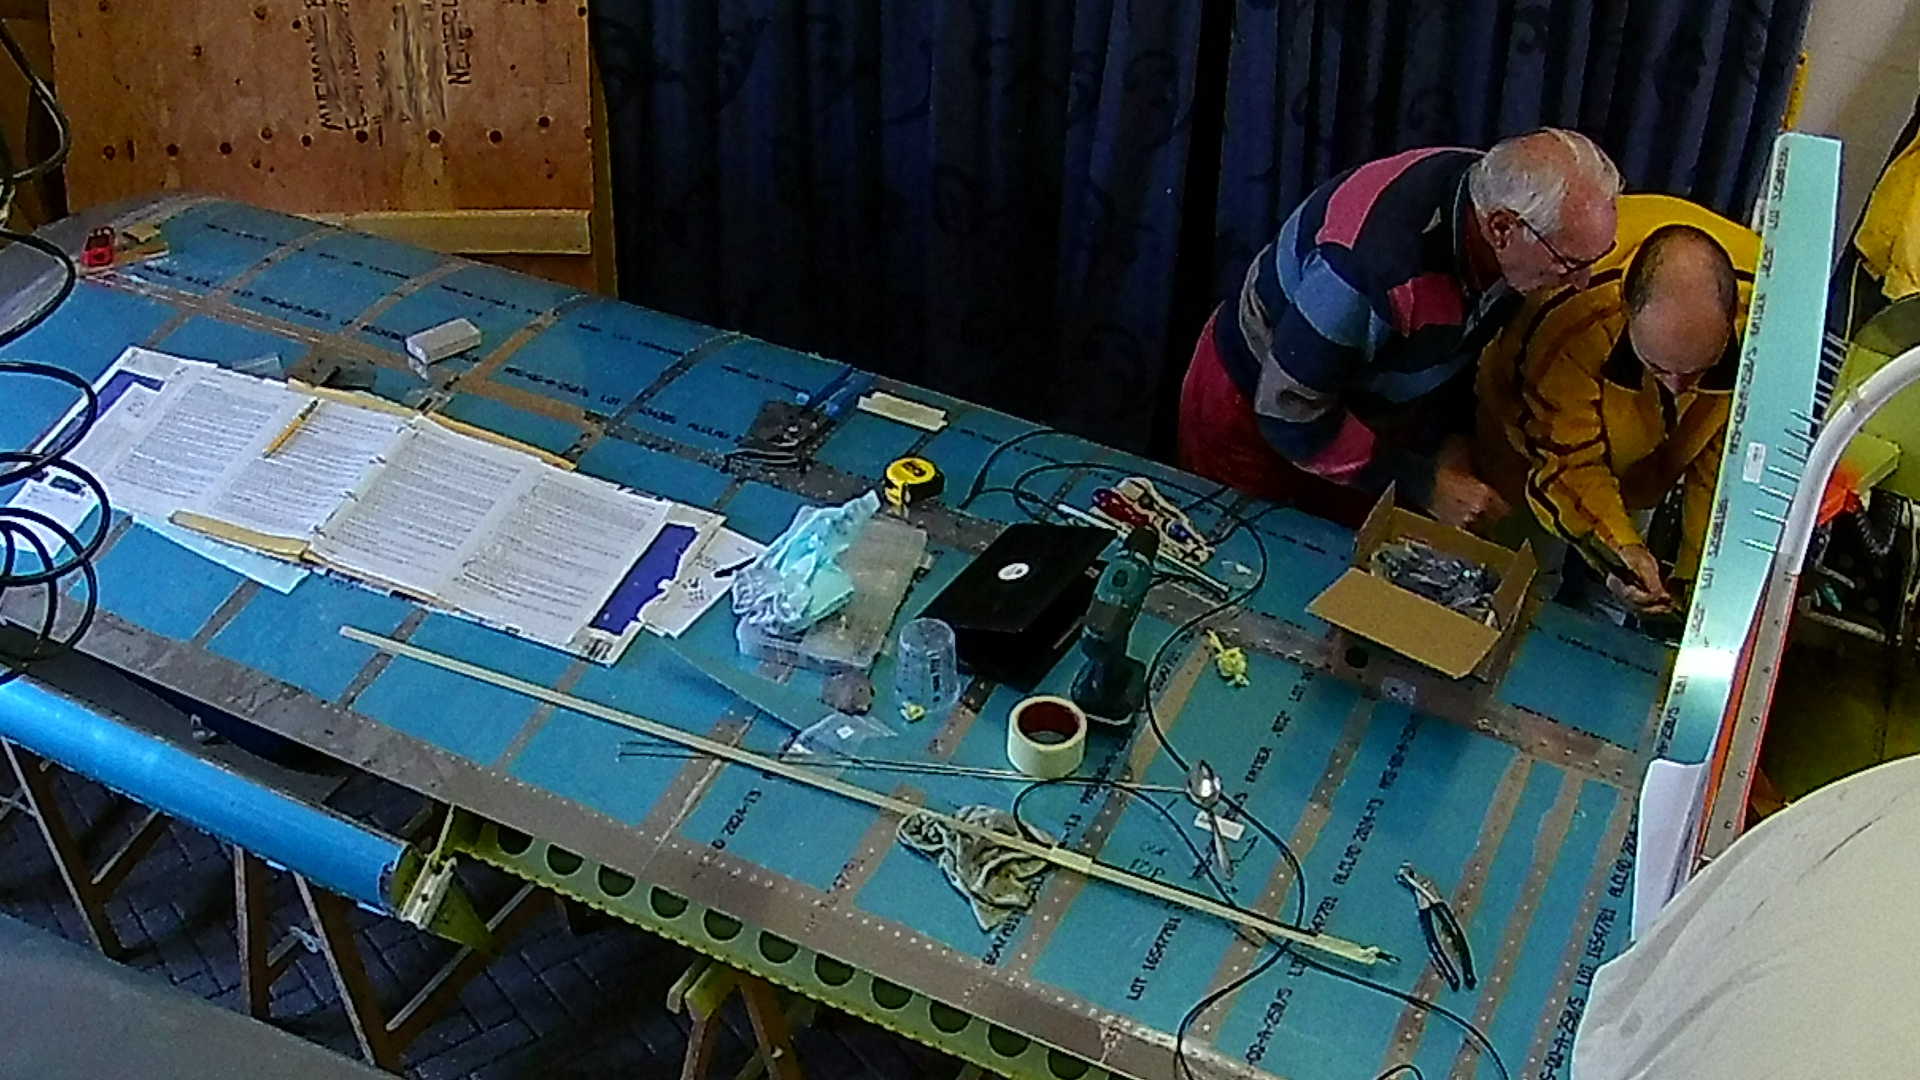
With both the sweep angle and the angle of incidence set, we can drill the hole through both the secondary bulkhead and the rear wing spar.
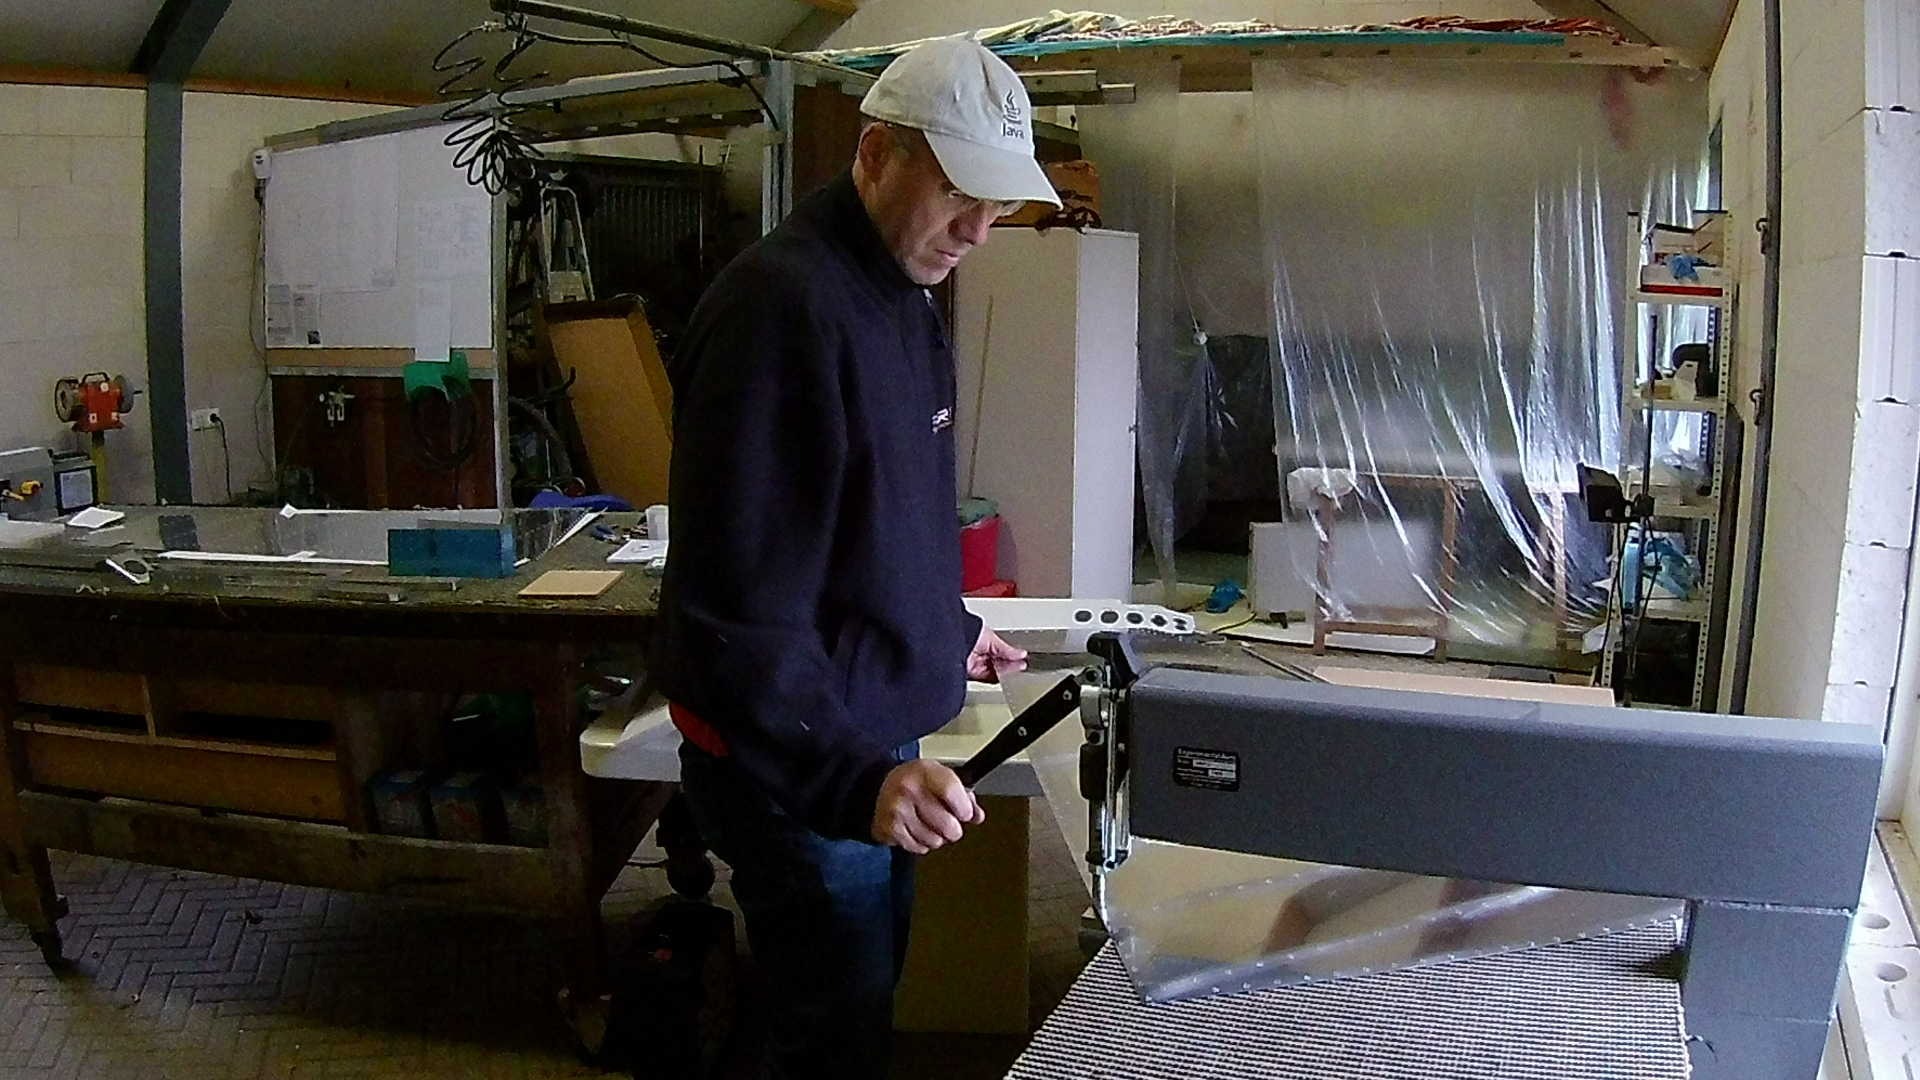
Before the wing cover plate can be fitted, the fuel tubes sticking out need to be trimmed and bend.
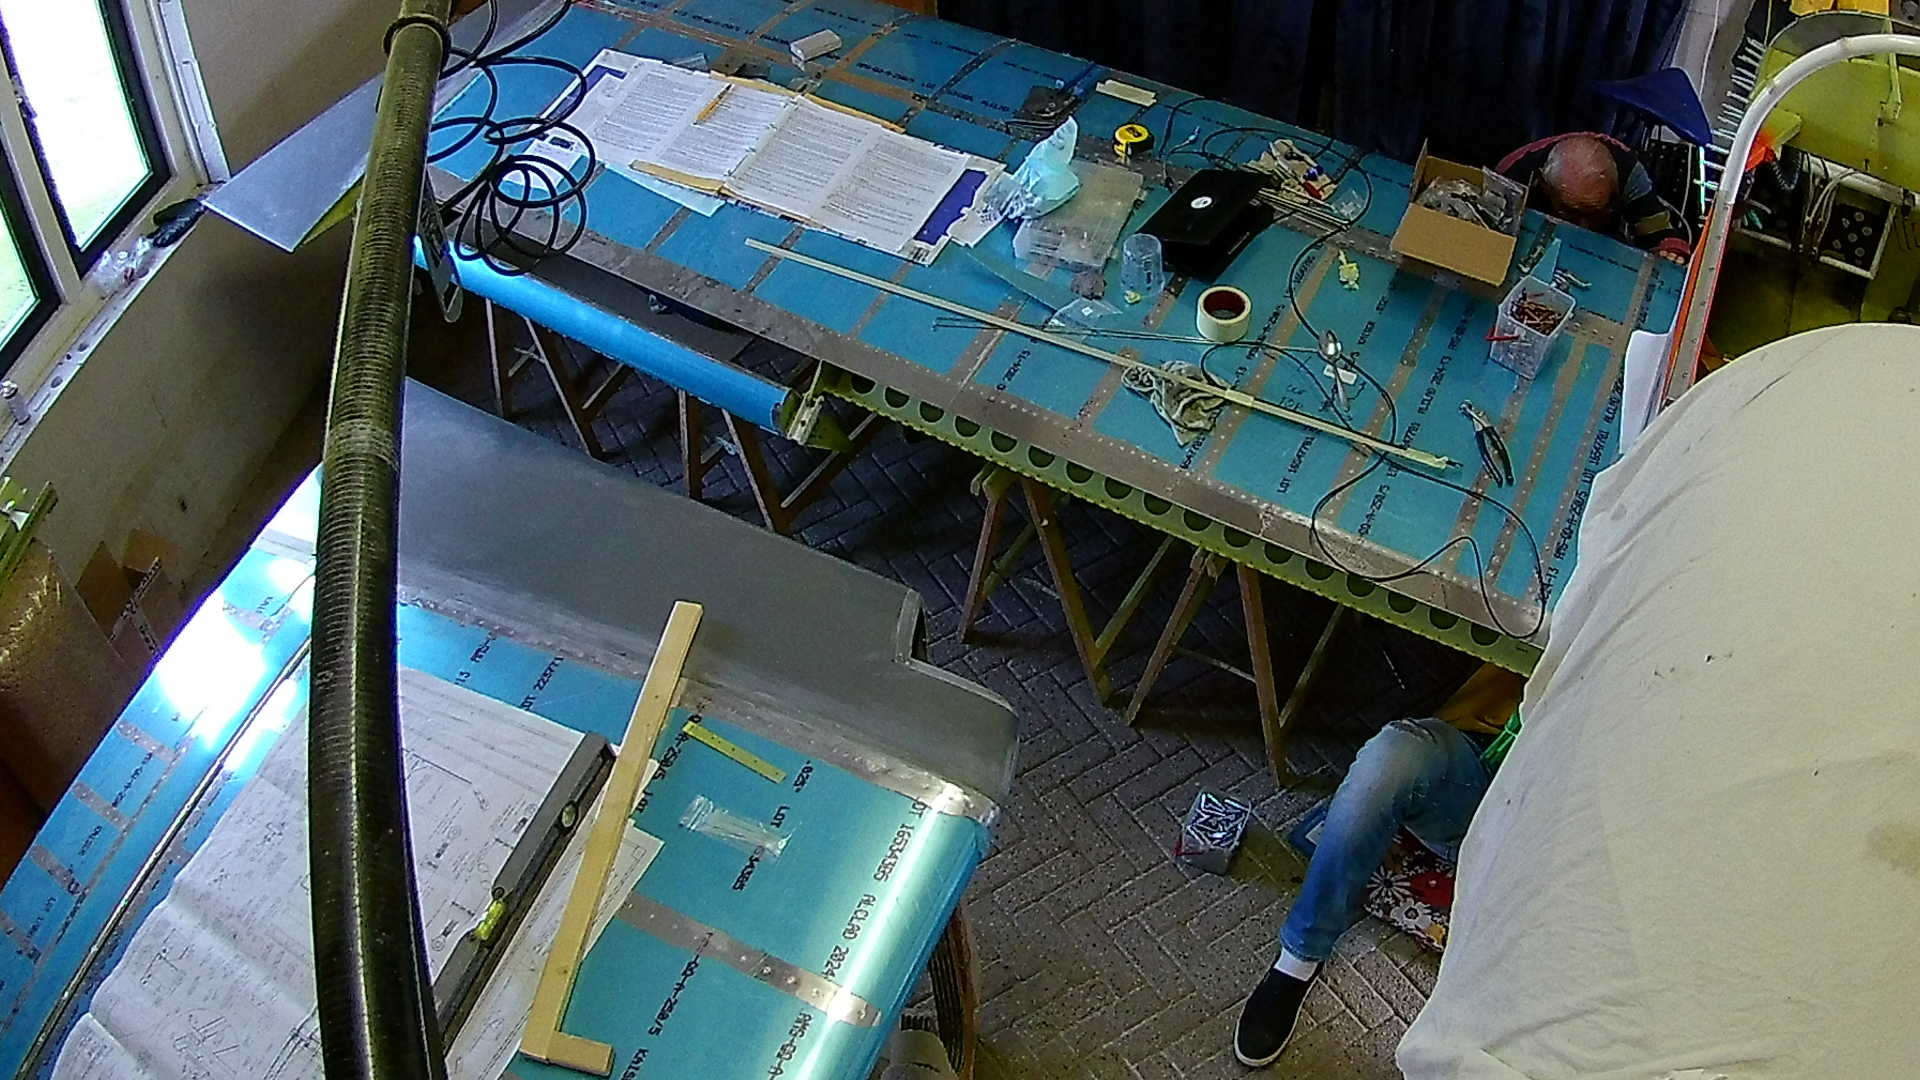
The cover plate needs to be match drilled with the bottom skin of the fuselage. Again I’m remembered that safety glasses are an indispensable tool when drilling above head.
Drilling the top part of the cover plate is tricky as the inside skin tends to dip down. With a wrench and an angle, I keep the plate in place, while my dad does the drilling.
With the wing set, I can now attach the flap and fit the flap push rod.
Time: 8 Hours, Rivets: 58/1 (2020-11-04)
Time: 8 Hours, Rivets: 0/0 (2020-11-08)
Time: 6 Hours, Rivets: 12/1 (2020-11-11)
