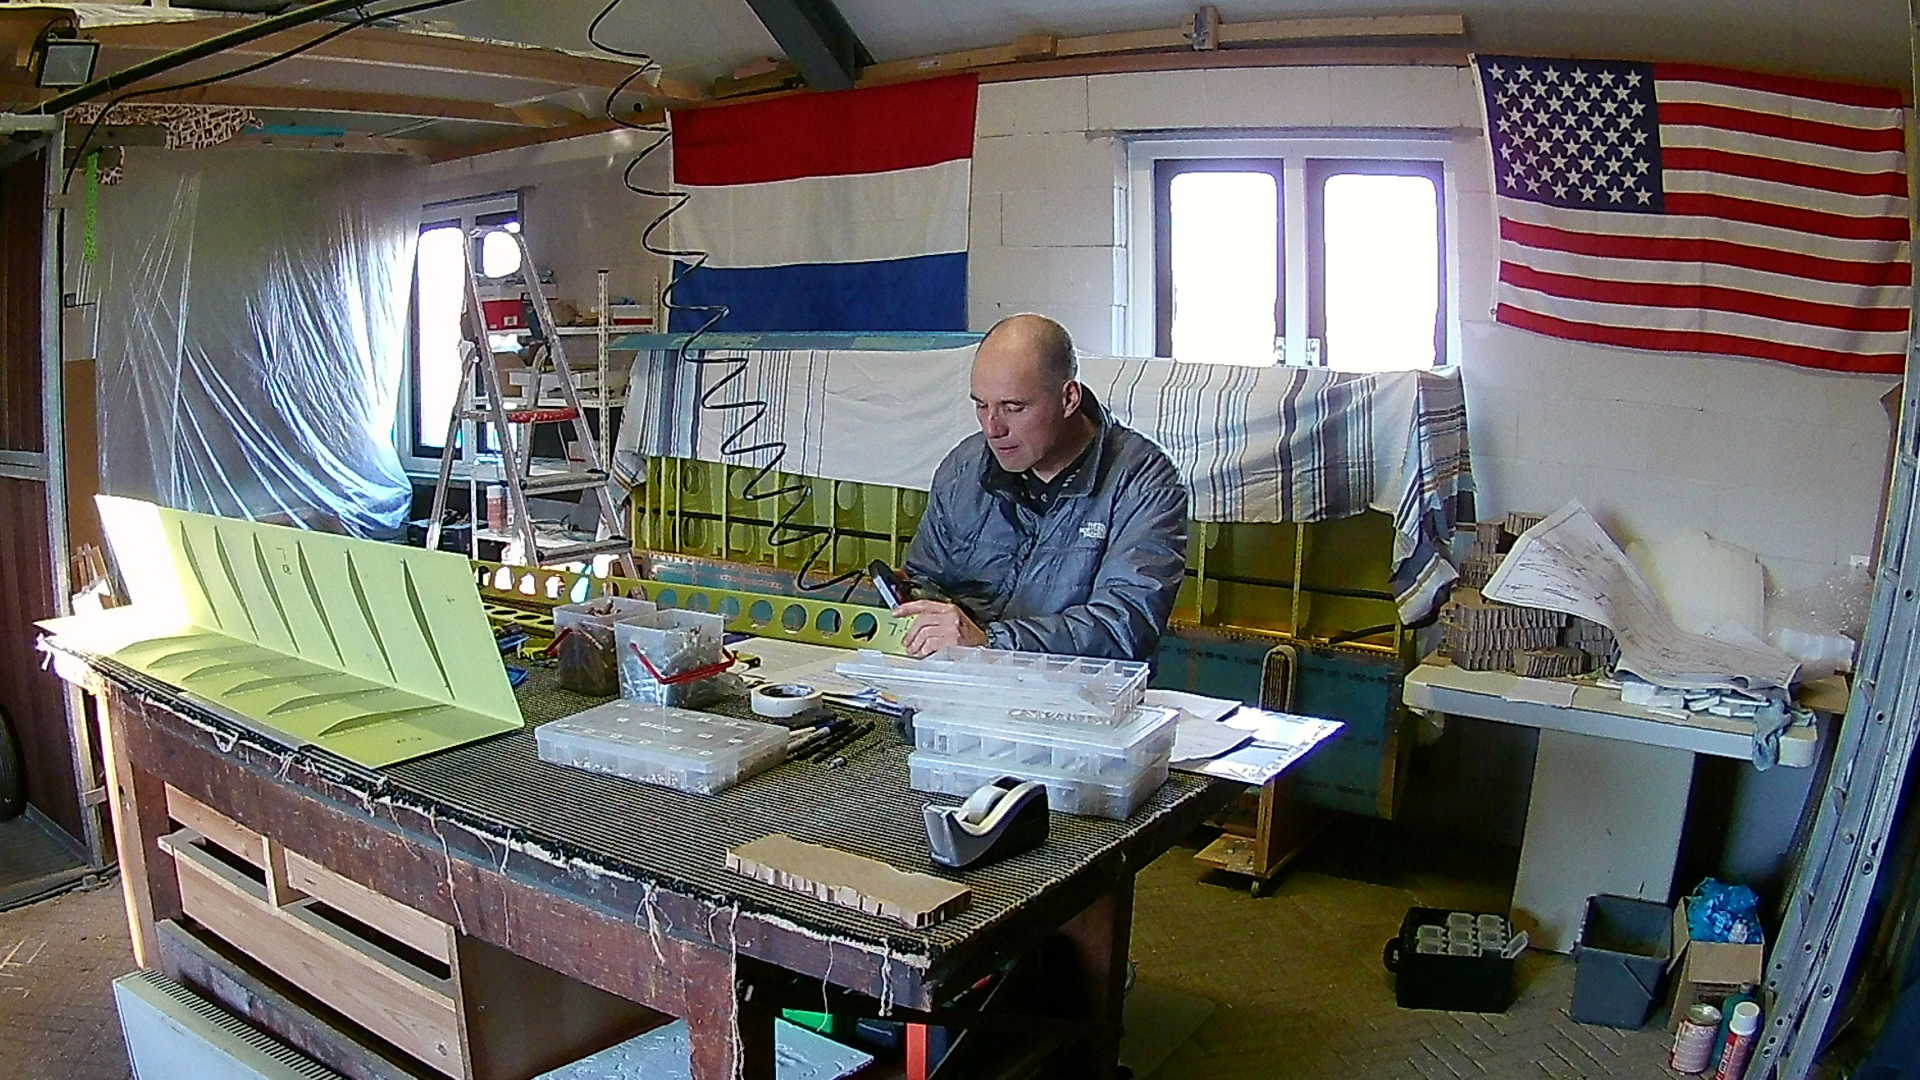

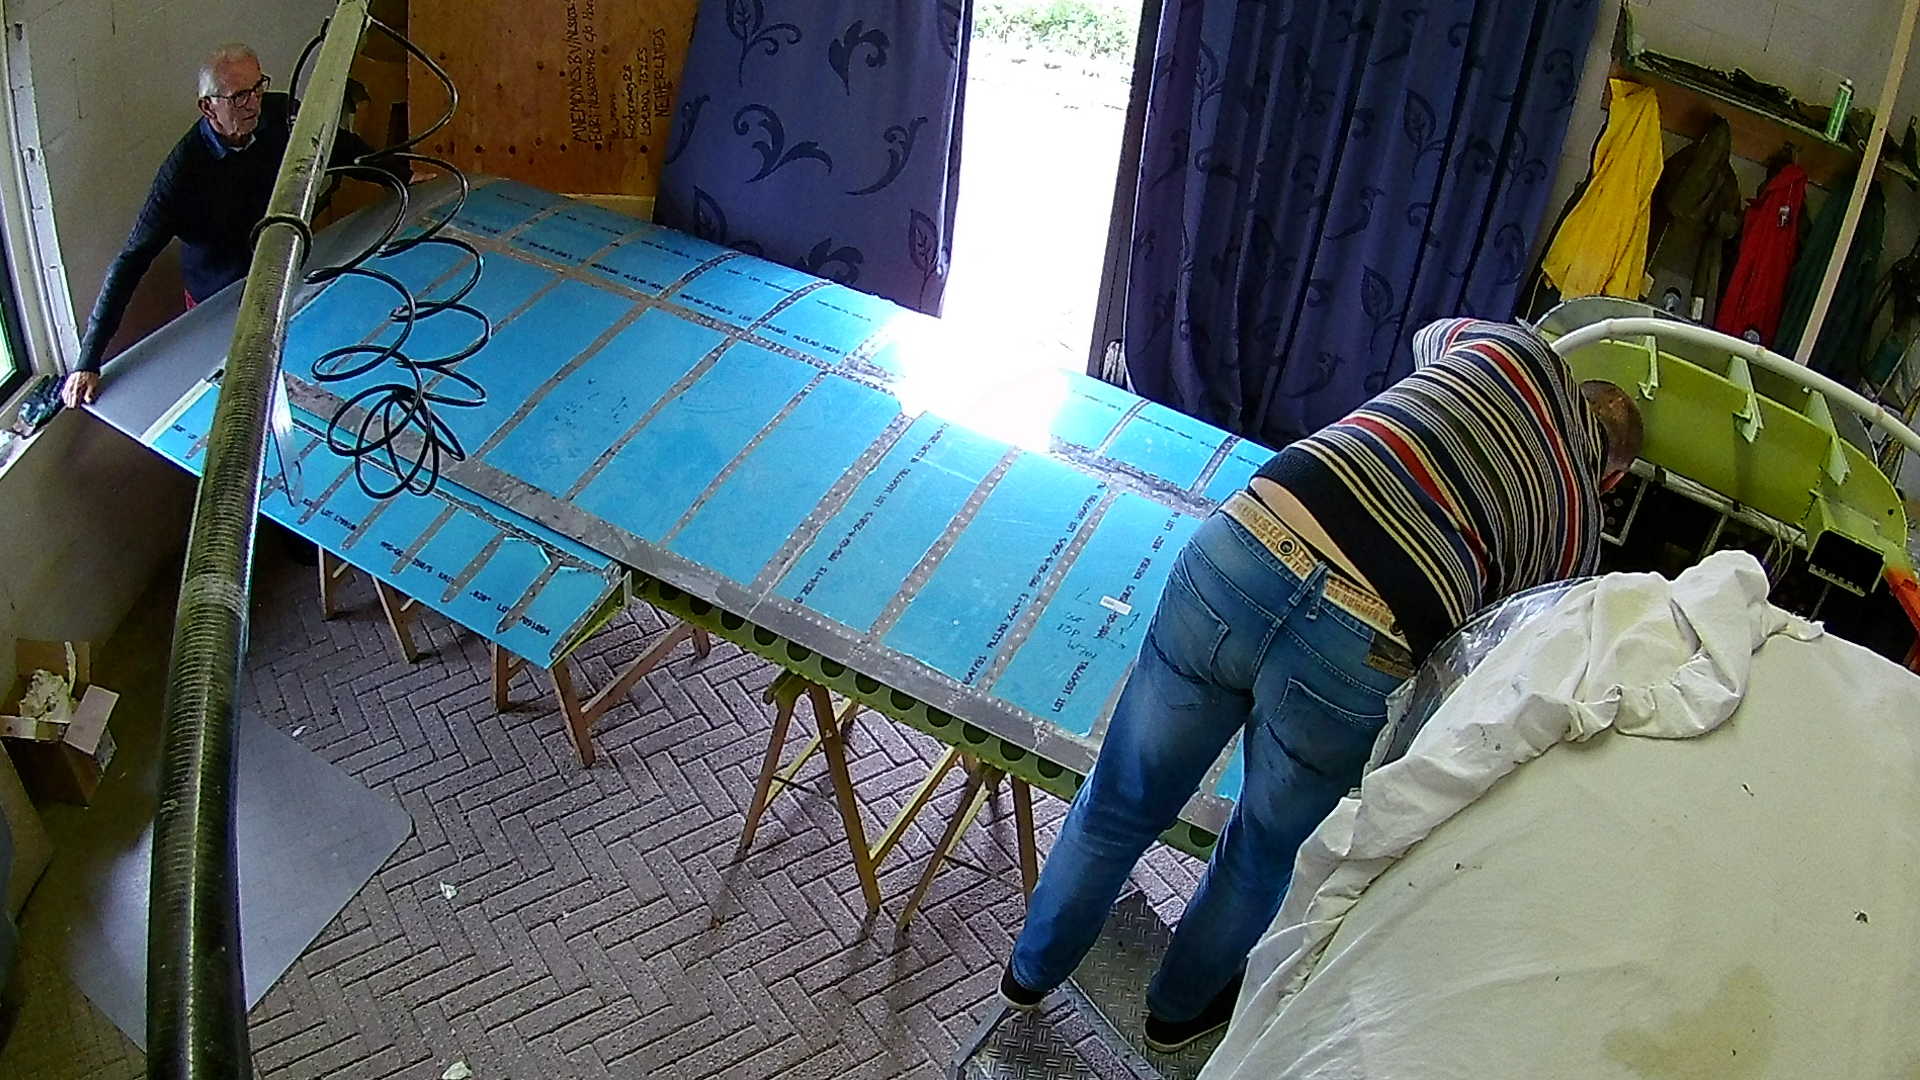
We set the Angle of Incidence on both wings (one at the time, due to space constrictions). So we can now remove the Left Wing and place it on the workbench. In order to do that, we first need to rearrange our airplane parts.
The Wing stand (with the Right Wing) is placed to the left wall. So we can place the Left wing on the workbench.
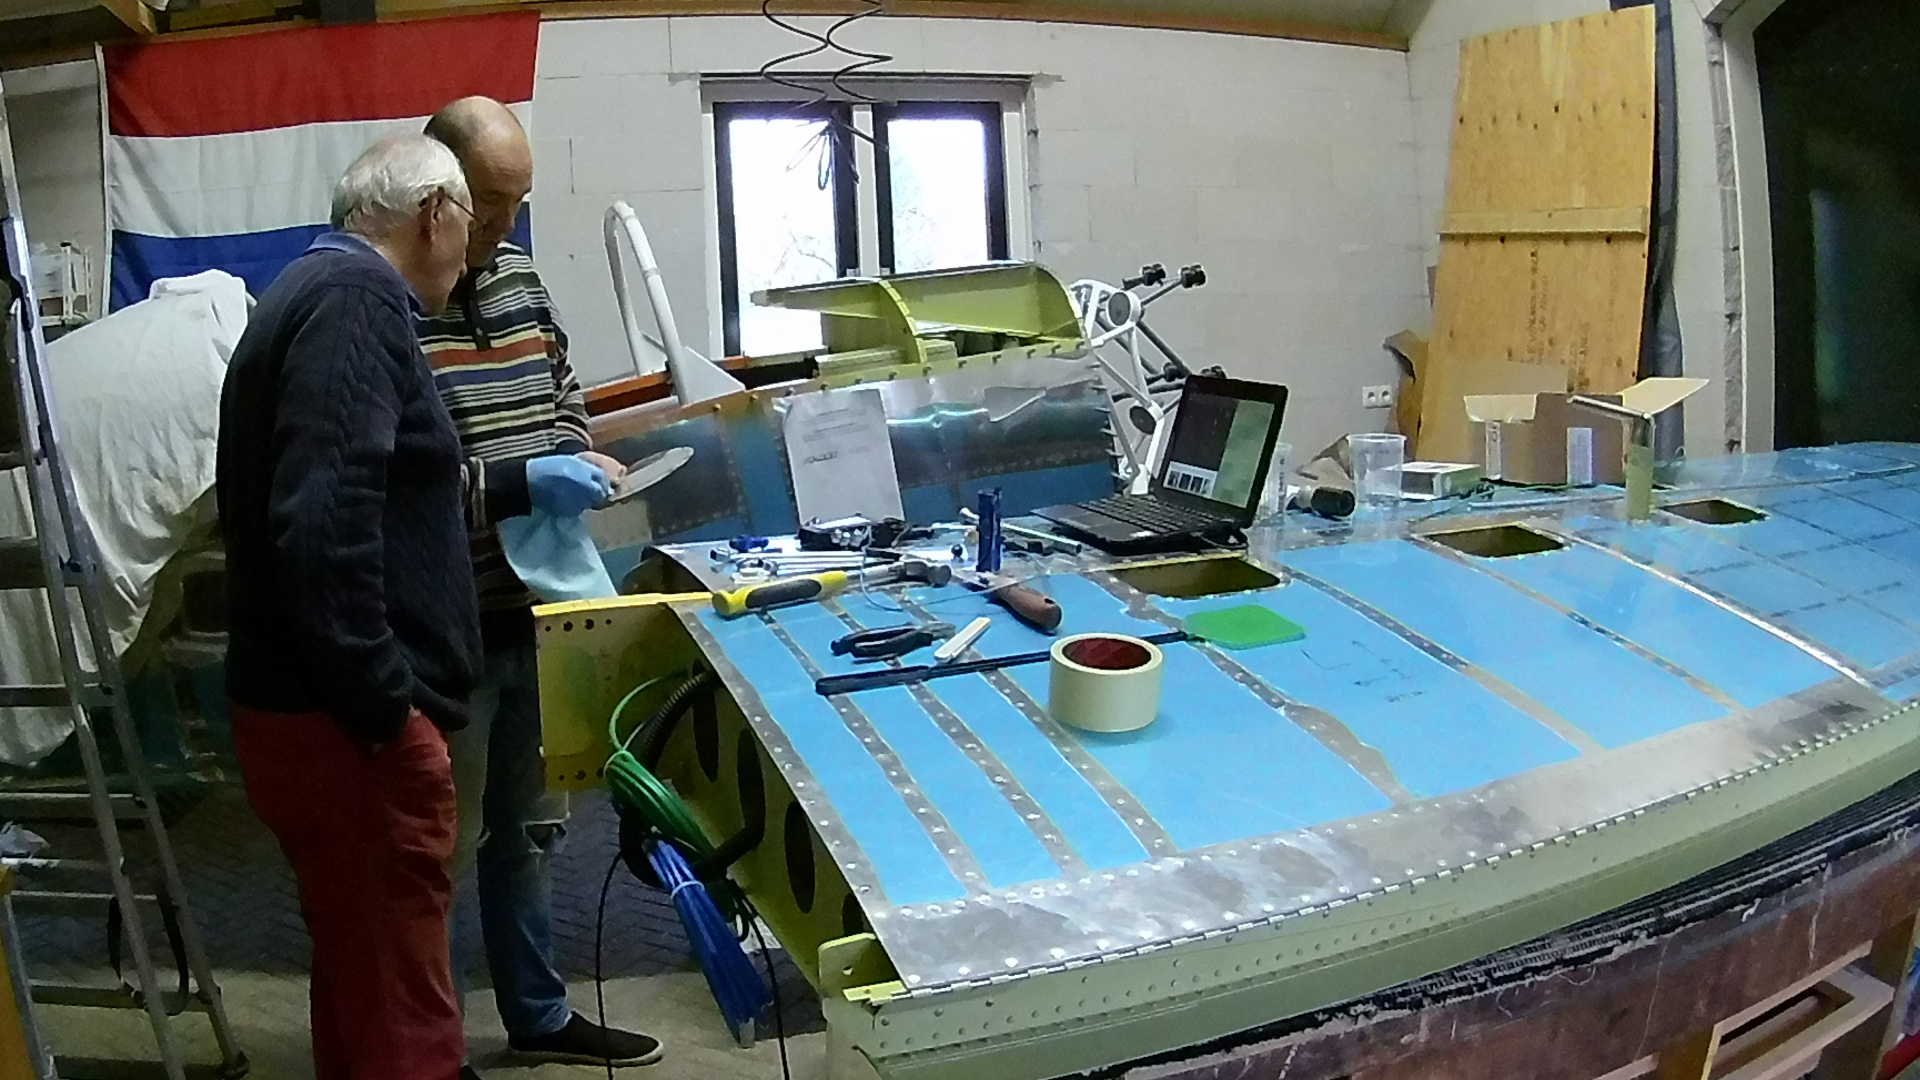
We have to remove the Left Tank from the wing, because we need to attach a wire to the Fuel Level Sender (I forgot) and to install a wider Fuel Return Line (I made the wrong assumption). I built the return line just in case I would select a fuel injected engine (which I did). However I assumed the return line didn’t need to be that wide. Right?!
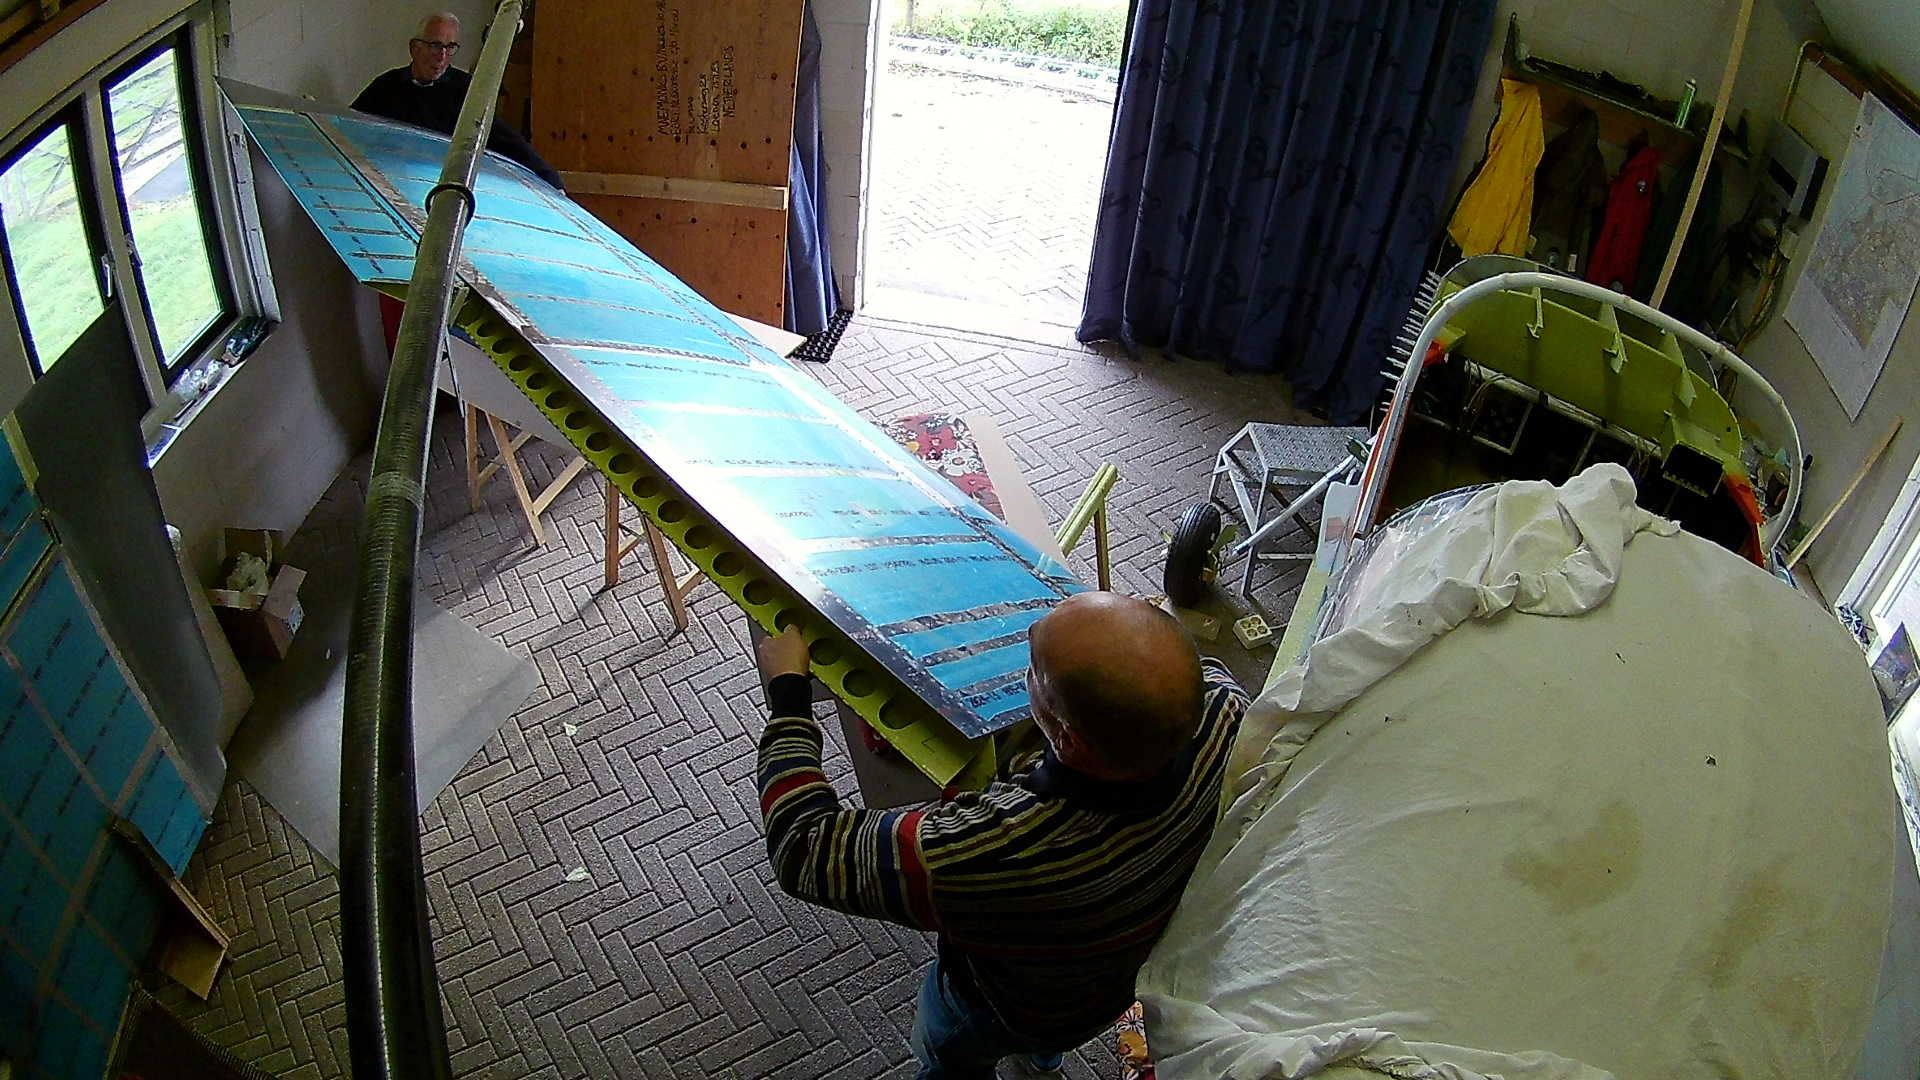
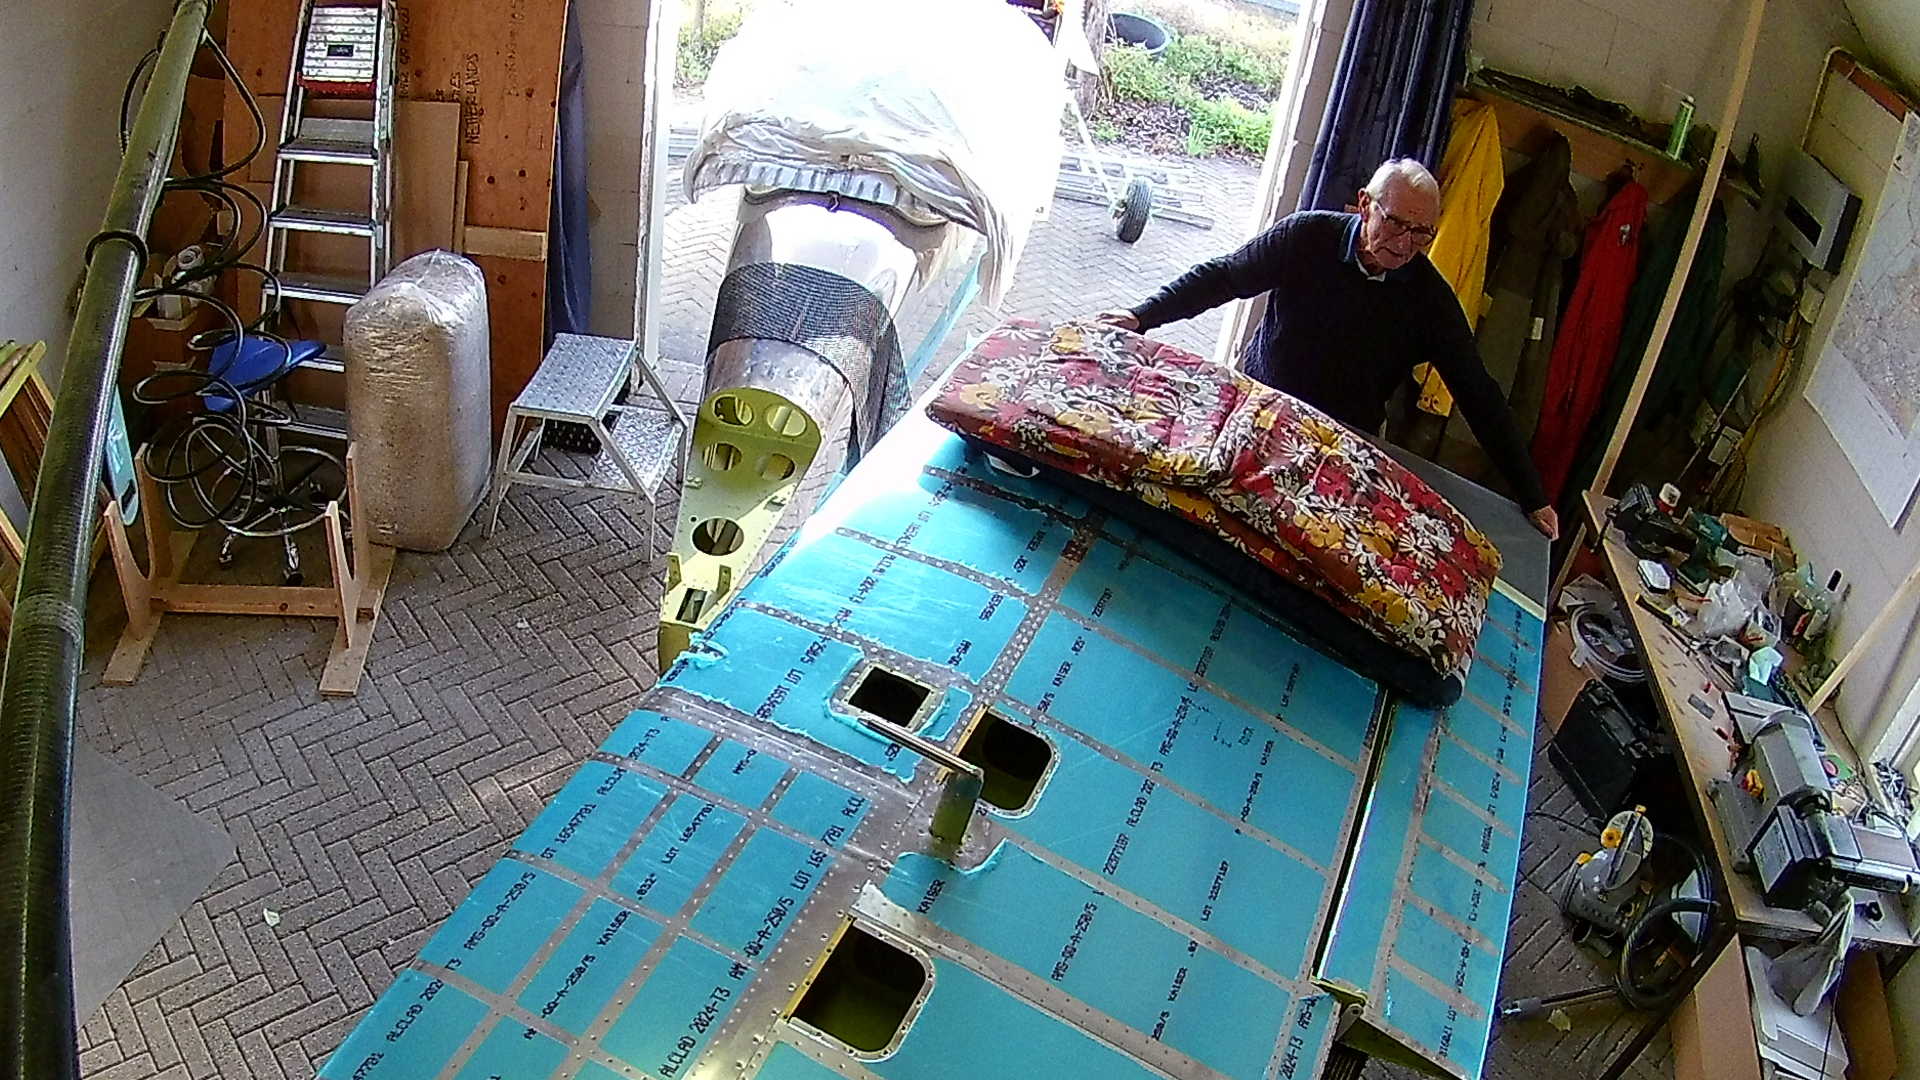
I remove the bolts that fasten the Wing to the Fuselage, while my Dad “wiggles” the Wing, to remove it from the main bulkhead.
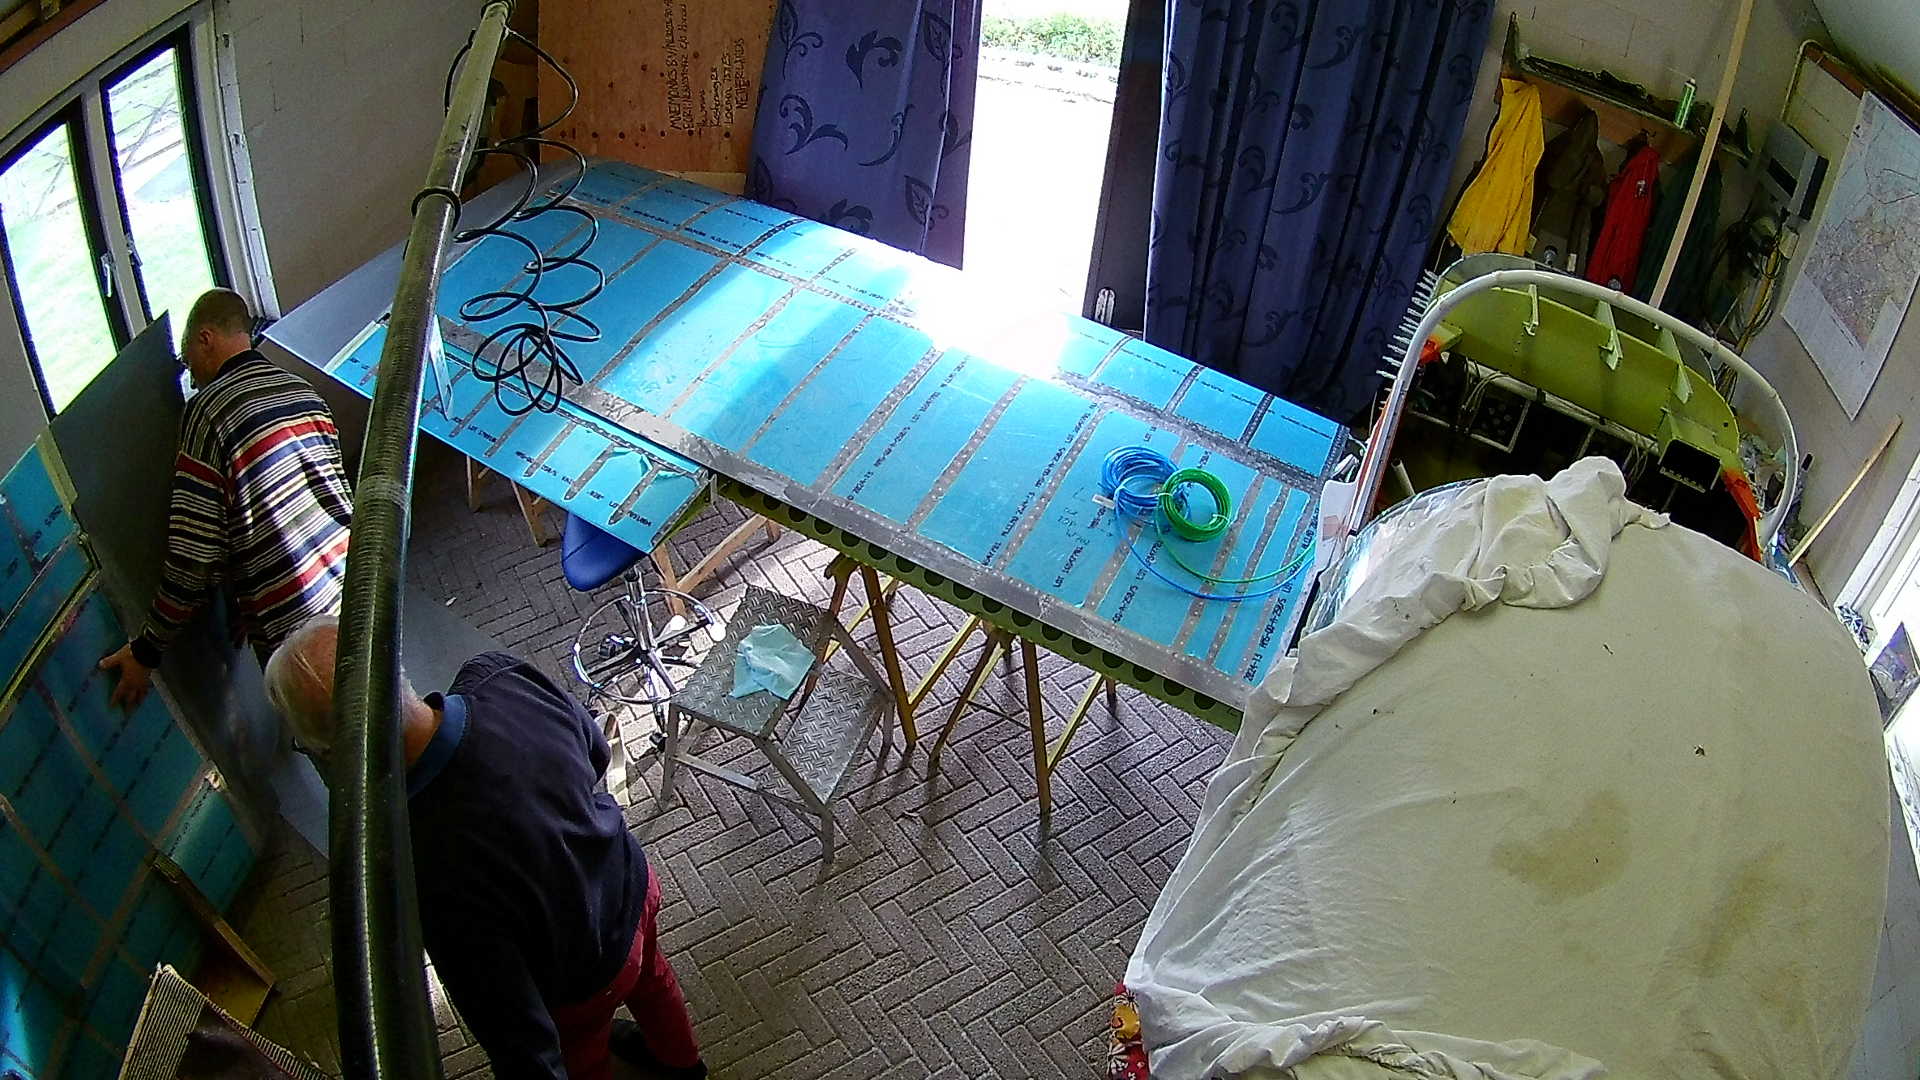
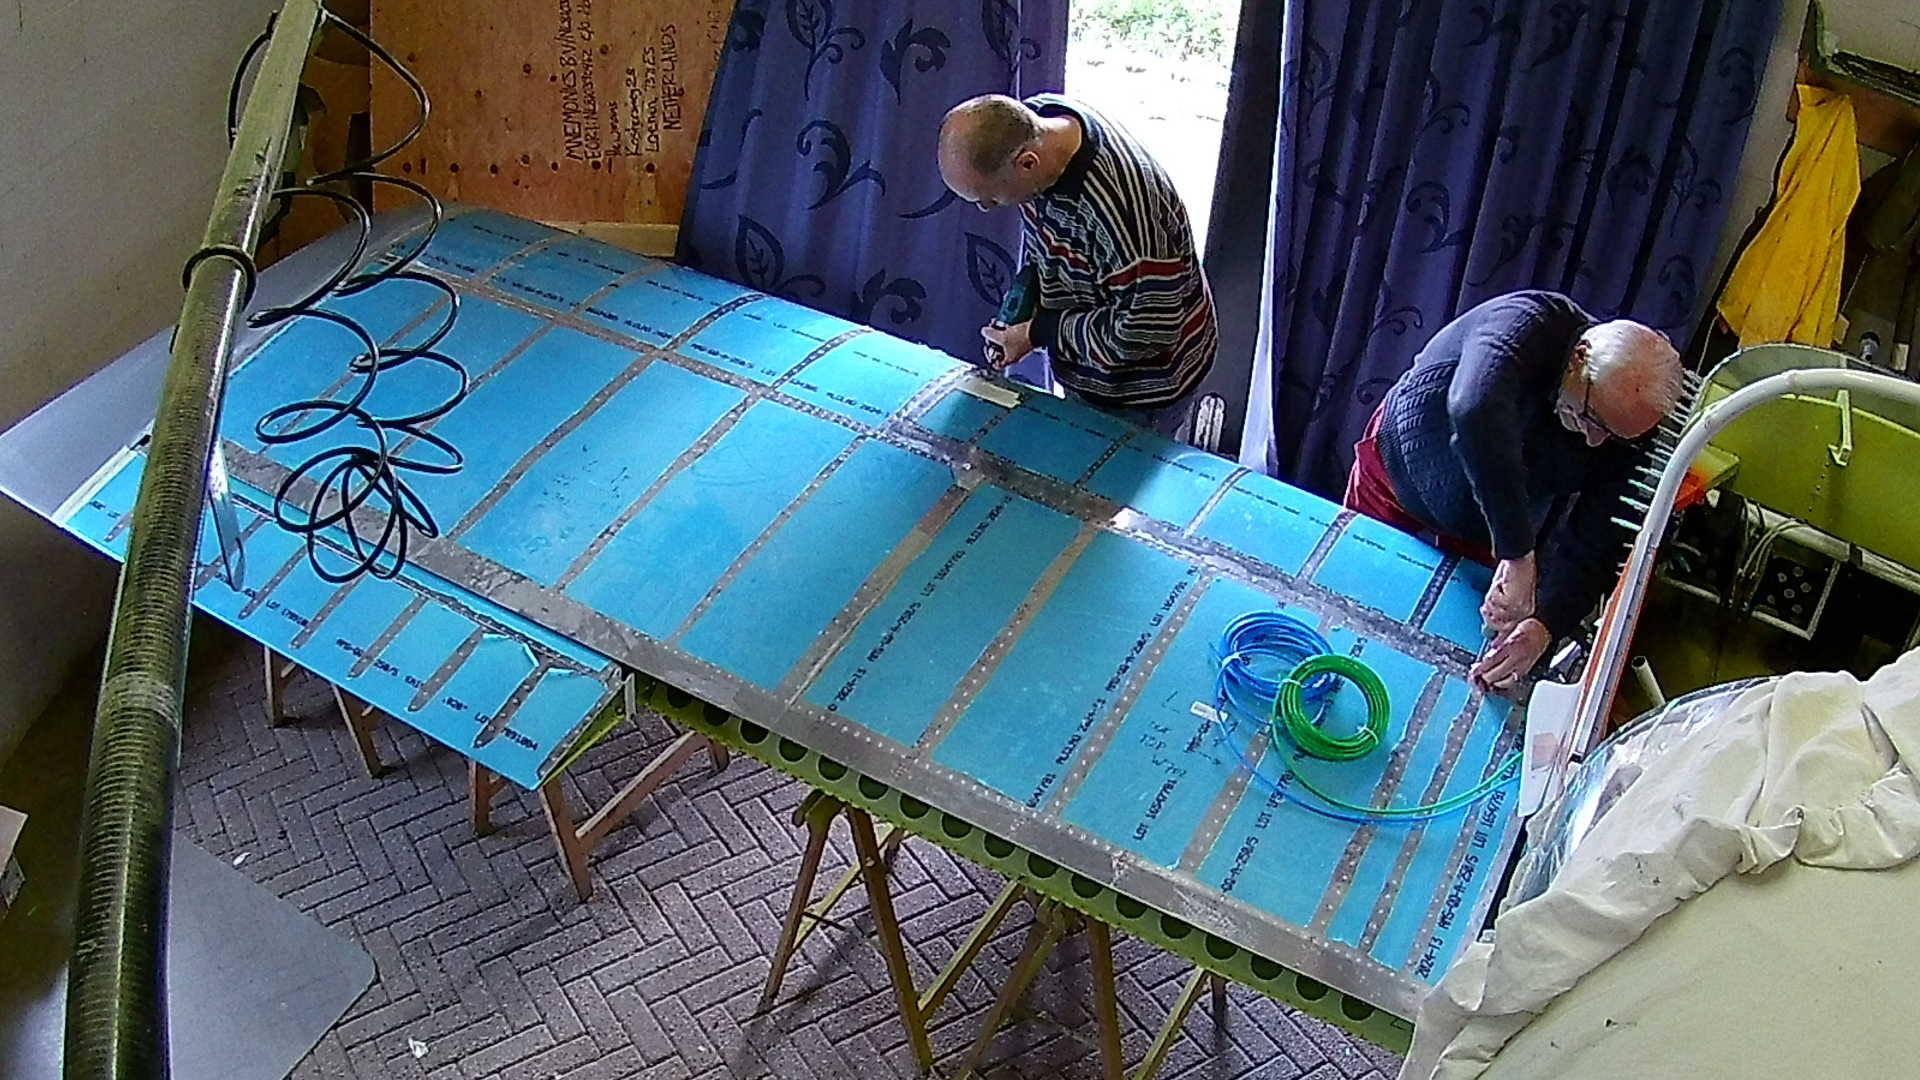
I decided not to remove the Tank right now and first fix the Fuel Return Line. As you can see the wing barely fits in the workshop.
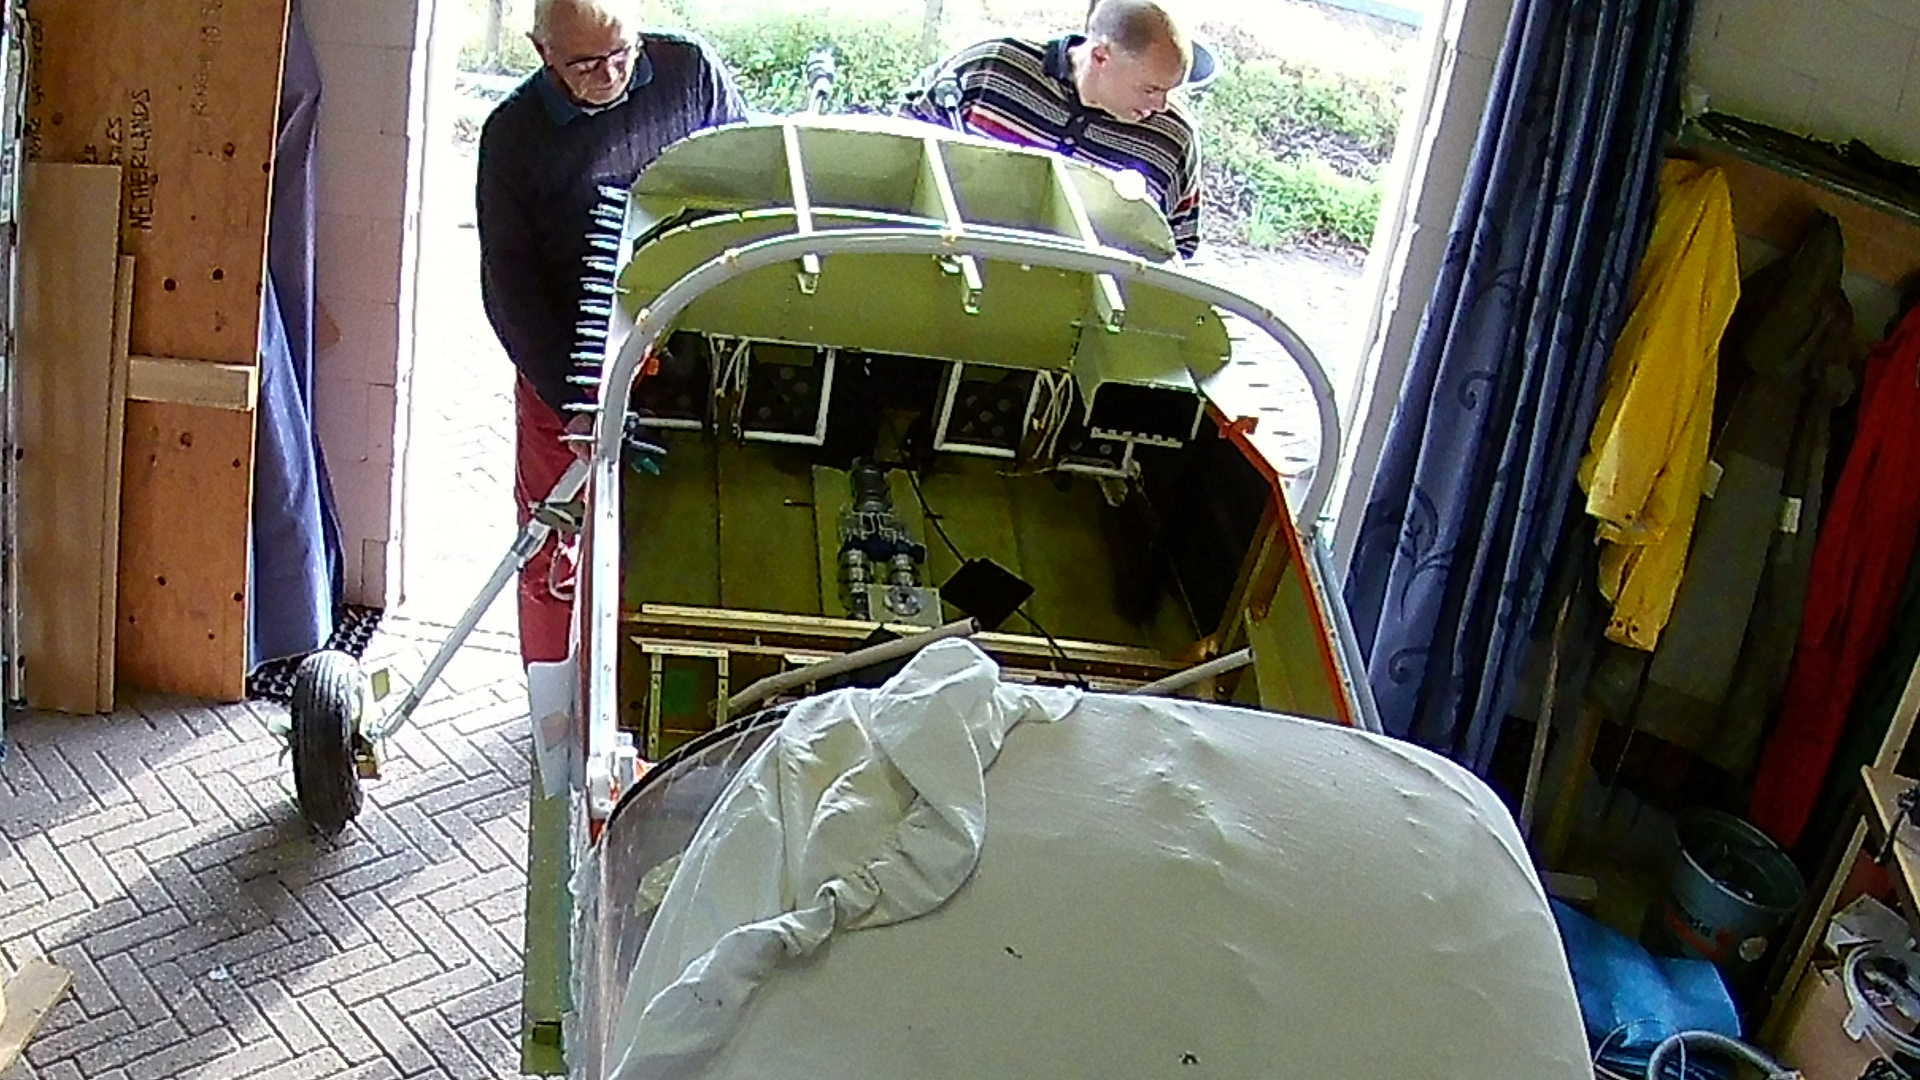
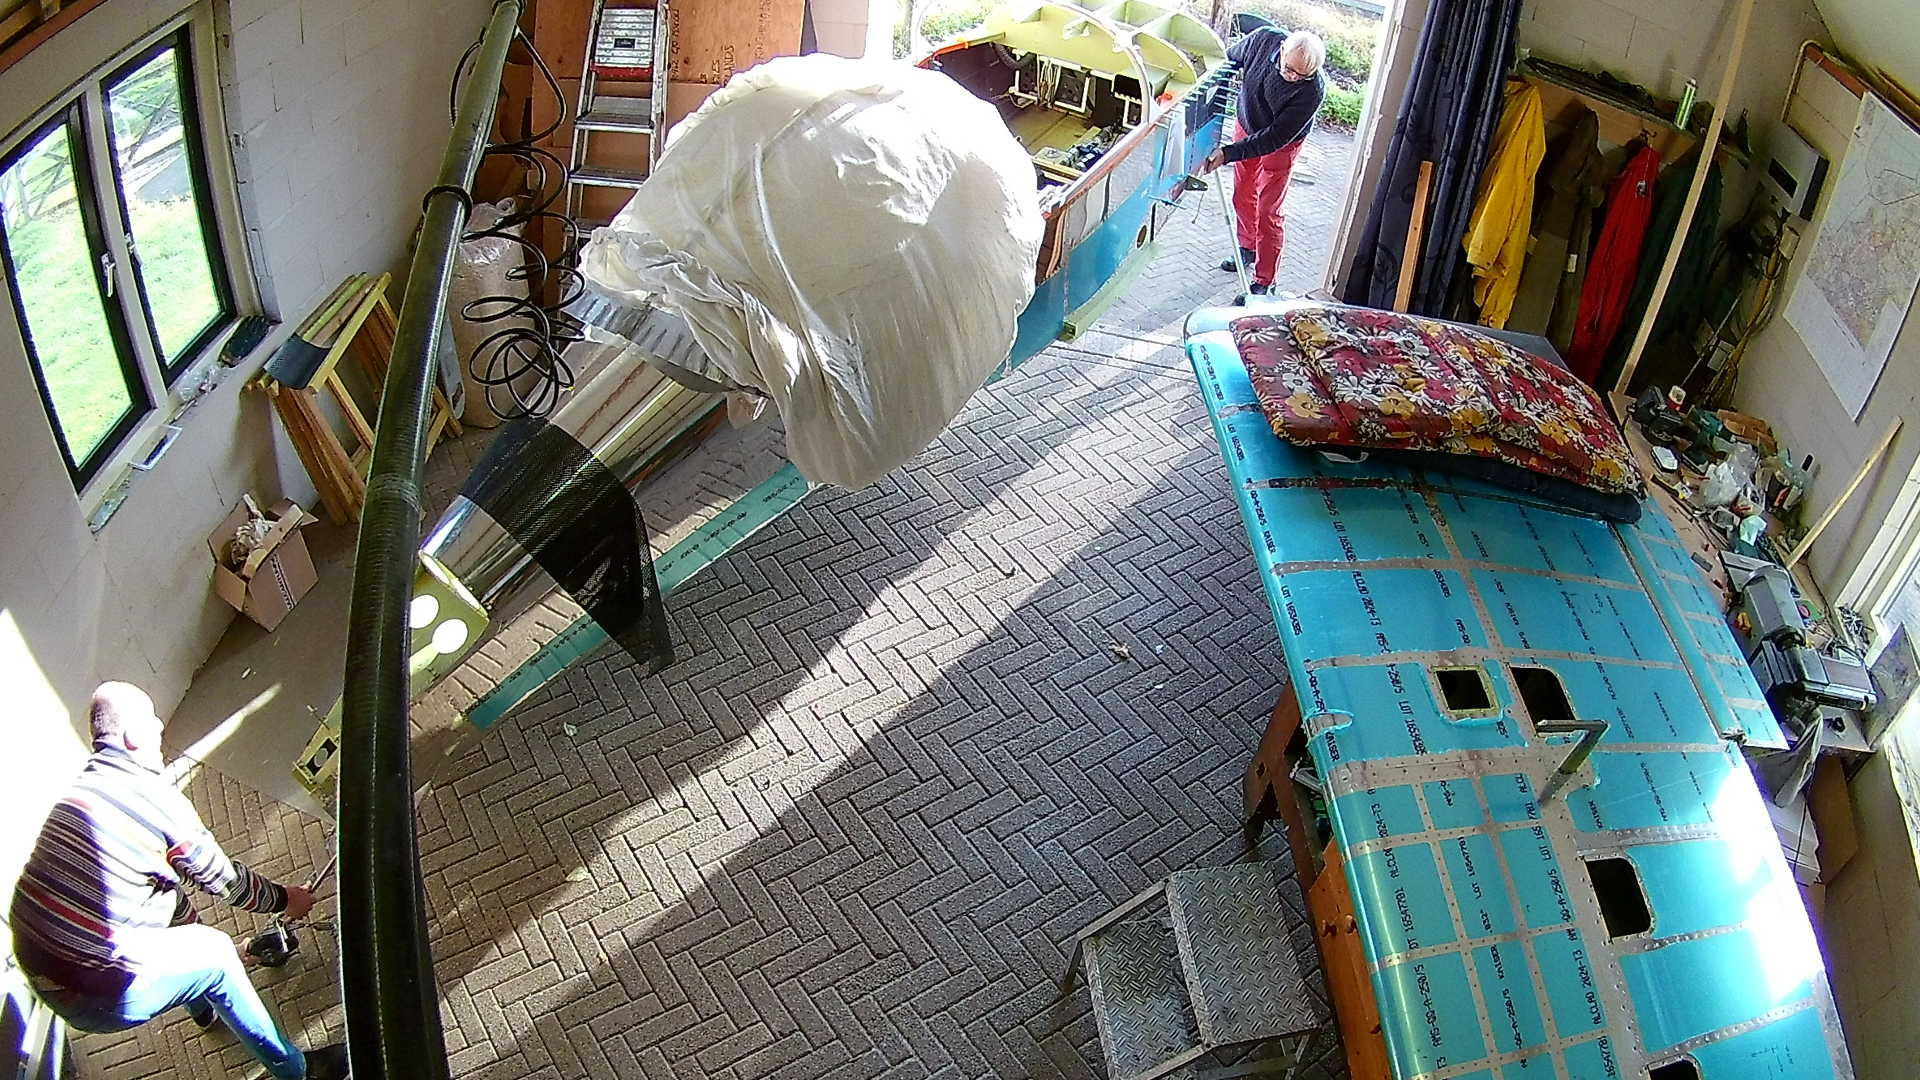
With the Wings detached and set aside, we can now maneuver the Fuselage outside.

The door of the workshop is not wide enough to fit the Landing Gear, however we can lift it to the side, so we can drag the plane outside.
No idea how to do this if there is a heavy engine in it, we’ll see.
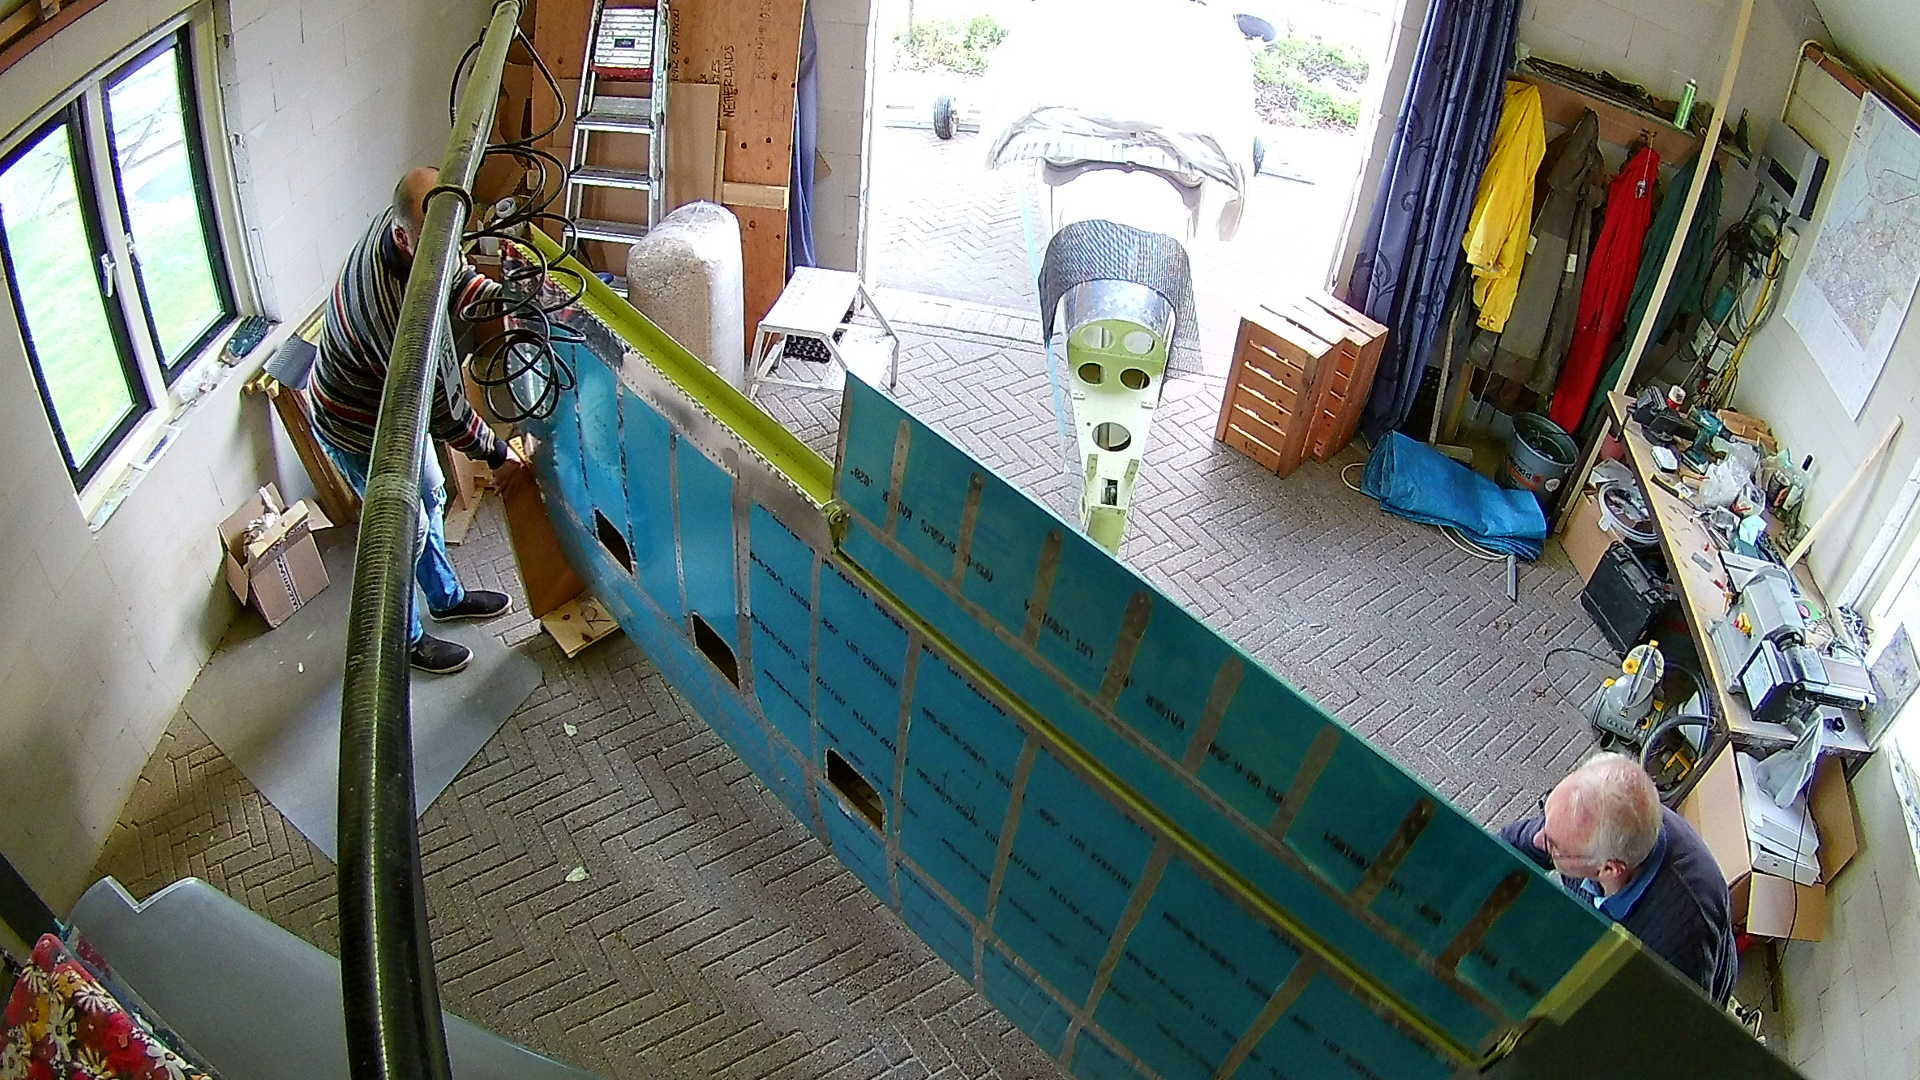
It’s like a puzzle. Now we rearrange the workshop with the Wing Stand.
And also with the workbench, so we can push the Fuselage back in again.
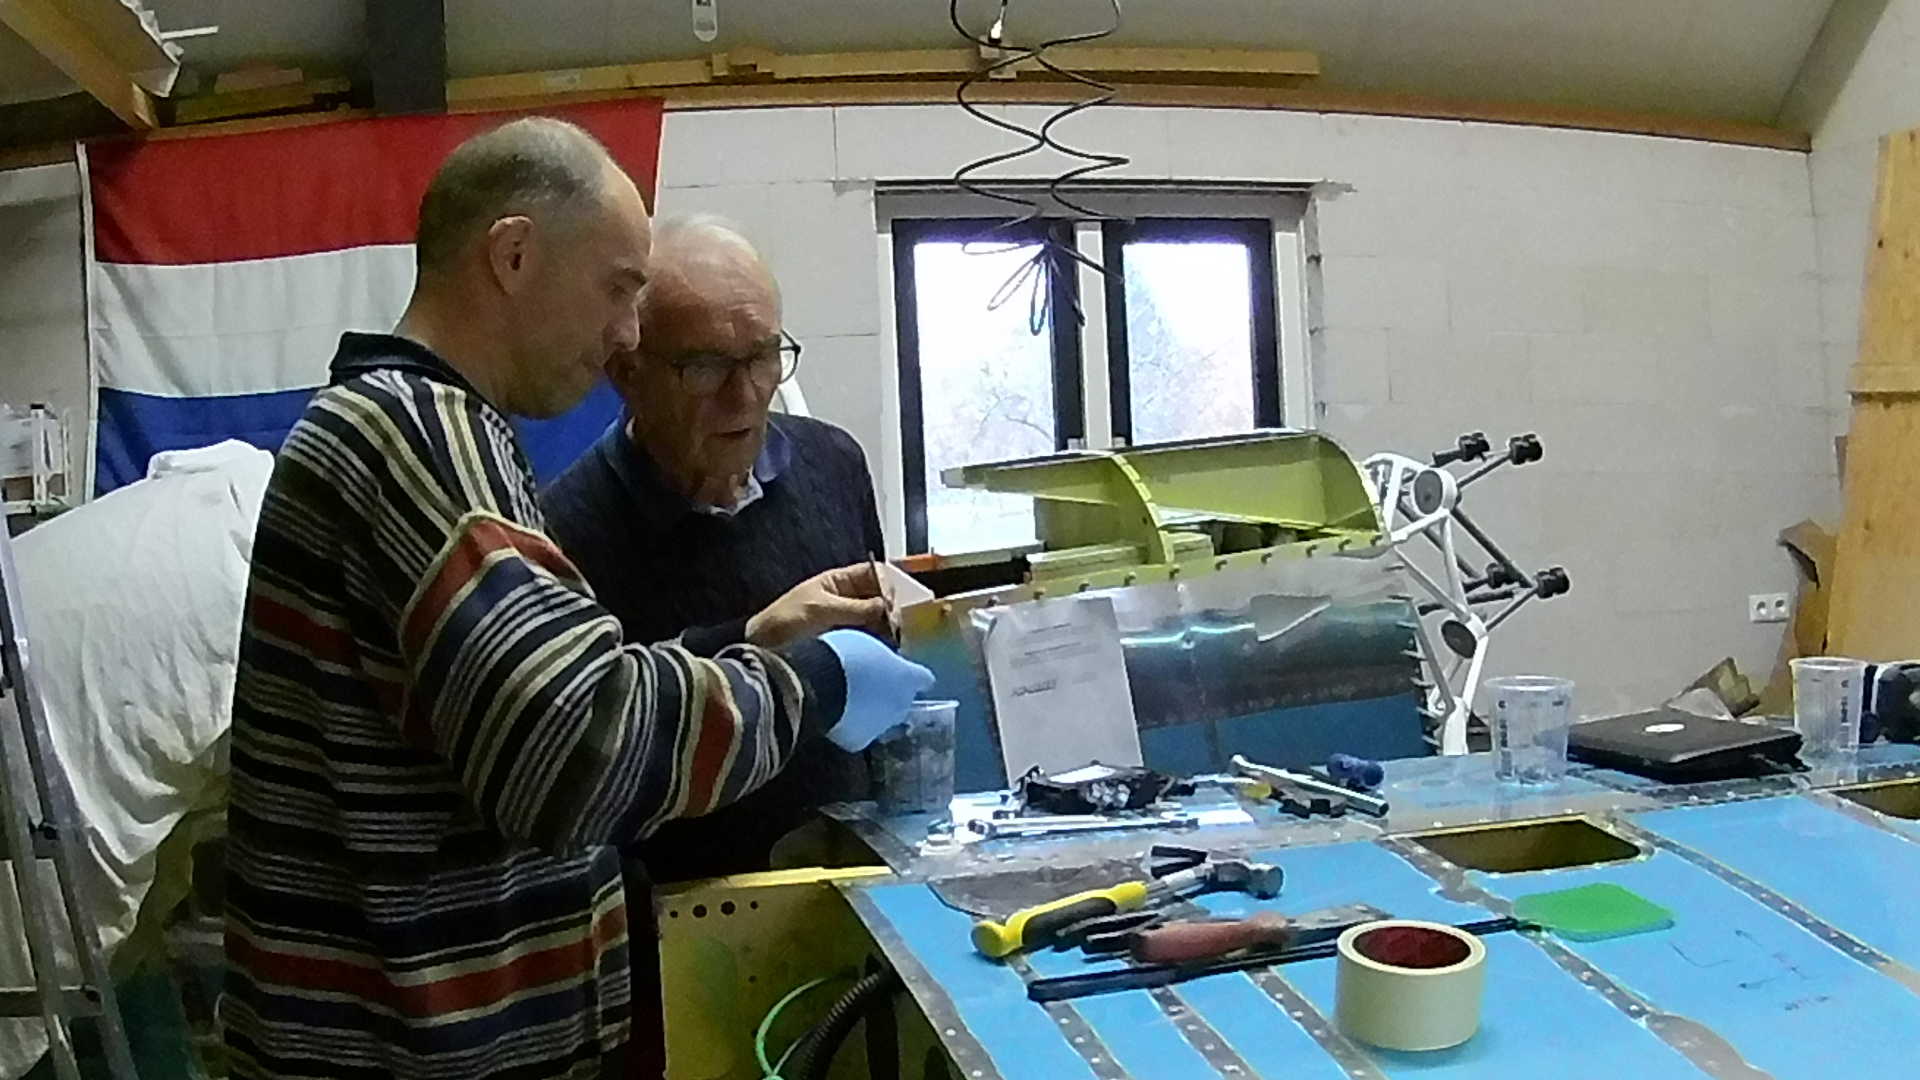
Backwards is harder, as you need to keep the tail-wheel straight. I opened the Left Tank via the hole that normally holds the Fuel Level Sender.
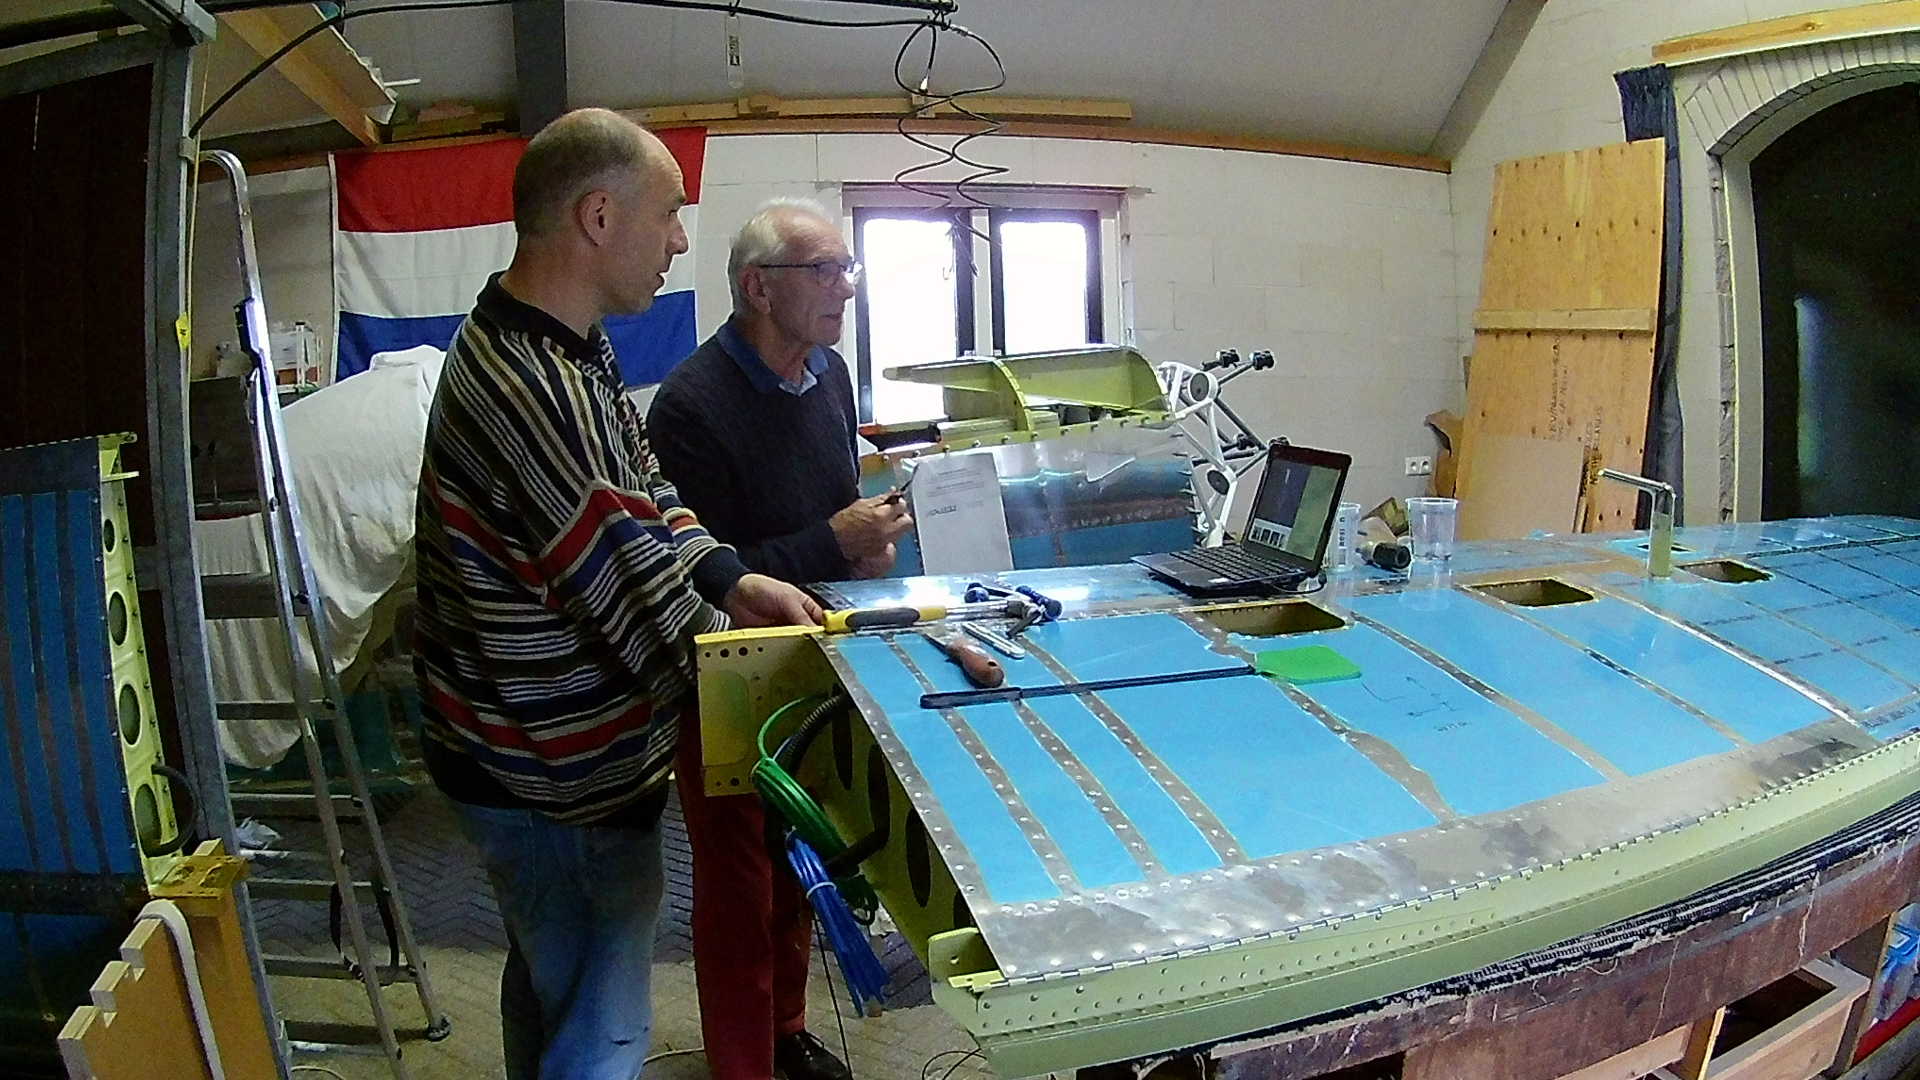
However that hole is not used for that, as the Sender is in the second or third compartment due to the Flop Tube. With the endoscope we can check the location and routing of the Fuel Return Line.
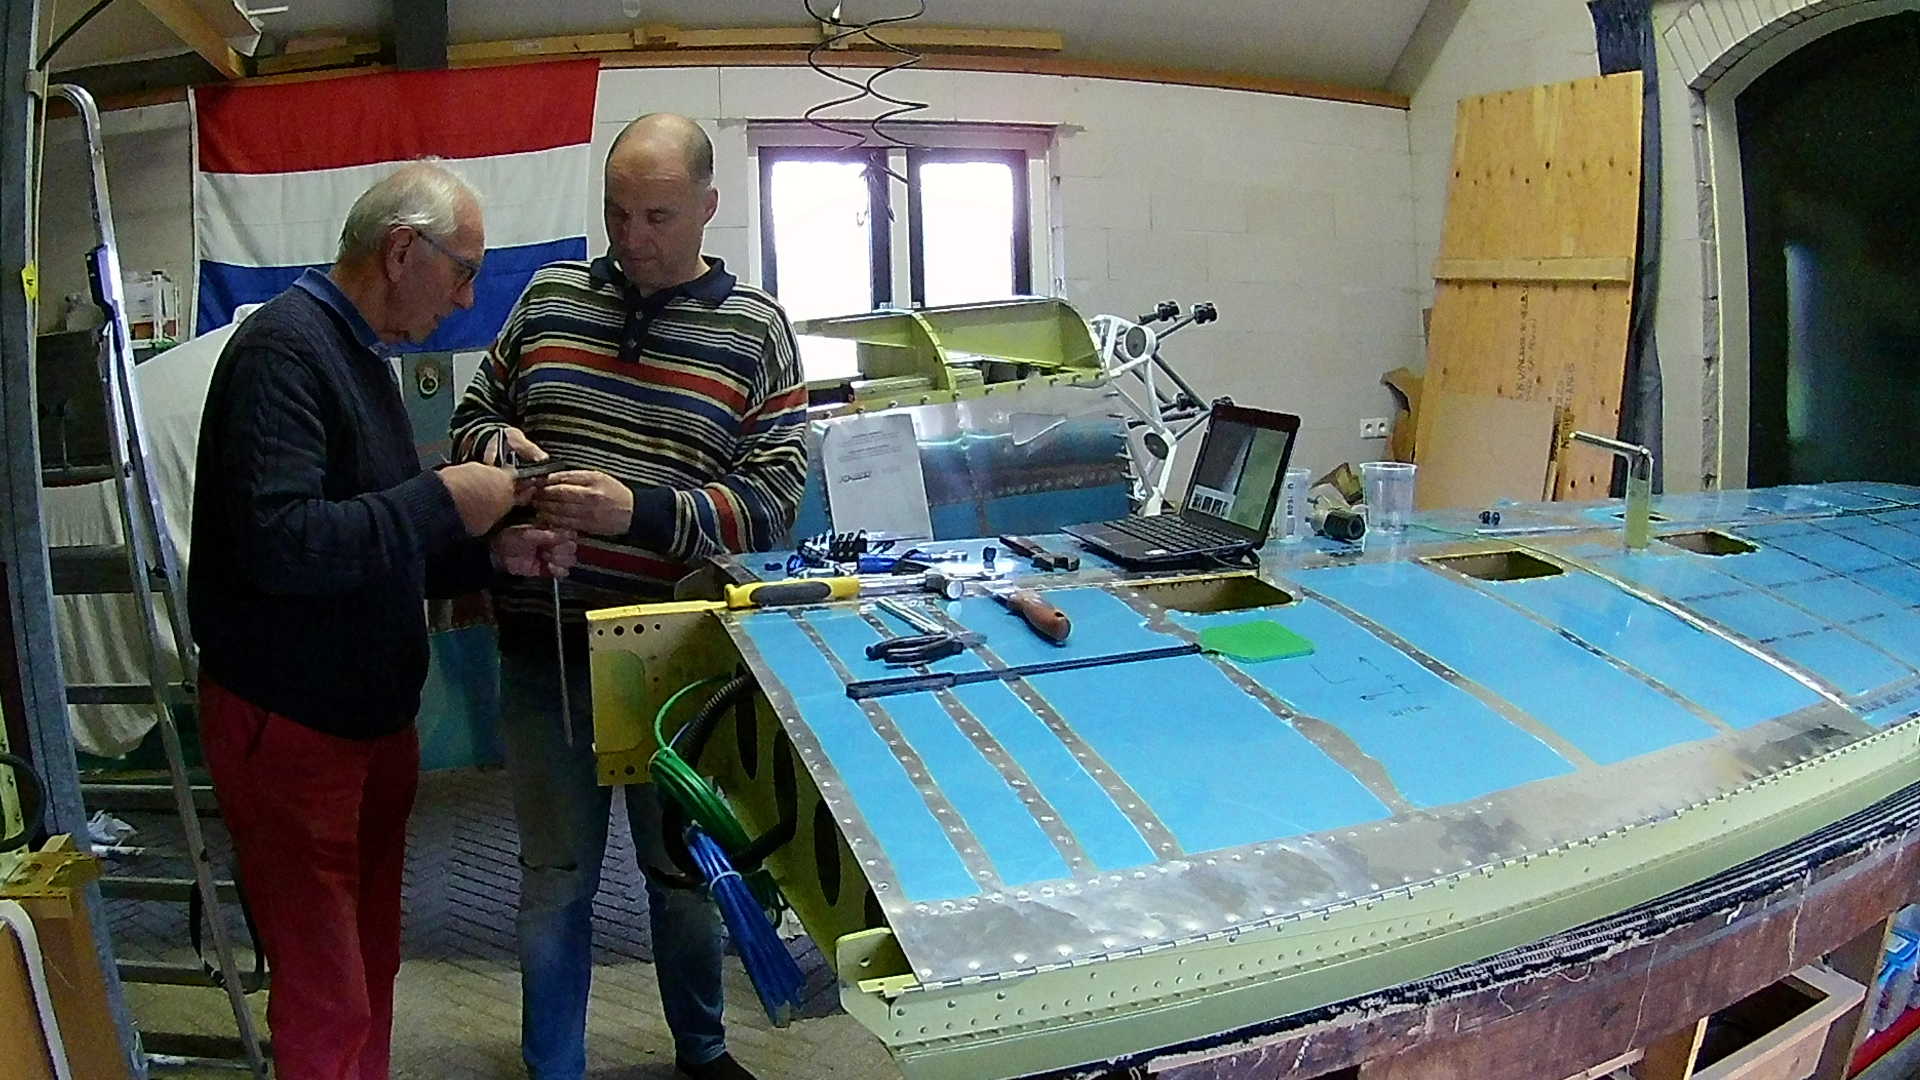
We removed the “old” Return Line and inserted the new Return Line.
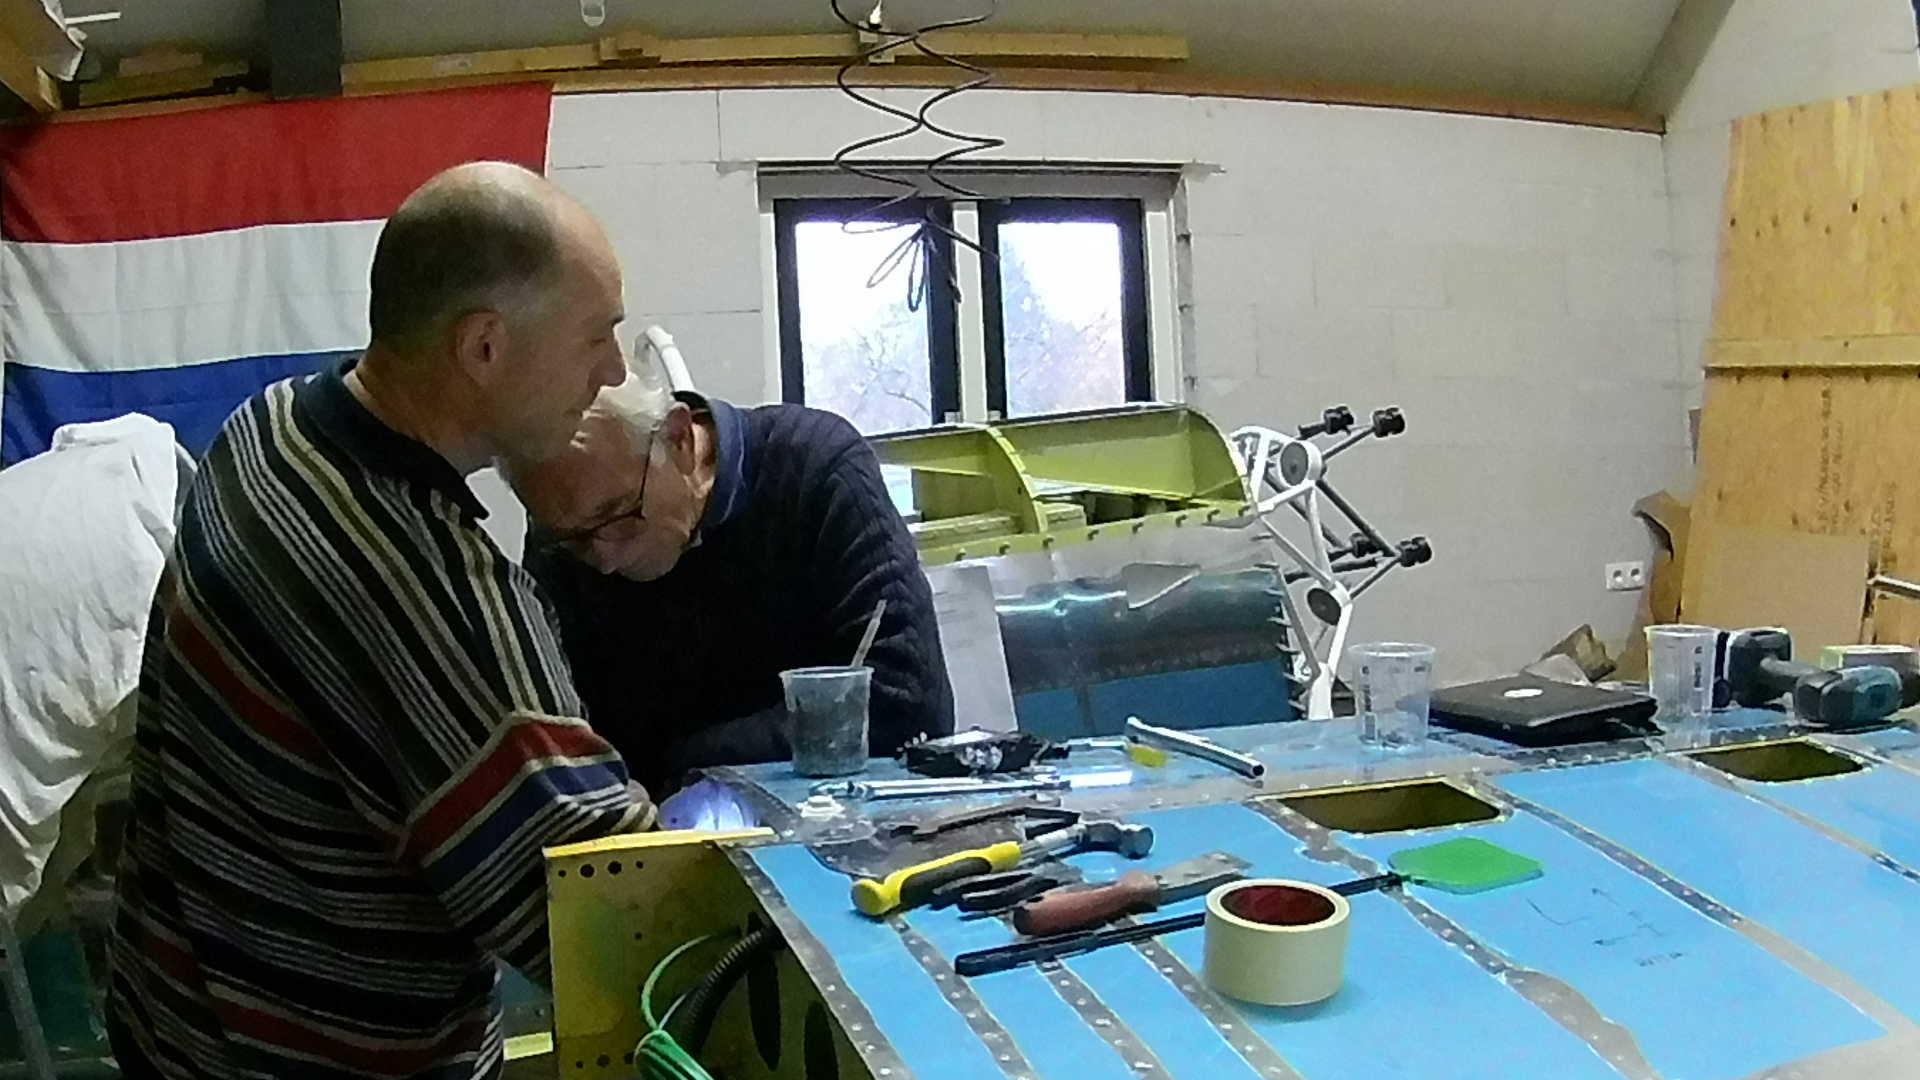
We cleaned up the cover plate and we can use the remaining Tank Sealant to seal the plate to the Tank.

Because I stored the Tank Sealant in a cellar, it is kept cold and I can still use it.
I use the sealant also to keep the return line in position and I covered both the Tank and the plate with it.
Time to screw the plate in place and remove the tank from the wing.
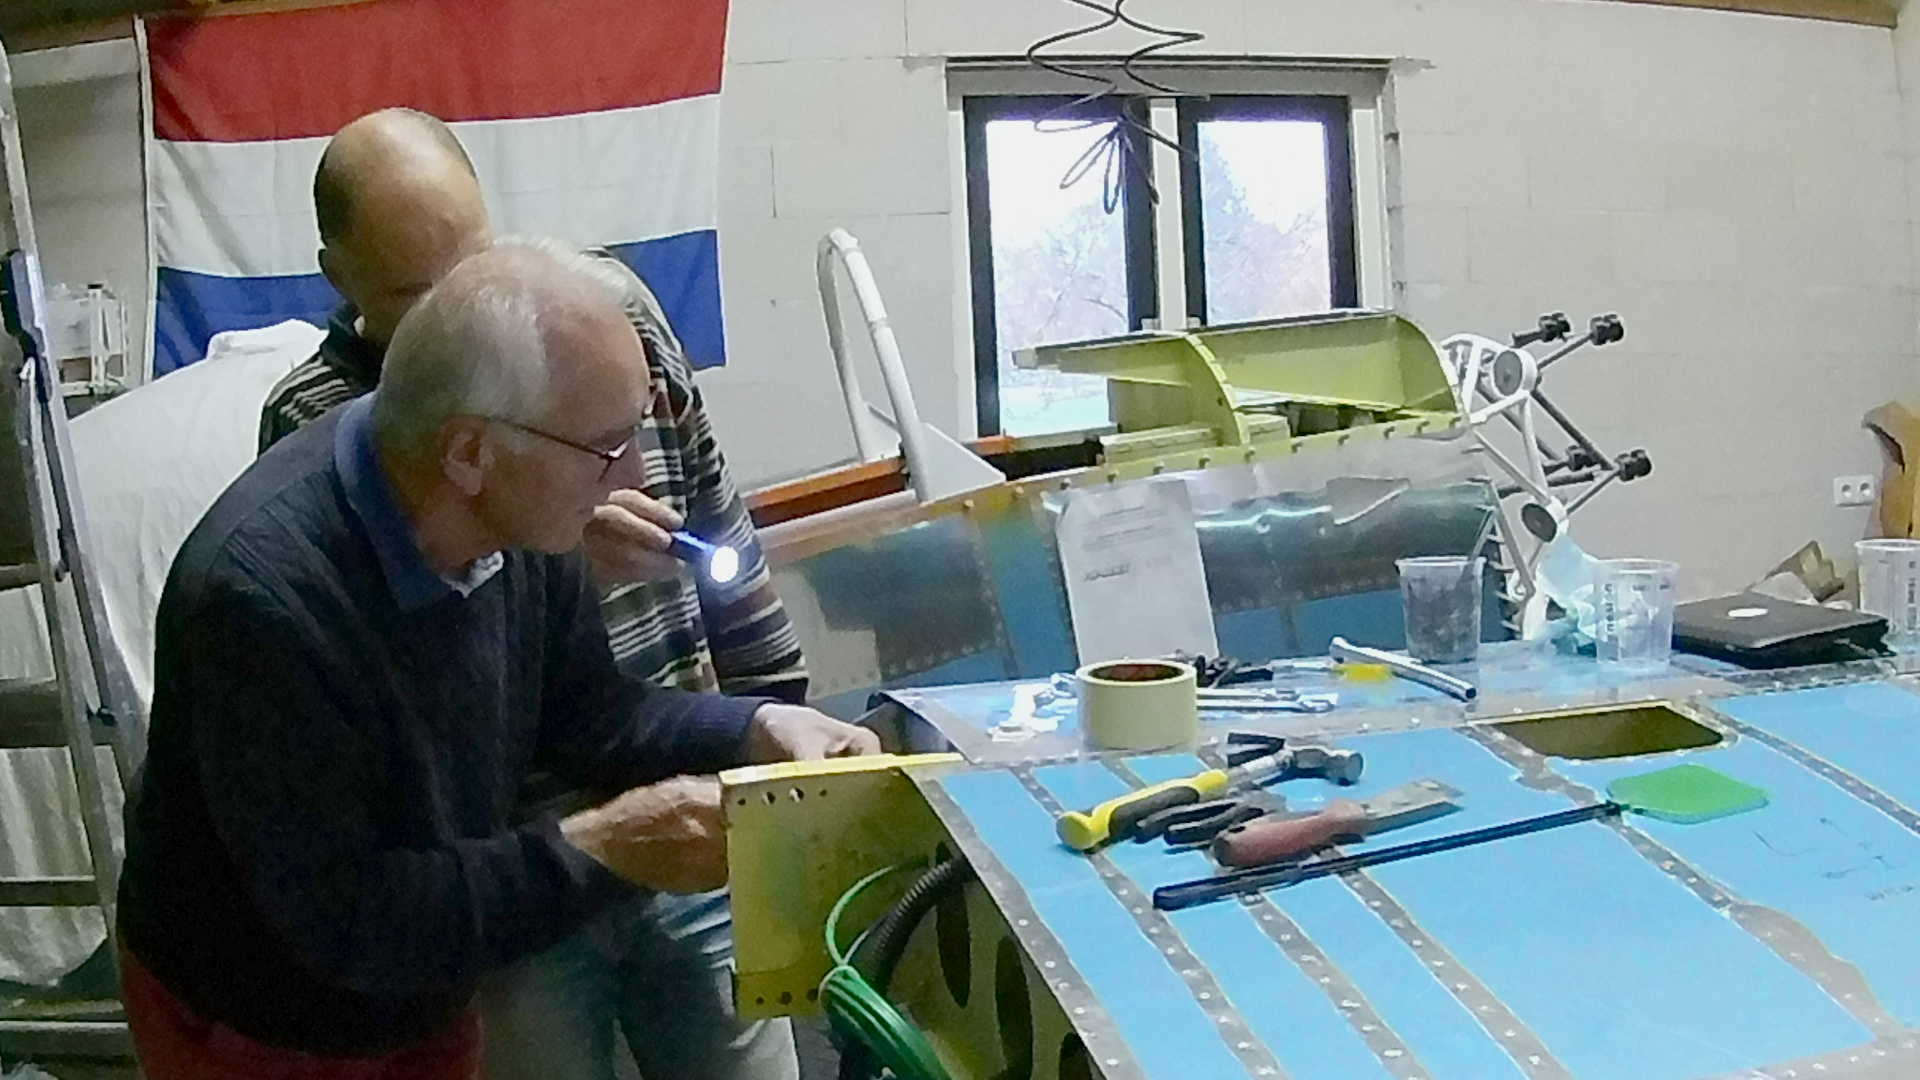
After a night of testing the Tank turns out to be sealed (again).
Time: 7 Hours, Rivets: 0/0 (2020-11-15)
Time: 2 Hours, Rivets: 58/1 (2020-11-16)
Video