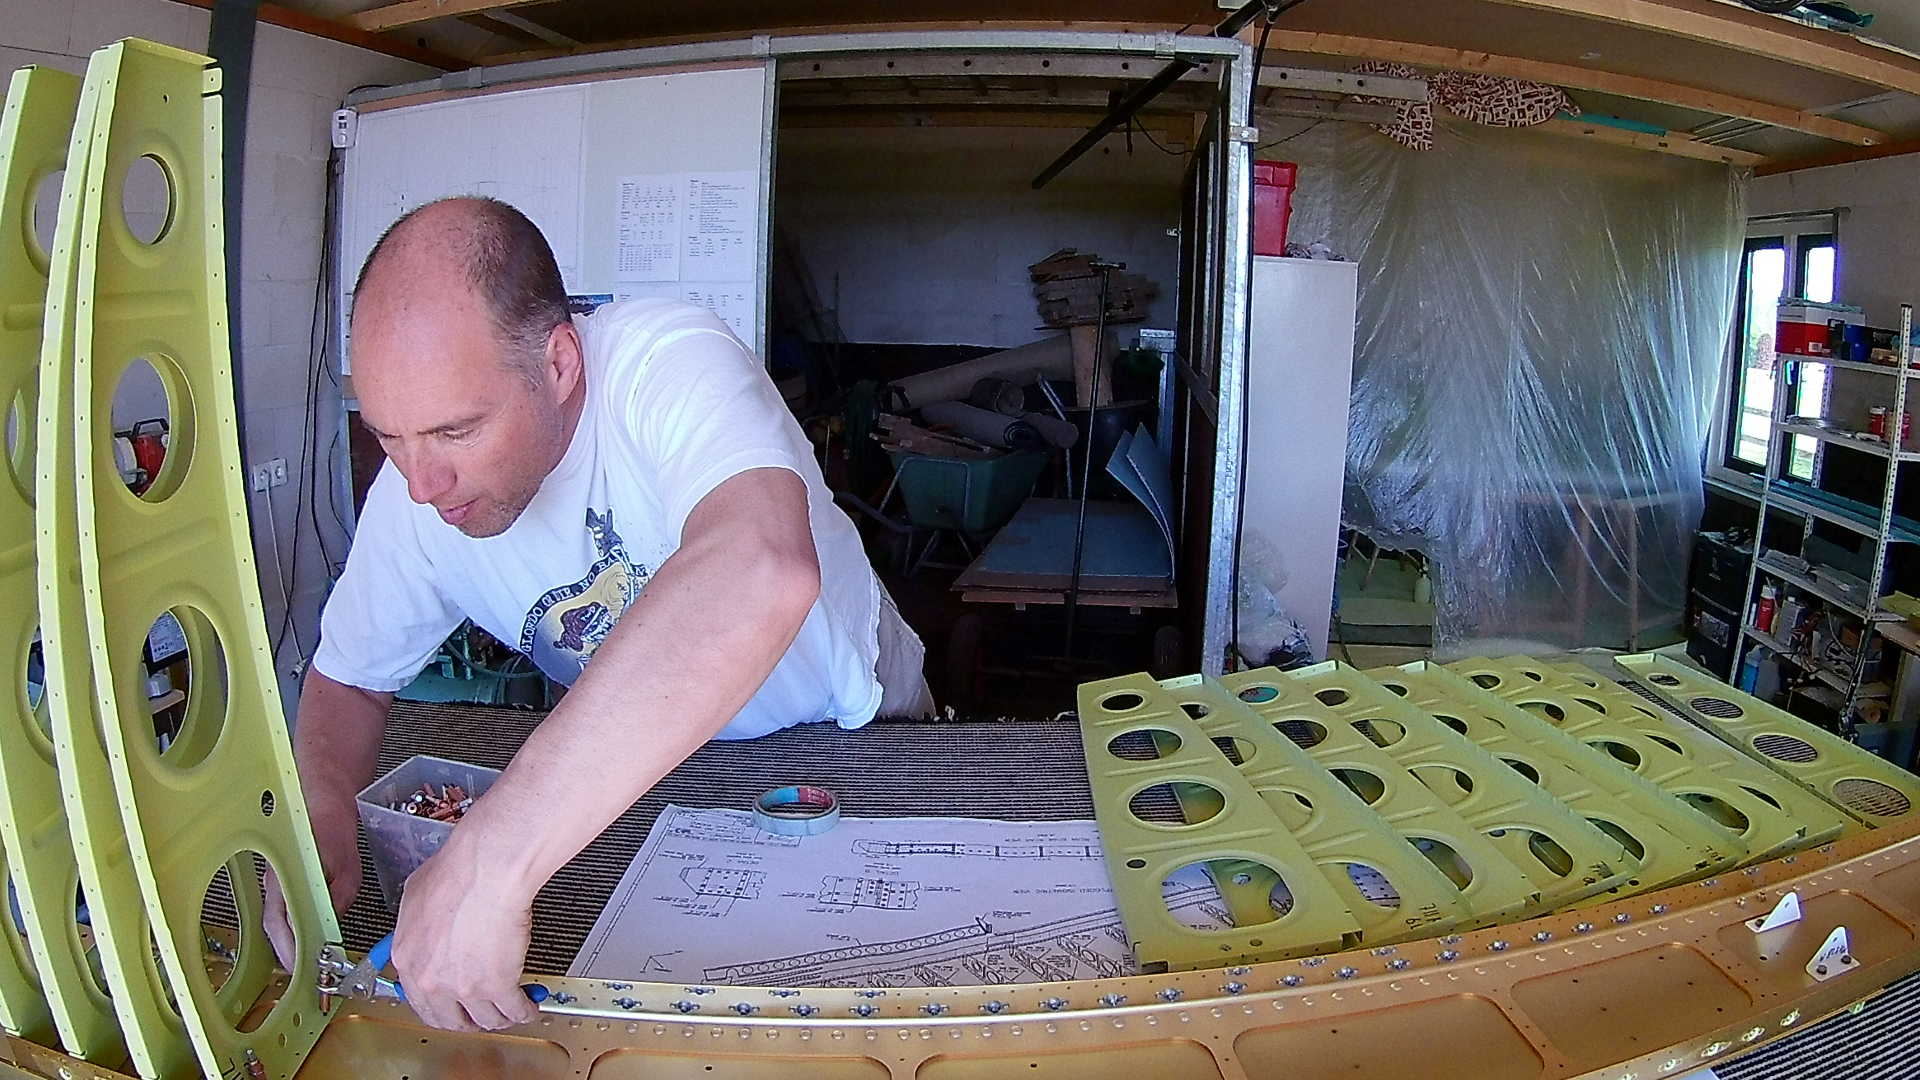
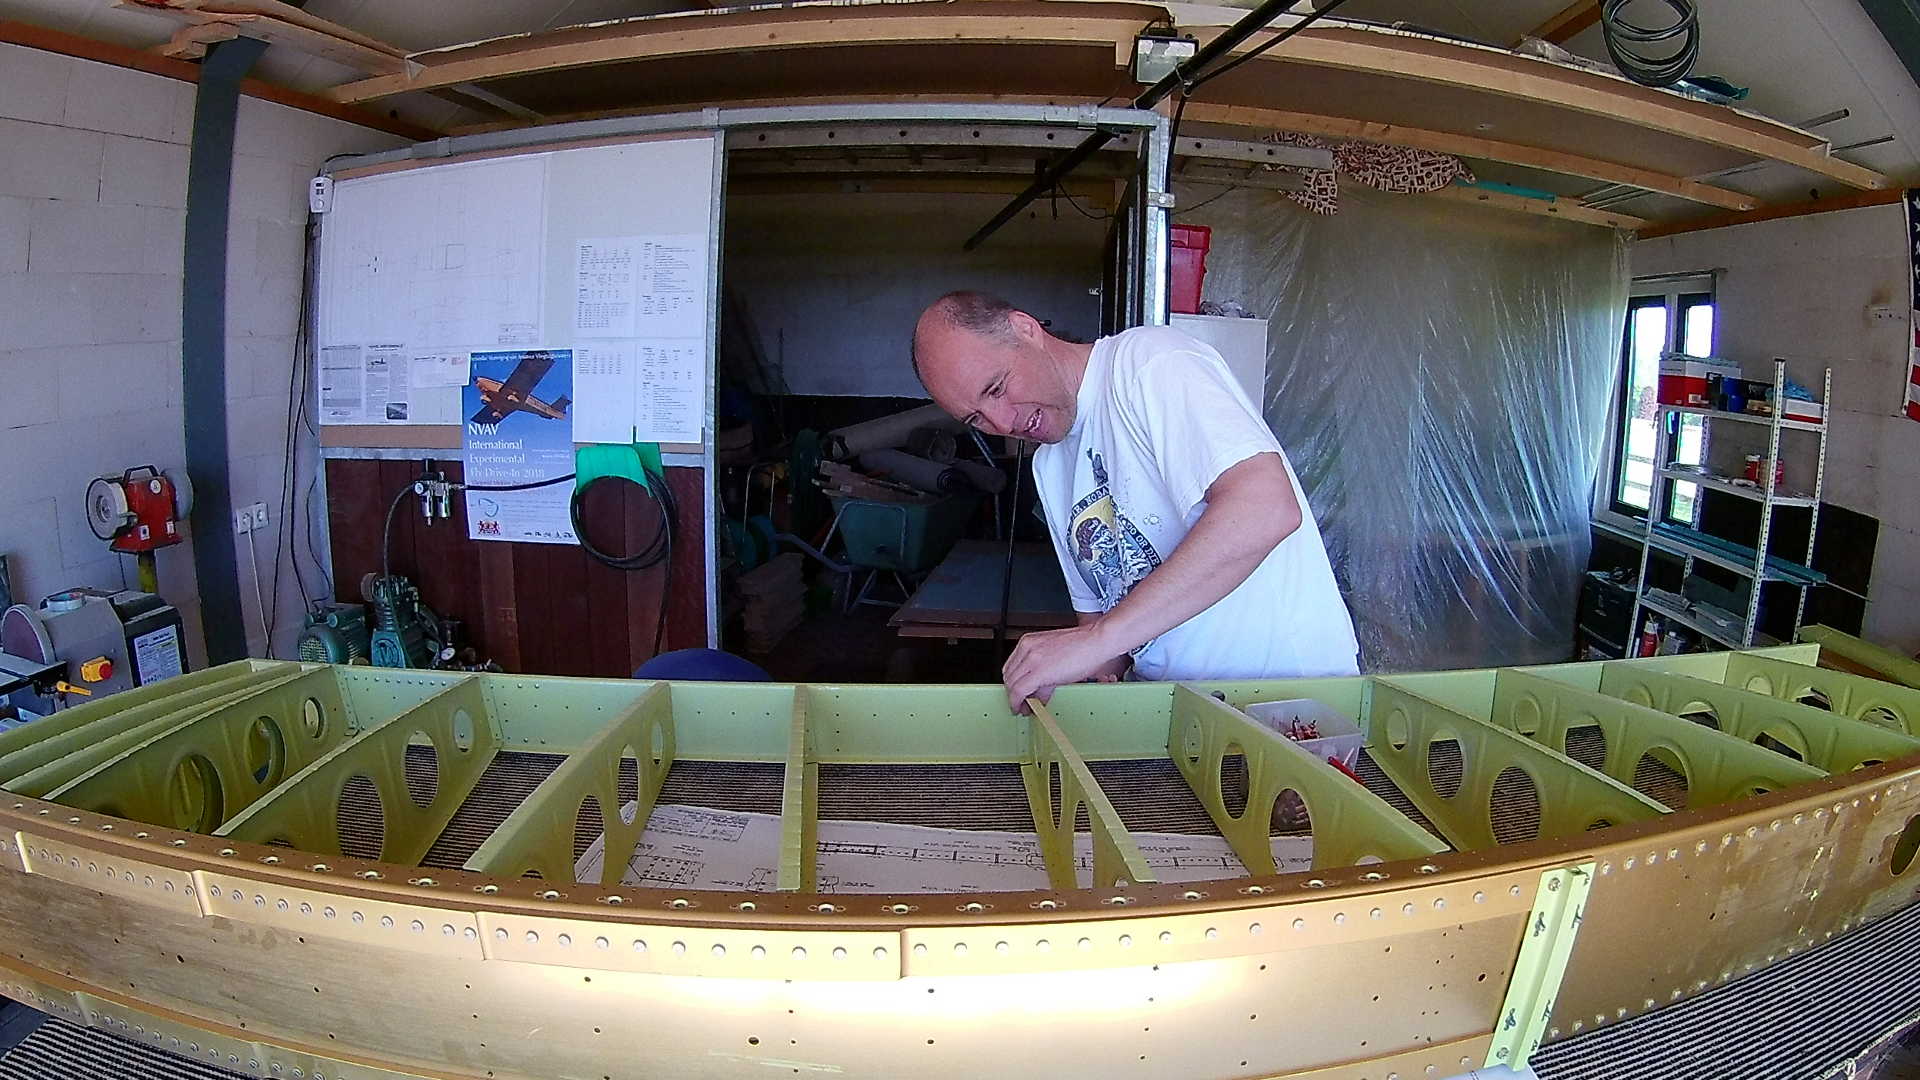
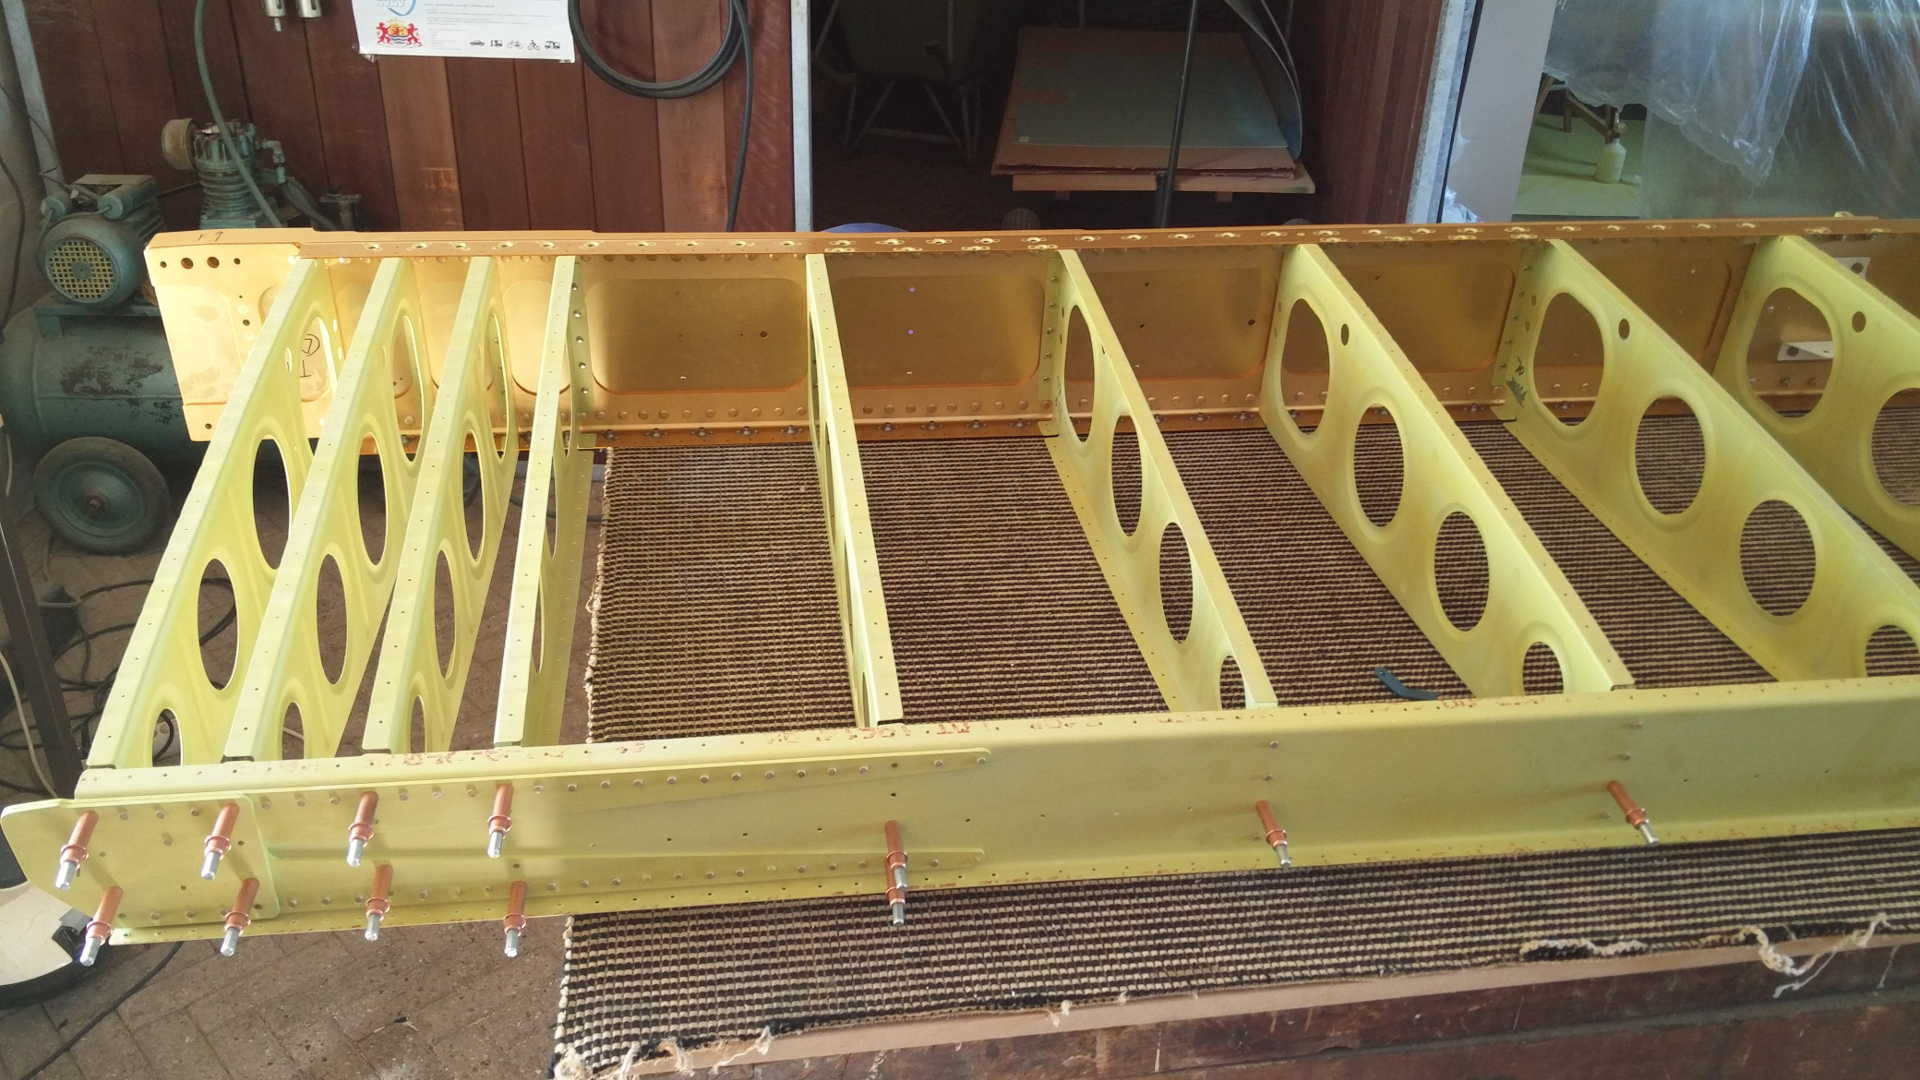
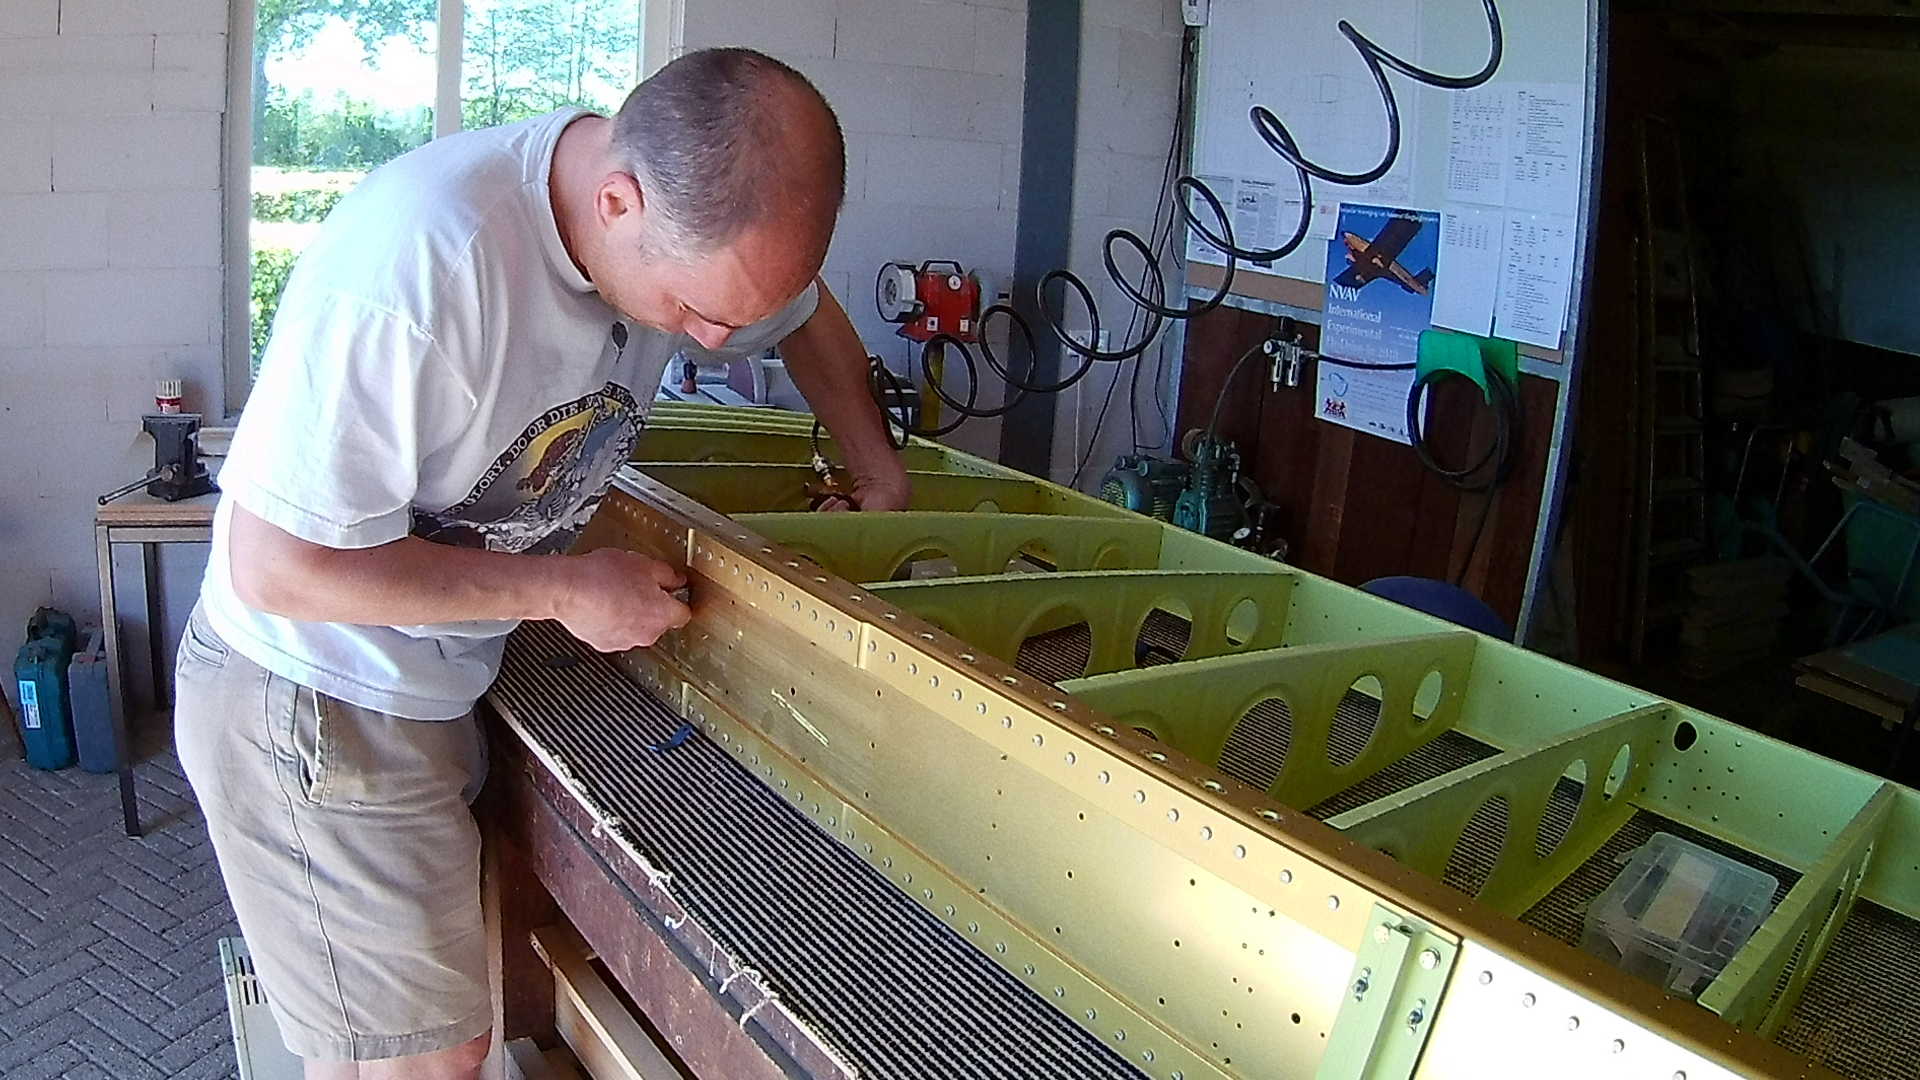
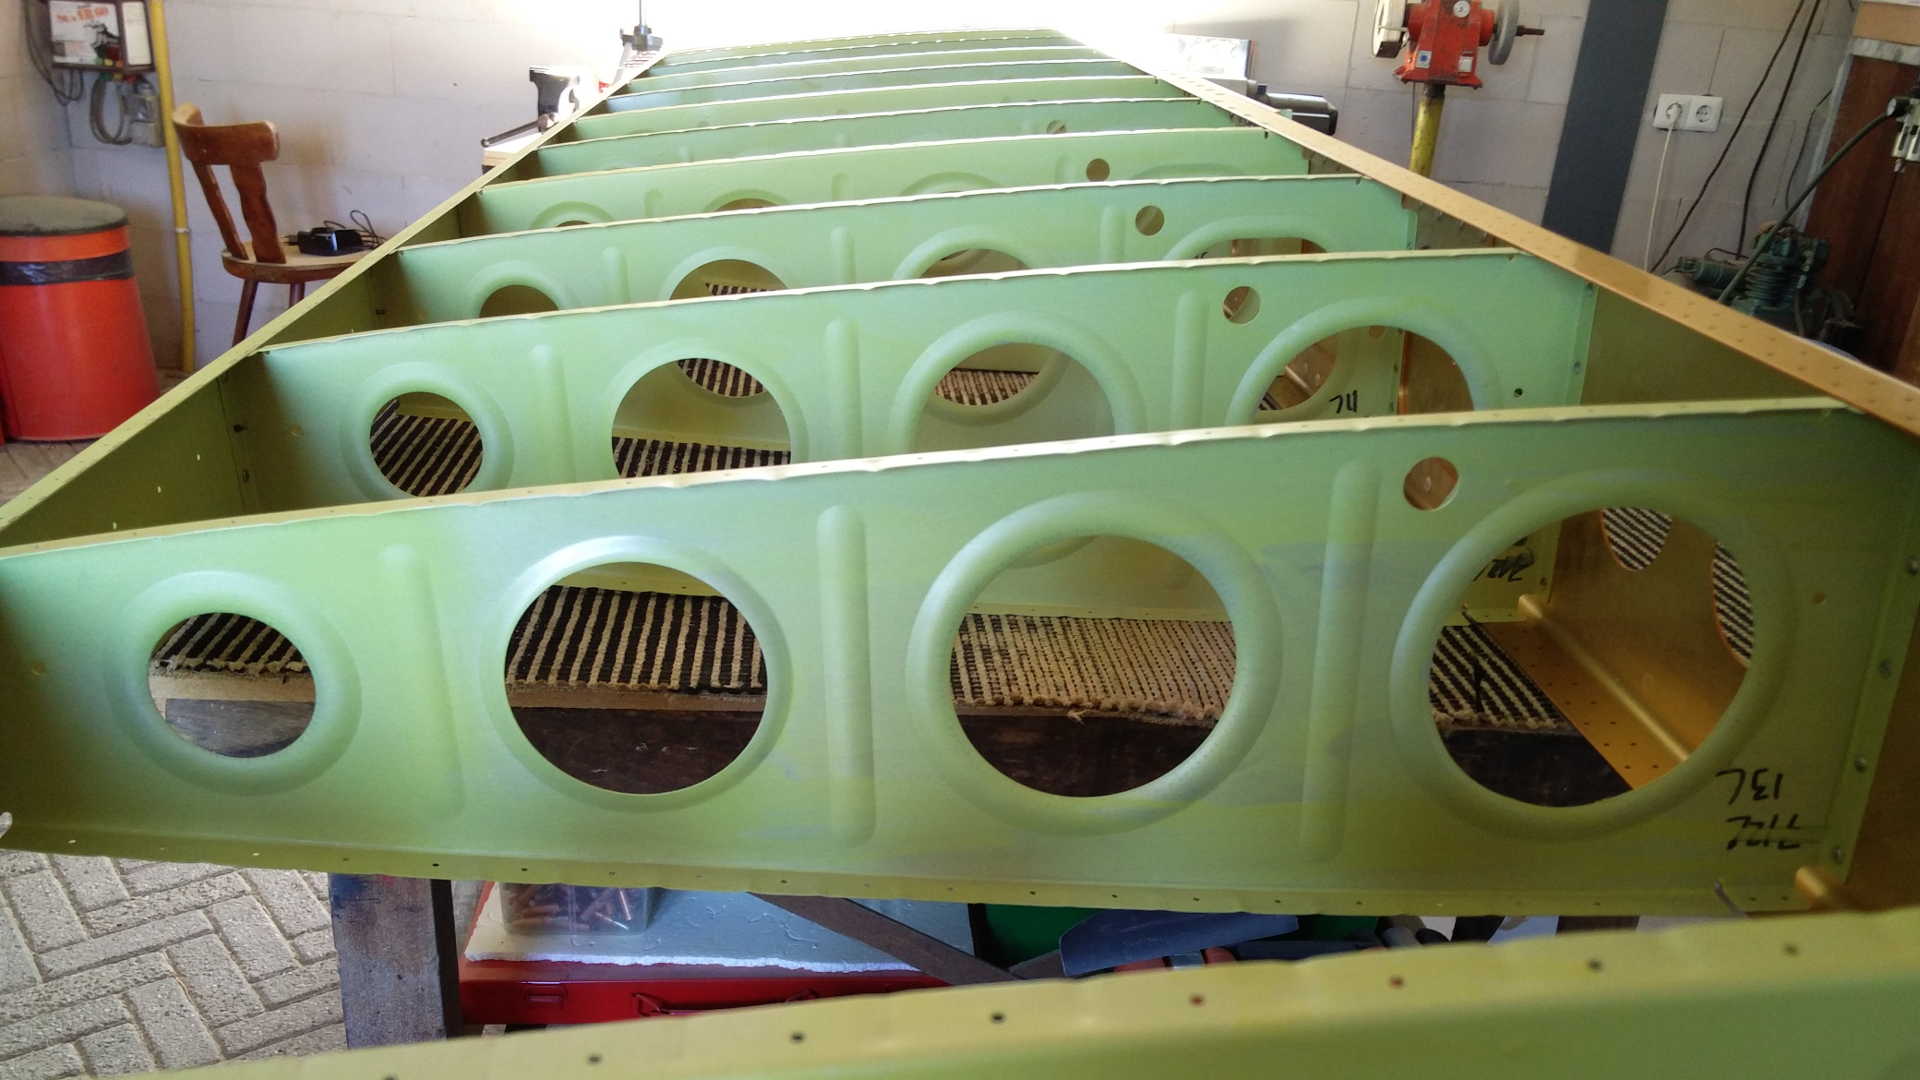
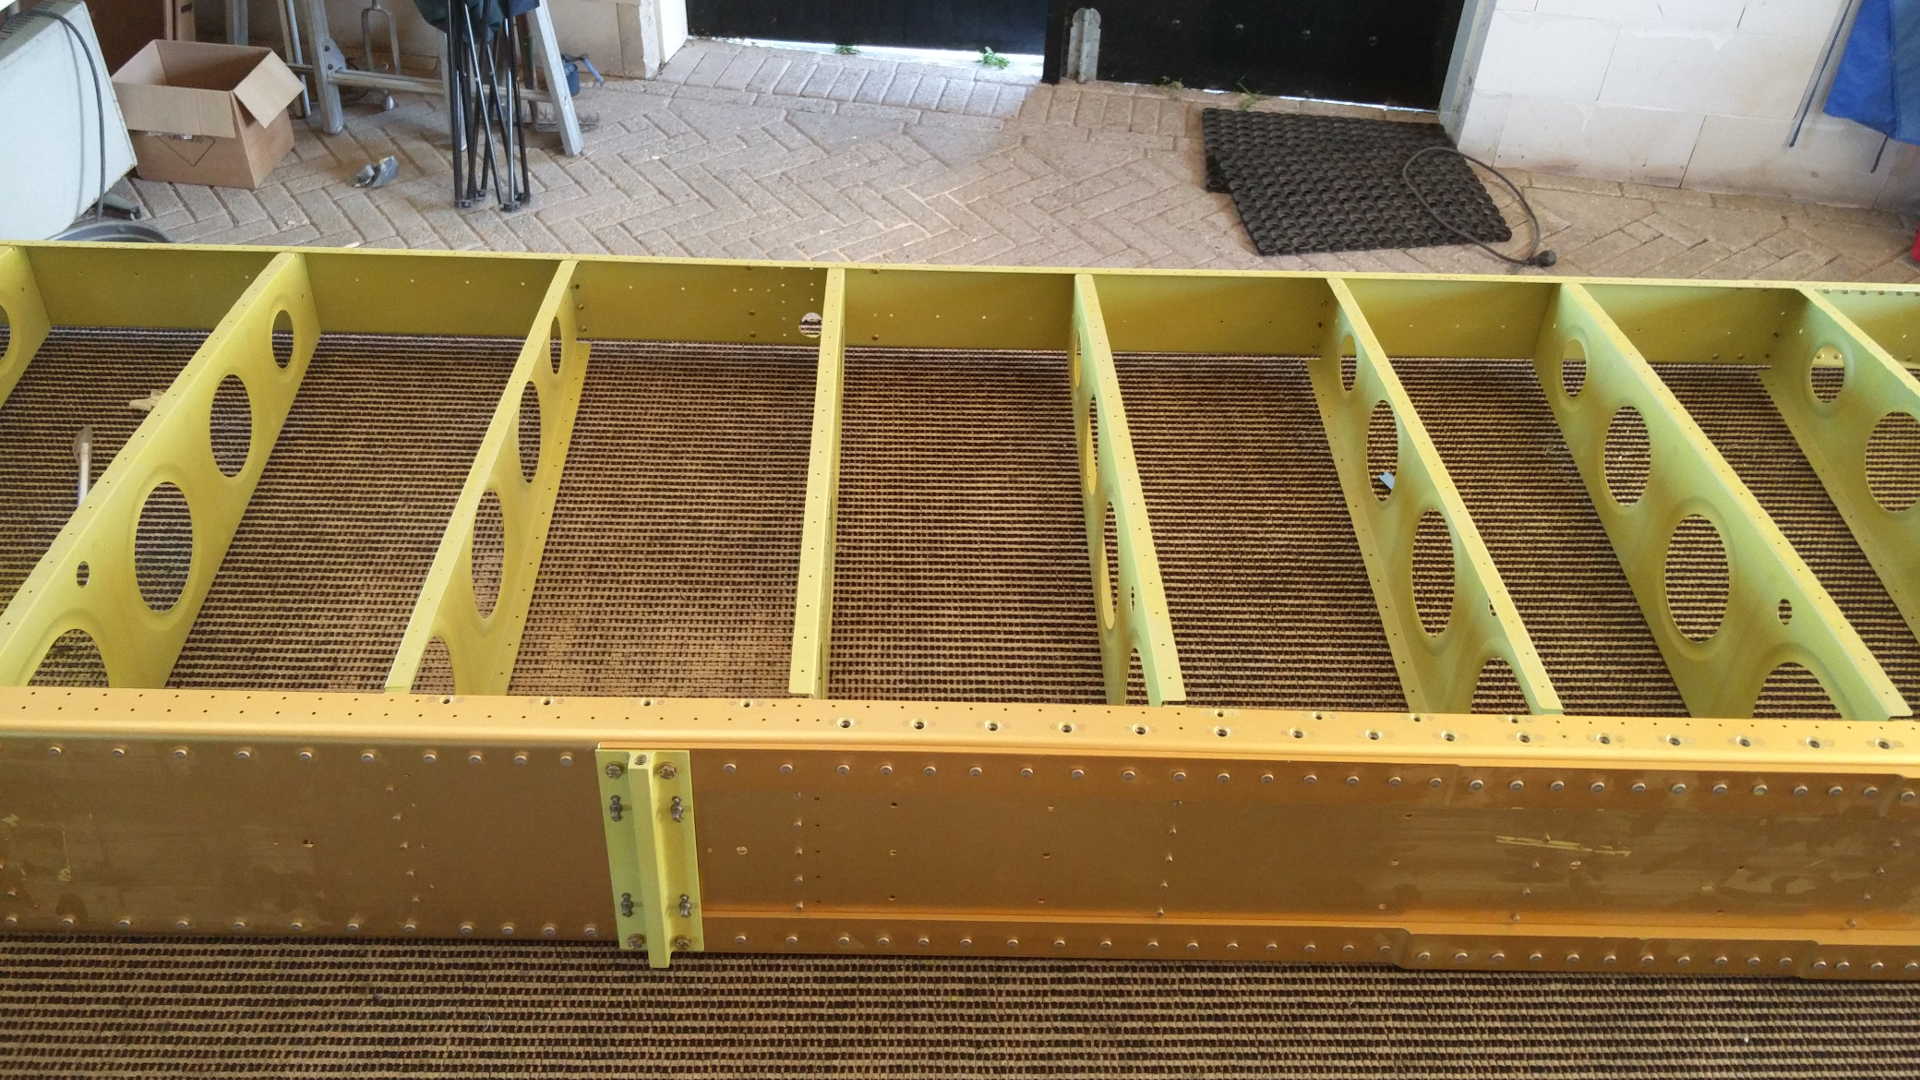
With the Wing ribs primed, I started with clecoing them to the main Wing spar (left side). Note the extra hole I drilled in the ribs, which will be used to insert a conduit for the electrical wiring. Also I enlarged the tool hole (on the left ribs only) to support a second tube for an Angle of Attack (AoA) indicator.
I clecoed all the ribs to the main spar, however during riveting I found that the first three (wing walk) ribs on the inboard side should be added while riveting. The space between the ribs is too small for a rivet gun.
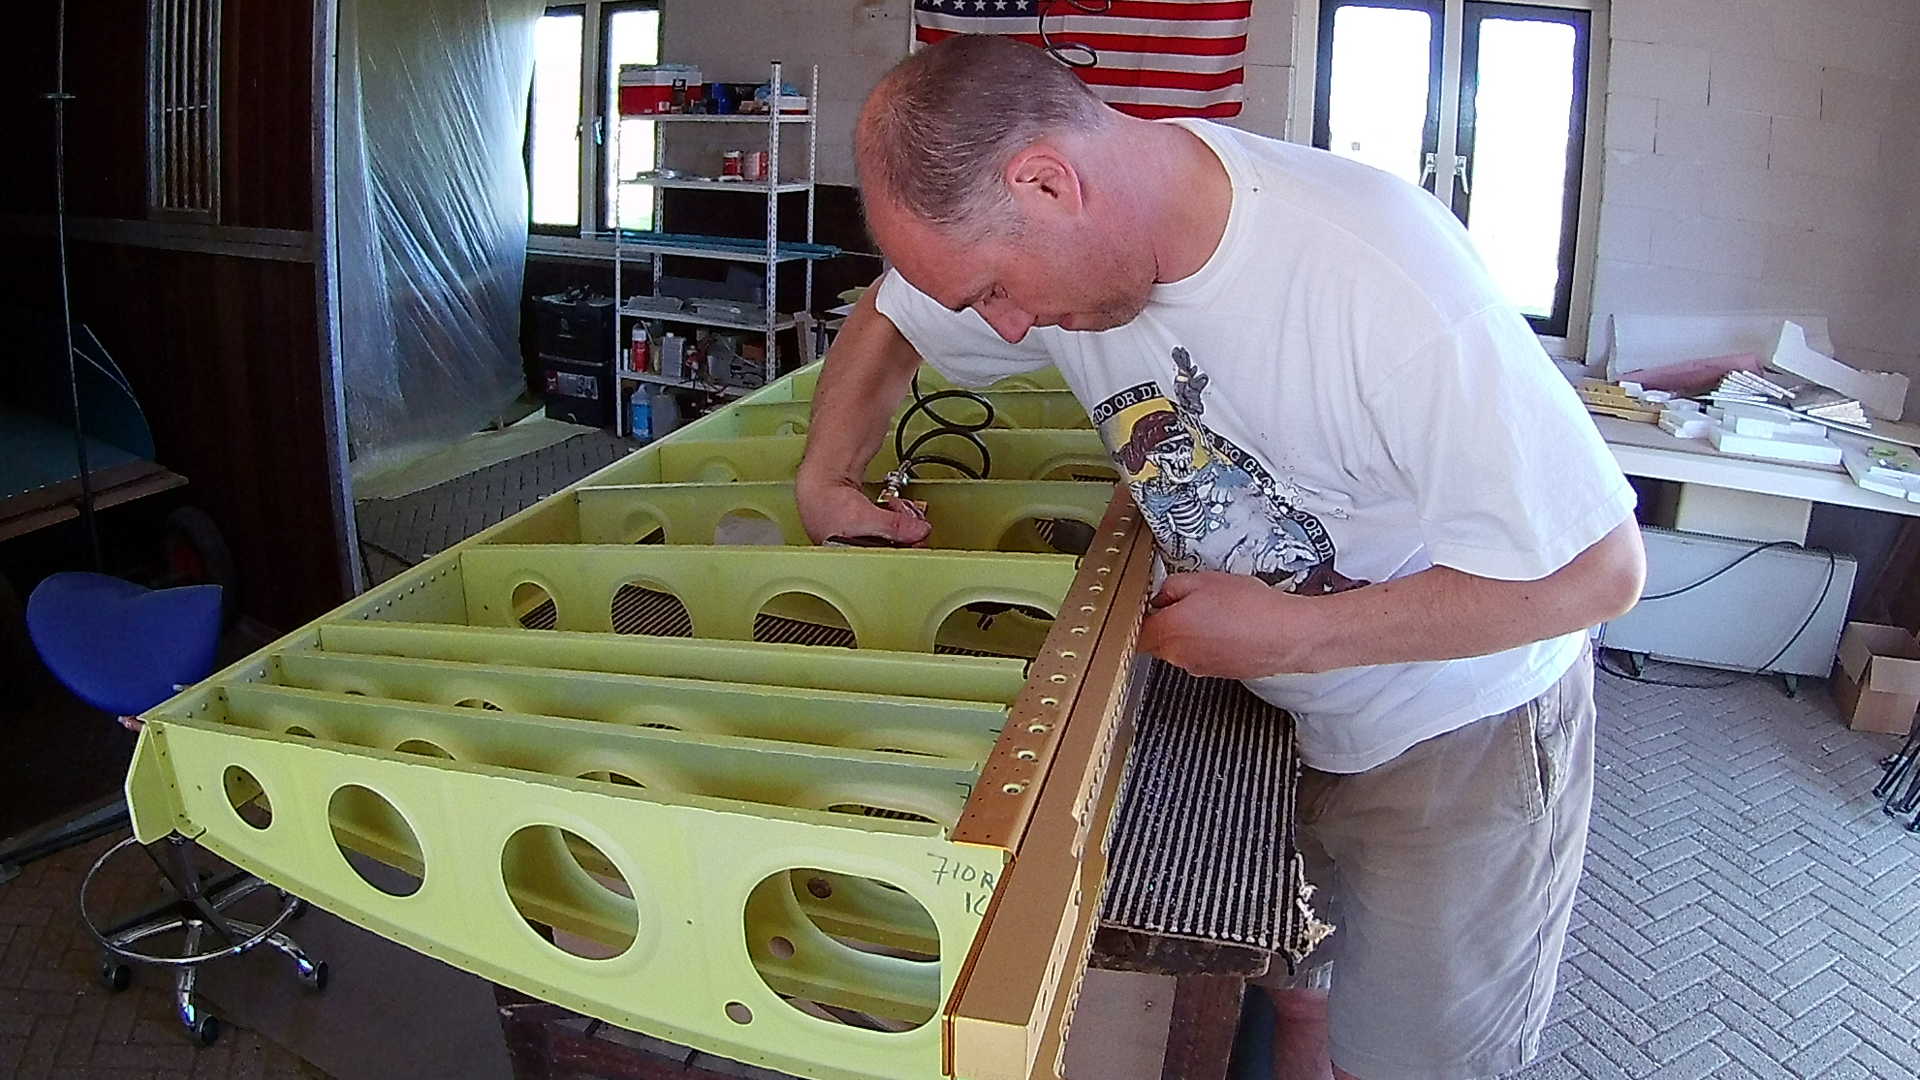
With the rear spar in place it starts to look like a piece of on airplane already.
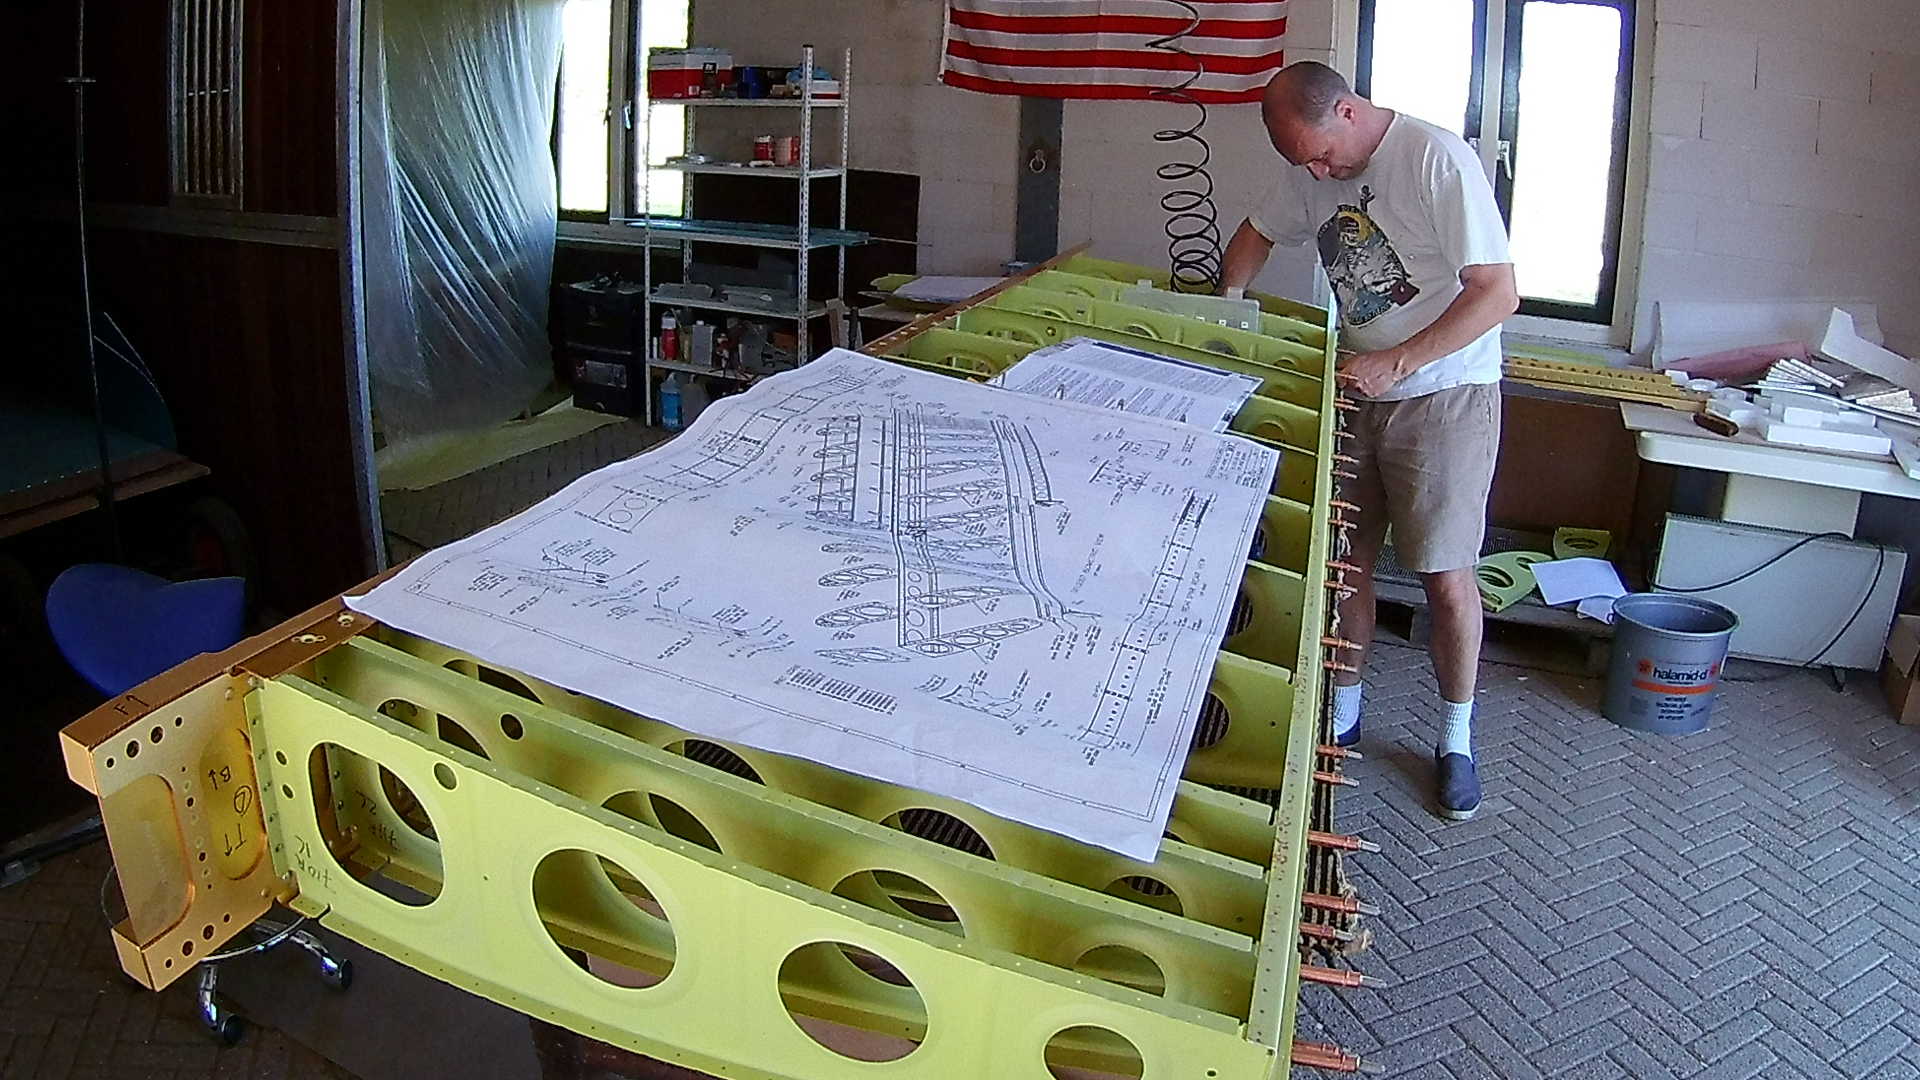
Many holes on the rear spar should NOT be riveted right now. They are riveted in conjunction with the Flap brace and the Aileron gap fairing. I have no idea what these are, but I’m sure I’m going to figure that out in the coming weeks. For now I put cleco’s in these holes to prevent accidental riveting.
Since it has been a while for me when riveting (I try to use the squeezer whenever possible), I screwed up several rivets in the beginning. After a few rivets I regained my “feeling” for the task.
A nice look along the bottom of the left Wing. Again the conduit hole is lining up nicely.
I had to reset three rivets, because I was unhappy with those. They were probably ok (note to self: make photo’s), but since the rest was much better looking, I decided to drill them out and reset them.
The outboard four rivets are flush, because the Aileron hinge bracket is placed on top of them (according to the drawings).
Almost finished, I didn’t complete all rivets on the rear spar. However I stopped pushing for daily goals and started to just enjoy every day I can work on my plane. Sounds mushy, but I tend to make more screw-ups when I pressure for I specific goal, which cost even more time.
Time: 6 Hours, Rivets: 96/3
Time: 1 Hours, Rivets: 22/2
