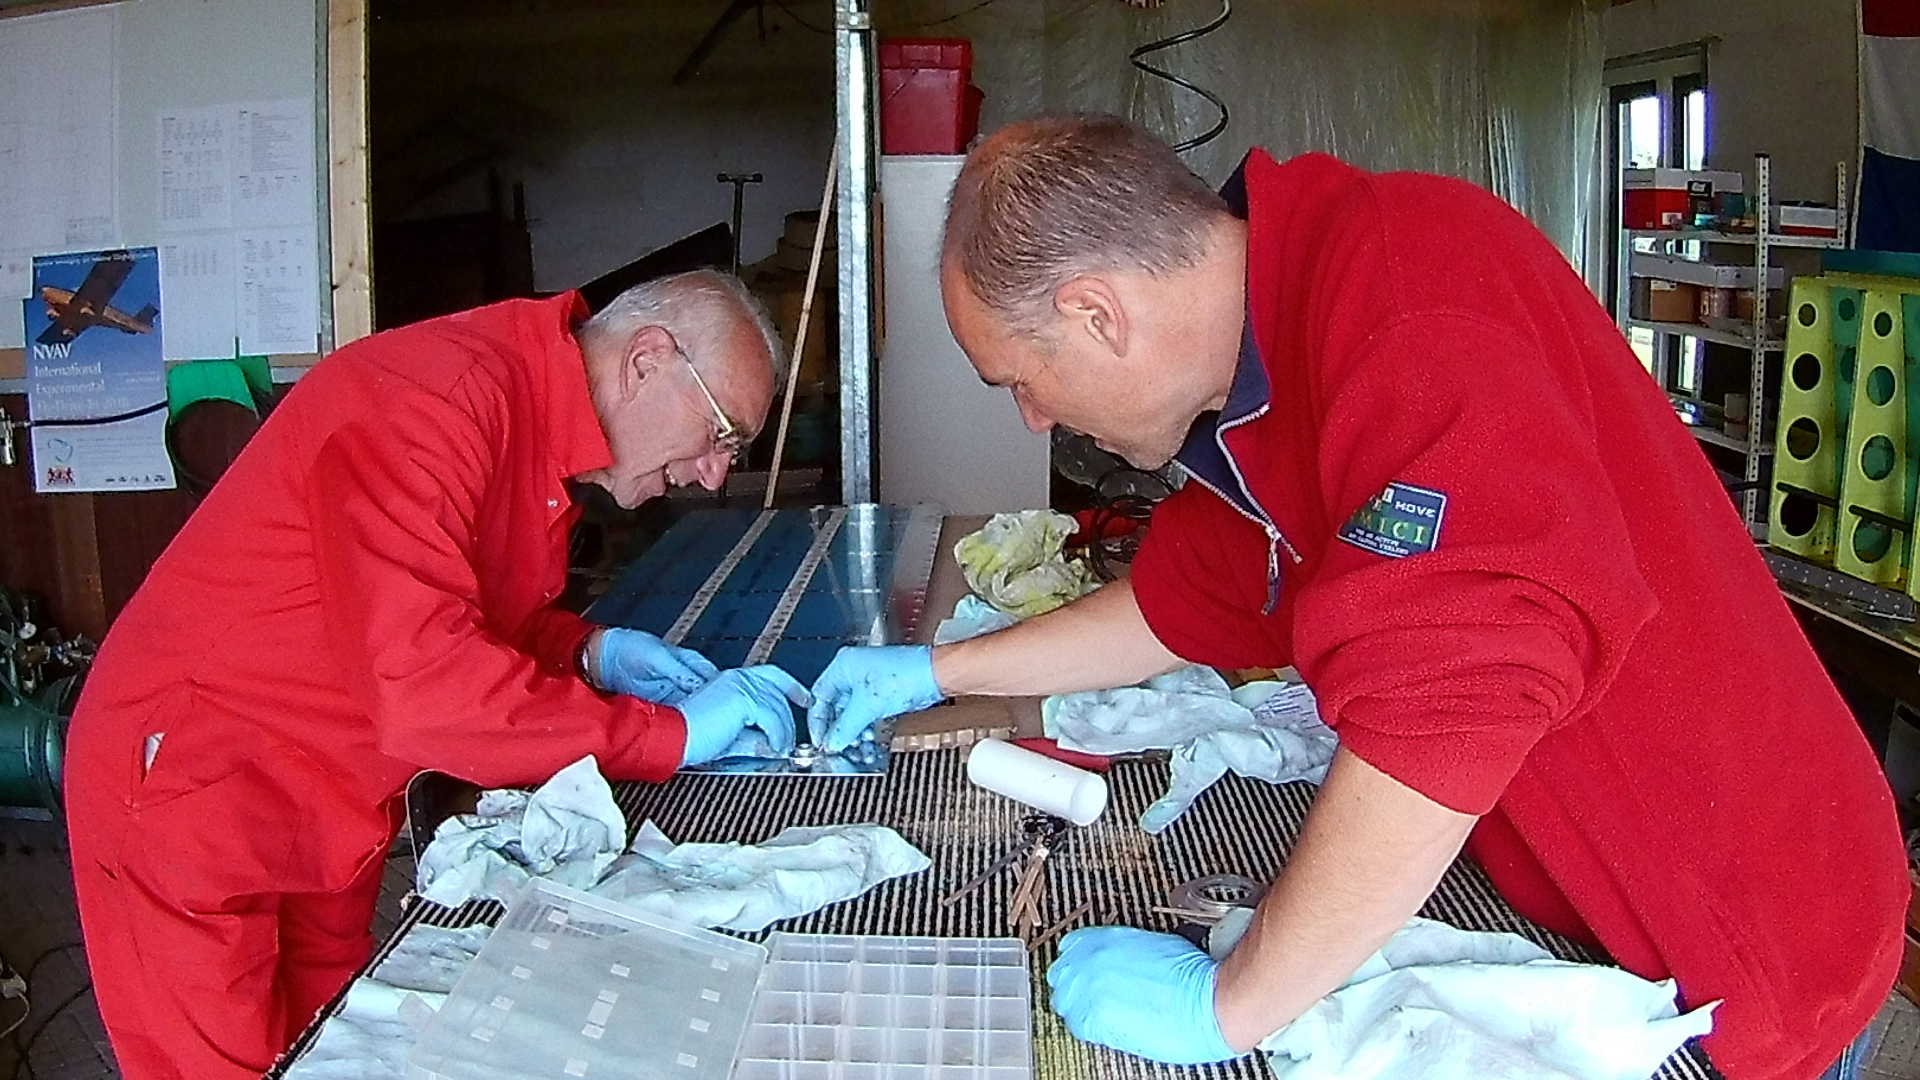
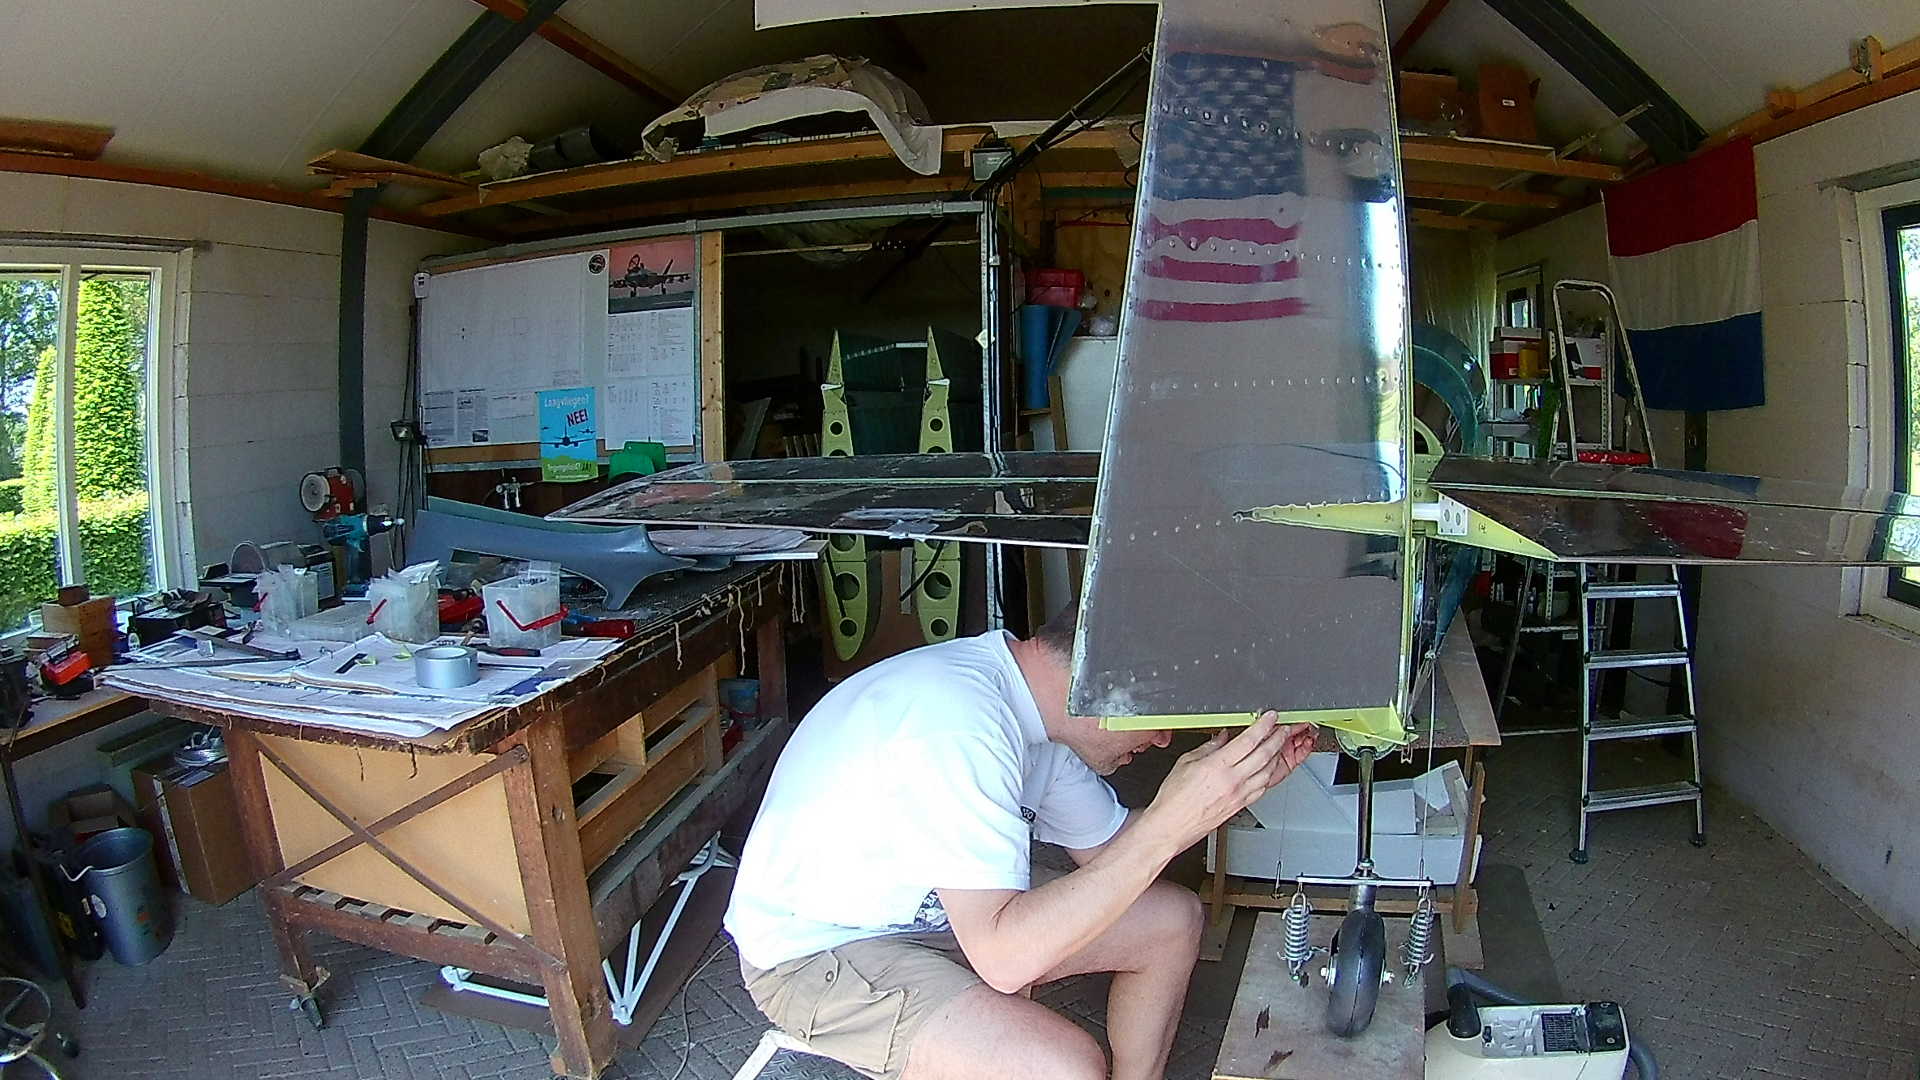
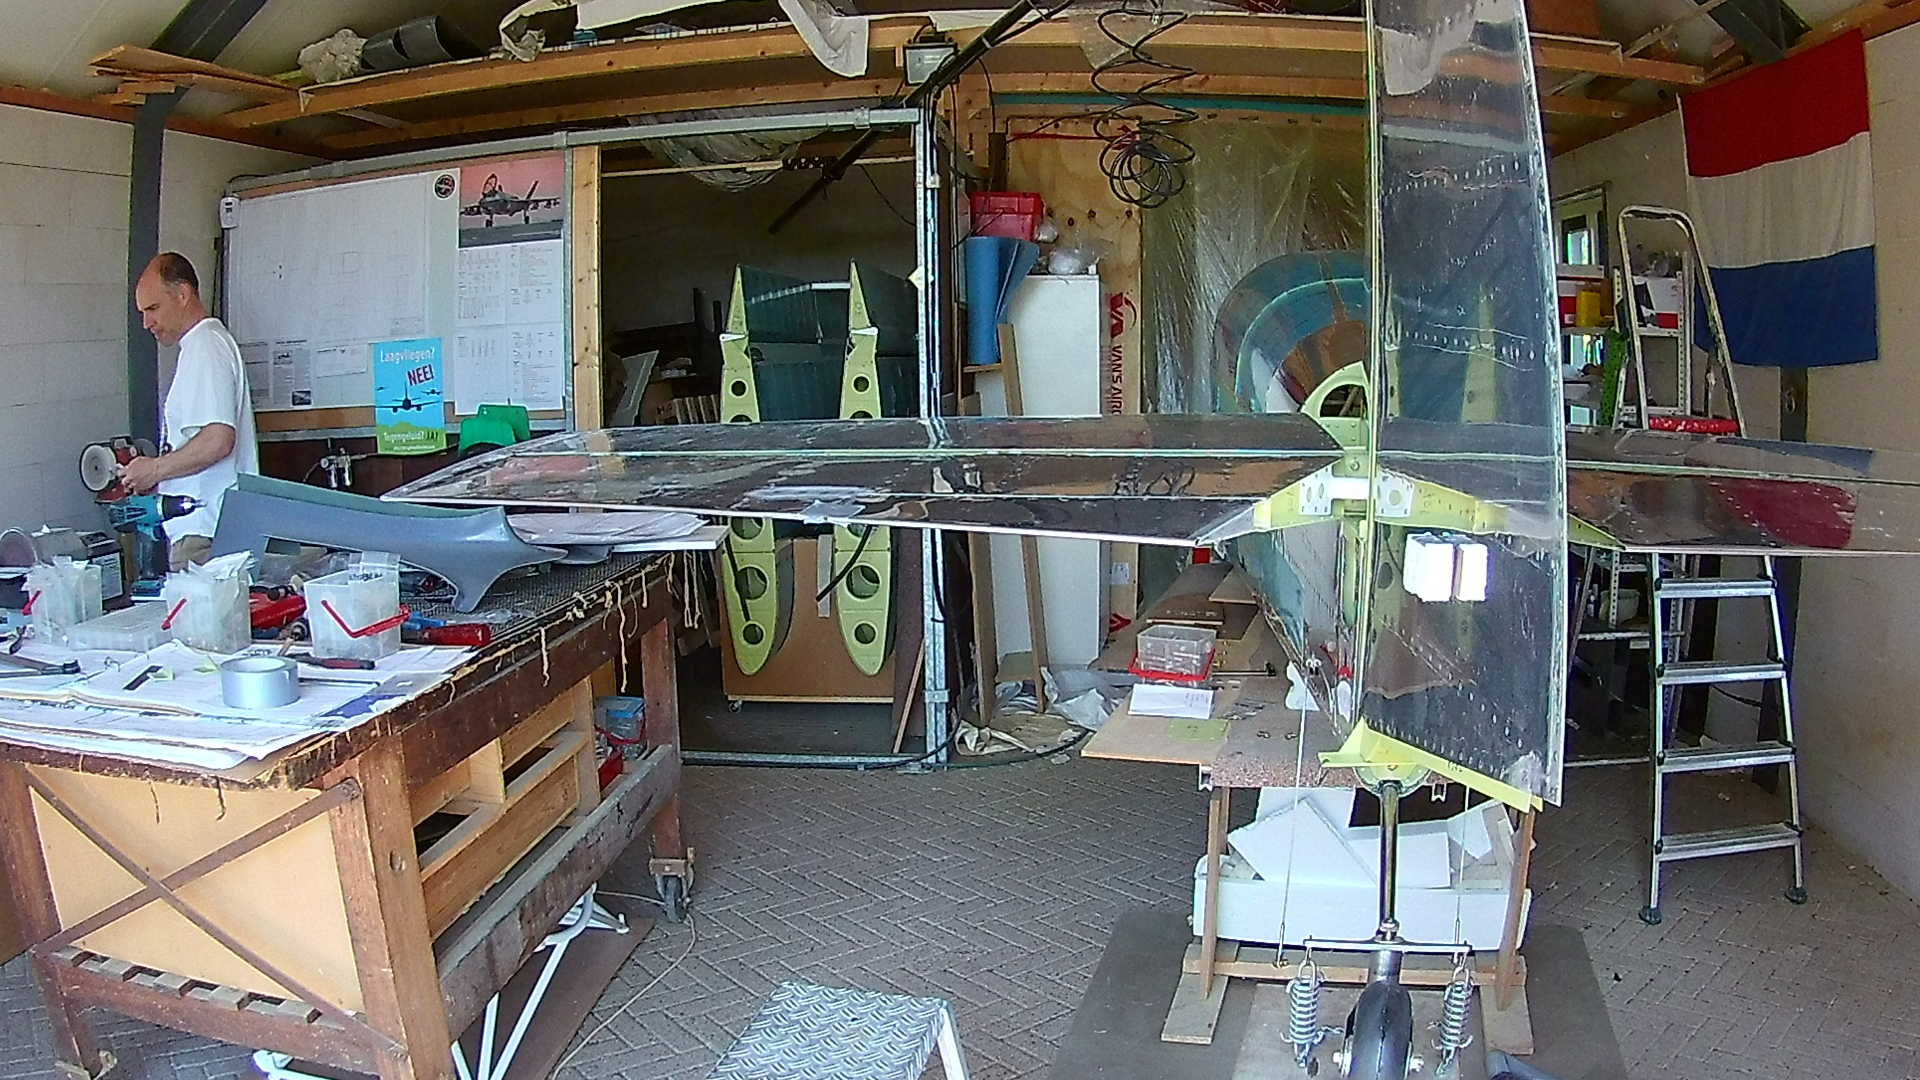
I’m finishing the Empennage ‘loose ends’, that I didn’t or couldn’t finish while making the Empennage. That’s because the Empennage must be mated with the fuselage, however at that time I didn’t have a Fuselage.
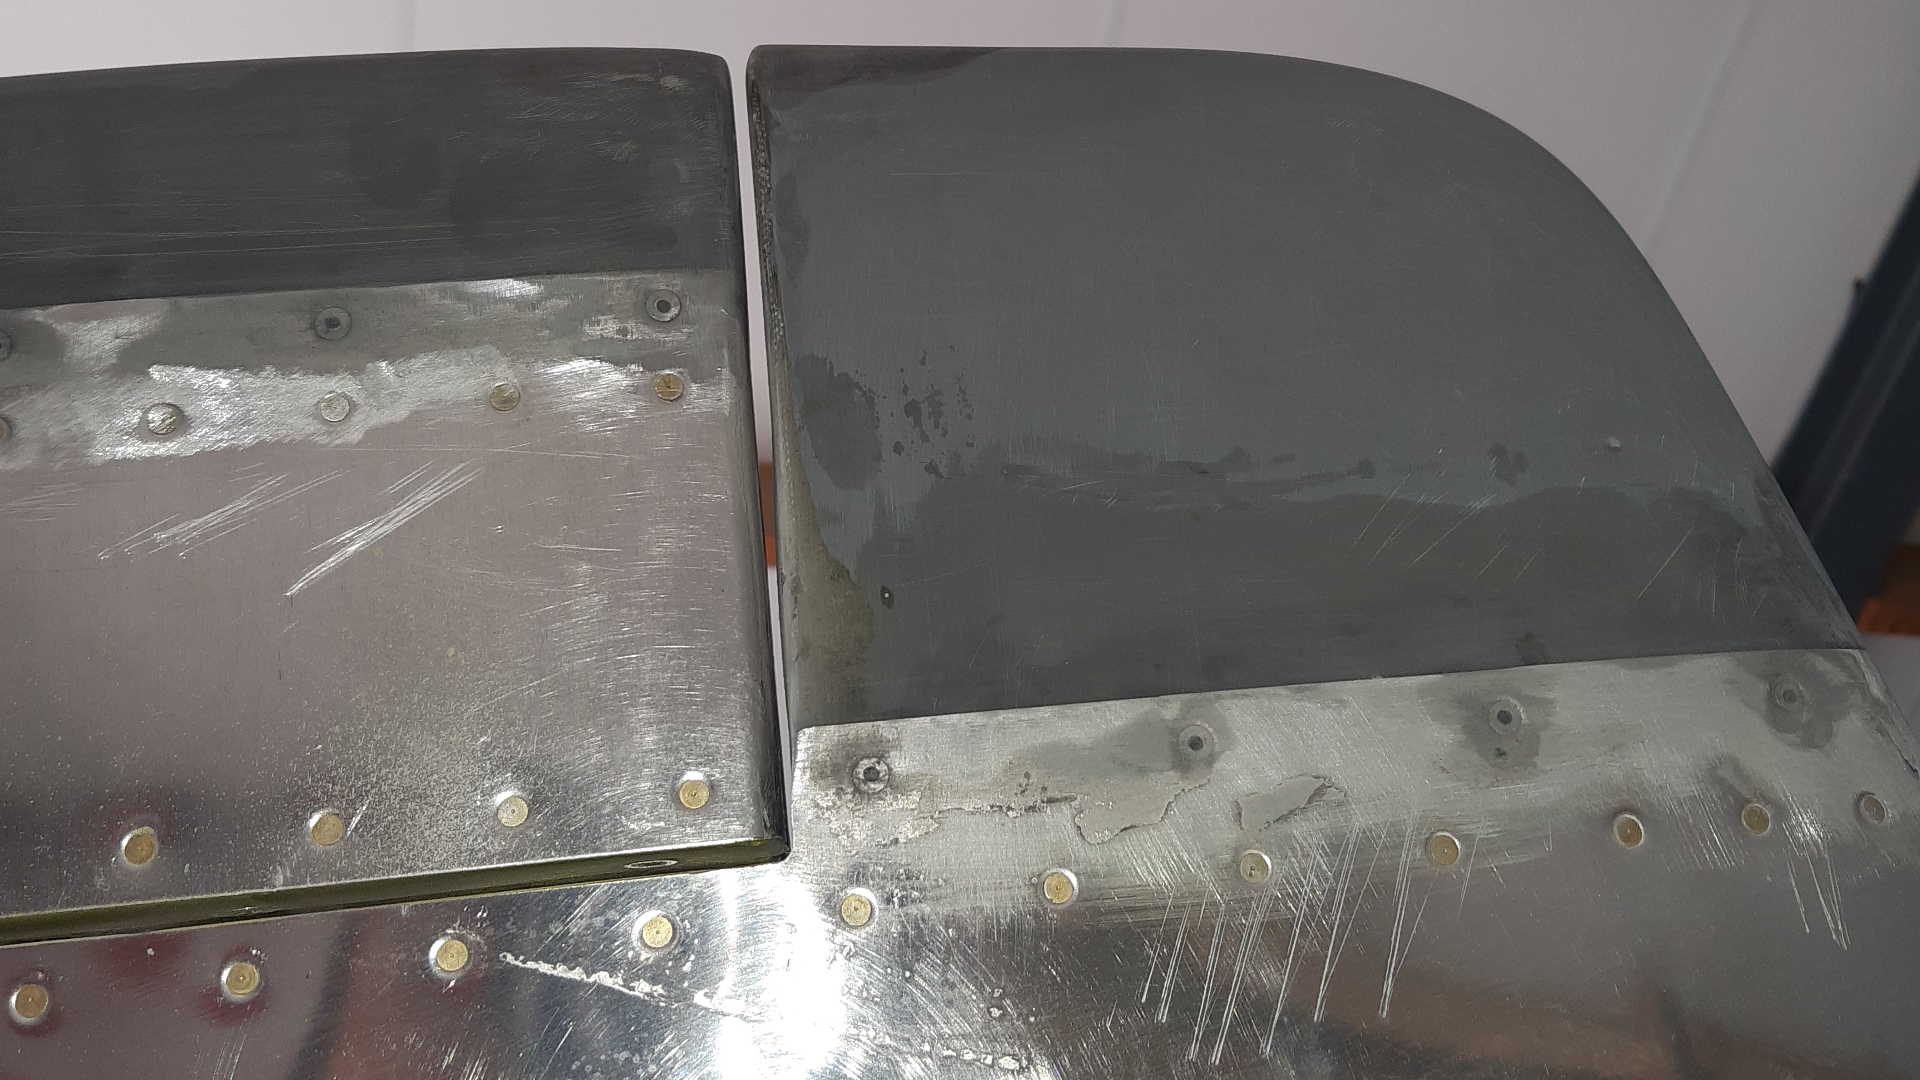
Now I do have a fuselage, so I can attach the Empennage to the Fuselage. Time to finish things, such as the Rudder tips. I can’t help it by applying yet another layer of resin and sanding it of again to make it more smooth.
Next up is the Rudder Stops. I tried the earlier fabricated Rudder Stops according to the drawings, but they don’t fit very well and I didn’t like them.
I hesitated on the ‘internal rudder stops’, but it looks flimsy to me.
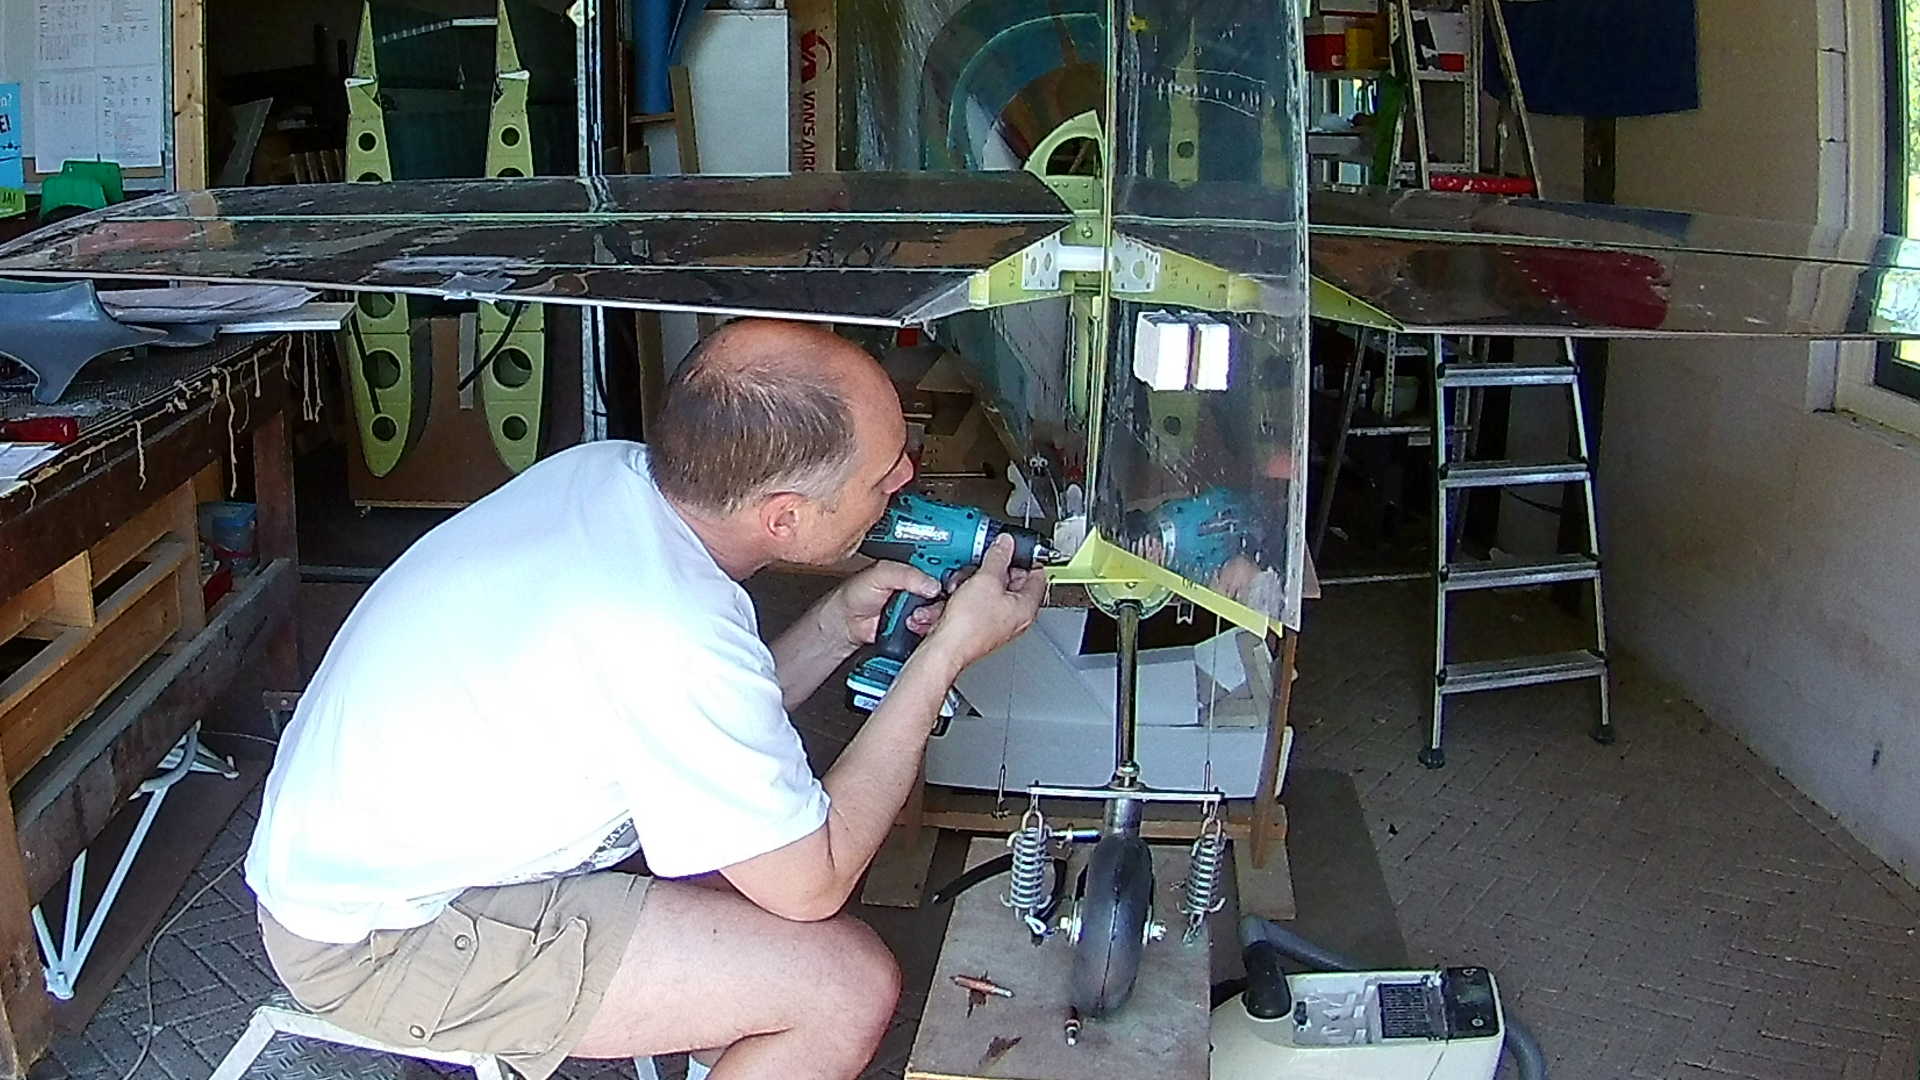
So when the time of riveting the Rudder Stops came, I decided to create new Rudder Stops. I used the old Rudder Stops as a template, but made the new ones a bit longer, so I can make it in a better form.
Now I can drill the new Rudder Stops to the Fuselage. They look great and are aerodynamic. However they are placed under the Elevators, so probably no one can see them.
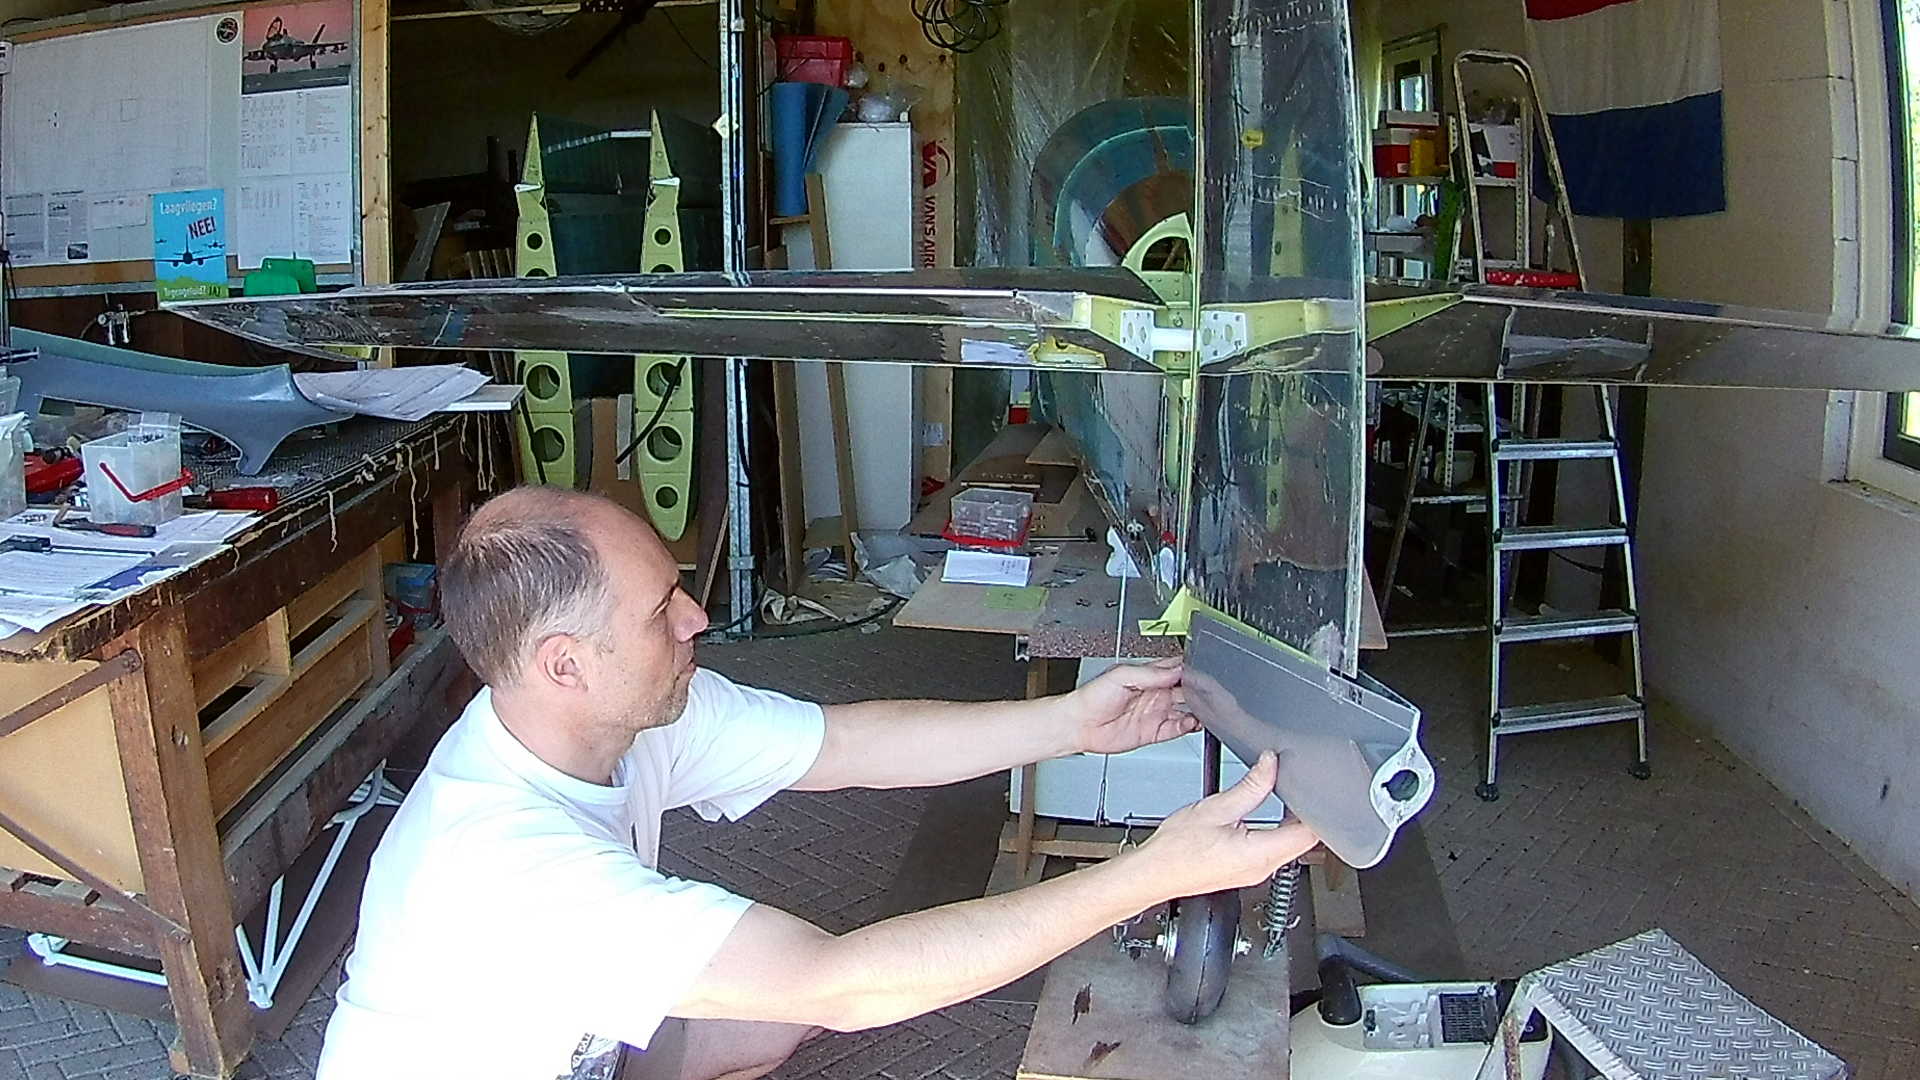
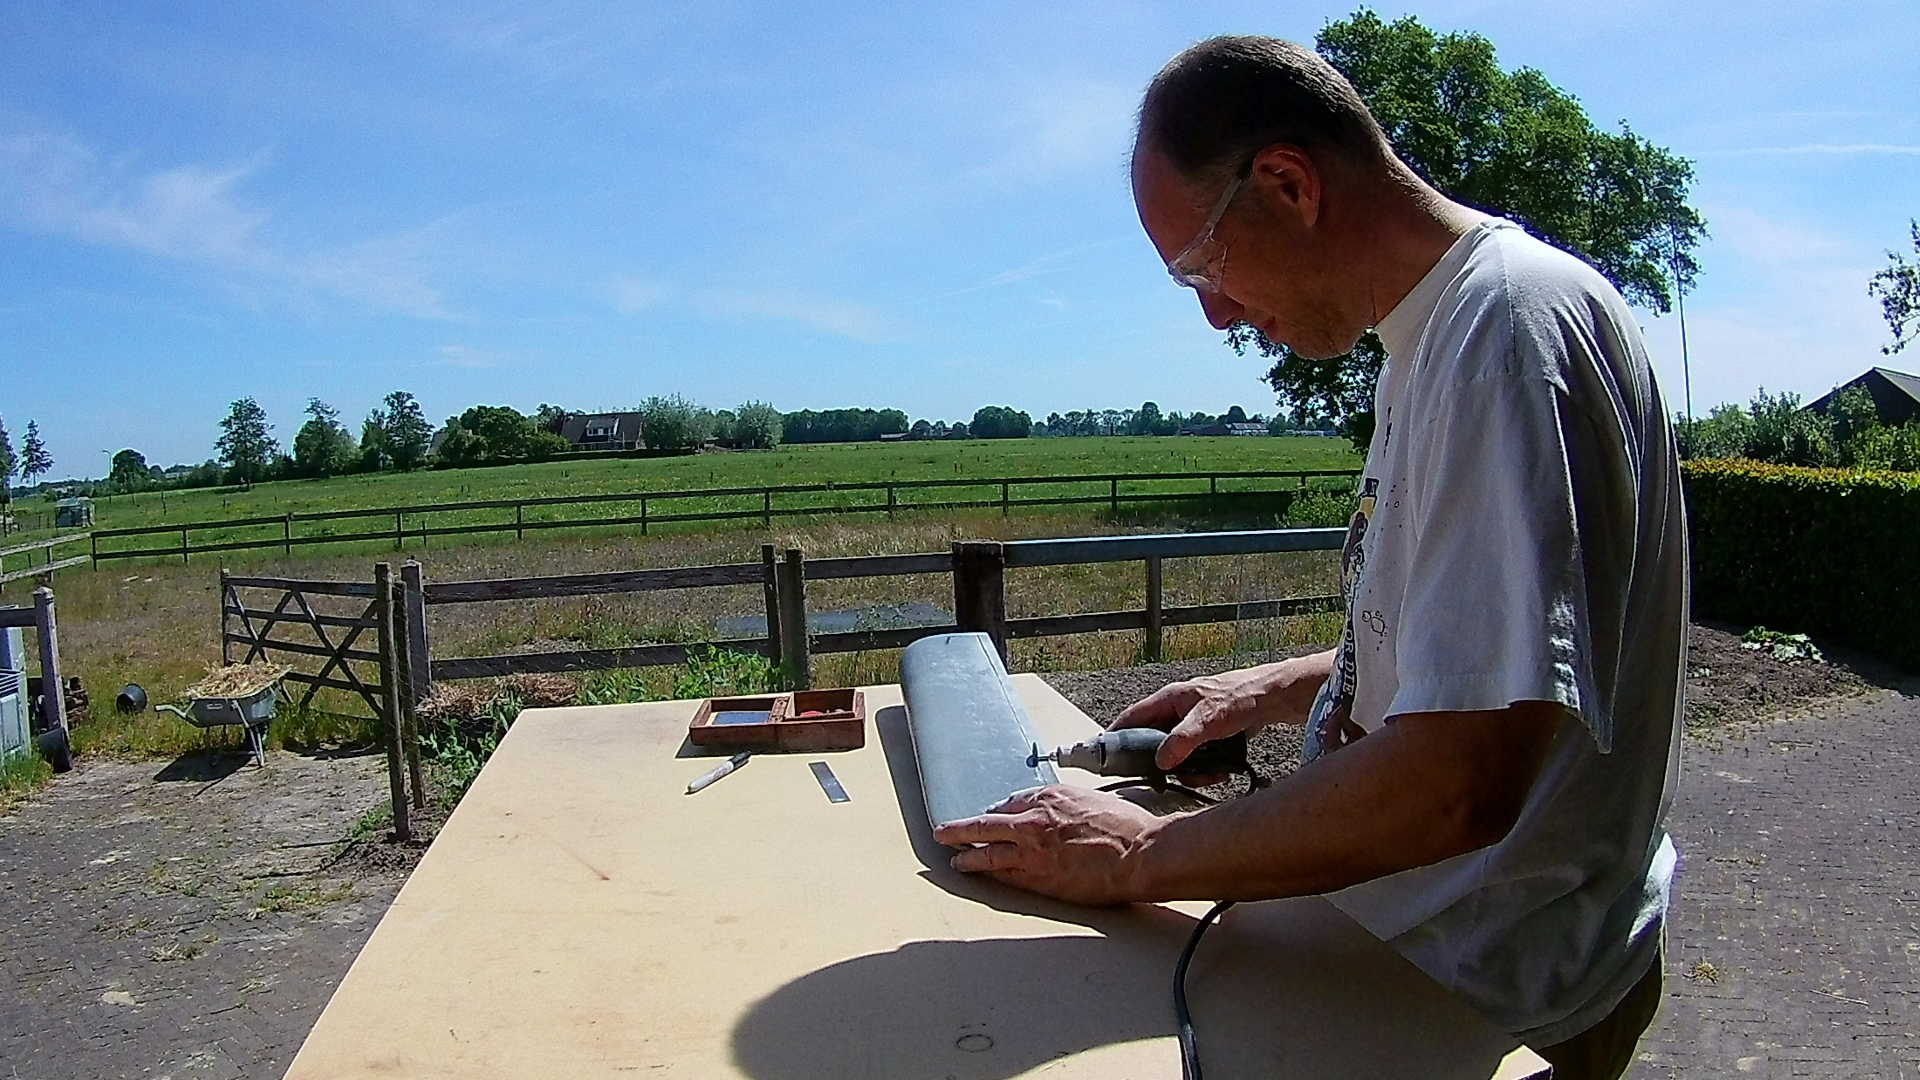
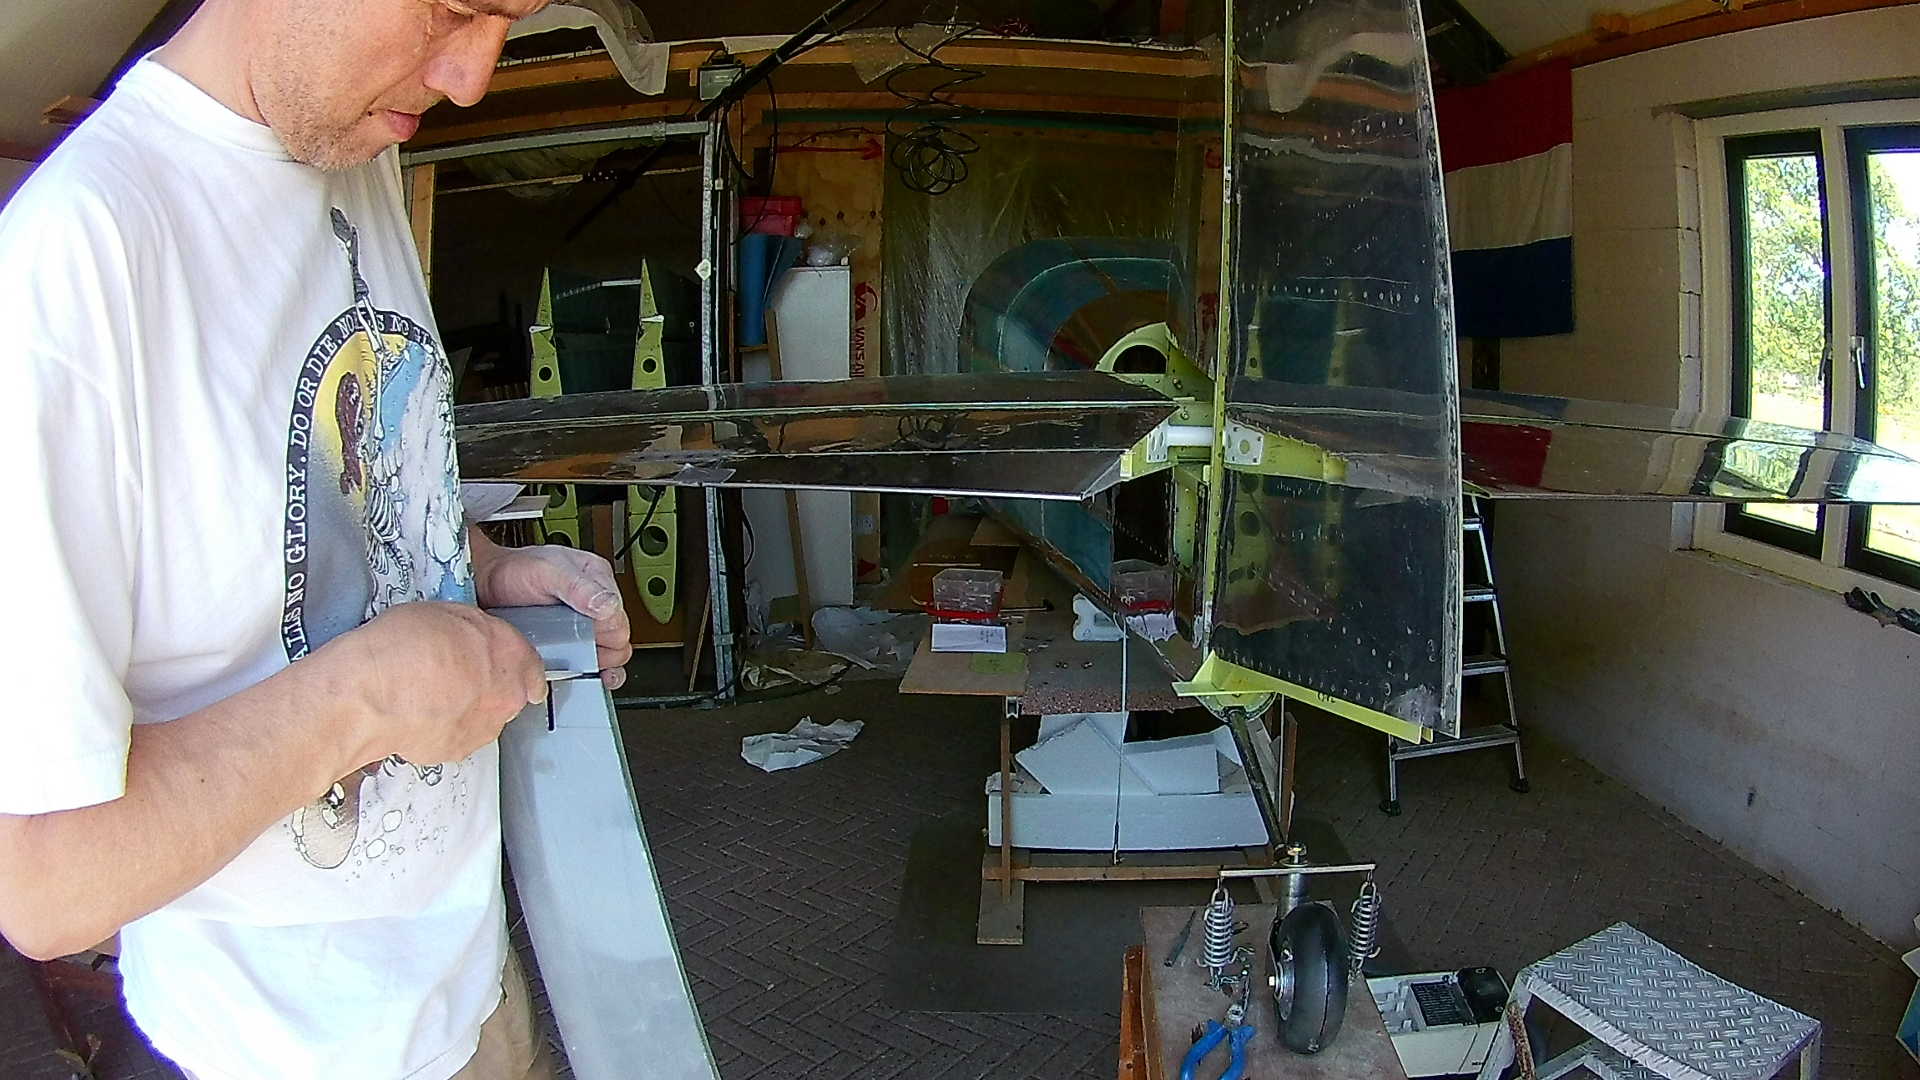
On the Rudder Horn there is a line about half an inch from the top. I wasn’t sure If I had to trim that part of, but apparently I do, because the Horn wouldn’t fit with the Tail Wheel. Maybe the Rudder Horn is also used for the RV-7A or some other model, where you can keep the Horn ‘taller’.
Anyway, I had to trim that part from the Rudder Horn.
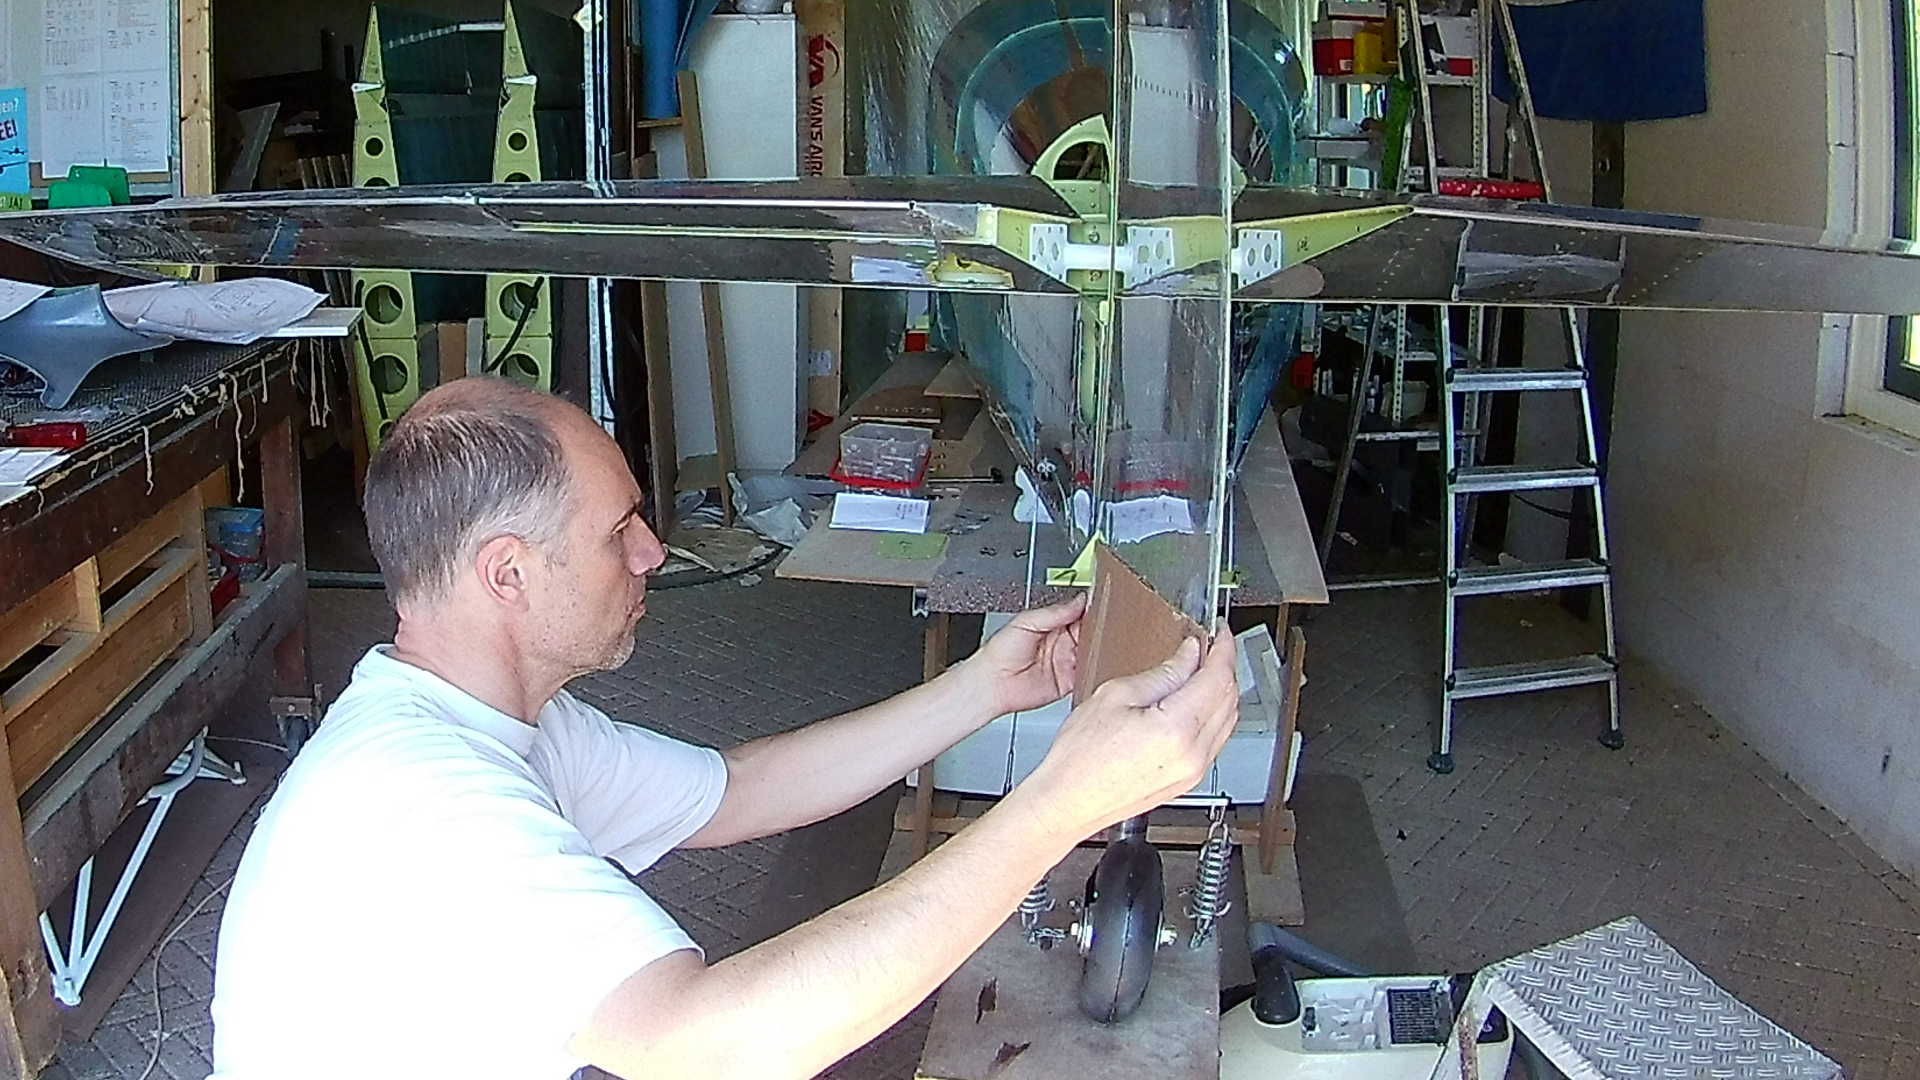
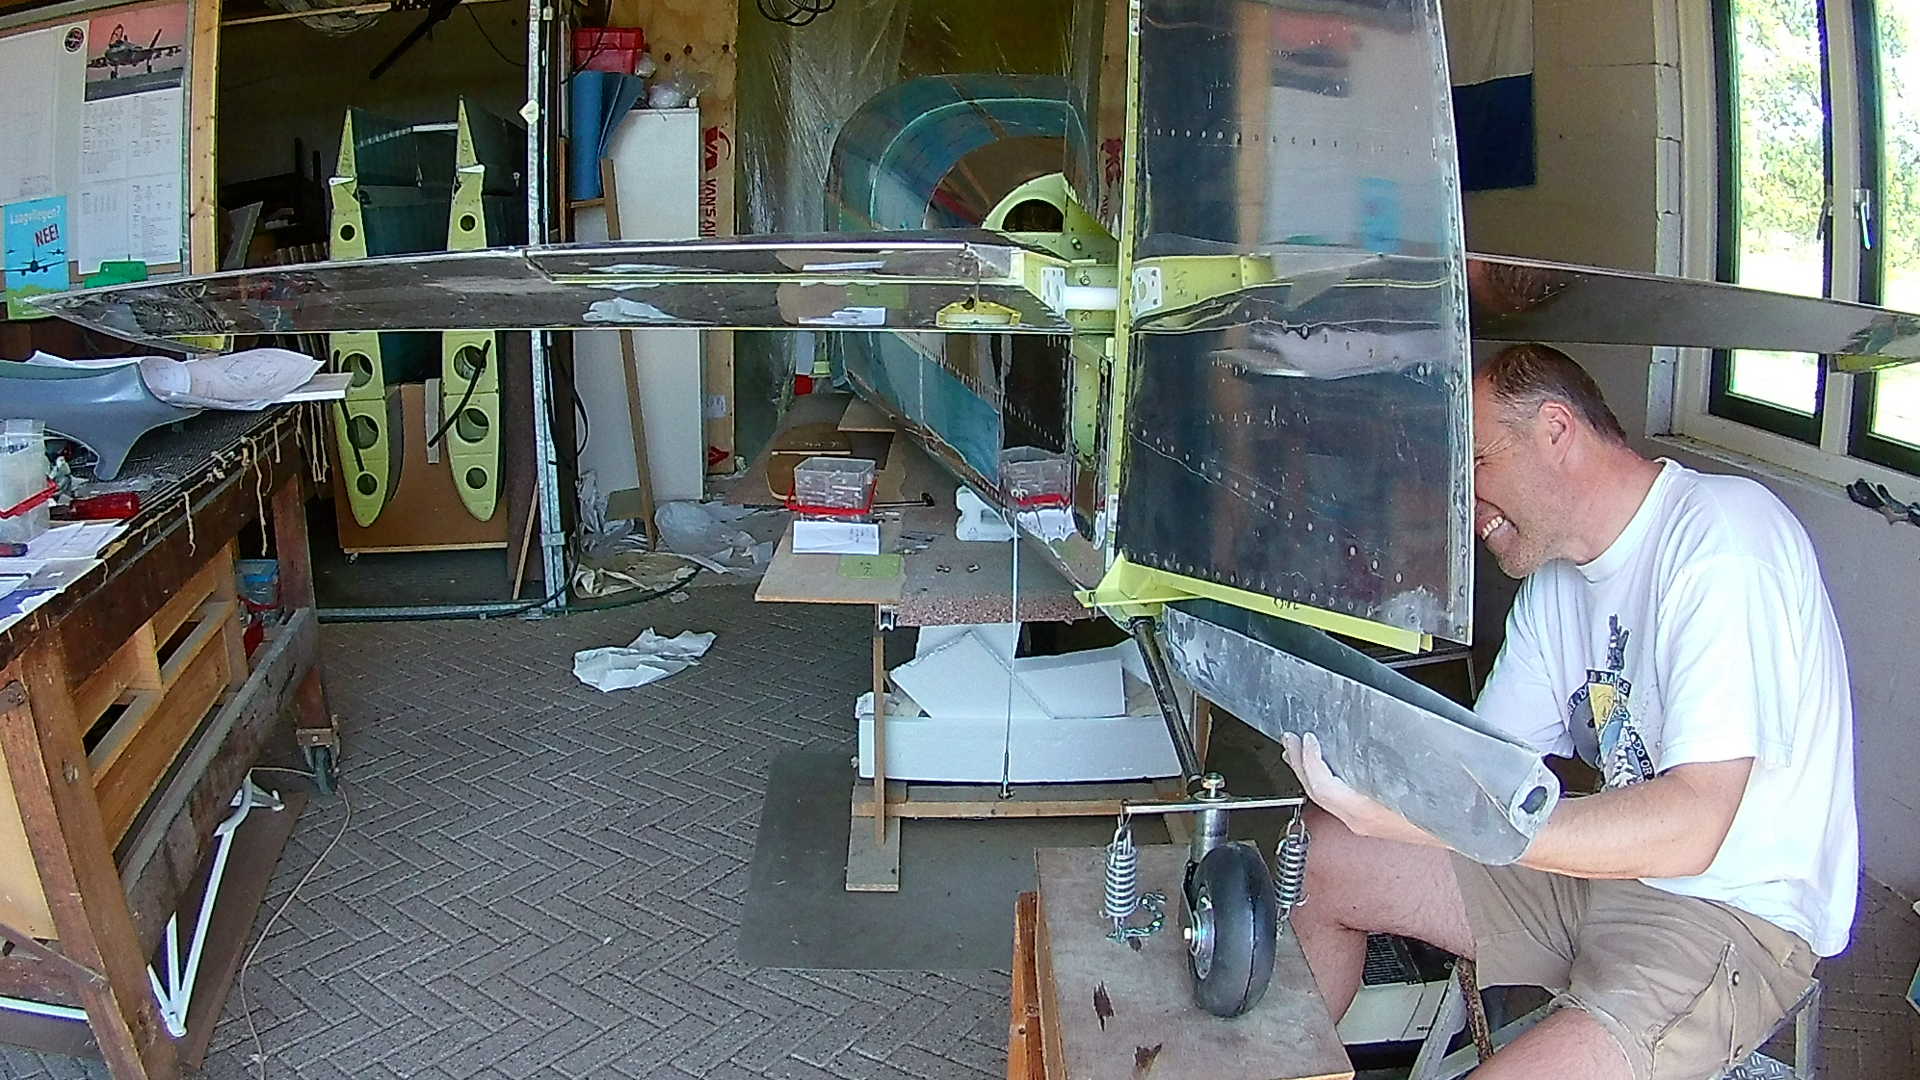
I made a card board template to check where the Rudder Control Angle fits the Rudder Horn. At this point I thought I could still cut out the L-form from the Horn and ‘wrap’ it around the Rudder, ‘Fat Change’.
I filed and tried, but in the end I didn’t succeed. If I would yank hared, I’d probably rip the fiberglass.
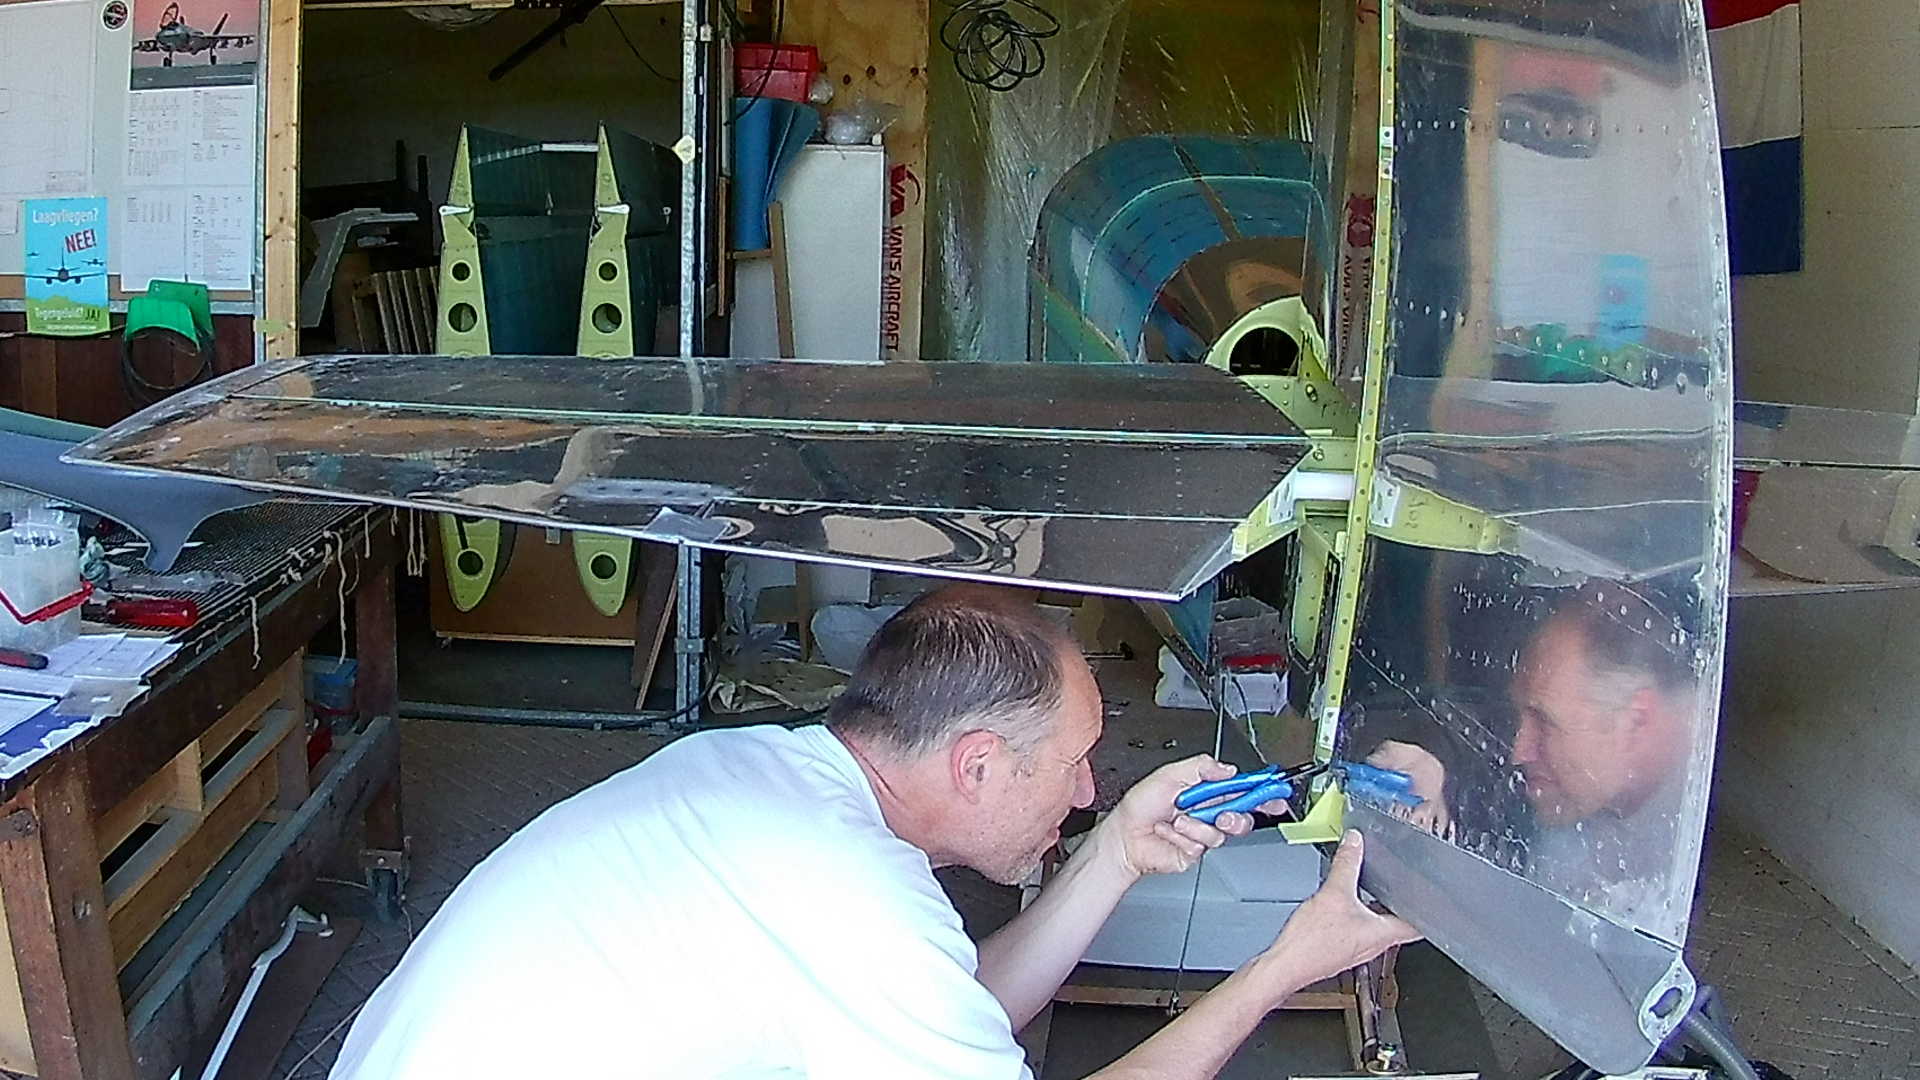
There is no way I can get it to fit, so after trying for half an hour I decided to trim the L-shaped part out of the Rudder Horn. I could do it on one side and leave the other, but my obsession for symmetry prevented me to do that.
The Rudder Horn fits great, all I need to do is riveting it and than finish it with epoxy resin and sand it.
Time: 6 Hours, Rivets: 0/0 (2020-05-21)
