
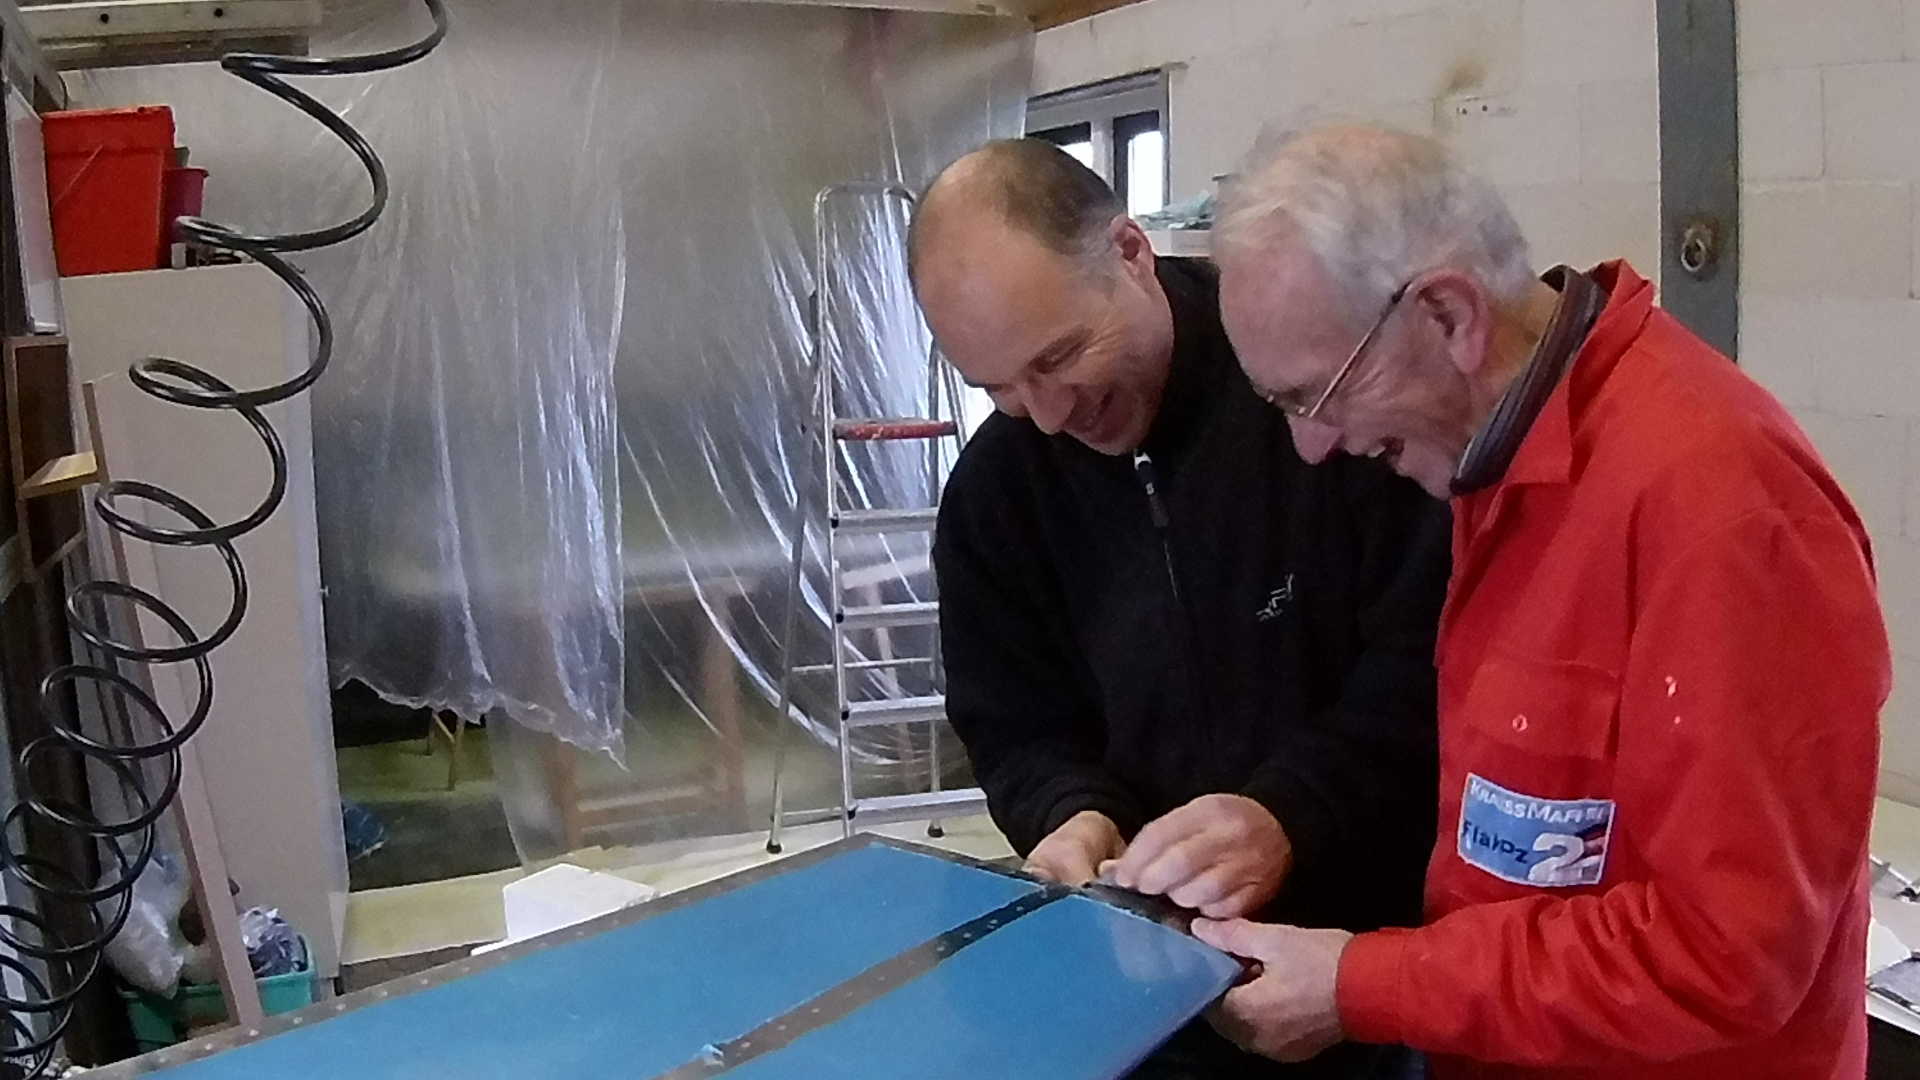
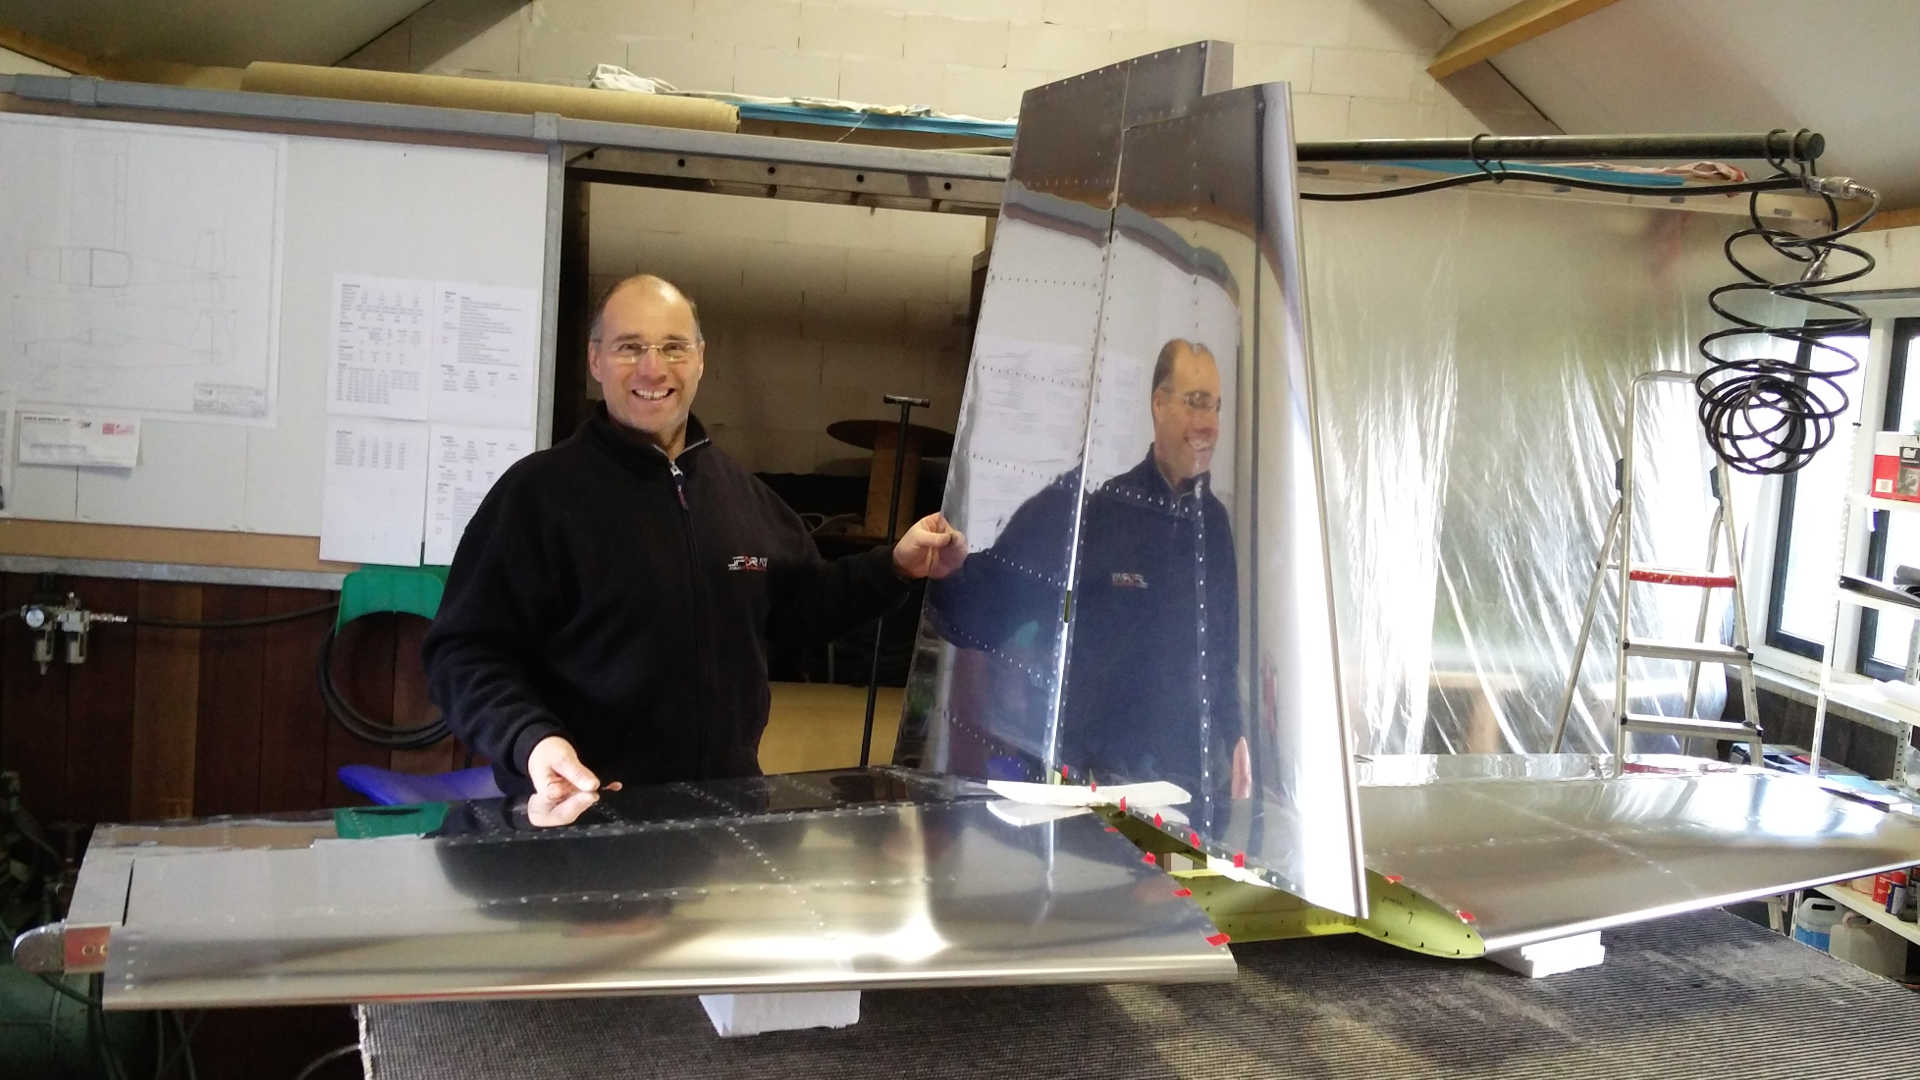
Together with my dad, we finished the Empennage kit today, by attaching the Elevators to the Horizontal Stabilizer. The counter balance weight arm of the Elevator does not fit in the Horizontal Stabilizer. Hence we have to trim the Horizontal Stabilizer, until it fits.
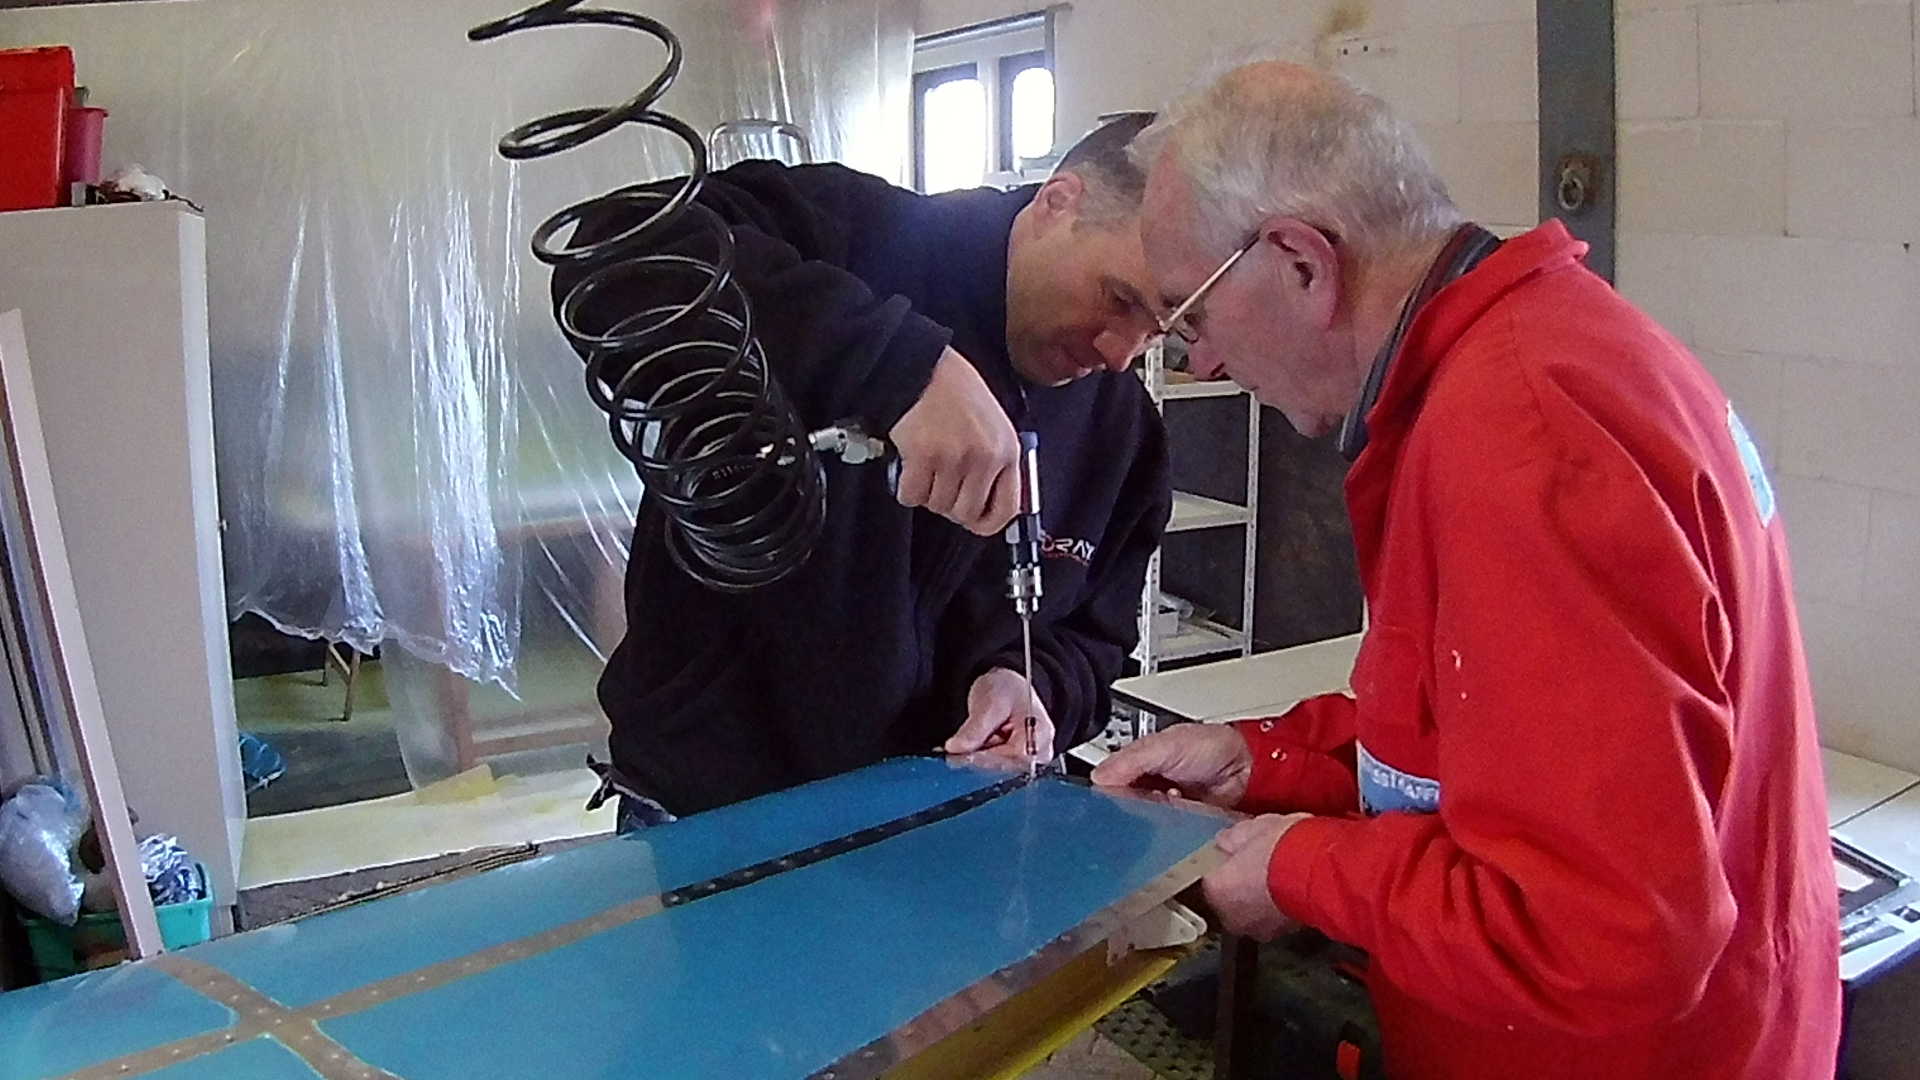
Before trimming we drill a hole in the corner, because snipping into a corner will result in crackling. By drilling a hole, we prevent stress in the Aluminum. Now we can use the left and right snips to trim the Horizontal Stabilizer.
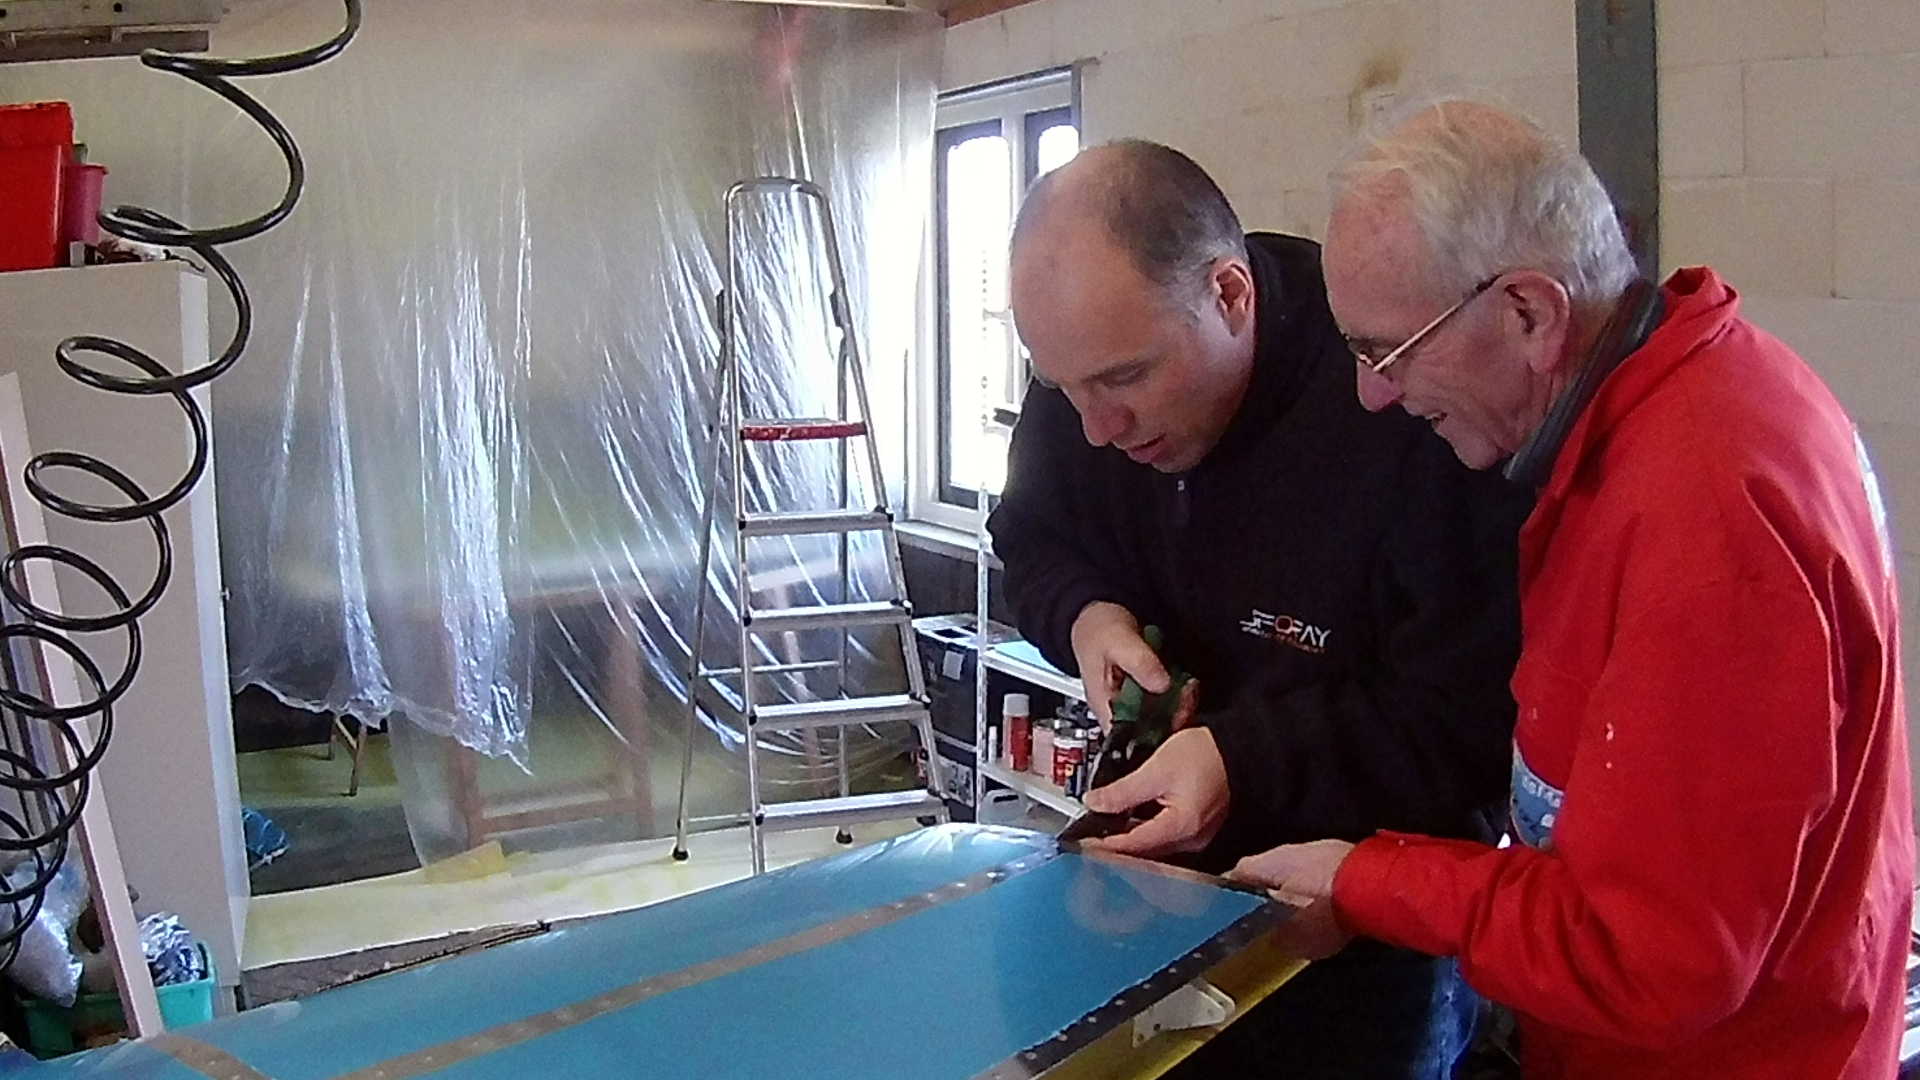
On both sides we had the “First time right”. The Elevators fitted perfectly in the trimmed Horizontal Stabilizer.
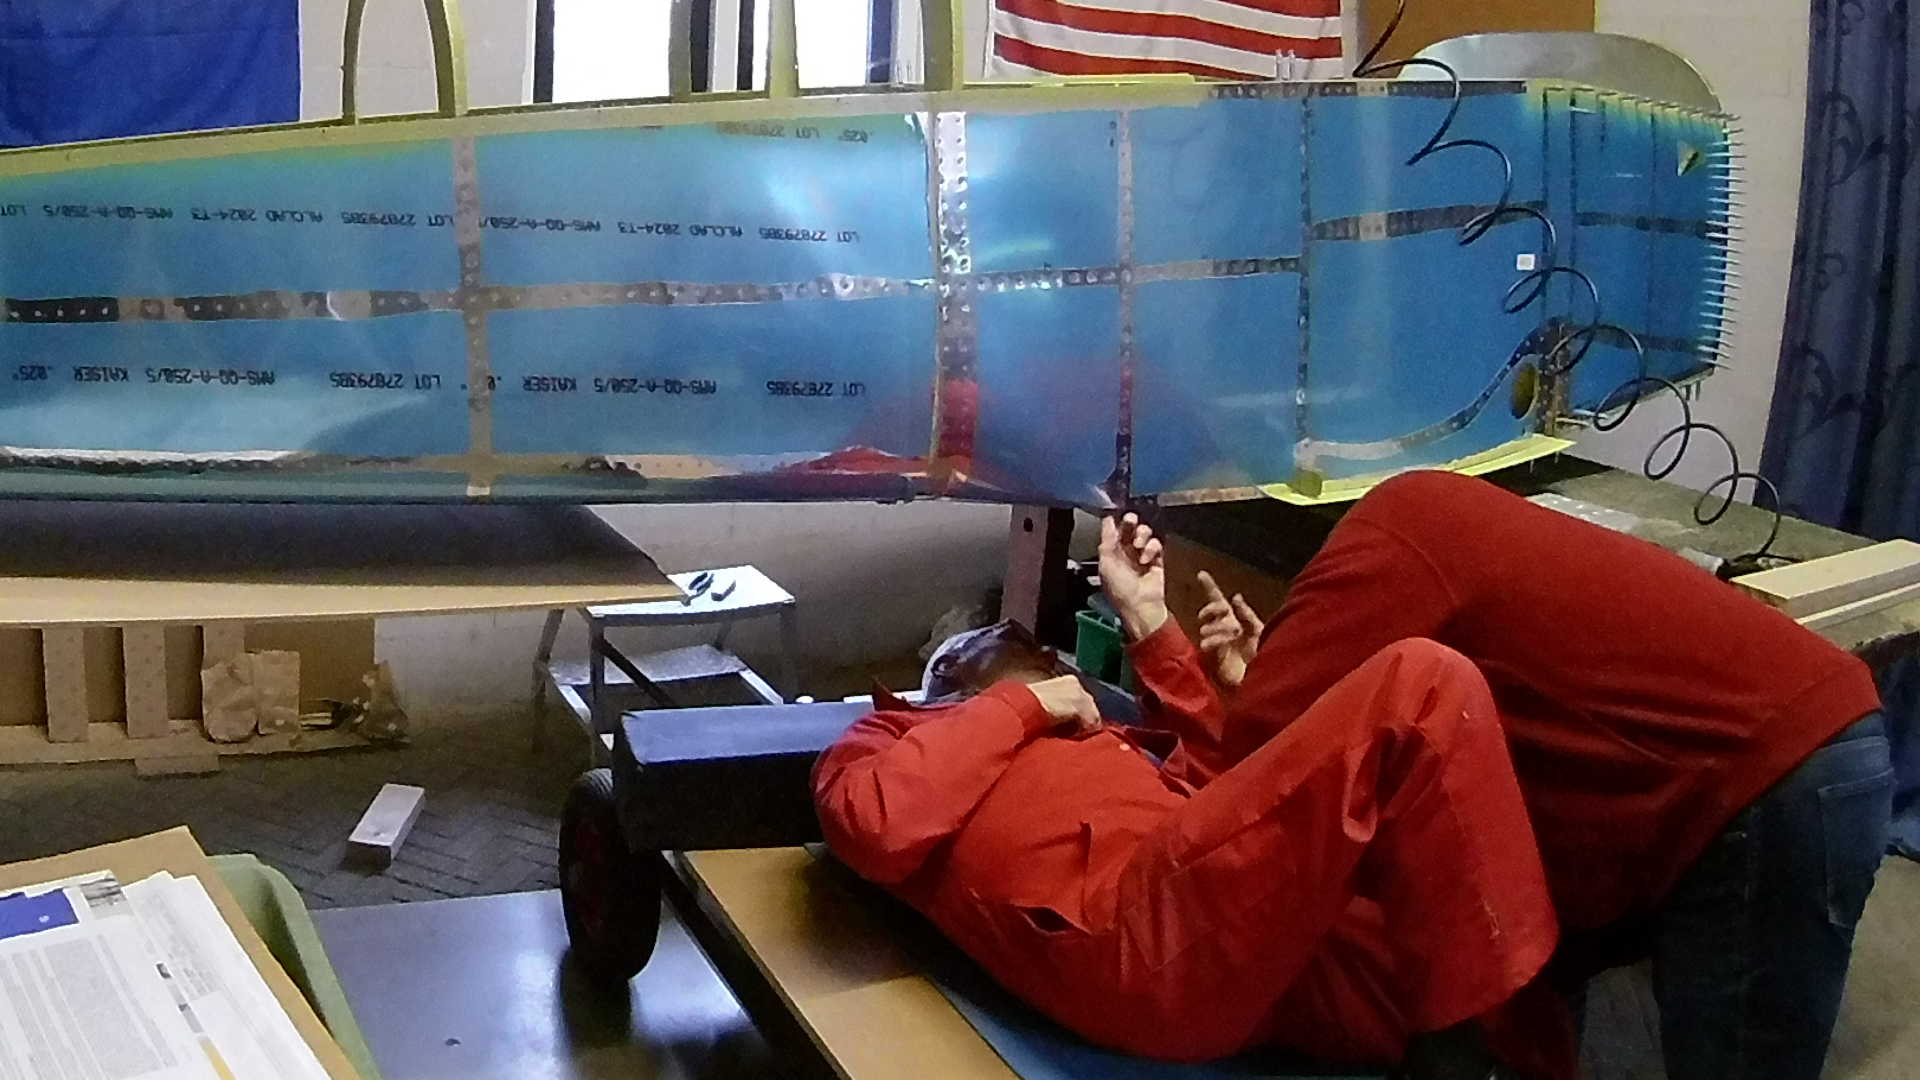
After fastening the hinges and drilling the center hinge holes in the Elevator holes, we could finally attach the Elevators to the Horizontal Stabilizer. Look at the size of this part.

So after 129 hours the Empennage is finished. That is to say, I didn’t do the fairings of the Rudder and the Elevators, but as mentioned before, I’ll pick this up as I do the fairings of the Wings.
Time: 4 Hours, Rivets: 0/0
Video
He, mijn naam is Peter Karel, lid van de NVAV en bouwer van een sonex. Via een link van de NVAV kwam ik bij jou bouw filmpjes terecht welke ik allemaal heb bekeken. Ik wil graag contact met je i.v.m. de filmpjes. Mijn Email adres is p.karel@planet.nl Je filmpjes zijn erg mooi om naar te kijken maar voor de echte liefhebber is het niet te volgen i.v.m. de snelheid. Ik heb ze afgespeeld op 75% maar dan kan ik nog niet goed zien wat er gedaan wordt. Ik heb zo’n beetje alles op internet bekeken wat betreft zelfbouw en haak af bij de meeste filmpjes die te snel gaan. Je commentaar is uitstekend. Misschien treffen we elkaar in Lelystad bij de workshop metaal bewerking. Vr. Gr. Peter Karel.