
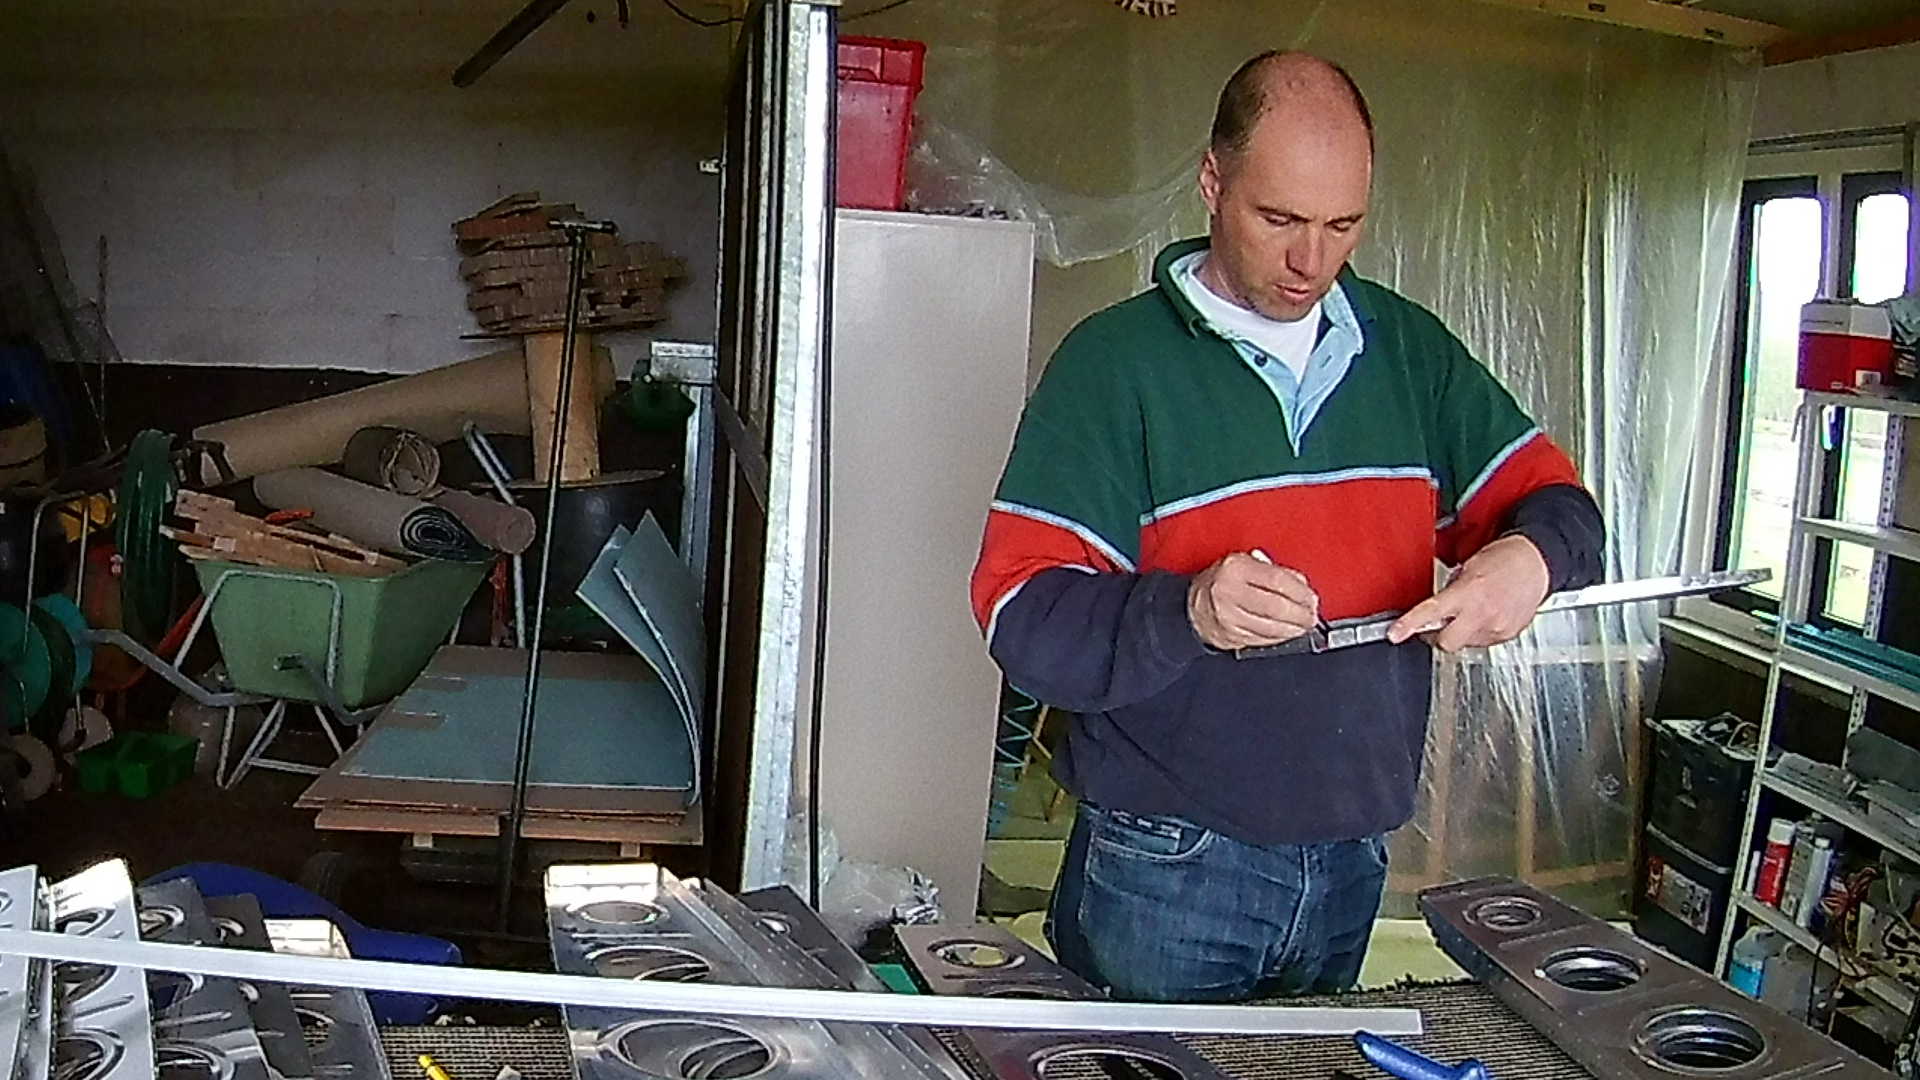
This time I combined three sessions in one post. Where the first two sessions are not really described. I didn’t take any specific pictures, but in the right corner of the first picture, you can see some parts of the rear spar that I primed. I don’t take pictures of the priming, since its a messy thing. The second part was assembling the tie down and attaching it to the main spar. I deferred priming the tie down to pick it up together with the rear spar.
The accompanied video has a very small section on the tie down, but somehow I forgot to start the main camera, so I only have limited video of my backup camera.
Main topic this week is the deburring of the wing ribs.
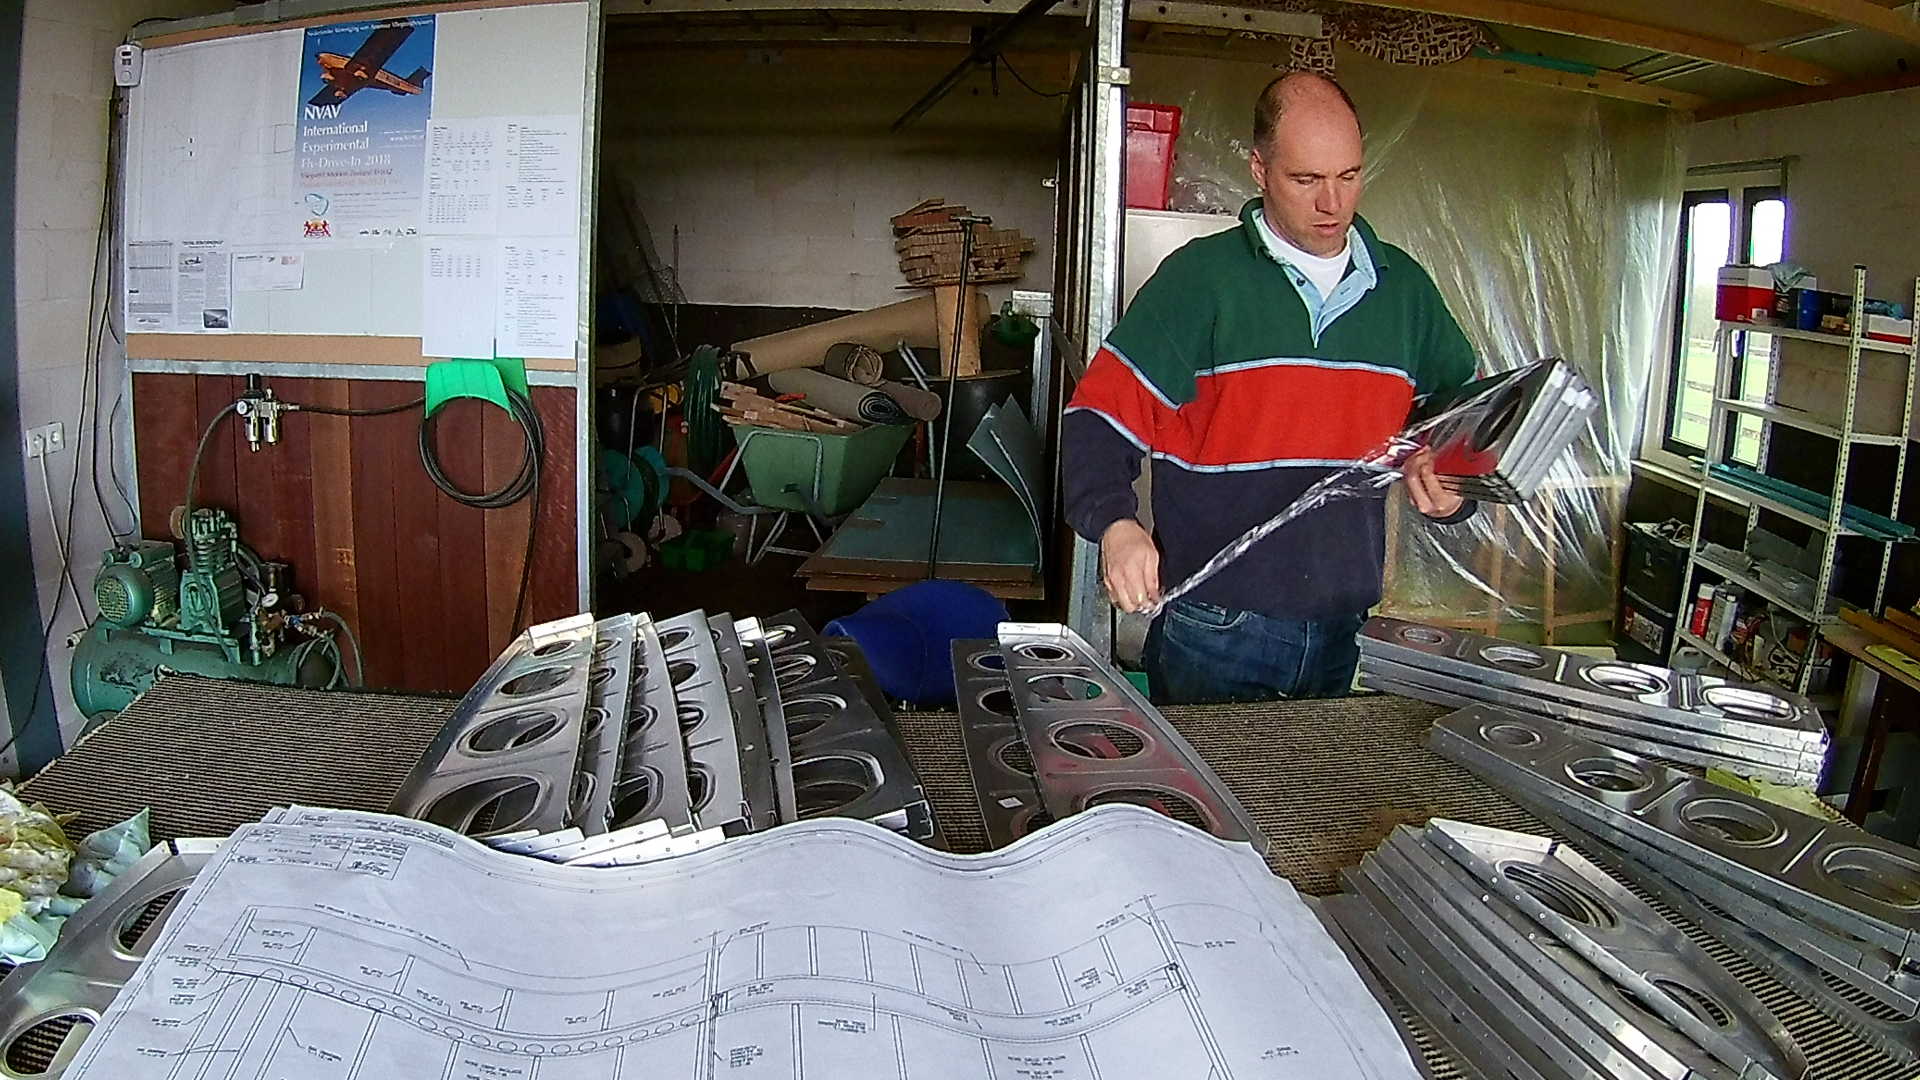
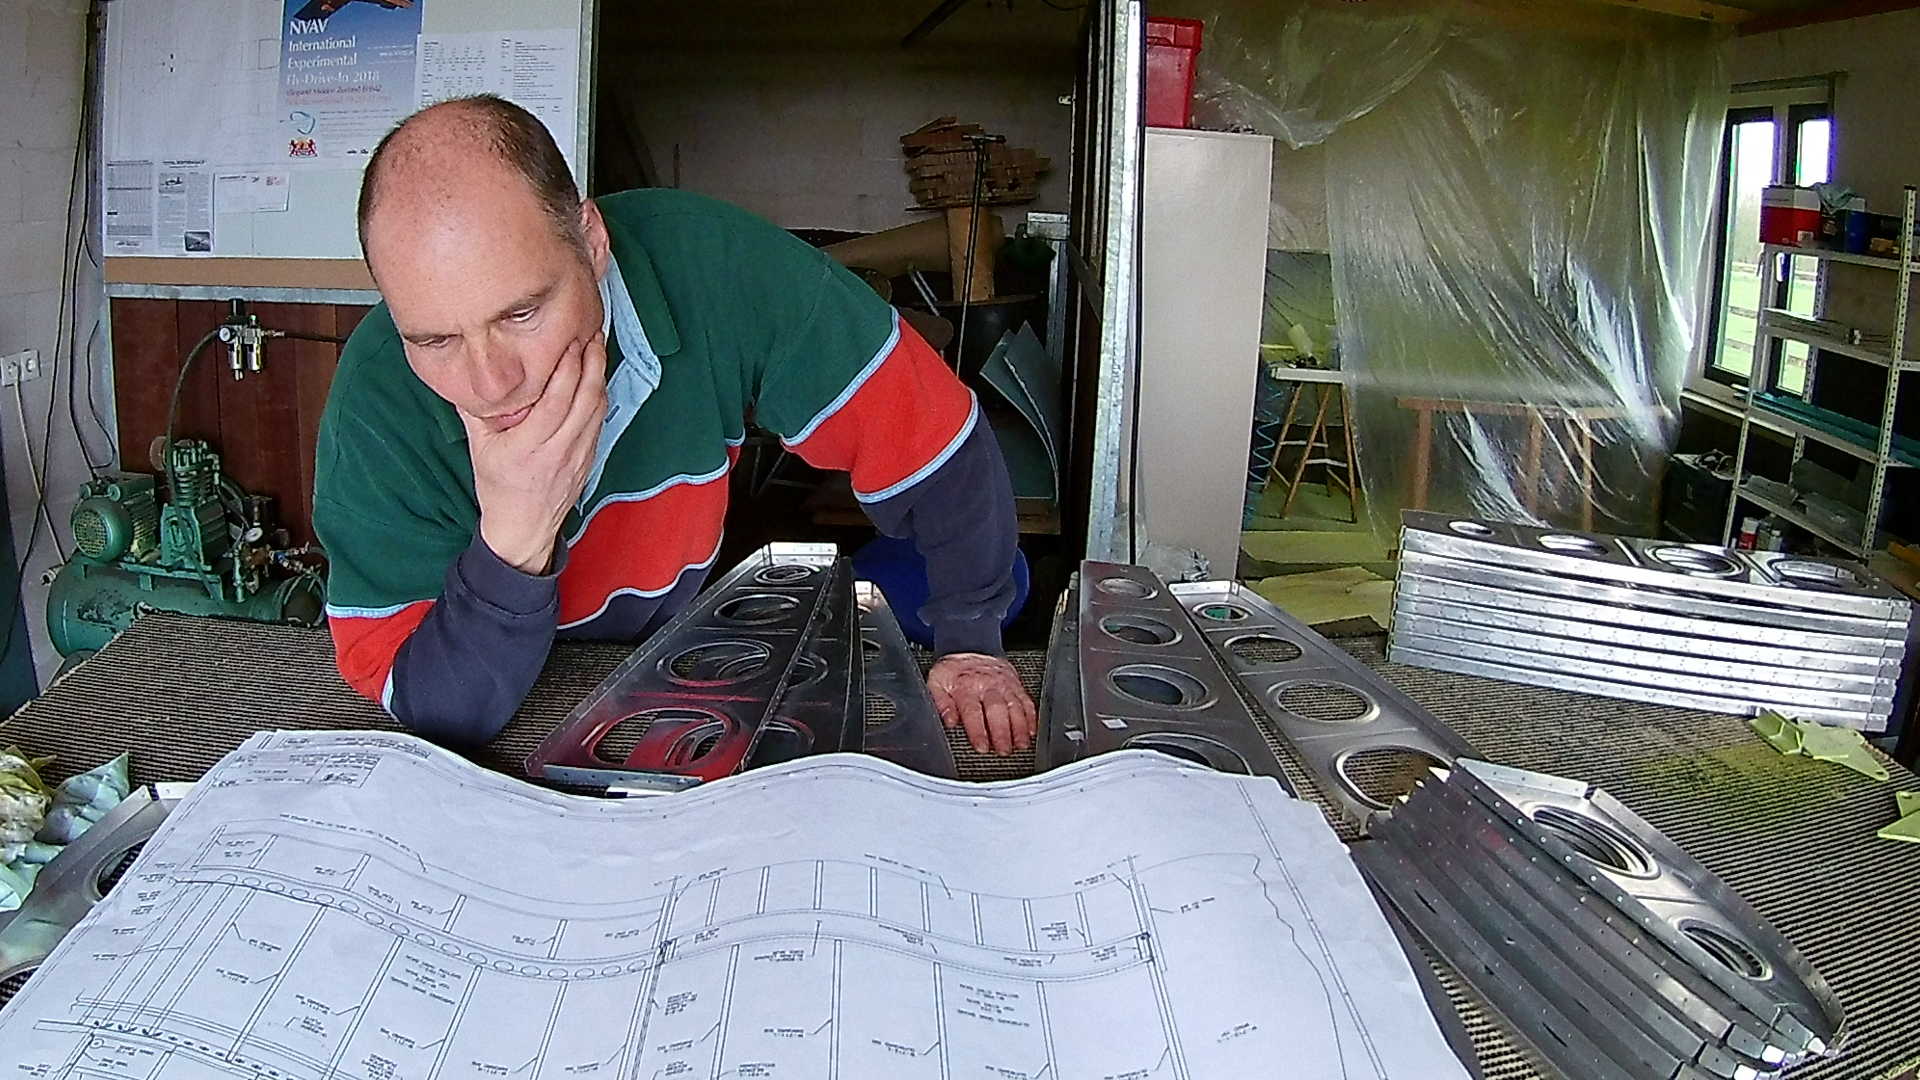
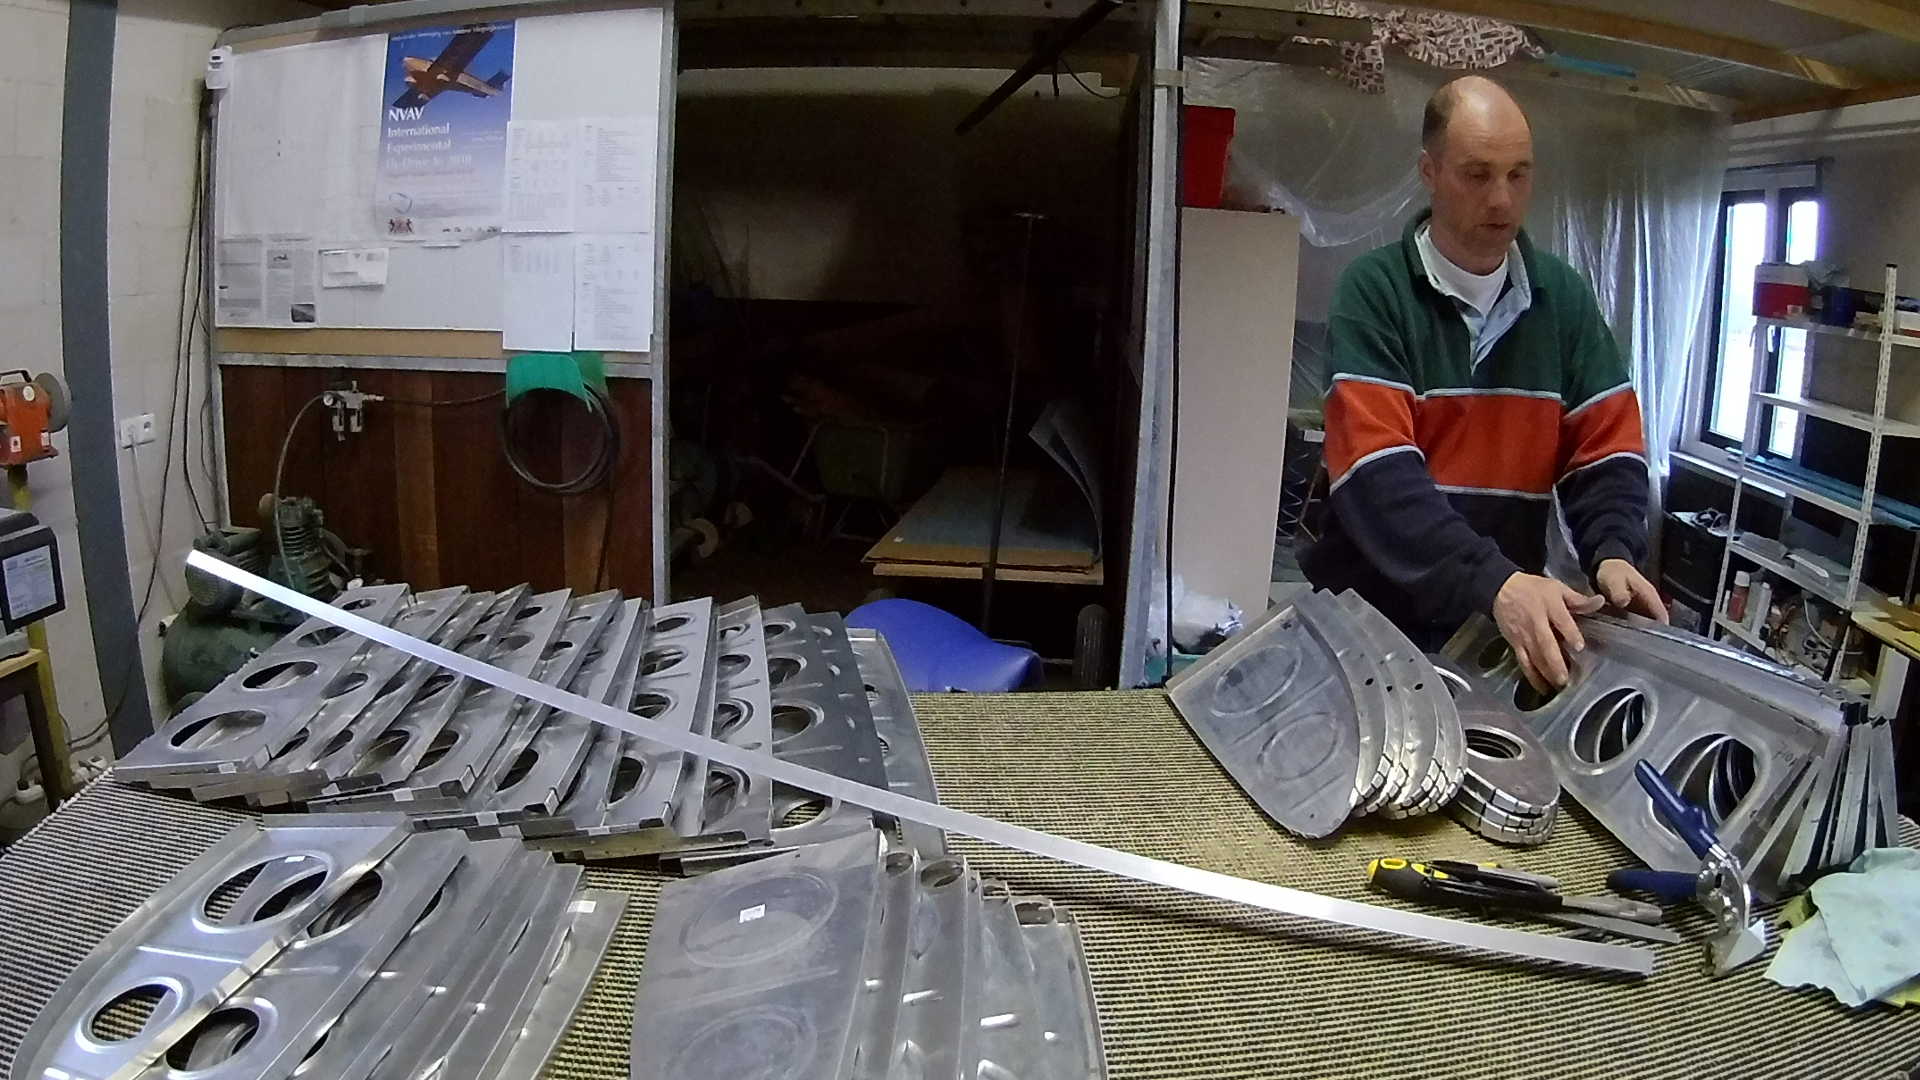
First task (or at least on my list) is to place all the parts (wing ribs) in the correct order. This might seem trivial, but the annotation left and right on the parts have nothing to do with the wing. Both wings contain left and right annotated ribs and even worse some specific left ribs are for the right wing and vice versa.
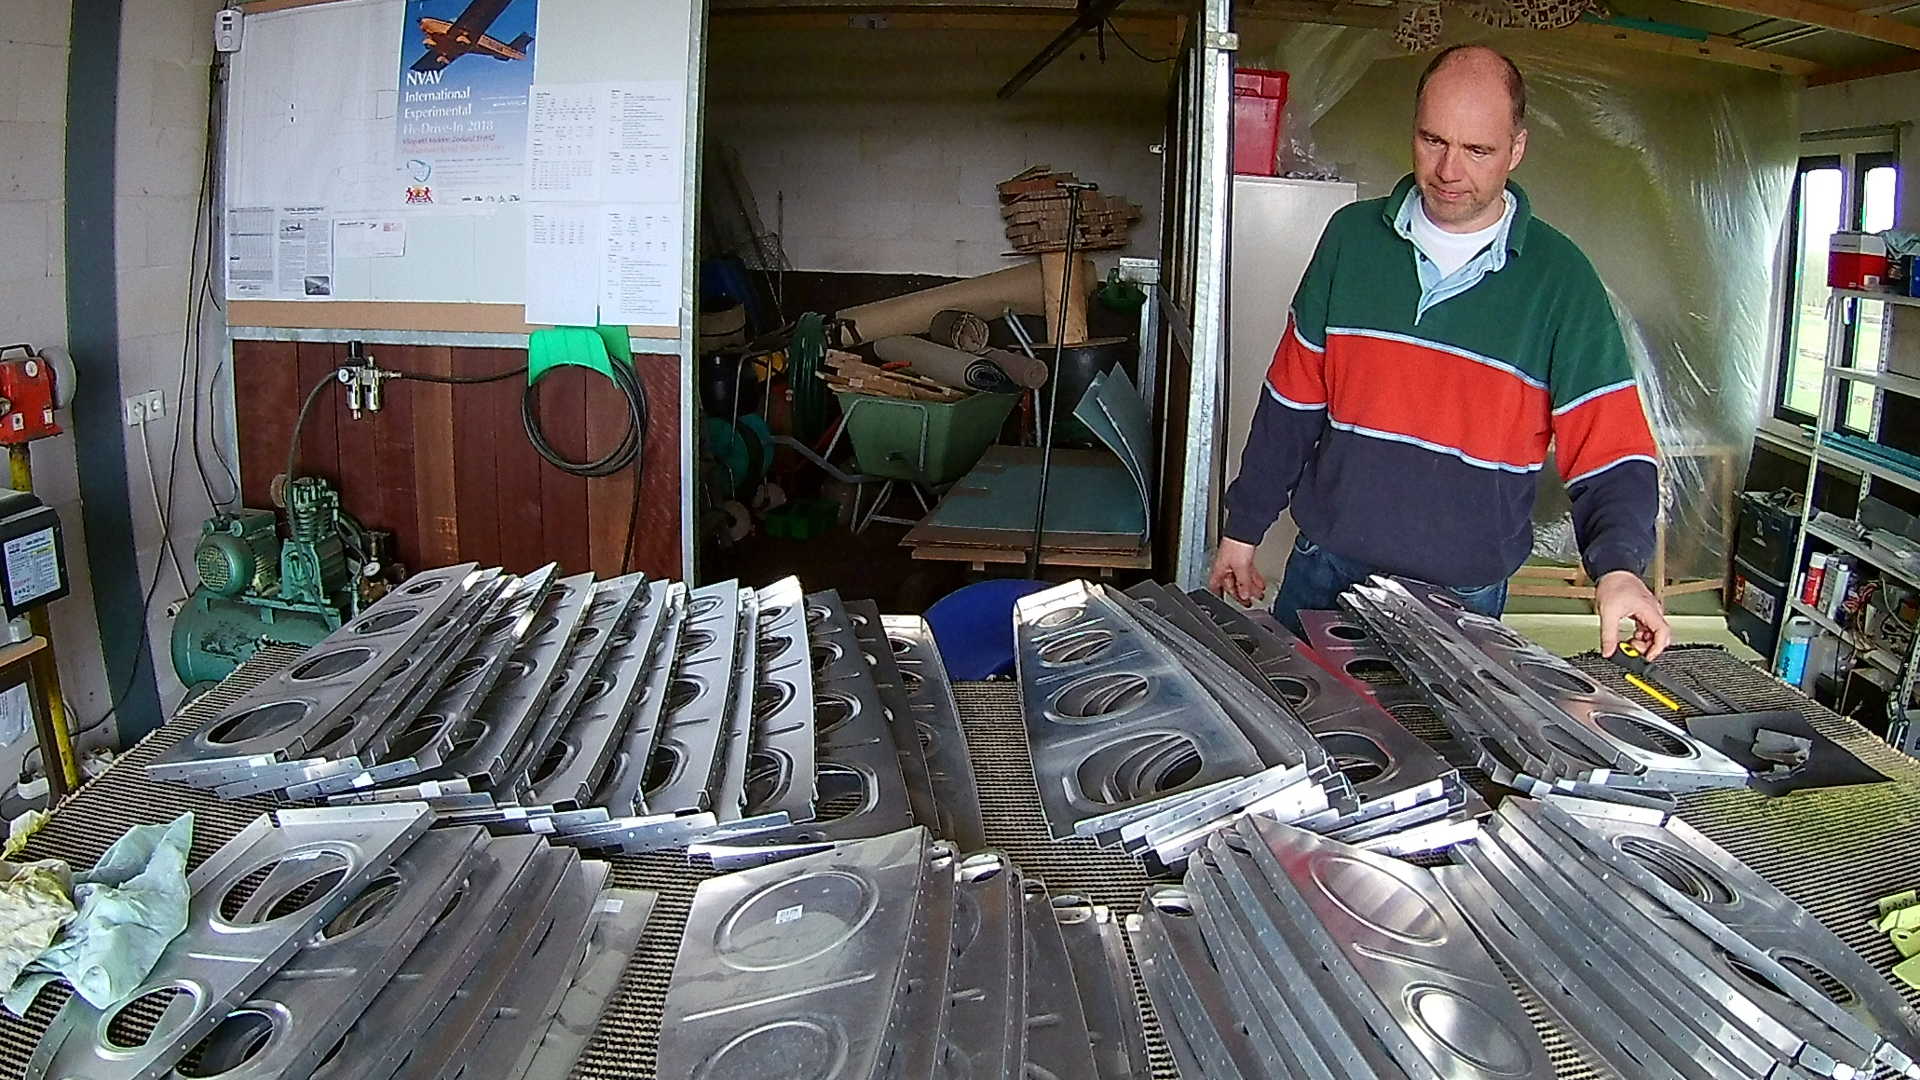
Done, leading edge ribs in the front. You can recognize the tank ribs (the ones without the lighting holes). Let’s start deburring this pile of aluminum.
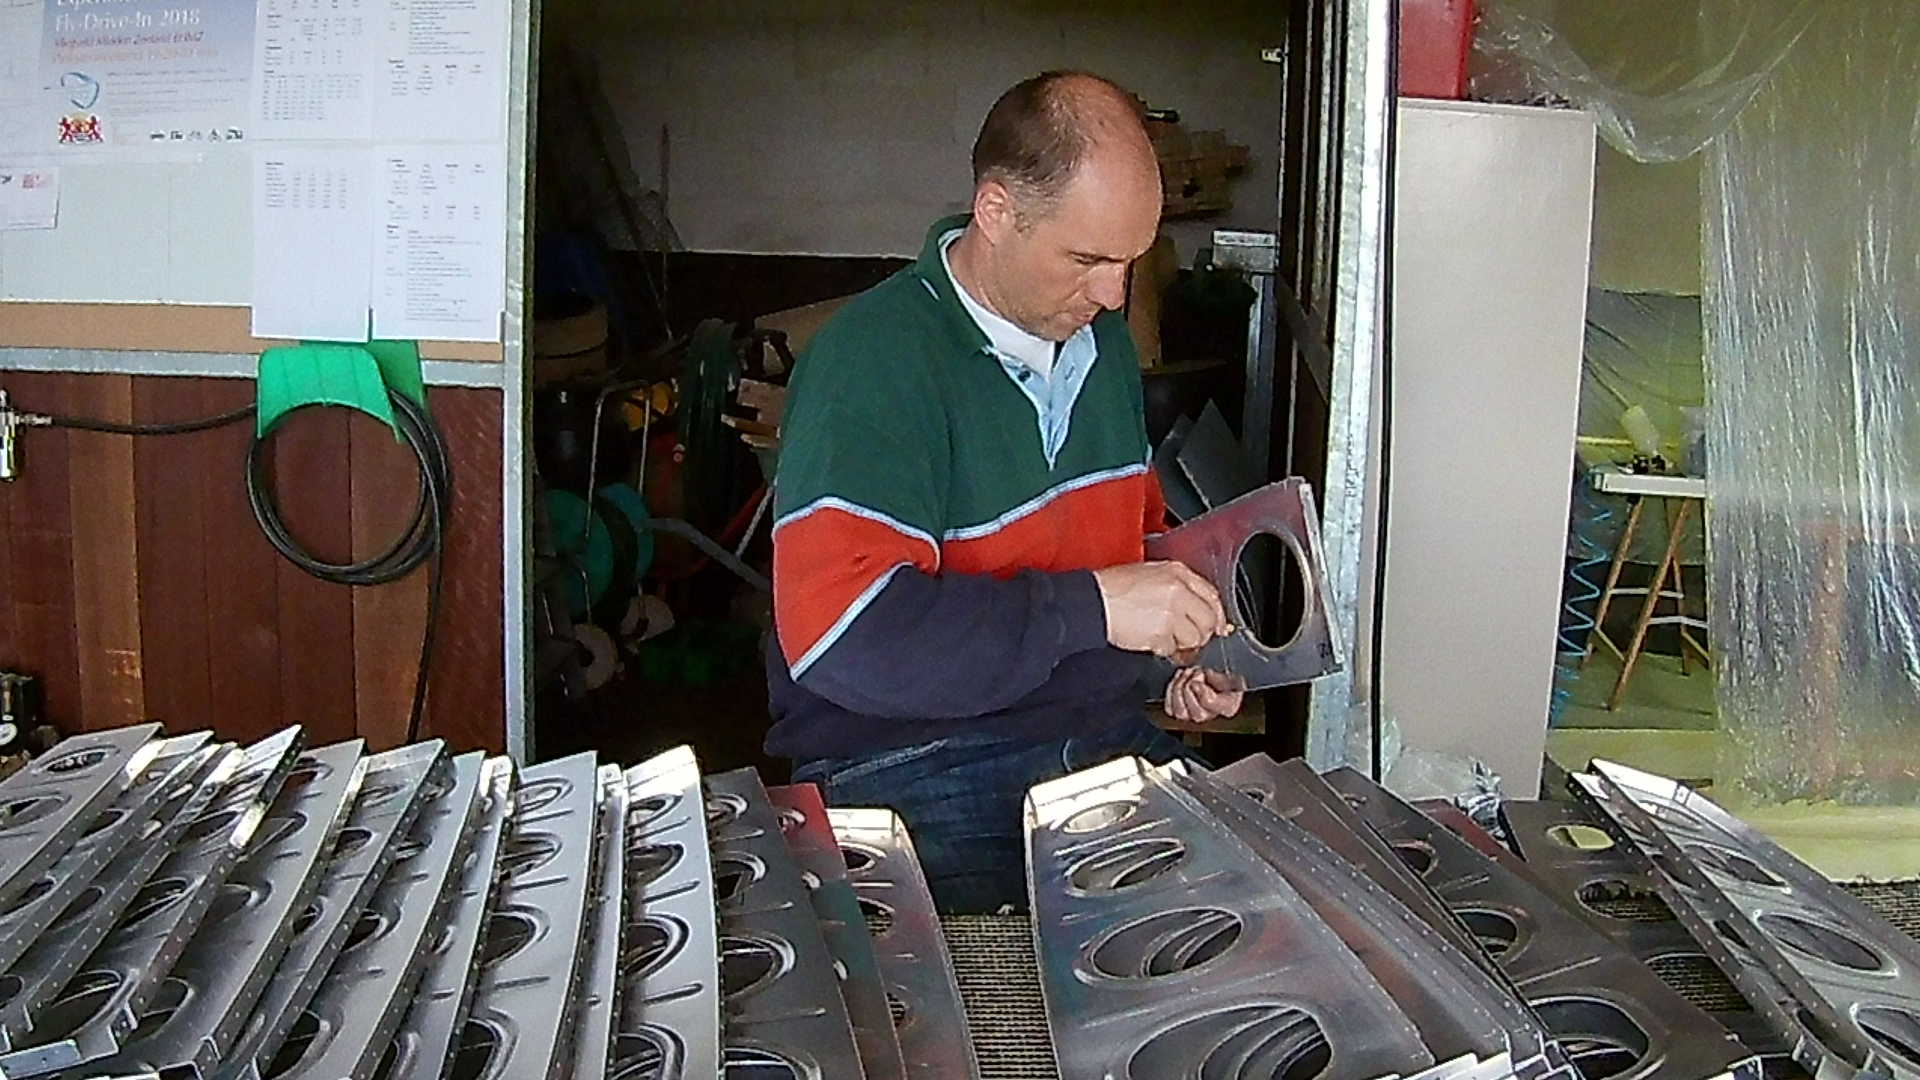
First step is to use the “multi-purpose deburr tool” to deburr the lighting and tool holes in the ribs.
Step two is using sand-paper to smooth the edges of the holes.
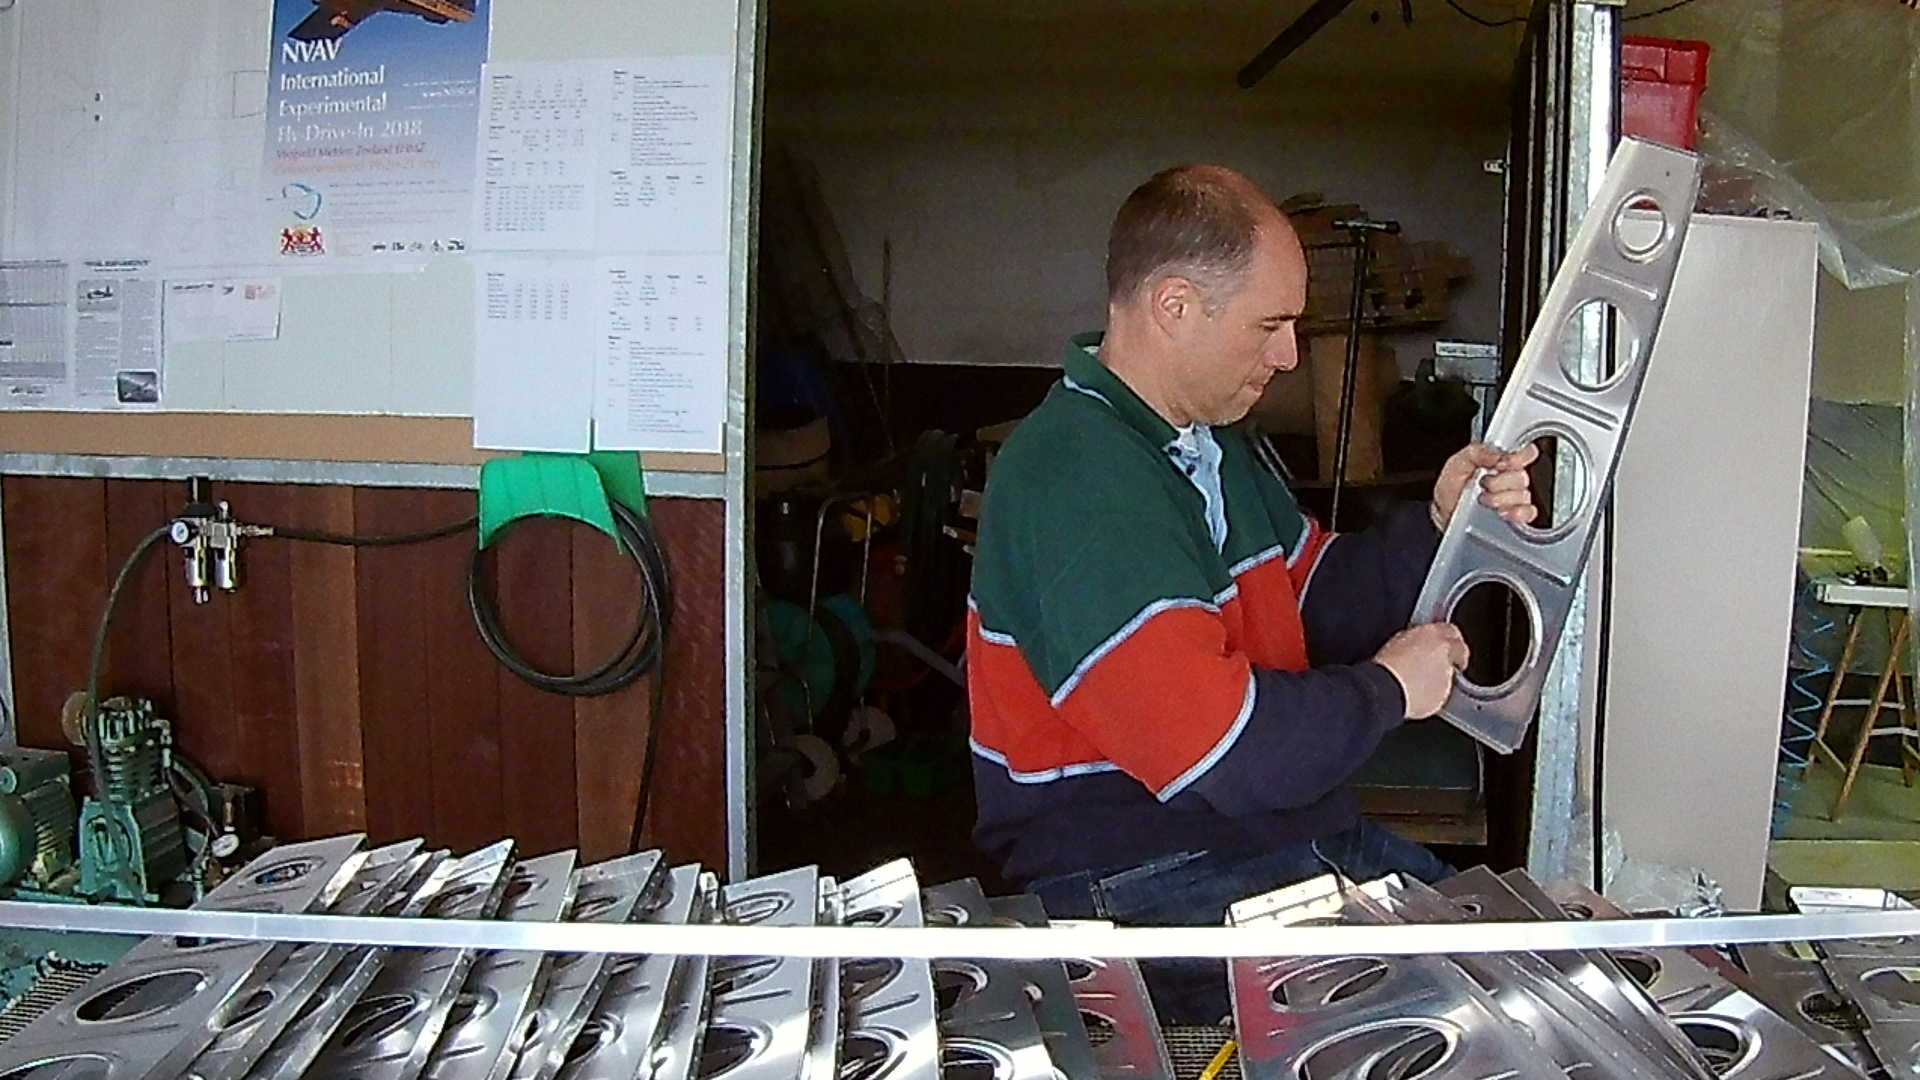
Step three is using sand-paper to smooth the edges of the flanges.

Step four is straighting the flanges, to make a 90 degree angle.
Step five is removing the labels with the part numbers and writing the numbers on the parts (with a Sharpie). Half-way I promoted this step to step one (shifting the rest down).
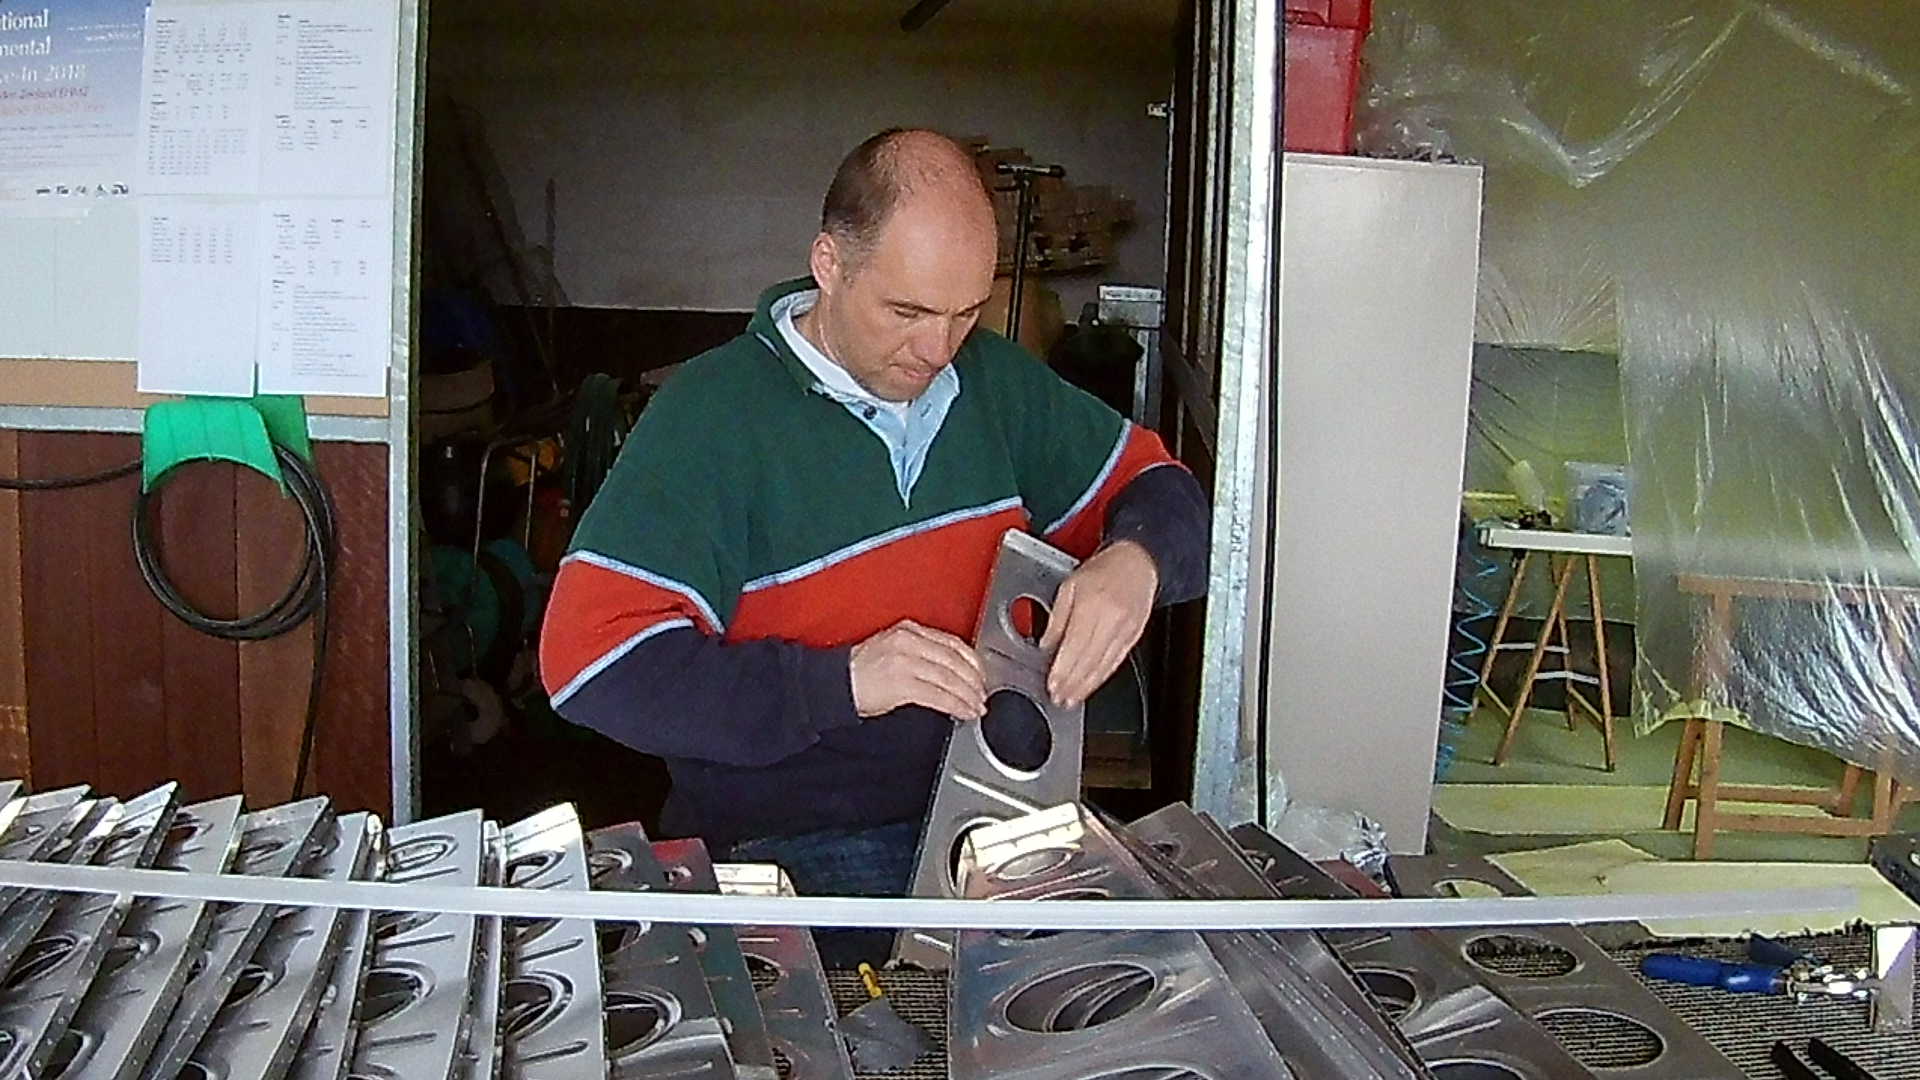
Step six is straighting the rib itself. The ribs are “bent” by Van’s due to the production process of bending the flanges. You can straighten them with fluting pliers, making little dents in the flanges.
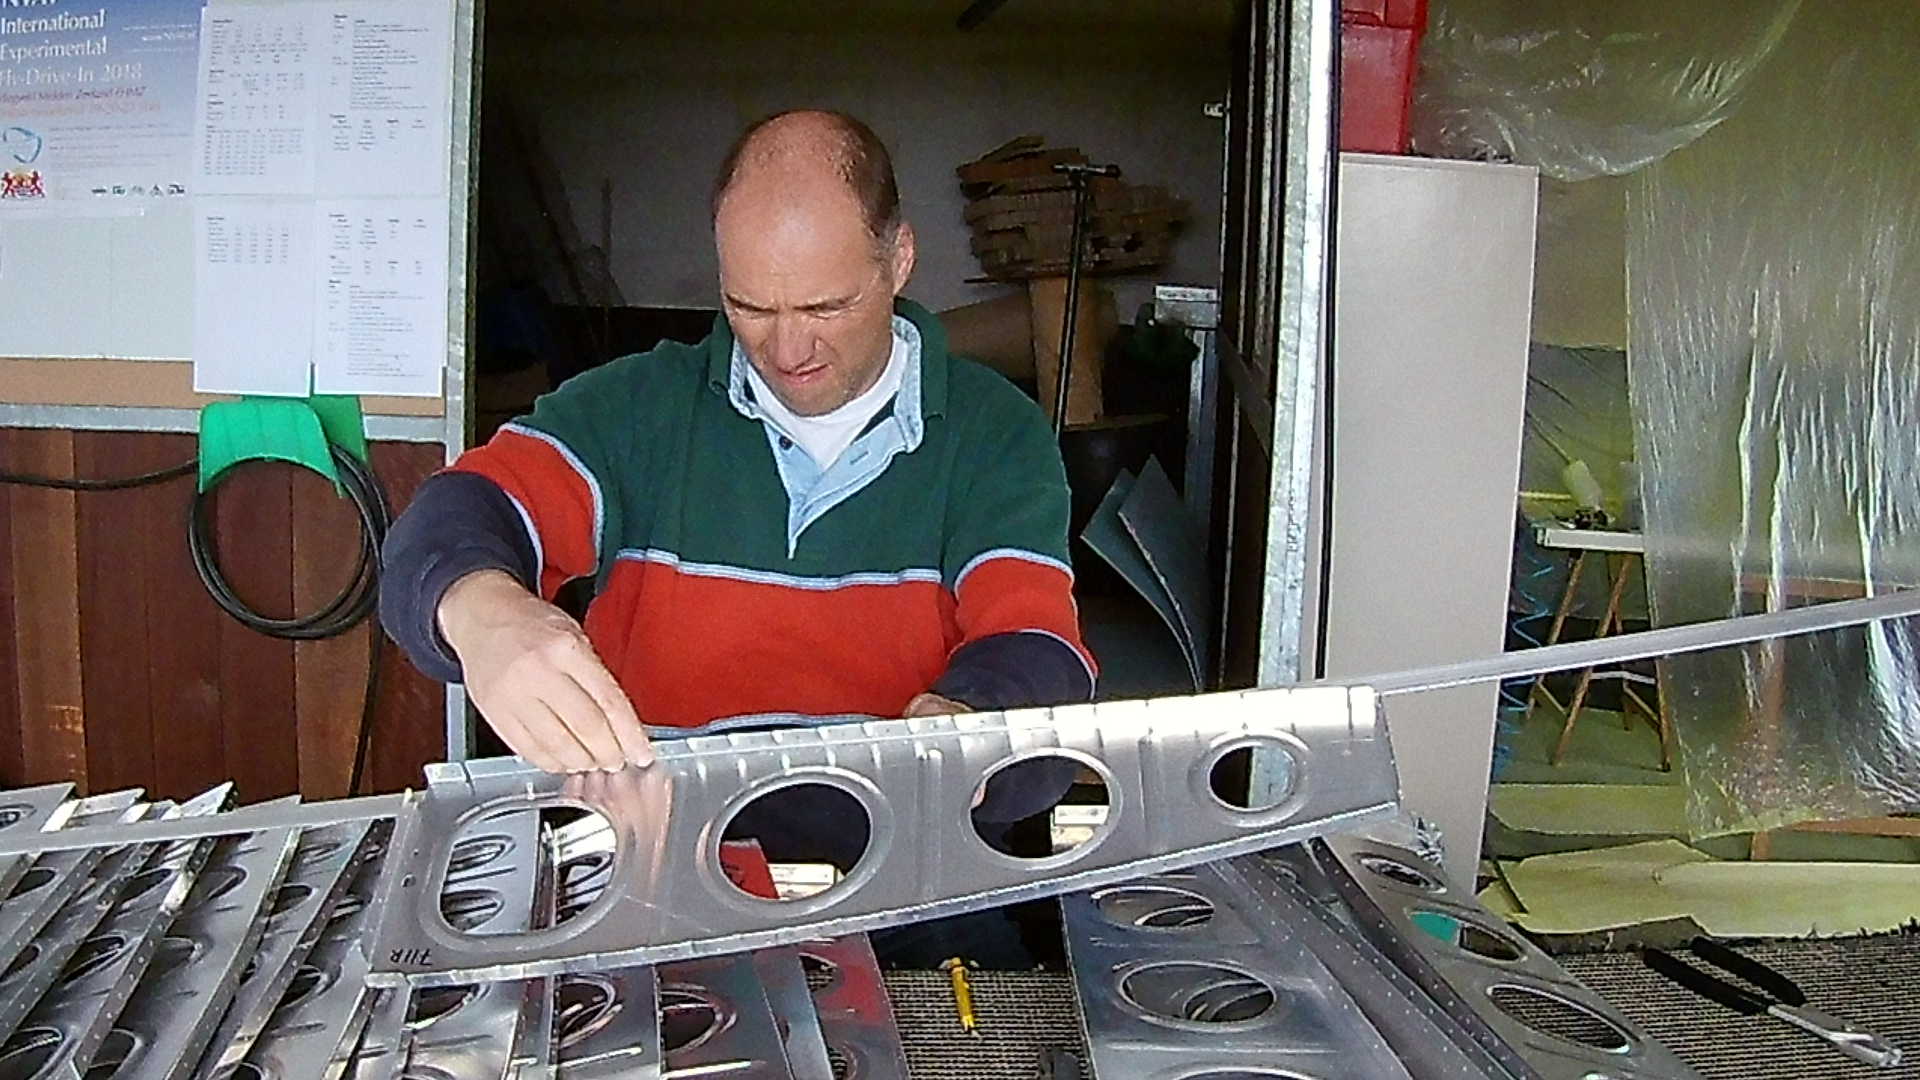
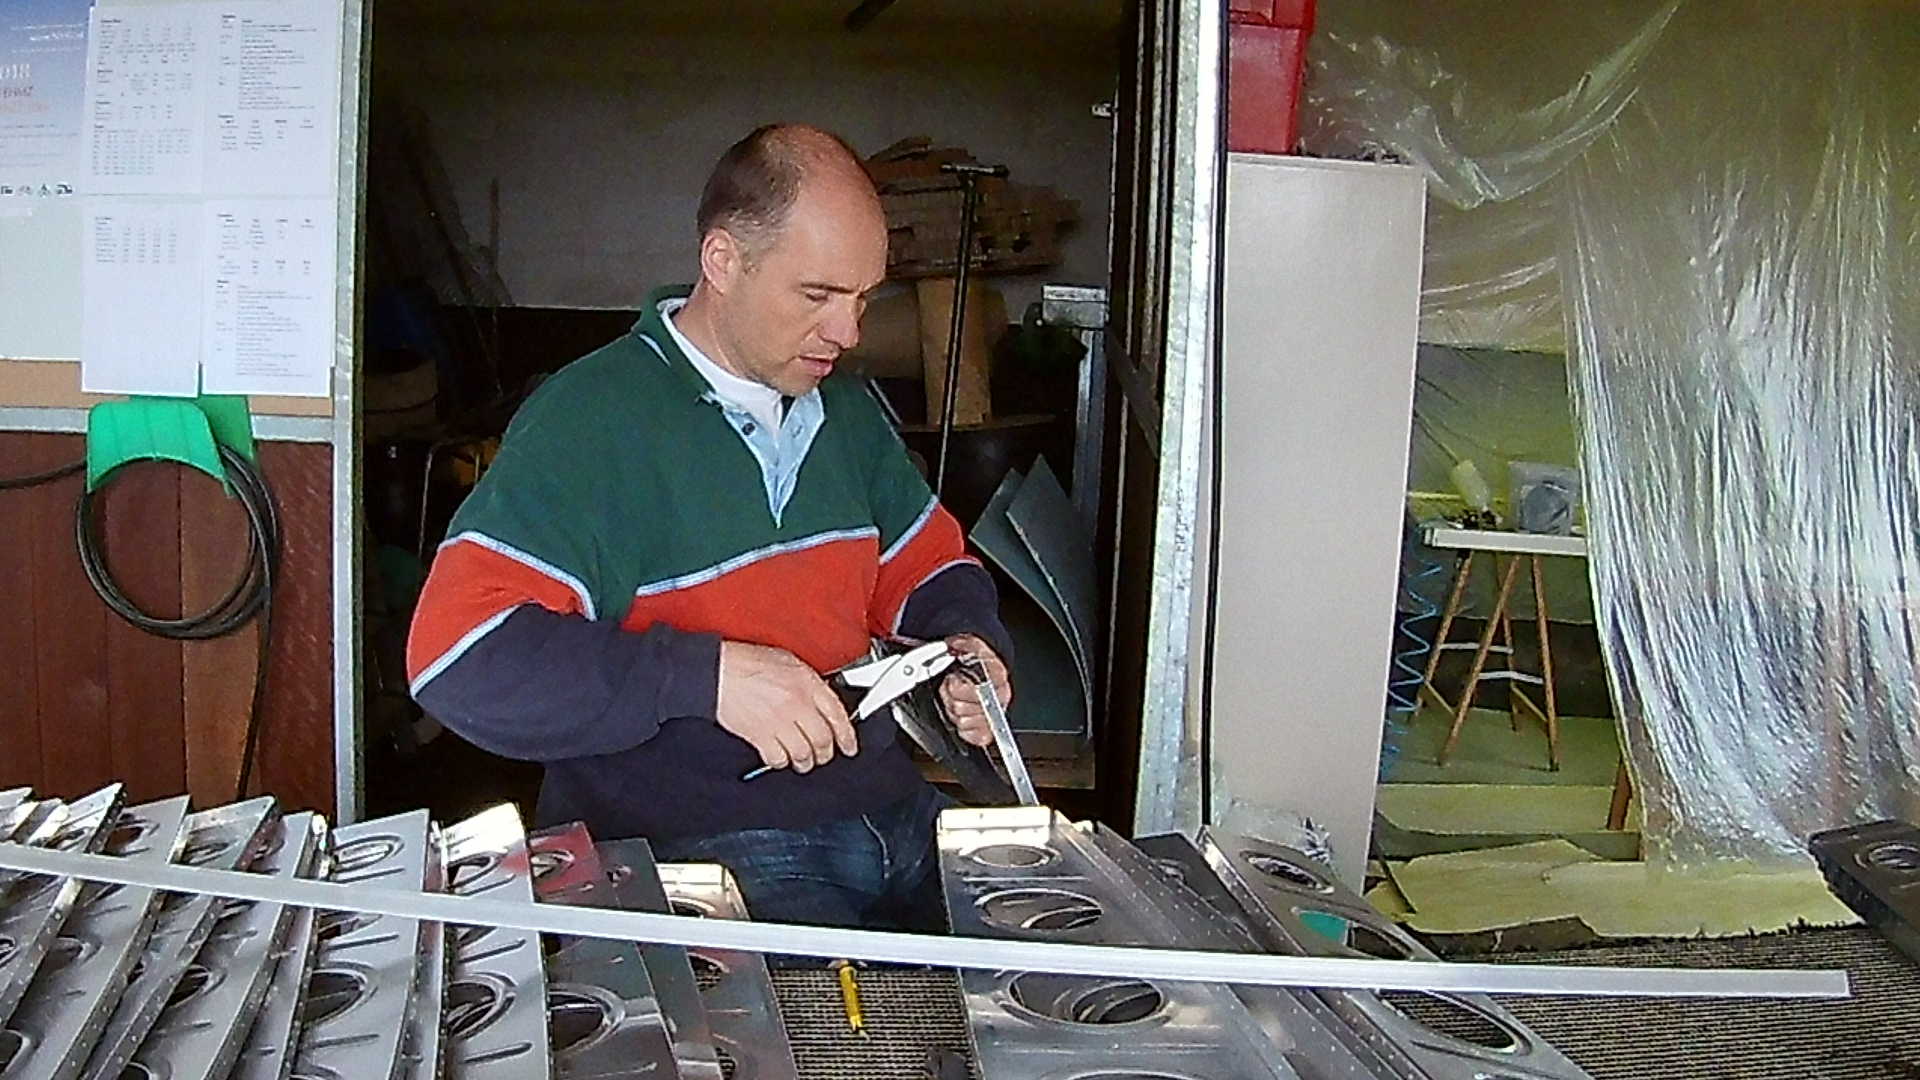
I use an aluminum profile (normally used to keep trailing edges straight), to “measure” the straightness of the rib. You can see the little dents in the flanges.
Done, all the ribs of the left wing are now deburred (four hours of work). I didn’t straighten the inner and outer tank ribs with the fluting pliers, as I’m not sure if this will not make sealing the tank harder.
Time: 6 Hours, Rivets: 16/0
Time: 4 Hours, Rivets: 0/0
Video