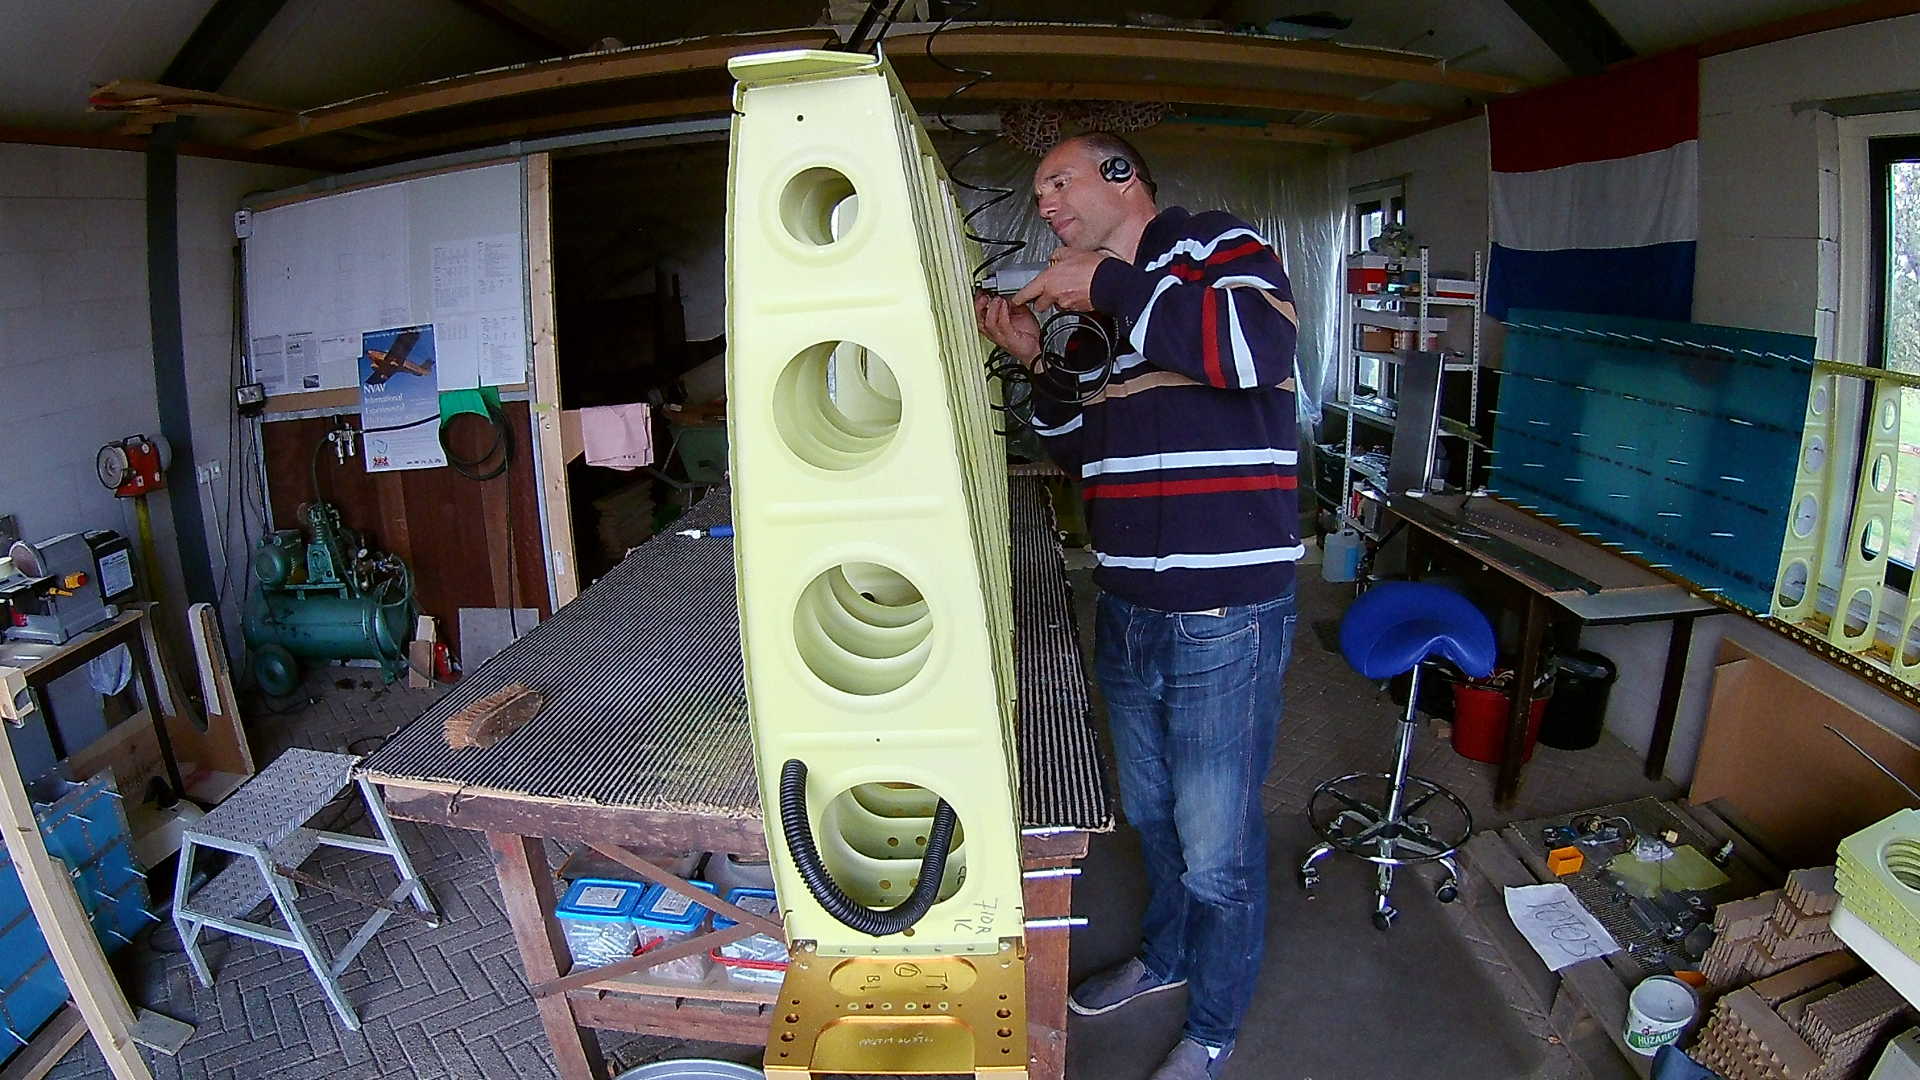
Assembling the Tanks is definitely a two mans job, hence I had to wait two weeks before my Dad had time again to help me out. In the mean time I did a lot of preparations for the wing skins and the other leading edges.
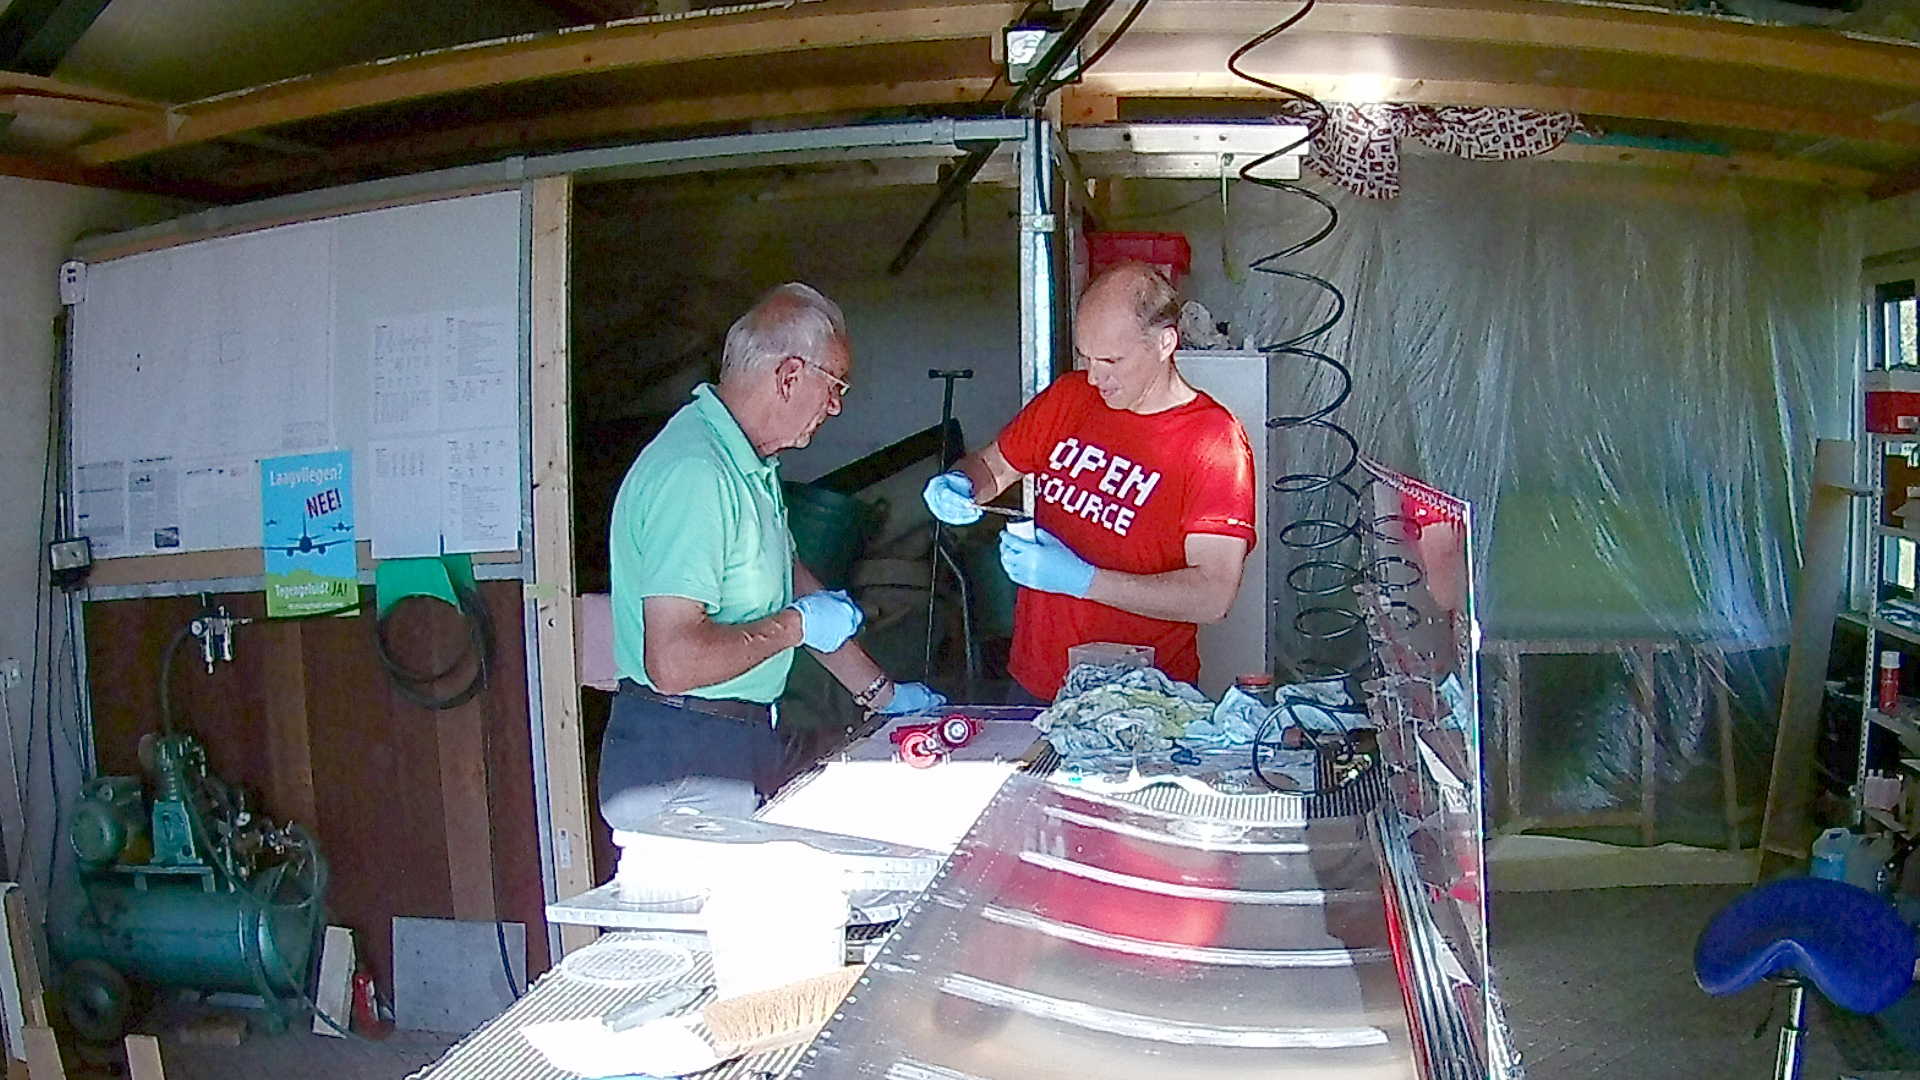
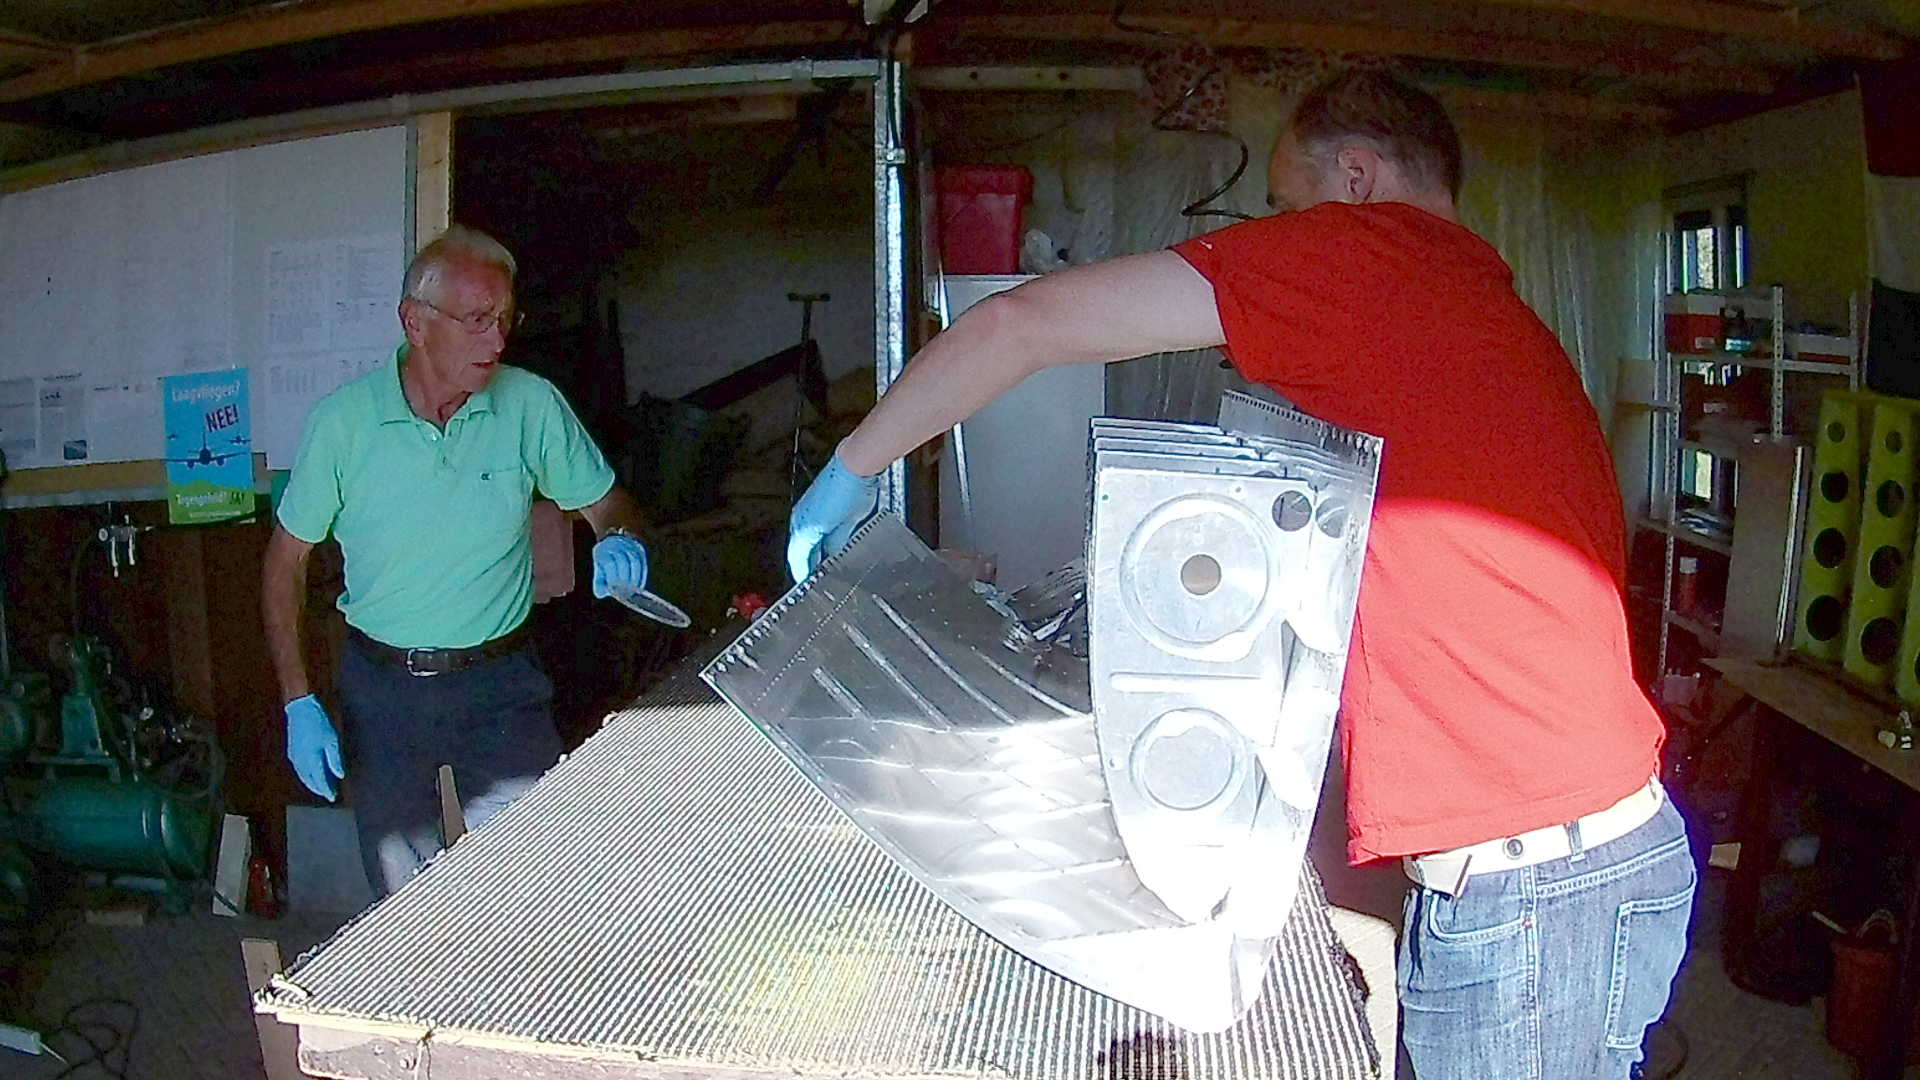
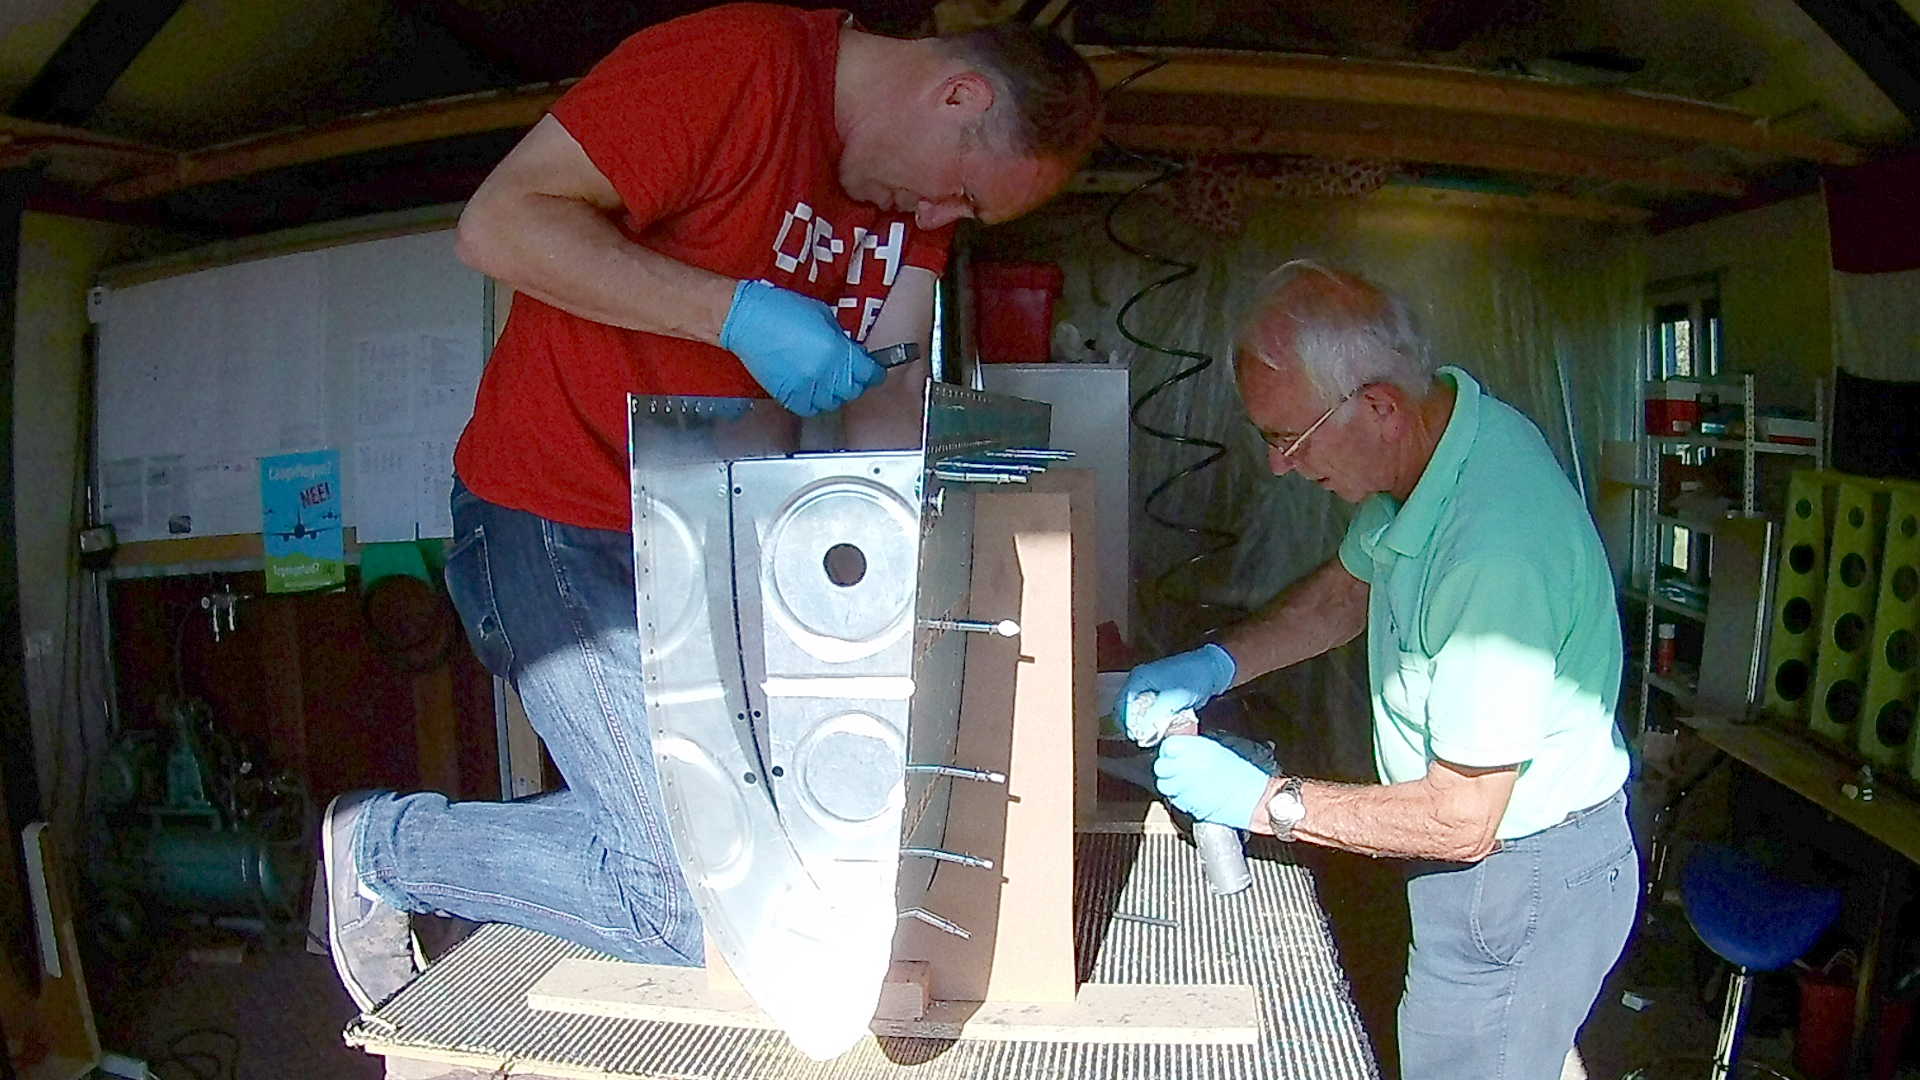
After mixing the two components of the Tank Sealant, we installed the inner ribs to the bottom of the leading edge skin. Just as the previous tank, although the manual states differently, I think this method produces a better result.
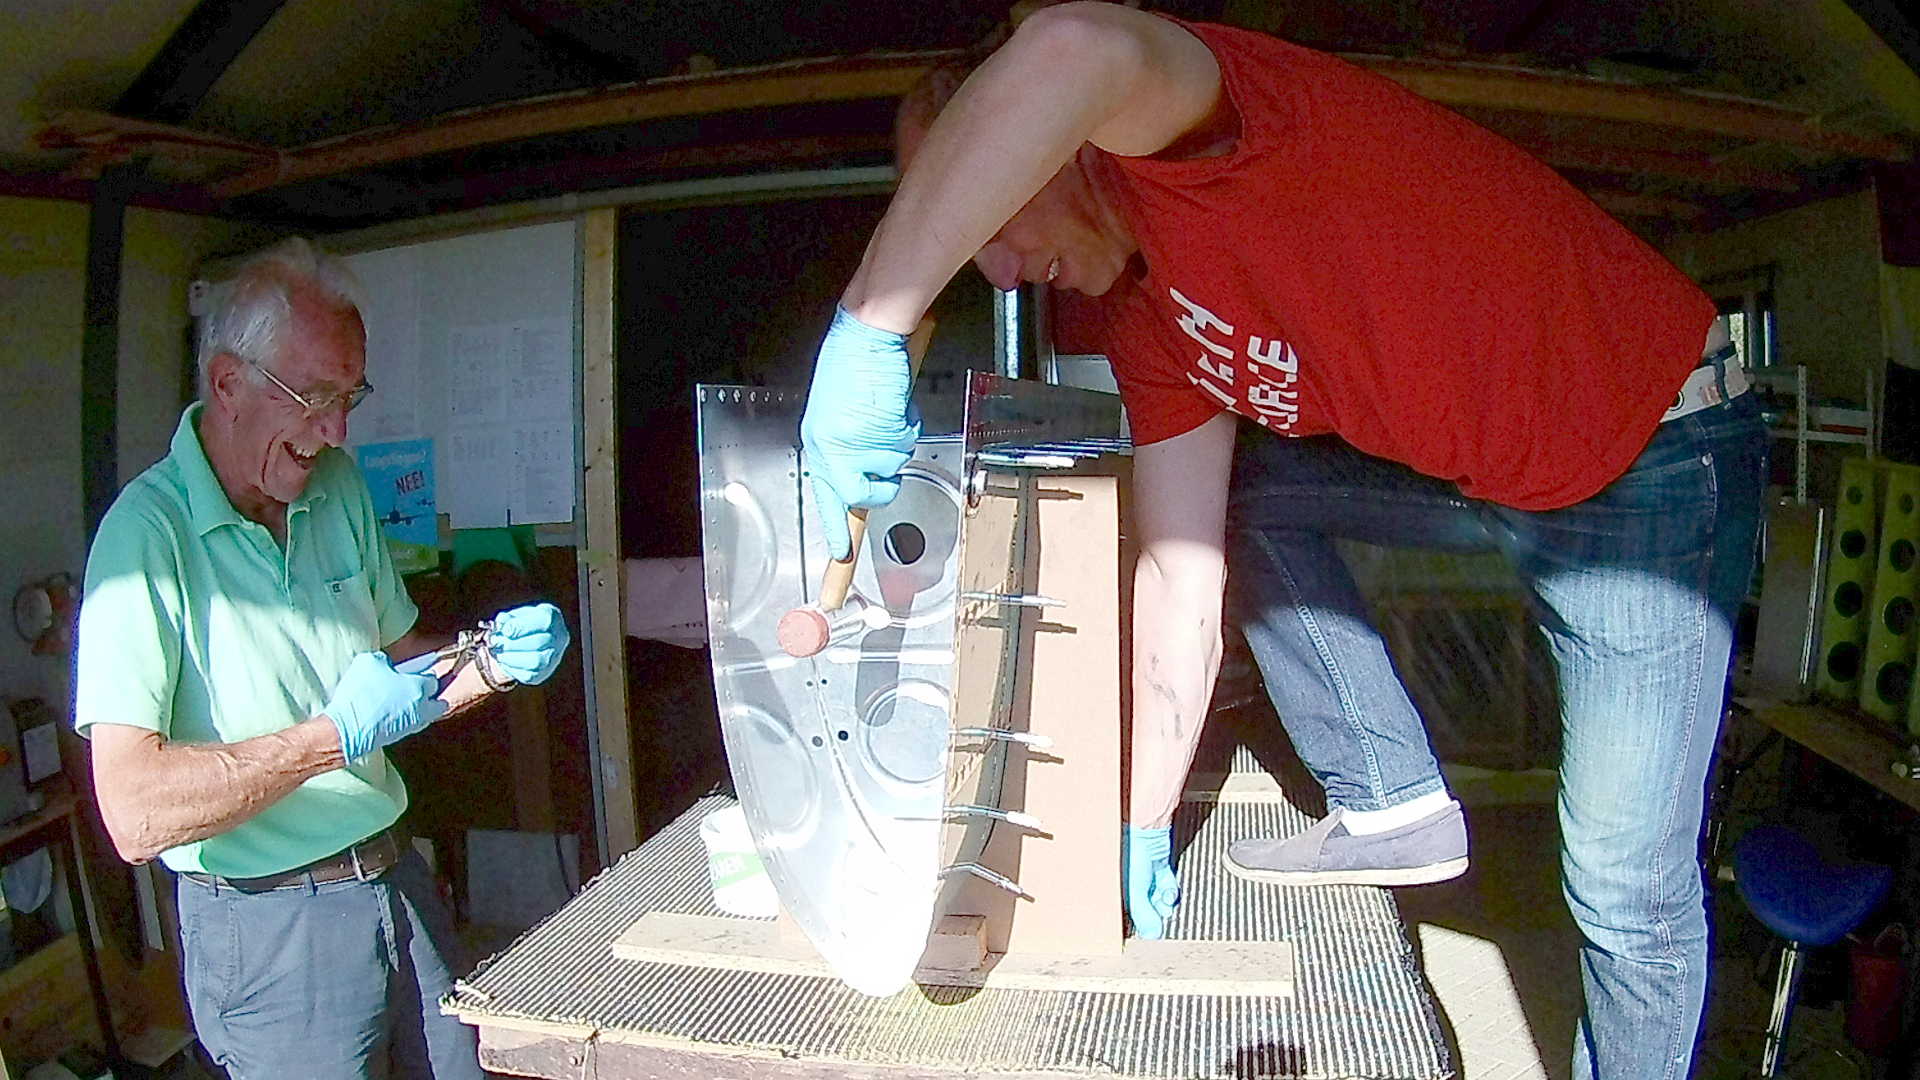
The Cleco’s sometimes don’t fit, because the drill holes don’t line up. A small hit with a rubber hammer works great.
Although the leading edge is not that “deep” that you could rivet it on yourself, I really like to do it with two persons. In this case my dad operates the rivet-gun, while I handle the bucking-bar.
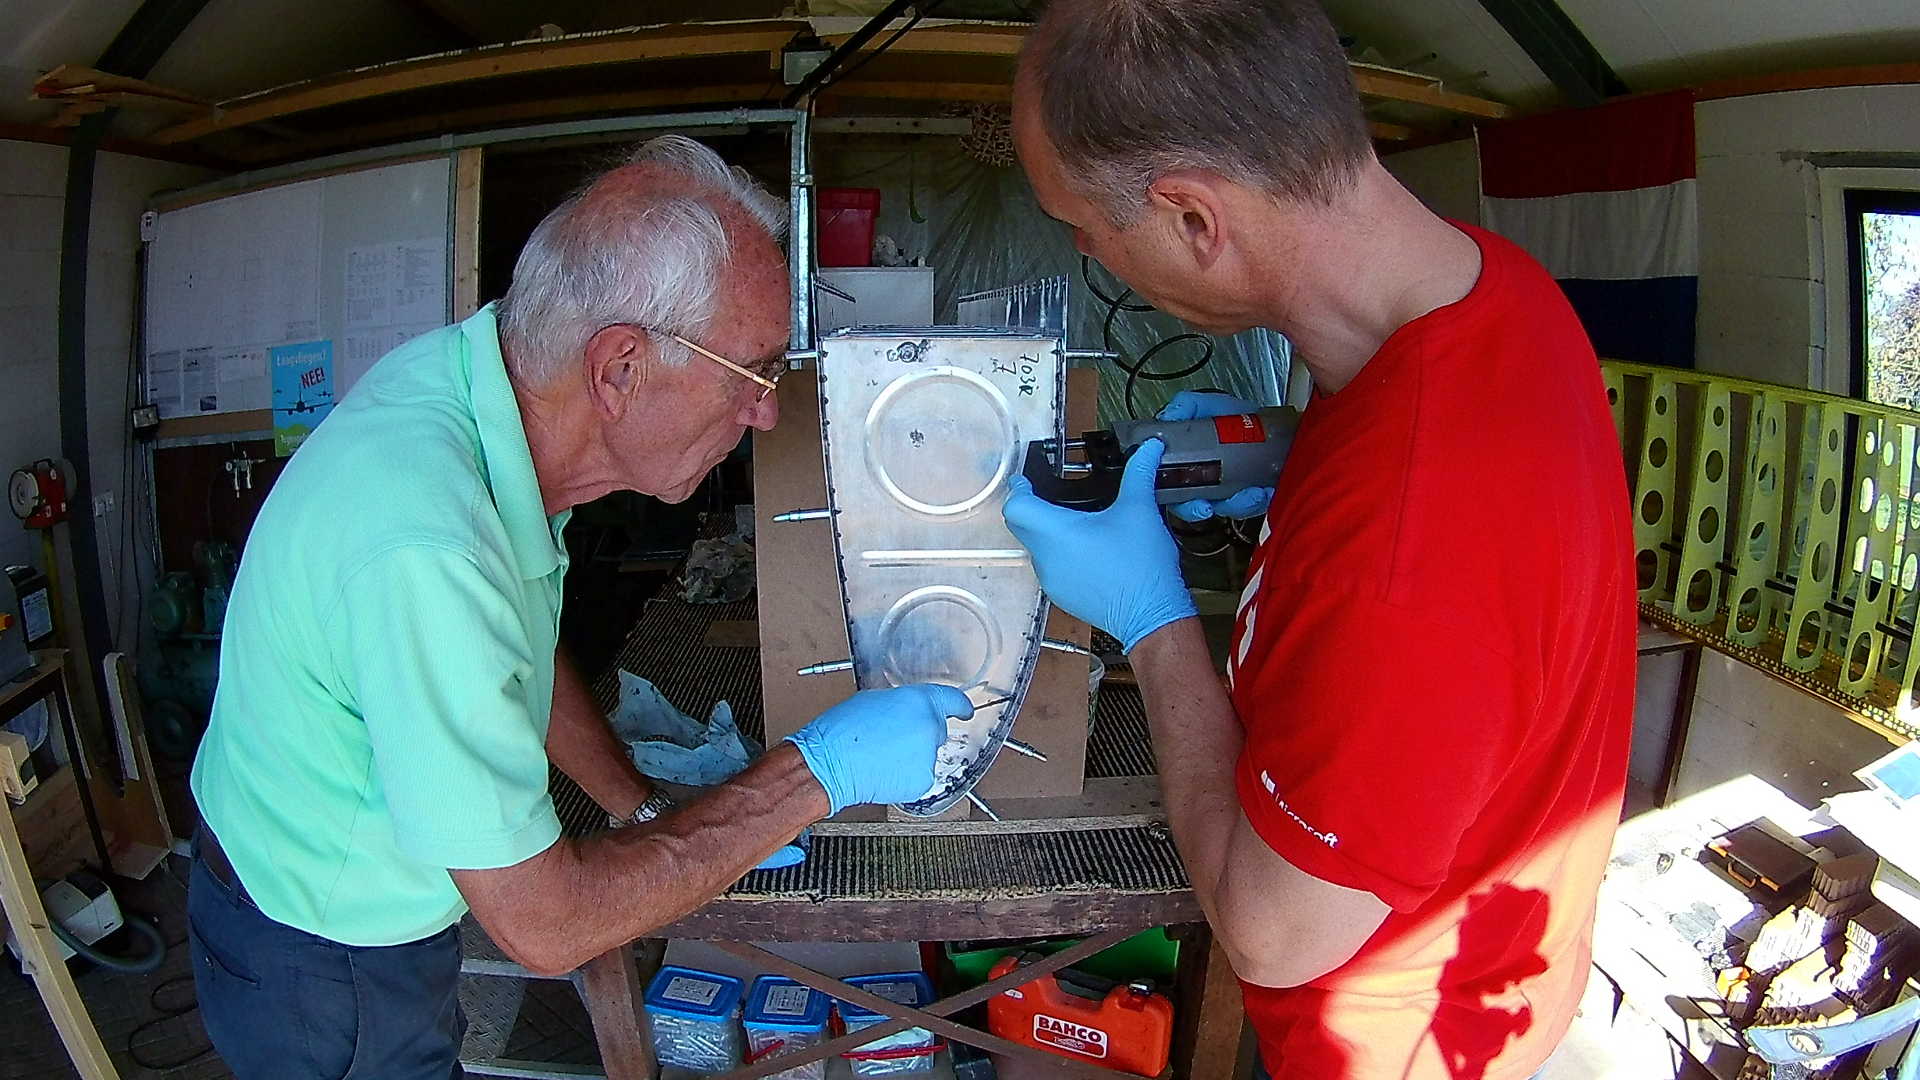
For the outboard and inboard ribs we can use the squeezer. Also the rivets themselves are less likely to leak, since the fuel is on the other side of the rib.
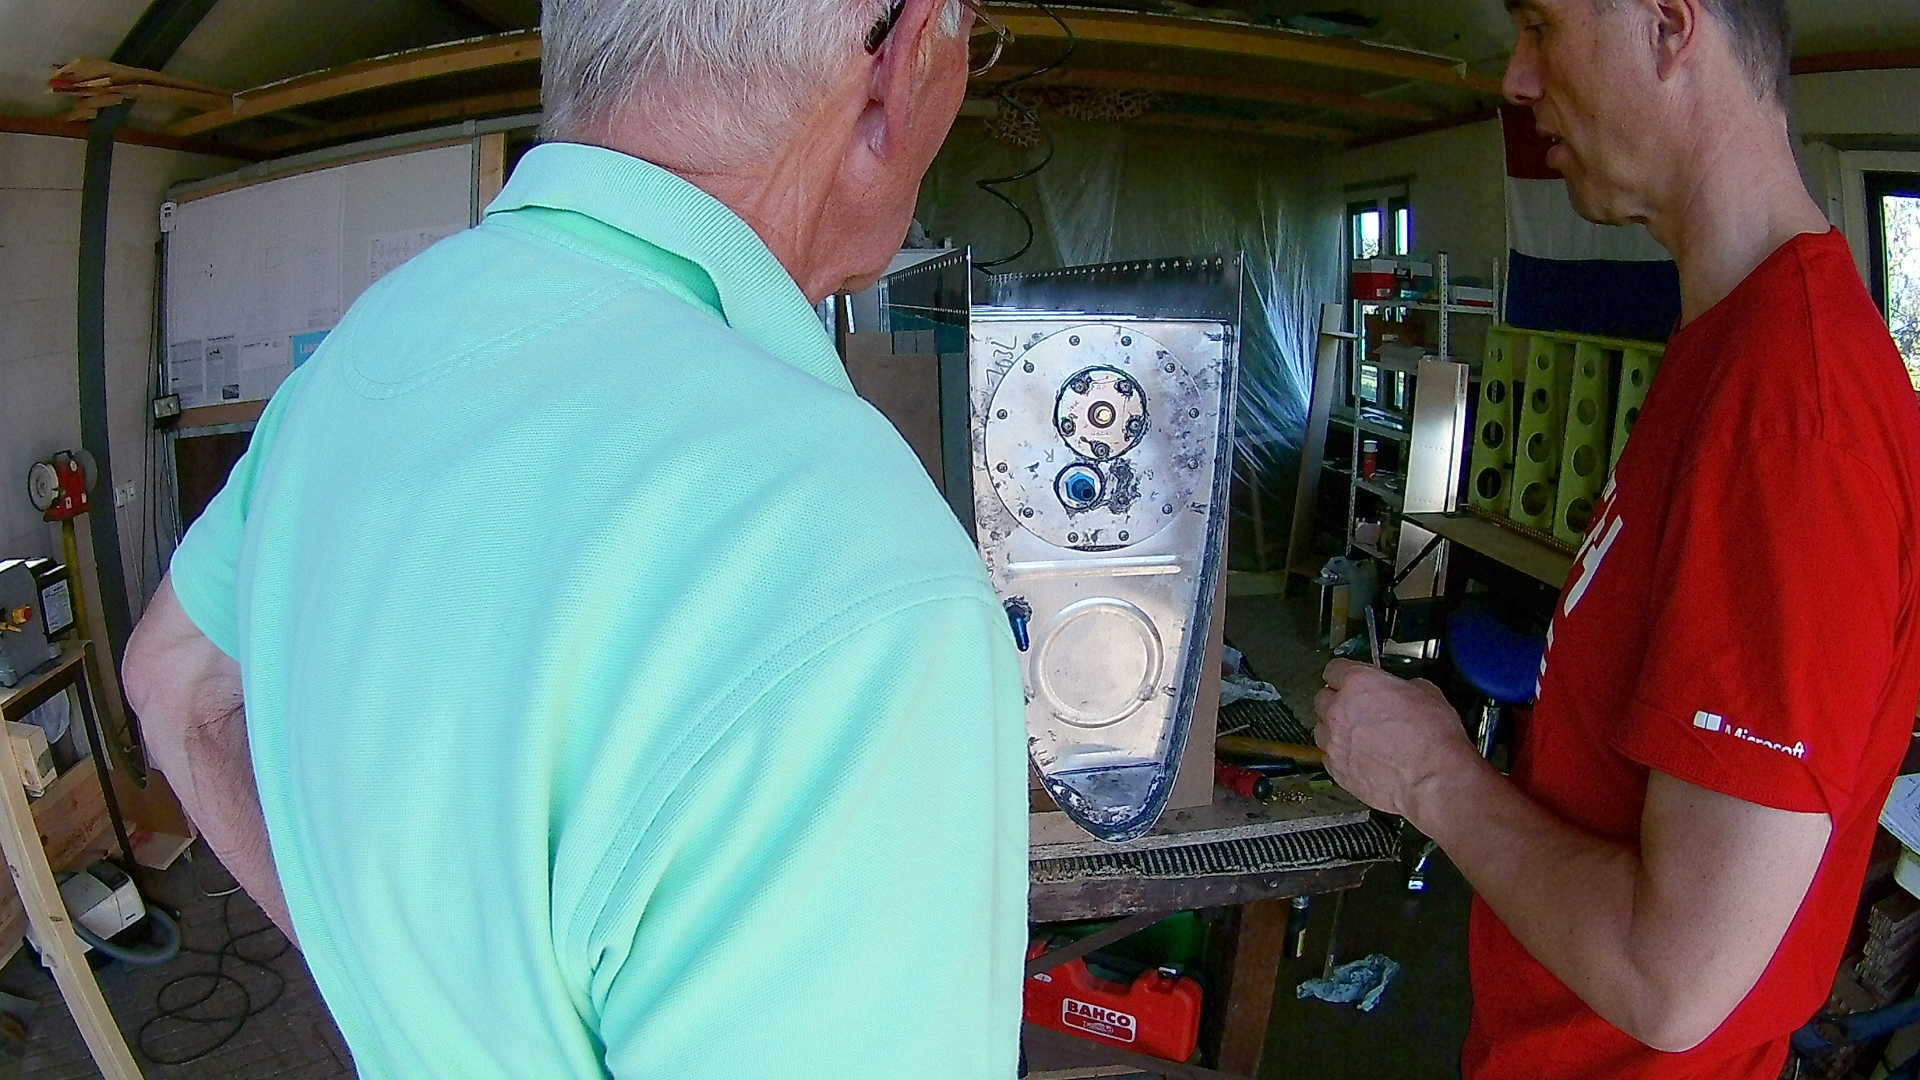
Here is the final result of the inboard rib, with the fuel pickup line and fuel sender installed. A few days of letting the sealant dry and then we can do the water leak test.
Time: 4 Hours, Rivets: 21/1 (2018-10-13)
Time: 5 Hours, Rivets: 270/0 (2018-10-14)
