
The last few days, I pondered the location and routing of the pitot tube and its tubing. I bought a Dynon pitot-tube and Angle of Attack indicator on a Gretz boom instead of the standard Van’s pitot tube and the stall warner. Question is where to place this pitot-tube. Too much inboard and the propeller will affect the dynamic pressure. A little outboard and the tie-down can damage the boom. More outboard and you have to “pass” the bell-crank.
I choose to place it directly next to the original pitot-tube position, on the other side of the rib. This is also the position of the photo’s in the Dynon manual and it prevents interference with the bell-crank. The holes in the bottom wing skin must be exact and are NOT pre-drilled, so extra care must be taken.
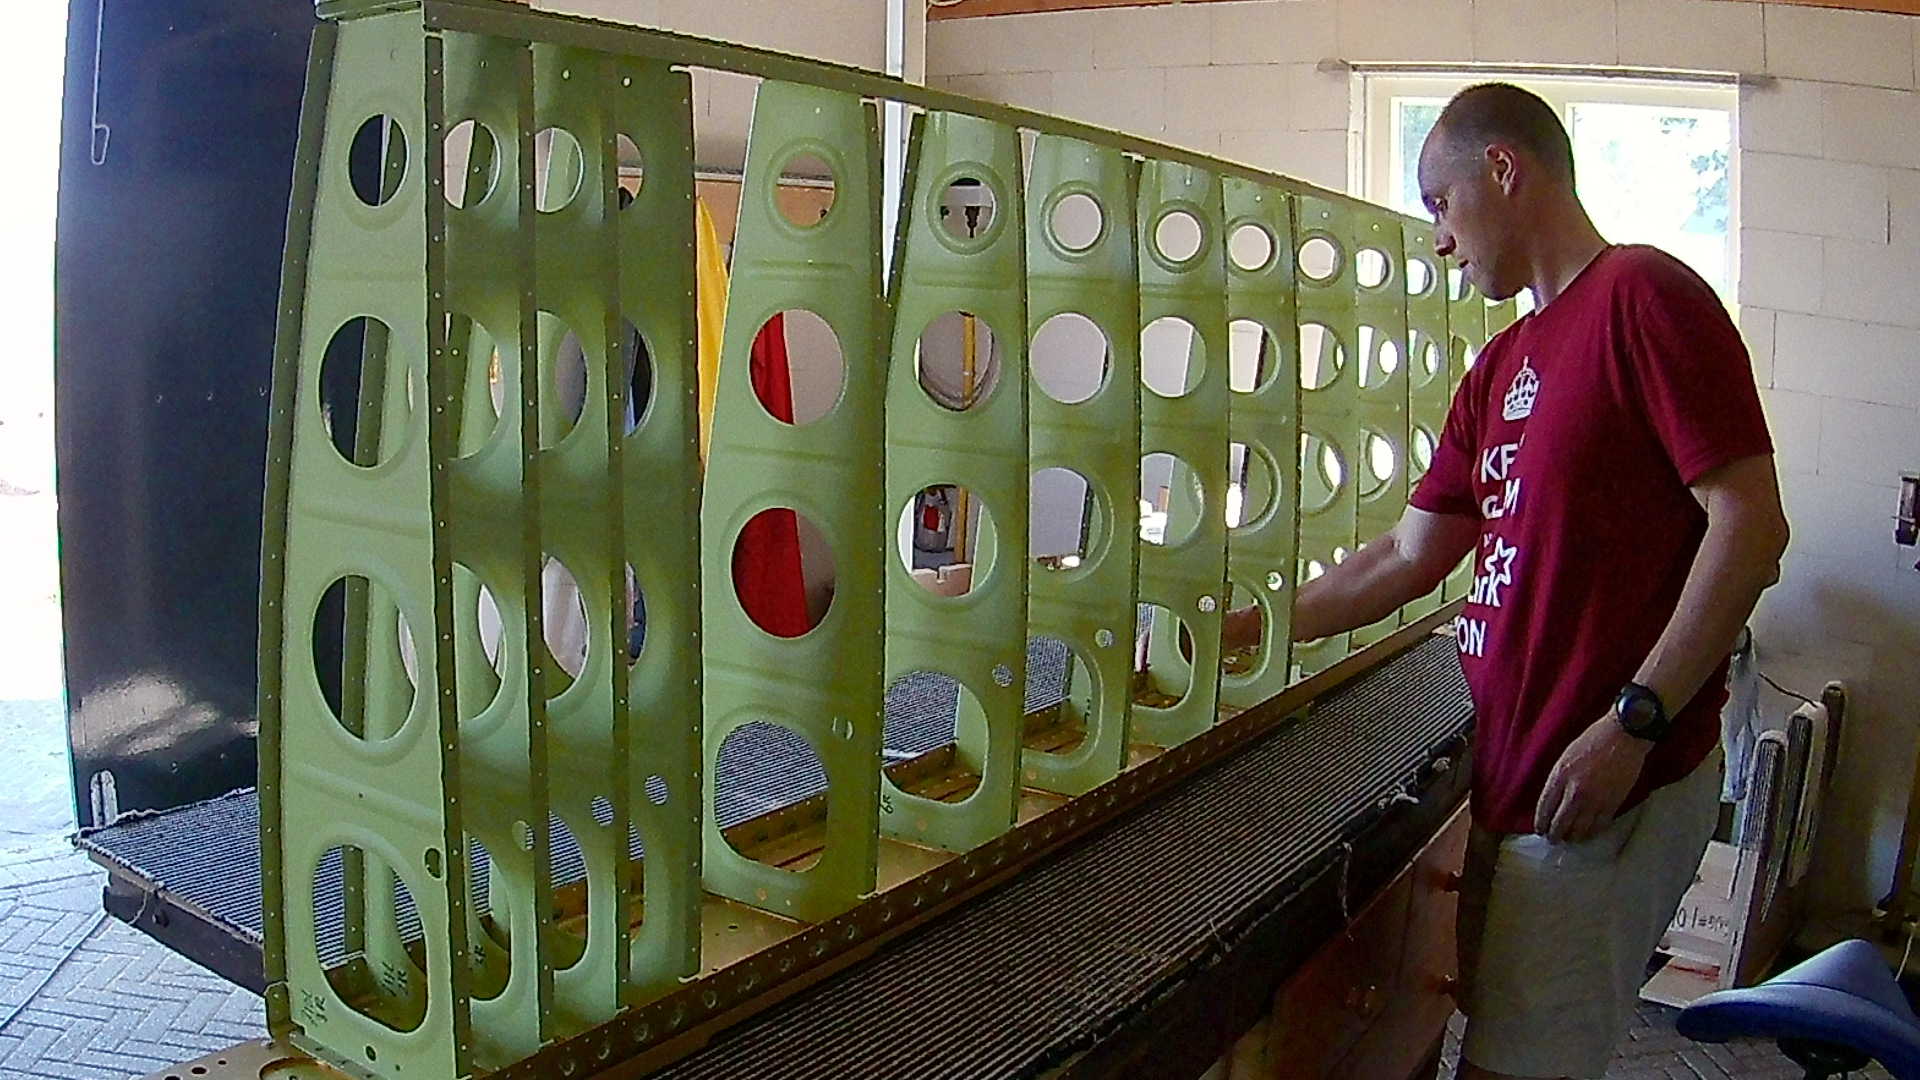
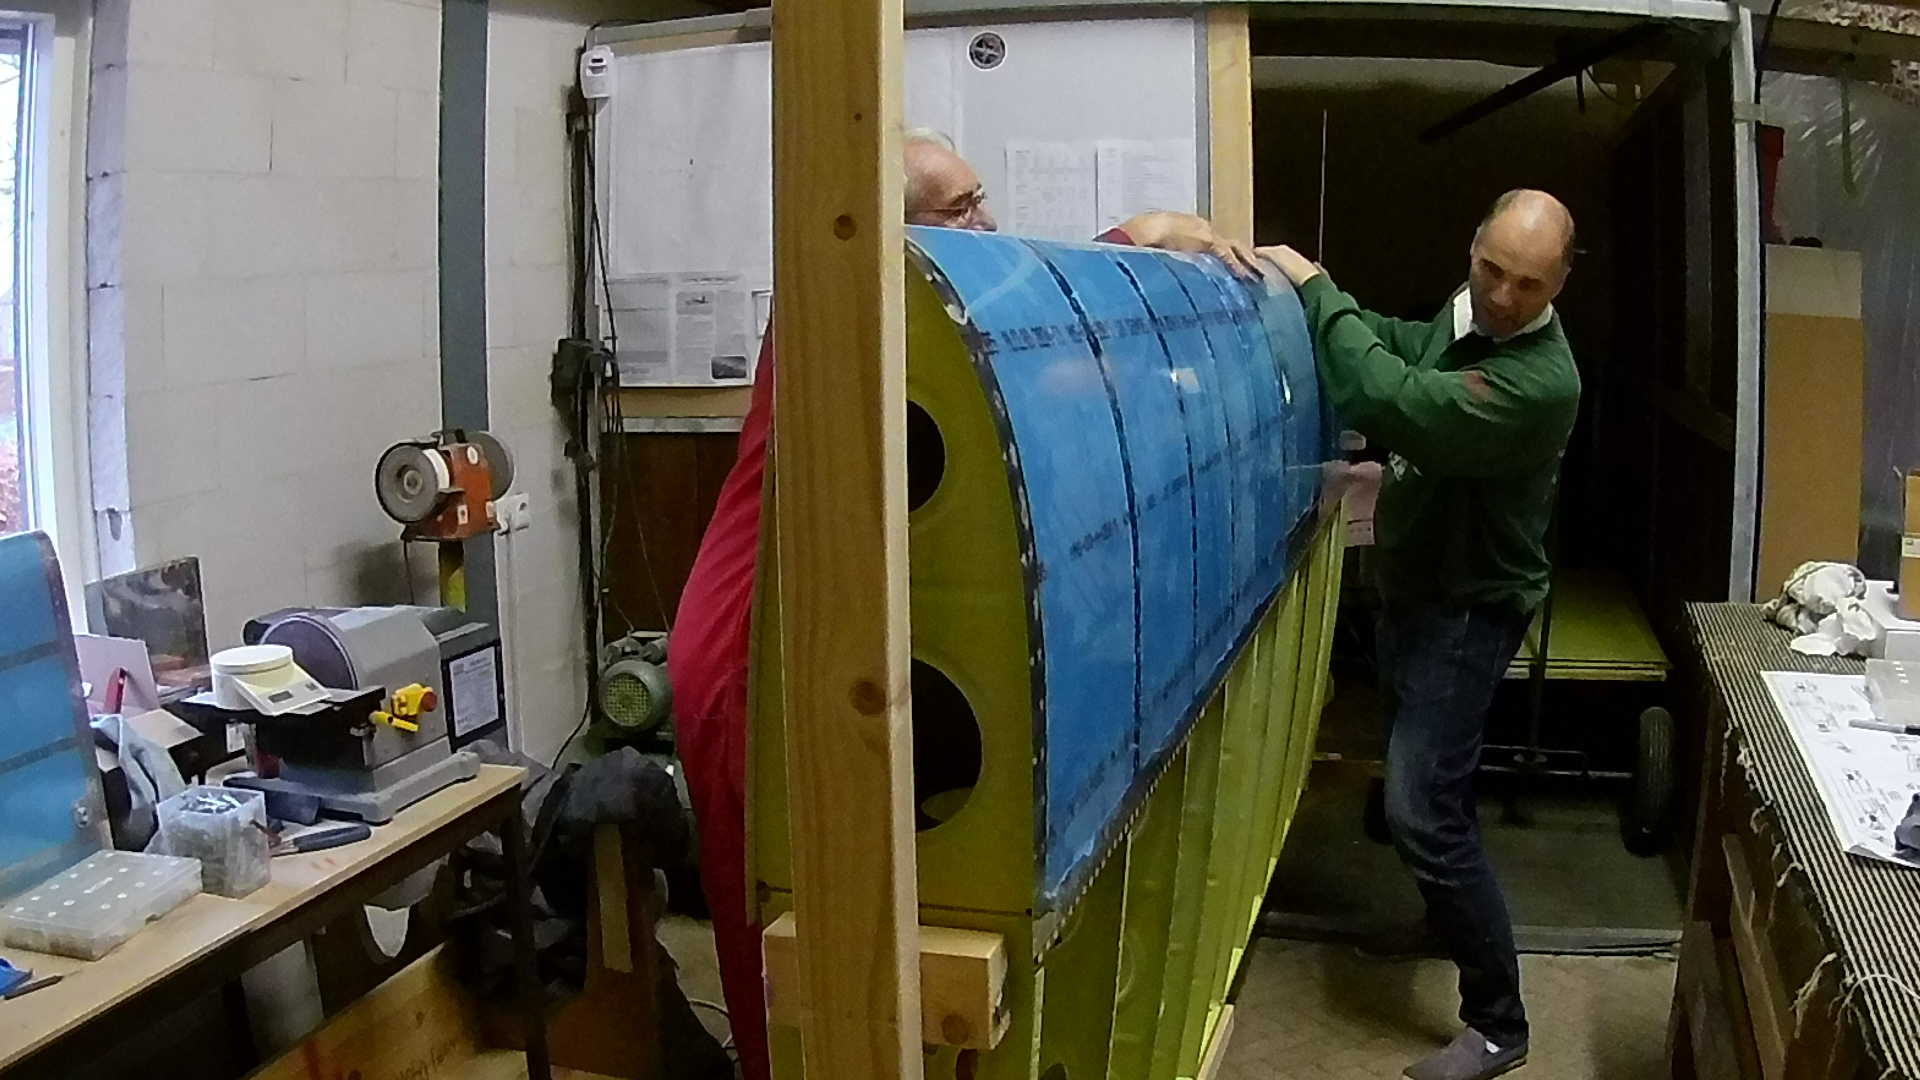
After the pitot-tube preparations, we removed the bottom wing skins and placed the leading edge on the left wing. Now we can rivet the ribs on the main spar. Only the most inboard and most outboard ribs can be riveted with the rivet gun and the bucking bar. The rest I’ll do later with pop-rivets.
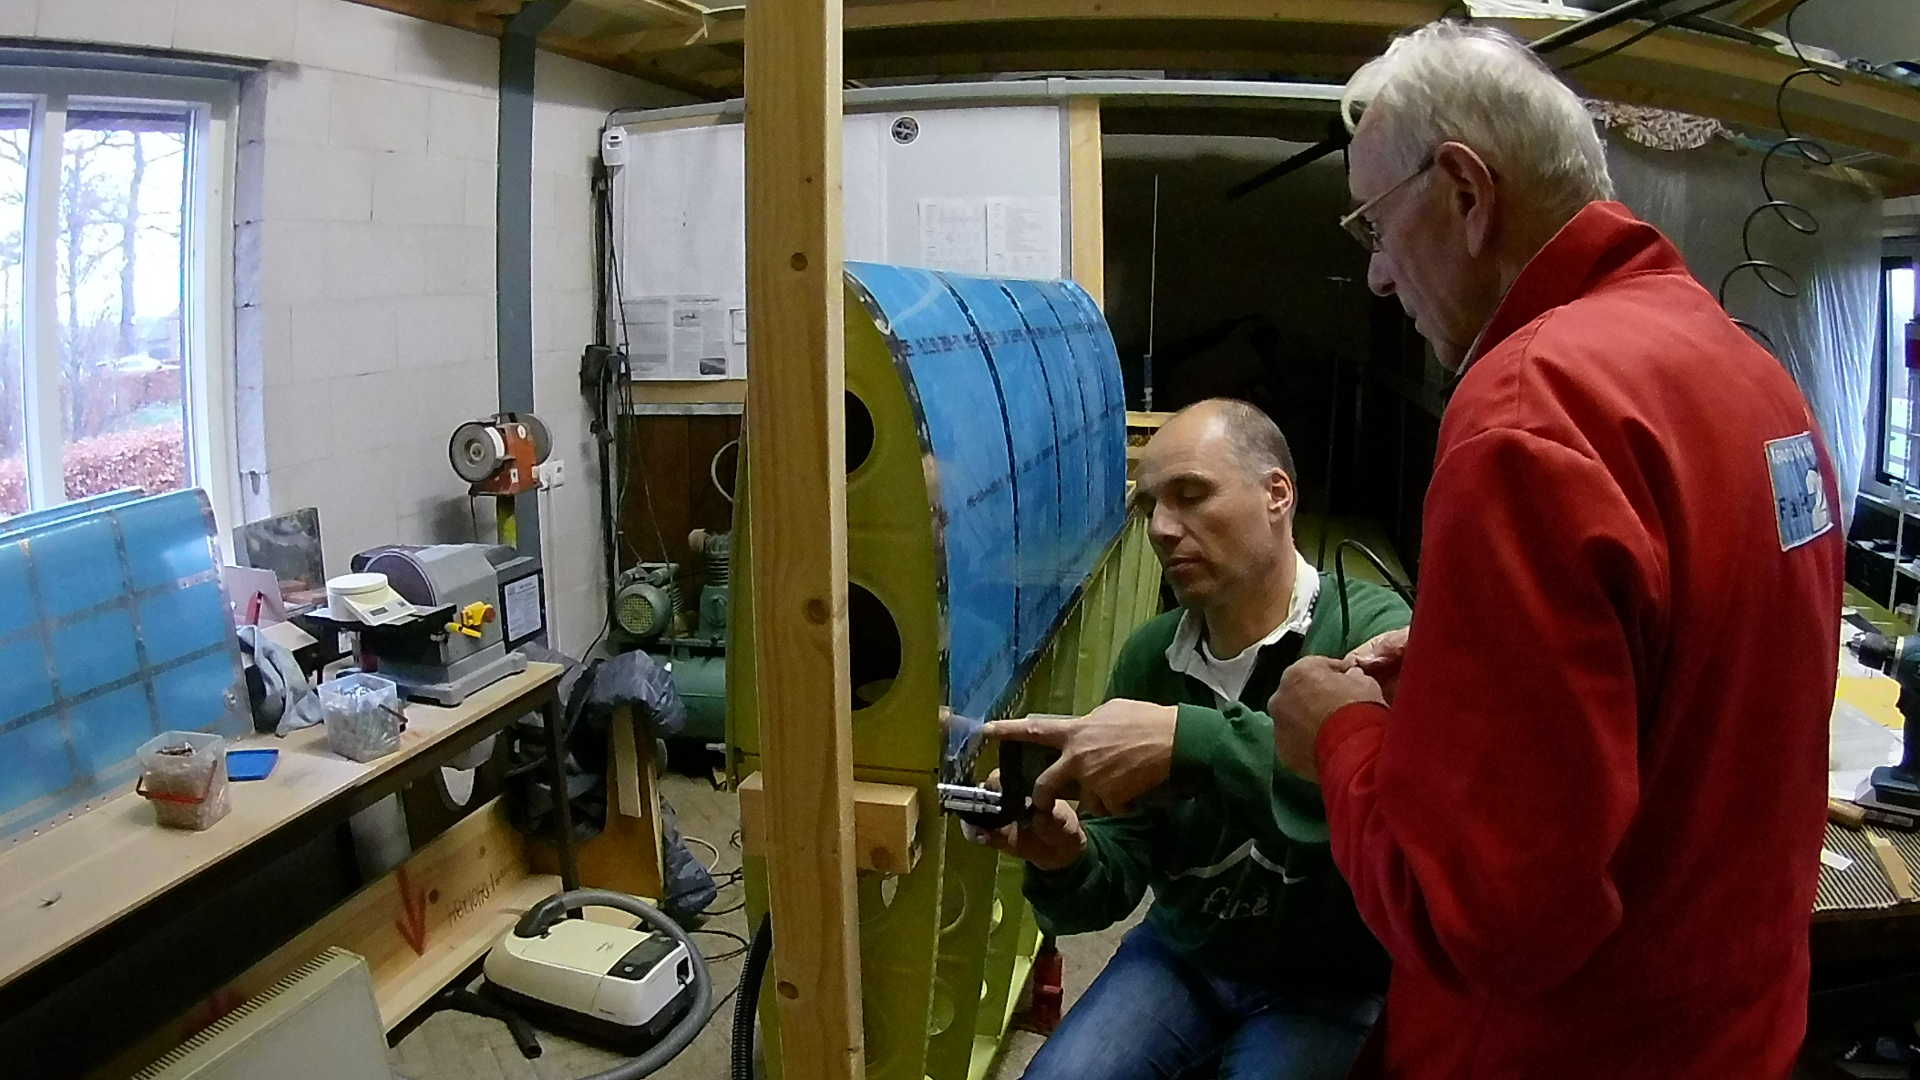
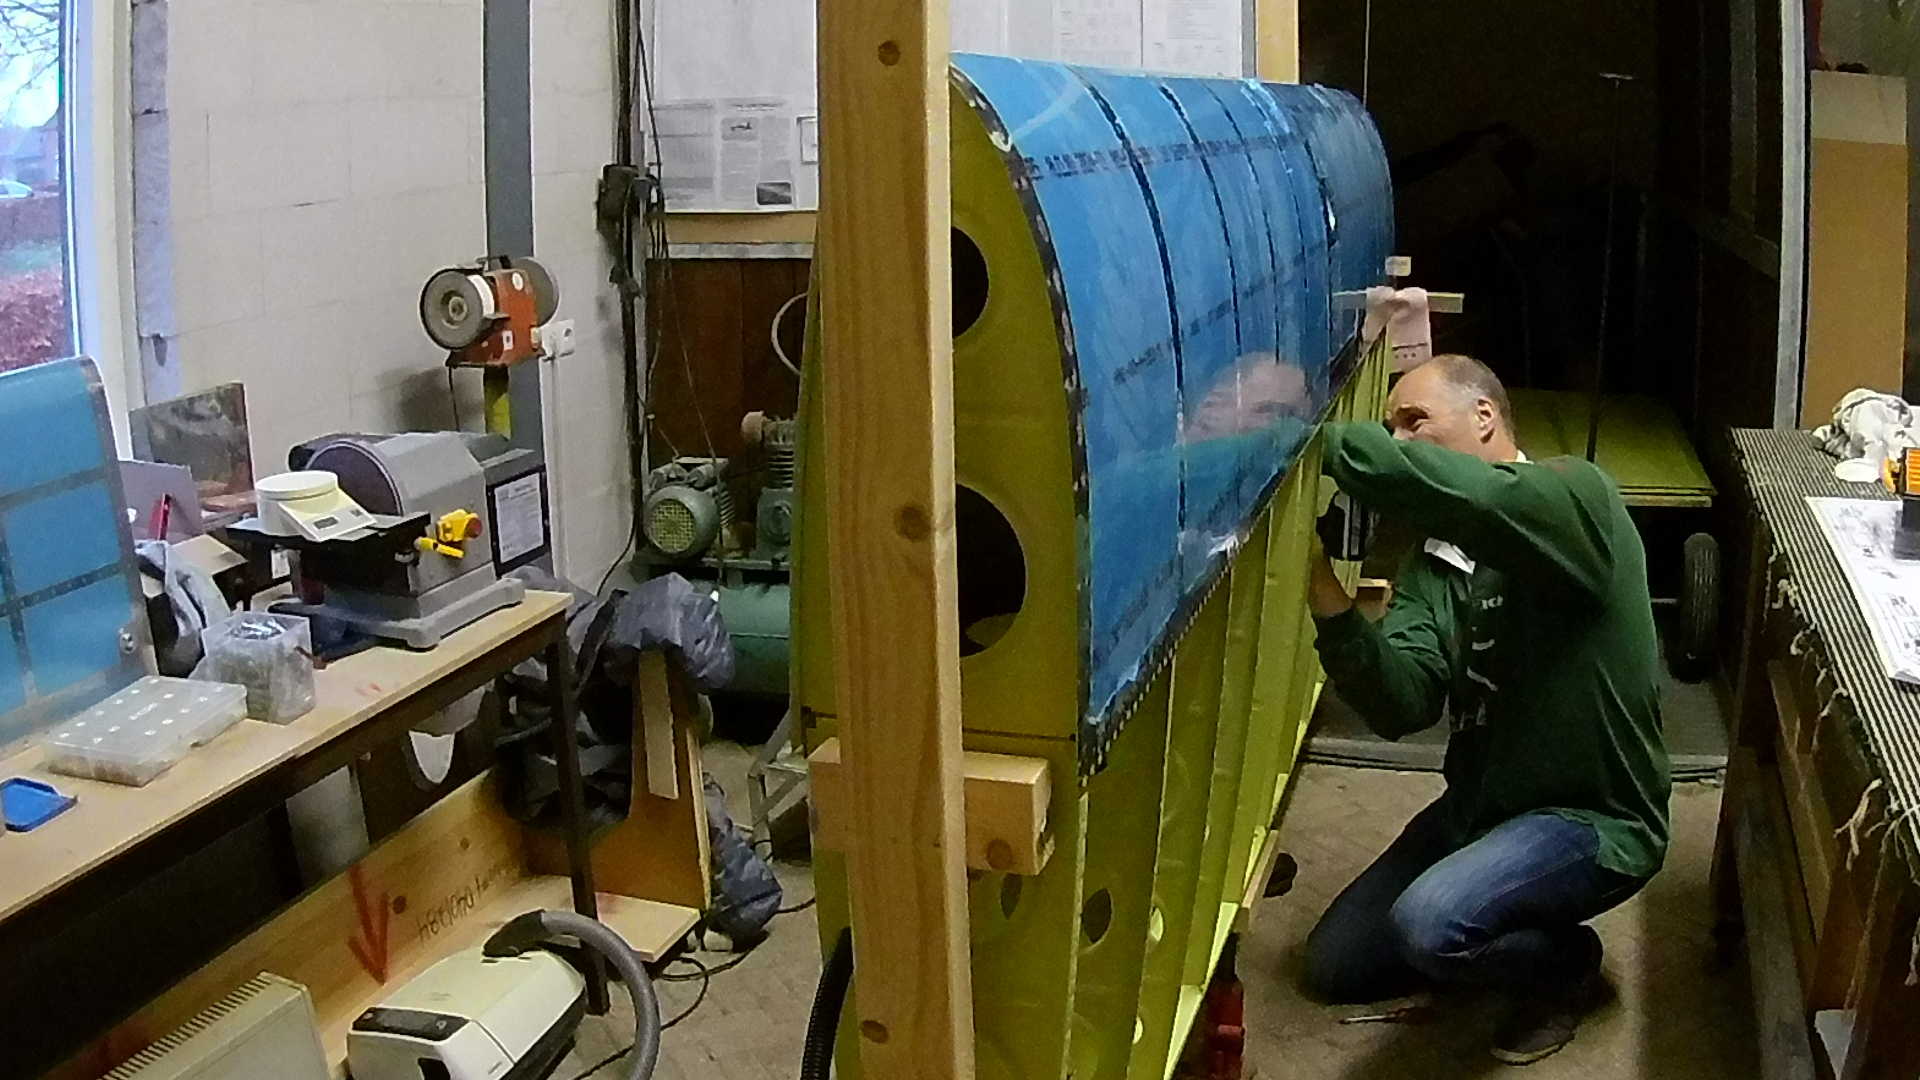
After attaching the ribs, we can use the pneumatic squeezer to rivet the skin to the main spar with flush rivets. Both on the top and bottom side.
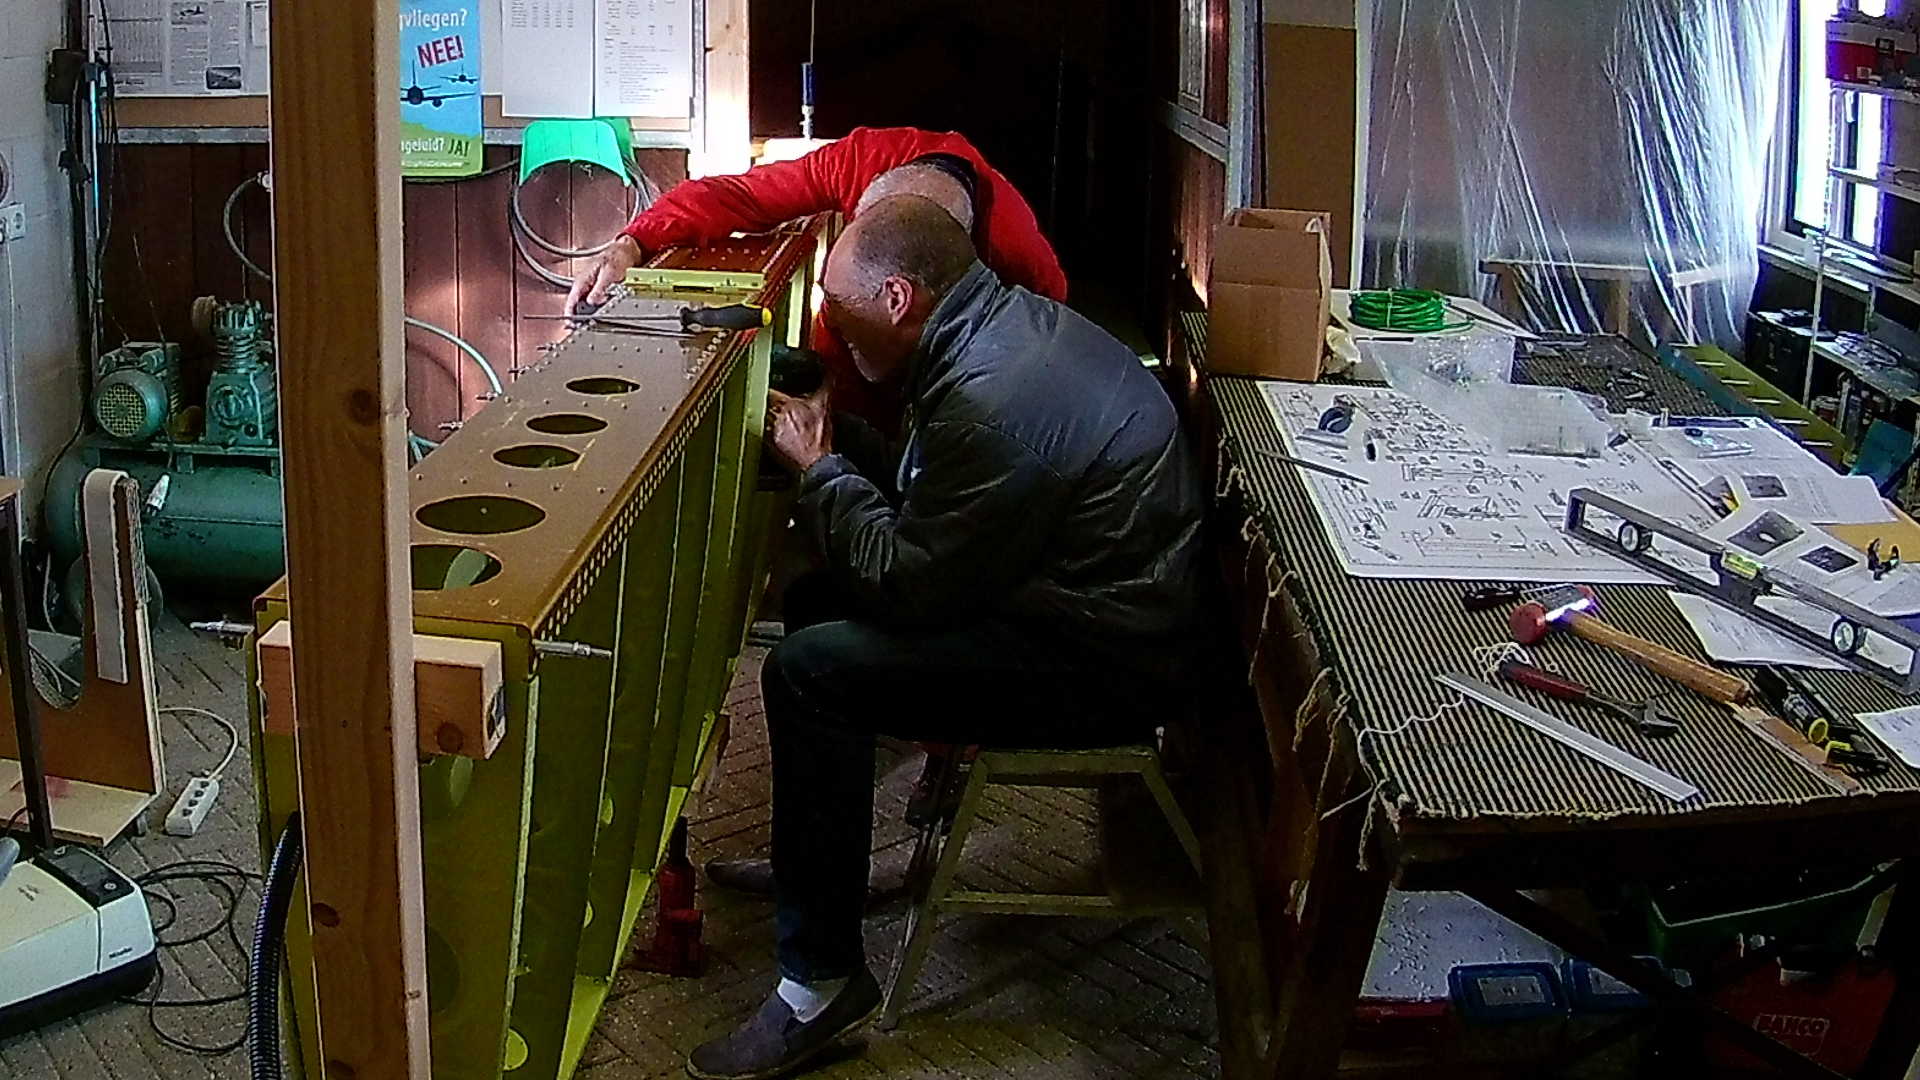
Now we can place the left fuel tank on the main spar and connect it tight to the leading edge.
The fuel tanks are not riveted but screwed to the main spar. Also the tank attach angles are bolted to the main spar.
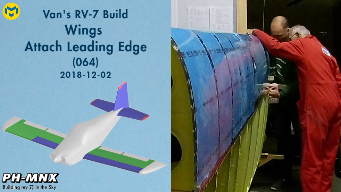
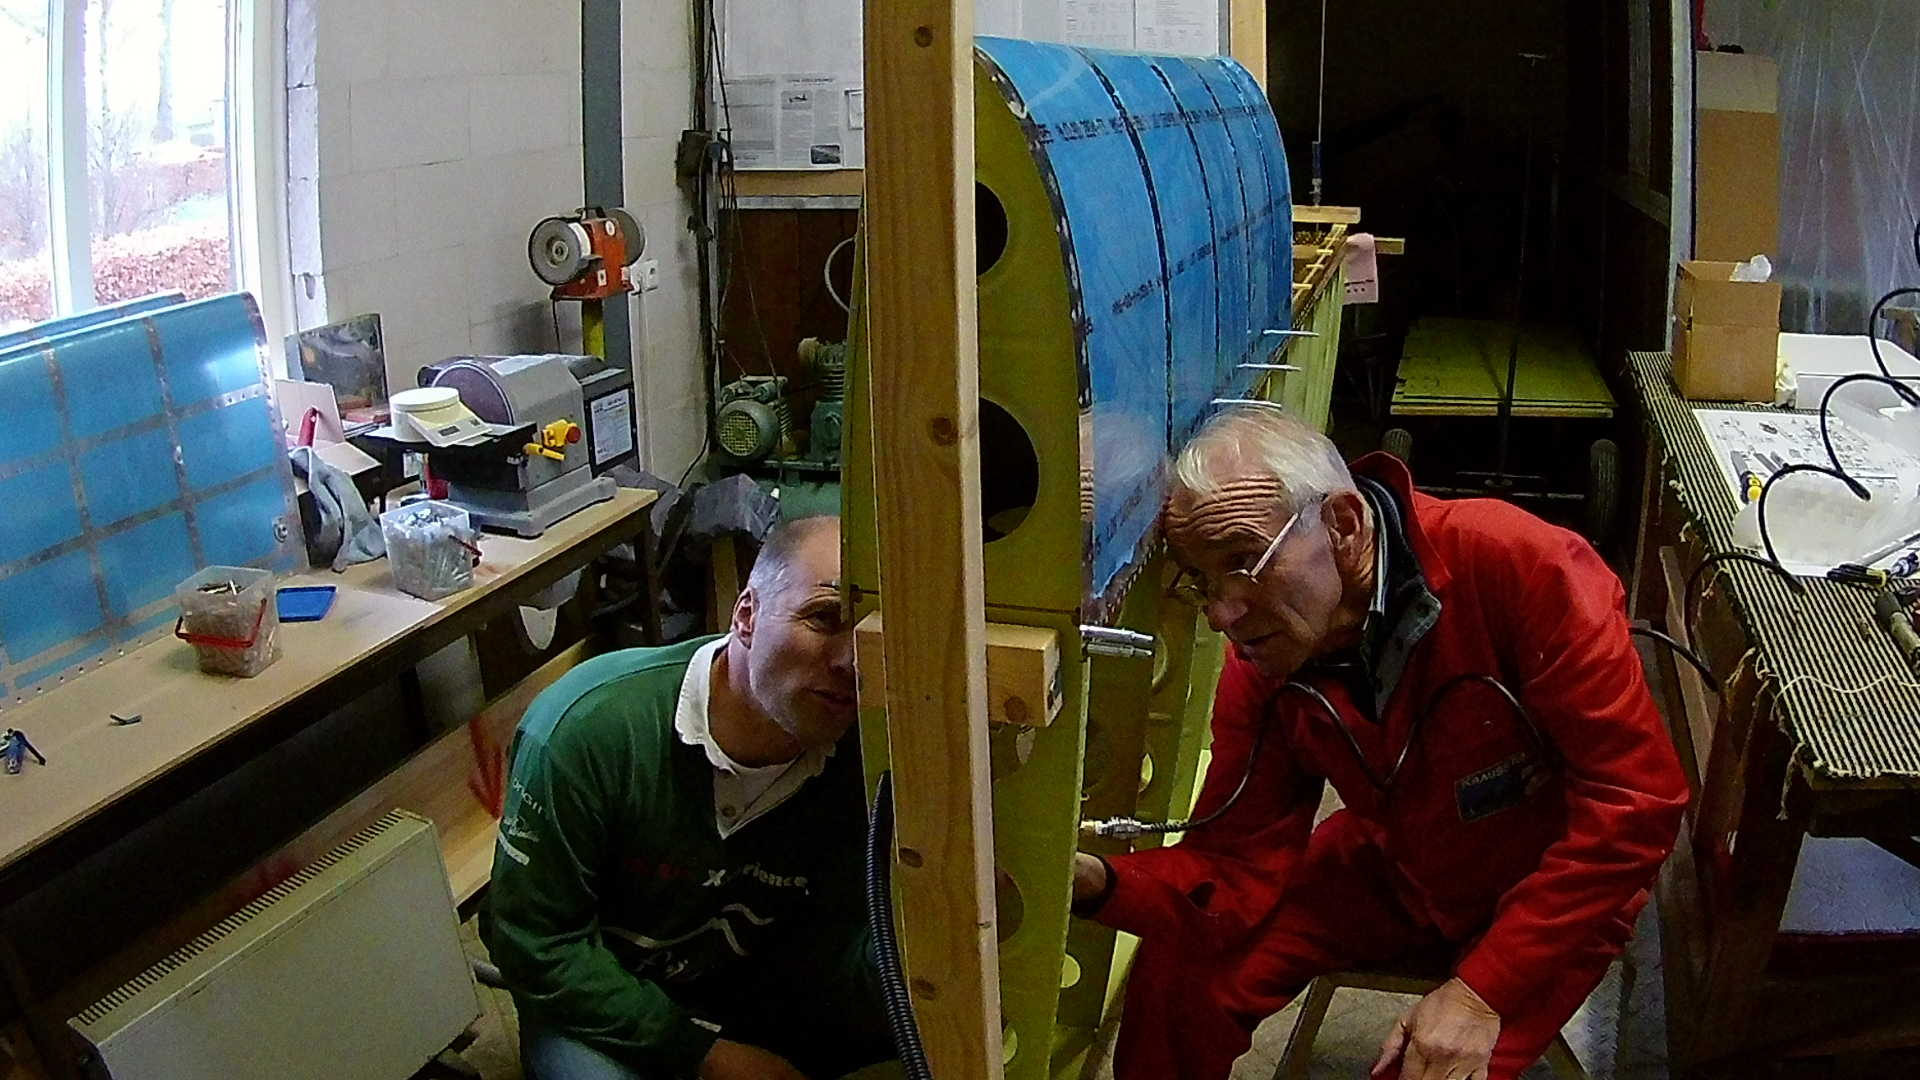
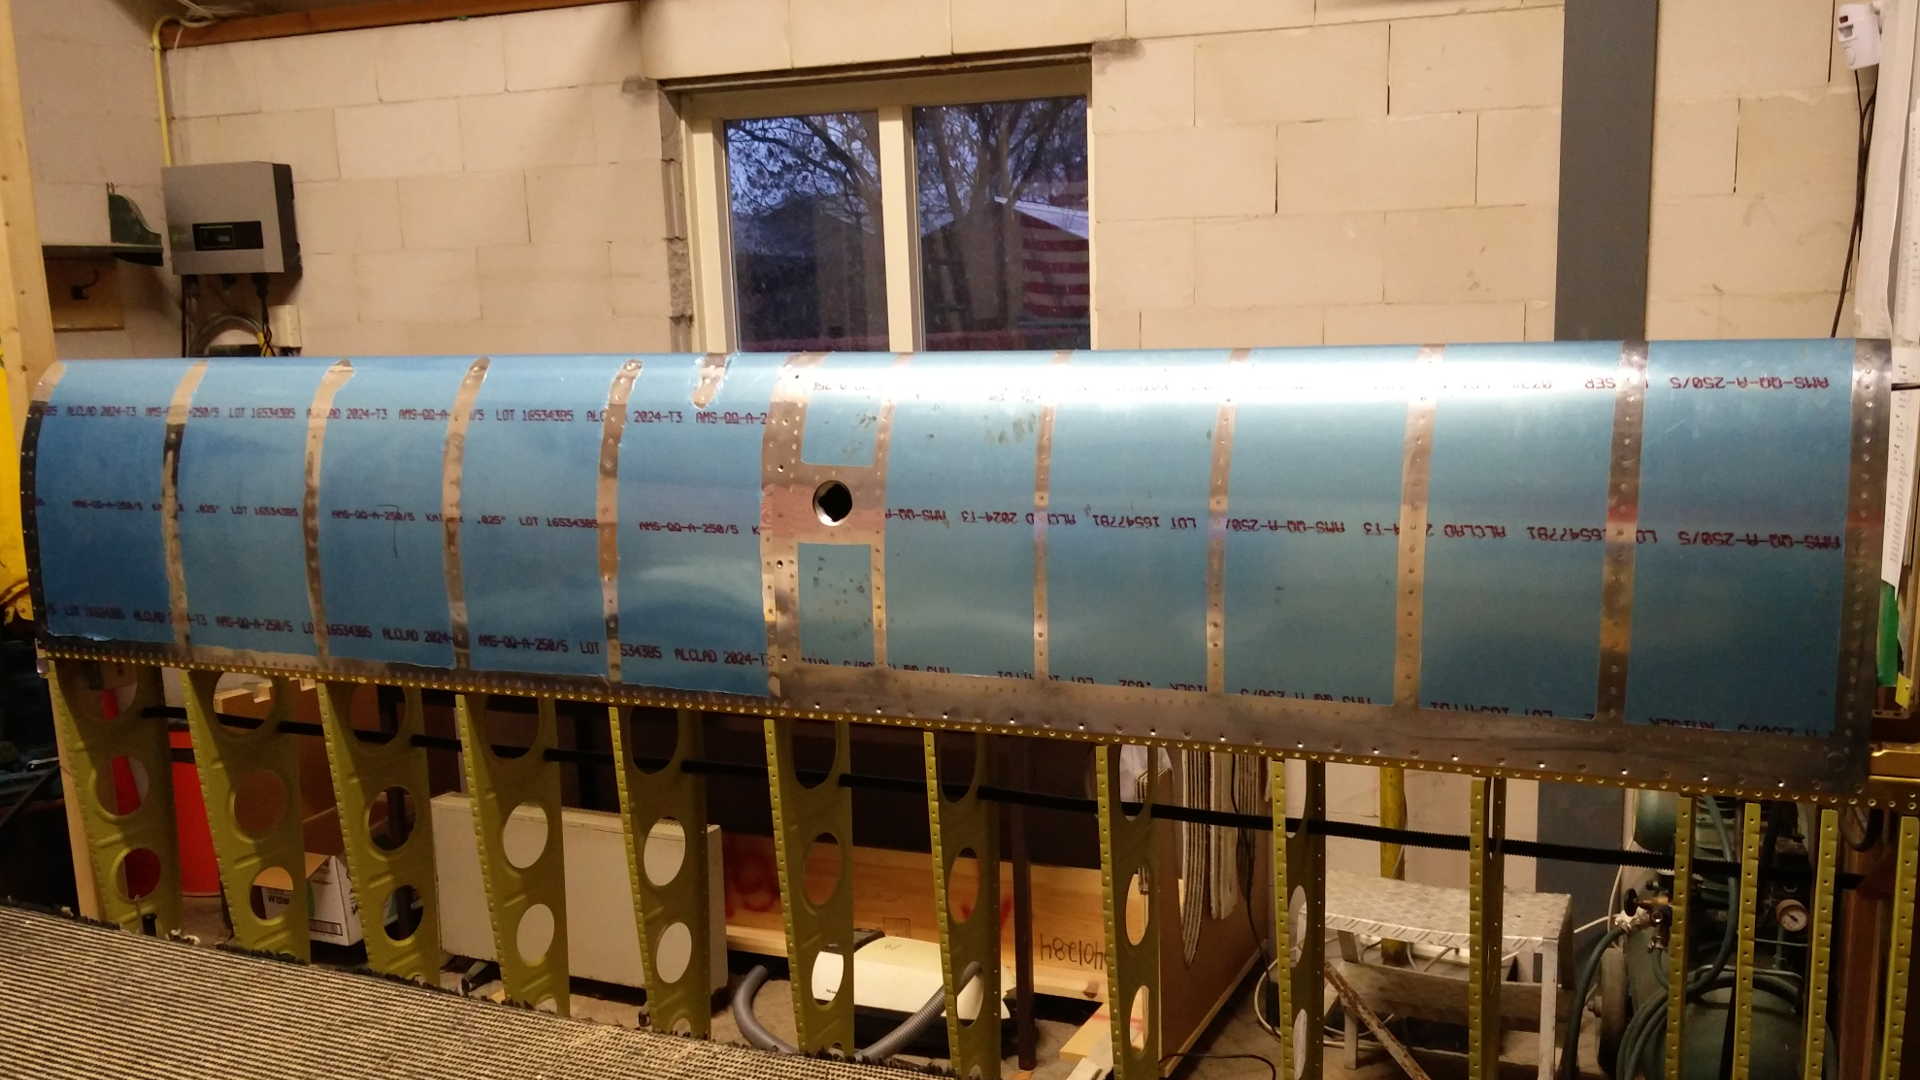
Now it is really starting to look like a wing.
Time: 4 Hours, Rivets: 139/0
Video