
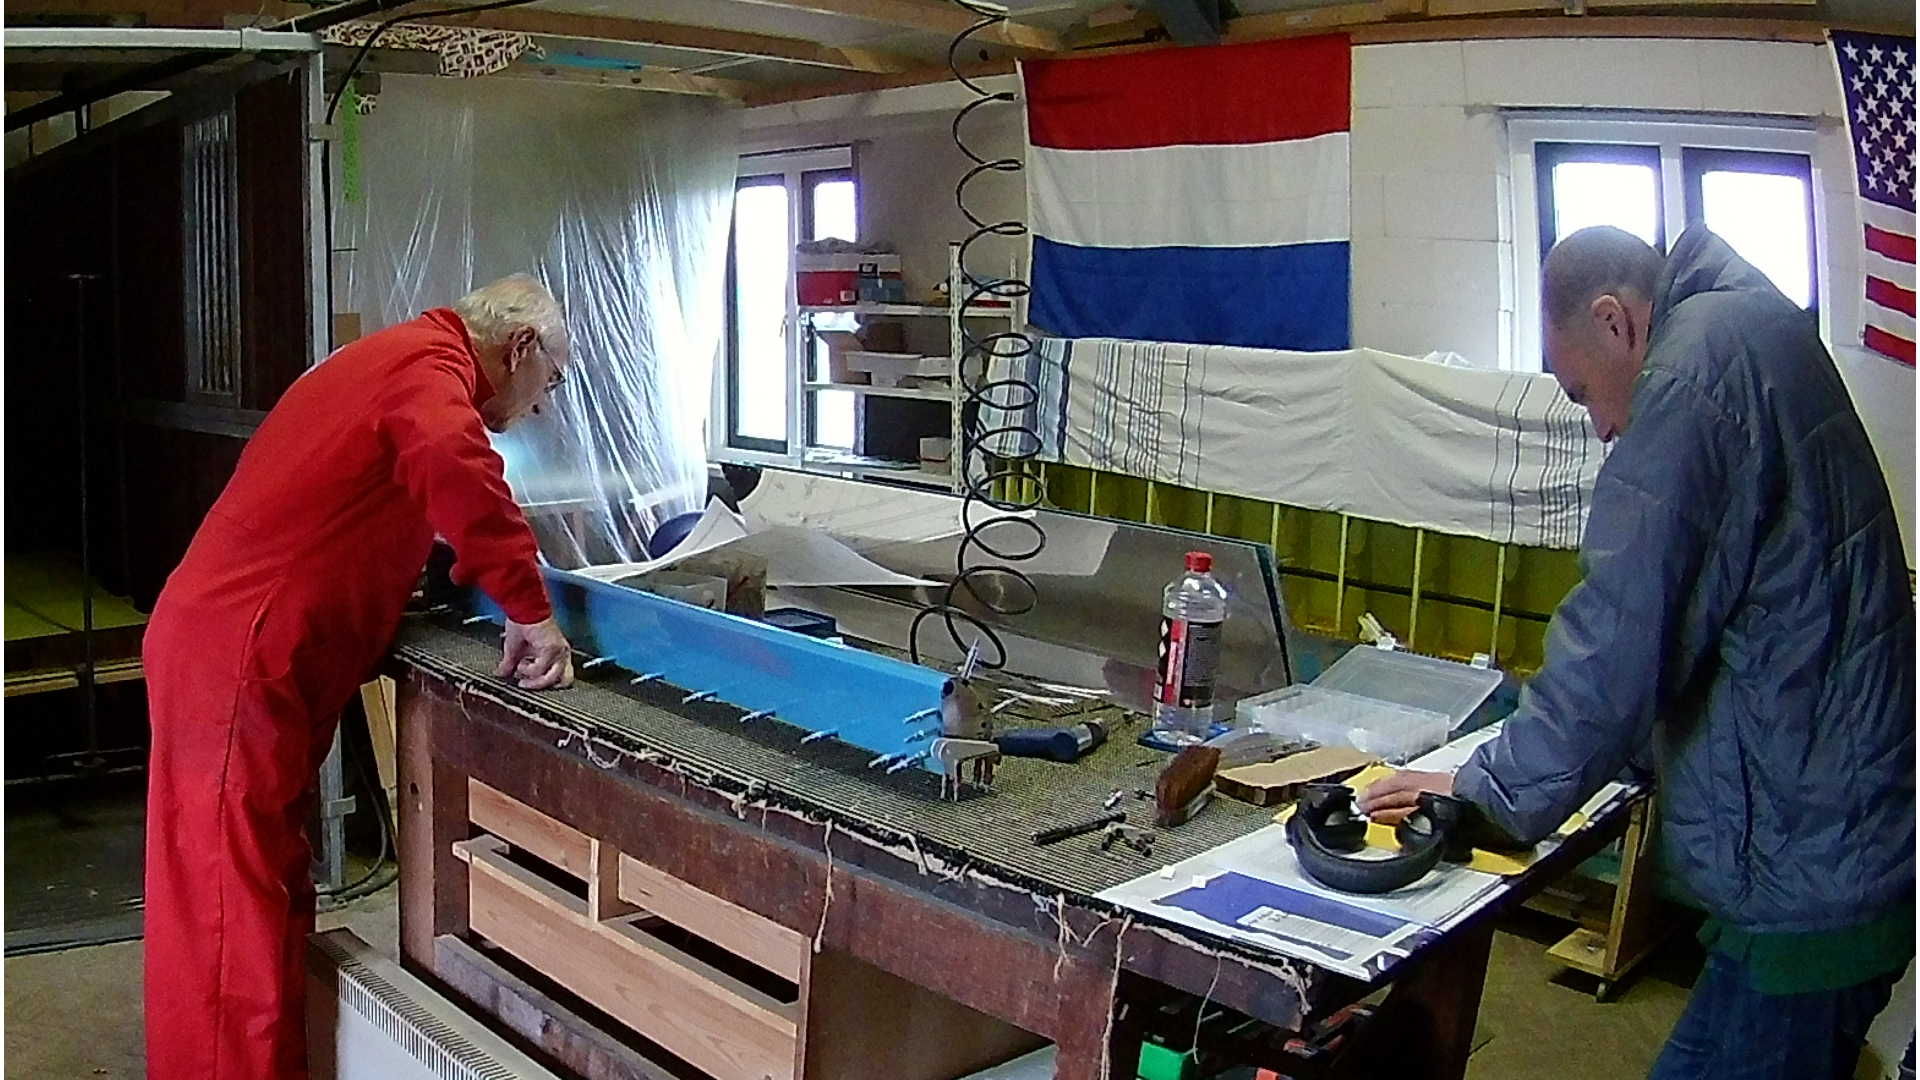
With the Aileron Stiffeners trimmed in the previous session, we started clecoing them to the Aileron skins. I marked them prior to attaching them to the Aileron, but I found that is actually a stupid method. During drilling I found that there is one hole extra in the bottom side of the Aileron skin. Somehow I managed to get both of them wrong (there was a 50% change). So since I already started drilling, I had to change the markings.
Next time drill first and mark when removing the part not when installing.
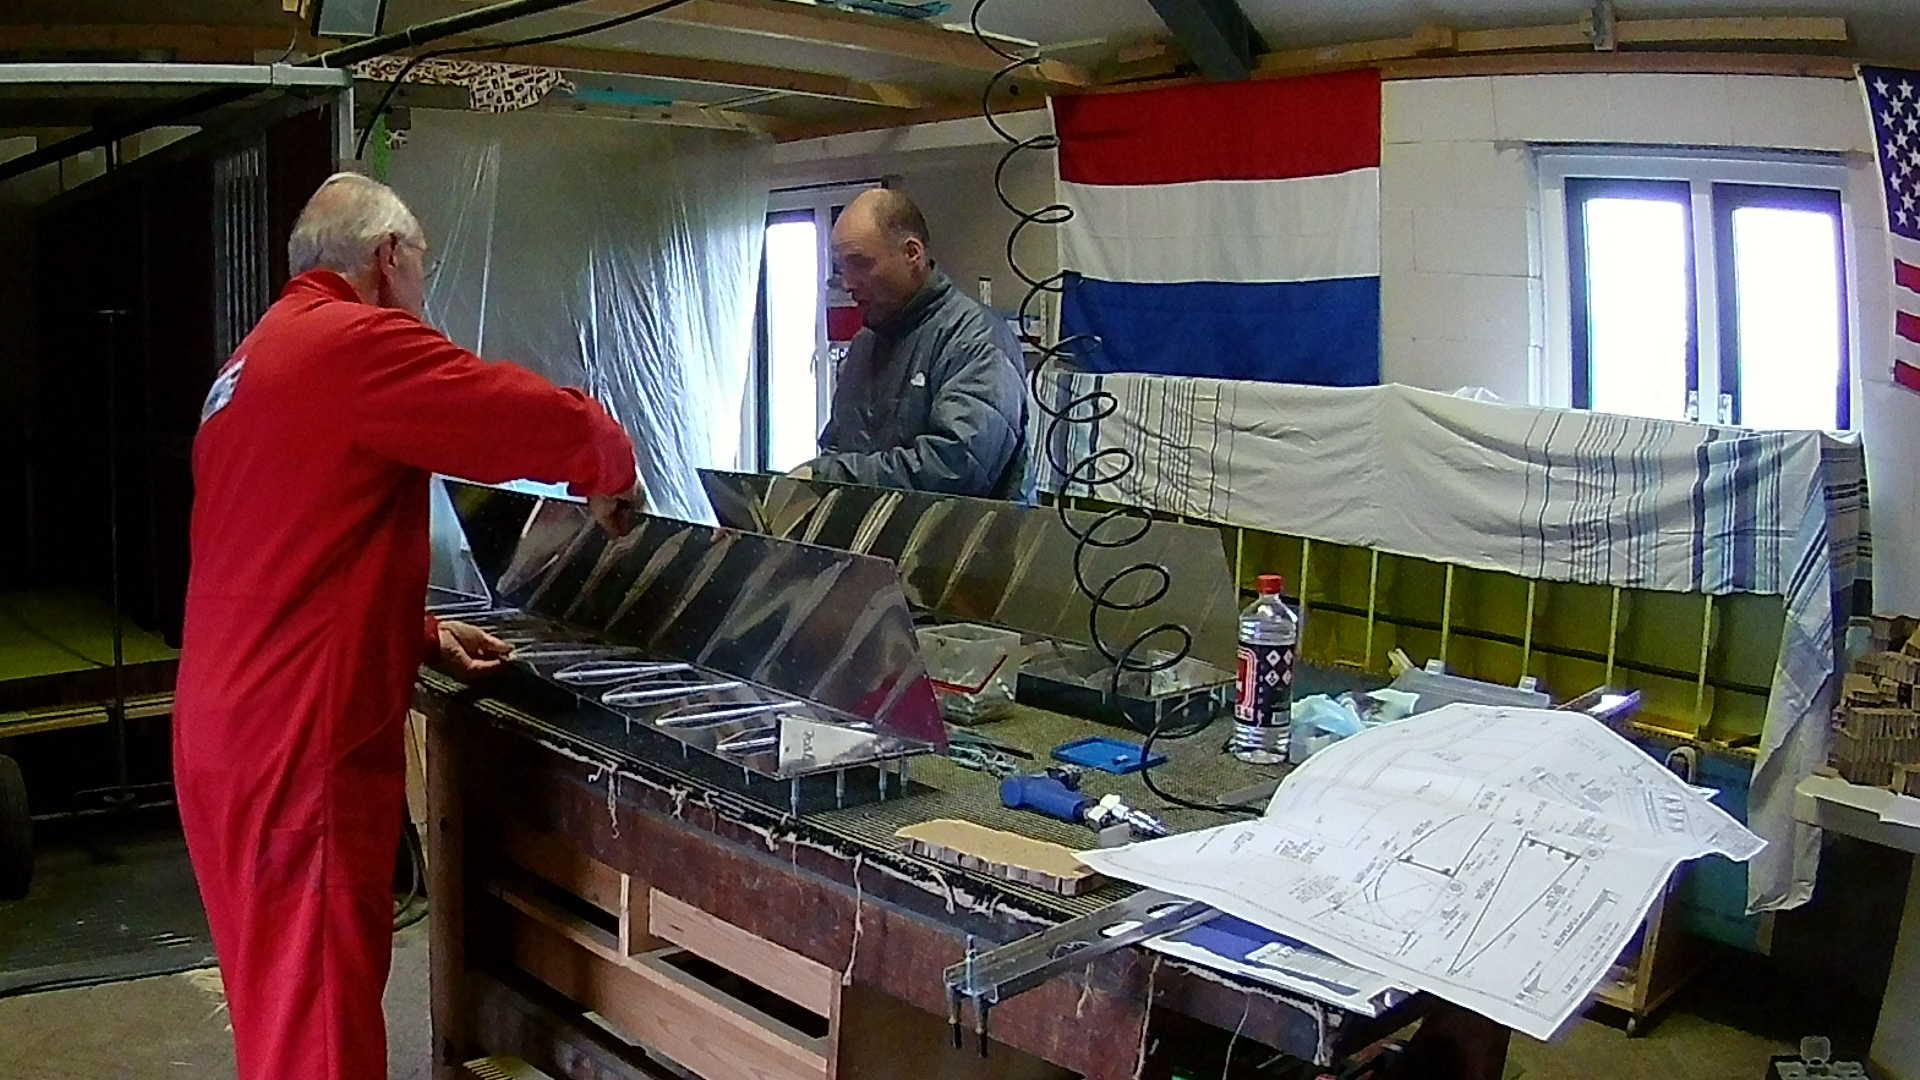
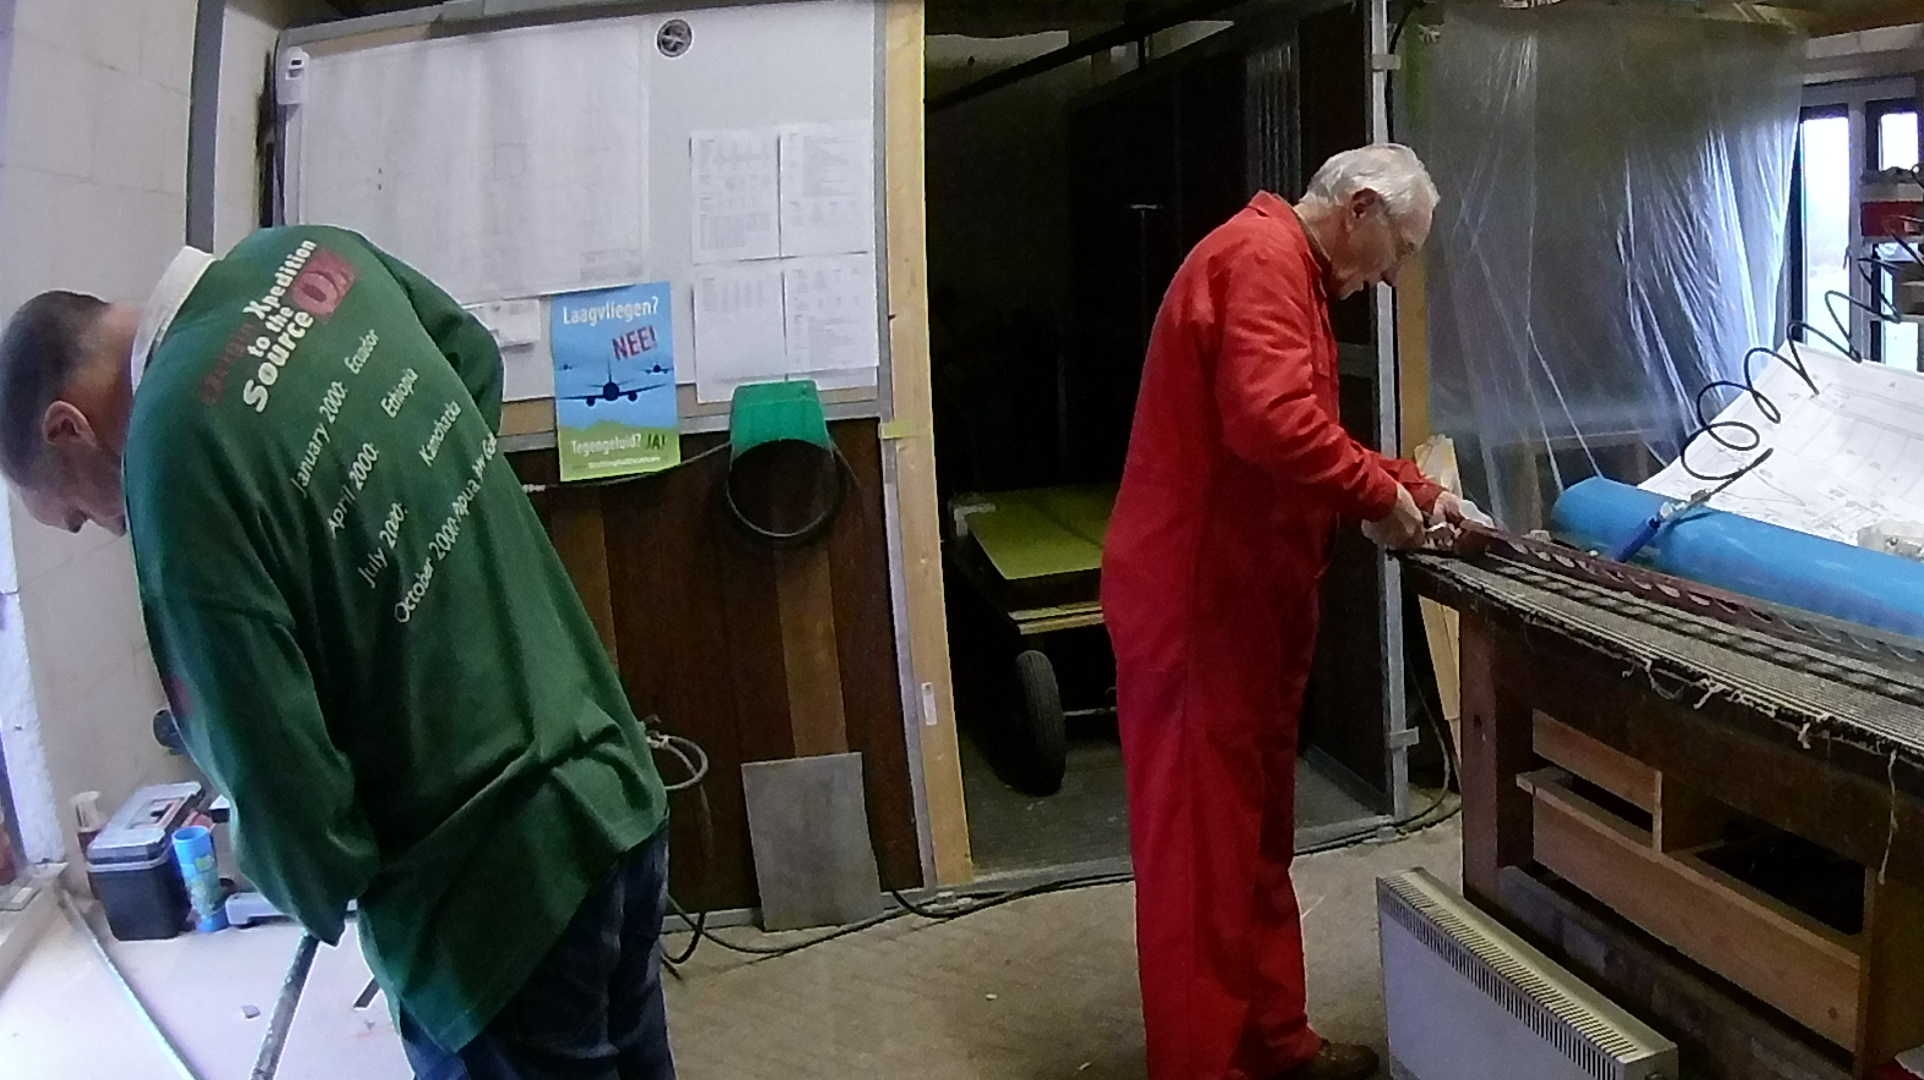
While I’m deburring the Aileron spar and the doubler plates, my dad works on the aileron stop notch, that should prevent the aileron from overstretching and probably damaging the top wing skin.

Now we need to match drill the leading edge of the Ailerons. The counter balance in the nose of the leading edge is a steel pipe.
We match drilled all the holes in the Aluminum. However the holes in the steel pipe (counter balance), I only marked them with the drill. The main reason is that I feared damaging the Aluminum skin (elongating the holes), because drilling through the steel takes long.
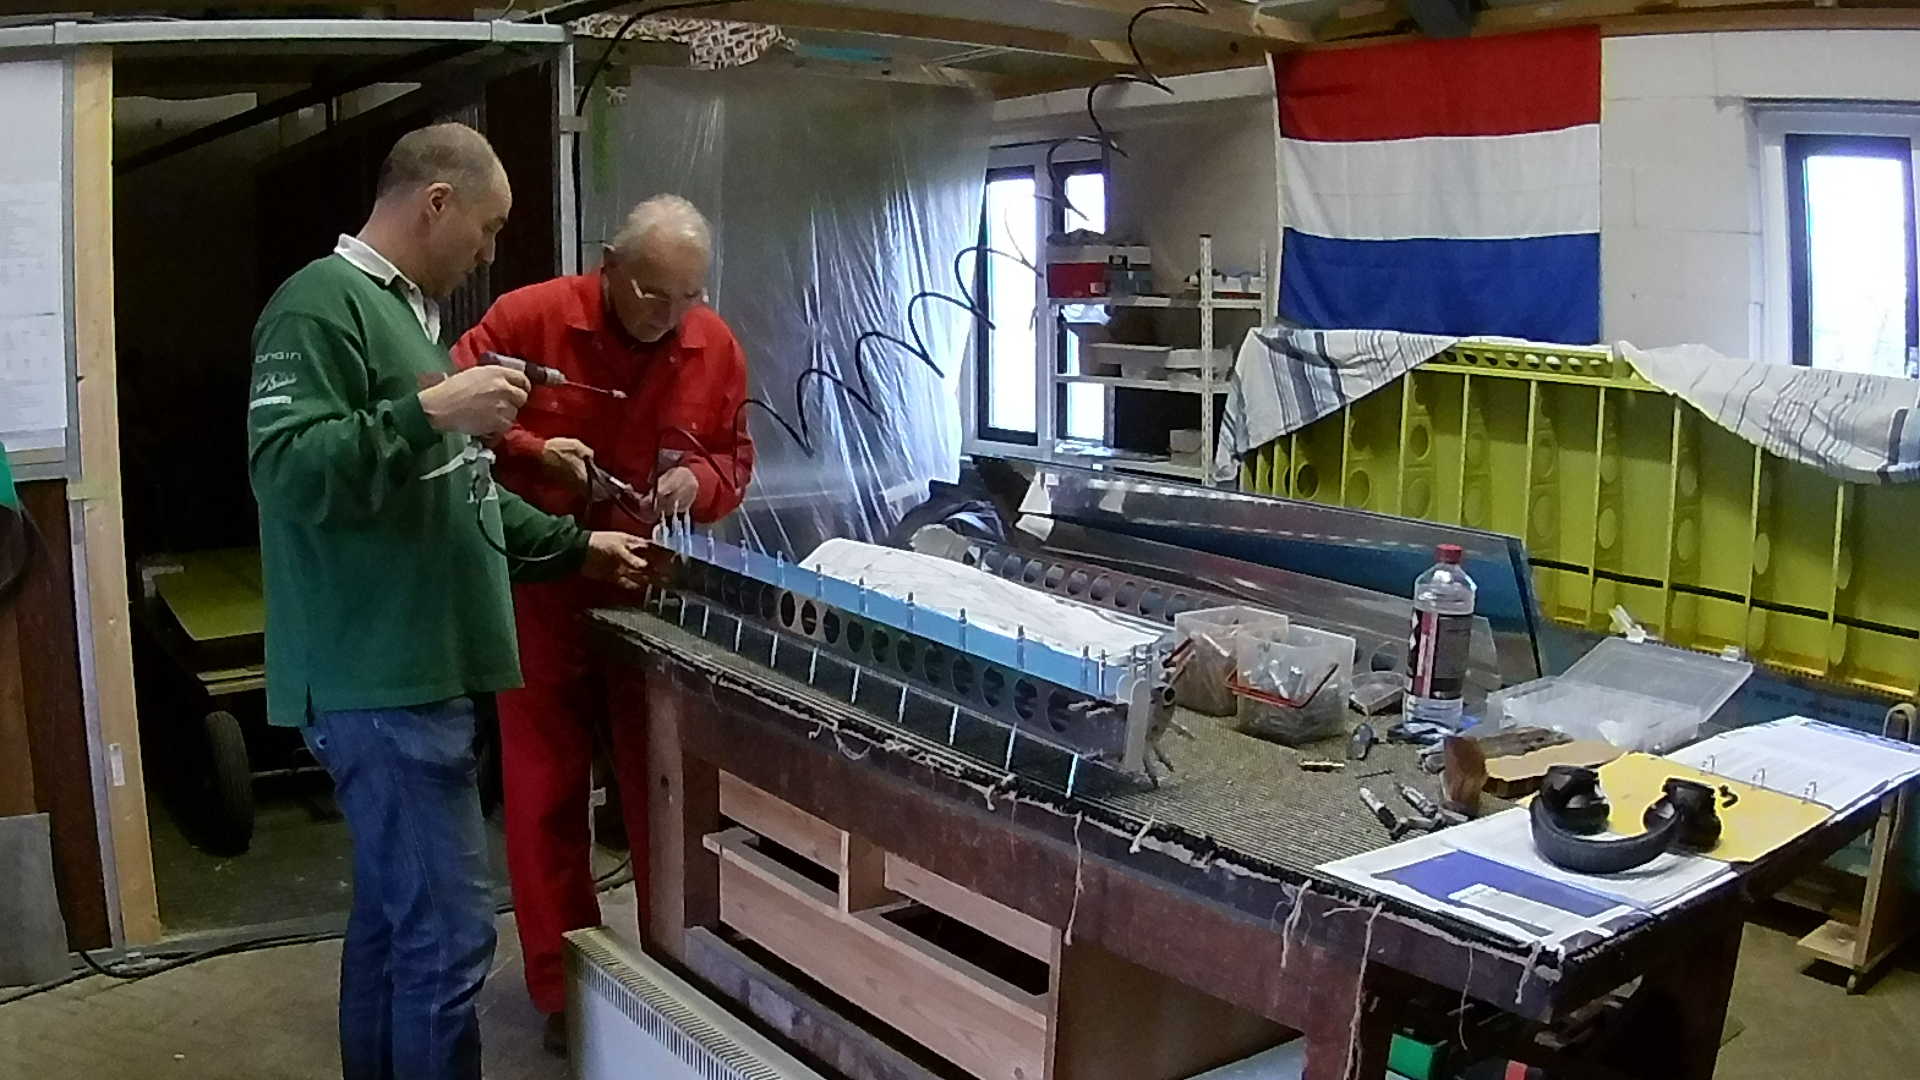
So after “marking” the holes (with the drill), I placed the steel pipe in the vices and drilled all the holes.
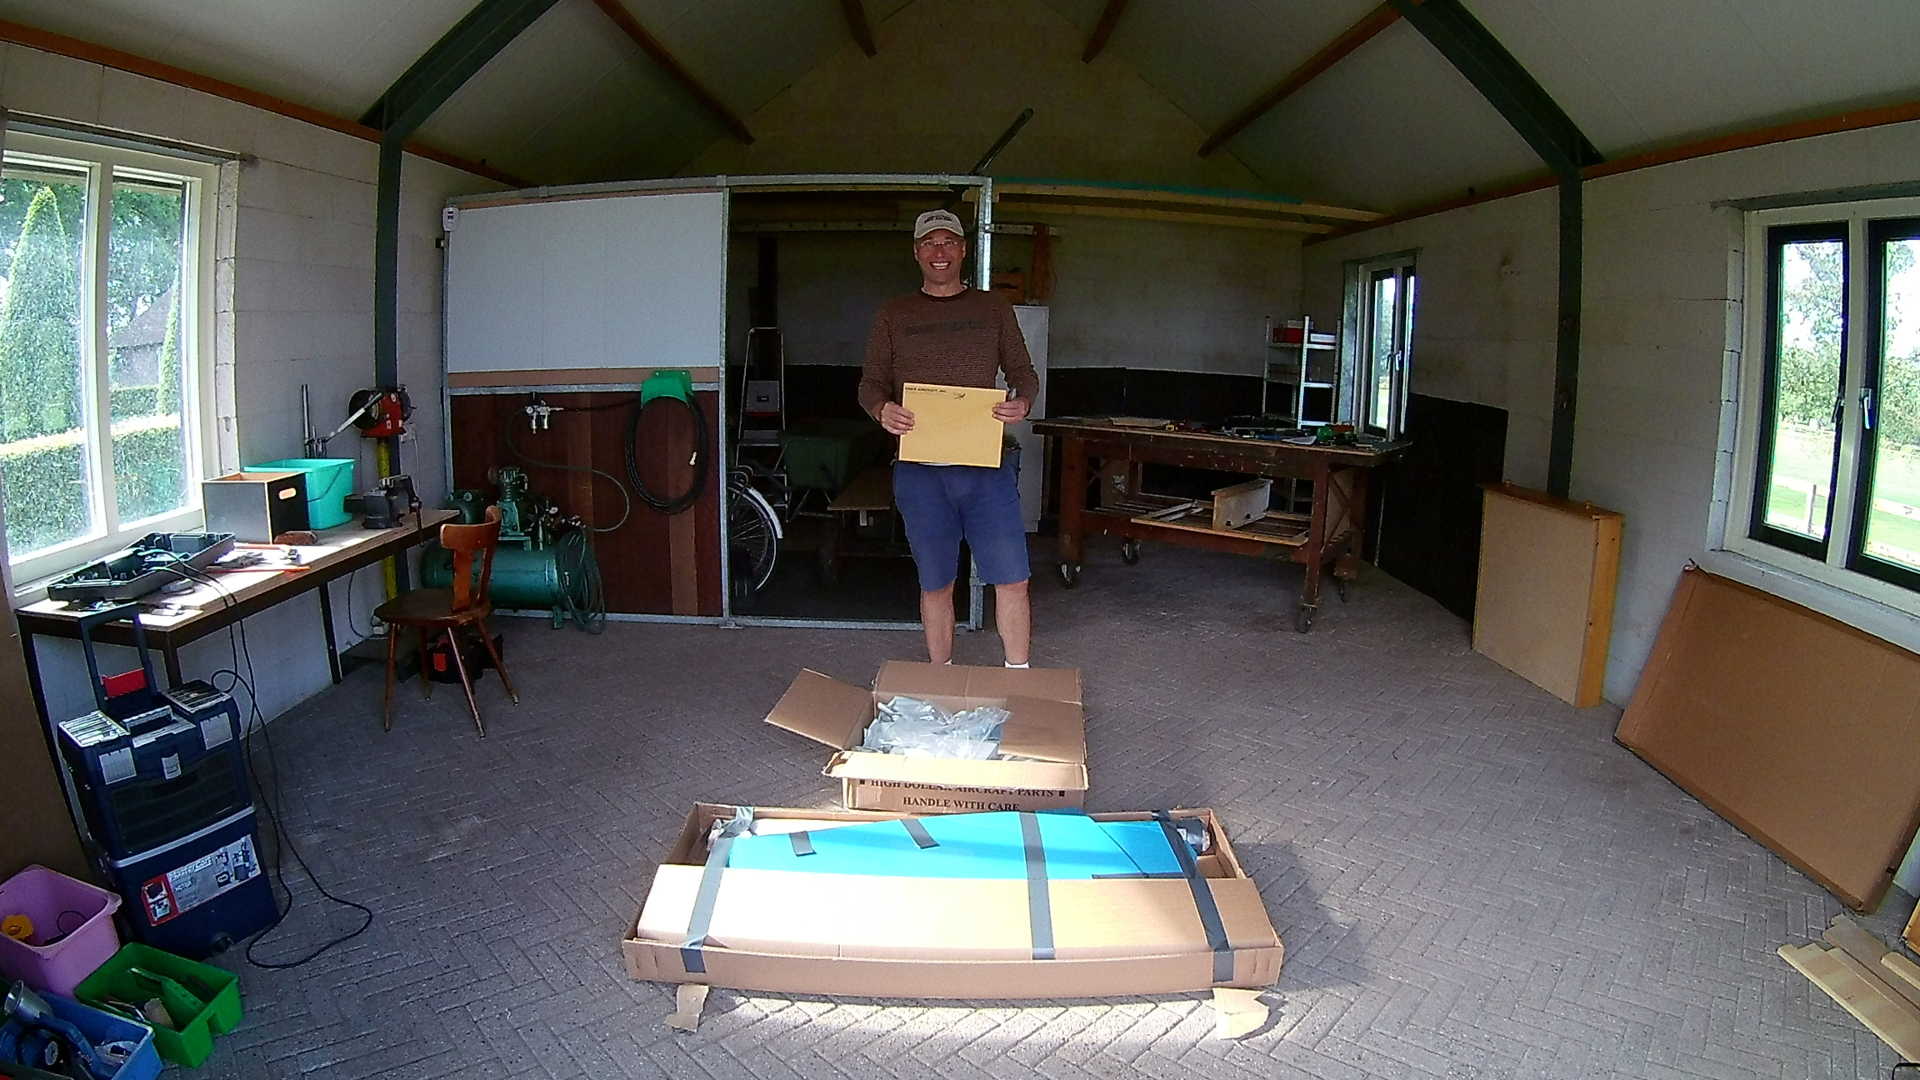
Last day of the year (2018). My goal was to finish the wing kit in 2018, but I’m at 75%. Not bad, but I lost some time on my planning. Meanwhile I ordered the Fuselage and that should arrive somewhere in March. So I have another two months to finish the Wing kit. That should be sufficient time, because the Ailerons and Flaps look pretty easy.
Time: 4 Hours, Rivets: 0/0
Video