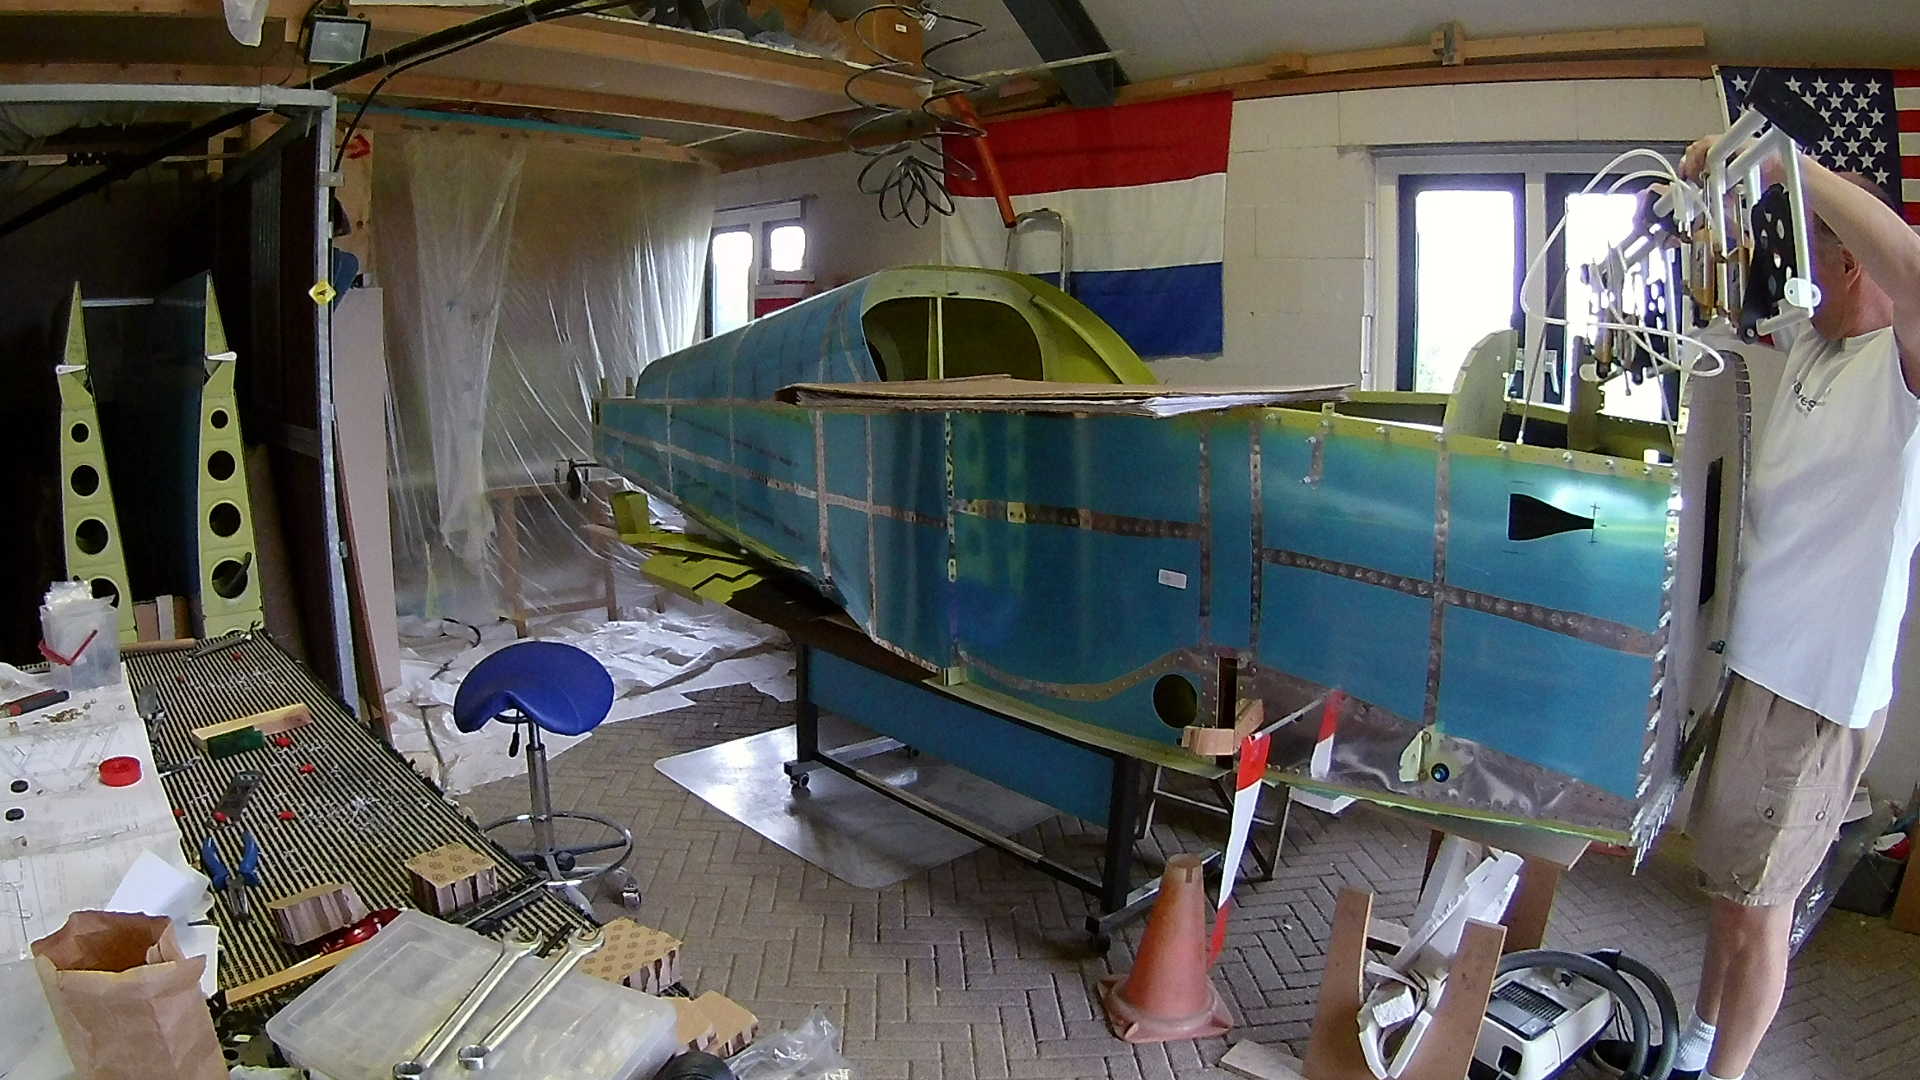

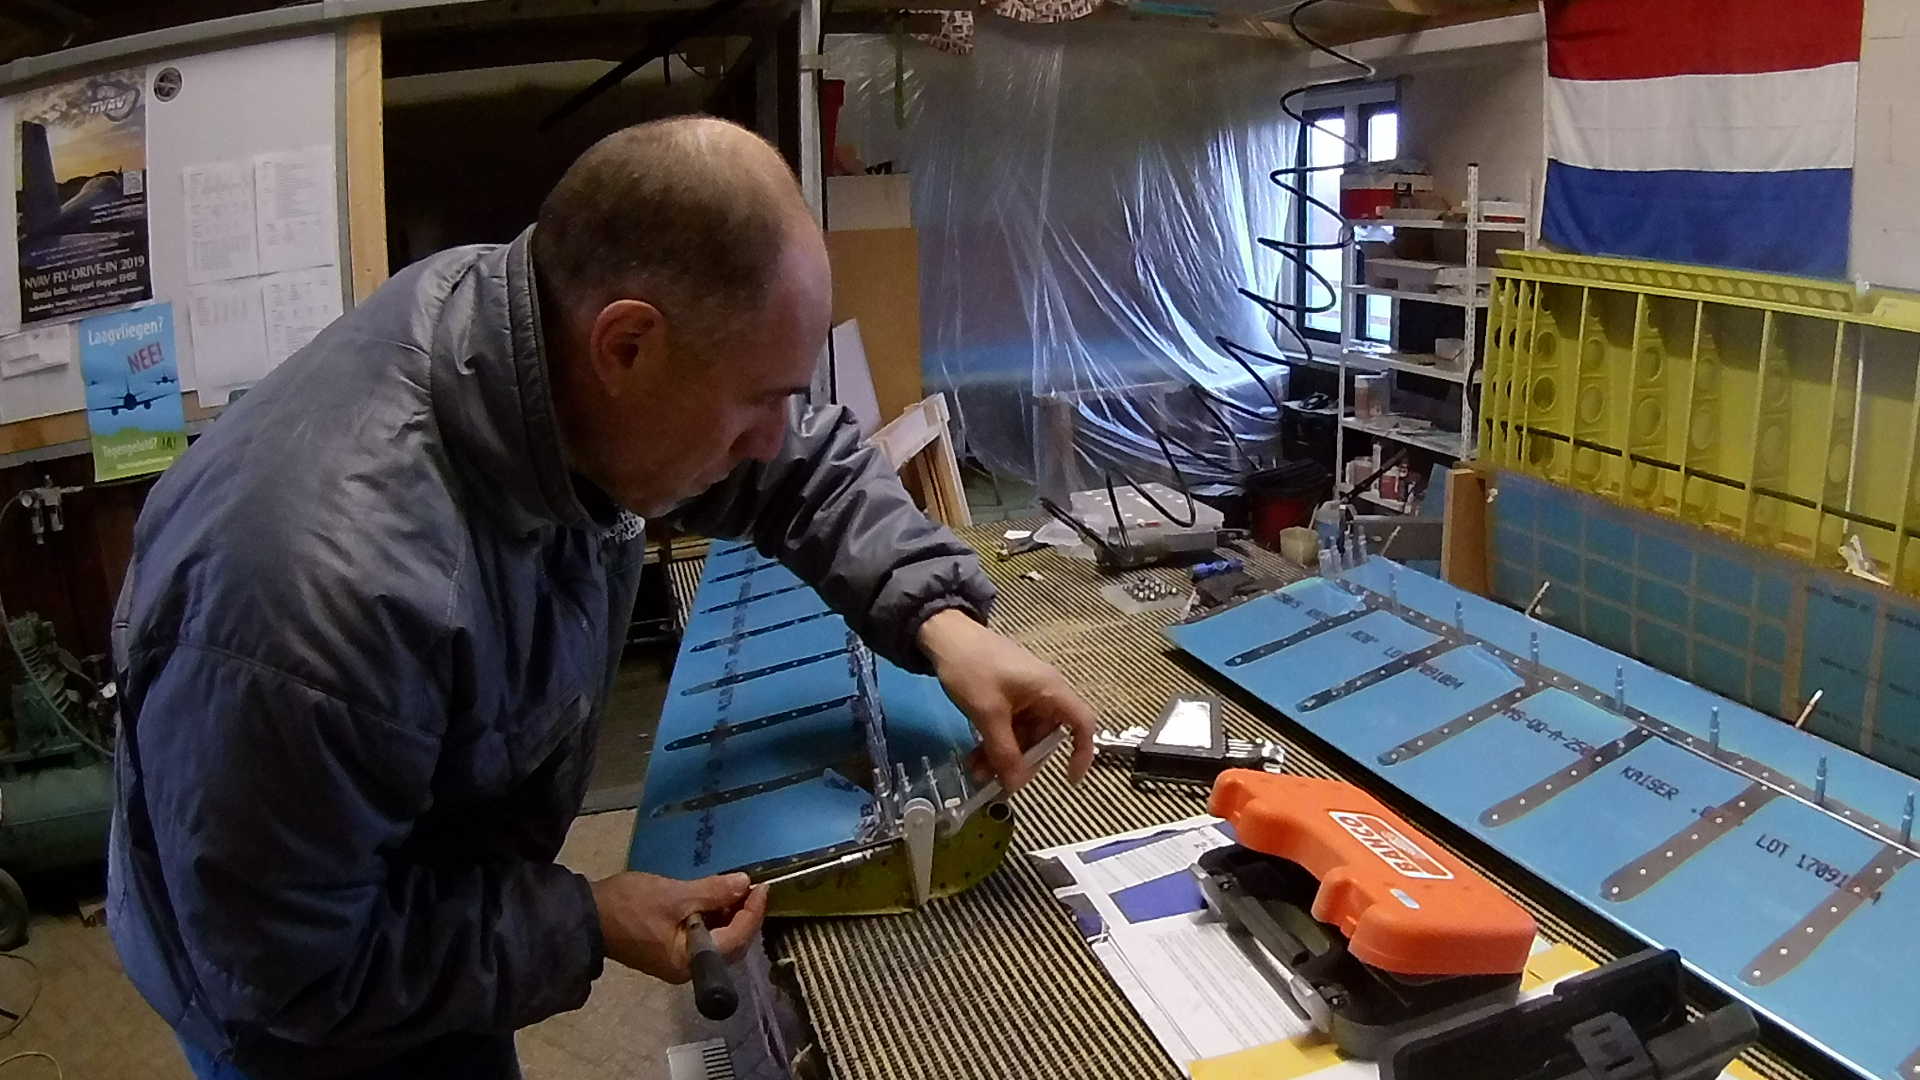
Riveting the leading and trailing edge skins to the Aileron spar is not easy. Probably the best way is a custom (formed) bucking bar, which I don’t have. I only have the tungsten bucking bar, which is really great, but lacks the ability to reach narrow places.
I could reach with my hand between the spar and the leading edge skin, but only just and it left cut marks for days on my hand. Oh well it’s only 42 rivets (times two).
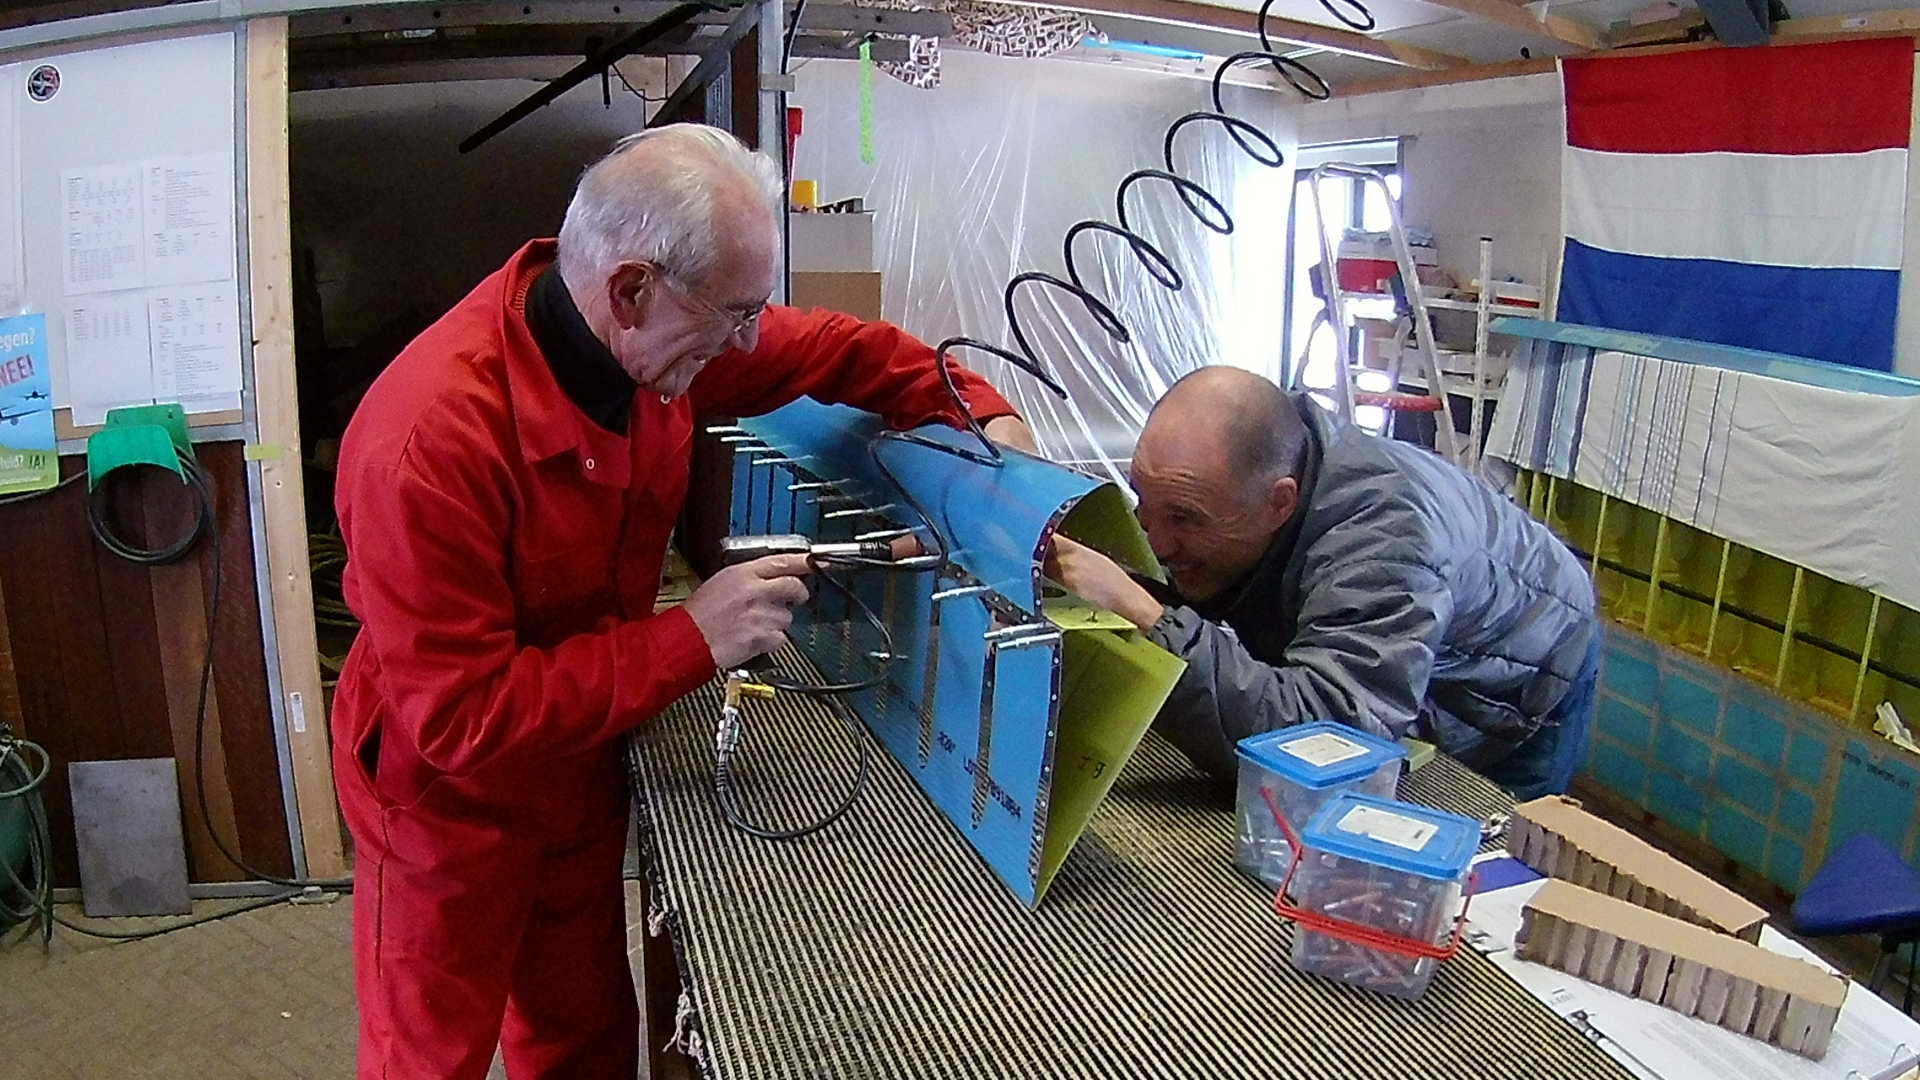
Now we need to cleco the rest of the skin so we can rivet the counter balance (front of leading edge) and the ribs.
After riveting the ribs (trailing edge) I can attach the brackets on the Aileron, which attaches them to the wing.
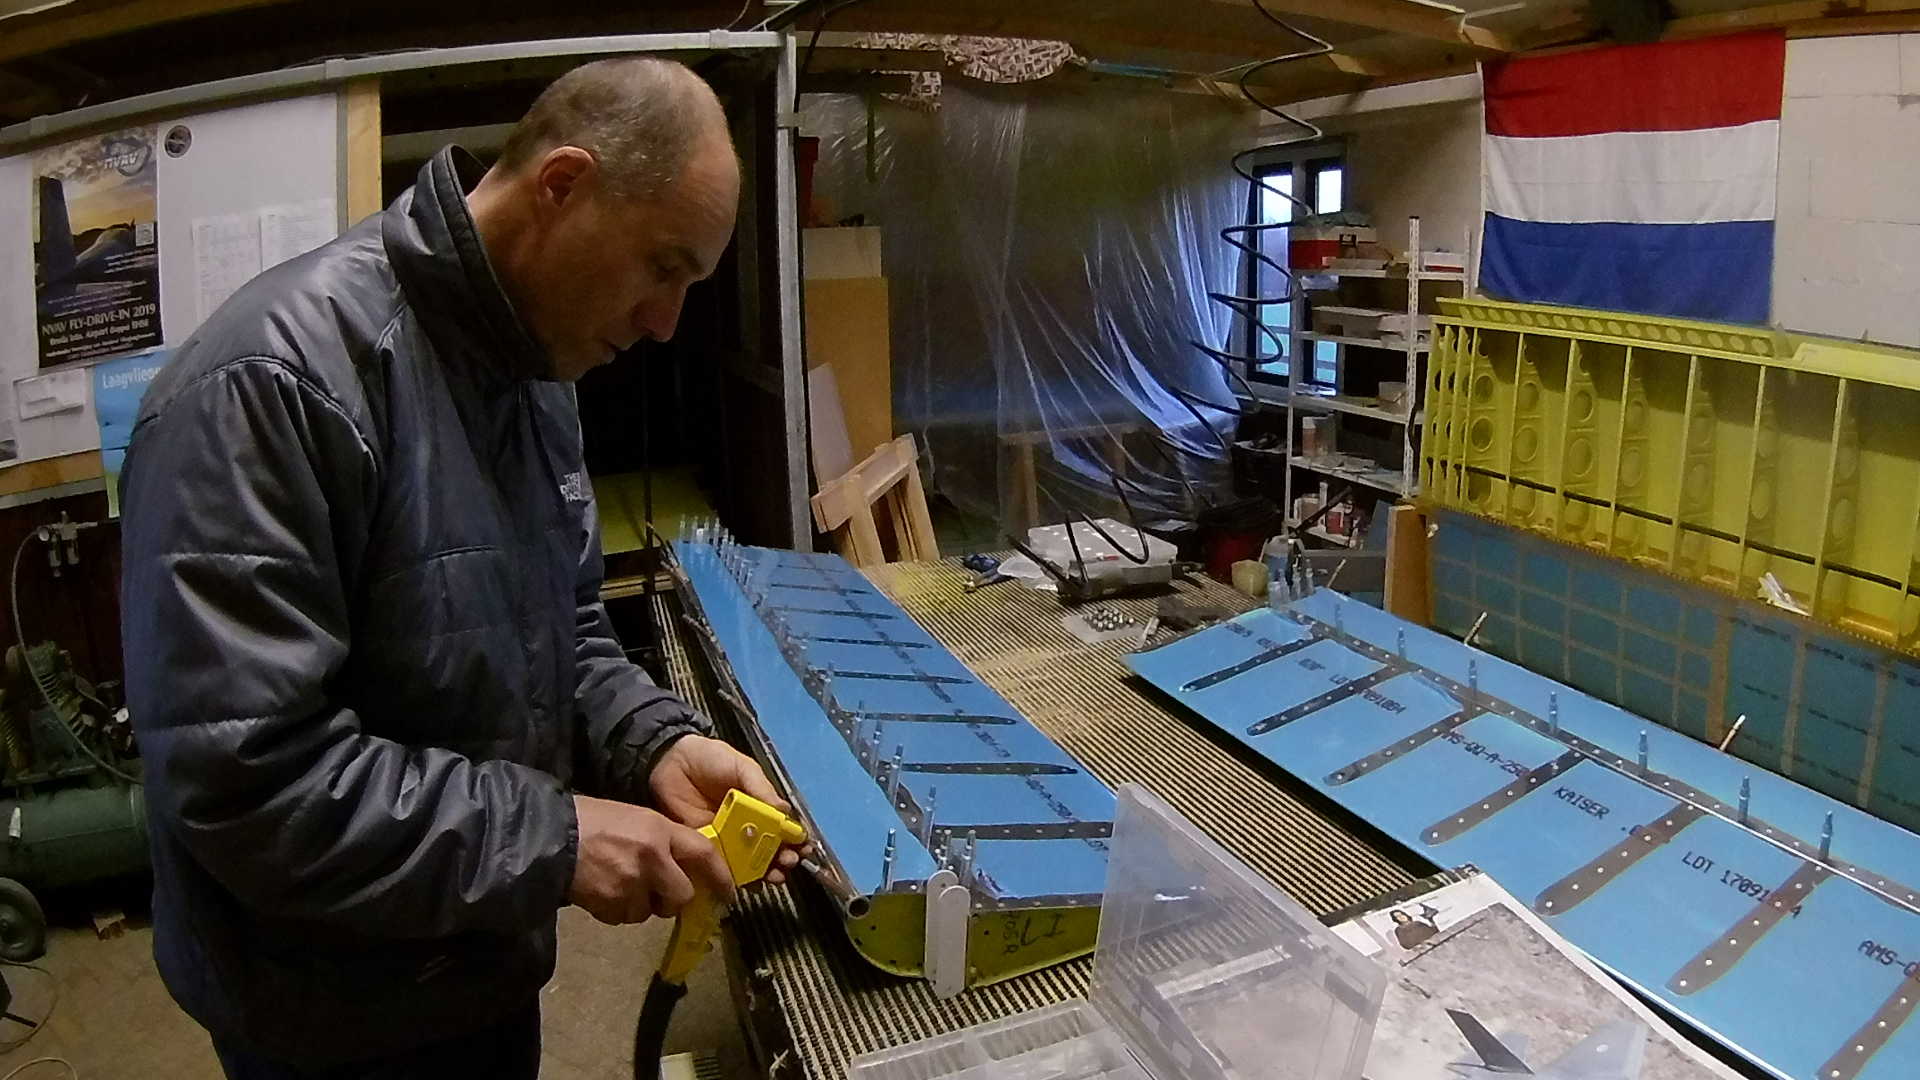
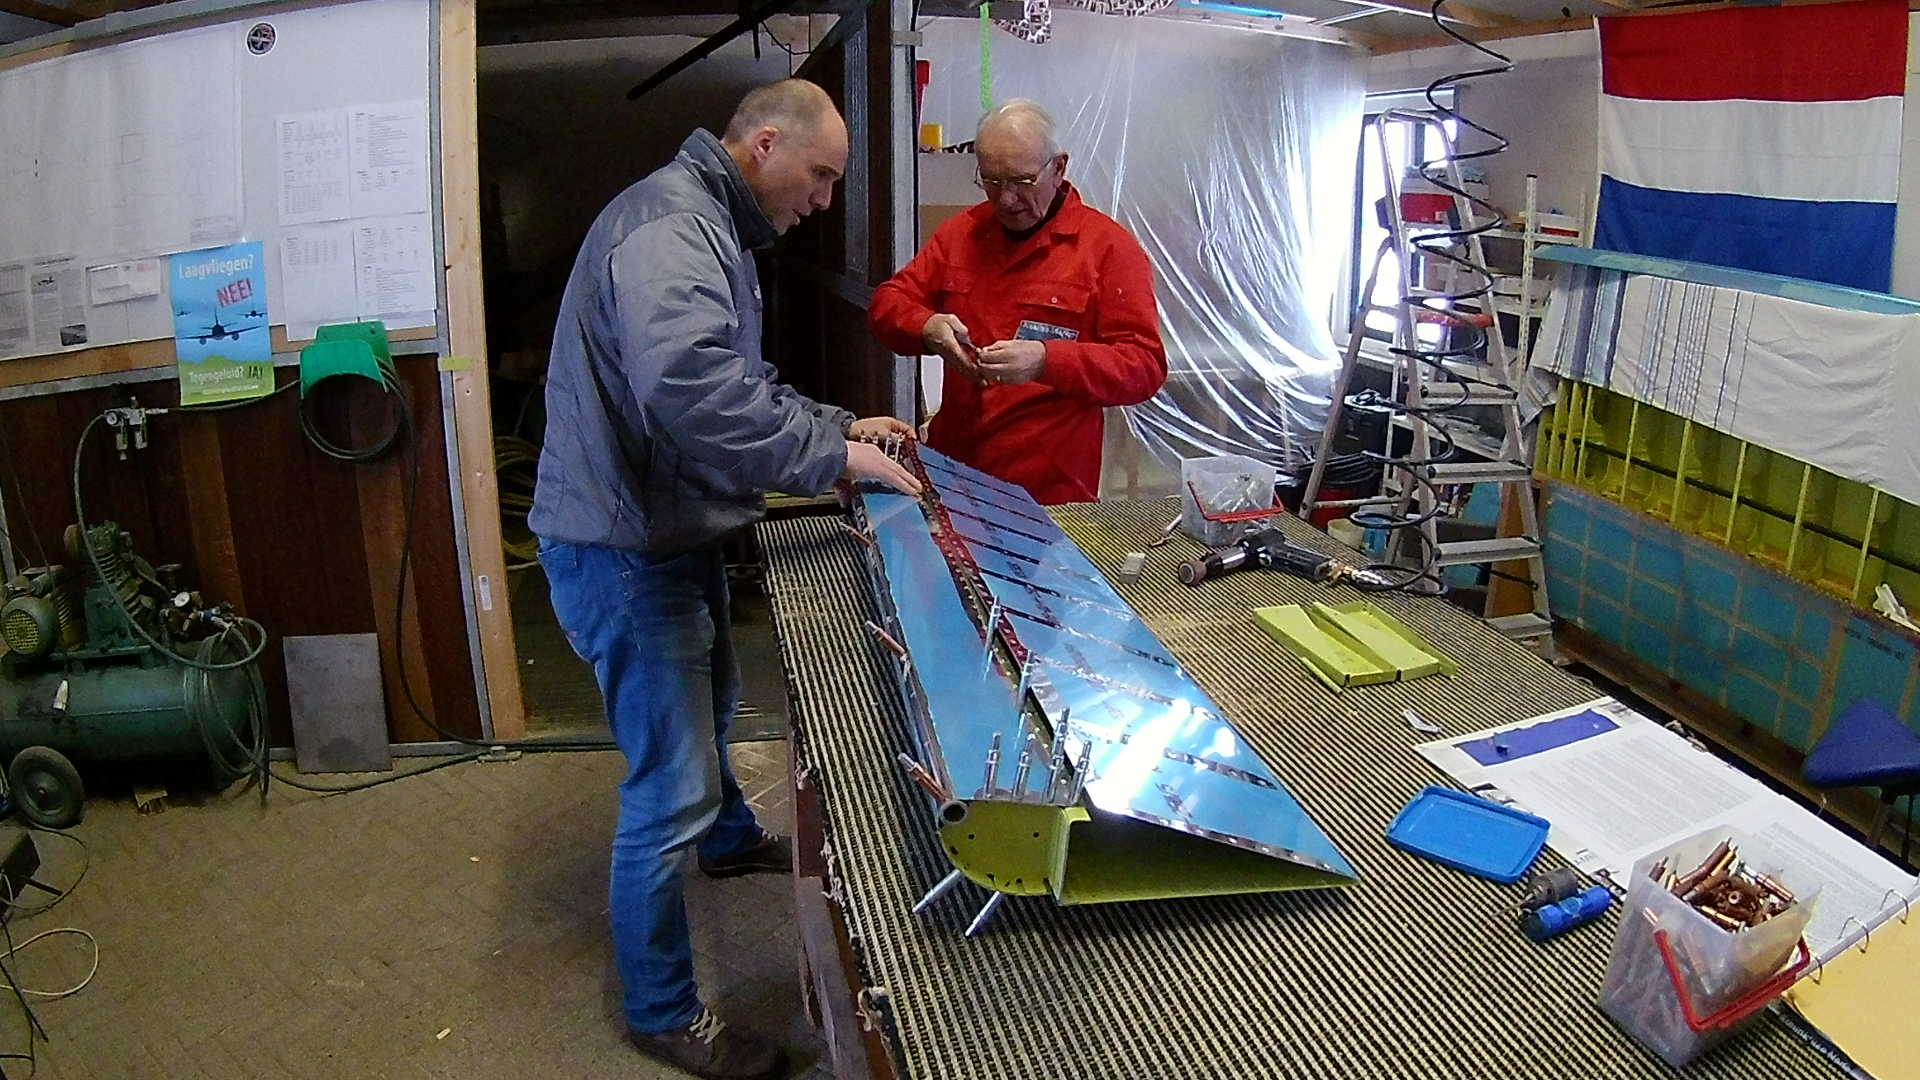
The counter balance in the “nose” of the Aileron is pop riveted. There is no way you can rivet that differently.
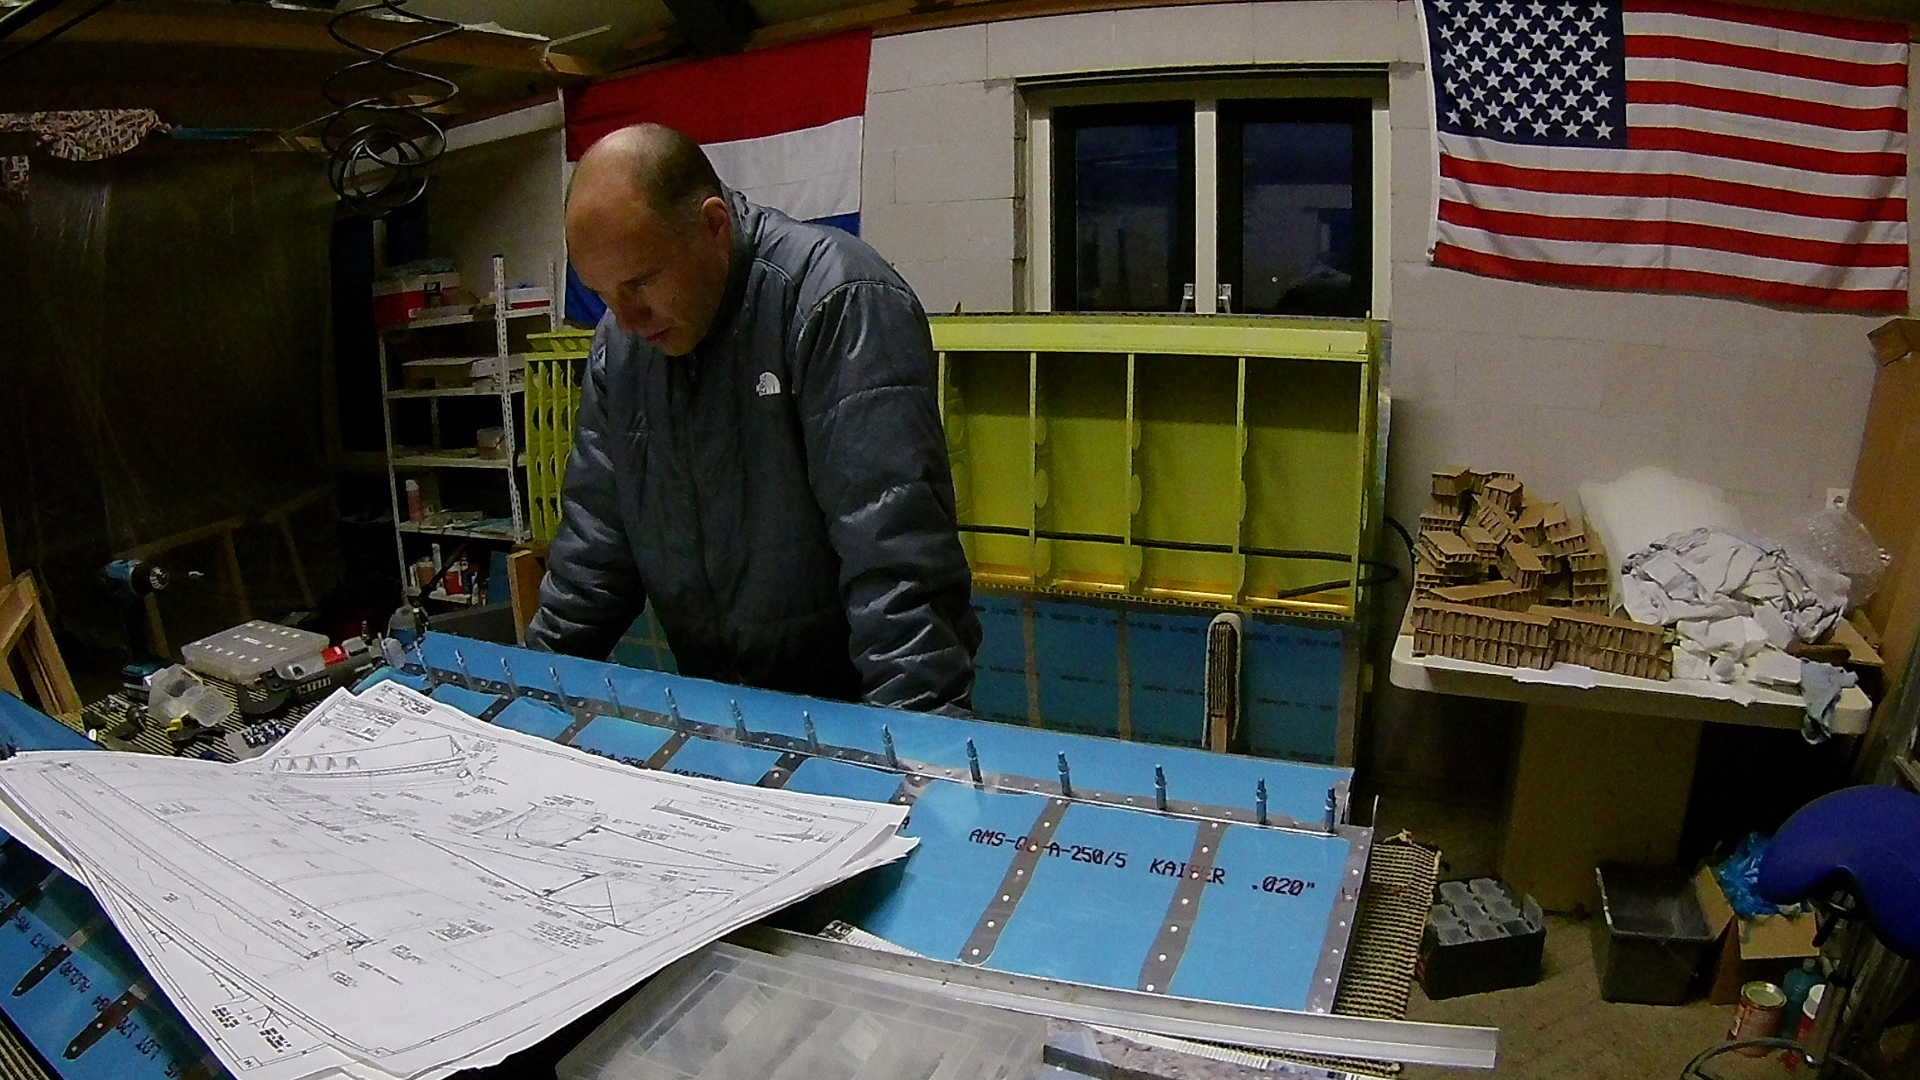
I was looking for a call-out on the pop rivet I need to use for the bottom side of the aileron. Turns out it said in the manual that these holes need to be widened to #30, which I didn’t do. Fortunately I could still fix it by drilling them and deburring them to #30.
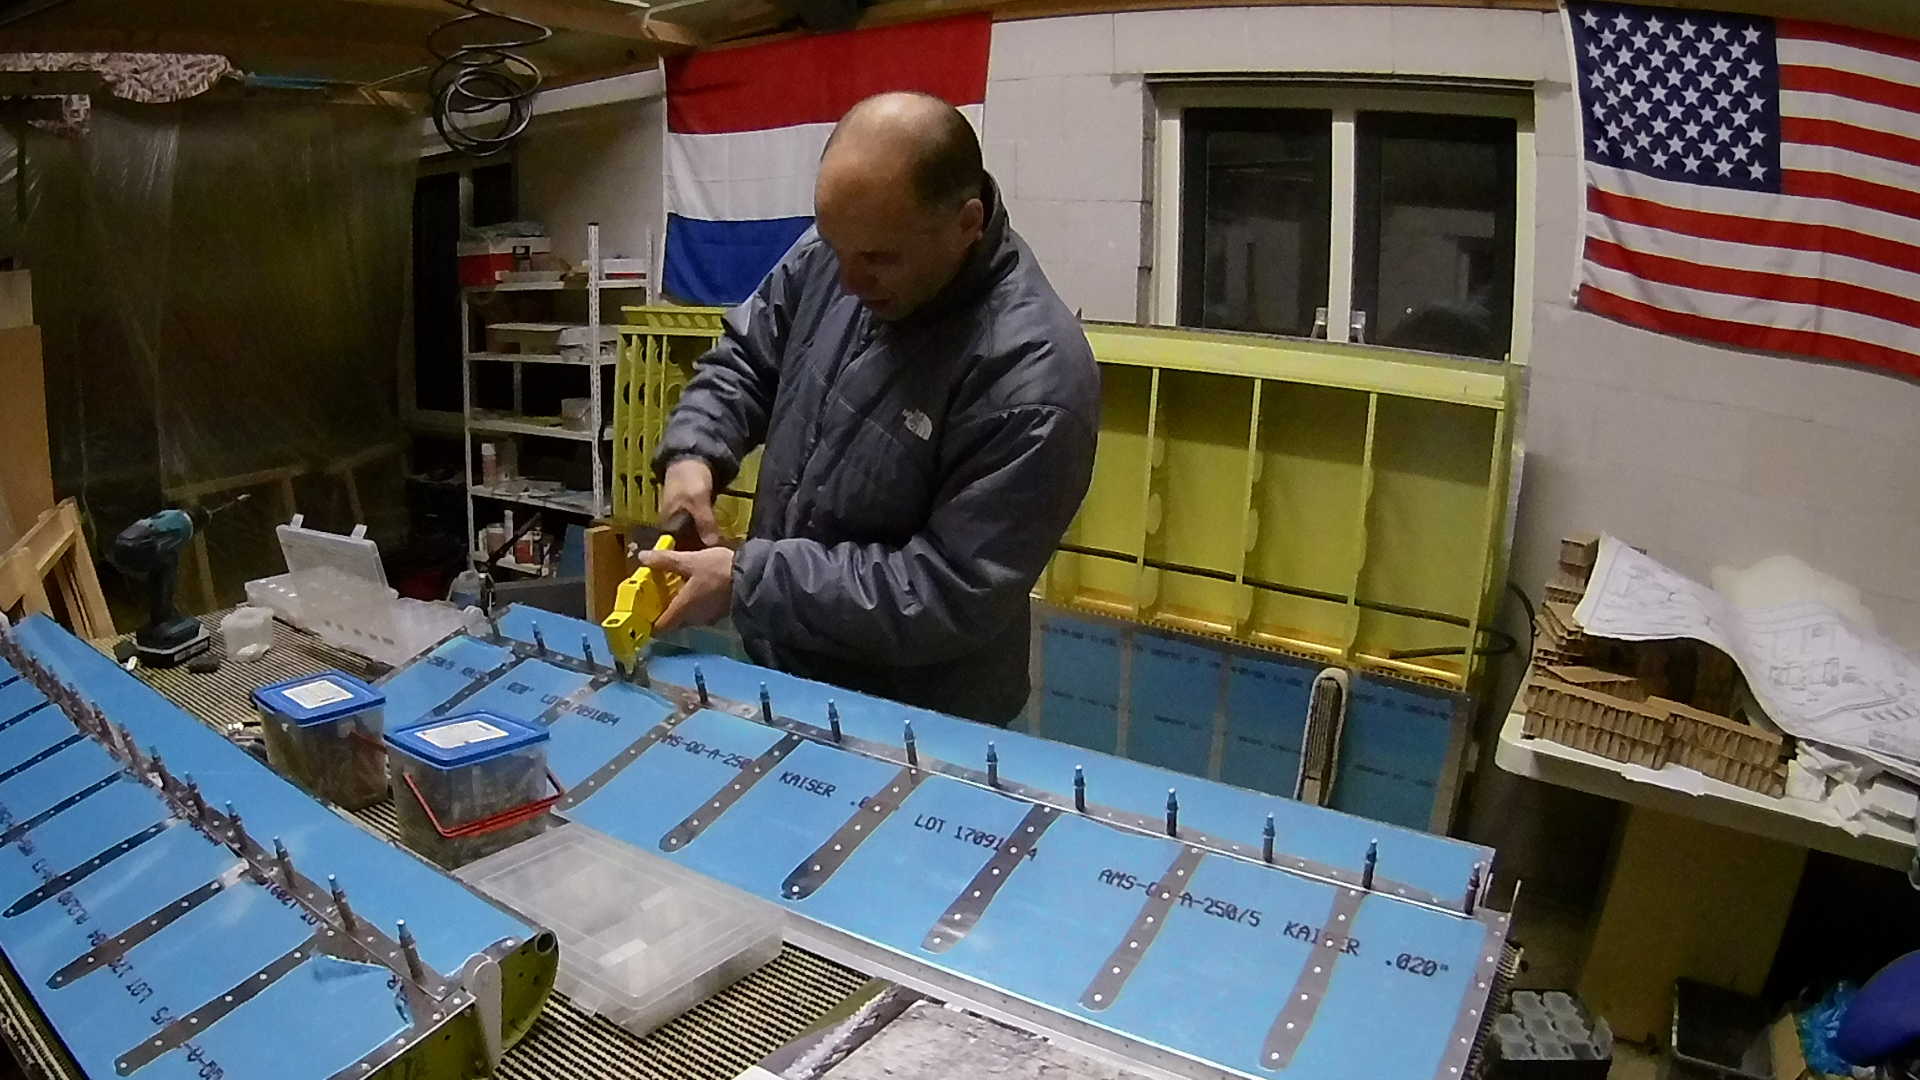
Here you can see the copper color cleco’s are now in there instead of the chrome ones.
Time: 4 Hours, Rivets: 244/1 (2019-01-23)
Time: 3 Hours, Rivets: 62/0 (2019-01-27)
Video