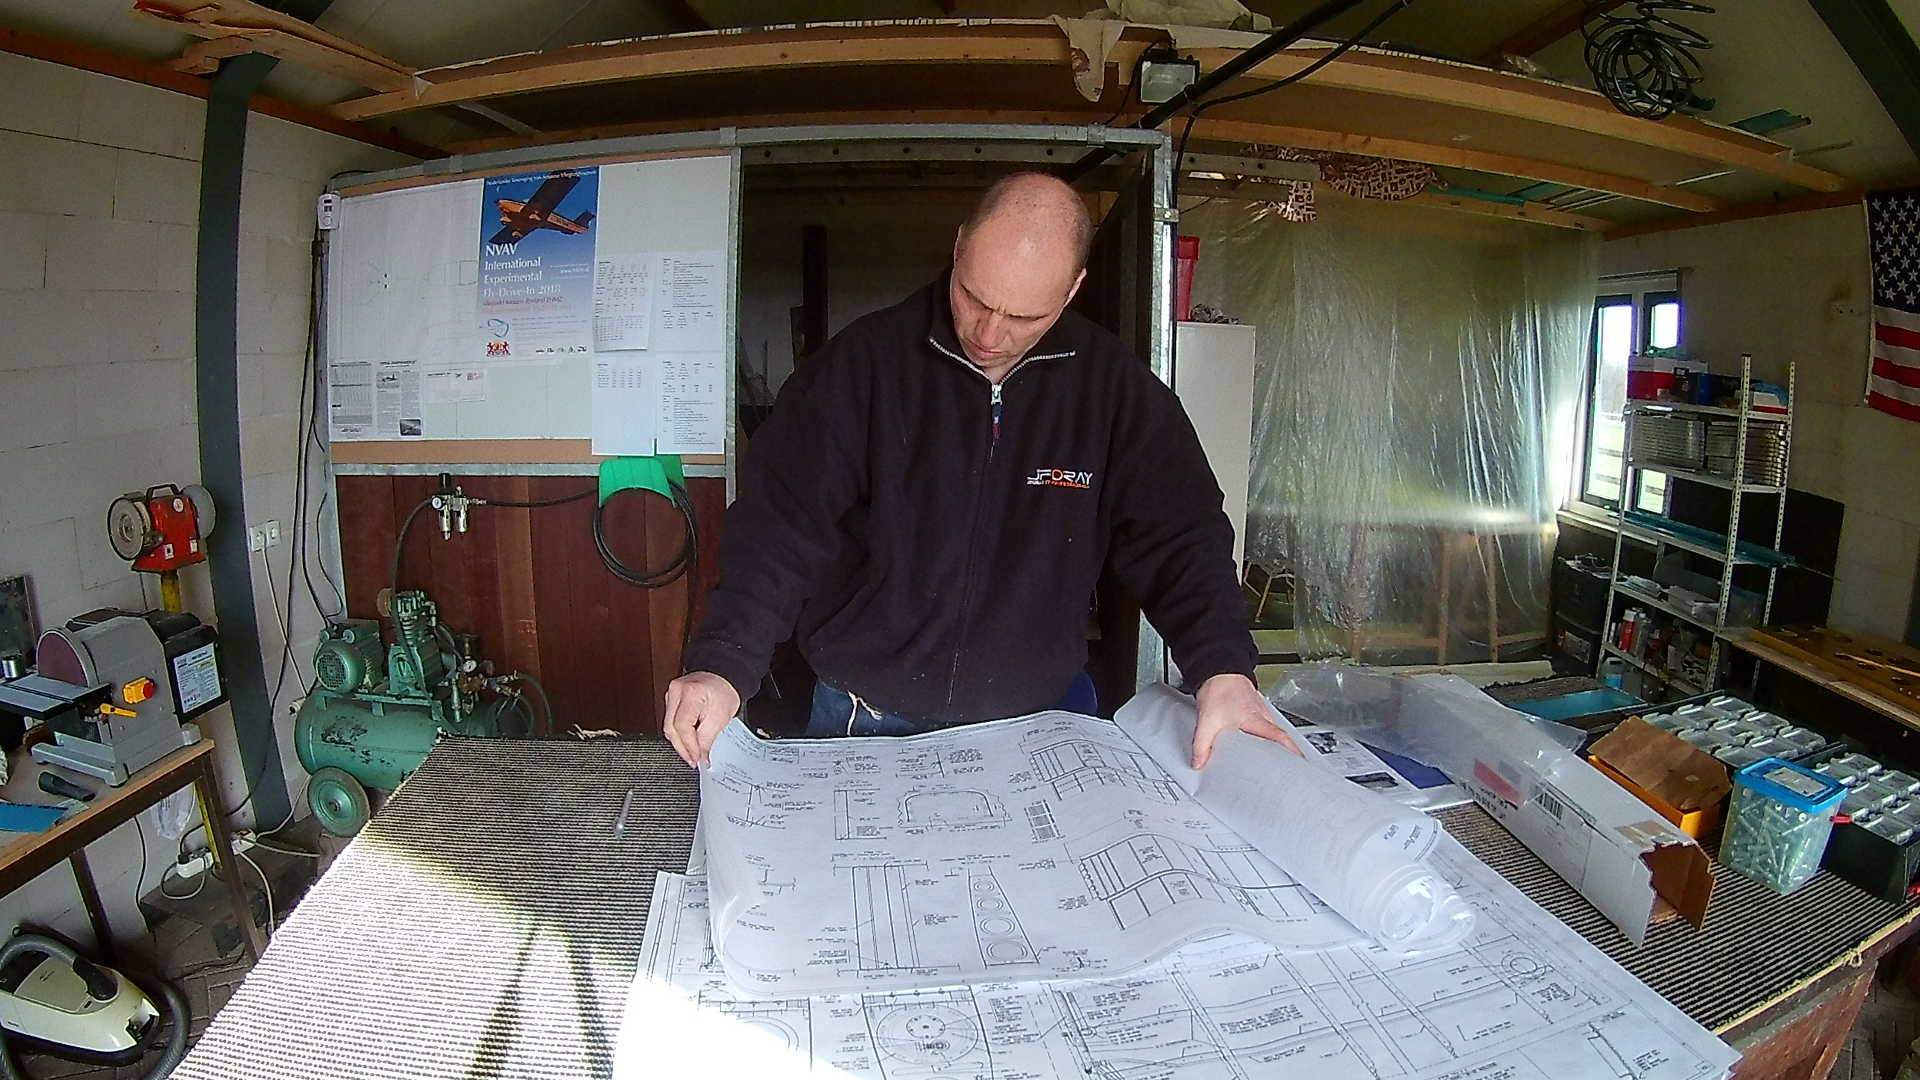

With the Ailerons finished, I can now start with attaching, fitting and adjusting them to the wings.
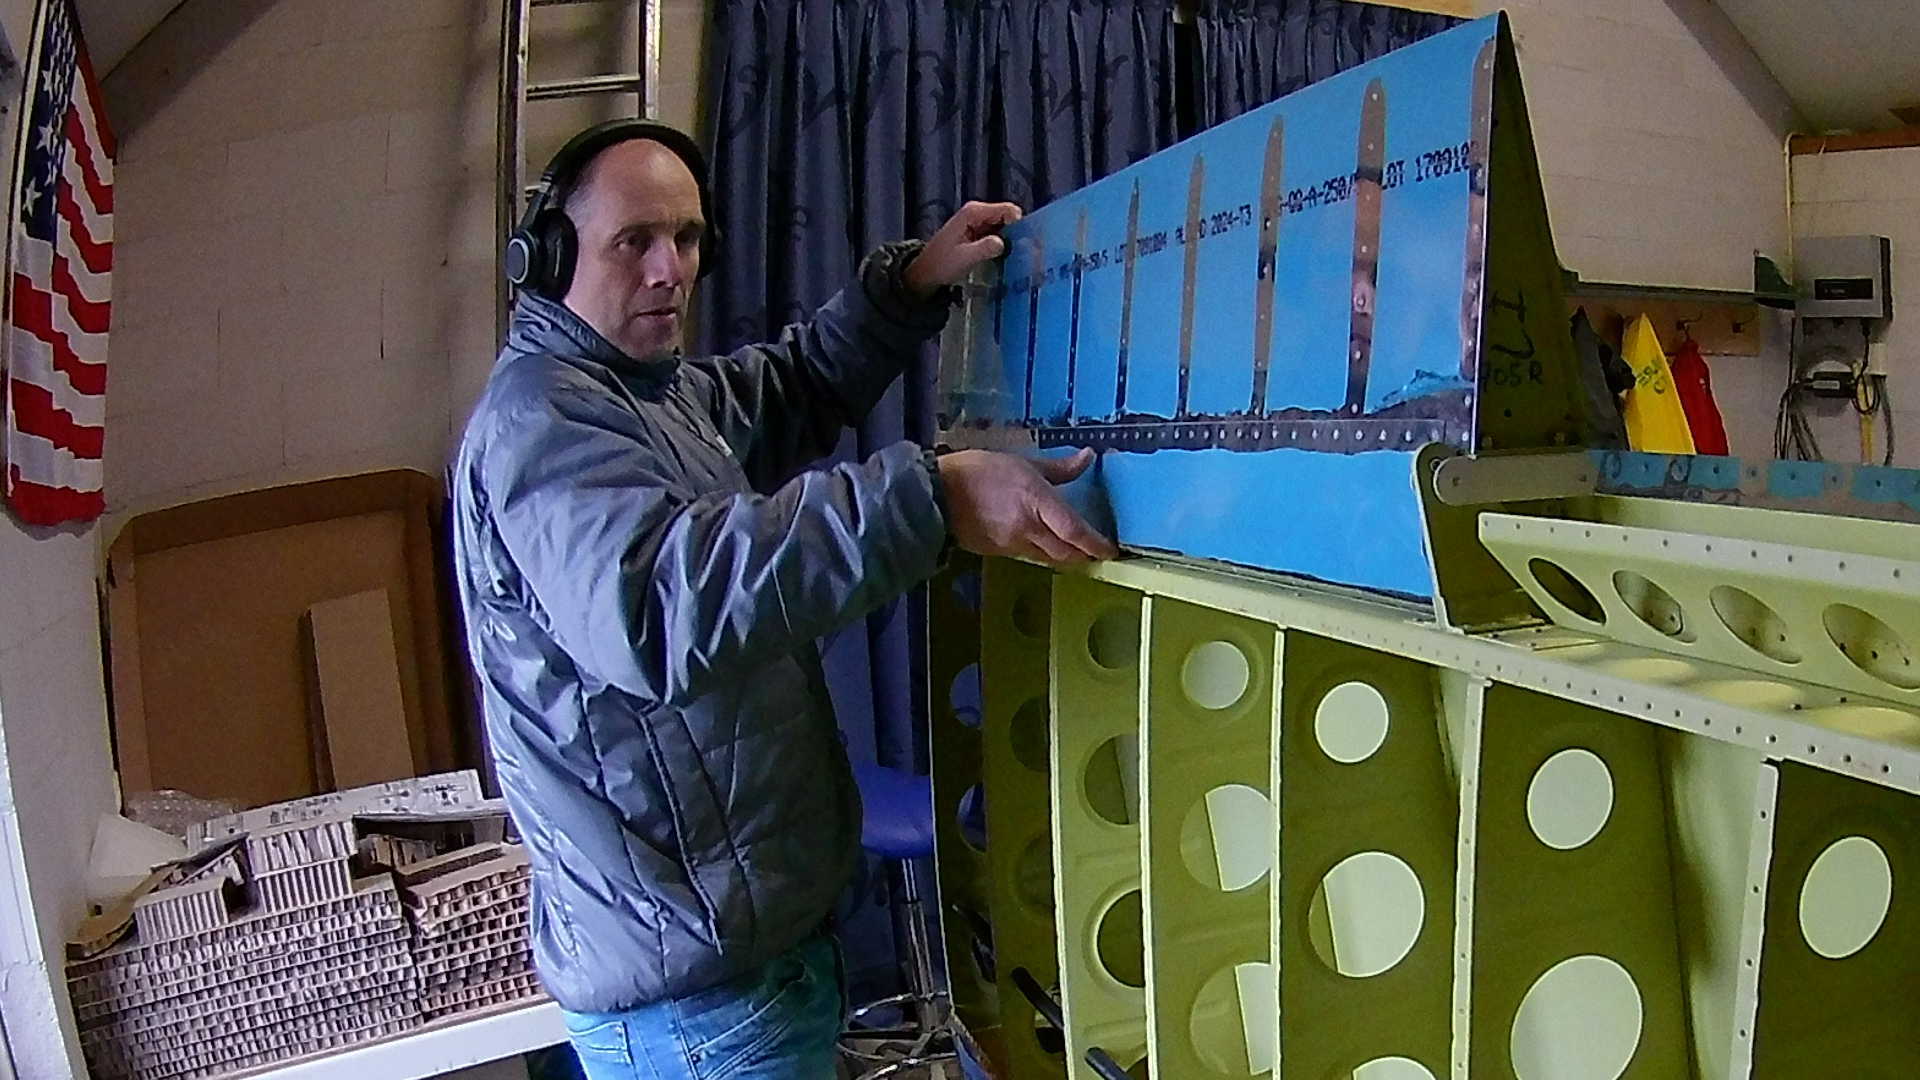
If you carefully place them in the outboard “bay” of the wing, it stays there, so you can attach them with the bolts.
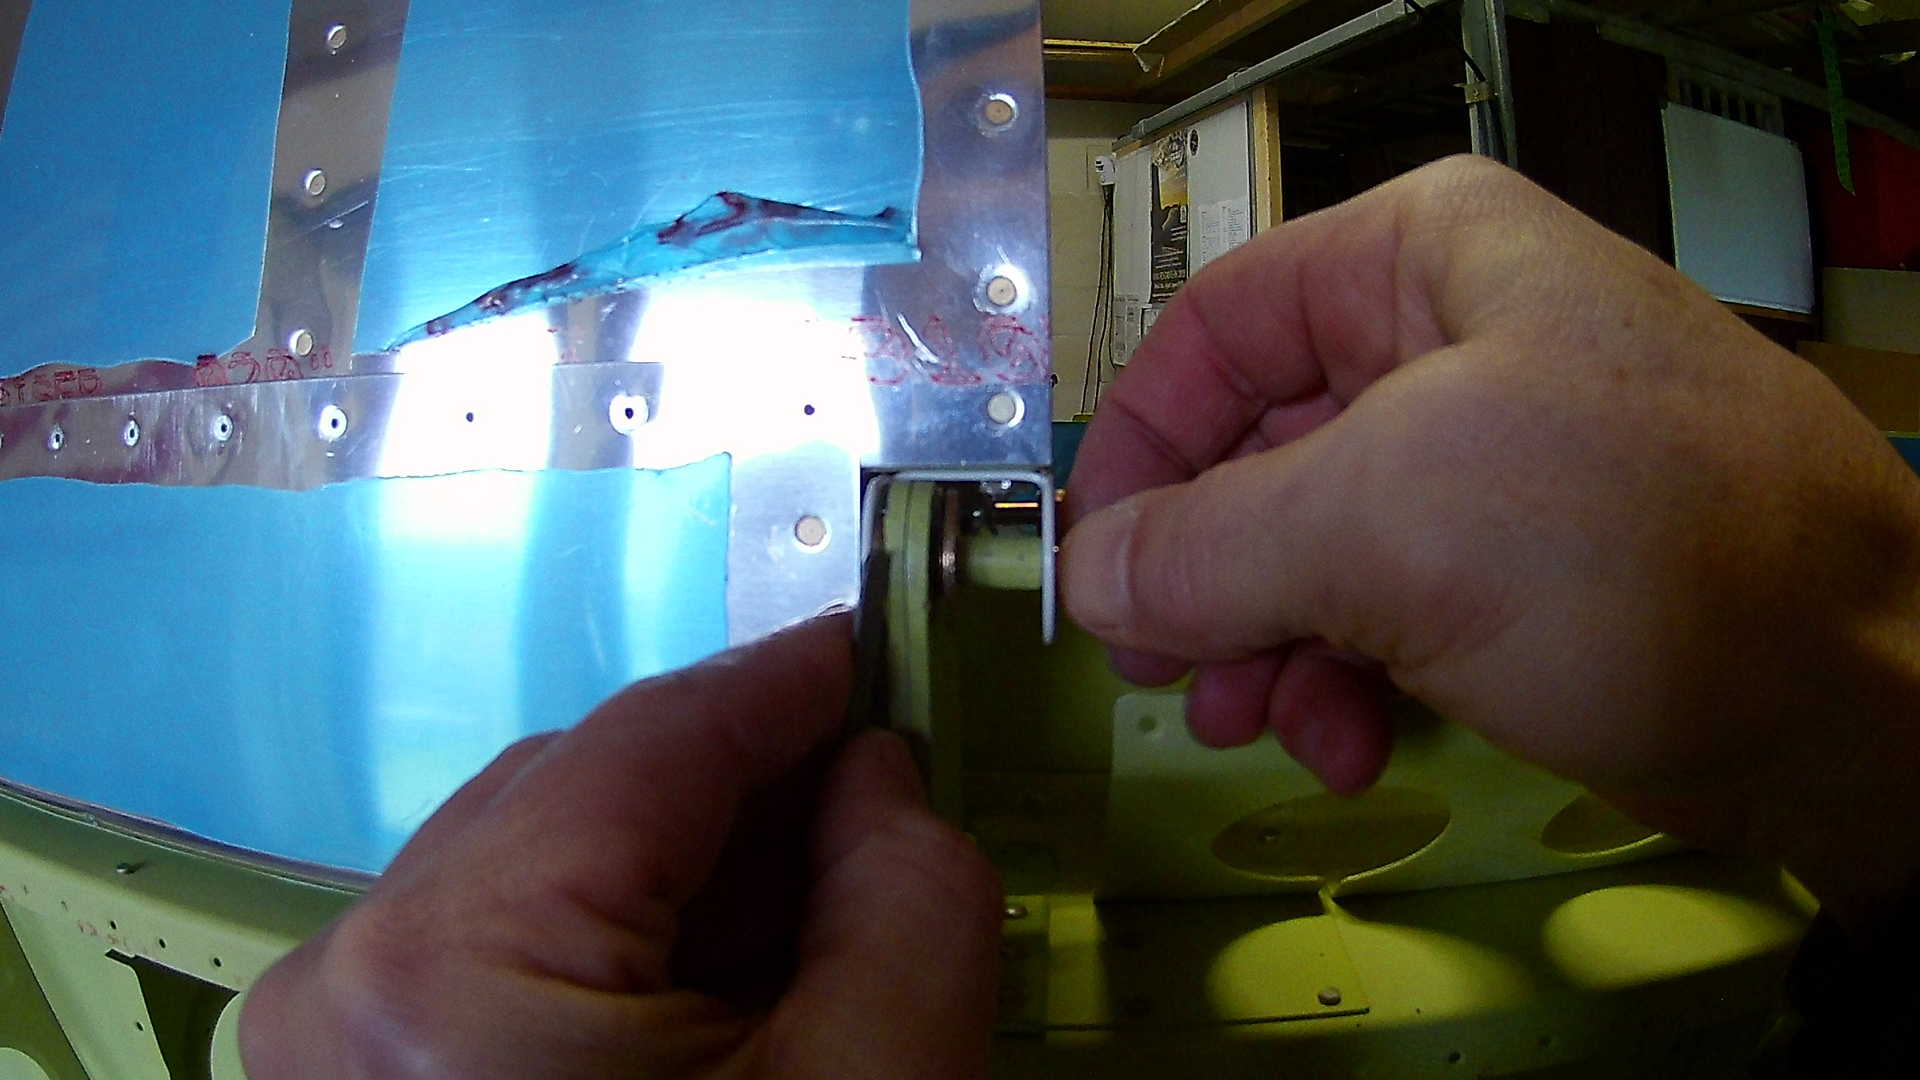
You have to make spacers from Aluminum tubes provided in the kit. Also washers are used as spacers. I use a small steel strap to place the washers in place. I’m not sure why, but after a home made spacer of tube, there is always a large washer necessary.
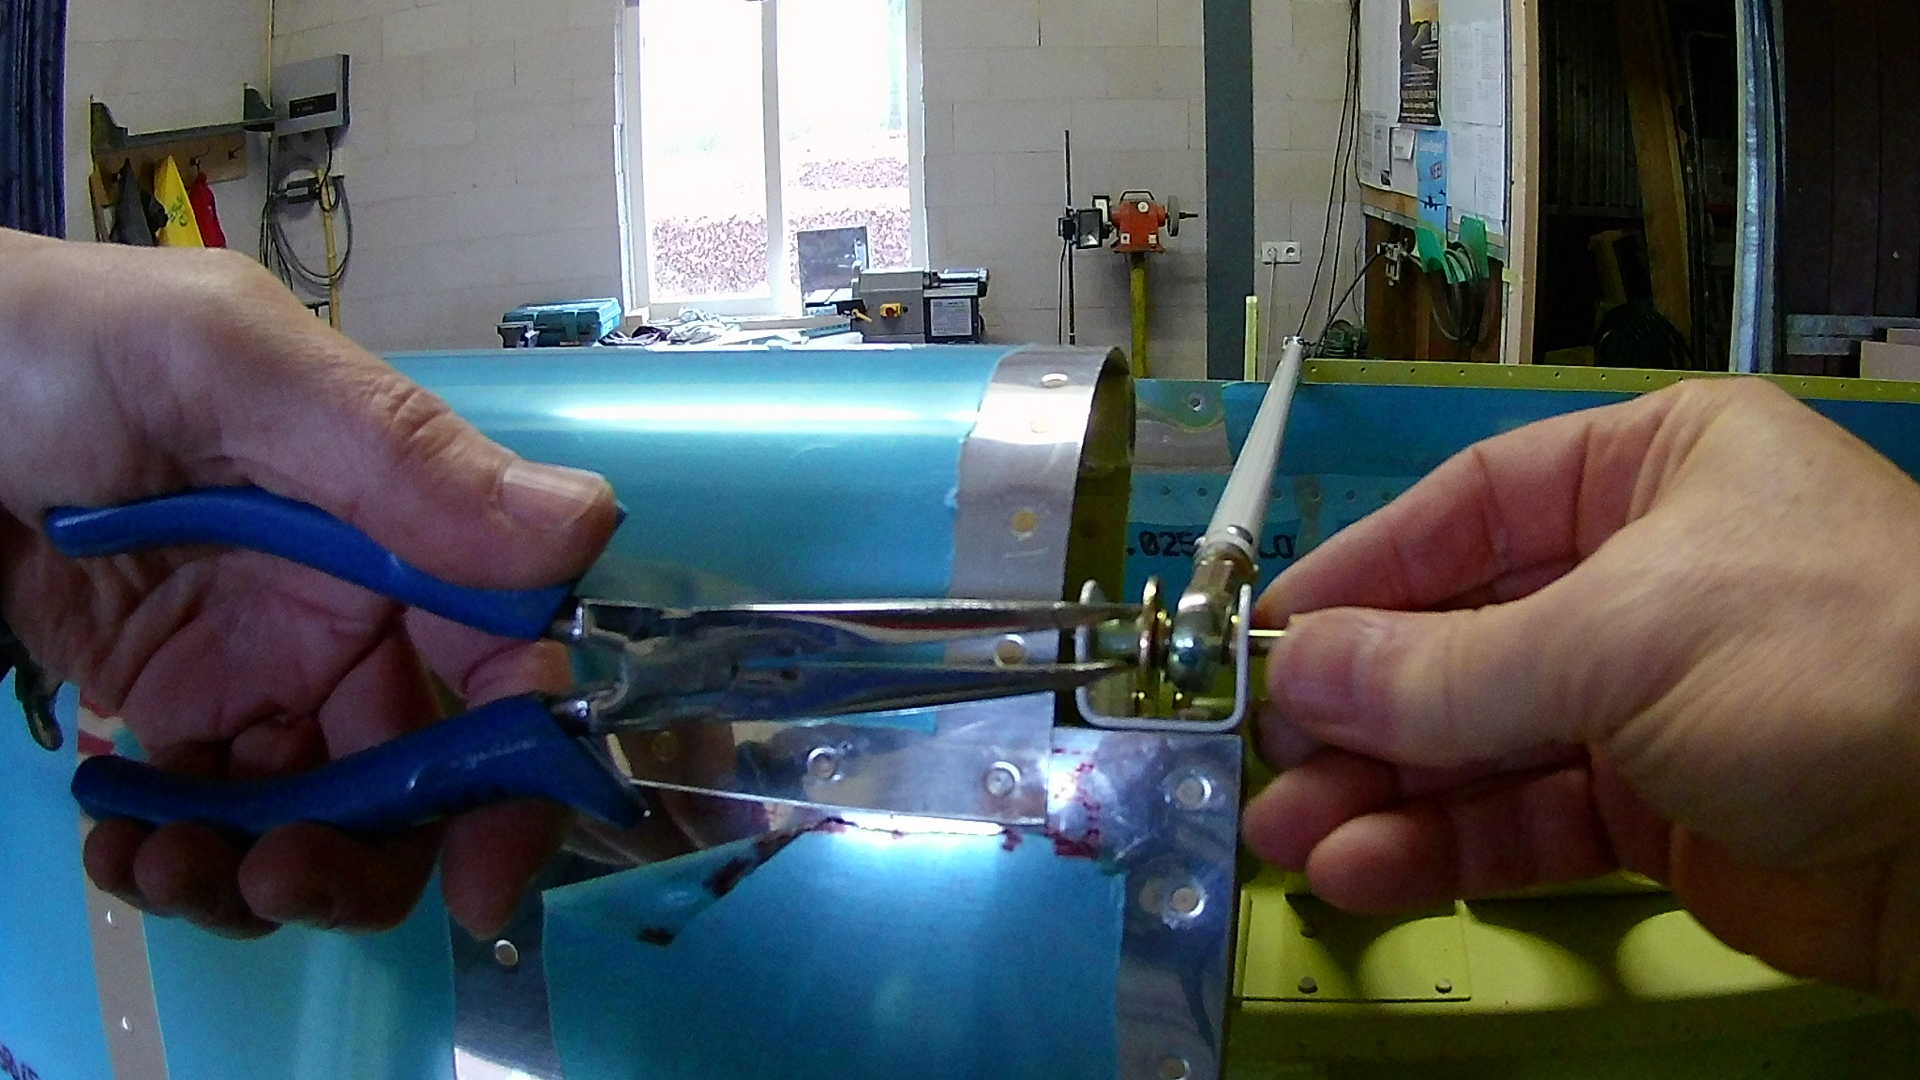
After attaching the Aileron to the rear spar bracket, the push-rod can be attached. The length is adjustable and was initially set to some approximated length.

The other side of the (aileron) push-rod is connected to the bell-crank. On the top you can see the thread with which the length can be set.
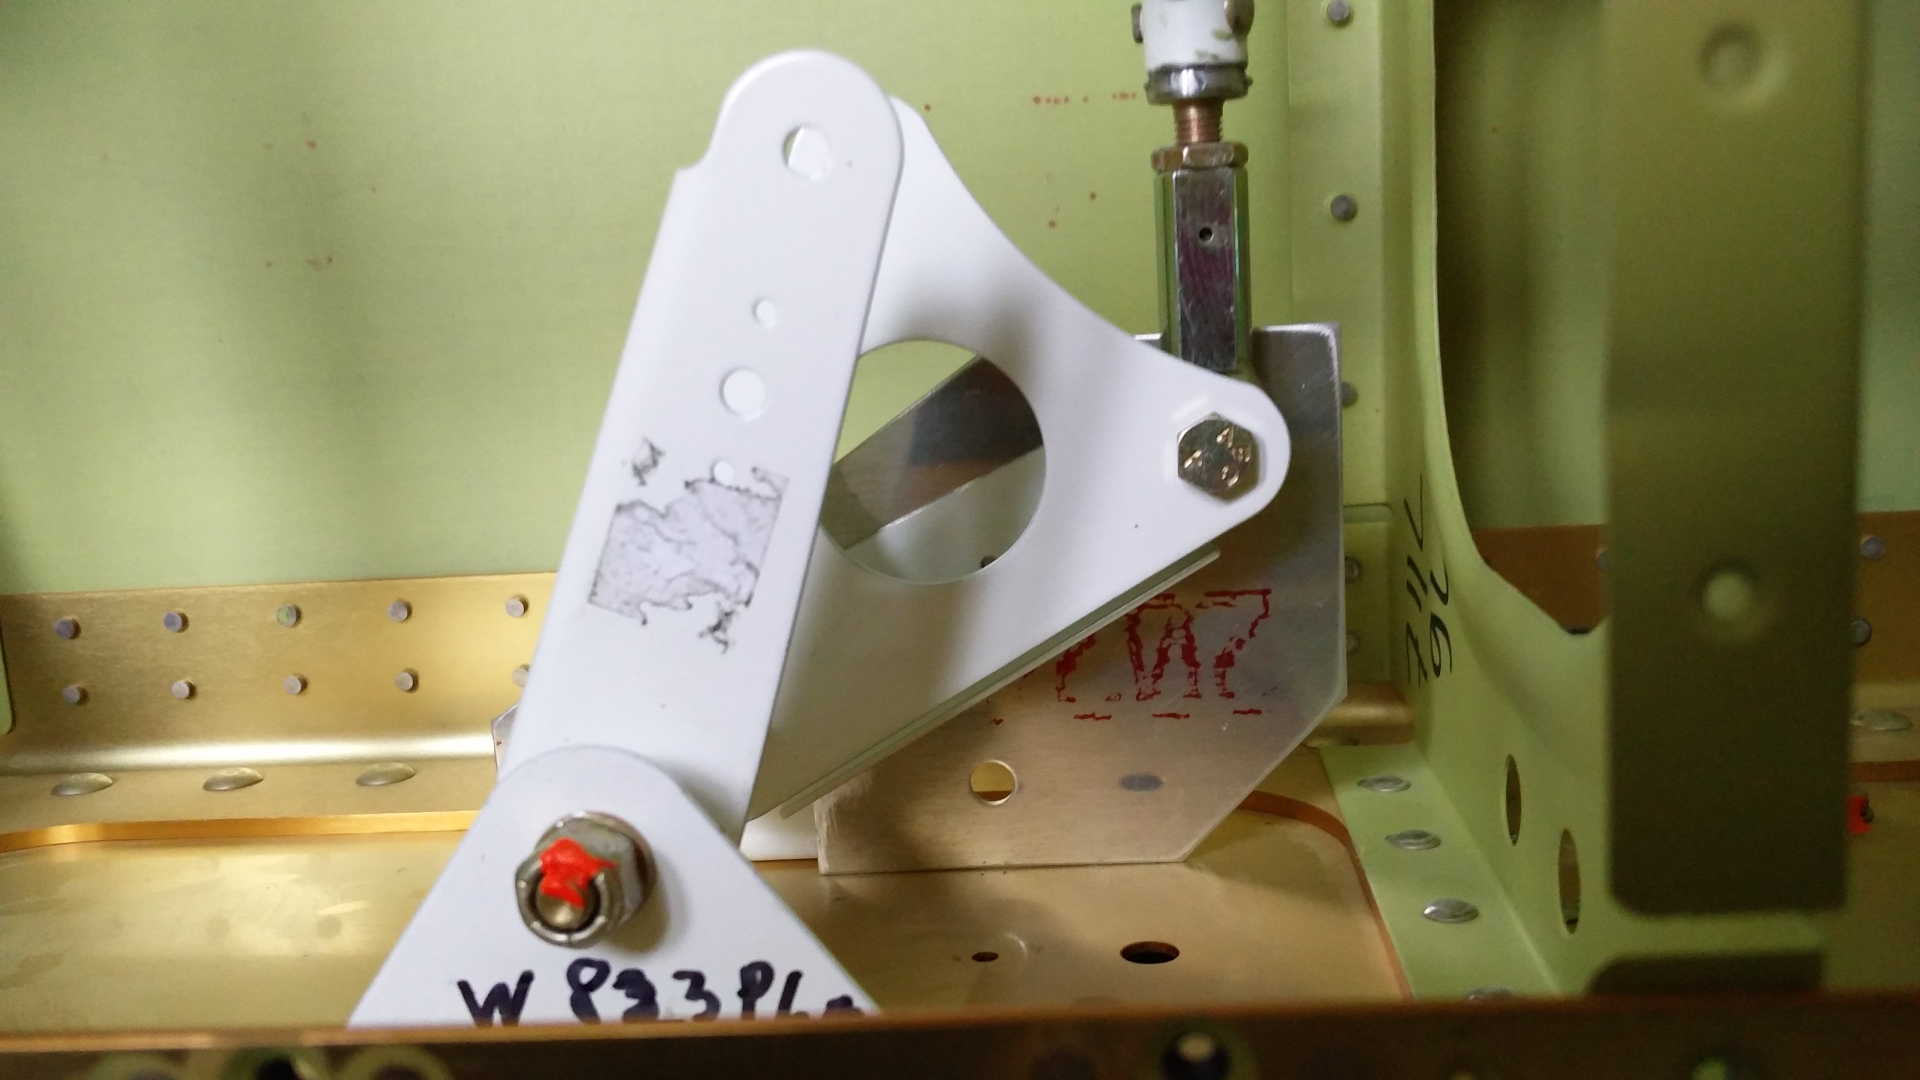
There is a special template that provides the exact setting for the level Aileron. With this template in place the Aileron can now be adjusted.
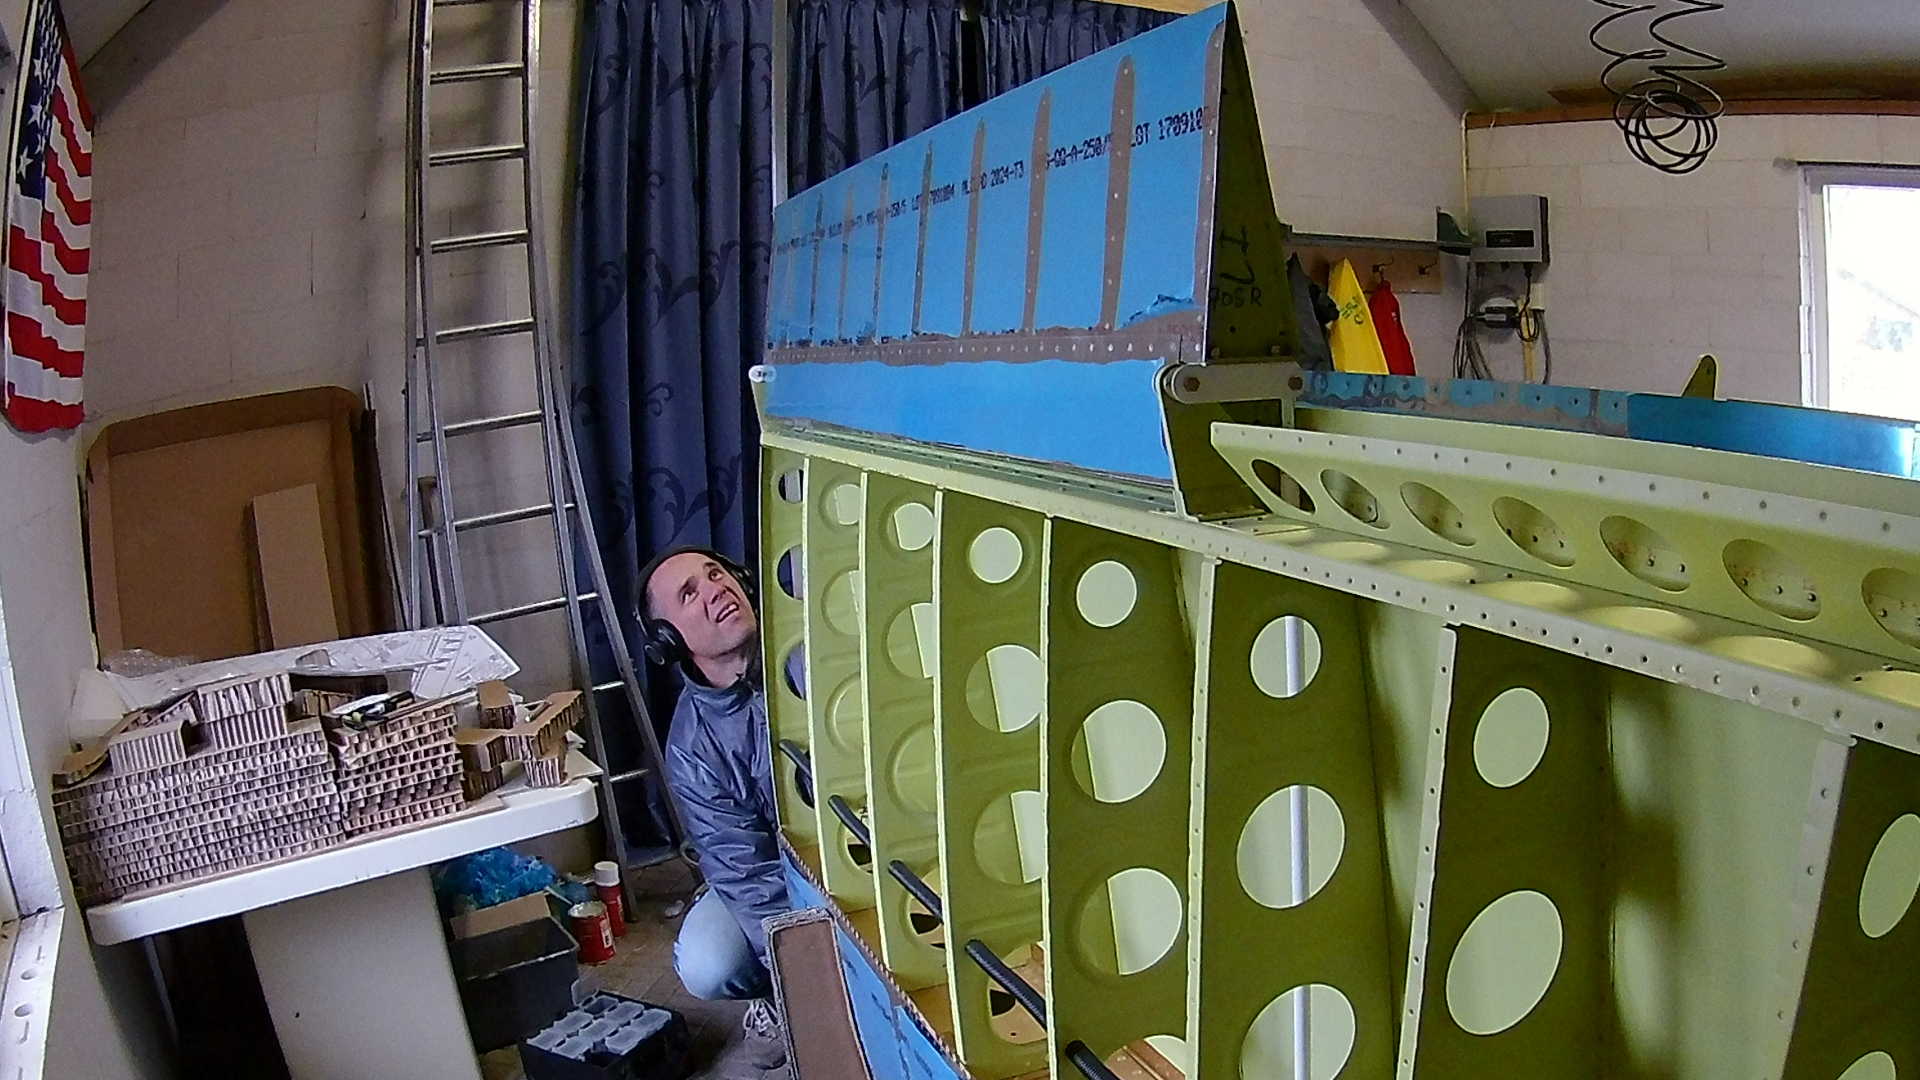
Aligning a long Aluminum angle piece, through the four tool holes in the outboard most ribs, provides a visualization of the chord. By adjusting the length of the push-rod, the chord should go exactly through the trailing edge of the Aileron.
Time: 3 Hours, Rivets: 0/0
Video