
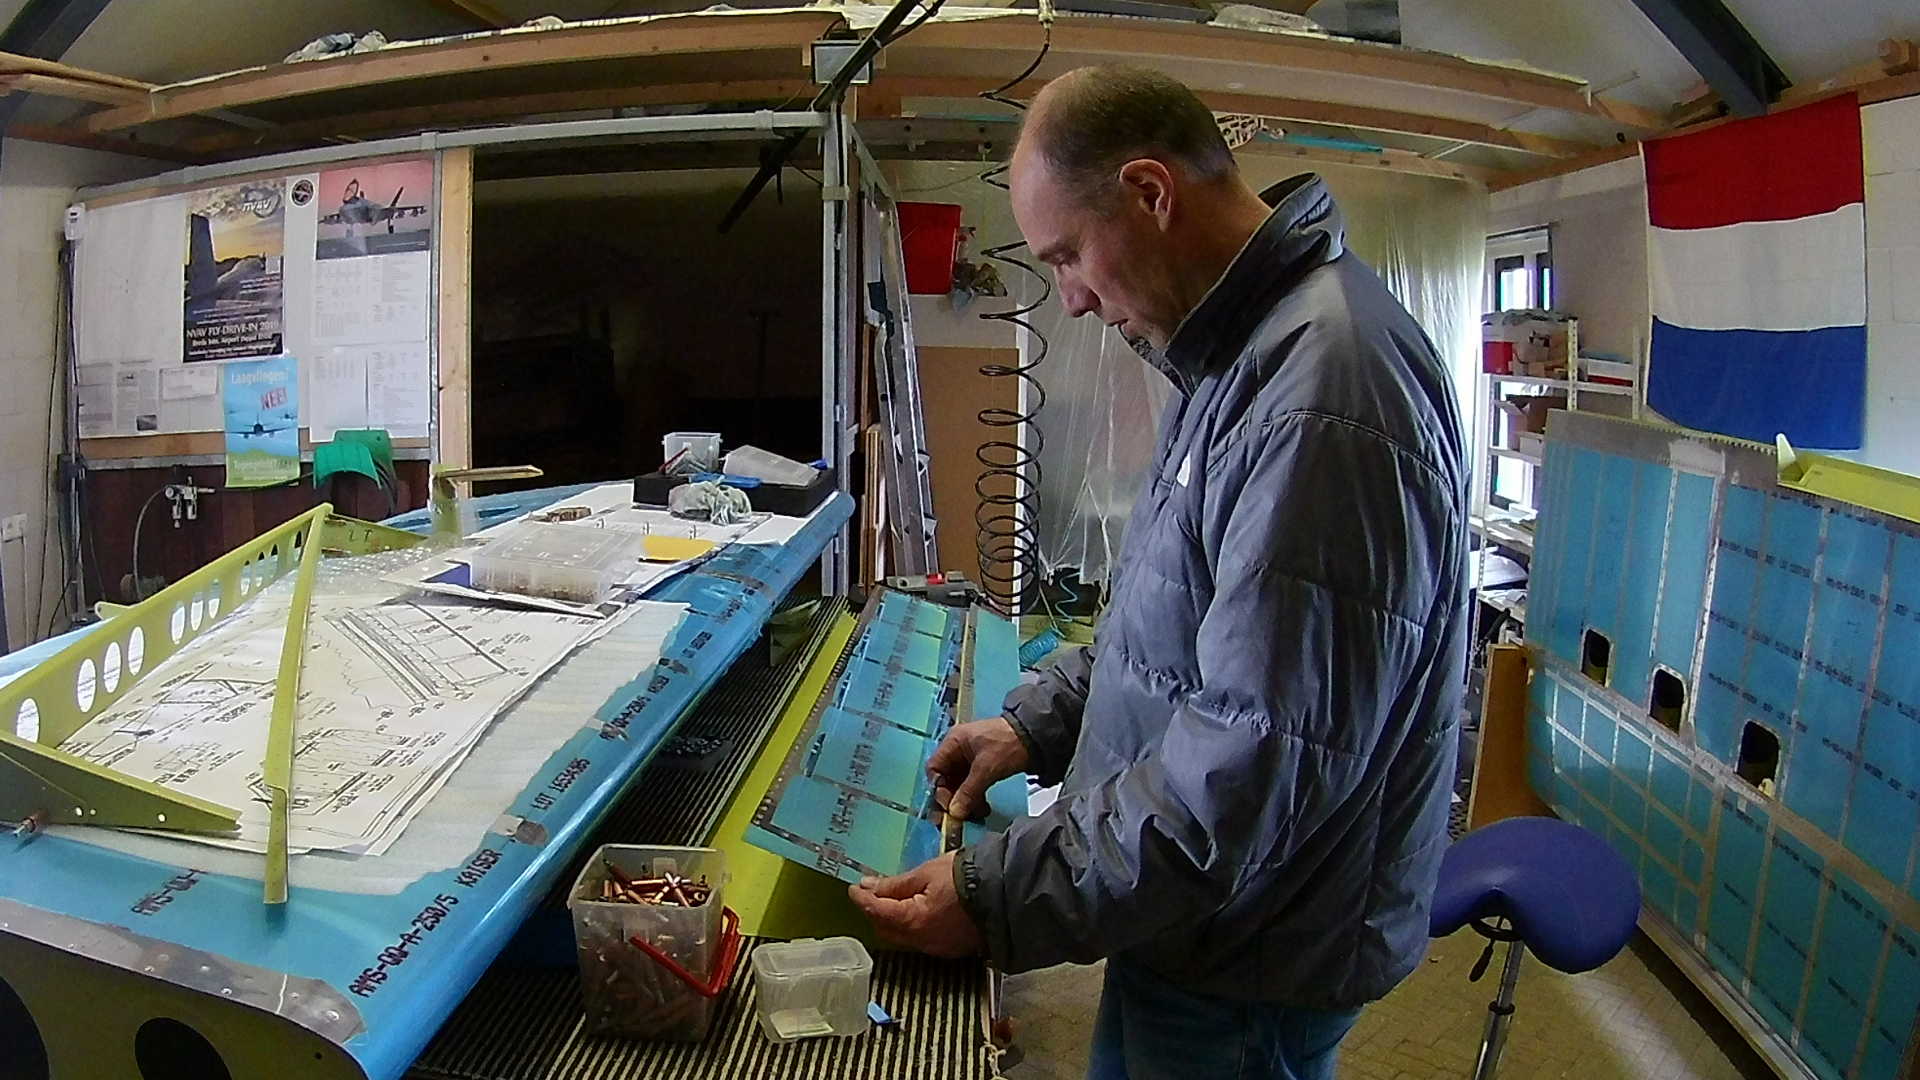
Finally found some time again to continue with the Flaps. After fitting, drilling, deburring and priming, I can now start with the assembly and riveting.
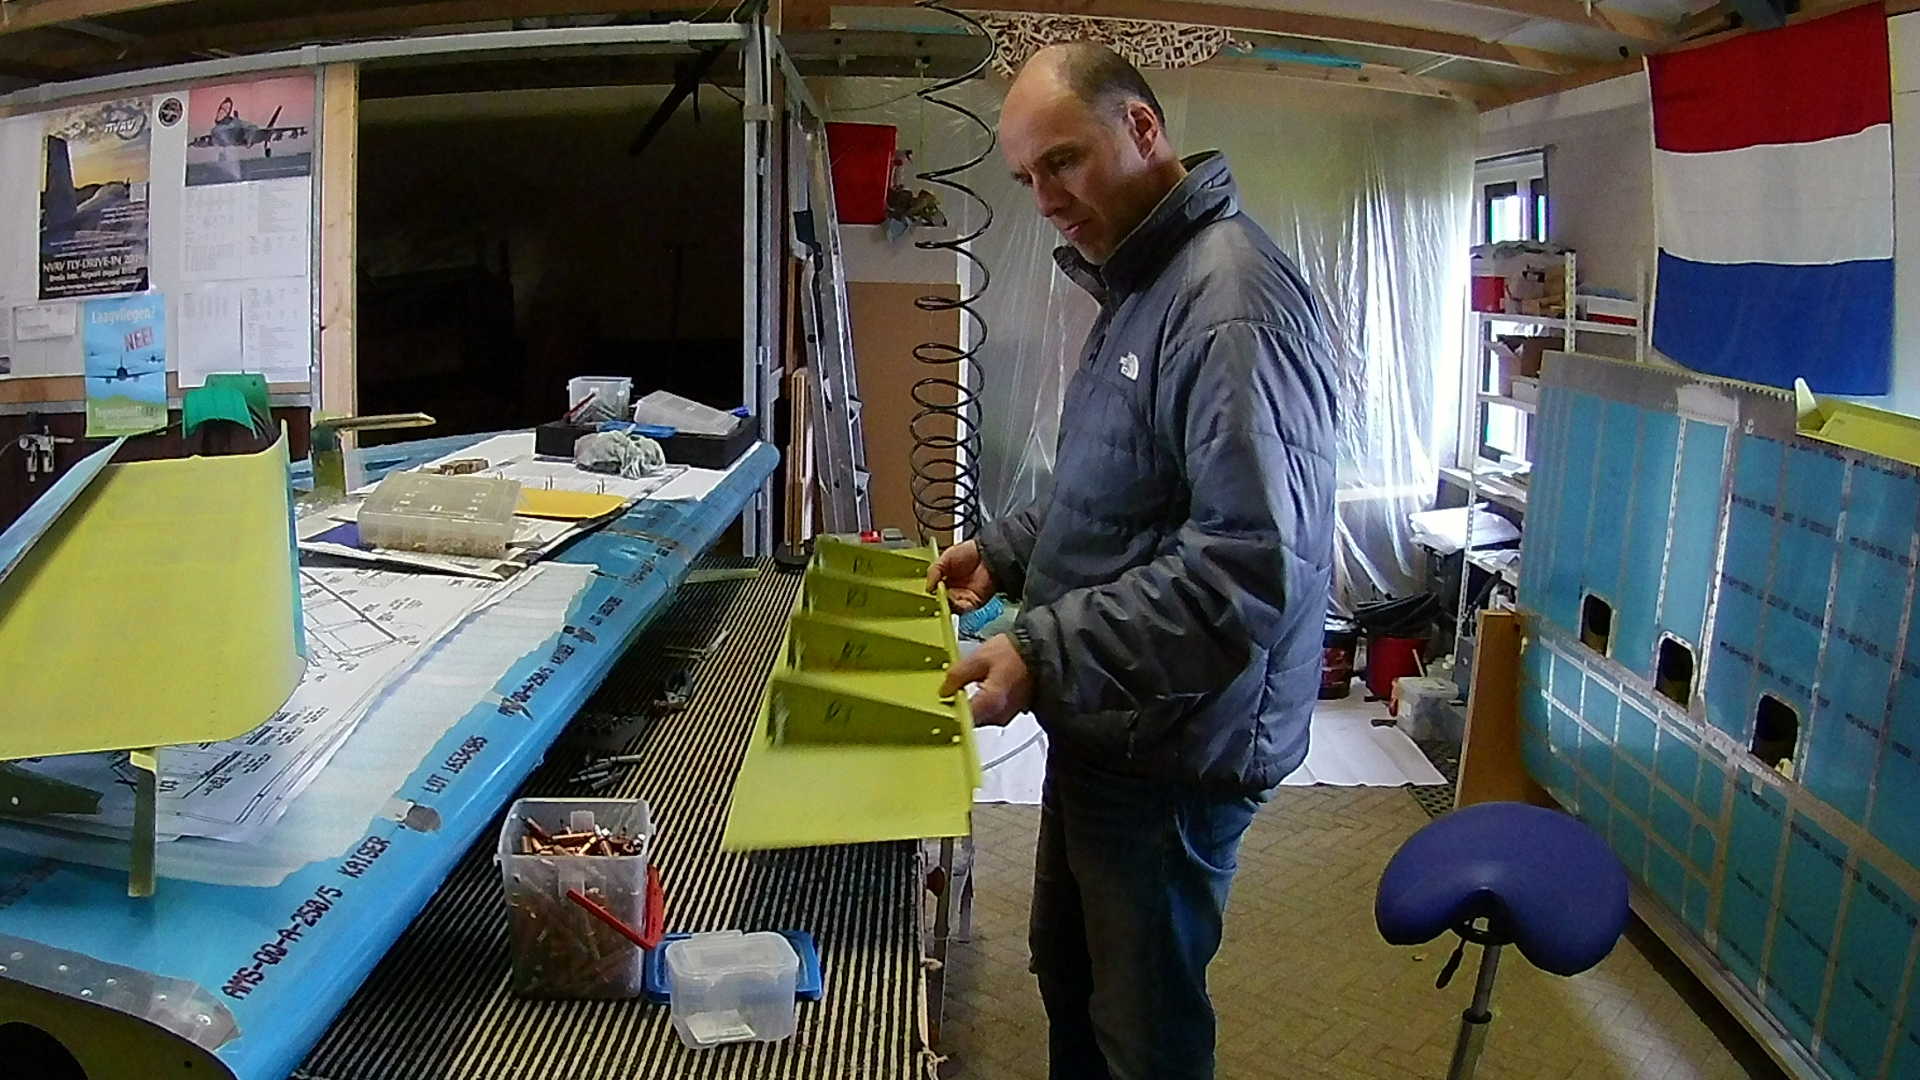
Here’s the right bottom skin with the ribs riveted to the bottom skin and the bend in the skin that serves as the rear spar of the Flap. It’s vital to mark all parts including the order (not all spars are equal).
Although the inboard and outboard ribs go last, you need to cleco them to rivet the doublers and nutplates for the flap actuators.
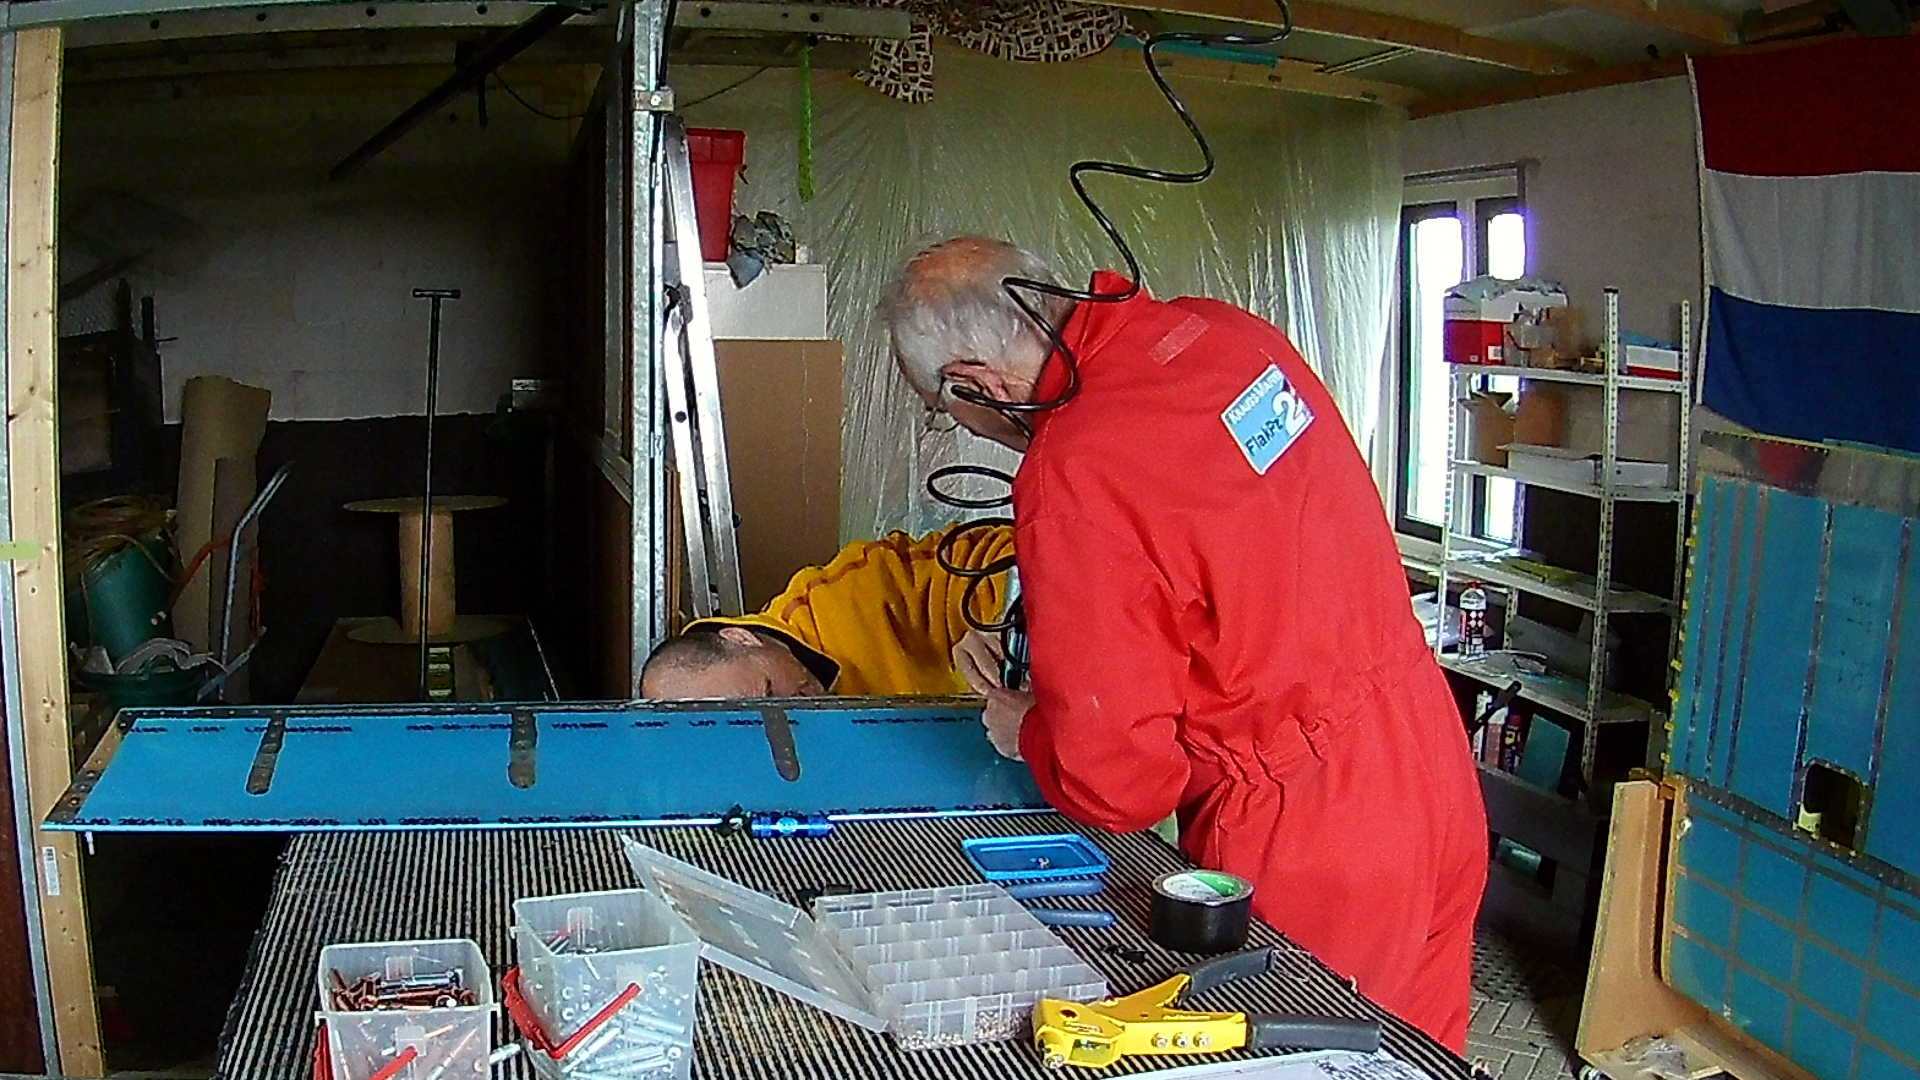
The bottom and top skins must be riveted together on the bottom side. However on the leading edge the Flap is not closed. The rear spar of the Wing serves as the front of the Flap.
There is not much space to rivet the skins and ribs, so you have to follow the plans to prevent riveting yourself in a corner.
Just before the inboard and outboard ribs, you close the Flap, by inserting the front spar. This one can be riveted to the top and bottom skin, but joining it to the ribs must be done with pop-rivets.
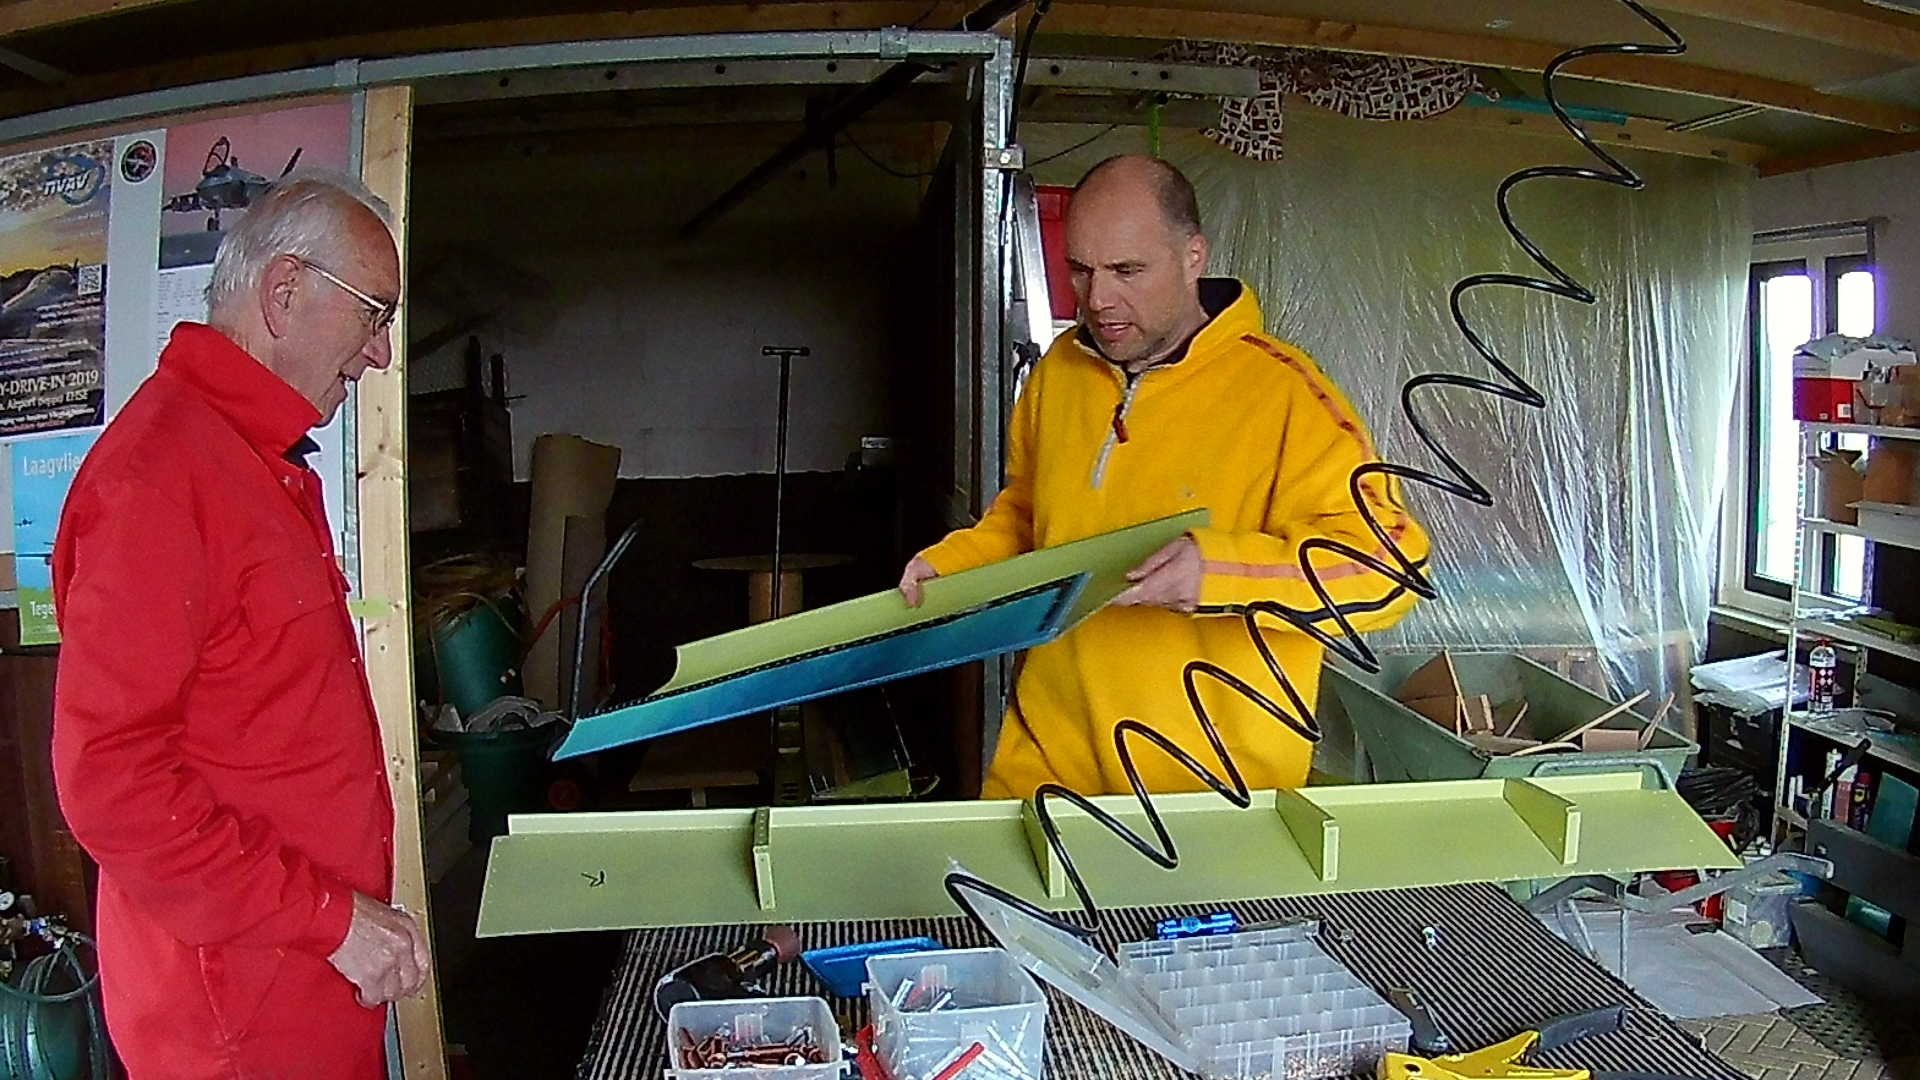
After closing the left flap, we now do the same with the right Flap. Again I build left and right in parallel wherever possible.
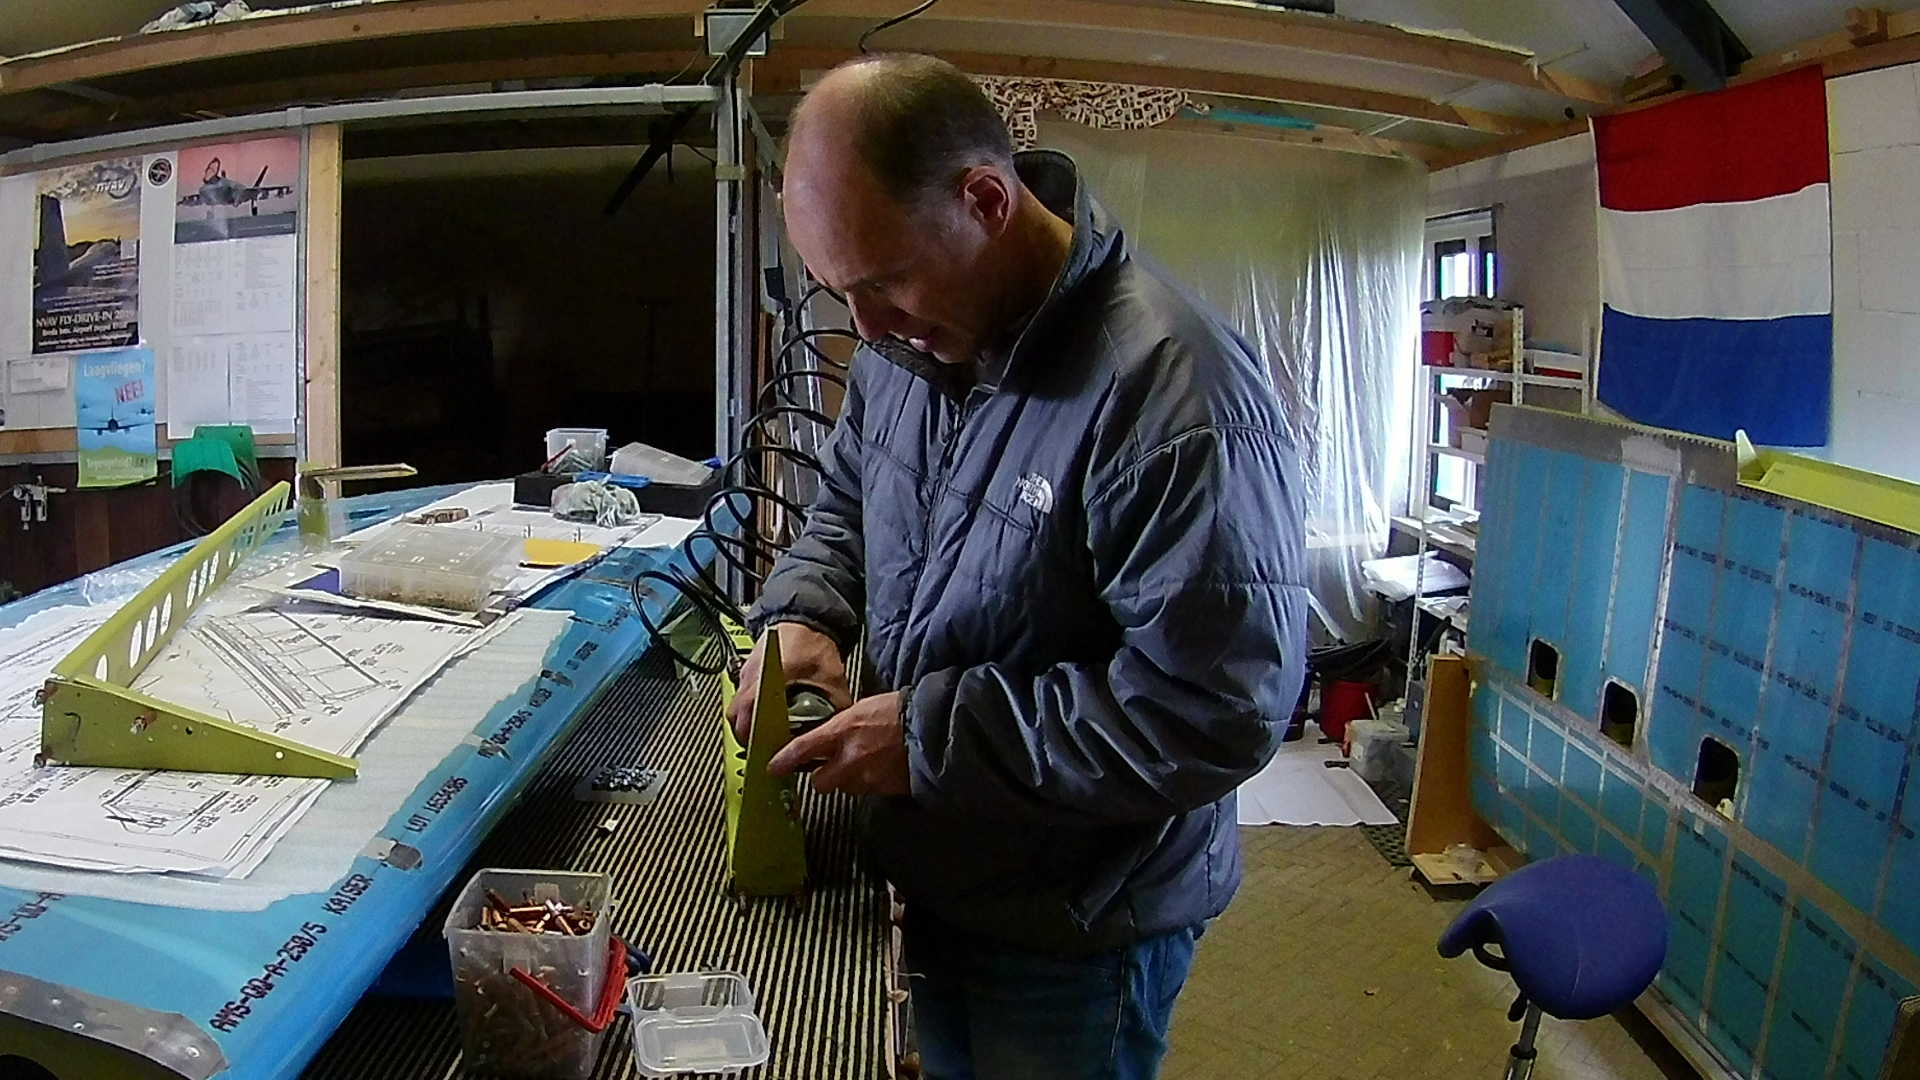
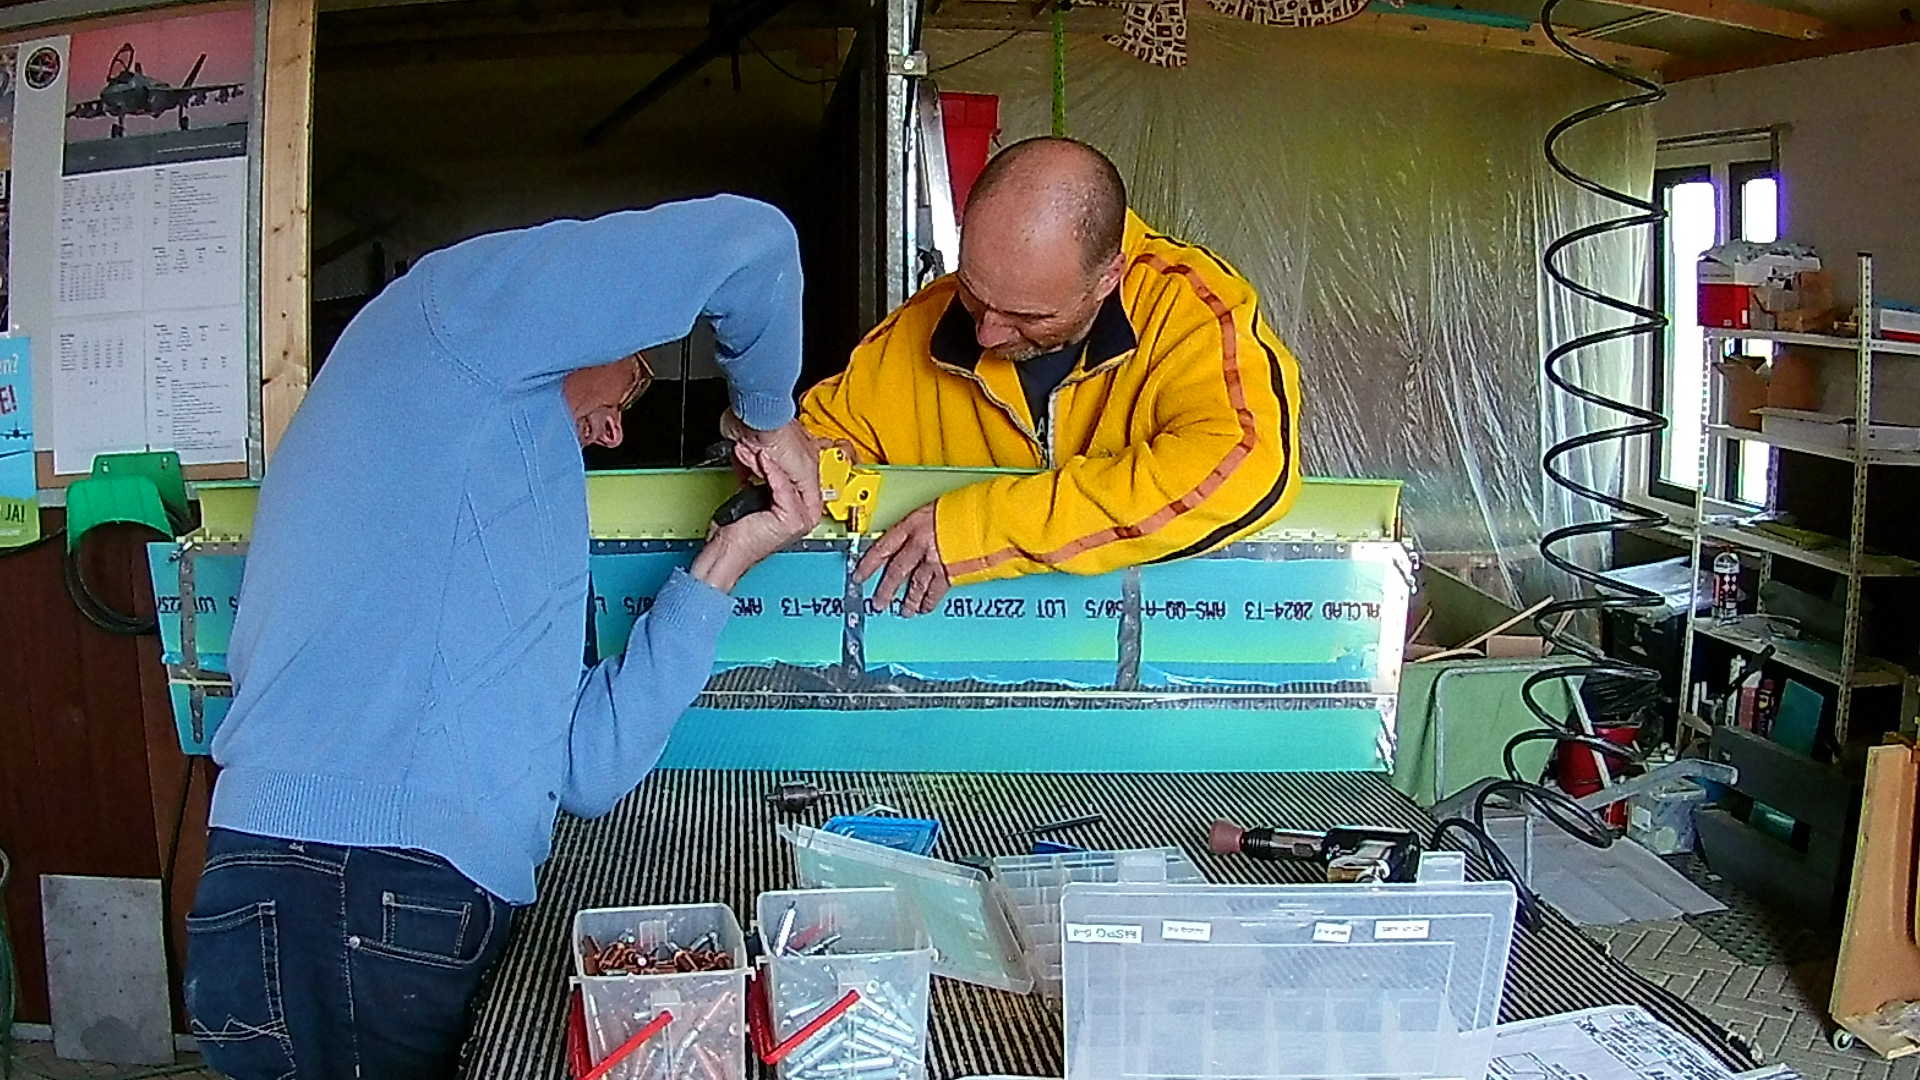
After pop-riveting the main spar to the ribs we can rivet the top and bottom skin. The latter can be done by the squeezer, however the top skin is “curled” and requires the rivet gun and bucking bar.
Oh yeah don’t forget the piano hinge when riveting the bottom skin to the main spar or you have to drill out 50 rivets or so.
Time: 2 Hours, Rivets: 45/0 (2019-03-27)
Time: 4 Hours, Rivets: 114/0 (2019-04-14)
Video