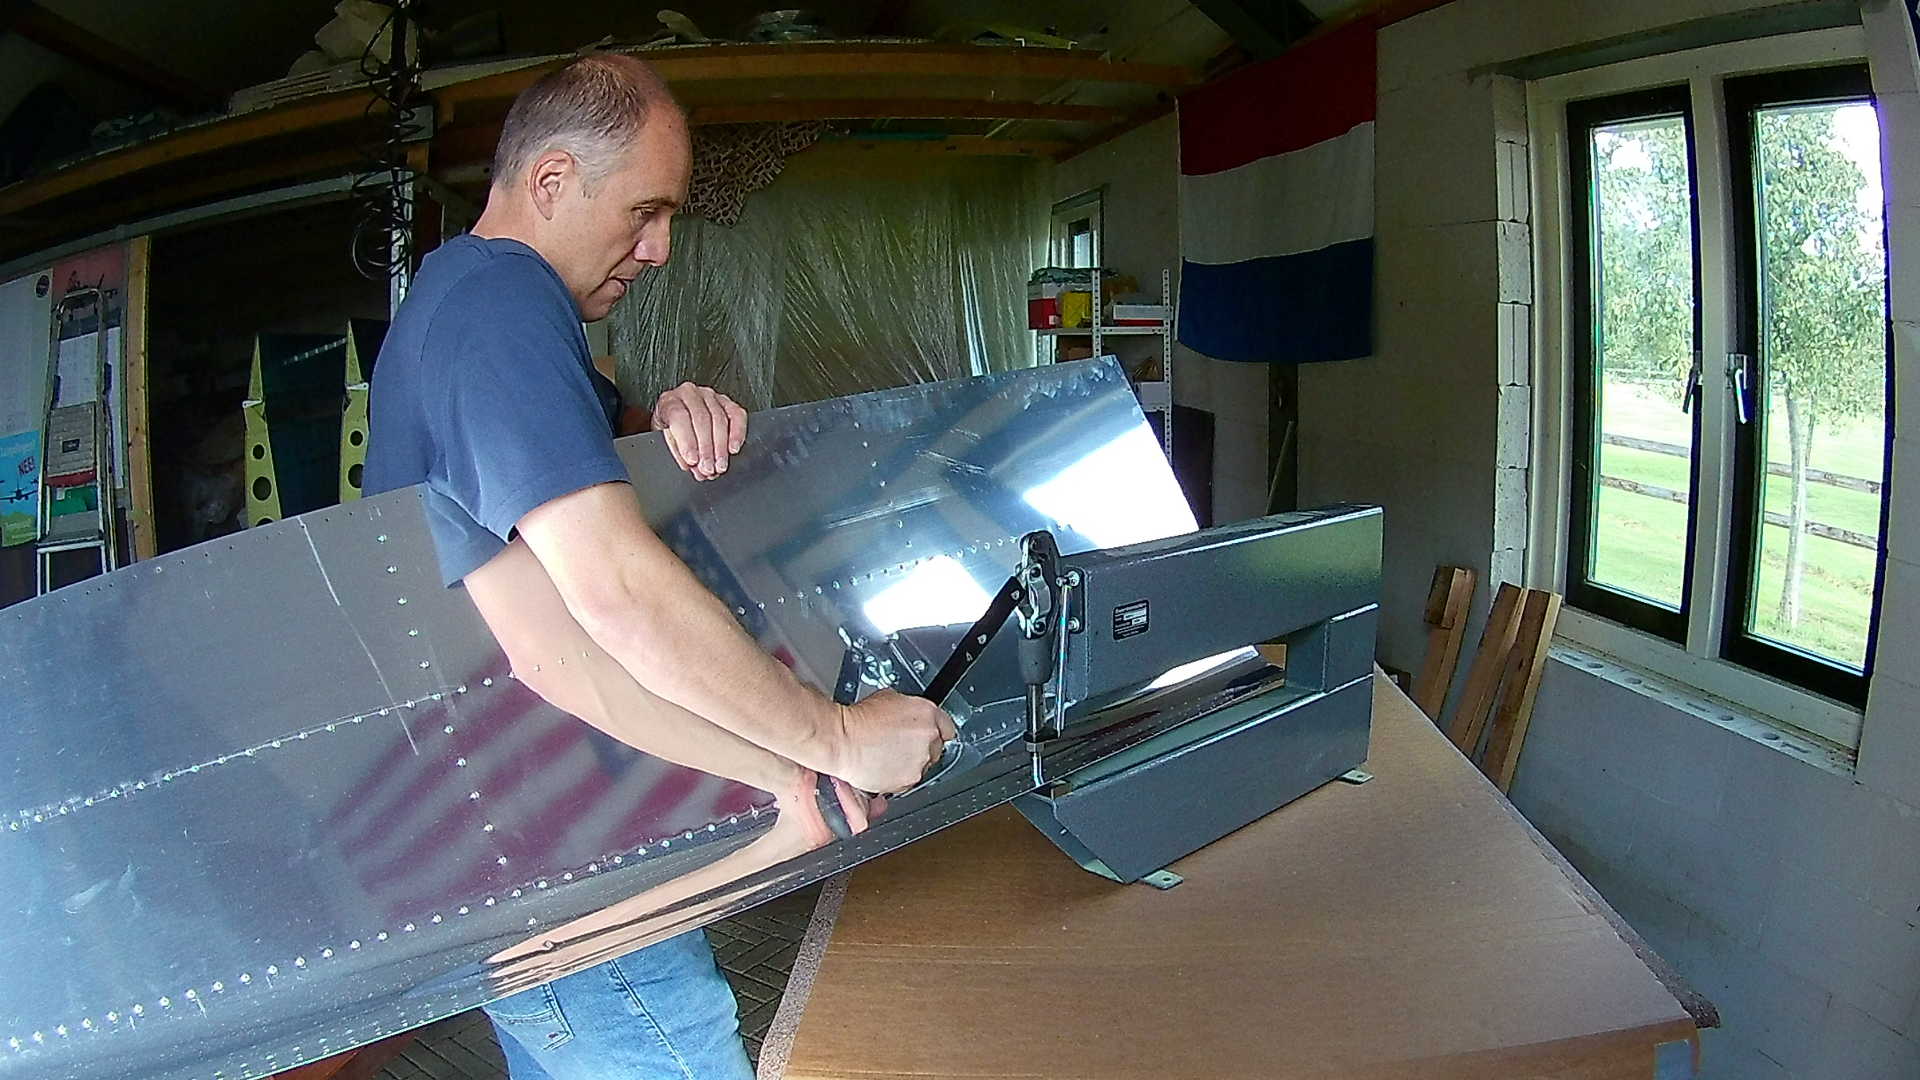
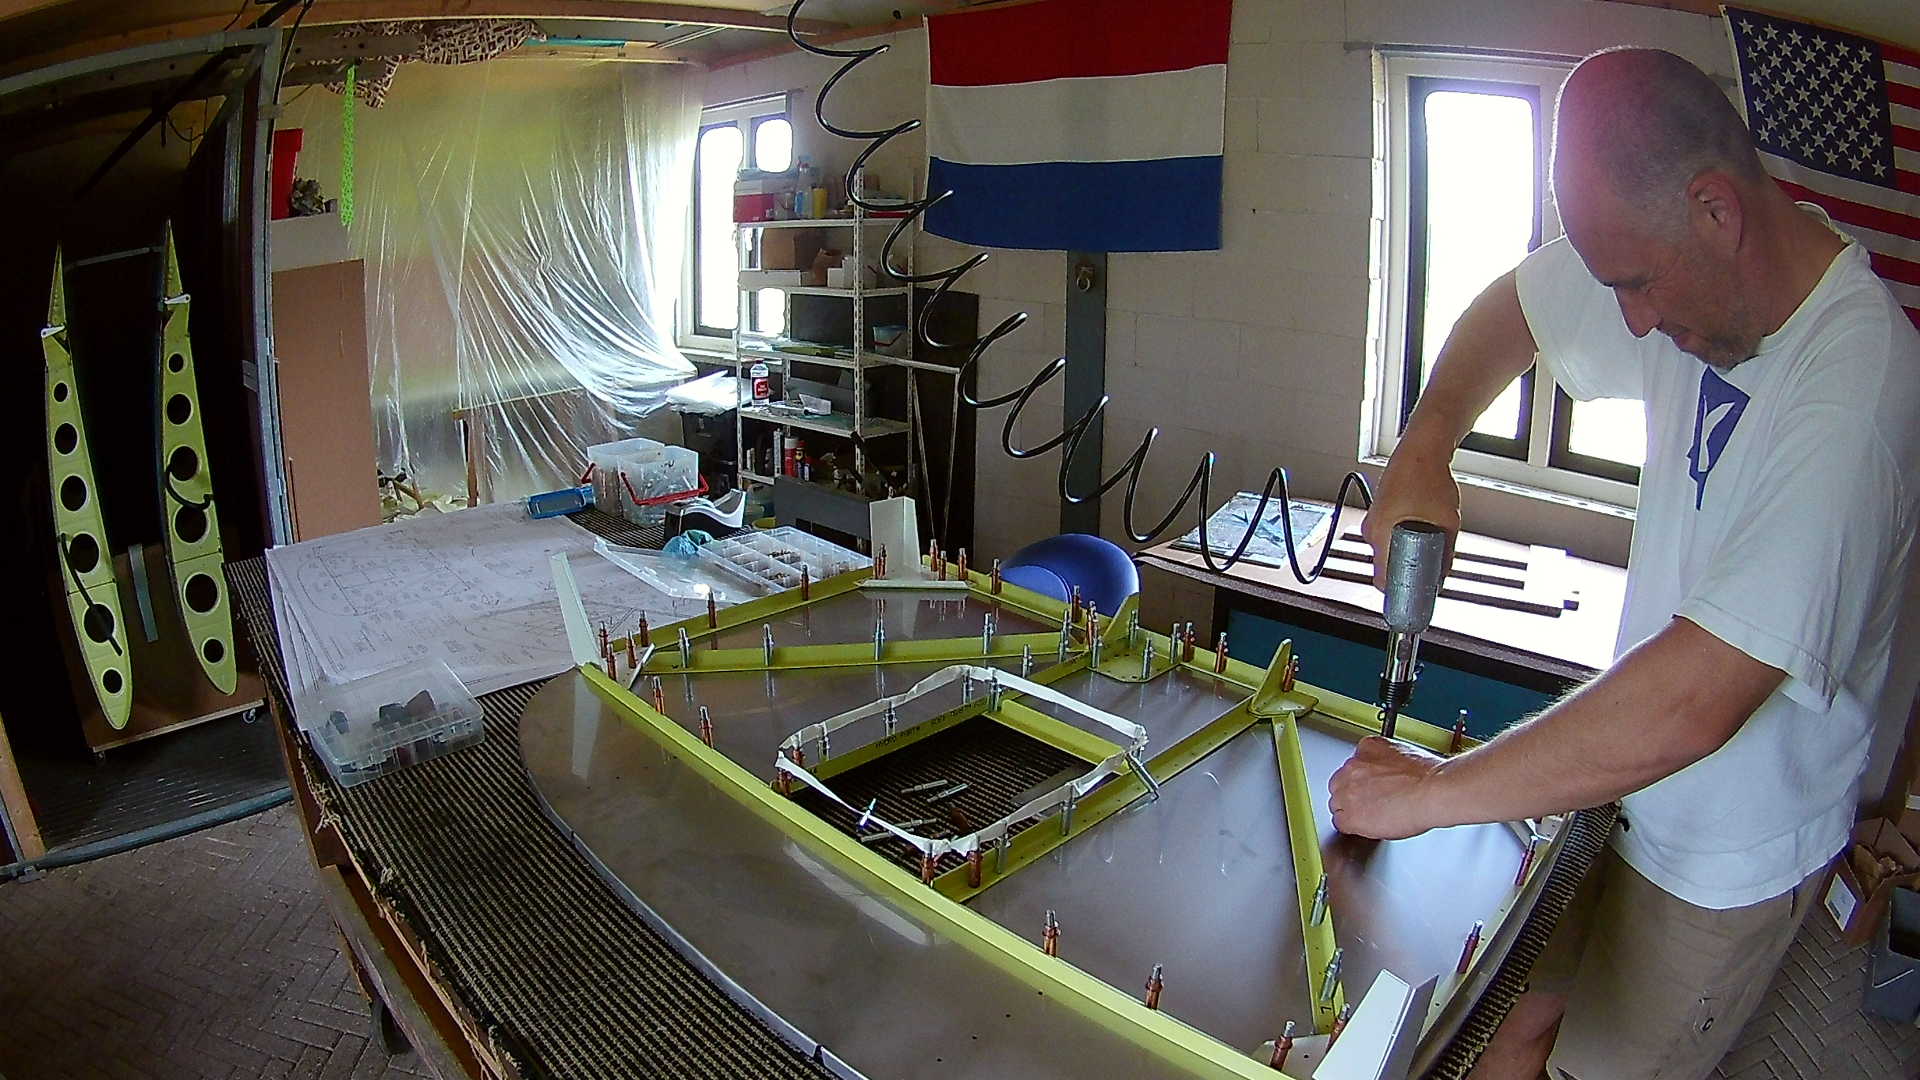
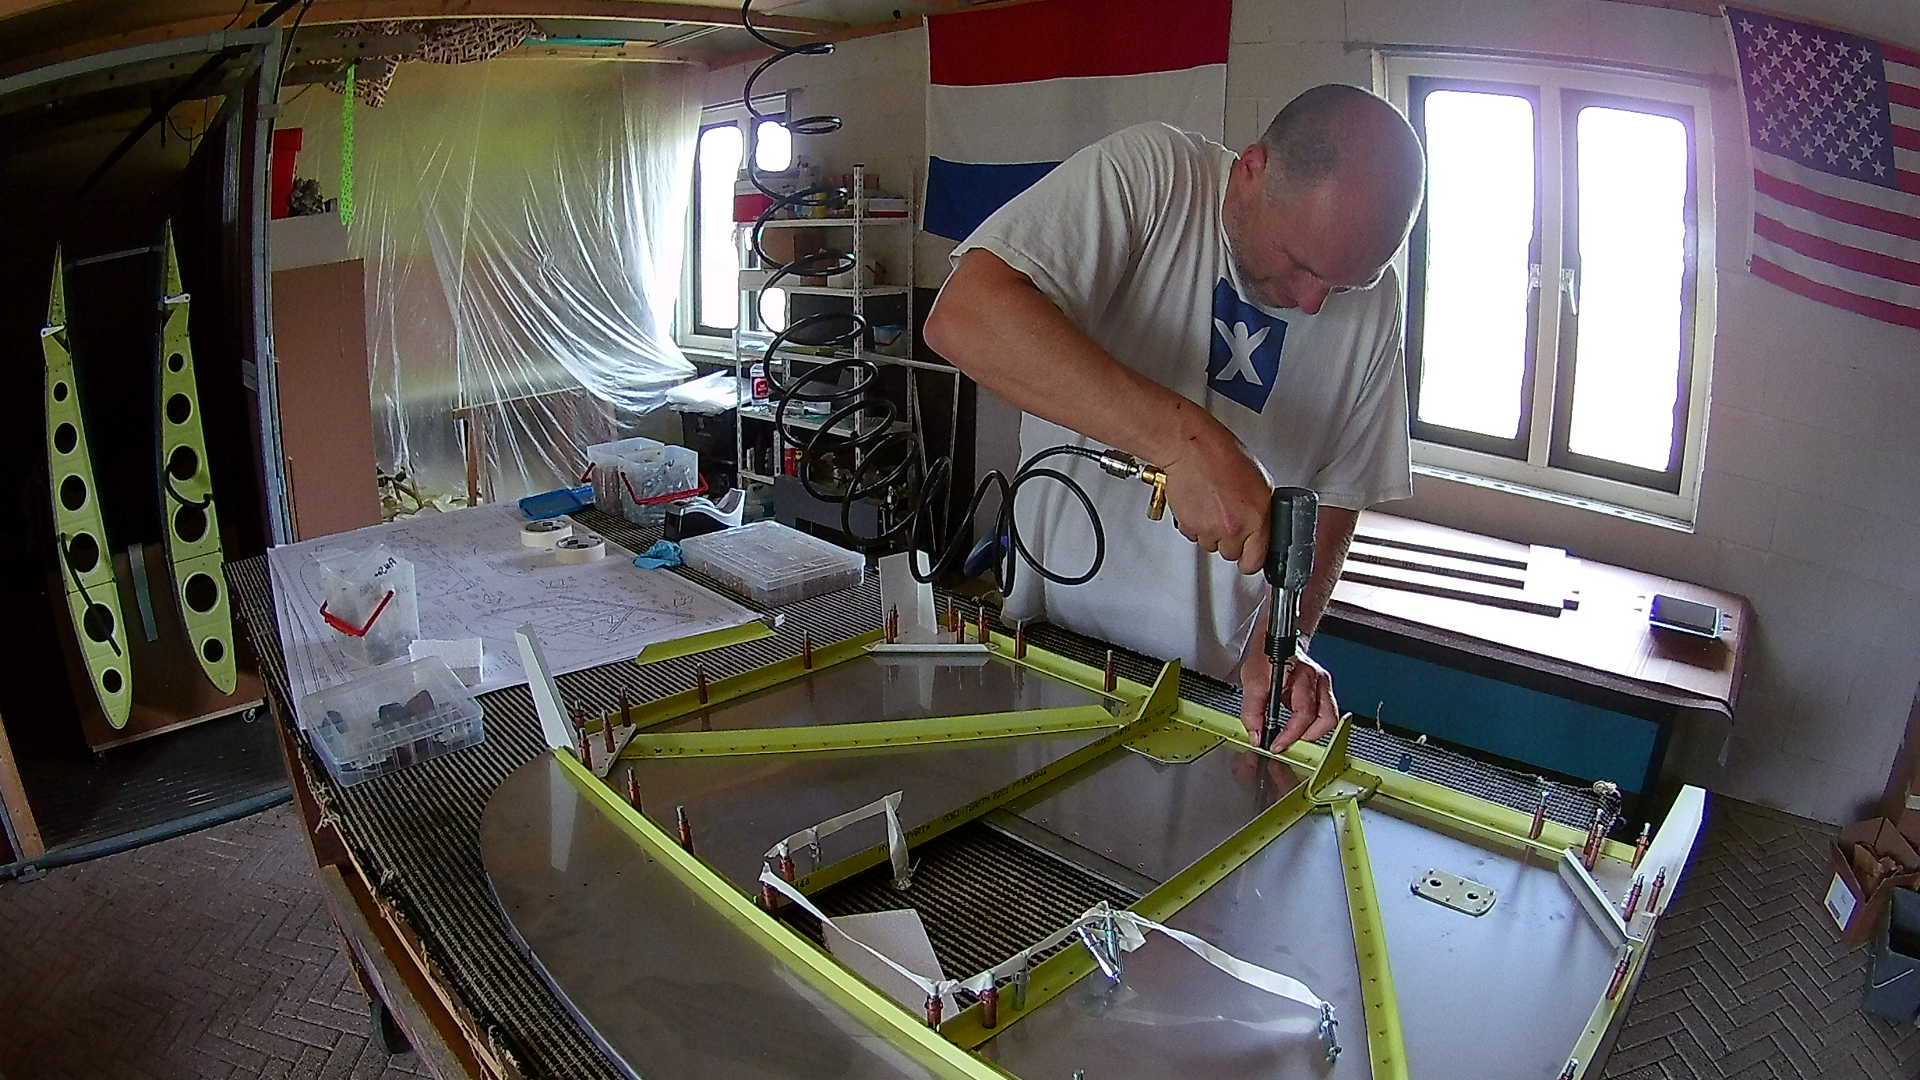
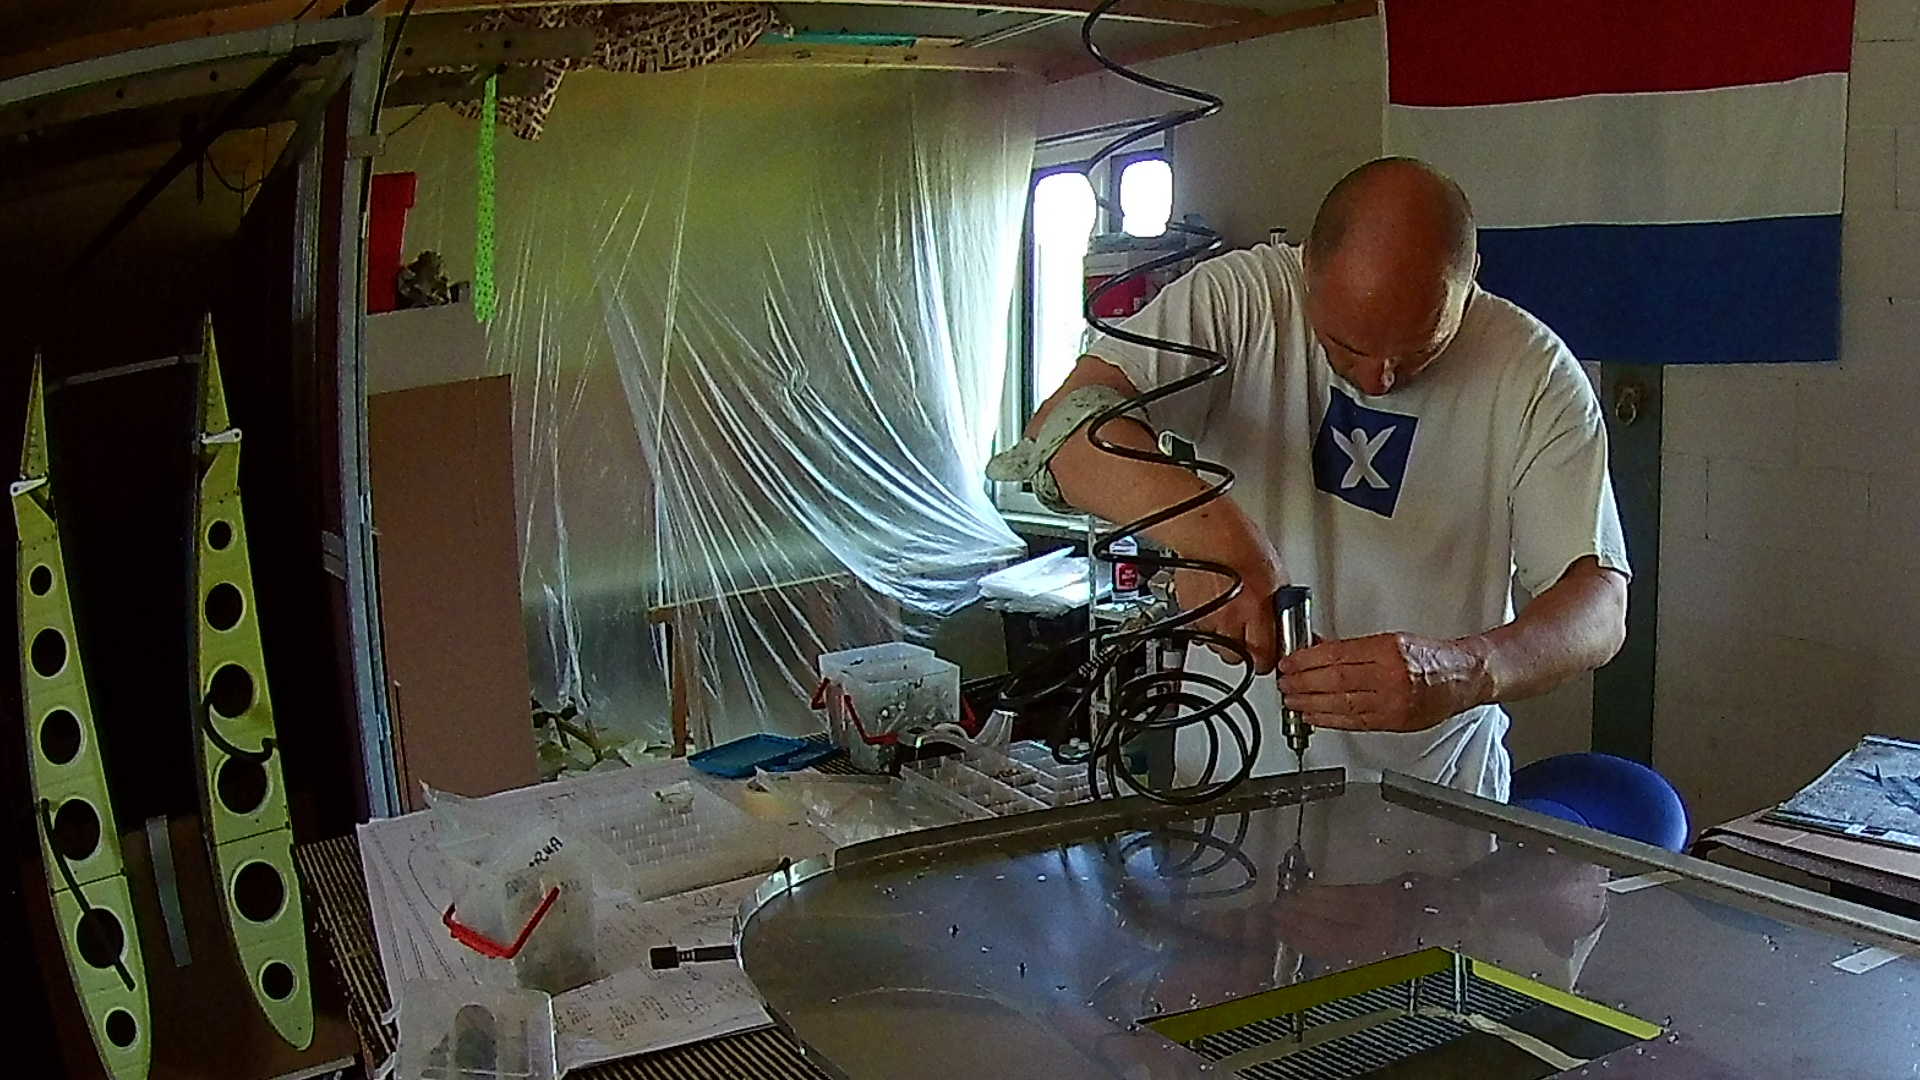
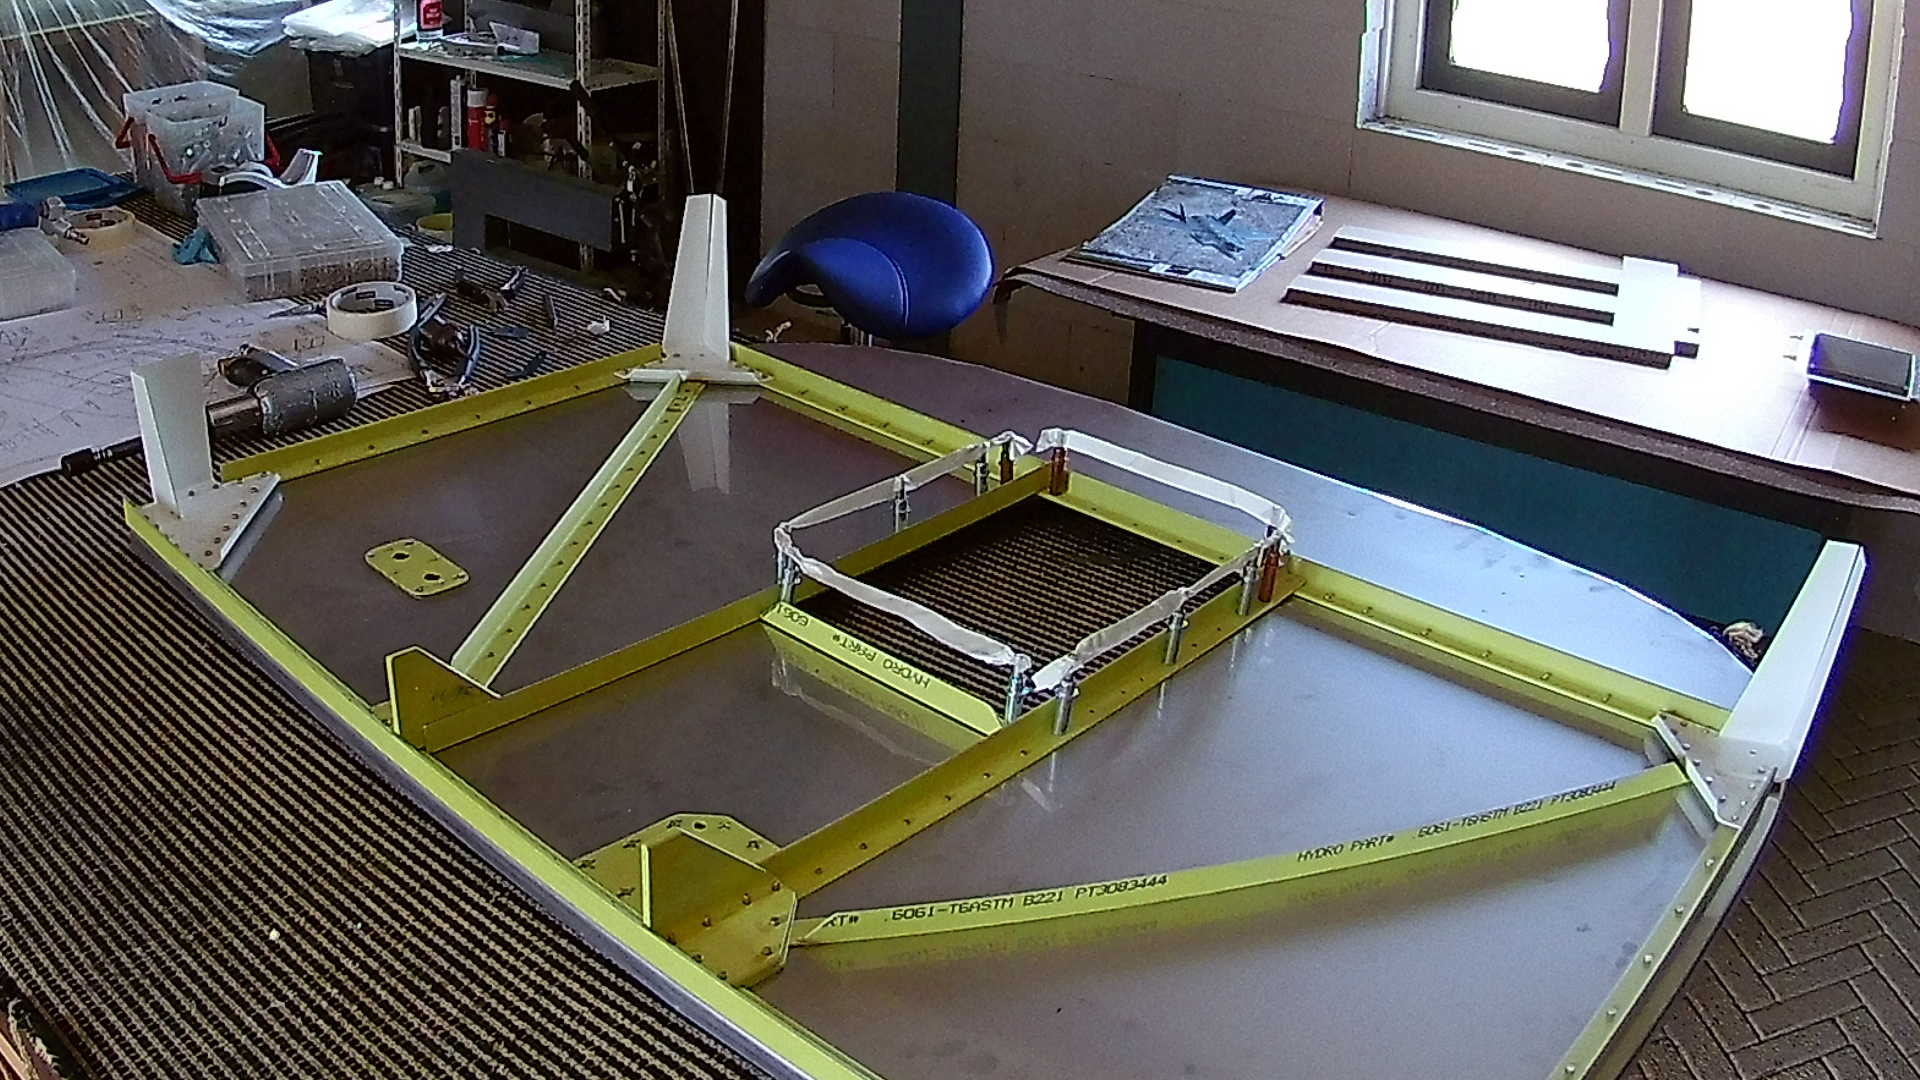
With the few Aluminum parts, which are part of the Firewall assembly, primed, I can now start riveting the Firewall together. I decided to use the back-riveting technique, mainly because it produces a nice result.
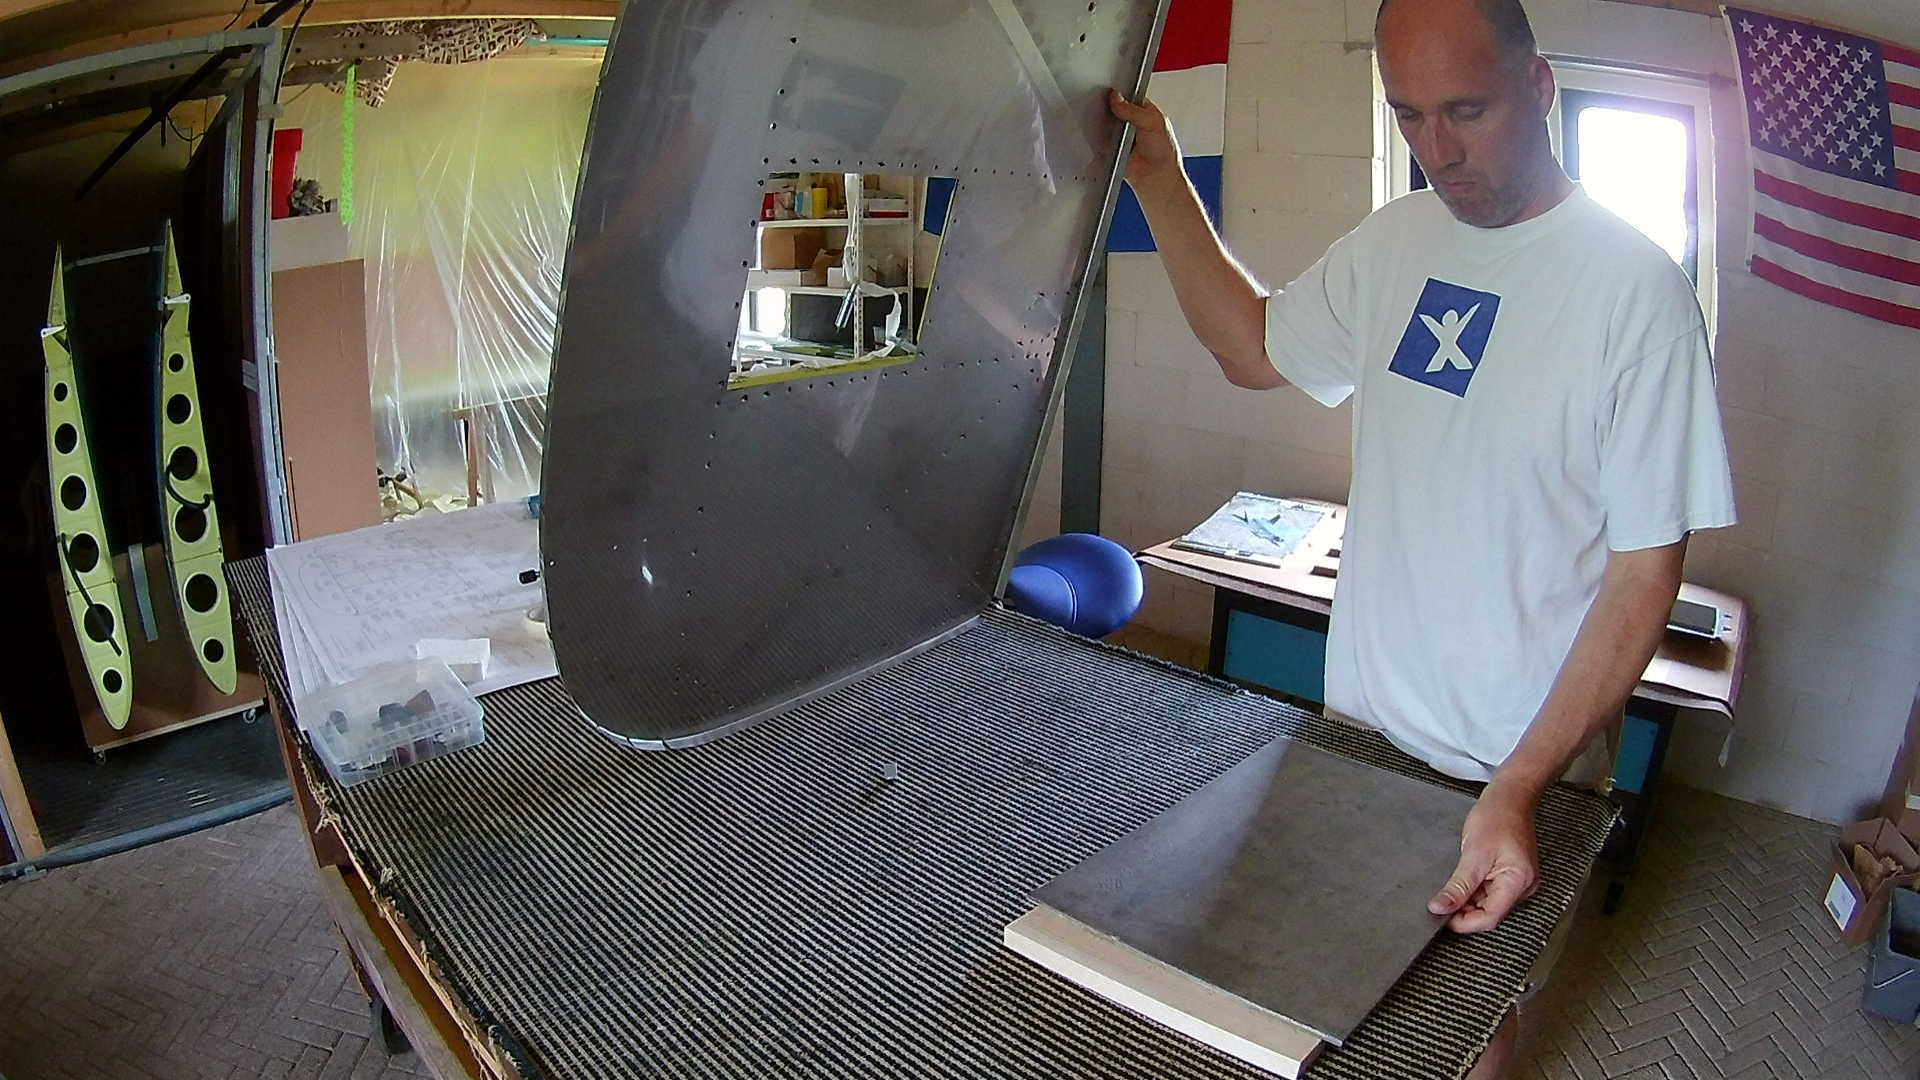
Notice the hole in the middle of the Firewall with the cleco’s and the painters tape. I use the cleco’s and tape as a visual queue NOT to rivet these parts, because they need to be riveted in combination with the Firewall recess. This part is not riveted yet, as it provides easy access during building the Fuselage.
I have to lift the back rivet plate, because the Firewall has webbed edges. Also I use painters tape (again) to keep the rivets in place. There is special rivet tape for that, but painters tape works just as well. I tried polypropylene-based tape (Scotch 3M), but that is harder to get off.
Several time I have to remove the recess cleco’s, as they are in the way, preventing flush riveting. However I keep them “on a leash”, because I’m afraid I will forget the recess and just rivet everything.
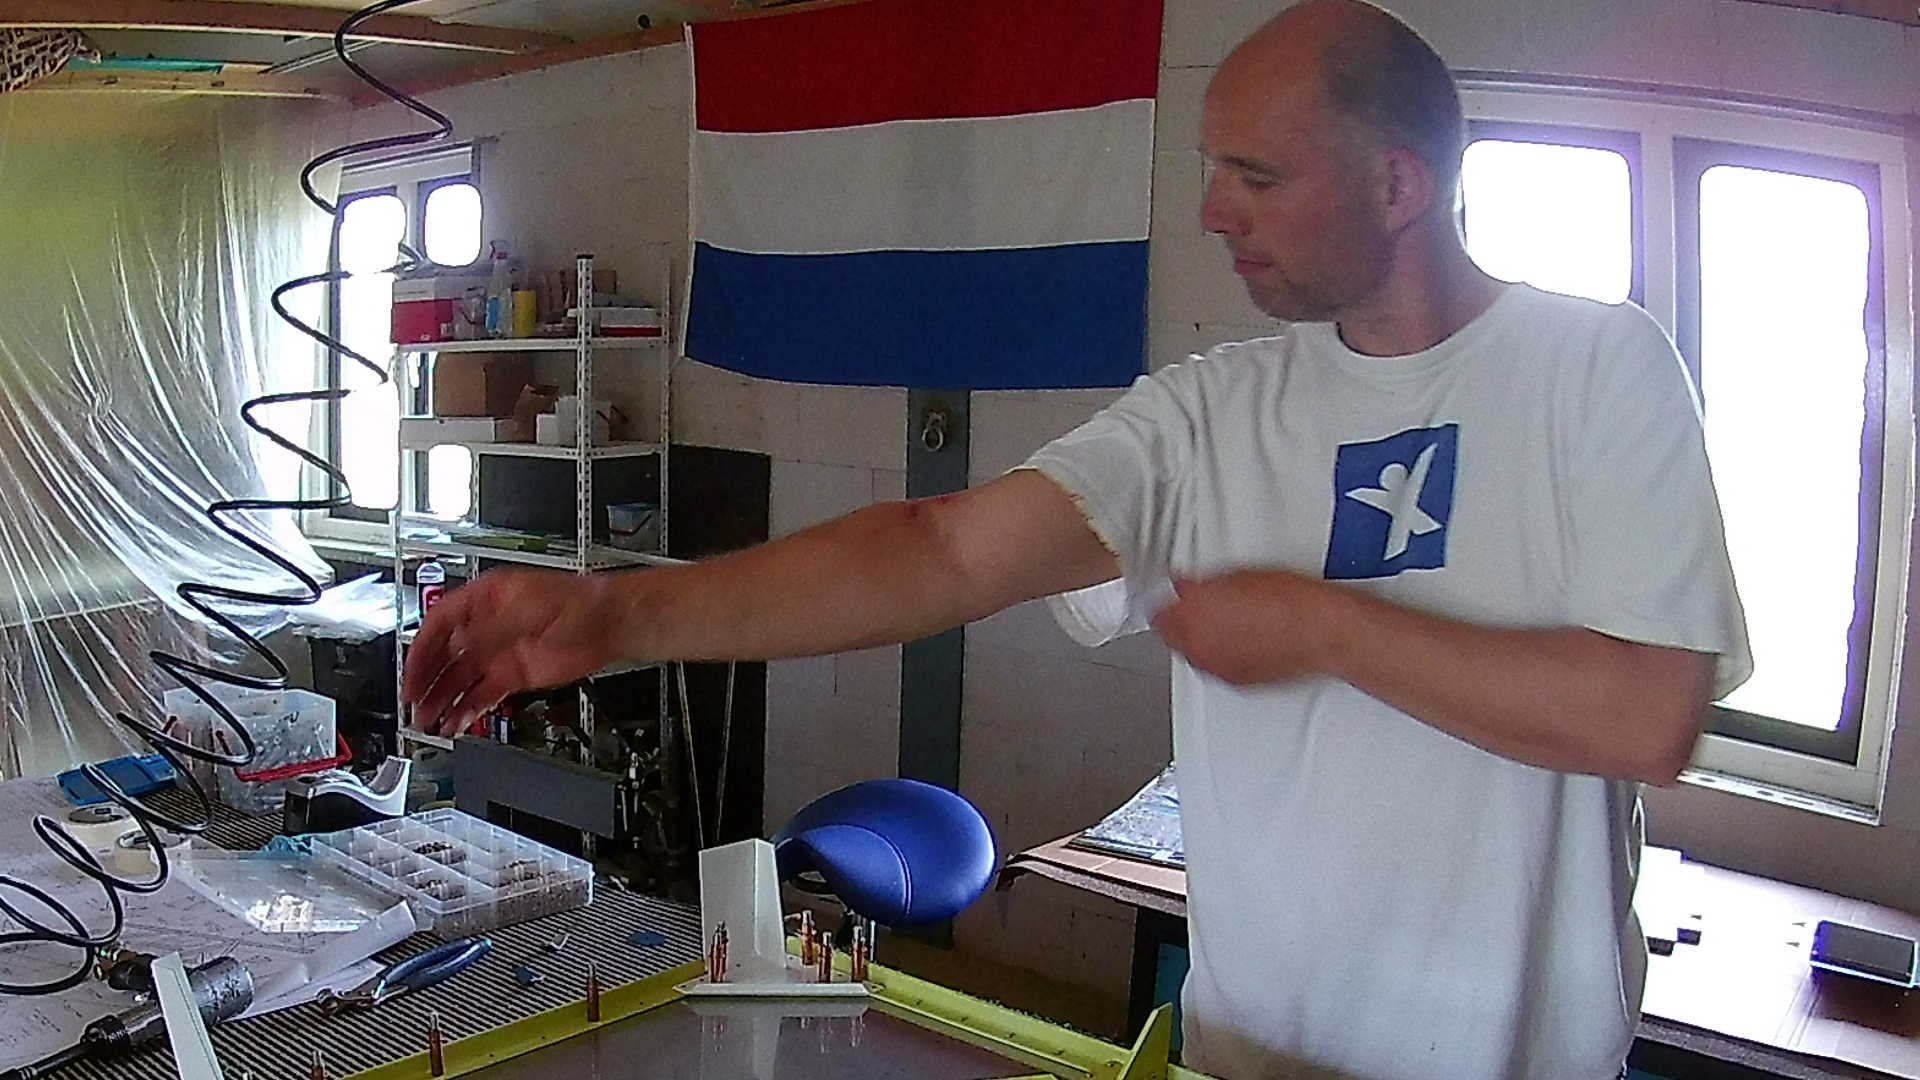
Crap!! These steel edges cut through the skin like a knife and you don’t even notice it. After bleeding on my shirt I noticed the scratches on my arms from turning the Firewall back and forth.
I used a (old) cleaning cloth as an improvised bandage.
I forgot removing a cleco that touched the back rivet plate, so I screwed up 6 rivets that weren’t set flush. Drilling them out and resetting them did the trick. Took me a while to grasp why they were not flush, because it was less then a millimeter.
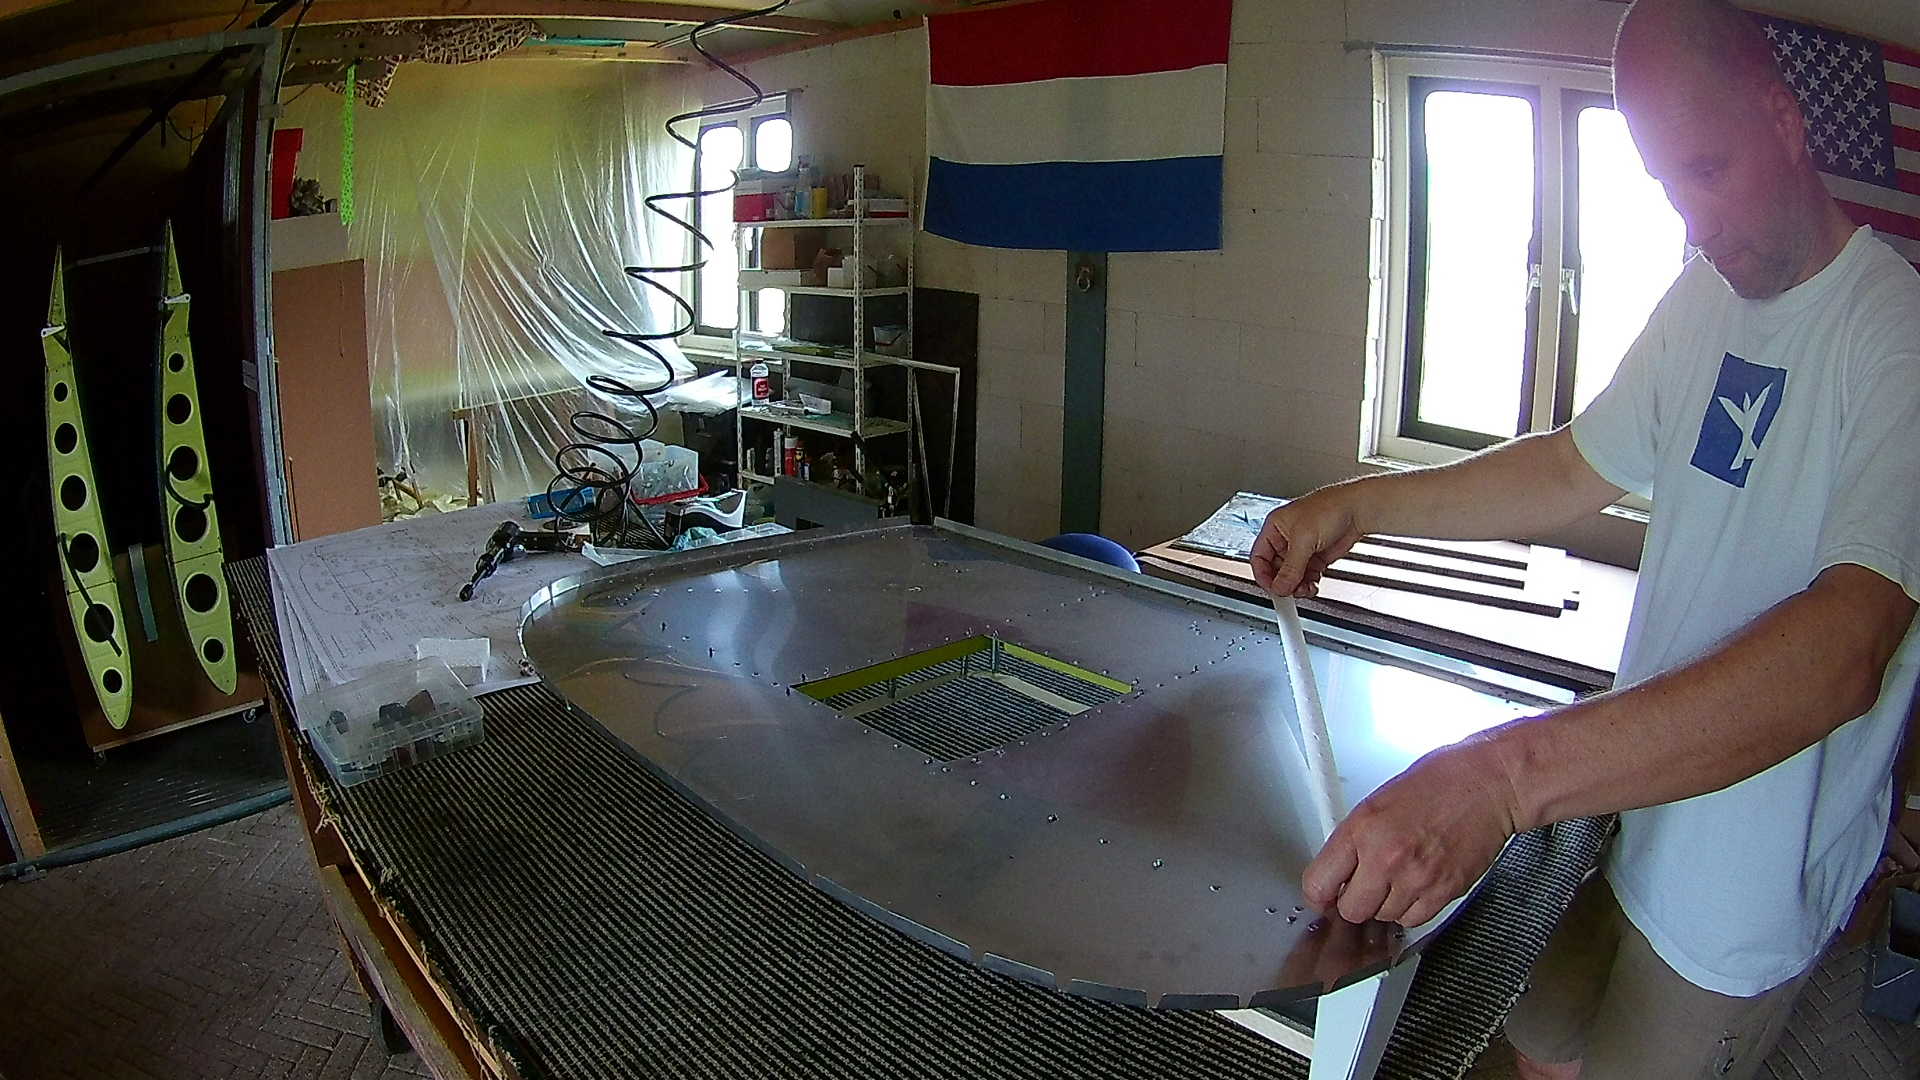
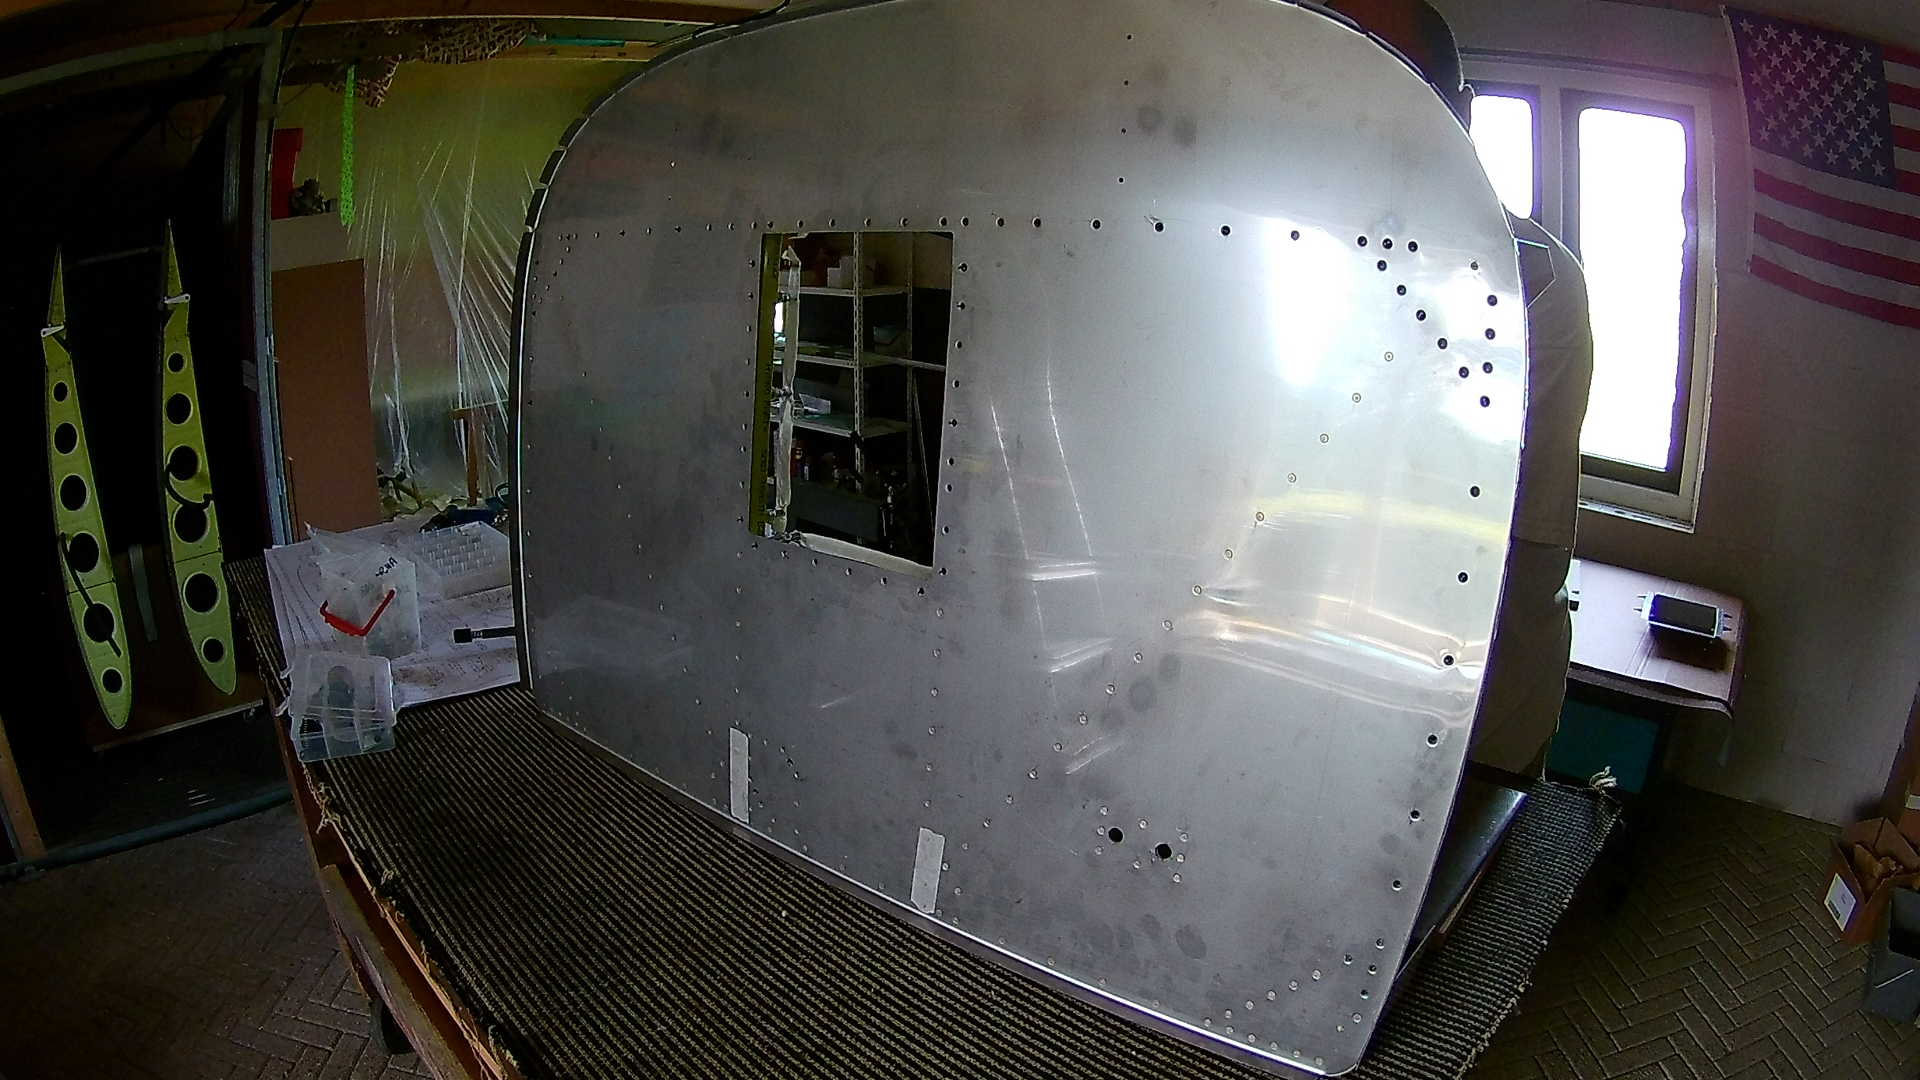
Almost done, everything nice and flush. The tape on the bottom covers rivets which I cannot set with back riveting, due to lack of space.
All done. The tape did its work, I didn’t accidentally riveted the recess opening. Also the thick angles at the bottom are not set completely. This is the other side of where the tape is. I’ll rivet those next time with the “normal” rivet-gun/bucking-bar method.
Time: 6 Hours, Rivets: 175/6 (2019-06-02)
Time: 1 Hours, Rivets: 12/2 (2019-06-09)
