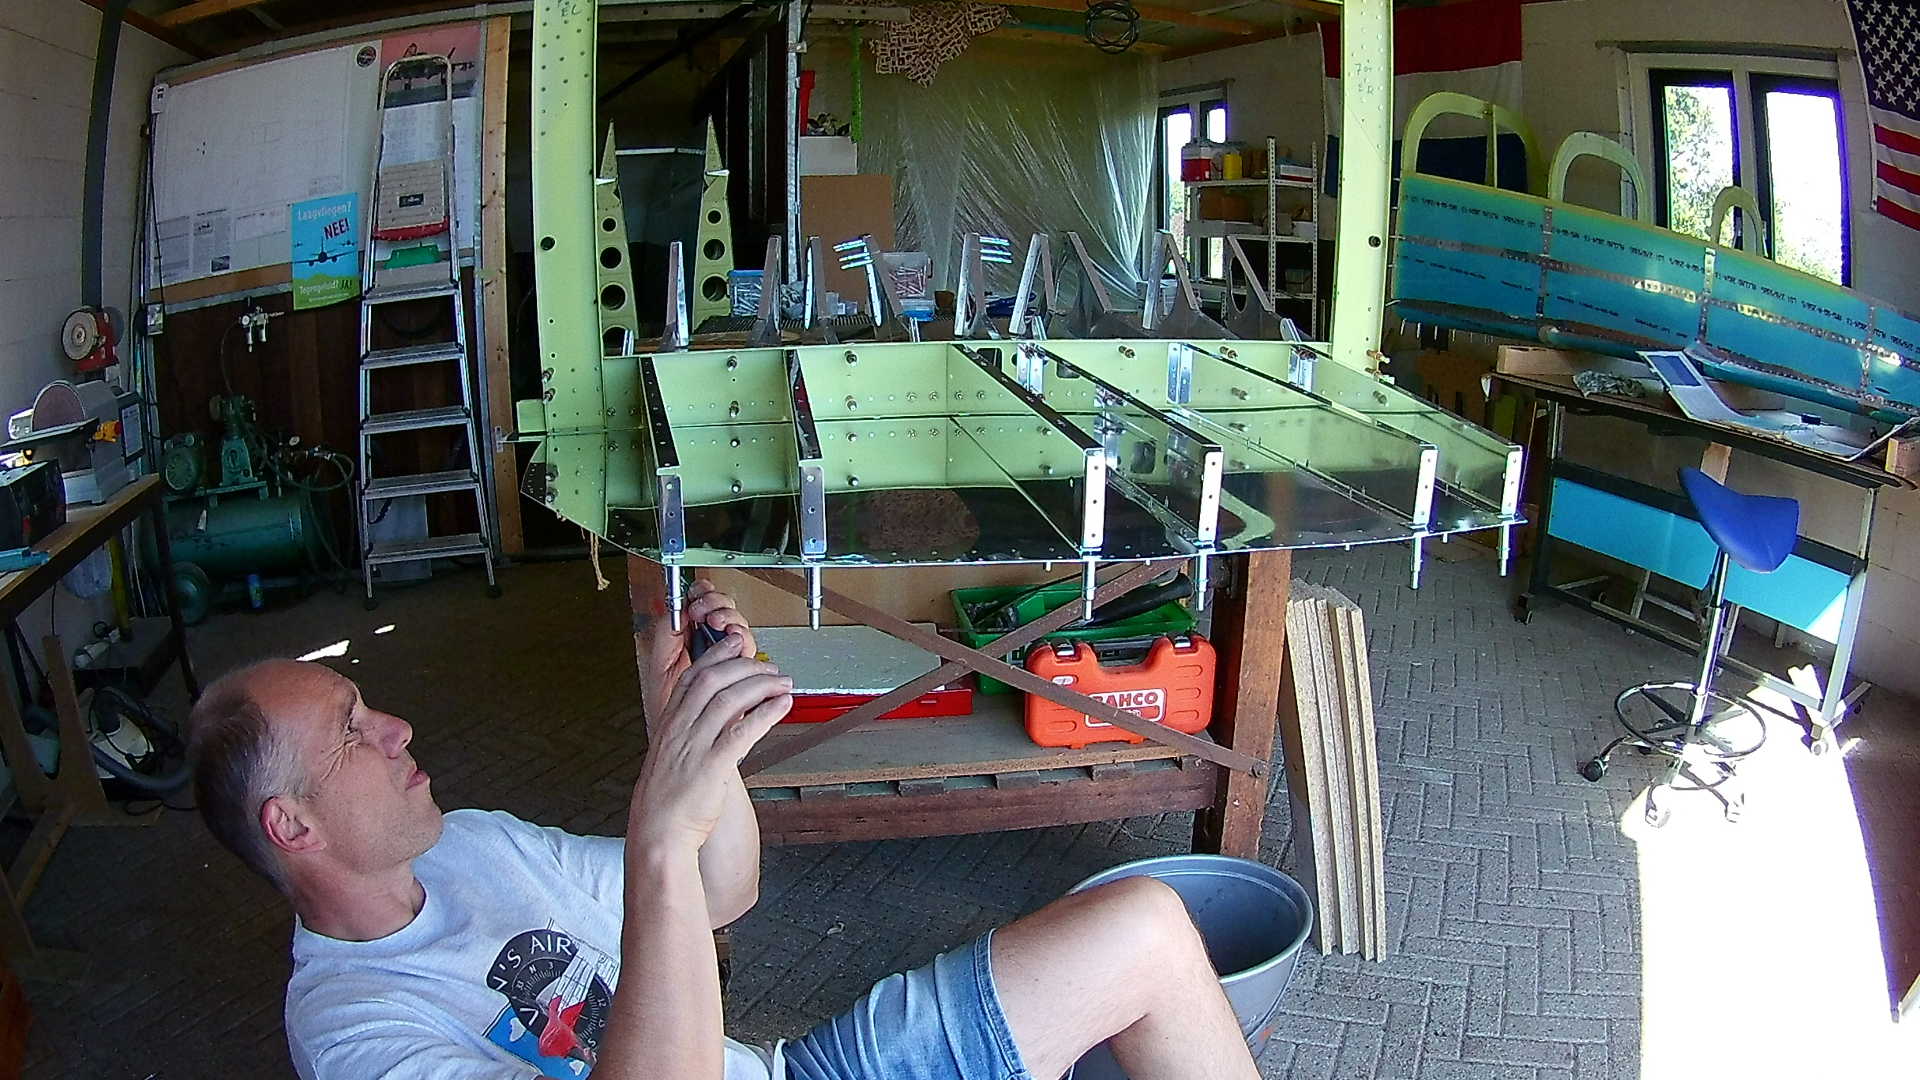

With all the rivet holes of the tail side skins and the J-channels match-drilled, I can now dimple the skins, J-channels and bulkheads and prepare them for priming.

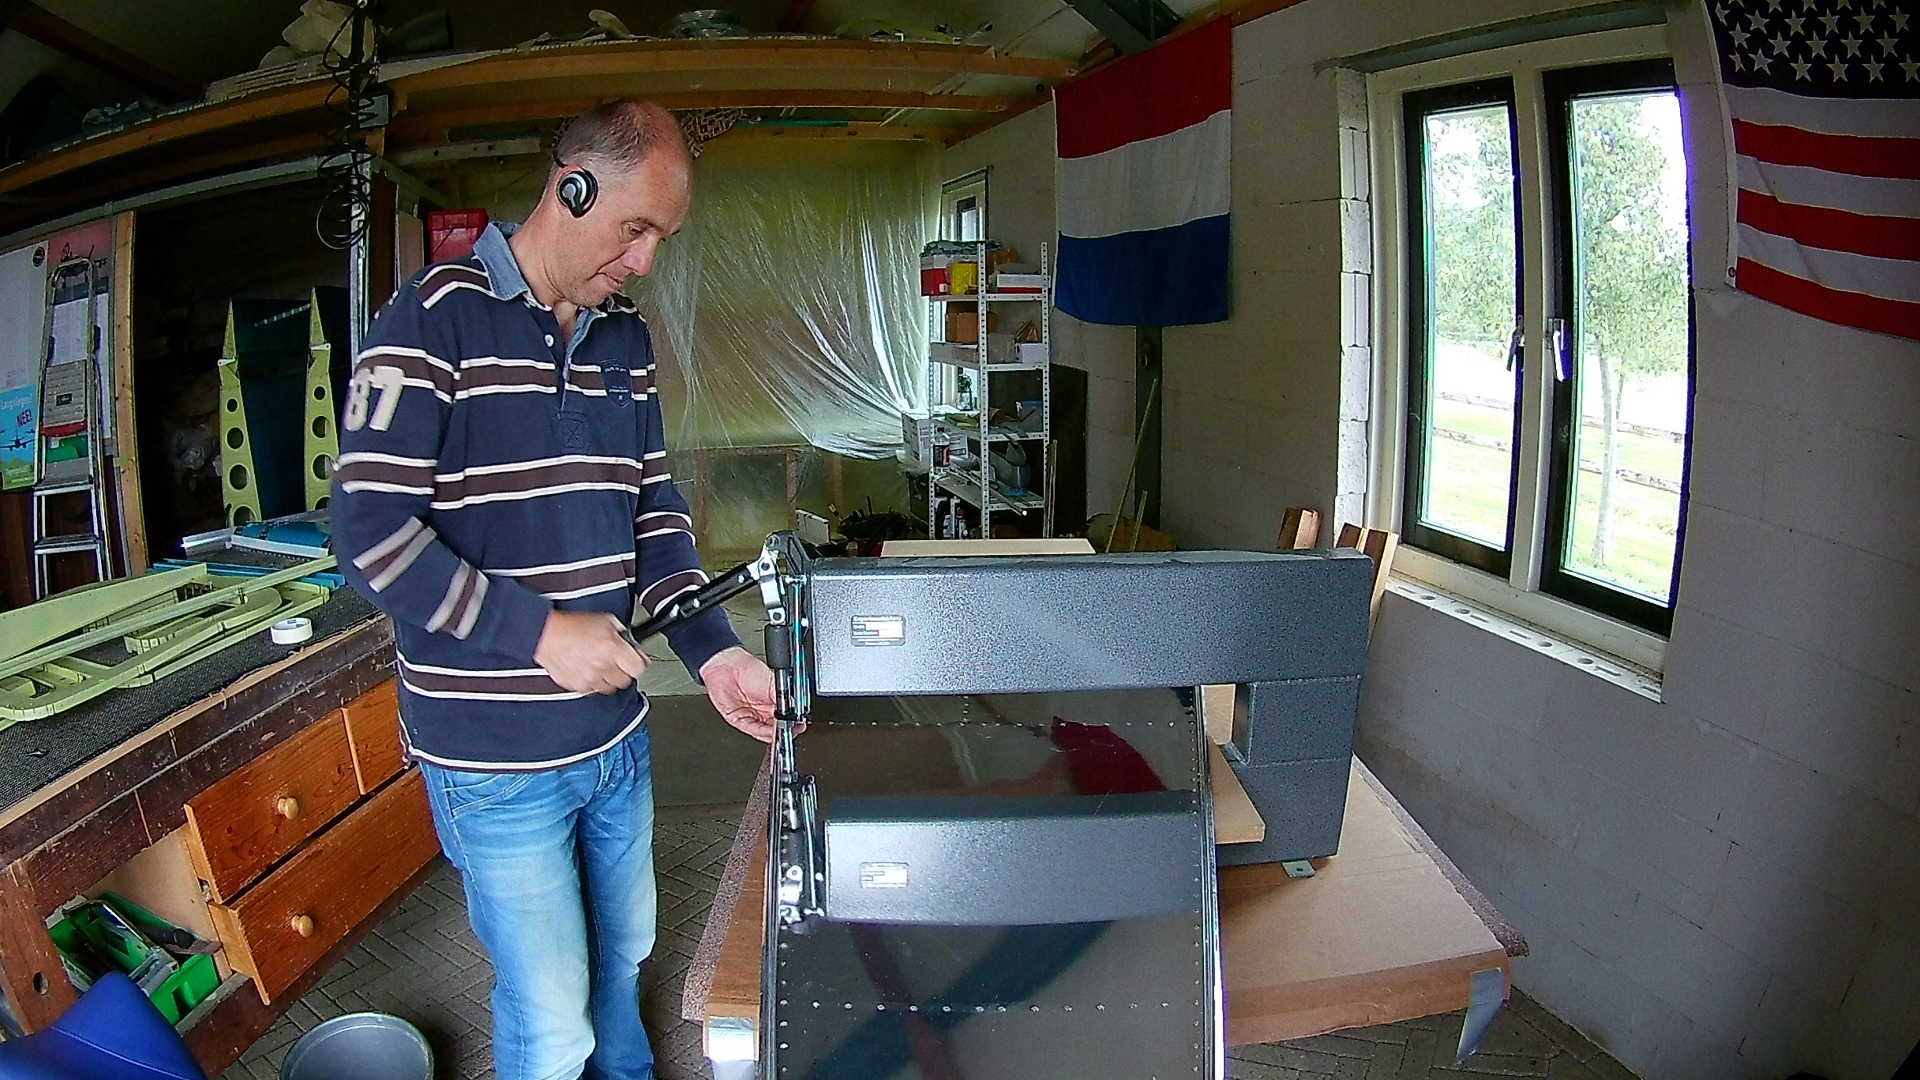
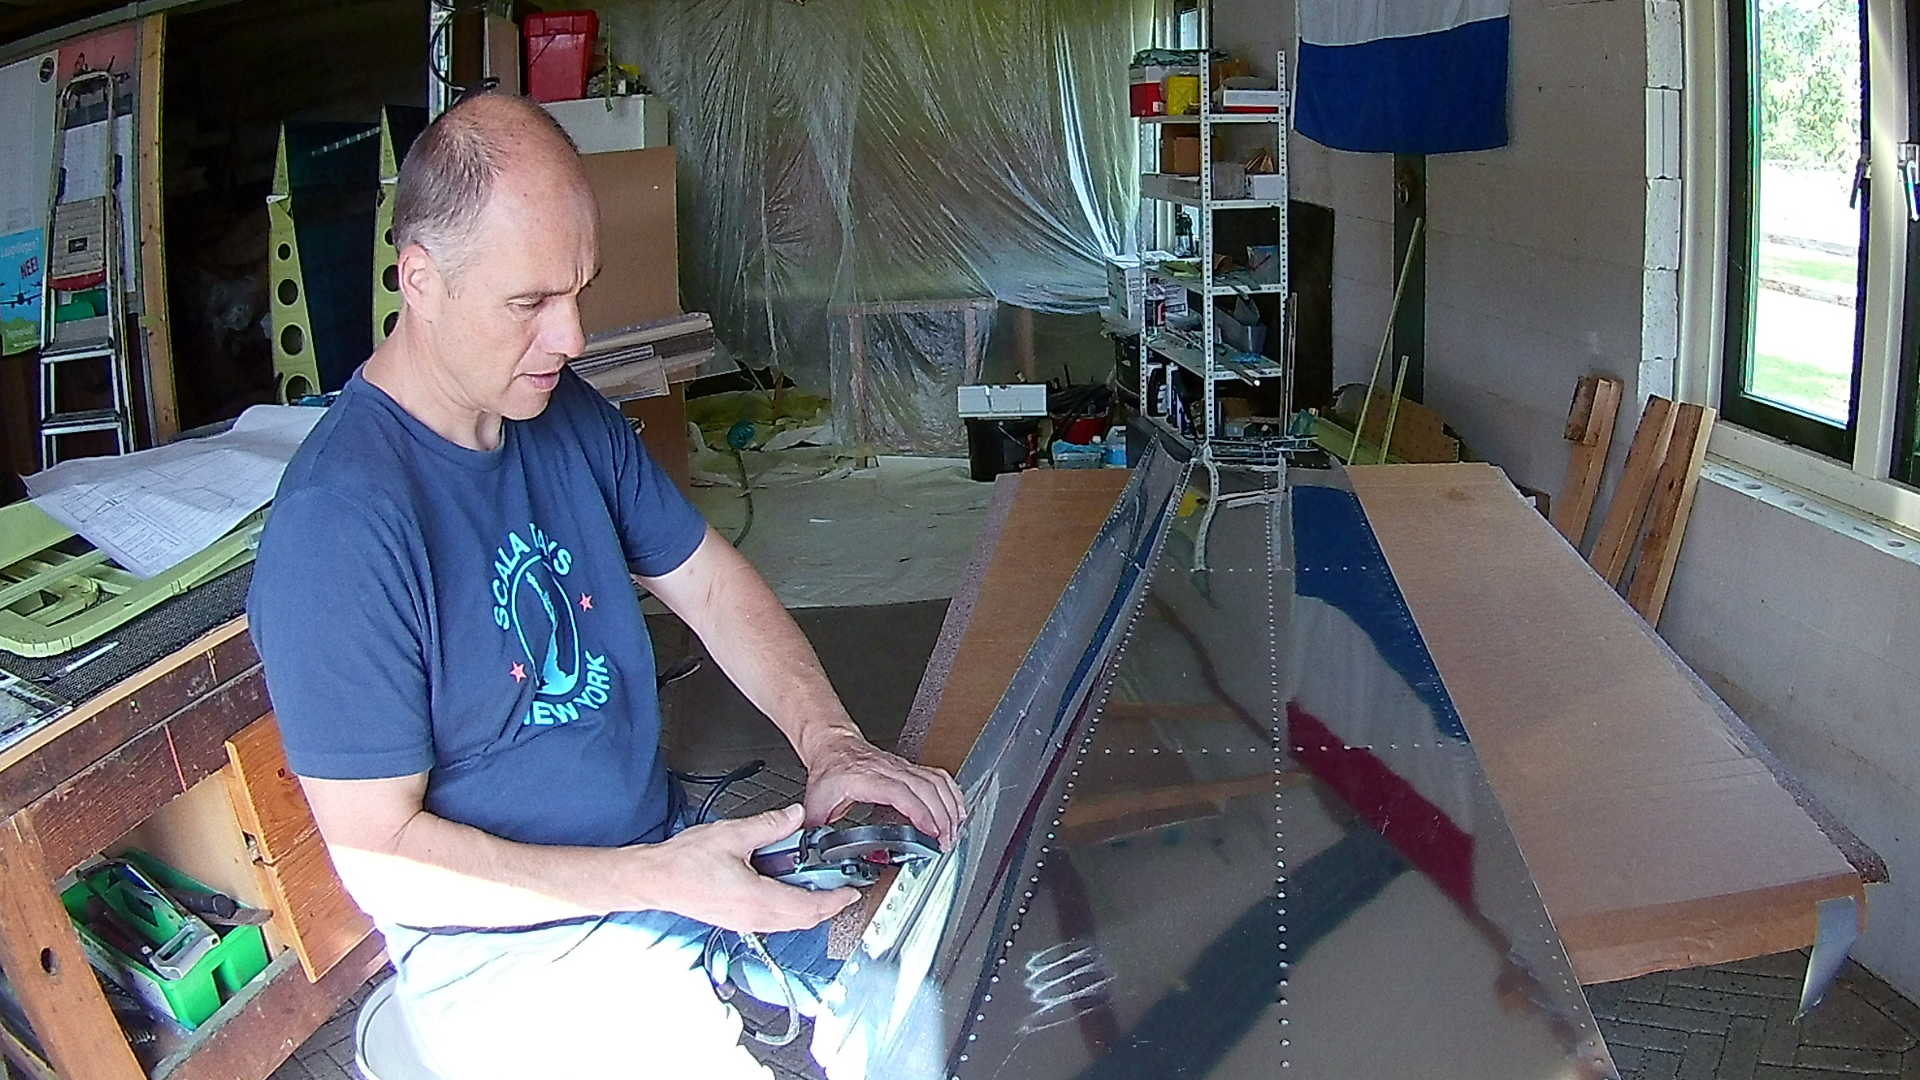
I use the DRDT-2 for the big area’s and the squeezer for the edges I cannot reach (because of he form of the skins).
The “built-in” stiffener of the bottom skin is just far enough of the rivet holes, so the DRDT-2 can reach it.
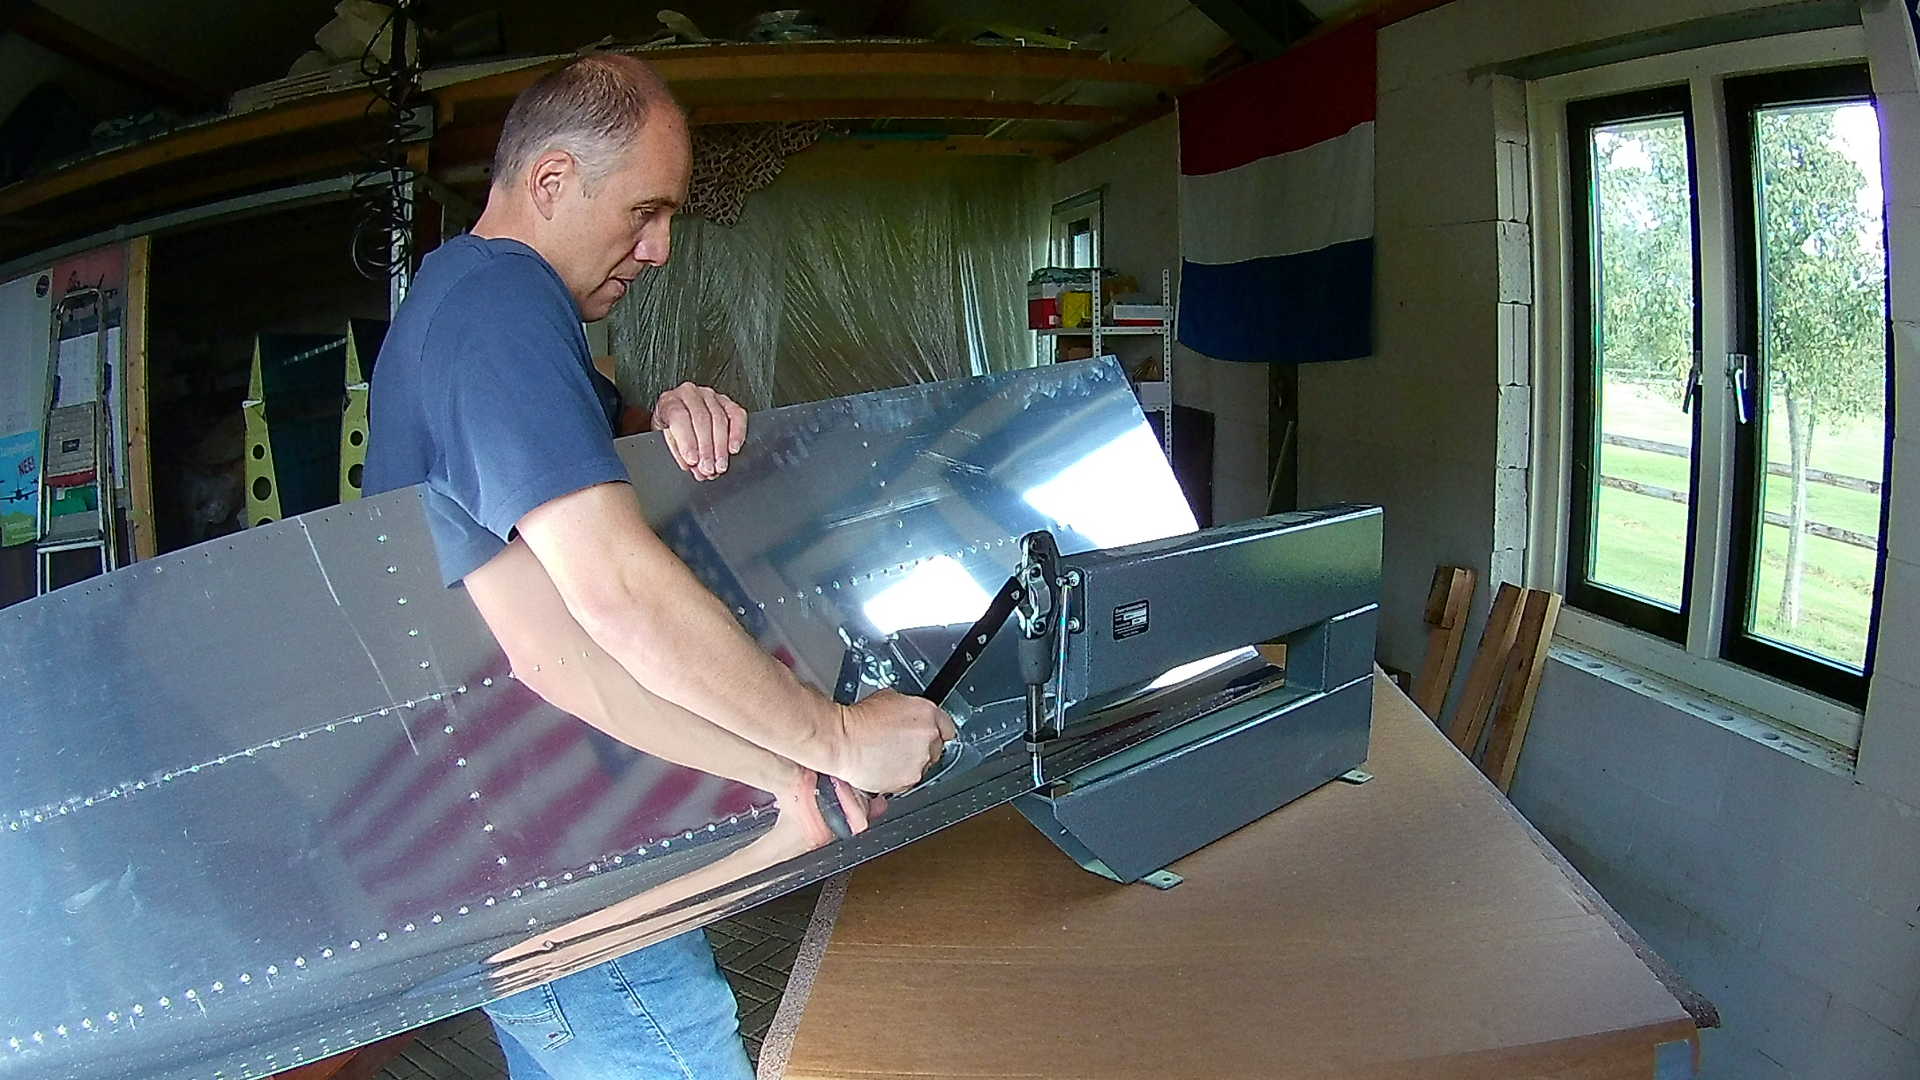
With the curved edges of the side skin I can’t reach the outside line of rivet holes, so I’ll use the squeezer later. Luckily I can dimple the curved parts, because there is no way I can reach those with the squeezer.
The squeezer is super fast once you’re in the flow, but you have to be careful not to “trigger” the squeezer too early. It will punch a hole right through the Aluminum if you didn’t position it correctly.
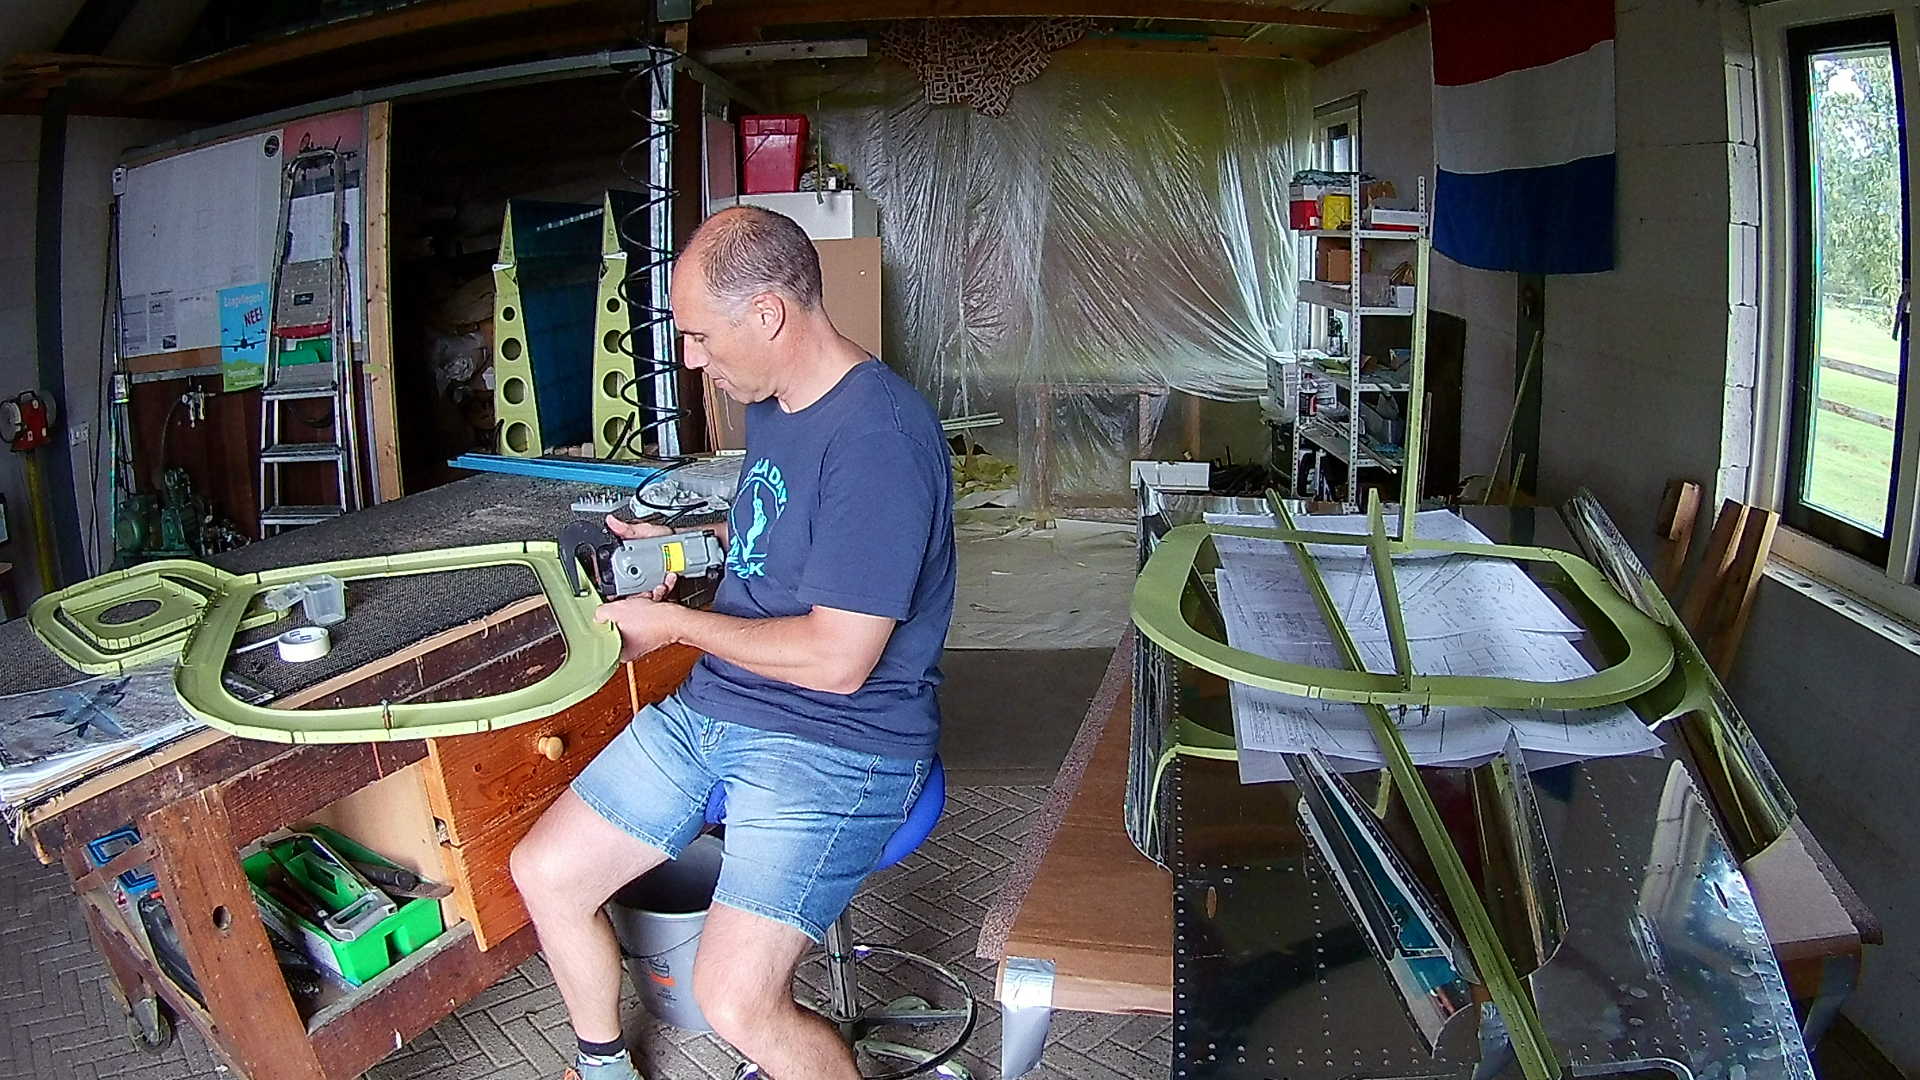
After the skins come all the bulkhead flanges that need dimpling. Those are not possible with the DRDT-2, so the squeezer is the way to go.
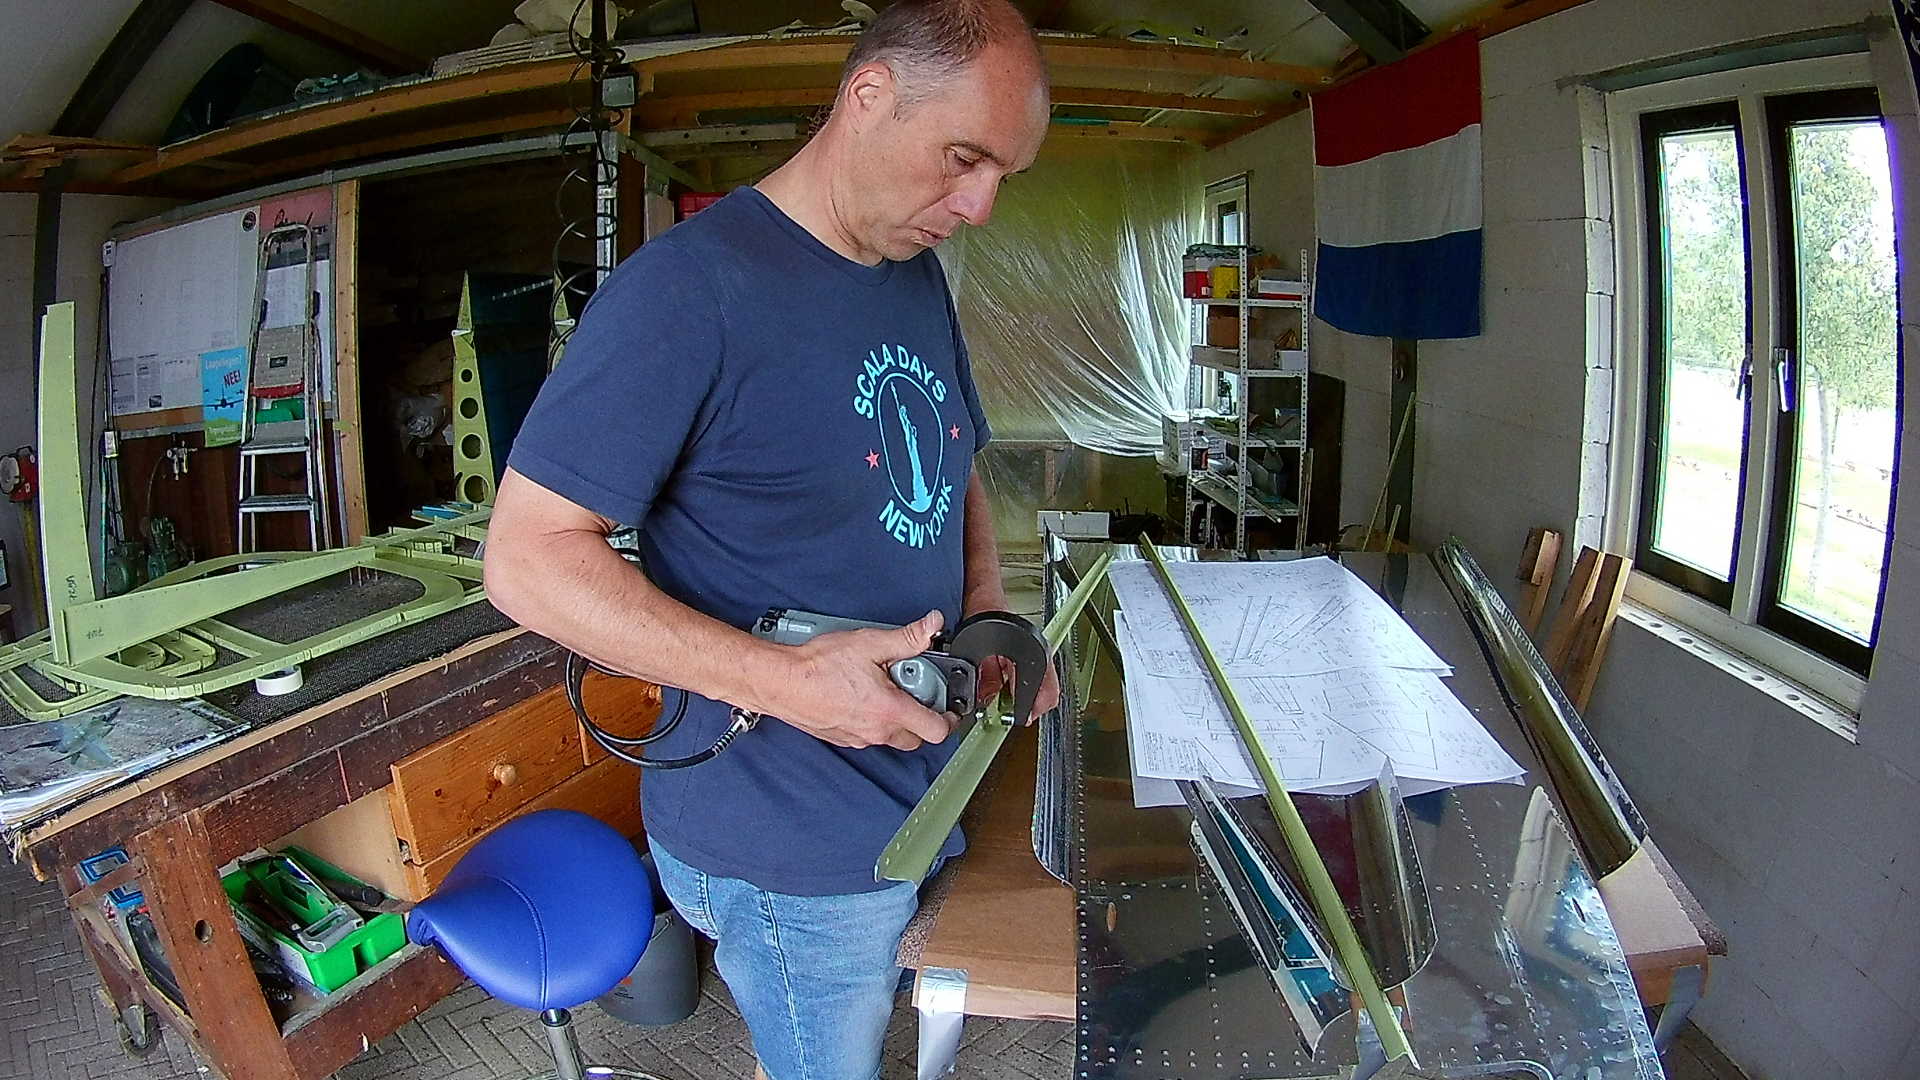
The J-channels (a.k.a. stringers) can be done with either the DRDT-2 or the squeezer. I used the squeezer, because it was already there from the bulkheads. Had I dimpled the stringers after the skins I probably would have used the DRDT-2.
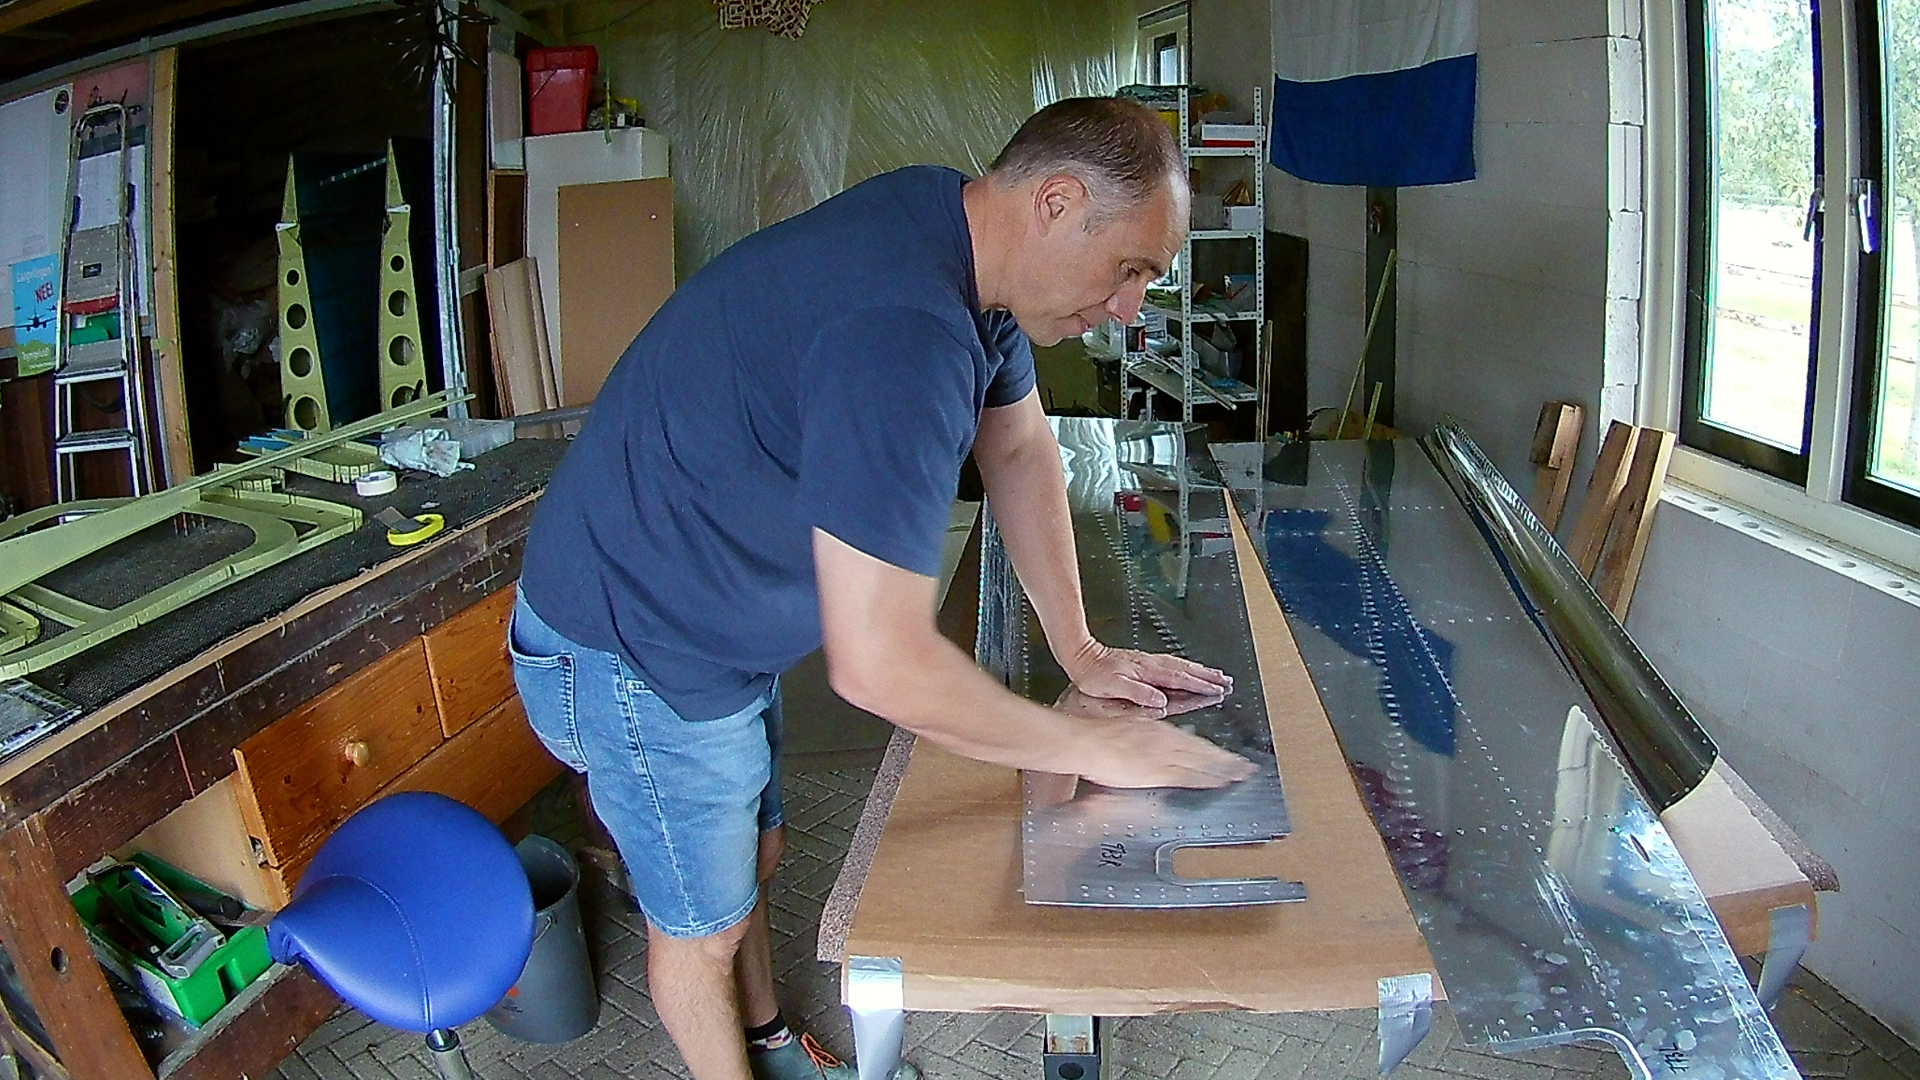
Now I can start with scuffing the non-primed skins. It is similar to sanding it, but just gentler. This really makes your hands dirty of all the Aluminum that comes of.
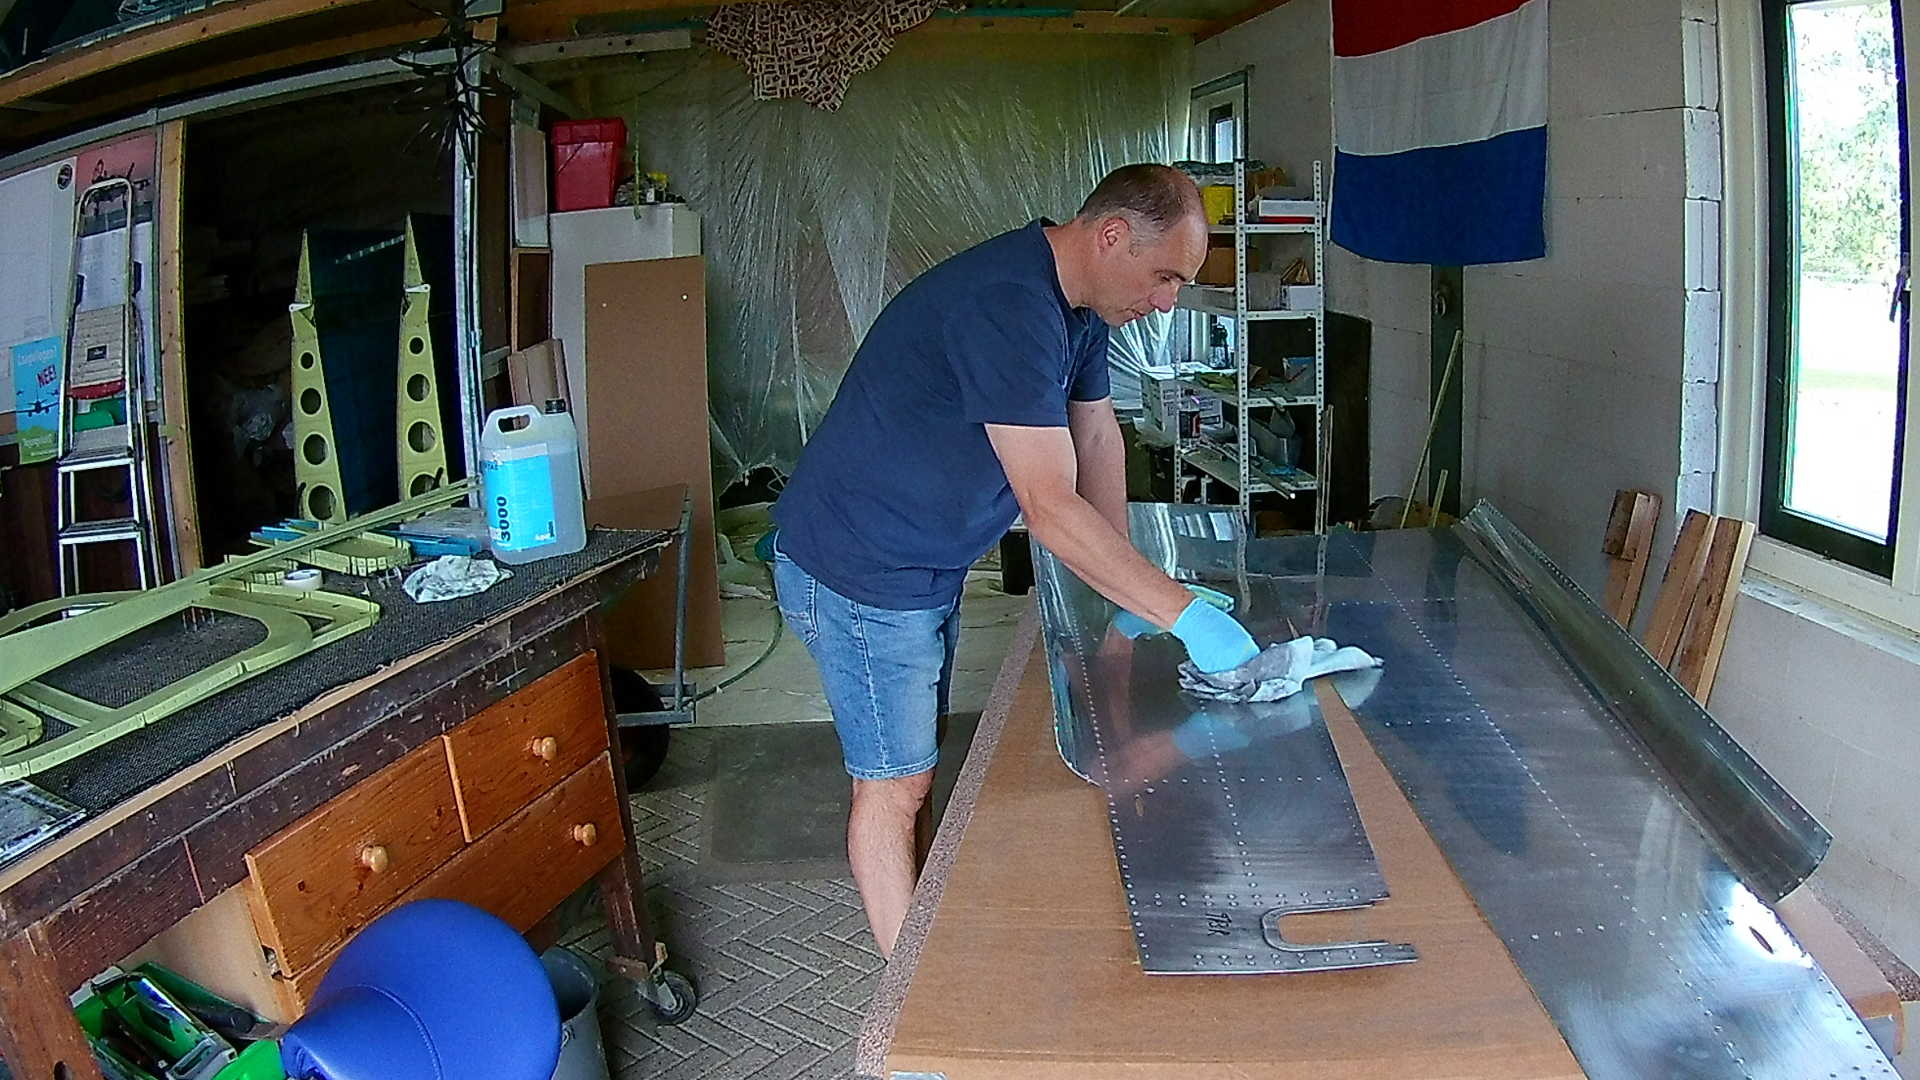
The last step before priming is removing all the “dust” and degreasing the material, so the primer sticks better to it.
Although I forgot a part earlier to degrease and it still came out fine. However it’s probably better to always degrease anyway.
Time: 3 Hours, Rivets: 31/2 (2019-09-04)
Time: 5 Hours, Rivets: 0/0 (2019-09-07)
Video